For Easter or general spring-themed treats it’s easy to feel a little overwhelmed, but why not add a little extra sweetness to your cakes with our surprisingly pain-free tutorial for an adorable fondant (or gum paste) chick! This little cutie is perfect for adding a little character to novelty cupcakes or freshly baked cakes so read on for our step-by-step guide on how to make your very own lovable little bird.
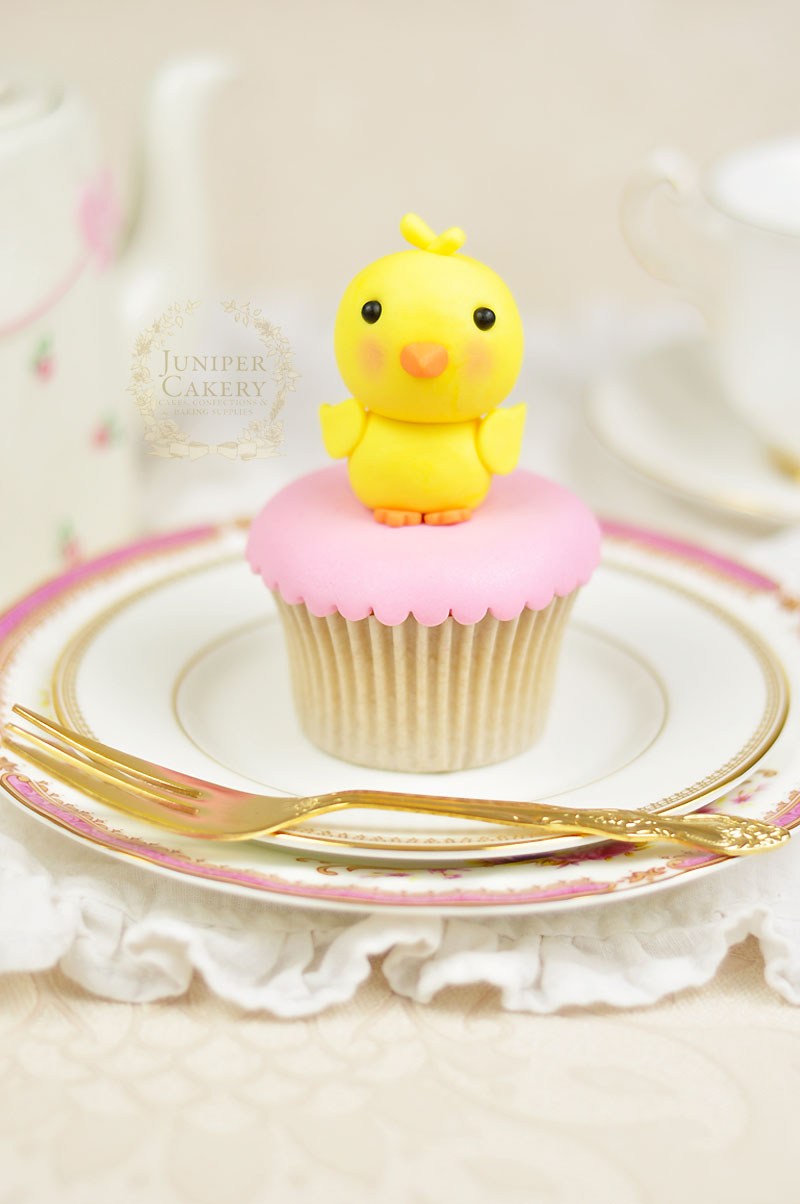
How to create a fondant chick tutorial…
Materials needed:
- Yellow fondant/sugar paste or gum paste/modelling paste
- Small black fondant balls approx. 4mm in size
- A little orange fondant
- Pink petal dust
- Paintbrush
- Edible glue
- Uncooked spaghetti stick
- Blade tool
- Small ball tool
- Small blossom cutter
Step 1:
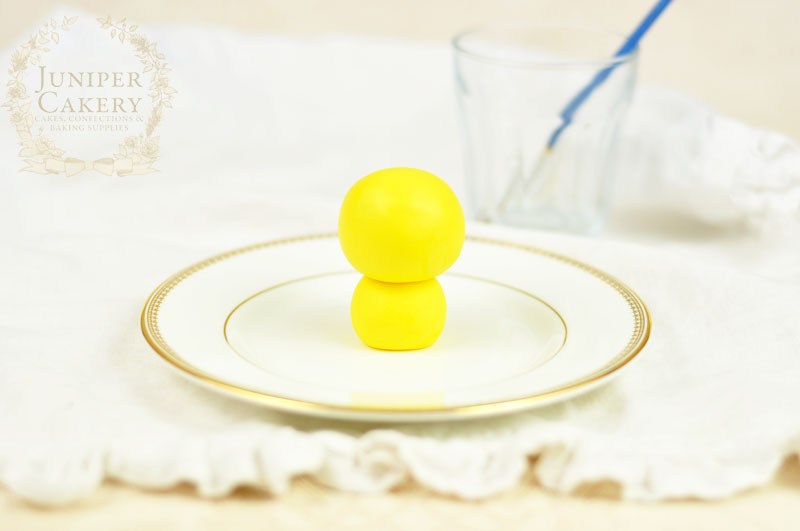
Make a small ball of yellow fondant approximately the size of a standard marble. This will be your chick’s body.
Step 2:
Roll a larger ball of yellow fondant similar in size to a golf or ping pong ball. This will become the head.
Step 3:
Take a piece of spaghetti stick around 1cm longer than the first small ball of fondant you rolled and dip in edible glue before plunging carefully down the centre of your chick’s body (aka the smaller ball you rolled in step 1).
Step 4:
Paint the exposed part of the spaghetti with edible glue and attach the larger ball/ head onto the body.
Step 5:
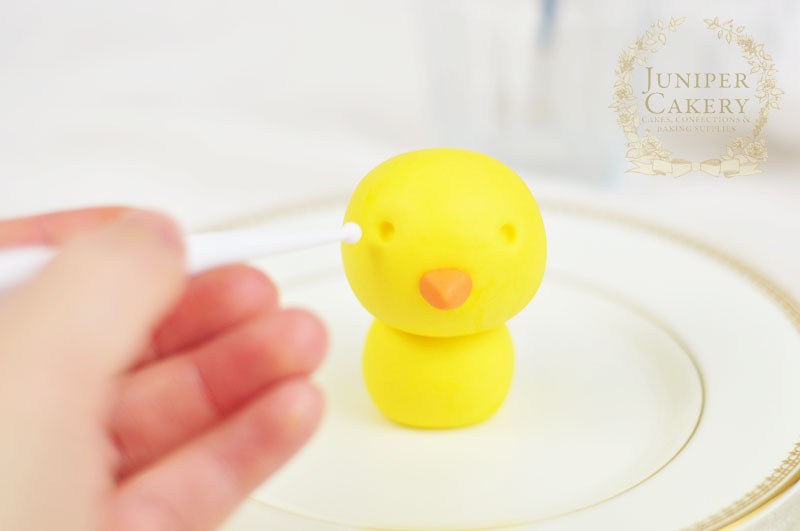
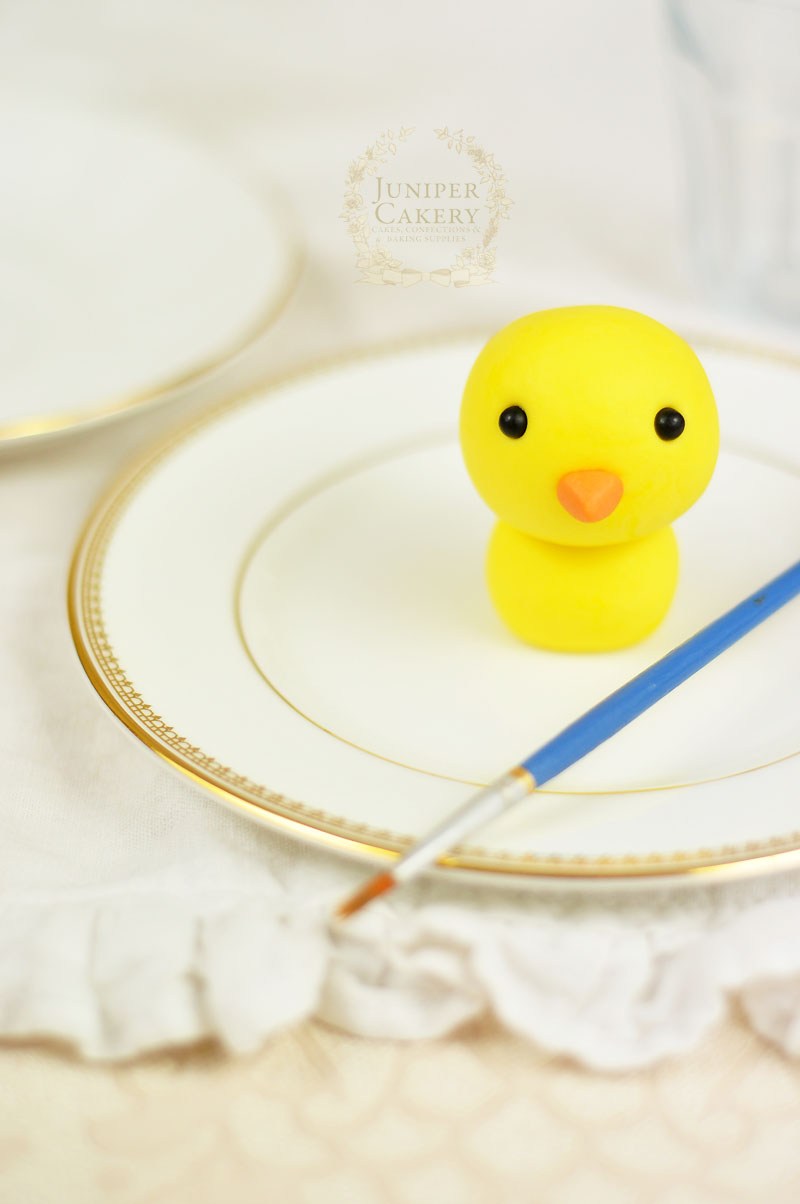
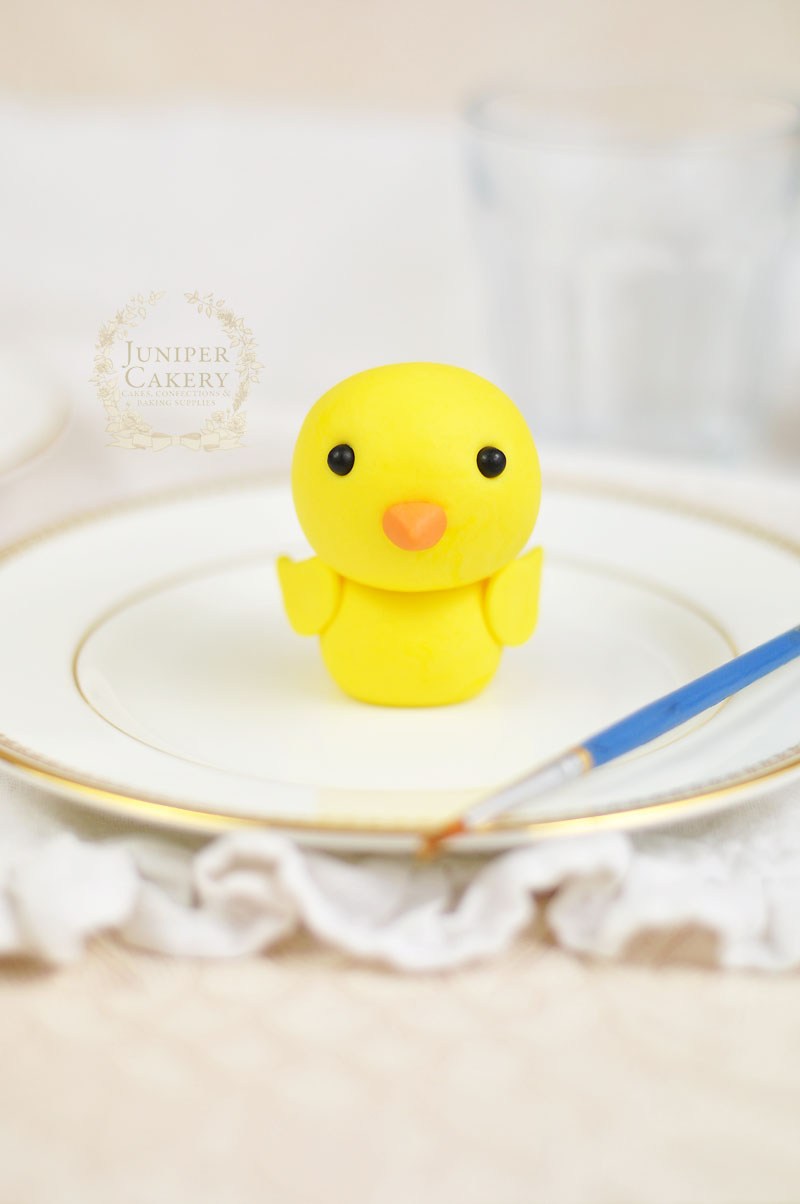
For the beak take a small ball of orange fondant and mould into a rounded triangular shape. Attach in the centre with edible glue.
Step 6:
Indent two circles onto the head just higher than the middle of the ball to create the eye sockets. Attach the black fondant balls with edible glue.
Step 7:
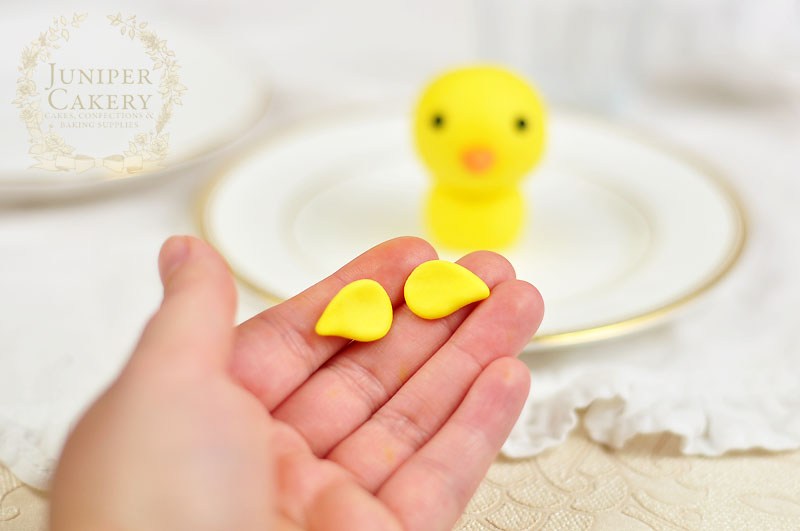
To add wings roll two equal sized balls of fondant a quarter of the size of the body. Flatten and smooth a little with your hands before pinching one side of each to form a tapered wing shape. Attach to the sides of the chick’s body with edible glue.
Step 8:
For cute tiny feet roll out some orange fondant to a thickness of around 4mm and cut two blossom shapes with a cutter of each chick. Attach to the bottom of the body with three scallops or petals of the blossom poking out from underneath.
Step 9:
If you want to add a cute little tuft of feathers on the head create three tiny teardrop shapes of yellow fondant and attach to the top with a dab of edible glue.
Step 10:
Finally add some lovely flushed cheeks with a little pink petal dust!
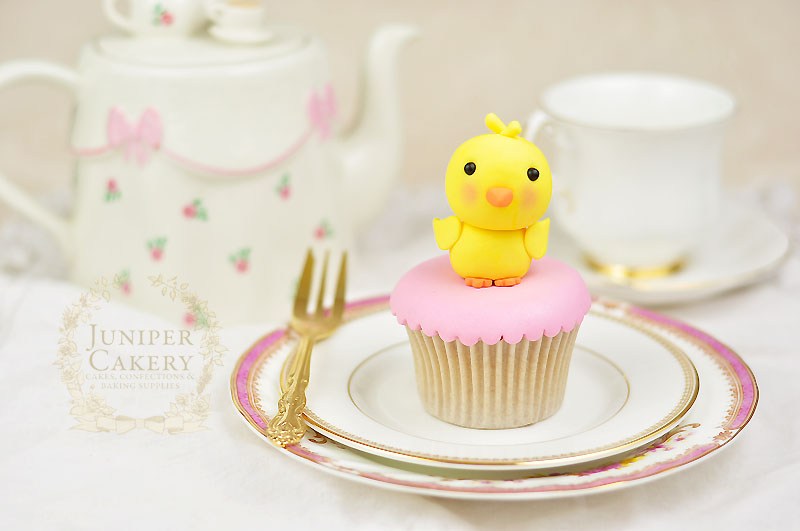
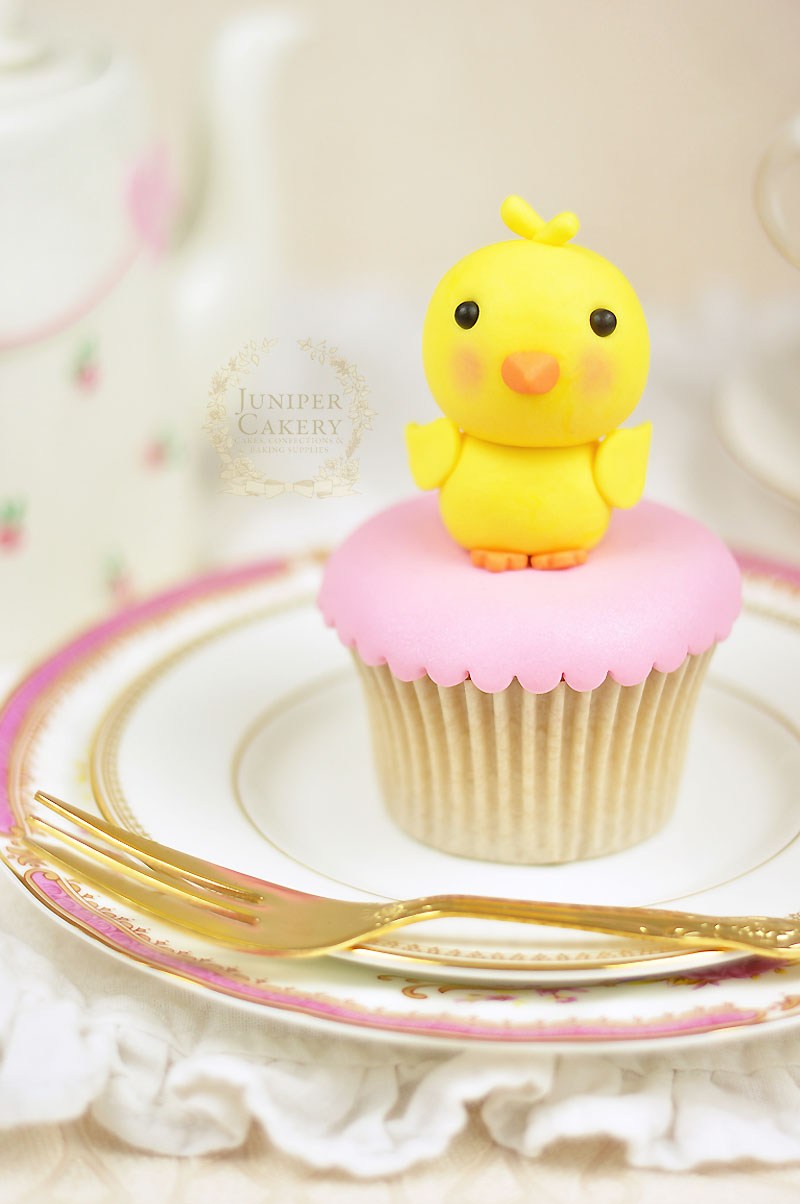
You can easily customise your fondant chick to suit so many different themed cakes and treats. Add tiny baseball caps or flags for sports themed designs, attach a bold fondant letter to them to personalise a fun party cake for someone special or change the colours (like blue for a Twitter addict)!


1 Comment
Love this idea, it’s simple and cute and would go down well with our customers, keep up the good work! http://www.thebonnachbakery.co.uk