
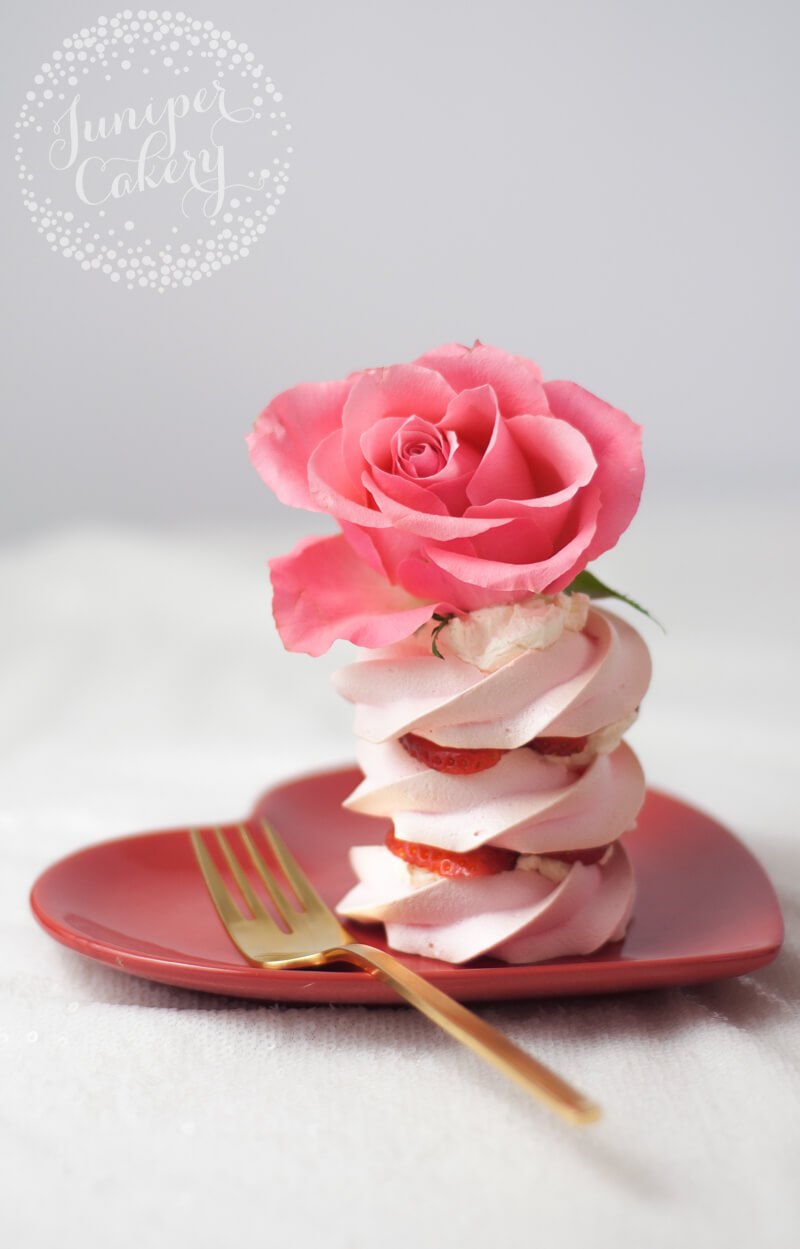
February 14th is coming and you may be wondering what sweet treat you can whip up! Whether it’s for you and your Valentine, a room full of your best friends or just for yourself our recipe for mini strawberry and Chantilly Cream pavlovas is a must. Perfectly pink meringue rosettes layered with vanilla infused whipped cream and fresh strawberry filling!
Strawberry and Chantilly cream pavlovas recipe!
Ingredients and tools needed for the meringue rosettes… (makes approx. 10-12 meringue roses)
- 35g egg whites
- 70g caster sugar
- 1/2 teaspoon cream of tartar
- Pink food colouring (we used ‘Strawberry’ by Rainbow Dust)
- Strawberry essence or extract
- Wilton 2D closed star piping tip
- Disposable piping bags
- Stand-up mixer
For the Chantilly cream…
- Double, heavy or whipping cream
- 1 tablespoon vanilla bean paste
You’ll also need…
- Fresh strawberries
- Candy, roses, meringues etc (to decorate)
How to whip up and bake your meringue rosettes…
01: First let’s start by making the meringue roses for your strawberry and Chantilly cream pavlovas! Pre-heat your oven to 160 degrees C (fan) / 180 degrees C (non-fan) / 325 degrees F / gas mark 4.


02: Pour out your caster sugar onto a baking tray and place in your pre-heated oven for 5 minutes. This step really helps all that sugar dissolve better and quicker into the whipped egg whites which means wonderfully smooth meringues!

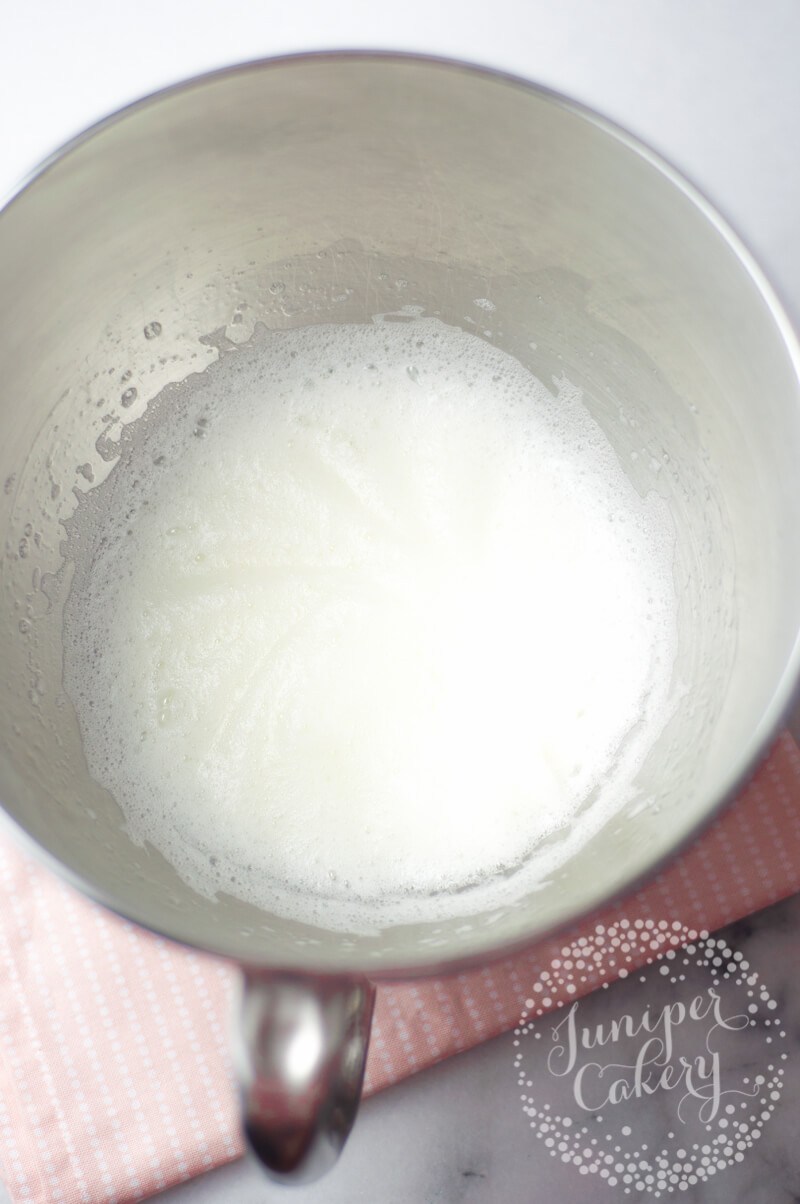
03: While your caster sugar is in the oven add egg whites to the metal bowl of a stand-up mixer. Mix on high with the whisk attachment until frothy (basically… a little like cappuccino foam). When the eggs are ready add in the cream of tartar and mix until combined.
Tip! Any grease left over from cake batter or buttercreams etc can ruin your egg whites. Make sure that you clean up any mixing bowls properly, give them a quick wipe down with lemon juice if you’re unsure, and try to always use metal bowls (plastic or wood can hold in fat and grease).

04: Slow down your mixer to a medium speed and spoon in your heated sugar mix a tablespoon at a time. Your meringue should begin to look glossy and it should begin to stiffen up too.
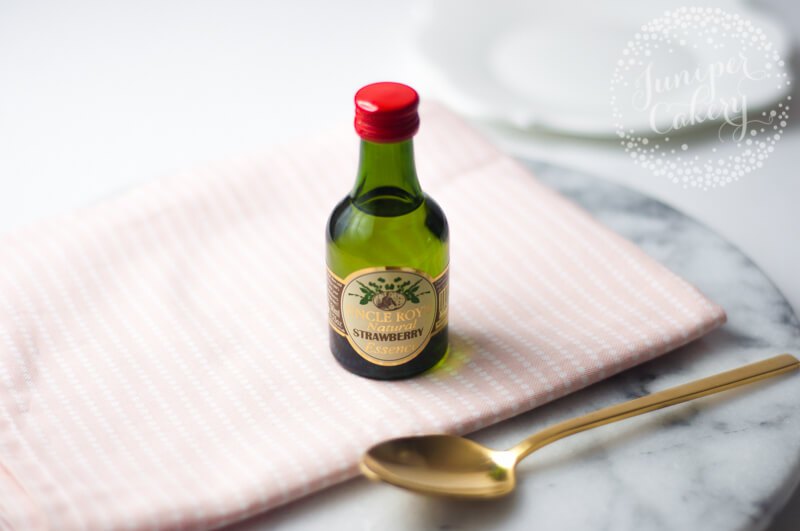
05: Now it’s time to add in your colour and flavour. When it comes to adding in any colouring or extracts you should always start small and build it up to the tint or flavour strength you like. It is so much easier to add than to remove! We wanted a pale pink for our meringue rosettes so we added approximately 1 drop of Rainbow Dust’s Strawberry colour from their Pro Gel range.
For extracts one of our favourite brands is Uncle Roy’s. We used up to 6-8 drops of their fruity strawberry essence. Try not to add too much as this can mess around with the consistency of your meringue.


Once you’ve added in your colouring and/or flavouring whip until lovely stiff peaks form. Your meringue should hold its shape well and any peaks should not droop or flop over.
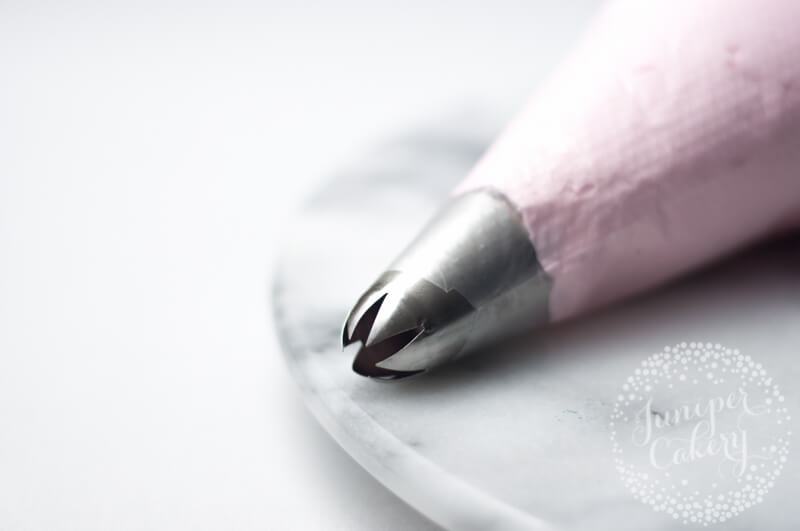
06: Add your meringue mixture to a piping bag fitted with a closed star tip (we love the 855 by Ateco and 2D by Wilton for roses).

07: To pipe begin where the centre of your rose will be, pipe a little out and then pipe slightly overlapping the center and around it. Two or even 3 ’rounds’ encircling the centre is a good amount. When you’re finished simply stop applying pressure to your bag and flick the end of your rose and meringue mixture.
08: Place your meringue rosettes in the oven to bake for around 25 – 35 minutes. We use a convection oven (which is basically a fan assisted oven) so it took only 25 minutes for our kisses to be done.

09: Remove from the oven once they’re ready and set them aside to cool down.
How to make Chantilly cream!

01: Whilst waiting for your meringues to cool create your tasty Chantilly cream! Add your double (also called heavy or even whipping) cream to a clean stand-up mixer bowl along with a tablespoon of good quality vanilla bean paste. Whip until soft silky clouds of whipped cream forms.
Tip! If you’ve over whipped your cream and it begins to look grainy or lumpy you can save it so don’t worry! If you have any unwhipped cream left over add around 1-2 tablespoons into your whipped cream and very quickly mix it together with your stand-up mixer. No left over cream? Just add the same amount of full fat milk and whip!
How to assemble your mini strawberry and Chantilly cream pavlovas!

01: Start by laying one of your pretty meringue rosettes down. It’s best to build up your pavlovas onto whatever you’re going to be serving them on… plates, mini cake stands or even small cake boards!

02: With a tablespoon scoop a dollop of your Chantilly cream and drop it onto your first meringue rosette.

03: Slice up slim slivers of strawberries and layer on top of the cream.
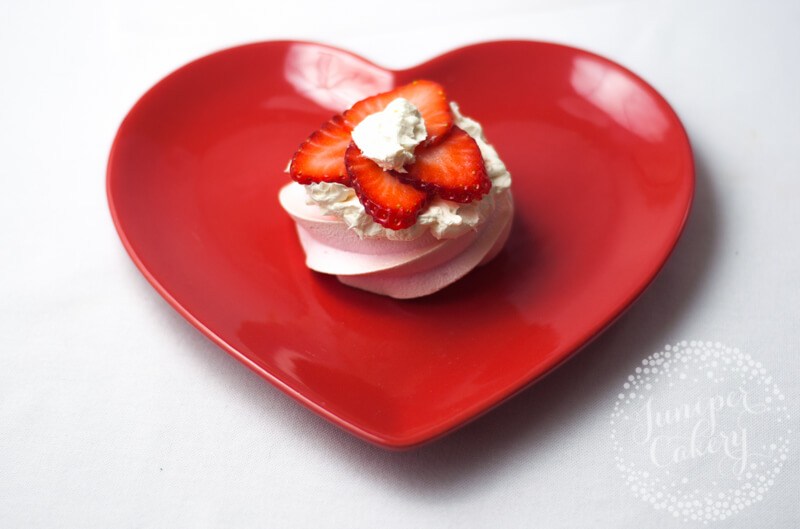
04: Add a smaller dollop of cream on top of the strawberries. This will help your next meringue rosette stay in place.

05: Take your next meringue rosette and gently place this on top sandwiching the strawberry filling and cream between both meringues.
06: Repeat steps 02-04 for the final layers. We stacked out pavlovas with three layers of pink meringue roses, but you can have them as tall or short as you like!

07: Now for the super fun part… decorating them! Add a dollop of Chantilly cream on top and get creative!
To decorate ours we kept it simple and opted for large bloom pink roses. You can use whatever you like. Some sweet ideas include… edible petals, candy, mini donuts or fancy chocolate truffles!
You can easily swap the flavours over to something else if you like. Instead of strawberries try sugared raspberries, or even brandy laced cherries with roughly chopped pistachios!


No Comments