Hoppy Birthday Giant Cupcake

DSC_0033

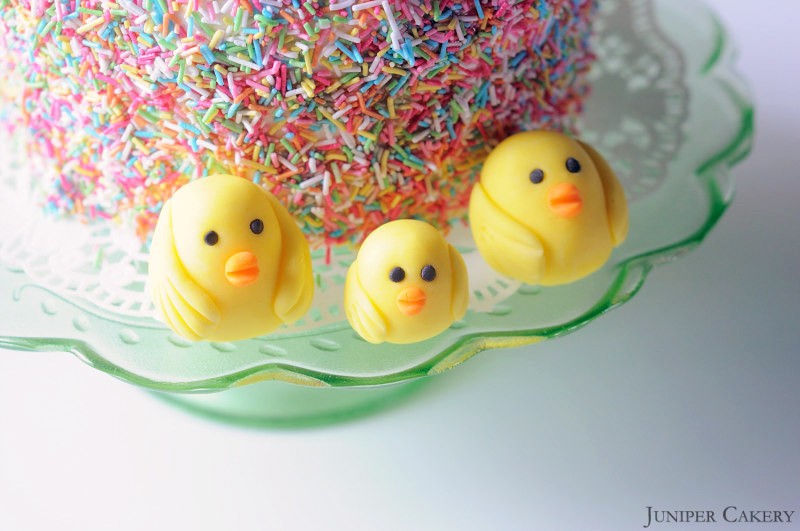
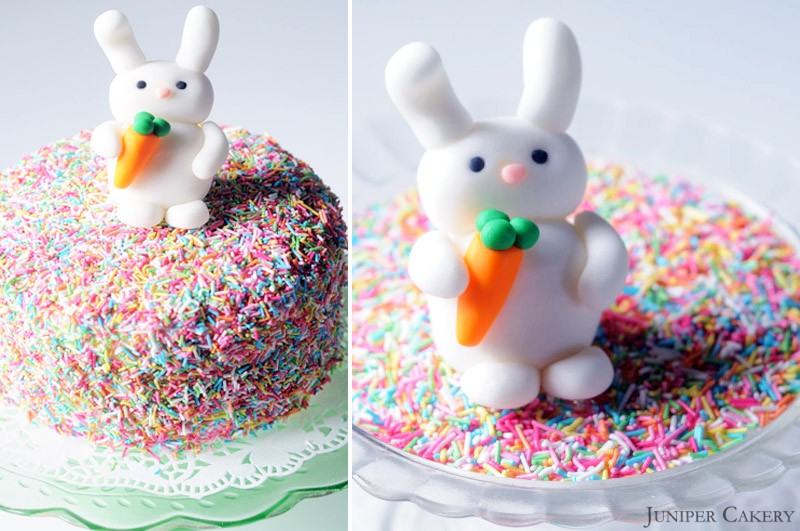
We had lots of fun creating and sharing our Easter tutorials last week! By the end of the week we had to create a fun Easter themed birthday cake for a family member. We decided that our Easter bunny and chicks would be perfect nestled on top of a bright giant cupcake! We teamed our cute  little characters with rainbow sprinkles, and a flowerpaste banner coloured with Squires Kitchen’s Bluegrass gel paste colour for a playful brightness. If you need to re-create this cake why not play with different sprinkles and colour; use flower shaped sprinkles on top of green buttercream for a lovely garden theme, or use Oreo crumbles as patches of soil!
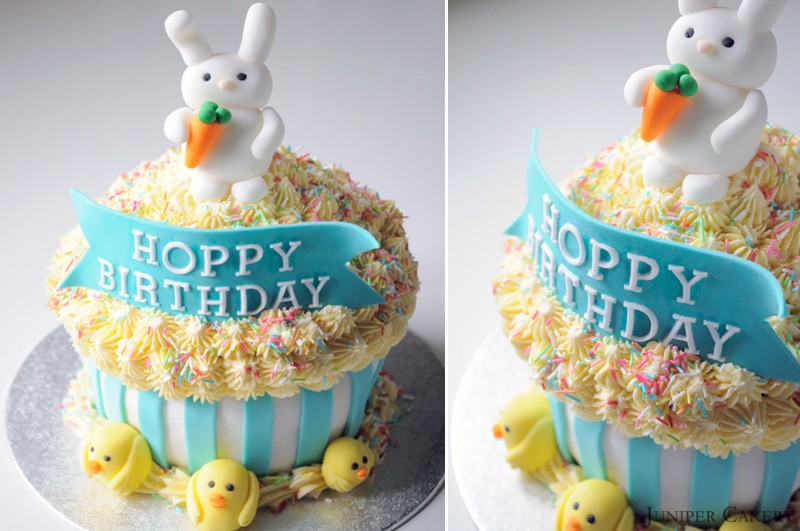
Hoppy Birthday Giant Cupcake

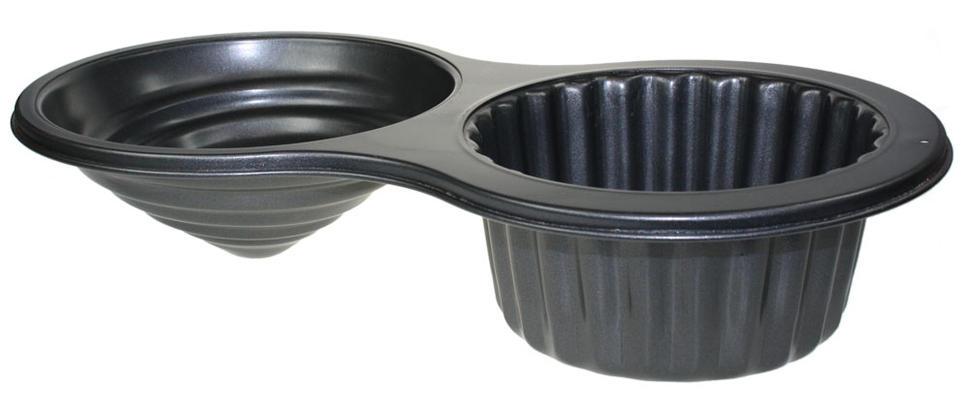
To create our giant cupcake we used our giant cupcake pan and the following recipe…

7-8 eggs
453g self raising flour
453g granulated sugar
453g butter

NOTE: If you add cocoa powder to create a chocolate cake add some extra butter or an extra egg to make up for the extra dry ingredients.

To make the cake cream the butter in a mixer then add the granulated sugar. Add in the flour along with half of the eggs for around one minute. Once half of the eggs are combined add the remaining and mix for approximately 5 minutes.

Once fully mixed pour into the ‘cupcake case’ section of your giant cupcake pan. The ‘buttercream’ or ‘top’ section of the giant cupcake is more shallow and needs less time to bake so the batter to this half needs to be added when the ‘cupcake case’ section is half baked (usually around 20-30 minutes).

Set the cake pan with the ‘cupcake case’ section filled only place on the top shelf of a pre-heated oven at Gas Mark 3/325F/170C. Bake for around 40 minutes to an hour. Keep checking by using a cake tester pushed in and drawn out of the cake’s centre (if the skewer comes out clean then your cake is done).
 

Hoppy Birthday Giant Cupcake


Recipe Time: Cadbury Creme Egg Cupcakes

Cadbury Creme Egg Cupcakes

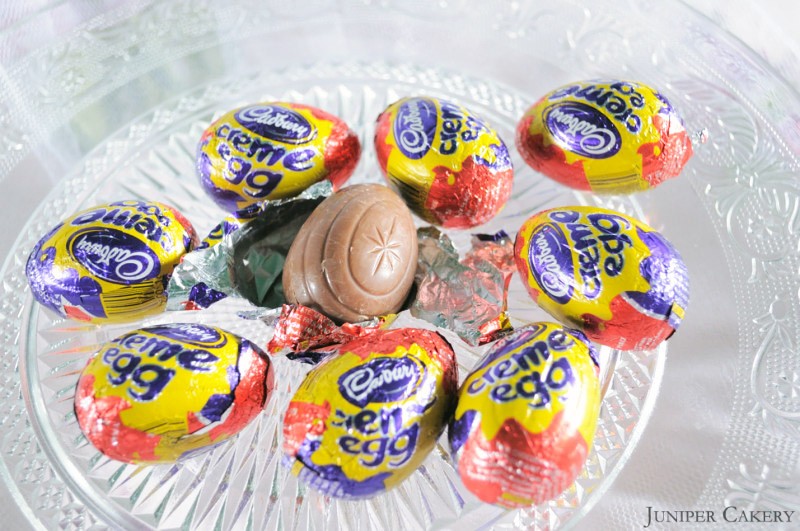
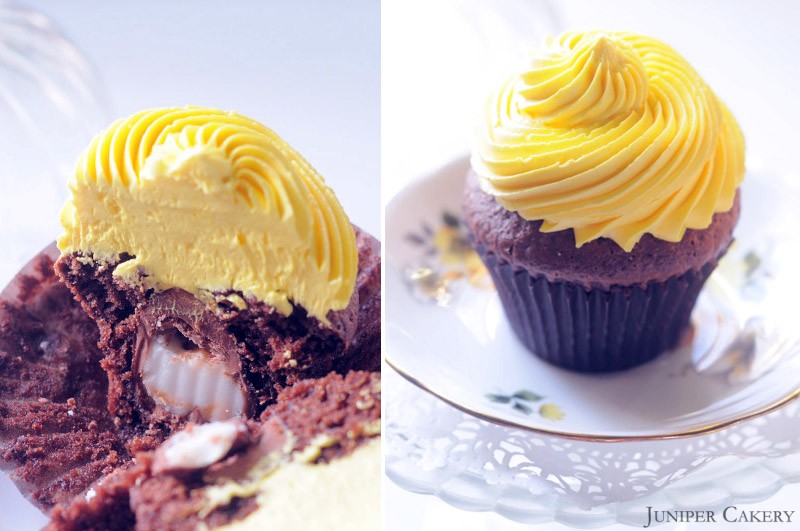
It’s the time of year when everyone indulges in a Cadbury Creme Egg or twelve and what better way to enjoy a few than in a freshly baked cupcake! We had a few requests to share our recipe so we thought we’d divulge. This is a pretty simple and straight forward recipe that can be customised and changed to suit any personal tastes or styles. Why not use Cadbury Caramel Eggs (or Screme Eggs at Halloween), change the colours, add chocolate chips or bright sprinkles or add delicious chopped nuts! If you can’t find Cadbury Creme Eggs we recommend using pieces of Cadbury Caramel bars, Cadbury Double Decker or Cadbury Boost bars!

Cadbury Creme Egg Cupcakes

Recipe Time: Cadbury Creme Egg Cupcakes

Ingredients (this makes approximately 12 cupcakes)…

226g self-raising flour
226g granulated sugar
226g butter or Stork
100-200g cocoa powder
3-4 large eggs
12 Normal sized Cadbury Creme Eggs (though it may be fun to try 3 mini eggs inside!)
5 tablespoons hot water
1 teaspoon baking powder

(for the Buttercream)
Approx. 500g butter
Approx. 500g-700g icing sugar
1 tablespoon water
Vanilla extract
Golden yellow food colour paste
Piping bags
Piping tip or nozzle (we used the Ateco 868 tip)

To make the cake cream your butter in a mixer then add the caster sugar. Add in the flour and baking powder along with half of the eggs, make a paste with the cocoa and hot water and add, mix for around one minute. Once half of the eggs are combined add the remaining and mix for approximately 5 minutes.

Once the batter is fully mixed separate evenly into twelve cupcake cases. Fill the cases to around 2/3 full and then push in a Cadbury Creme Egg (or equally as tasty Cadbury treat)  into each batter filled case.

Cadbury Creme Egg Cupcakes

Place on the top shelf of a pre-heated oven at Gas Mark 3/325F/170C. Bake for around 10-17 minutes. Baking time may differ slightly depending on your oven as the majority of ovens can be around 10-15 degrees over or under (unless you have a state of the art catering oven).

Leave to cool and in the meantime prepare your buttercream.

For the buttercream add half of the butter diced into pieces. Cream the butter in a mixer. Then gradually add icing sugar and the remaining butter (cut into cubes). Once the buttercream is of a smooth consistency add some Vanilla extract and colour paste and mix well.

Once your cupcakes have cooled bag up your buttercream and pipe generous swirls on top of them!

Cadbury Creme Egg Cupcakes

Now you can sit back and eat as many as you like with the largest cup of tea in the world! Enjoy!


Easter tutorial week: How to make a confetti cake!

Easter tutorial week: How to make a confetti cake!

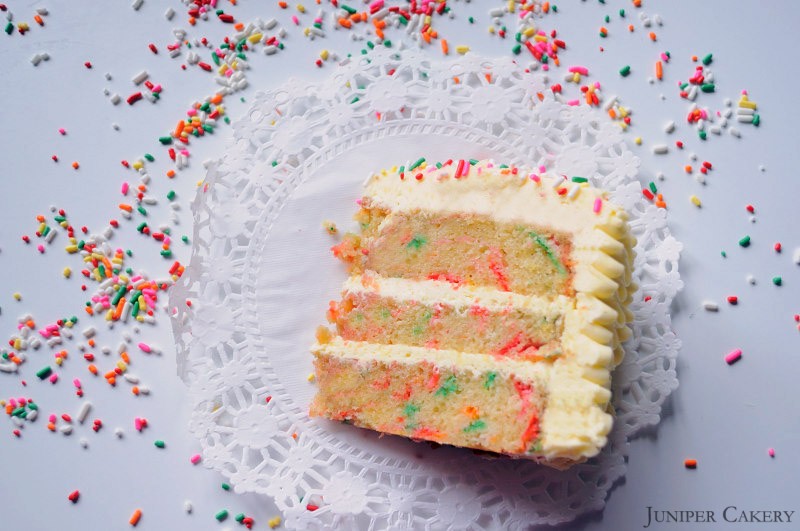
In this tutorial we show you how to make a colourful confetti cake! This fun cake is perfect for all occasions and celebrations and, with the help of some wax covered sprinkles, it is also quick and easy. Once a confetti cake is cut the colours will burst out and the decoration possibilities are endless. Why not go sprinkle crazy and cover the outside with rainbow jimmies, nonpareils or pearls for an ultimate explosion of colour and a little extra crunch! To begin this tutorial take a look at what you will need below.

Easter Tutorial: How to make a confetti cake!

Easter tutorial week: How to make a confetti cake!

What you will need:

Wax covered sprinkles (we used Rainbow Jimmies Sprinkles by Wilton)
Your favourite cake recipe

First step: Mix together the ingredients from your favourite cake recipe in a bowl or mixer until smooth.

Easter tutorial week: How to make a confetti cake!

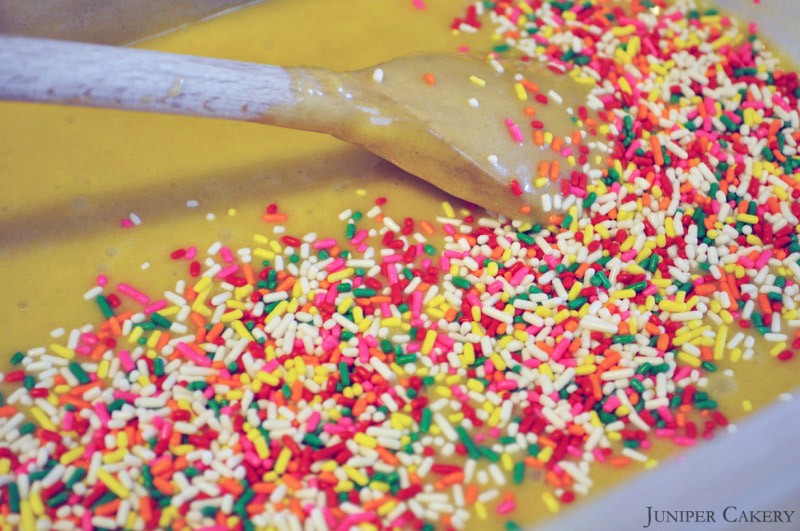
Step two:  Pour in the sprinkles and mix until they’re evenly distributed. At this stage you can decide how many sprinkles to include depending on what result suits you best.

Step three: Bake your cake mix on the same heat you usually would, however, it may need a little longer in the oven as the sprinkles can change the consistency and even add moisture. Check regularly with a cake tester to ensure you don’t over bake.

Easter tutorial week: How to make a confetti cake!

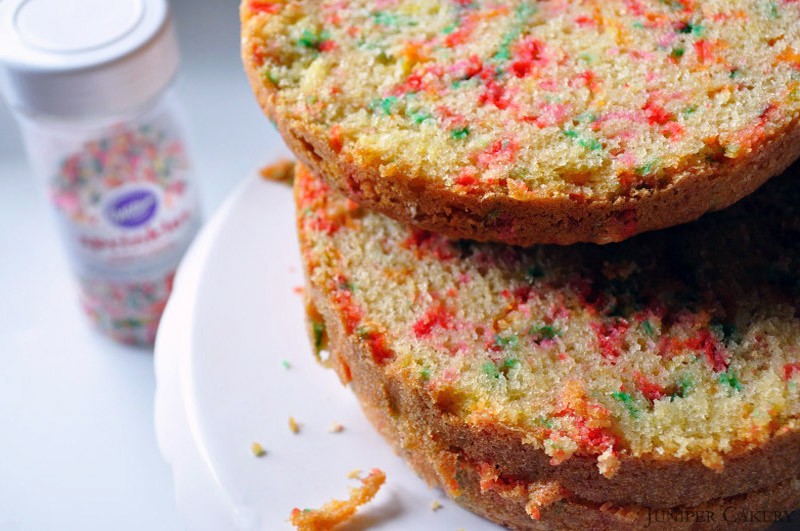
Step four: Once your cake is ready you should be able to see the bursts of colour from the sprinkles which will have exploded with the heat. If this has happened your cake is ready to cool.

Easter tutorial week: How to make a confetti cake!

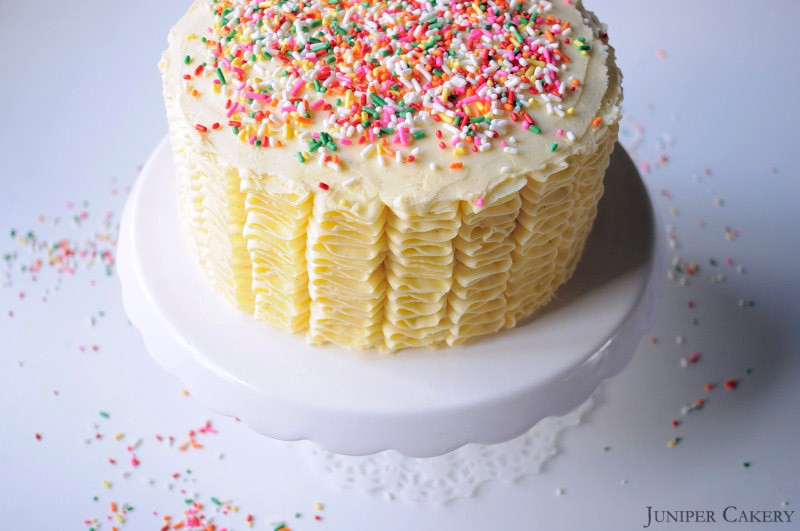
If you have followed this easy, step-by-step tutorial you will now have your very own confetti cake! If you don’t want to use sprinkles for your cake we recommend these Colourburst Batter Bits by Wilton which are made specially for confetti cakes. These are also available in red, green, blue, orange and pink. Why not mix and match them, make a one-colour confetti cake or even create a cake with alternate layers of confetti! Take the tips from this tutorial but don’t be afraid to put your own spin on this simple cake. It would look great at any themed party covered in lashings of buttercream, iced in brightly coloured fondant or  even just being enjoyed at home with a cup of tea.


Easter Tutorial Week: How to make an edible looped bow!

Easter Tutorial Week: How to make a sugarpaste looped bow!

In this tutorial we show you how to create your own fantastic looped bow out of modelling flower paste. Sometimes there is nothing better and more striking to nestle on top of a bright and vibrant cake than a good ol’ looped bow! Who wouldn’t love a cake that looks like a present? It’s fun, eye-catching and guaranteed to wow both children and adults.

You can play with colour, texture (why not emboss your paste or change the stitching detail), size, add a message along a loop or even hand paint your bow to match your cake. Why not making mini ones for cupcakes too!

Easter tutorial: How to make an edible looped bow!

Easter Tutorial Week: How to make a sugarpaste looped bow!

What you need:

Fondant rolling pin
Large knife
Coloured modelling / flower paste (or normal sugarpaste with a sprinkle of Tylo powder added)
Circle cookie or pastry cutter (approximately 2 inches in diameter)
Edible glue
Bubble wrap or kitchen roll
Candy melts
Quilting roller tool

Easter Tutorial Week: How to make a sugarpaste looped bow!

Step one: Roll out some flower paste and with the pastry cutter cut out a circle for the bow’s base

Easter Tutorial Week: How to make a sugarpaste looped bow!

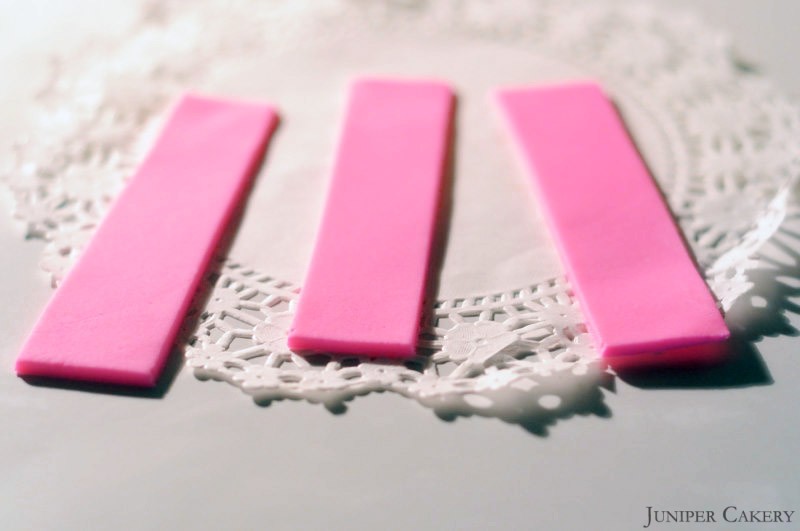
Step two: With your knife carefully slice two strips (3 inches in length and 1 inch in width) of rolled our flower / modelling paste

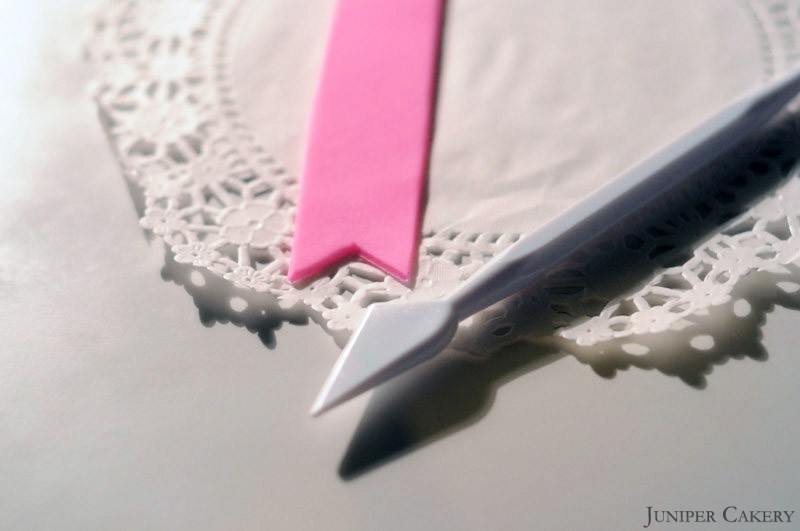
Step three: Take two of the strips and cut v shaped notches out of one end of each strip

Easter Tutorial Week: How to make a sugarpaste looped bow!

Step four: Take your quilting toll and roll along the edges to create a lovely stitch effect to all strips of ‘ribbon’

Step five: Roll up a little bit of bubble wrap or kitchen roll to lay your bow tails over to create shape

Easter Tutorial Week: How to make a sugarpaste looped bow!

Step six: With your knife carefully slice eleven more strips (3 inches in length and 1 inch in width) of rolled our flower / modelling paste

Easter Tutorial Week: How to make a sugarpaste looped bow!

Step seven: Add the stitching details to the edges to strips. Loop all of the strips and pinch the ends together with some edible glue. Hold the loops in shape using some rolled up bubble wrap and kitchen roll. Leave to dry.

Easter Tutorial Week: How to make a sugarpaste looped bow!

Step eight: Using candy melts affix your loops to the circle base. For our bow we attached six loops onto the base and on top of those loops we fixed the bow tails on either side and then ‘glued’ four loops before adding one loop stood up in the bow’s center

Easter Tutorial Week: How to make a sugarpaste looped bow!


Easter Tutorial Week: How to make a tree trunk & bunny cake!

Easter Tutorial Week: How to make a tree trunk & bunny cake!

Today’s tutorial for Easter week was created for one half of Juniper Cakery who turned a spritely 27 years old this week! After researching lots of fun, novelty cakes the nature loving baker and decorator’s heart was set on a bright Easter and springtime themed cake featuring our Creme de Menthe cake recipe. This cake was incredibly fun and quick to make as well as delicious.

Easter Tutorial Week: How to make a tree trunk & bunny cake!

What you need:

A tall layer cake (comprised of either 6 slim layers or 3 thick layers)
Various coloured sugarpaste / fondant
Chocolate buttercream
Coloured buttercream
A good angled spatula
A toothpick
Edible glue
Paintbrushes
Modelling tools

Easter Tutorial Week: How to make a tree trunk & bunny cake!

Step one: Assemble your layers. You need a nice tall cake for the trunk. We’d suggest baking six slim layers or three thick layers to get a good height to your tree trunk. We baked three layers; one vanilla, one chocolate and one creme de menthe and then sandwiched them together with lots of cookies ‘n’ cream buttercream!

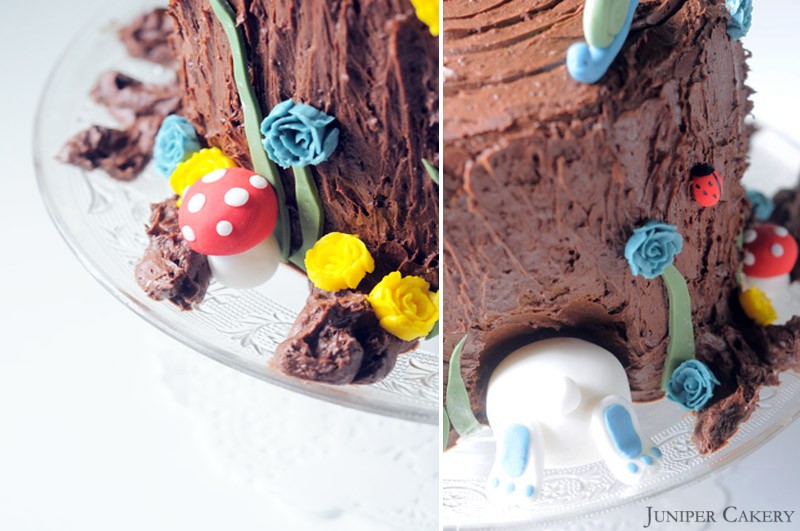
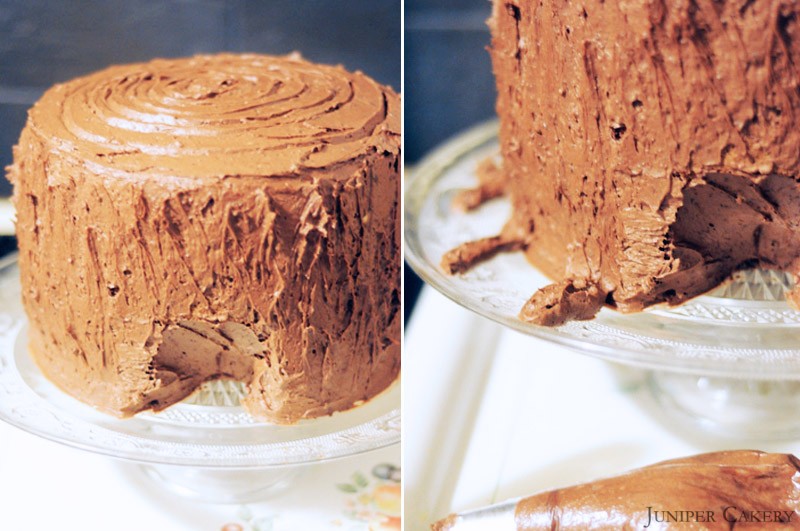
Step two: With a sharp knife cut out a small hole/burrow at the base of your cake. This is where your cheeky little bunny will peep into the tree.

Step three: Smother lots of chocolate buttercream around your assembled cake. The wonderful thing about this cake is that you can be messy which is perfect if you’re a novice at icing cakes. Use a good spatula to smooth on your chocolate buttercream and ‘shape’ the frosting by patting your spatula quickly along the sides.

Step four: To create the roots to your tree fill a piping bag fitted with a large round piping tip and pipe out buttercream stemming from the base of the cake. Use your spatula to pat shape into the roots.

Easter Tutorial Week: How to make a tree trunk & bunny cake!

Step five: Now you can move on to making your little bunny! Take some modelling paste or sugarpaste and form a large ball for your bunny’s bottom. Check the size of this ball against the hole in your tree.

Step six: To create your bunny’s tail make a much smaller ball and set aside.

Easter Tutorial Week: How to make a tree trunk & bunny cake!

Step seven: To attach the tail to your bunny’s bottom press in a toothpick, paint with edible glue and push the tail onto the stick.

Easter Tutorial Week: How to make a tree trunk & bunny cake!

Step eight: For your bunny rabbit’s feet make two small ovals of sugarpaste or modelling paste and roll them out with a rolling pin to around 5mm thick. Shape them further using your fingers and using a blade tool indent the toes.

Easter Tutorial Week: How to make a tree trunk & bunny cake!

Step nine: With some contrasting modelling or sugarpaste create the detail for your bunny’s feet; three small ovals for the toes and a long oval for the soles.

Easter Tutorial Week: How to make a tree trunk & bunny cake!

Step ten: Roll out some green modelling paste / sugarpaste and cut out wavy grass shapes. If the buttercream on your cake has not yet set then you can simply apply your grass, roses and bugs straight onto your cake. If the buttercream has set then either spritz a little water onto your cake or onto the back of your decorations.

Easter Tutorial Week: How to make a tree trunk & bunny cake!

We further decorated this cake with buttercream roses, ladybugs, a large snail and lovely toadstools! This cake can be customised with lots of different details such as birds, hedgehogs, plunger cut blossoms or floral sprinkles!


Easter Tutorial: How to make a simple sugarpaste chick!

Easter Tutorial: How to make a simple sugarpaste chick!

In this tutorial we show you how to create some simple sugarpaste chicks! Easter is a great time to get inventive with homemade treats and this easy-to-follow tutorial will give you all the knowledge you need to create some adorable Easter decorations. Why not adorn your cakes and cupcakes with these cute little chicks and offer them as an Easter gift, at parties or keep them all to yourself. Also, these chicks would not look out of place on nest cupcakes! To begin this tutorial take a look at the ‘what you will need’ list below.

What you will need:

Yellow fondant (we used Lemon Yellow by Wilton to colour white fondant)
Orange fondant (we used Orange by Wilton to colour white fondant)
Black fondant (we used Black by Wilton to colour white fondant)
Pint brush
Edible glue
Blade tool

Easter Tutorial: How to make a simple sugarpaste chick!

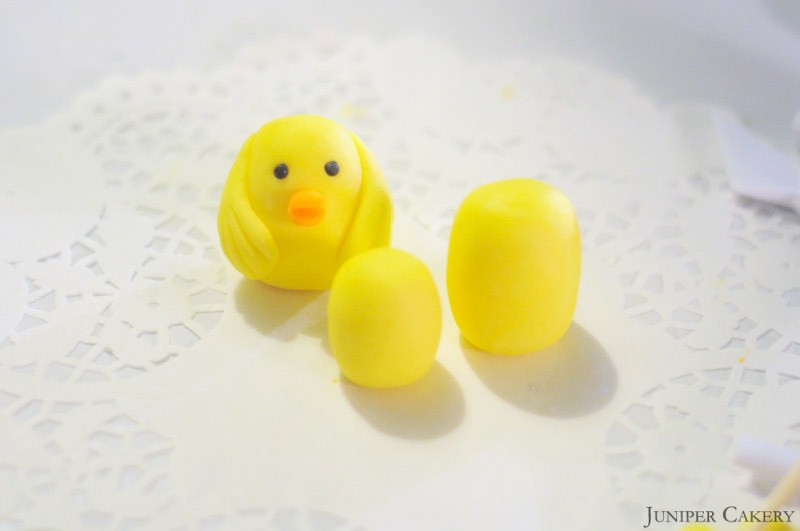
Step one: Using the yellow fondant form an ‘egg’ shape and place it to one side to set a little.

Easter Tutorial: How to make a simple sugarpaste chick!

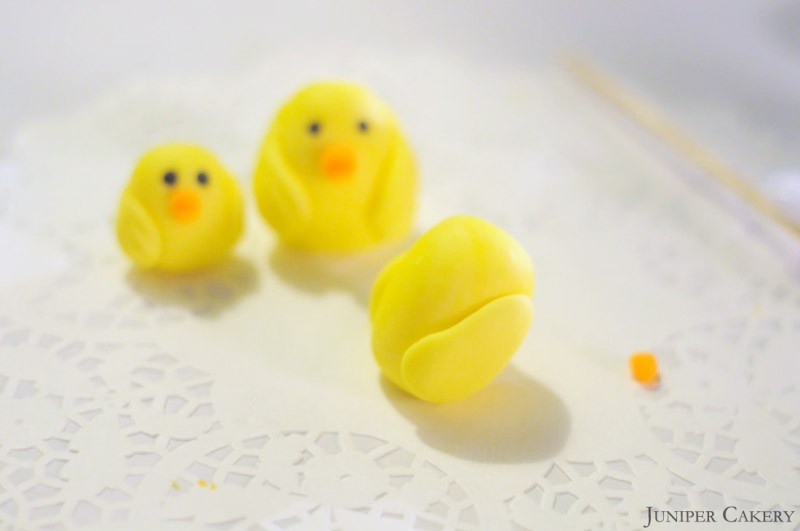
Step two: Using the remainder of the yellow fondant now roll out a ‘sausage’ shape, flatten it and taper slightly at one end. Repeat this twice for each little chick you’re making and stick them on using the edible glue and paint brush. To give each wing feathered markings use the blade tool and gently indent lines as many or as few times as you desire.

Easter Tutorial: How to make a simple sugarpaste chick!

Step three: To make a beak for your chick take a very small amount of orange fondant and shape into a ‘cone’ using your fingers. At the larger end of the cone apply a little edible glue and stick it in place. Once stuck down take your blade tool and make a slit in the middle of the cone from side to side create an open beak for your chick! Repeat this on each chick you make.

Easter Tutorial: How to make a simple sugarpaste chick!

Step four: Mark where you would like your chick’s eyes to be and place a small amount of black fondant over the desired place!

Easter Tutorial: How to make a simple sugarpaste chick!

If you have followed this step-by-step tutorial you will now have made your very own Easter chick/chicks! Why not play around with this simple design and create robins, penguins, owls or bluebirds!


Easter Tutorial Week: How to make a sugarpaste bunny!

Easter Tutorial Week: How to make a sugarpaste bunny!

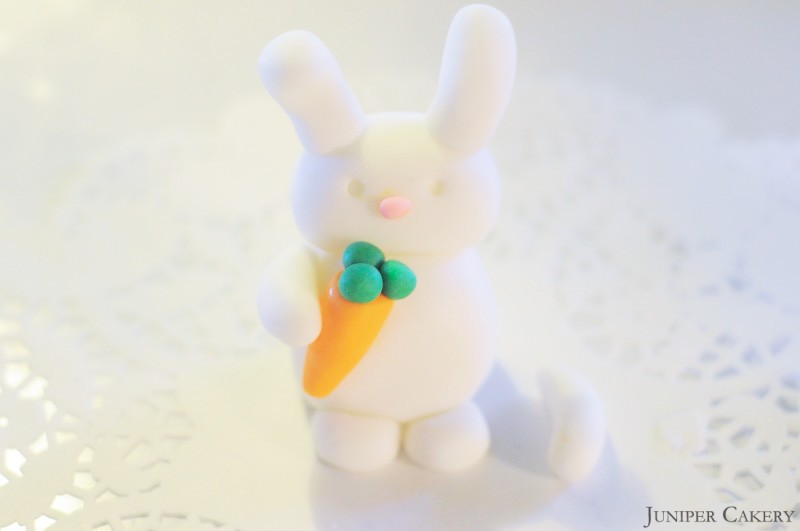
In today’s Easter tutorial we show you how to create your very own Easter bunny! By following this simple tutorial not only will you be able to create a cute bunny perfect for your springtime cakes and cupcakes; you will also be bale to customize your creation into a number of different animals. Why not experiment and once Easter is through use the basics learnt in this tutorial to create a panda bear, teddy bear, cat, dog or mouse! To begin this tutorial take a look at what you will need below.

Easter Tutorial Week: How to make a sugarpaste bunny!

Easter Tutorial Week: How to make a sugarpaste bunny!

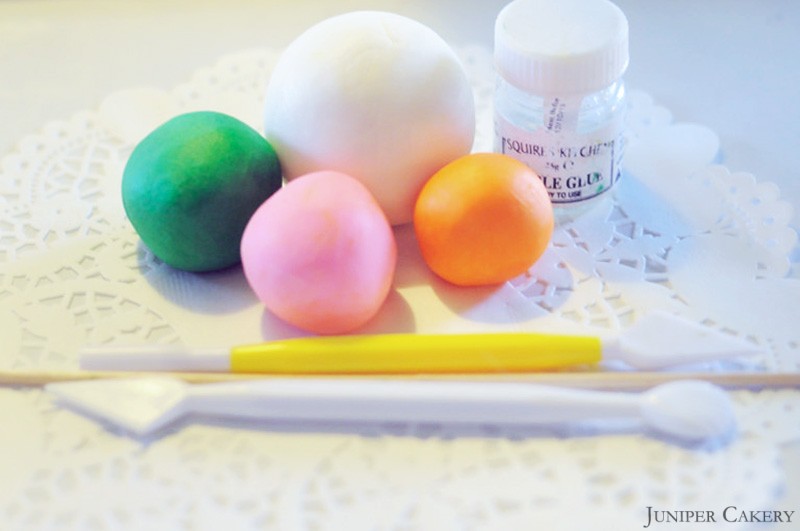
What you will need:

White fondant
Green fondant (we used Wilton’s Leaf Green gel paste to colour white fondant)
Orange fondant (we used Wilton’s Orange gel paste to colour white fondant)
Pink fondant (we used Wilton’s Pink gel paste to colour white fondant)
Black fondant (we used Wilton’s Black gel paste to colour white fondant)
Edible glue
Paint brush
Blade tool
Kebab stick or cocktail stick

Easter Tutorial Week: How to make a sugarpaste bunny!

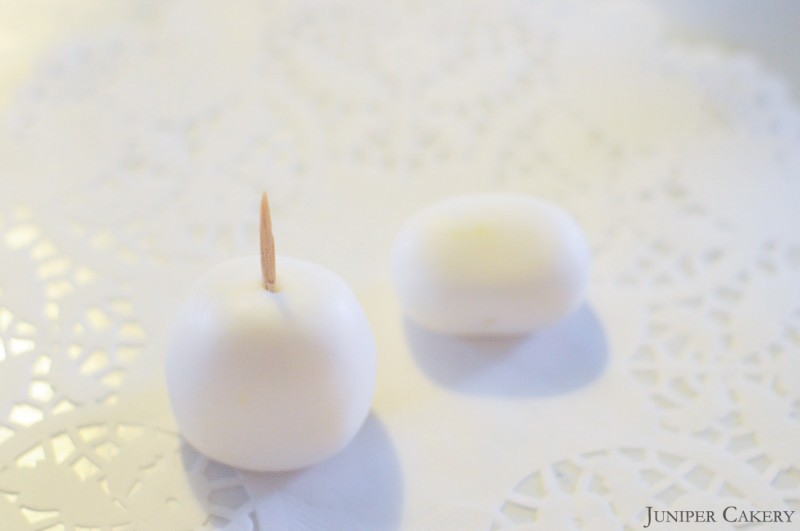
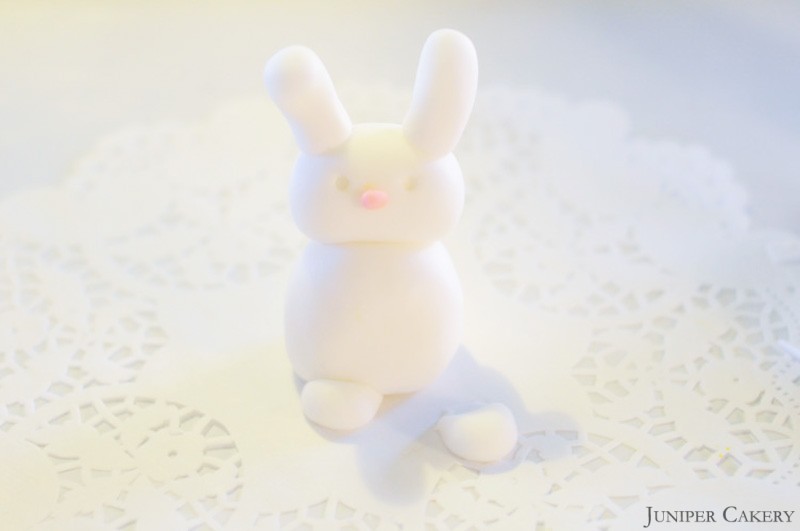
Step one: Take a piece of the white fondant and shape it in to a ‘rugby ball’ ensuring you don’t taper at either end, this will be your bunny’s head. Placing the head to one side take a generous piece of white fondant and create and, almost, ‘egg’ shaped oval. Now you have your bunny’s head and body.

Easter Tutorial Week: How to make a sugarpaste bunny!

Easter Tutorial Week: How to make a sugarpaste bunny!

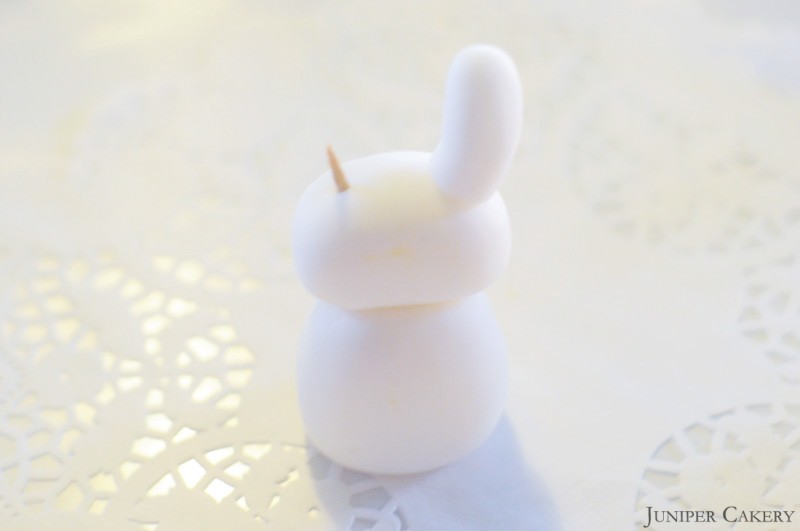
Step two: Take your bunny’s body and slide a piece of the kebab stick/cocktail stick down through the ‘neck’ with 1cm or so still showing. Paint a small amount of edible glue around the stick and slide your bunny’s head in place.

Easter Tutorial Week: How to make a sugarpaste bunny!

Step three: Using a small amount of the pink fondant shape and oval with your fingers and glue in the centre of your bunny’s face. Now your bunny has a nose!

Easter Tutorial Week: How to make a sugarpaste bunny!

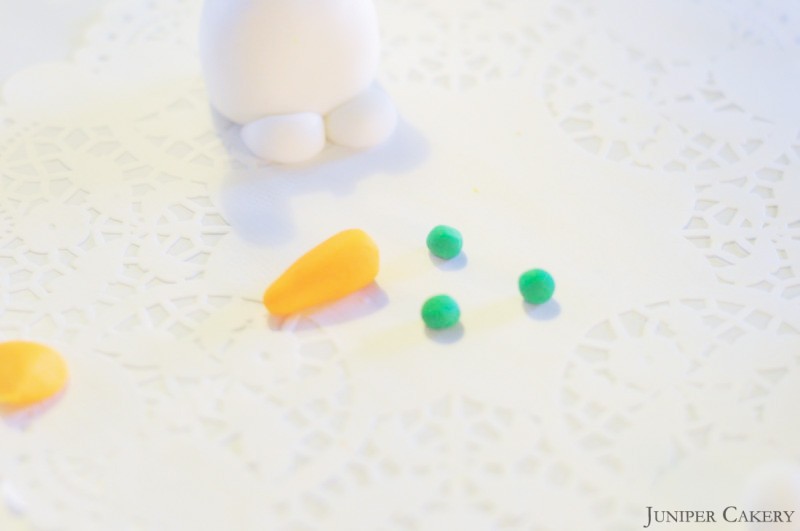
Step four: Put your bunny to one side at this point. Take a small amount of the orange fondant and begin to shape into a sausage tapering at one end to create a ‘carrot’ shape. With the green fondant roll out three small balls. Paint the non-tapered end of your bunny’s carrot and stick the balls in place.

Easter Tutorial Week: How to make a sugarpaste bunny!

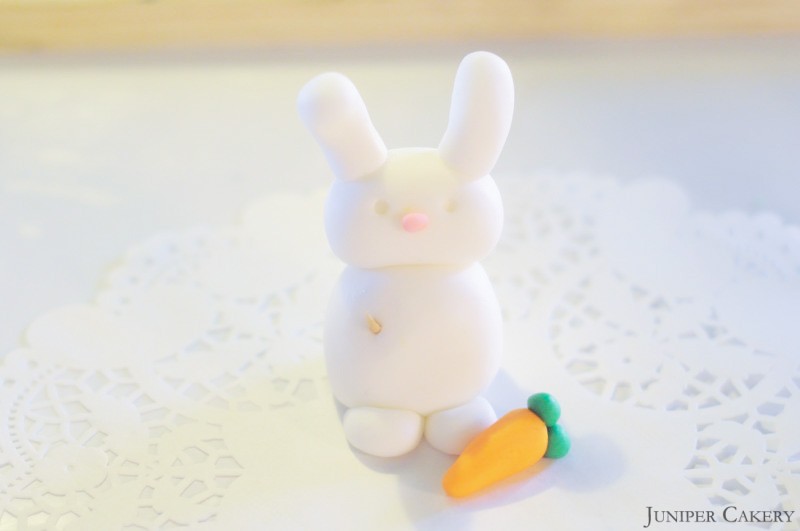
Step five: Paint the location you would like to place your bunny’s carrot and stick on ensuring you hold it in place for a few moments.

Easter Tutorial Week: How to make a sugarpaste bunny!

Step six: Now it is time to create your bunny’s feet! Using the left over white fondant create two balls flattening one end with your fingers until it is no more than about 1mm thick. Now sit your bunny onto those flat pieces after painting them with edible glue so they become secured.

Easter Tutorial Week: How to make a sugarpaste bunny!

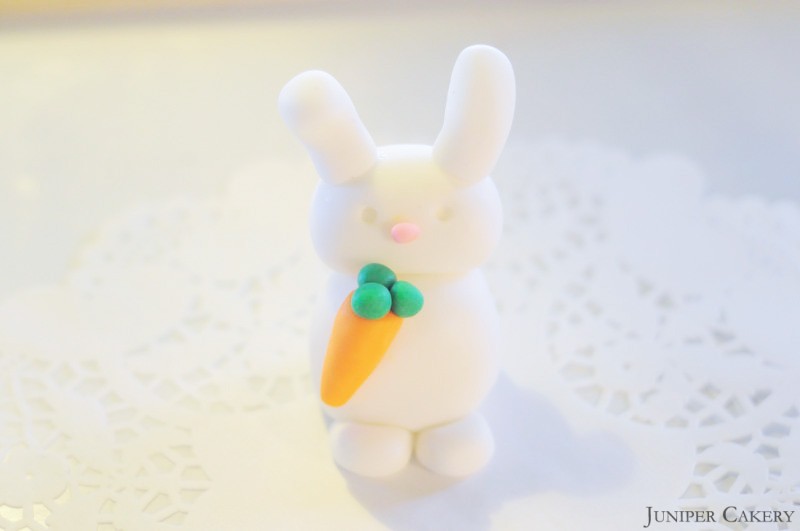
Step seven: Similarly to your bunny’s carrot roll two ‘sausage’ shapes out using a small amount of white fondant to form your bunny’s arms. Flatten them slightly and stick them in place using the edible glue. Place one over the carrot as though your bunny is holding it in place.

Step eight: Indent two dots where you would like your bunny’s eyes to be and roll two small balls out of the black fondant. Stick in place.

Easter Tutorial Week: How to make a sugarpaste bunny!

If you have followed this tutorial step-by-step now you will have your very own fondant Easter bunny! Why not experiment with colour and create a brown, black, grey or multi-coloured bunny!

Easter Tutorial Week: How to make a sugarpaste bunny!


‘Tutorial Tuesday': How to Colour Your Own Sprinkles!

Tutorial Tuesday: How to Custom Colour Your Own Sprinkles!

Tutorial Tuesday: How To Colour Your Own Sprinkles!

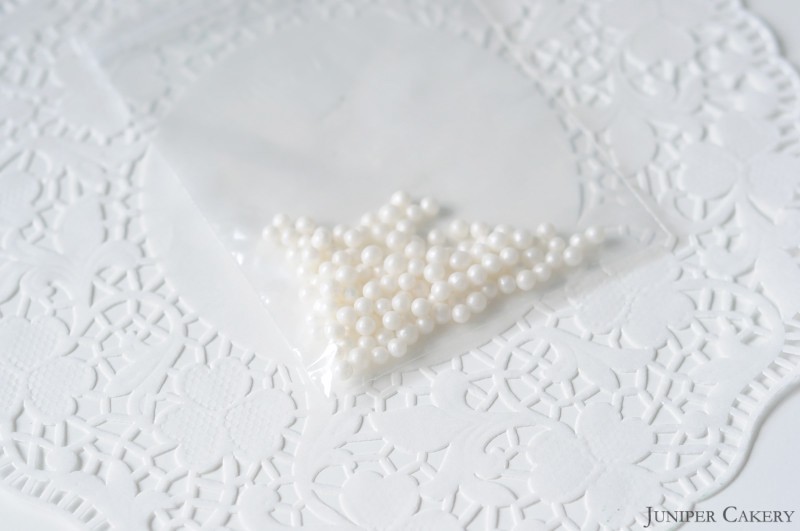
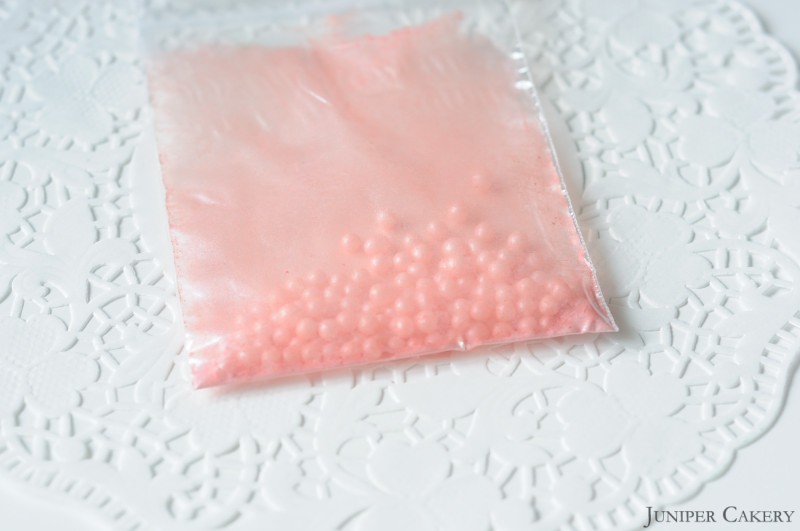
In this week’s cake and cupcake tutorial we show you a quick and simple way to custom colour your own sprinkles and pearls to match your cakes and cupcakes! By following these four easy steps you could begin the decoration early and have as many, or as little, custom sprinkles you need. Why not make the colours you require and store them for future use? Simply check the use by dates on the bottle of your lustre dust and sugar pearls/nonpareils and write which ever comes around first on the ziplock bag and store in a cool, dry place.

What you need:

White sugar pearl beads or white nonpareils
Coloured lustre dust
Ziplock bag

Tutorial Tuesday: How to Custom Colour Your Own Sprinkles!

Step one: Place your white sugar pearls or nonpareils into the ziplock bag.

Tutorial Tuesday: How to Custom Colour Your Own Sprinkles!

Step two: Pour a small amount of your chosen lustre dust in and lock the zip securely. The amount of lustre dust you add is really up to you and can be adjusted for different tones.

Tutorial Tuesday: How to Custom Colour Your Own Sprinkles!

Step three: Shake the ziplock bag until you’re confident the lustre dust has covered all of the pearls/nonpareils. You can continue to shake again if required.

Tutorial Tuesday: How to Custom Colour Your Own Sprinkles!

Step four: Pour your pearls/nonpareils out into a dish or plate and put the ziplock bag to one side. If you have any excess lustre dust left in the bag be sure to pour it back into the container.

Tutorial Tuesday: How to Custom Colour Your Own Sprinkles!

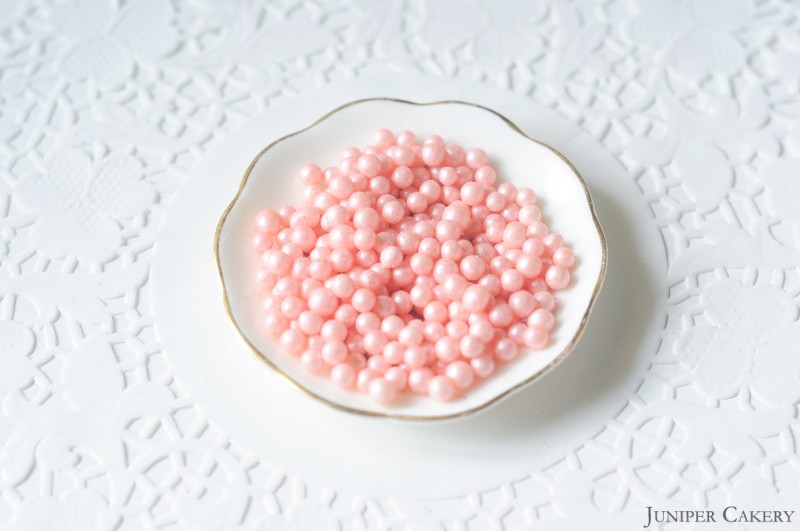
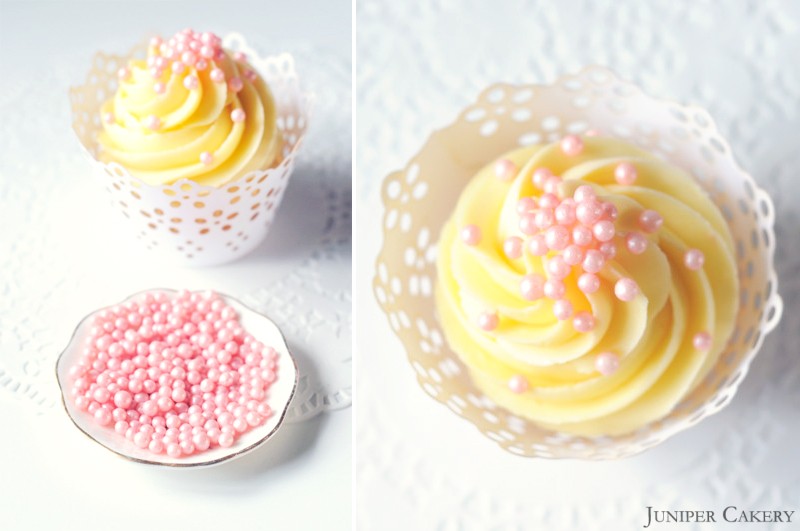
Below is an example of them on a cupcake but why not experiment. These would look fantastic on cookies, cakes and cakes pops also.

Tutorial Tuesday: How to Custom Colour Your Own Sprinkles!

If you have followed this tutorial you will have coloured your own sprinkles! Why not make them in lots of colours and mix them together for a rainbow themed cake.


The Happy Egg Co. Cake - Spring Has Sprung

The Happy Egg Co. Cake - Spring Has Sprung

The Happy Egg Co. Cake - Spring Has Sprung

Not only is Easter just around the corner, but also March 31st sees the seasons change from winter to spring. With this in mind our third cake in partnership with The Happy Egg Co. will incorporate some key springtime flavours, colours and styles.

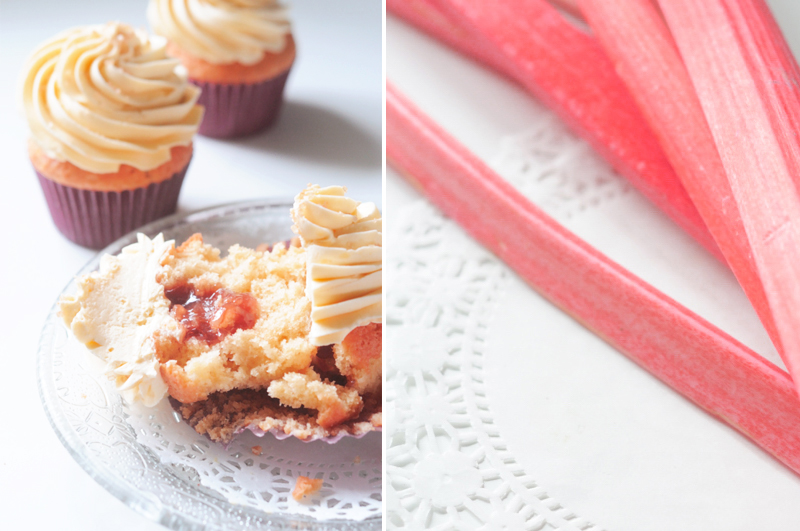
The first thing we gathered ideas and inspiration for was the all-important flavour. We sat and discussed the typical spring tastes of chocolate combined with floral hints (lavender, violet and rose). Whilst these elegant and delicious flavours would work beautifully in a cake we decided that the Easter and spring festivities would no doubt see an inundation of these scents and tastes. Our attention then turned towards flavours that were associated with home cooking and baking; apple and rhubarb crumbles, custard smothered trifles, traditional Victoria sponge, and moist sticky toffee puddings. From the above ideas we settled upon a rhubarb, honey and custard filled Victoria sponge-style cake.

The Happy Egg Co. Cake - Spring Has Sprung

The Happy Egg Co. Cake - Spring Has Sprung

With Easter being such a chocolate fuelled holiday we were happy to have settled on rhubarb, honey and custard as our flavour. Being inspired by fresh seasonal vegetables and traditional deserts we looked to other spring and summer time holidays and traditions. We envisioned balmy summer evenings, extravagant picnics and country fetes in which the idea of our cake fit perfectly. Though May is not quite here the image of the May Pole, and other transitional celebrations, spurred us to think about textures and materials and how we could use them when we decorated the actual cake.

The Happy Egg Co. Cake - Spring Has Sprung

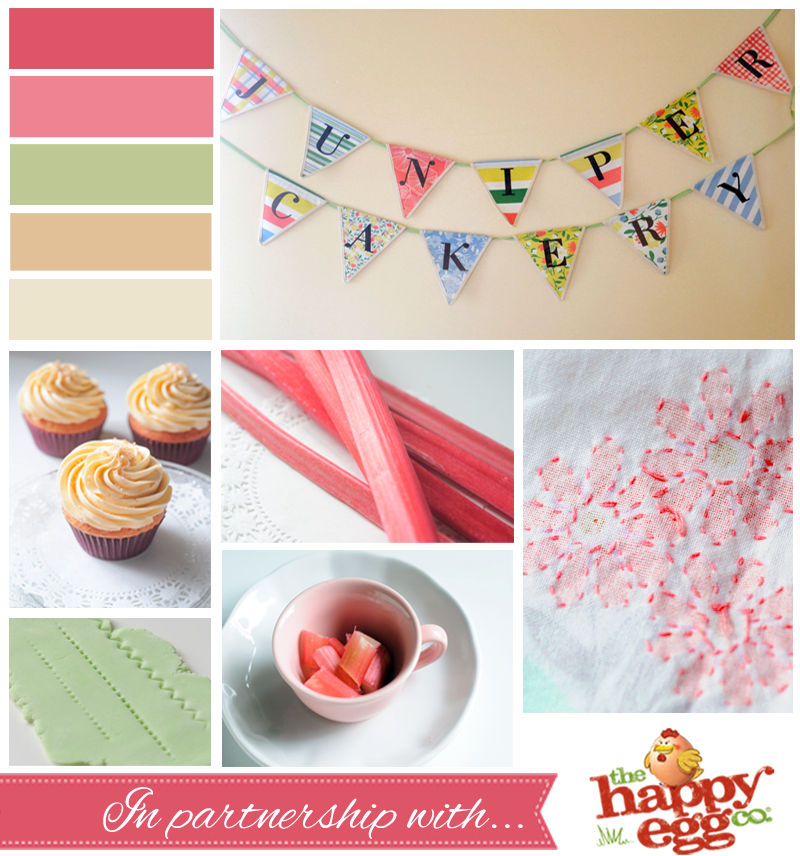
While taking the photographs for our design boards we looked at spring and summer colour schemes and fresh rhubarb stalks. The vibrant, natural hue of the rhubarb and the idea of May Pole ribbons and energetic colour evolved into looking at buntings and stitching techniques and how we might translate these onto the finished cake!


‘Tutorial Tuesday': How to make an Easter chick cupcake!

Tutorial Tuesday: How to make an Easter chick cupcake

Tutorial Tuesday: How to make an Easter chick cupcake!

Easter is just around the corner so in this week’s tutorial we show you how to create a cute and simple Easter chick cupcake; fun for all ages to make! Why not play with colour combinations, flavours, sprinkles, piping tips etc to create fun characters or different types of birds for parties or new seasons.

Tutorial Tuesday: How to make an Easter chick cupcake

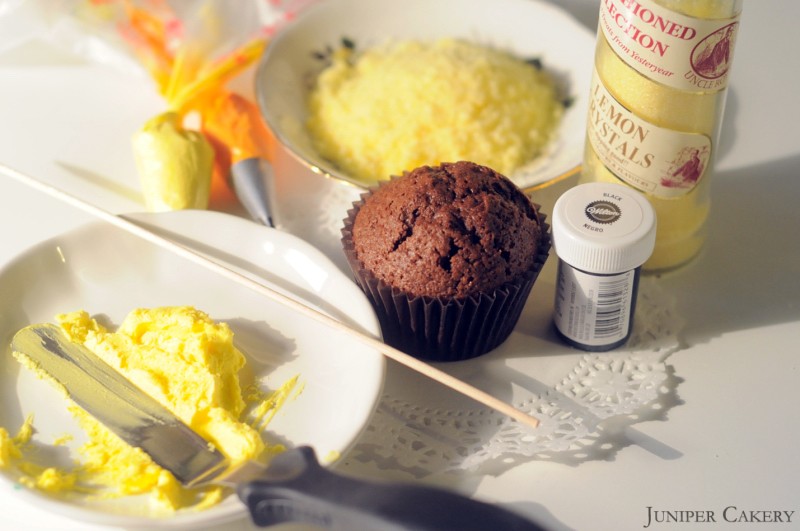
What you need…

A cupcake (or cupcakes depending on how many you would like to make. Don’t be afraid to experiment with flavour)
Yellow buttercream
Orange buttercream
Lemon crystals or yellow sugar sand crystals
Black gel colour by Wilton
2.5 round writer tip
510 closed star tip
Kebab stick
Spatula

Tutorial Tuesday: How to make an Easter chick cupcake

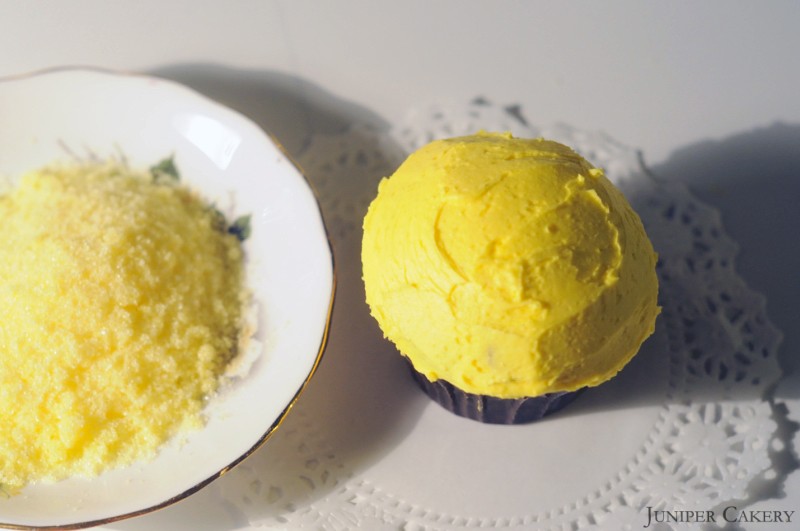
Step one: Using the spatula spread a generous amount of yellow buttercream onto your cupcake as evenly as possible. It doesn’t have to be perfect as it is only there to stick the lemon crystals on securely.

Tutorial Tuesday: How to make an Easter chick cupcake

Step two: Place the lemon crystals on a flat plate and dip and roll your cupcake around in the crystals until it is fully covered. Now your chick has a ‘fluffy’ look.

Tutorial Tuesday: How to make an Easter chick cupcake

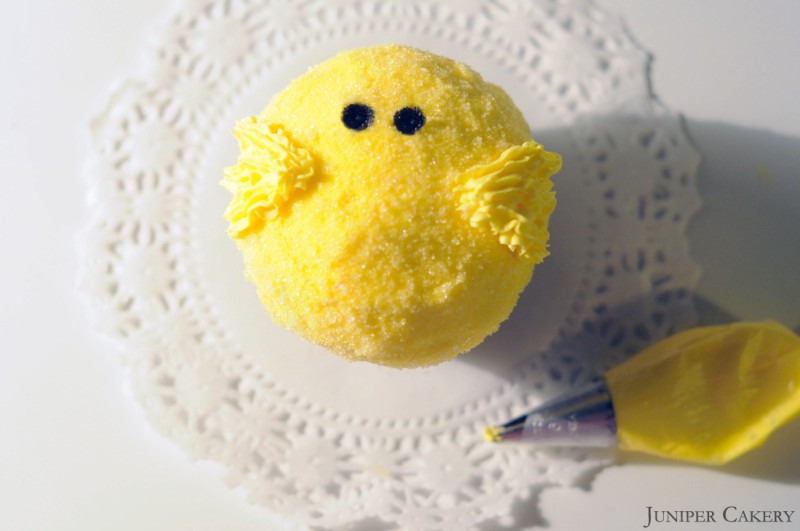
Step three: Dip the flat end of the kebab stick into the black food gel and place your eyes accordingly. This may take a few goes as the lemon crystals may stick to the gel.

Tutorial Tuesday: How to make an Easter chick cupcake

Step four: Using the 510 closed star tip pipe a ‘V’ shape on either side of your chick then pipe a line in the middle of each ‘V’ to create wings!

Tutorial Tuesday: How to make an Easter chick cupcake

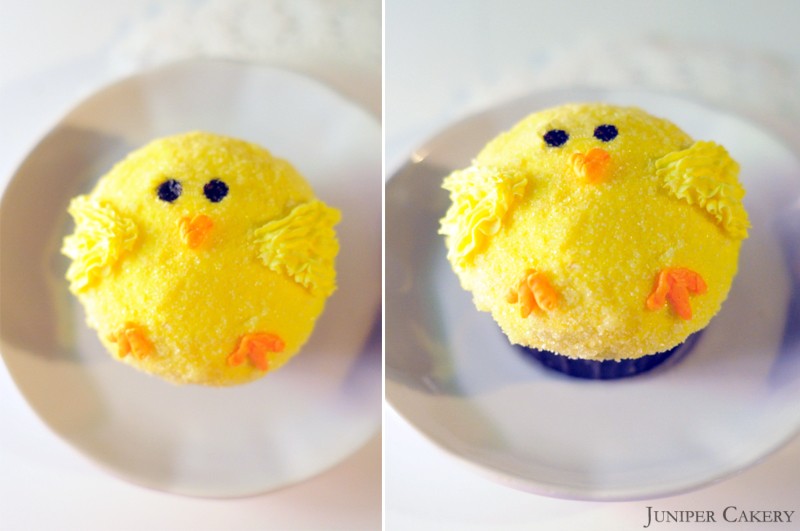
Step five: With the 2.5 round writer tip create another ‘V’ between the two wings for a beak.

Tutorial Tuesday: How to make an Easter chick cupcake

Step six: Now it is time to give your chick some feet. Using the 2.5 round writer tip pipe three small lines pointing towards the base of the cupcake.

Tutorial Tuesday: How to make an Easter chick cupcake

If you’ve followed this step-by-step tutorial you will now have your very own Easter chick cupcake! Why not experiment with colour and create a collection.


×