Review: Tala Cake Marker

Macaron Tower Cake Made Using Tala Cake Marker

Review: Tala Cake Marker

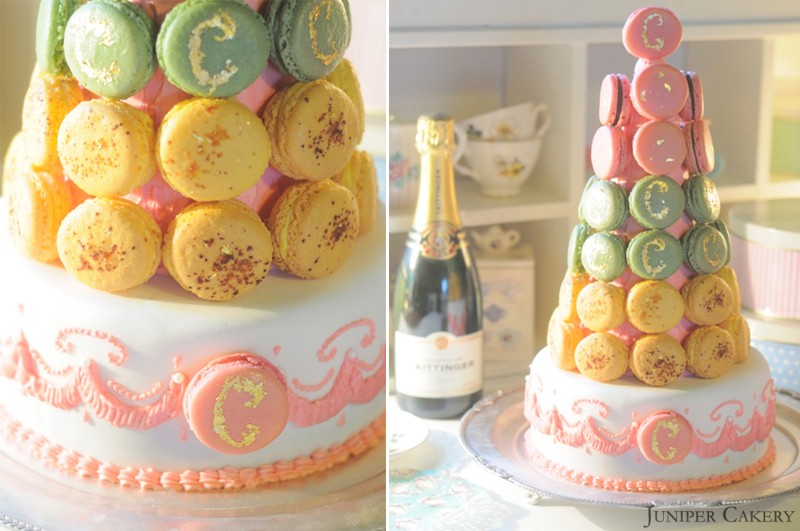
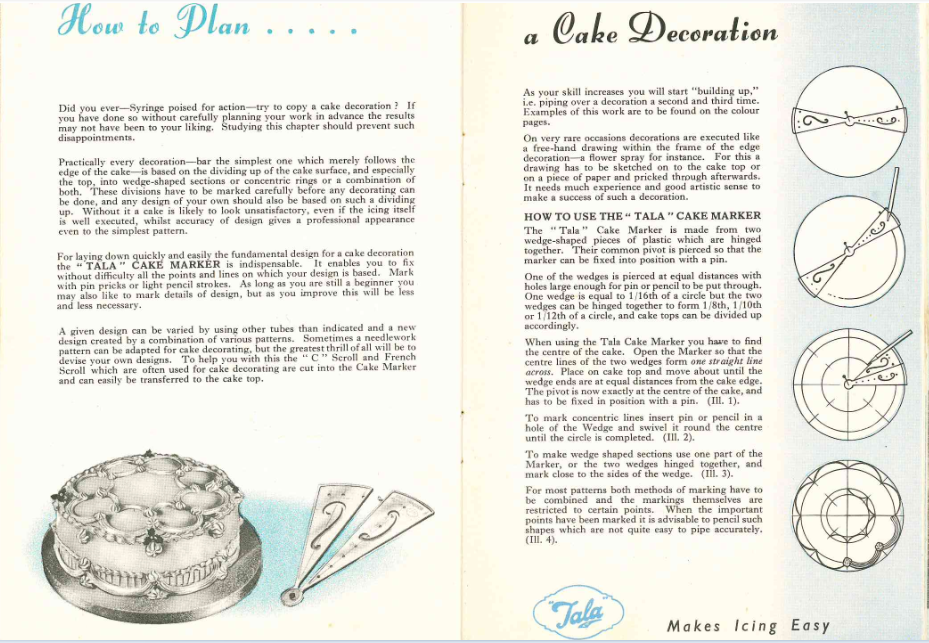
In this review we share how we used the Cake Marker by Tala as a guide in creating a macaron tower. The Cake Marker is designed to help you find the centre of a cake, create custom patterns and add decoration accurately. To test this versatile tool we put pen to paper and designed an elegant cake with a simple repetitive pattern. The swirls and swags mimic those seen on the marker itself and helped add those all important finishing touches to our multi-flavoured macaron tower.

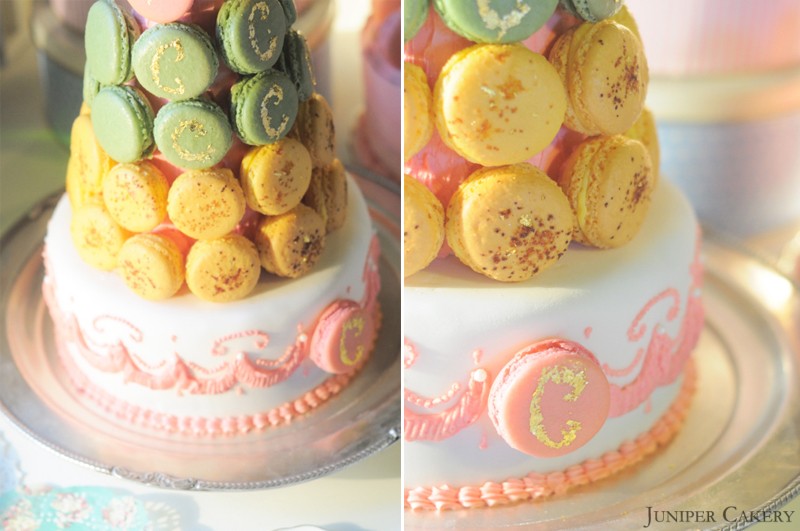
The tower itself, from base to top, is a vanilla cake filled with blackberry jam, covered in lemon buttercream and fondant icing and adorned with lemon sherbet, pistachio and turkish delight macarons (some of which are painted with 24 carat edible gold leaf).
Macaron Tower Cake Made Using Tala Cake Marker

Placing the tower in a central position is essential for creating an aesthetically pleasing cake. The spacing from the edge of the cake to the base tier of the lemon macarons is relatively small but if it is even slightly off centre the entire cake could look uneven. We used Tala’s Cake Marker to ensure our tower was central by opening the marker fully and laying it flat upon the cake. The pivet is fitted with a hole so it can be held in place by a pin or used to pin point the centre. Once the centre is found a circle can be drawn using an edible ink pen with a fine tip, or a pin, by placing it through the appropriate hole for the required size. Using the circle as a guideline full control over the tower’s placement is achievable.

Macaron Tower Cake Made Using Tala Cake Marker

The cake marker’s usability really becomes evident when it is time to take the design drawn on paper and place it on an actual cake. The spacing between the swags, like the placement of the cone, is integral to the over all design. We found that Tala’s cake marker gave us the freedom to mark dots where each individual swag would begin and end. Simply place the marker horizontally onto the side of a cake and mark each dot with an edible ink pen accounting for the distance you need between both. Had we not used this method we may have encountered trouble matching up the last few swags.

A great point to make about Tala’s cake marker is that it will lend itself to creating extravagant and simple designs alike. We chose a design inspired by the cake marker itself by taking the ‘C’ shaped swirl and repeating it around the base of our cake. Not only was this a great way to add simple detail it was also incredibly easy to achieve. Using the ‘C’ we marked the shape with a pin and simply followed the pattern using a 2.5 writer tip; we even painted the same design on selected macarons with 24 carat edible gold leaf.
Macaron Tower Cake Made Using Tala Cake Marker

Tala’s cake marker maneuvers well when in use enabling the design to flow seamlessly. Also, it is light and flexible enough to be laid upon icing without causing any damage at all. The cake marker itself is made from plastic making it easy to clean and upkeep. At the same time it is durable enough not to break, chip or crack with pressure leaving your cakes free of dents and scratches.

With the above in mind we have scored the above Tala tools on design, quality and function…


Tala Cake Marker


Review: New Cake Ruler by Tala

Raspberry Chambord Macaron Cake made using Tala Cake Marker

Review: Tala Cake Ruler

In this post we review the new Cake Ruler by Tala! It is a handy 35cm/14 inch plastic ruler that is straight on one side and features a zig zag pattern on another side. Some main uses for this tool are to measure distances between design details on cakes (especially when planning out delicate ruffle buttercream features) or for creating simple yet eye-catching striped patterns into your buttercream!

Cake Ruler by Tala

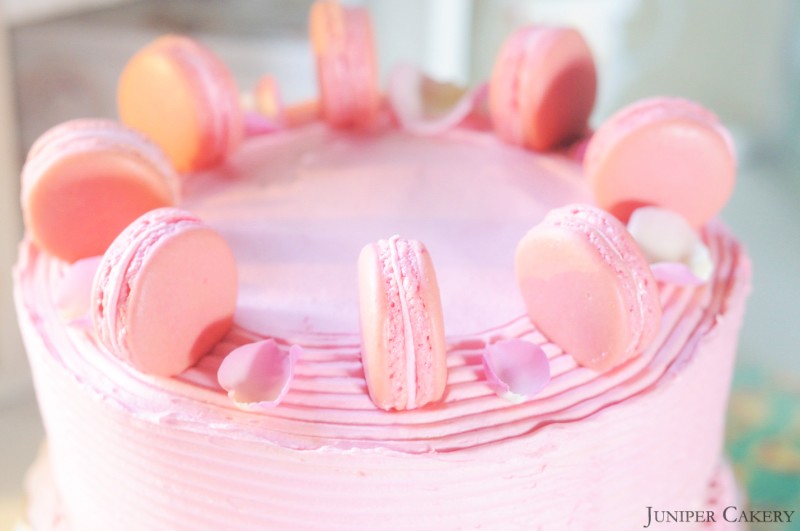
In order to test Tala’s Cake Ruler we did what we love best… we baked a cake! We decided to keep to a simple yet elegant design that would help mimic the linear pattern of the zig zag side of the ruler and created a three layered buttercream iced cake. It is sandwiched with dollops of fresh raspberry preserve, smothered in a raspberry Chambord liqueur buttercream and topped with handmade macarons and edible rose petals!

Raspberry Chambord Macaron Cake made using Tala Cake Marker
The first great thing you’ll notice about the Cake Ruler by Tala is it’s multiple uses; you can use it easily to measure where designs should feature on your cake or to measure out parchment paper or even sugarpaste/fondant work. For this cake we used the measurements to mark how far into ‘indent’ the pattern so that it coincided well with the size of the macarons. The ruler’s second use is that is is excellent for scraping buttercream to achieve a flawless finish. We used the straight side to initially smooth the buttercream surface before creating the stripe pattern. It’s third use was to create fun and simple patterns into your frosting. We kept our cake simple with a lovely straight-forward stripe pattern working around the sides and 5cm/2 inches around the edge of the top.

Raspberry Chambord Macaron Cake made using Tala Cake Marker
Another good point to note about the ruler is that it is a good length; 35cm/14 inches in fact. It is perfect to use for tall gateaux as well as for mini cakes and fondant fancies. It helps scrape a good stripe or waved pattern into the sides of cakes created with more layers than normal due to it’s height which is pretty handy due to the trend of super tall cakes that has been on the cake ‘scene’ for the past couple of years now.

This Cake Ruler by Tala is plastic and is both flexible and durable so it is easy to use and handle when cake decorating. It is of the usual excellent quality by Tala (we have never been disappointed in this brand’s products). It is also very easy to store and clean. It fits easily into our cake decorating tool box in case of a cake emergency!

Finally, we’ve found that it is often the most simplest tools that help a baker and decorator most in the kitchen. This Cake Ruler by Tala has indeed permanently found it’s way into Most Essential Tool list. We use it to measure sugarpaste/fondant, cake boxes and boards, measure and cut parchment paper for making macarons, indenting both buttercream and roll out icing, smoothing chocolate and buttercream, pressing guide lines into frosted cakes for different piping techniques and even checking how high a cupcake is! Another use that we are excited to eventually try is to create a colour ‘plate’ with mixed gel paste colours, scrape the zig zag side through it and indent a ombré or rainbow stripe into the side of a buttercream covered cake!

With the above in mind we have scored the above Tala tools on design, quality and function…


NEW! Tala baking and cake decorating items in stock!

NEW! Tala baking and cake decorating items in stock!

New! Tala baking supplies in stock!

If you’ve visited our Facebook page or blog over the past months you may have heard us mention Tala a few times already. We’ve been using Tala for years now and we can recall our parents and grandparents using Tala’s products when we were growing up. Packed with nostalgia their high quality, well considered kitchenware and baking supplies remain essential in our working lives and we’re excited to announce that we’re now stocking some of those products at www.junipercakery.co.uk.

We’re proud to introduce four new Tala products to our site for you to purchase which are as seen below!

NEW! Tala baking and cake decorating items in stock!
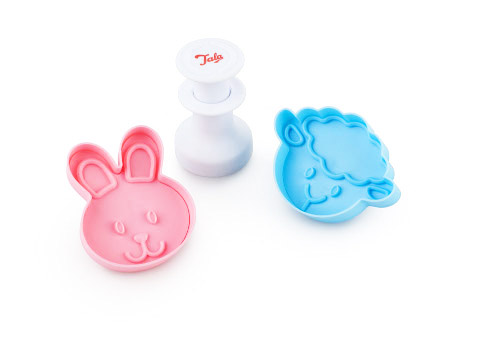
From Tala’s mini bakery we have a set of bunny and lamb plunger cutters. This is an adorable and versatile set of cutters which will not be out of place in any baking project. Their larger size of: 6cm x 7cm for the bunny and 8cm by 6 cm for the lamb make them the perfect for cookies or adorning cupcakes and giant cupcakes with. Their use with sugarpaste needn’t stop there, why not plunge out multiple bunnies or lambs, add detail and place around a Christening, Birthday, Easter or themed cake!

NEW! Tala baking and cake decorating items in stock!
Above is a set of seven double ended icing modelling tools by Tala. These tools are essential for any cake decorator at any level and we rely on them when sculpting all of our sugarpaste models.

NEW! Tala baking and cake decorating items in stock!
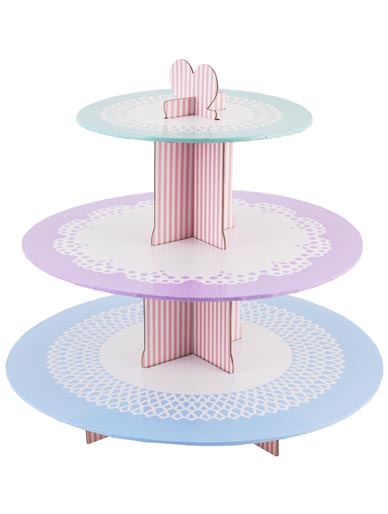
Tala’s three-tiered card cupcake stand is one of the sturdiest we’ve found and has no trouble holding up to 30 cupcakes at a time. This cupcake stand is disposable but we were impressed as it can be wiped clean for multiple uses.

NEW! Tala baking and cake decorating items in stock!
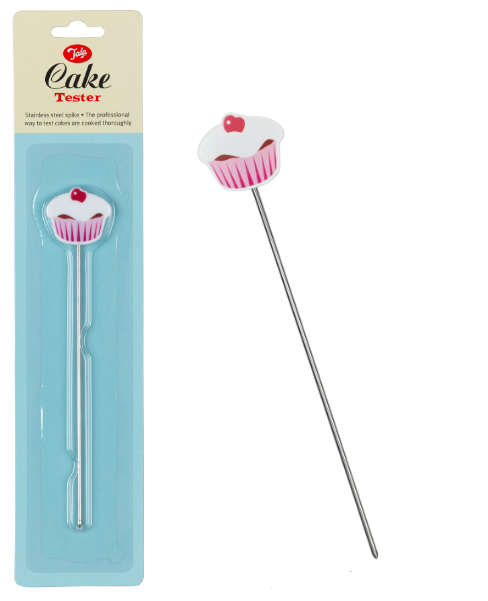
The cake tester by Tala comes with a novelty cupcake at one end and is compatible with cupcakes, cakes and gateaux. It is 14cm long and can be used when baking larger, deeper baked goods. This cake tester is an essential and makes a great gift for any baking enthusiast!


‘Tutorial Tuesday': How to pipe a buttercream rose using a flower nail!

Tutorial Tuesday: How to pipe a buttercream rose using a flower nail

Tutorial Tuesday: How to pipe a buttercream rose using a flower nail!

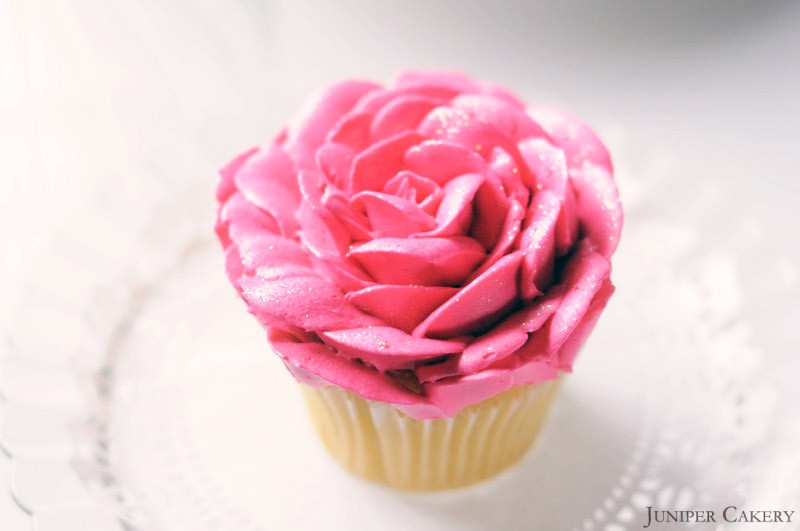
In this week’s tutorial we show you to pipe a buttercream rose using a flower nail! These buttercream roses are perfect on top of delicious cupcakes. They are also great decorations to place around the top of a home made cake.

Why not play with colour and add interesting looks to your roses. Fill your piping bag with two buttercream colours on each side for two tone roses. Paint a stripe of food colour along the inside of your bag in-line with the thin part of your petal tip to add colour to you flower’s edge. Use one piping bag per cupcake and layer tablespoons of different coloured buttercream inside the bag to make rainbow roses. Those are just a few ideas to add colour to your piped flowers.

This piping style can take a while to get right, but once you have the hang of this method it is really fun! We do, however, have a simpler buttercream rose tutorial for those who would like to create a quick, easy and lovely rose. Both types of piping will create eye catching roses that are perfect for both cupcakes and cakes!

Tutorial Tuesday: How to pipe a buttercream rose using a flower nail

What you need:

3 inch flower nail
Piping bag
Coloured buttercream
Petal tip no. 125 or 126
Small square of parchment paper

Tutorial Tuesday: How to pipe a buttercream rose using a flower nail

Step one: You need to stick the small square of parchment paper to your flower nail by piping a tiny bit of buttercream atop the nail and setting the paper on top. By adding the parchment paper to pipe your rose onto you are making transferring the rose to a flat surface to set easier.

Tutorial Tuesday: How to pipe a buttercream rose using a flower nail

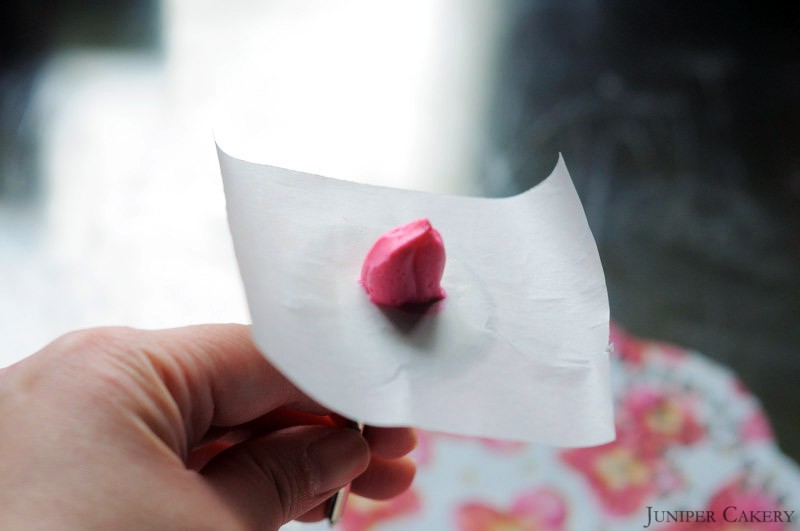
Step two: Pipe a centre to your rose. This should be a small cone like shape of buttercream. With practice try to pipe your rose bud centre with a ‘fold’ shape to it. The ‘fold’ makes a more natural rose bud shape to the centre of your flower.

Tutorial Tuesday: How to pipe a buttercream rose using a flower nail

Step three: To pipe your rose petals angle your tip slightly towards you. Also, keep the thick end of the petal tip on the bottom so the thin part forms the top (visible edge) of your petals. Pipe your petals in scallops around the centre. With each new rose pipe your petal or scallop from the last petal’s centre.

Tutorial Tuesday: How to pipe a buttercream rose using a flower nail

Step four: Pipe your rose’s petals to your desired size. Piping this type of rose takes a fair bit of patience and practice so keep trying and don’t be disheartened!

Tutorial Tuesday: How to pipe a buttercream rose using a flower nail

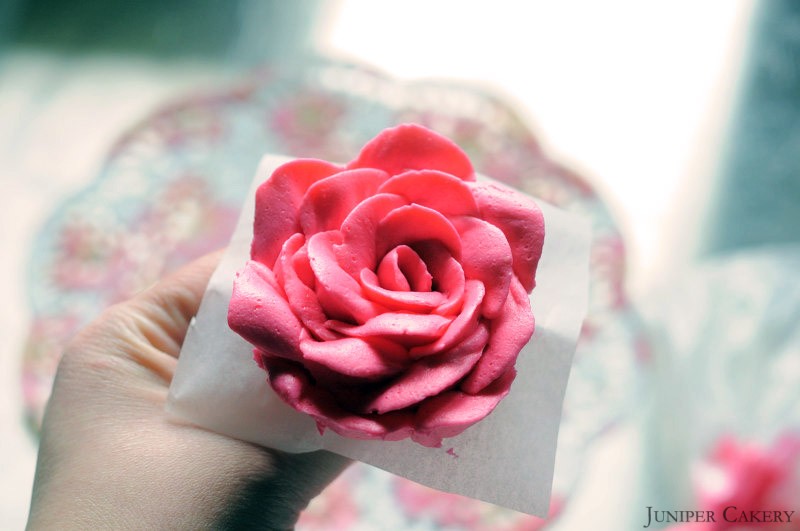
Step five: When you reach the final layer of petals angle the top (thin end) of your petal piping tip a little more towards you so that your final petals curve outwards. This makes your rose finish much neater and with a more natural finish.

Tutorial Tuesday: How to pipe a buttercream rose using a flower nail

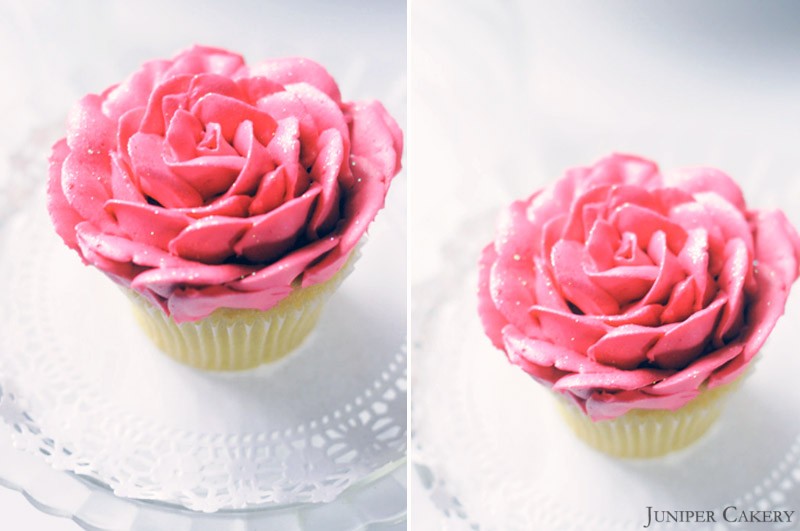
Once your rose has set you can carefully move it from the parchment paper onto a cupcake (pipe a small bit of buttercream on top of your cake for it to stick) using a pair of small scissors.

Also, you can pipe this type of buttercream flower straight onto the top of your cupcake. Be aware that this can be tricky. TIP: If you do want to pipe straight onto your cupcake try using a turntable to turn your cupcake and sit with your cupcake at eye level for more control.

If you have followed this tutorial you will be left with a beautiful buttercream rose! If you need to decorate a batch of cupcakes or a cake why not make your roses in advance, leave them to set (you can even keep them in the freezer then thaw them at room temperature), and they’re ready to decorate you baked treats with.

If you give this tutorial a try we’d love to see your finished cakes and cupcakes!


Creme de Menthe Cake in Partnership with The Happy Egg Co.

Crème de Menthe Cake In partnership with The Happy Egg Co.

Crème de Menthe Cake in Partnership with The Happy Egg Co.

cremesplice

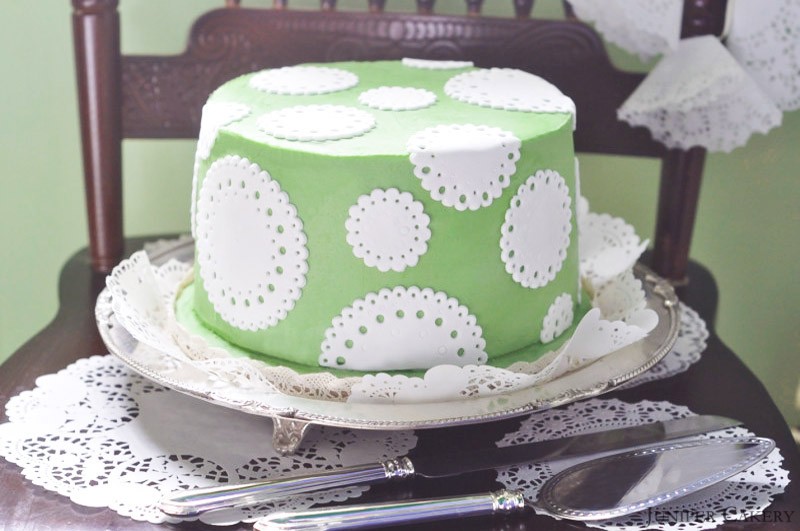
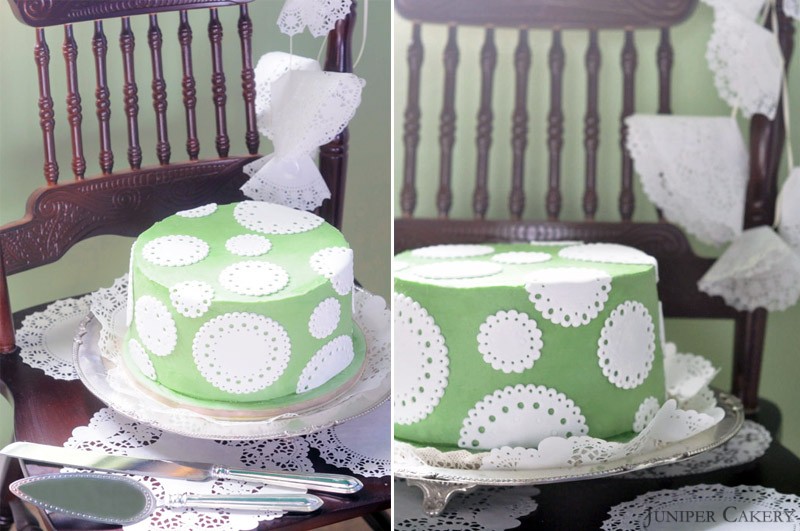
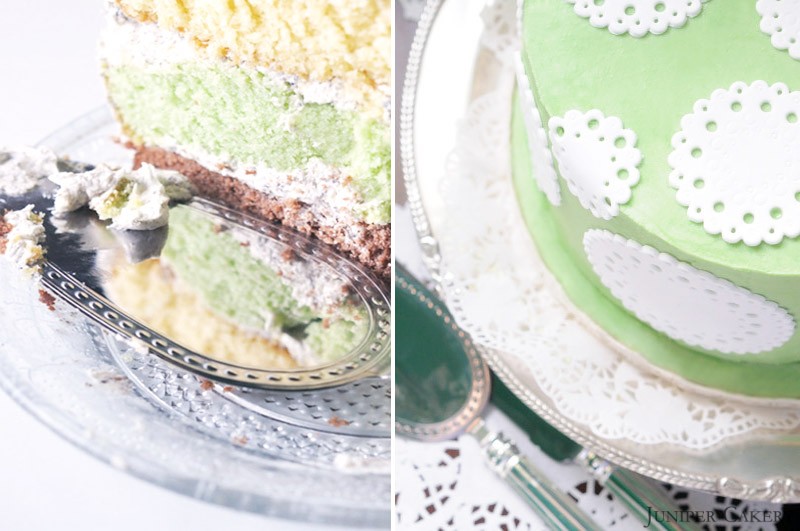
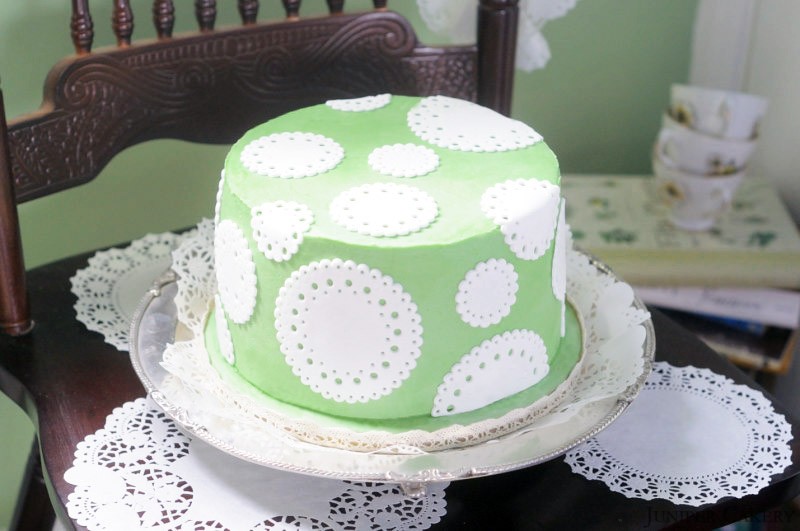
Welcome to our second cake, recipe and cake decorating tutorial post in partnership with The Happy Egg Co.! In our design and development post we blogged about creating a sophisticated cake inspired by an American classic, the Grasshopper Pie. To recreate the flavours and texture of The Grasshopper we chose a layer cake made with a chocolate base, crème de menthe middle and vanilla top filled with a cookie crumb and vanilla buttercream. After the following images of the finished cake you’ll find the recipe and a tutorial on how to make this cake and the decorative doilies. Why not create this cake, or elements of it, yourself?

Crème de Menthe Cake In partnership with The Happy Egg Co.

Crème de Menthe Cake In partnership with The Happy Egg Co.

Cookies & Crème de Menthe Cake Recipe

To create this cake (three 9 inch circle layers) you will need the following…

7-8 free range eggs by The Happy Egg Co.
453g self raising flour
453g caster sugar
453g butter
Cocoa powder
Green food colour paste
Vanilla extract (flavour to your own taste)
Crème de Menthe flavouring or alcohol

For the buttercream between the cake layers you will need…

1lb butter (don’t use margarine as the water content is higher and not suitable for buttercream)
Vanilla extract (flavour to your own taste)
Up to 1kg icing sugar (choose your own consistency and taste)
7 chocolate sandwich cookies (finely crumbled)

For the buttercream that covers your cake you will need the same ingredients above except the chocolate sandwich cookies.

To make the cake cream your butter in a mixer then add the caster sugar. Add in the flour along with half of the happy eggs for around one minute. Once half of the happy eggs are combined add the remaining and mix for approximately 5 minutes.

Once the batter is fully mixed separate evenly into three bowls to colour and flavour. Add Vanilla extract to one bowl and set aside. In another bowl add the Crème de Menthe flavouring and the green food colour paste and set aside. In the final bowl add some cocoa power and mix.

Pour each colour into separate greased cake pans (we use Wilton’s Bake Easy Non-Stick Spray to prepare our cake pans) and place on the top shelf of a pre-heated oven at Gas Mark 3/325F/170C. Bake for around 30 minutes. Baking time may differ slightly depending on your oven as the majority of ovens can be around 10-15 degrees over or under (unless you have a state of the art catering oven).

Leave to cool and in the meantime prepare your buttercream.

For the buttercream add half of the 1lb of butter diced into pieces. Cream the butter in a mixer. Then gradually add icing sugar and the remaining butter (cut into cubes). Once the buttercream is of a smooth consistency add some Vanilla extract and mix well. Once you are ready to use your buttercream add in your finely ground cookie crumbs (any large pieces will make fondant icing on your cake lumpy and if you are using this recipe for cupcakes large bits of cookie will block up piping tips and nozzles). When making cookies and cream buttercream we always add the cookie crumbs at the very end and mix lightly to avoid getting a grey looking frosting.

To make the buttercream for the outside of your cake simply repeat the above steps omitting the cookie crumbs and instead adding a little green colour paste.

Crumb coating

To get a smooth finish on your buttercream cake you need to first do a ‘crumb coat’. This ensure that you not only achieve a lovely level surface to work on, but seals in crumbs to avoid any messiness.

Crumb coating a cake is fairly simple. Set aside a few large dollops of buttercream in another bowl and with a spatula place some buttercream on the top of your cake. Smooth out to the edges of the top and with more buttercream smooth around the sides of your cake ensuring you cover every bit. Keep working around the cake until even and then leave to chill for a few hours in a fridge. Once chilled you can then buttercream your cake and leave to set.

How to make the sugarpaste ‘doilies’

How to make sugarpste doilies

Flowerpaste
Three scallop pastry cutters
6 inch fondant roller
Small round piping tips to punch out your design
Blade tool to neaten any edges
Icing sugar to dust
Edible glue to fix the doilies to your cake

How to make sugarpste doilies

Step one: Dust your work surface with icing sugar and roll out your flowerpaste to a 3mm-5mm thickness.

Step two: Cut out your doily shapes as you need them (the flowerpaste will begin to set fairly quickly and not bend easily around the curve of your cake so you should make your doilies and attach them individually)and neaten the edges with your blade tool.

How to make sugarpste doilies

Step three: Using your small round piping tip(s) punch out and indent a variety of repeat patterns into your shape.

Step four: To affix the doilies to your cake use a little bit of edible glue.


×