Recipe: Lemon and Lavender Cupcakes

Lemon and Lavender cupcakes by Juniper Cakery

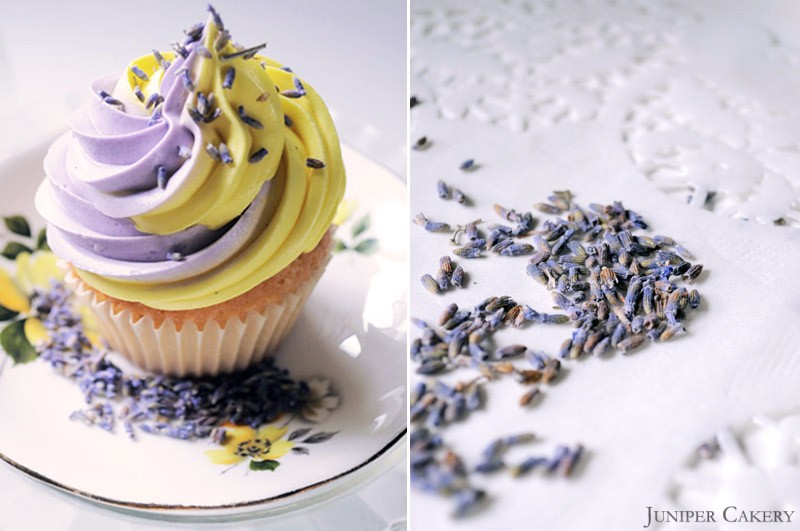
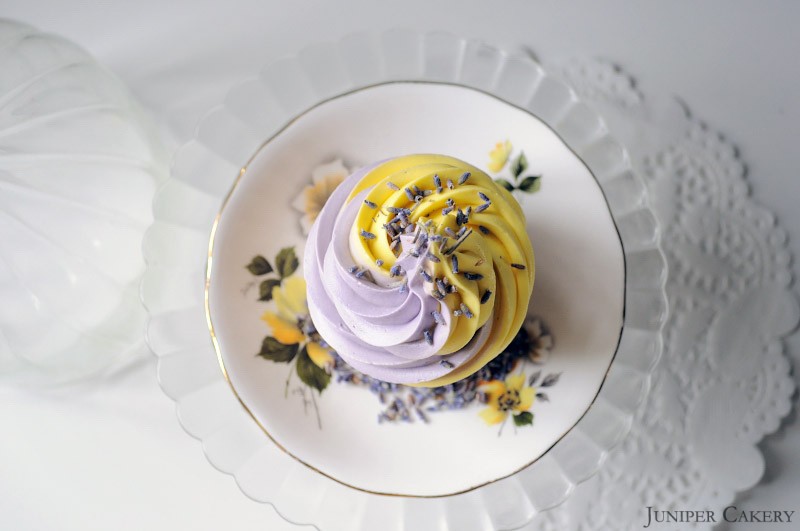
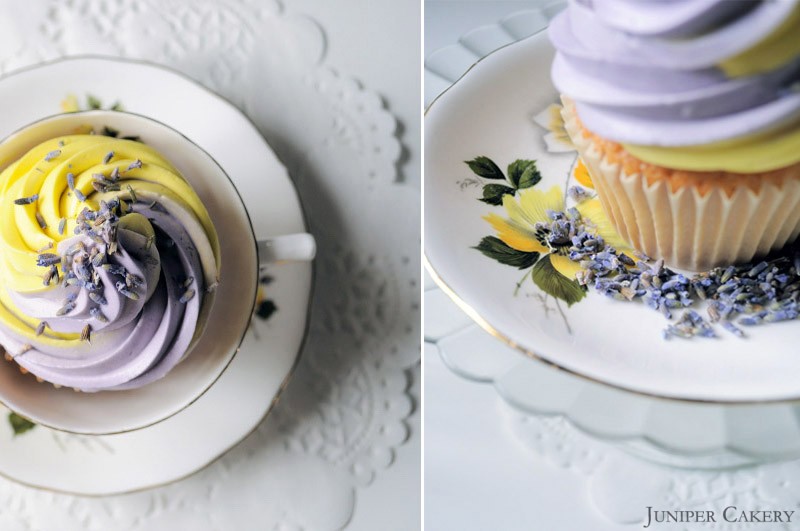
On Wednesday we created our delicious Lemon & Lavender cupcakes.  We whipped up a batch of vanilla cupcakes, piped them with two-toned swirls of buttercream and adorned them with all natural lavender florets. The light, fragrant flavour of the lavender combined with a subtle zing of lemon encouraged us to think further about fruity and floral flavours perfect for the summer months.
Lemon and Lavender cupcakes by Juniper Cakery

The florets are a great form of decoration, especially in spring and summer, and prove to be the perfect way to bring the outside in! The soft bursts of fresh lavender are a fantastic addition to the creamy texture of the lemon & and lavender buttercream.
Lemon and Lavender cupcakes by Juniper Cakery

Makes approximately 12 cupcakes

For the cupcakes…

226g self raising flour
226g butter
226g caster sugar
4 eggs
1 Bourbon Vanilla Pod 

Step one: Preheat your oven to Gas Mark 3/325F/170C

Step two: Cream the butter with sugar, flour and then the eggs. Add the tiny flecks inside the Bourbon Vanilla Pod and mix well.

Step three: Set out twelve cupcake cases in your pan and fill each case 2/3 full.

Step four: Bake from around 12-18 minutes or until a golden brown on top and leave to cool on a counter.

For the buttercream…

We make our buttercream using our own intuition. We’ve tried countless recipes; all of which failed to pass our test (and stability) tests. It’s best that you begin to develop and ‘eye’, ‘feel’ and ‘taste’ so that you know when your frosting is perfect for you. For starters though, the recipe below is a rough guide…

250g butter
250-350g icing sugar
1-2 teaspoons of Lavender Extract
1-2 teaspoons of Lemon Extract
Yellow Food Gel Colour Paste
Lilac Food Gel Colour Paste
855 piping tip/nozzle
Piping bags
Lavender Florets

Step one: Cut your butter into small cubes and cream your butter until soft. Gradually add icing sugar until a good consistency.

Step two: Separate your buttercream into two halves. Add some Lemon Extract with Yellow Food Gel Colour Paste to one half. To the other add Lavender Extract with some Lilac Food Gel Colour Pastee.

Step three: To get a fun two toned/dual flavoured effect scoop your lavender buttercream down one half of a piping bag fitted with an 855 piping tip/nozzle (this tip/nozzle creates lovely ruffled buttercream). After doing so the other half of your bag should be free for you to add your lemon buttercream.

Step four: Now you can pipe lots of generous and tasty swirls of buttercream on top of your cupcakes! Finish with a sprinkle of fragrant Lavender Florets and they’re ready to enjoy!
Lemon and Lavender cupcakes by Juniper Cakery

Lemon and Lavender cupcakes by Juniper Cakery


Old Hollywood Inspired Cupcakes

Old Hollywood glamour cupcakes

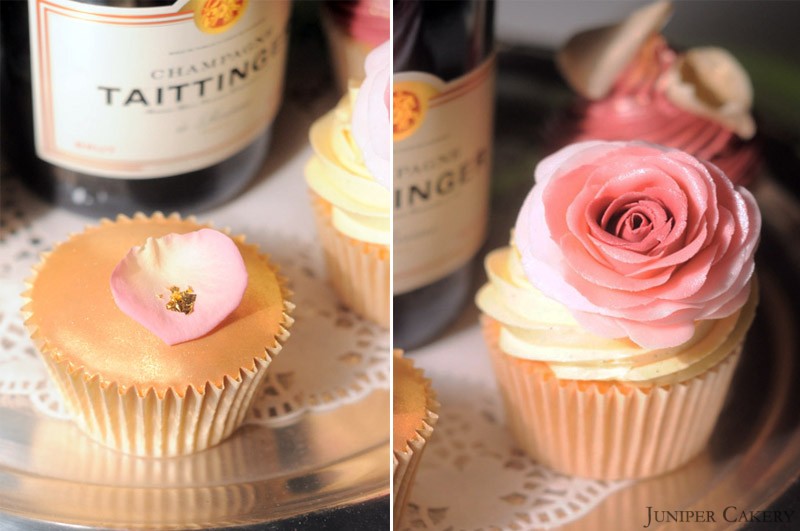
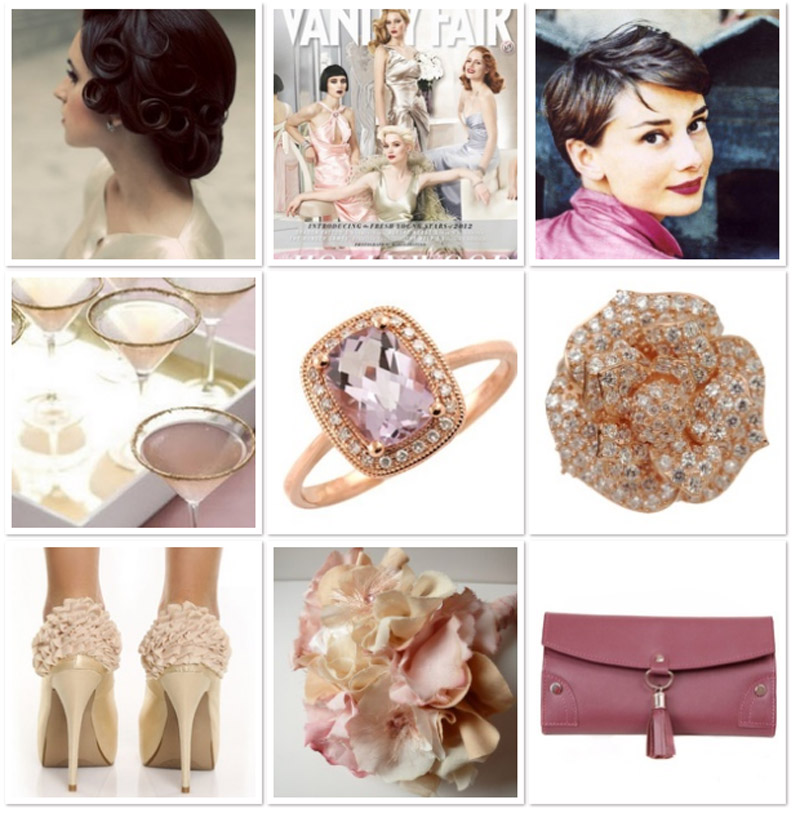
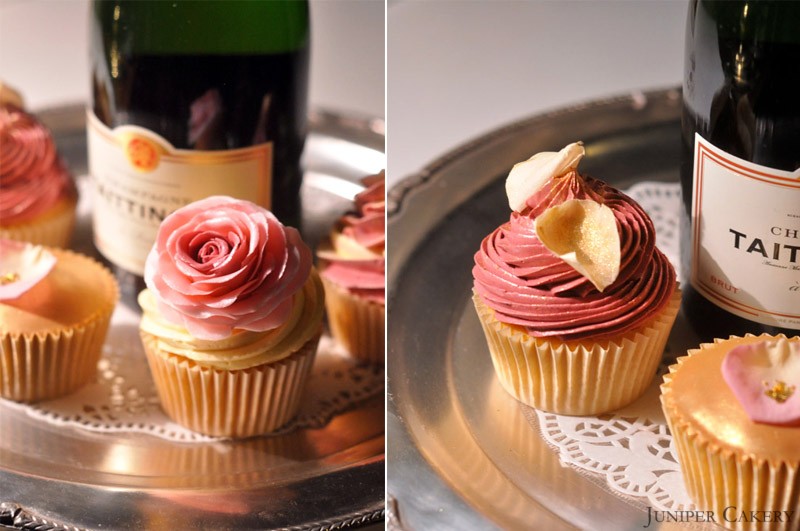
Recently Cake Central set a cupcake challenge via their website to create a collection of cupcakes inspired by a select theme and colour palette; ‘Old Hollywood Glamour’ in particular. The palette consisted of beautiful soft creams, golds and champagnes, rose pinks and a rich plum hue which we loved the idea of working with. Alongside this colour scheme was the imagery of old Hollywood elegance; glimmering Elizabeth Taylor-like jewels, shimmering fabrics, florals and textile pleats and ruffles.

Old Hollywood glamour cupcakes

As we set to work creating our small 1930s Hollywood inspired cupcakes we thought this would be a great chance for us to show how we work on our more bespoke designs. The first thing we do is brew a lovely hot cup of tea and sit down to discuss any imagery, inspiration boards, colour ideas or even swatches we’ve been given. In this case, Cake Central created a lovely Pinterest board full of the key images to follow (see below) with a brief that called for ‘subtle glamour’. From this board/brief we settled upon taking elements of texture, look and design rather than interpreting the inspirational images literally. The elements we chose to work with incorporated not just the colours or champagne, vanilla cream, rose and plum, but the flavours also; glimmering golds and subtle pearlescent sheens, textile pleats and ruffles, rose elements and the grandeur of edible gold!

Old Hollywood glamour cupcakes

After establishing out key design and colour elements we quickly sketch out a number of ideas with notes and thoughts about what may or may not work. On paper a design is easy to imagine and create, but these need work and need to be reconsidered with your cake decorator ‘hat’ on as some ideas would not prove practical in buttercream, fondant, jam or cake layers! At this stage we eliminate and swap ideas over, however, these aren’t set in stone. Sometimes you need to think on your feet when it comes to the actual cake decorating stage.

Old Hollywood glamour cupcakes

Old Hollywood glamour cupcakes

One of the next stages is to develop our rough sketches into more inspired designs by sketching the final ideas out and adding colour using watercolours. This helps us see a more end result so we’re less dazzled and more prepared when it comes to decorating. It also helps us see how our colours are going to work together.

Old Hollywood glamour cupcakes

Old Hollywood glamour cupcakes

Once we’ve got all out preparation ideas, sketches and paintings done we gather together our materials and tools, bake our cakes (or in this case, cupcakes), whip up (literally) our buttercream, do a final test of flavours and we are ready to decorate! Any fondant, flowerpaste or buttercreams need to be coloured first and kept close to the final colour palette. Then we begin on the more time consuming tasks such as creating our flowerpaste ombré rose which needs to be worked fabric thin and is incredibly delicate and can take up to an hour to create!

Old Hollywood glamour cupcakes

When it comes to cupcakes once all are piped things begin to come together a lot more. It’s an exciting thing to see all of your hard work of prep begin to form into your end design. The wonderful thing about baking and decorating is that you see everything develop in stages from just a collection of ingredients. It’s the perfect career or hobby for anyone who is patient, loves piecing things together, and is both creative and practical.

Old Hollywood glamour cupcakes

Old Hollywood glamour cupcakes


Tutorial Tuesday: How to Make a Cheeseburger Cupcake!

Tutorial Tuesday: How to make a fun burger cupcake!

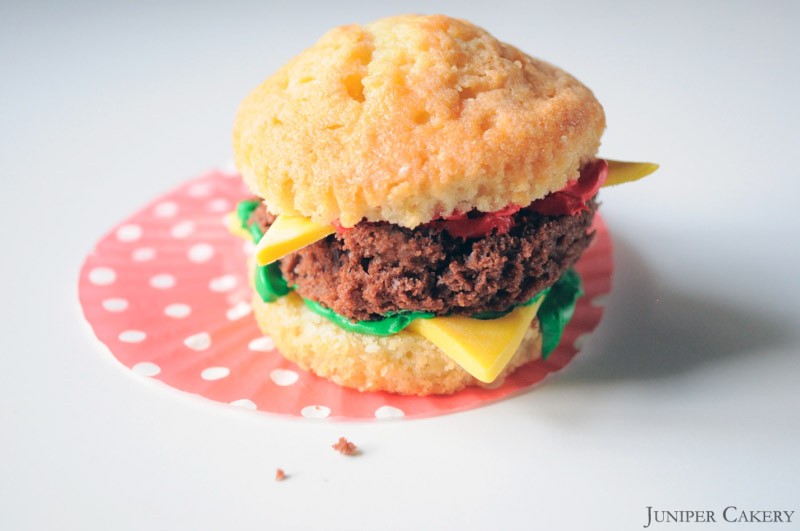
In this week’s tutorial we show you how to make a cheeseburger cupcake! These fun, quick and easy cupcakes add novelty to birthday parties, garden parties, picnics and barbecues. Present them in bright open cupcake cases and add to the novelty factor with a tiny can of soda! Why not turn this tutorial into a big cake by baking 9 inch layers and adding sugarpaste / fondant pickles, onion rings and sliced tomatoes! To begin this tutorial take a look at the list of things you will need below.

Tutorial Tuesday: How to Make a Cheeseburger Cupcake!

One vanilla cupcake
One chocolate cupcake
Fondant rolling pin
A sharp knife
Yellow sugarpaste
Red buttercream (we used Wilton’s Red gel paste to custom colour our buttercream)
Green buttercream (We used Wilton’s Leaf Green gel paste to custom colour our buttercream)
Piping tips (we used these to create the holes in the slices of cheese)
366 leaf piping tip

Tutorial Tuesday: How to make a fun burger cupcake!

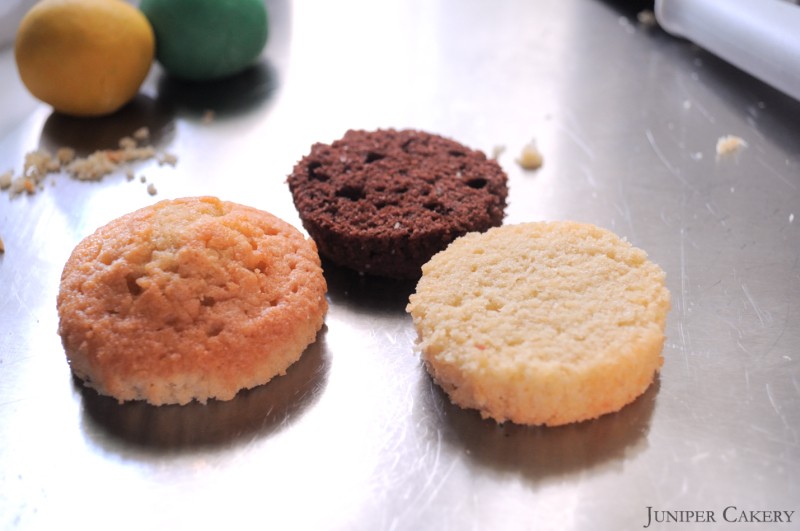
Step one: Using a knife (do ensure your knife is sharp as a blunt blade could ‘pull’ apart your cupcake) cut your vanilla cupcake in to two halves. Repeat this with the chocolate cupcake and discard the top half.

Tutorial Tuesday: How to make a fun burger cupcake!

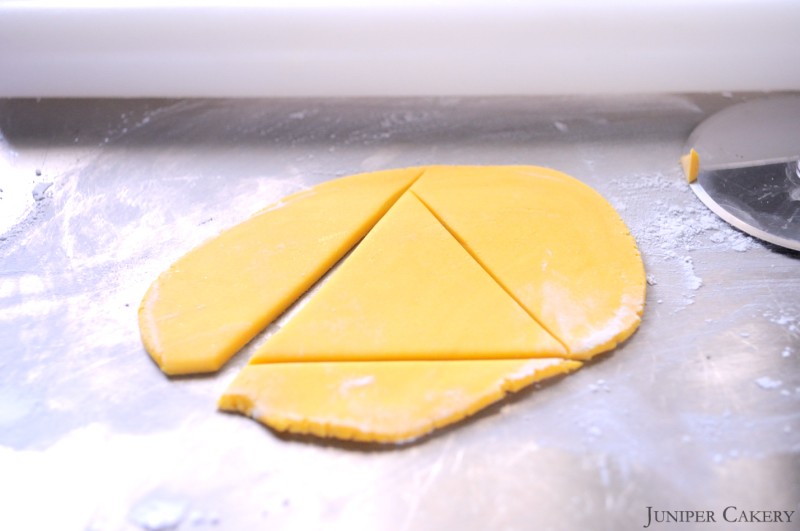
Step two: Put your sliced cupcakes to one side and roll out your yellow sugarpaste. Using a blade tool, sharp knife or pizza cutter cut a triangle out of the rolled fondant.

Tutorial Tuesday: How to make a fun burger cupcake!

Step three: Using a selection of different sized piping tips (or cutters if you have them small enough) begin to punch out holes in you cheese to create a fun cartoon effect.

Tutorial Tuesday: How to make a fun burger cupcake!

Step four: Take the bottom half of your vanilla cupcake and place on slice of cheese atop. Using your green buttercream begin to pipe to create a lettuce effect. It doesn’t matter if your piping is messy or uneven as it will be hidden inside your burger.

Tutorial Tuesday: How to make a fun burger cupcake!

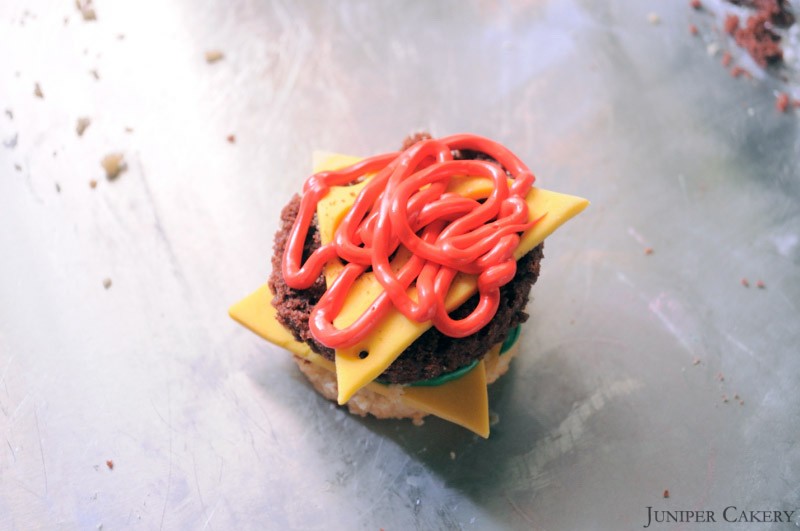
Step five: Now place the piece of chocolate cupcake atop of your lettuce and push down to hold in place. Place another slice of cheese on top of your burger and pipe your red buttercream (you don’t need a tip to do this, simply snip the end off of a piping bag) to add tomate ketchup!

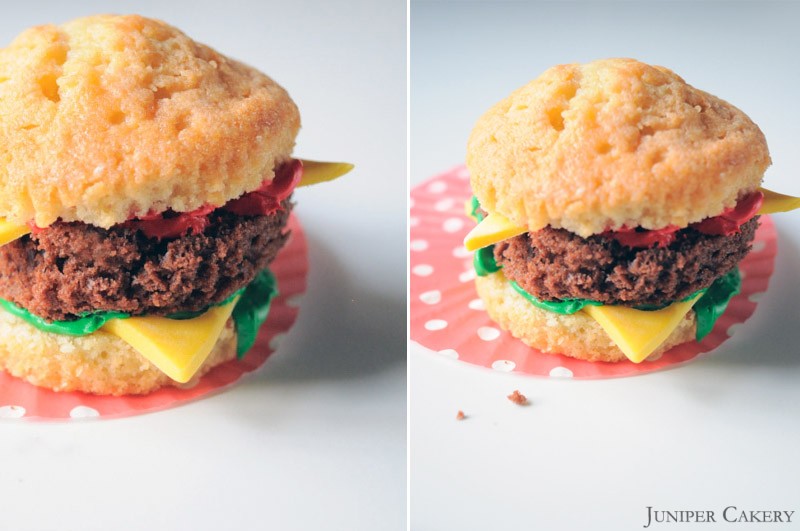
Step six: Now it is time to add the top layer of your burger bun using the top piece of your vanilla cupcake. Press down to secure in place and you’re done; you now have your very own cupcake cheeseburger!

Tutorial Tuesday: How to make a fun burger cupcake!

If you’ve followed this tutorial step-by-step you will now have a basic cupcake cheeseburger so why not take it further? Make tomatoes, gherkins / pickles, onions, eggs, bacon, fries out of sugarpaste and add as much detail as you like for extra fun!

Tutorial Tuesday: How to make a fun burger cupcake!


The Happy Egg Co. Cake - Candy!
The Happy Egg Co. Cake - Candy

The Happy Egg Co. Cake - Candy!

As the days get longer and the months get warmer ice cold drinks and fruity snacks become all the more appealing. With this in mind our third cake in partnership with The Happy Egg Co. will incorporate some key somertime flavours, colours and styles.

The first thing we gathered ideas and inspiration for was the all-important flavour. We discussed the typical summer tastes of sweet marshmallows, fresh fruit, sour jellies, floral hints, herbal undertones and bitter treats. Our attention then turned towards colours that were associated with picnics, confectionery, traditional treats, ice creams and fizzy drinks. From the above ideas we decided upon a rainbow layer cake filled with sticky, homemade raspberry fluff.

The Happy Egg Co. Cake - Candy

With summer being such a convenience fueled season we were happy to have settled on a sweet marshmallow fluff with hints of raspberry as our flavour. Being inspired by fun seasonal colours and traditional sweets we looked to other spring and summer time traditions. We envisioned fun days spent in the garden, visits to the park and holidays at the beach in which the idea of our cake fit perfectly. Though full blown summer is not quite here the warmer weather spurred us in to thinking about textures and materials and how we could use them when we decorated the actual cake.

The Happy Egg Co. Cake - Candy

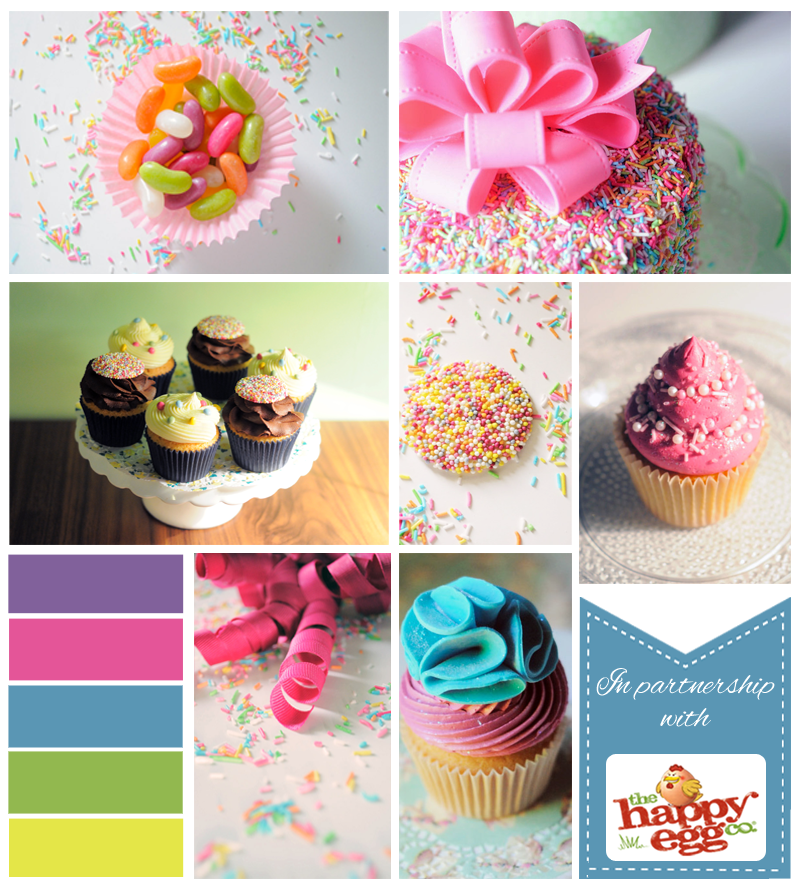
From our rather fun (and tasty) research we put together our design board utilising childrens’ cupcakes, sprinkles, party bows, and bright confections. From this we developed and decided upon a simple rainbow-like palette of yellow, apple green green, sky blue, raspberry pink and a slightly dusky violet. We also incorporating several shape and texture ideas such as pleats, swirls, loops, ruffles and curls.

The Happy Egg Co. Cake - Candy

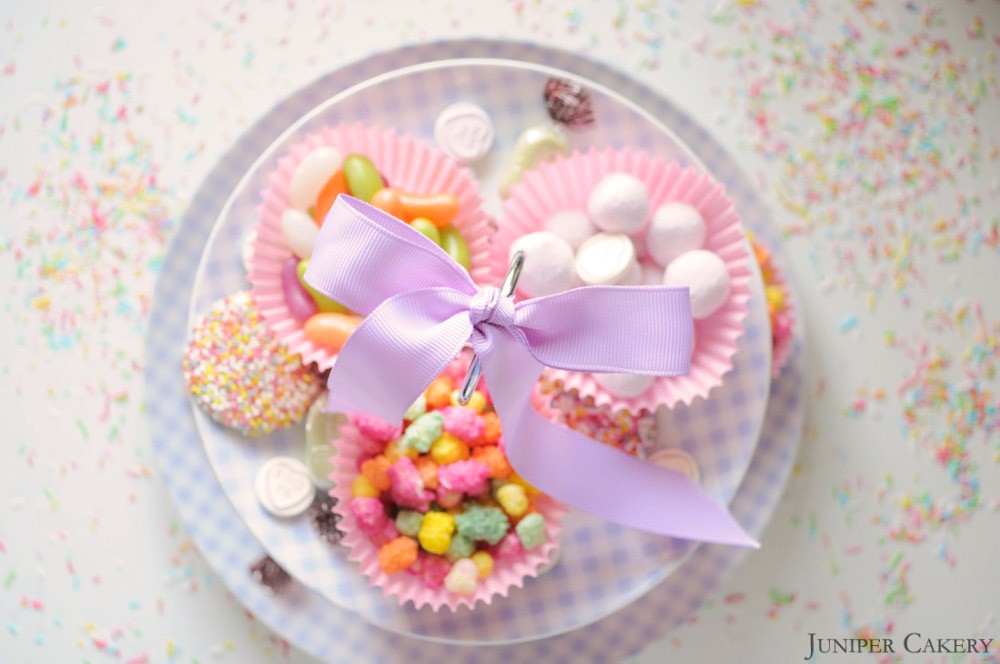
While taking the photographs for our design boards we looked at the vibrant tones used in sweets, the swirls and appeal of sugar fuelled snacks and the textures of jellies, marshmallows and boiled candies. The lure of the energetic hue of the jelly beans evolved into looking at how we might translate these fun aspects of summer onto the finished cake!

The Happy Egg Co. Cake - Candy

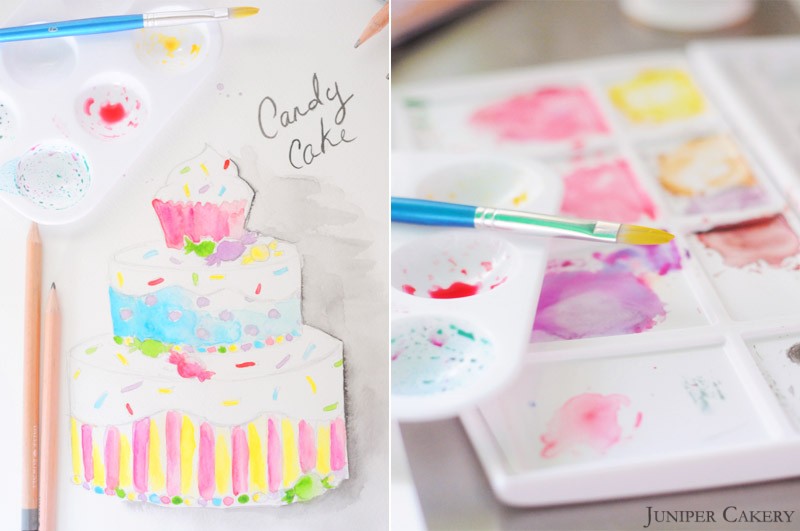
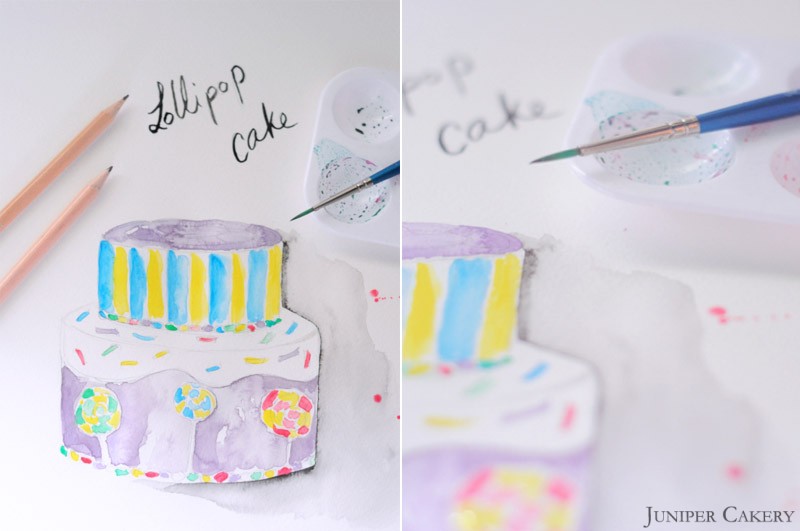
Above and below are a couple of quick watercolour sketches pulling together a few design details we felt would create a fun and lively candy inspired cake! Aside from the vibrant, playful colours we loved the idea of graphic stripe and dot patterns taken from the pleats of cupcake wrappers and scattered sprinkles and Rainbow Drops; swirled lollipops, candy dots, tiny wrapped sweets and the possible inclusion of a cupcake topper.

The Happy Egg Co. Cake - Candy

Keep posted to see this month’s cake, recipe and cake decorating tutorial in partnership with The Happy Egg Co.!


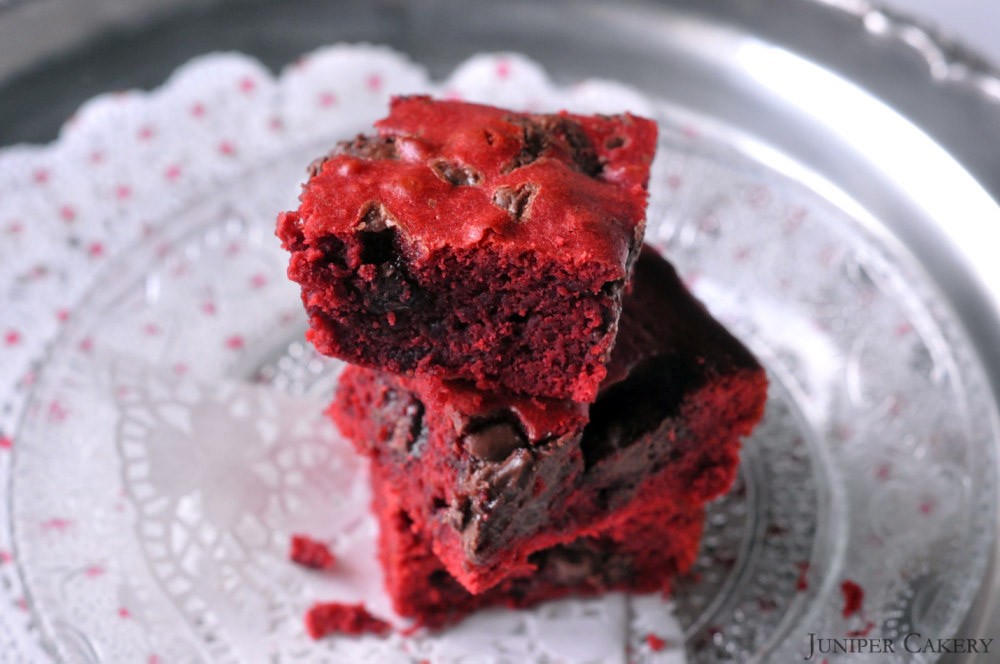
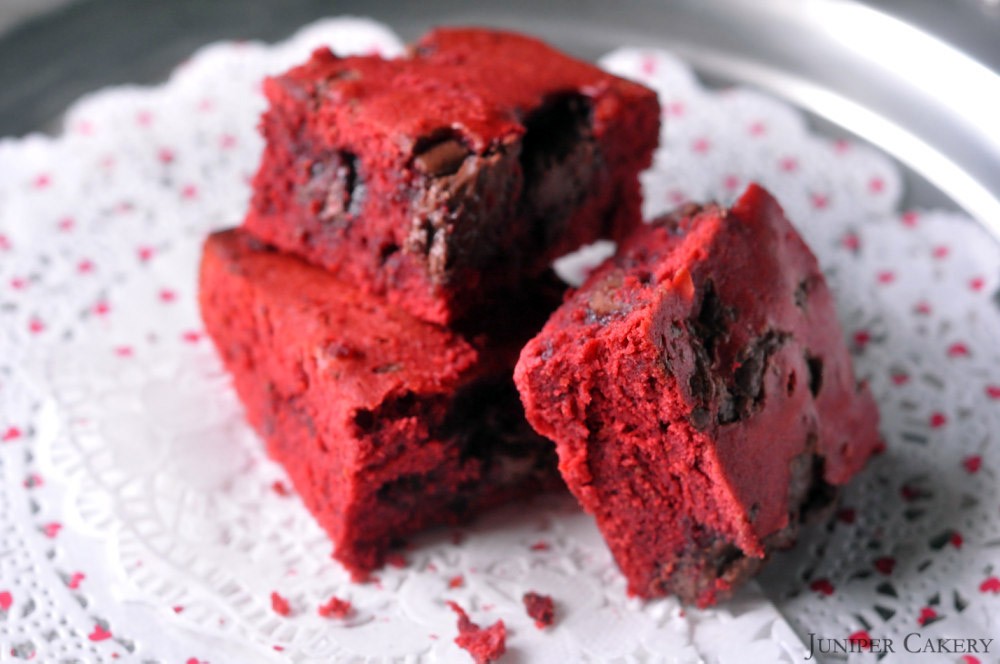
Tutorial Tuesday: Red Velvet Brownies Recipe!

Red Velvet Brownies

In this week’s tutorial we have thrown in a recipe to show you how to create a batch of delicious red velvet brownies! These are perfect for any occasion and with warmer days just around the corner these are ideal for picnics in the park, barbecues or even just a quick treat on a Saturday morning! With the 4th of July just a few months away try marbling some blue brownie batter into the mix and add white chocolate chunks instead of milk?

Red Velvet Brownies Recipe

Tutorial Tuesday: Red Velvet Brownies Recipe

Ingredients…

200g chopped milk chocolate
Extra chopped chocolate for gooey chunks (optional)
3 table spoons of Red Velvet Baking Emulsion by LorAnn Oil
175g self raising flour
100g butter
100g caster sugar
3 eggs

redvelvetbrownies

Step one: Melt the chocolate and butter together by setting a bowl in a saucepan of hot water. Keep stirring until both the butter and the chocolate are mixed and then remove the pan from the heat.

Step two: In a separate bowl mix the eggs and the sugar together until they form a creamy yellow colour.

Step three: Combine the chocolate and butter mix with the eggs and sugar and stir until fully mixed.

Step four: Add the flour and the Red Velvet Baking Emulsion to the mix and stir until you get your preferred tone of red. Mix until smooth until you get a thick and sticky texture (if you would like any chocolate chips or chunks in your brownies now is the perfect time to add them)

Step five: Pour the batter into a greased pan and bake for around 30 minutes (depending on oven) on gas mark 4 (conversions are available on Google)

If you have followed this recipe you now have your own batch of delicious red velvet brownies! Why not experiment and add white chocolate, flavoured chips or even cookie dough! We love the idea of baking up some red velvet cupcakes, swirling them with delicious vanilla buttercream and nestling a tiny square of red velvet brownie into the frosting!


Rhubarb, Honey & Vanilla Cake in Partnership with The Happy Egg Co.

Rhubarb, Honey & Vanilla Cake in Partnership with The Happy Egg Co.

Rhubarb, Honey & Vanilla Cake in Partnership with The Happy Egg Co.

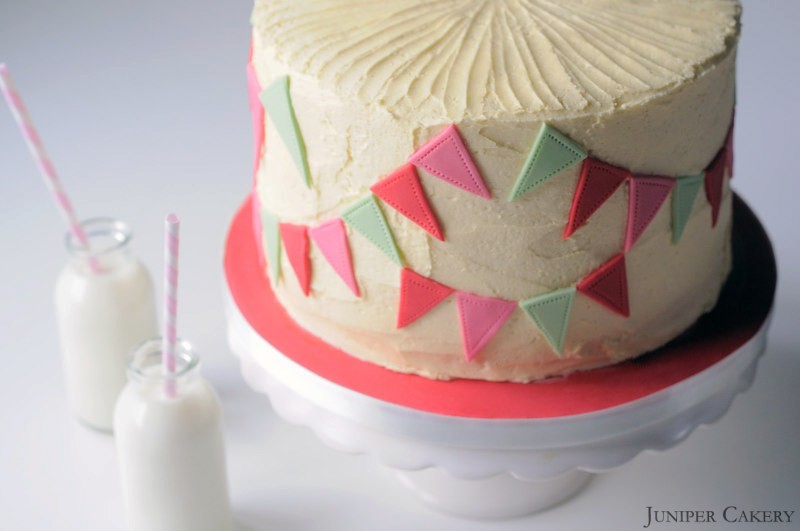
Welcome to our third cake, recipe and cake decorating tutorial in partnership with The Happy Egg Co.! In our development post we blogged about creating a traditional cake which would fit right in at picnics or at summer fetes. To recreate that sense of tradition we chose a layer cake filled with our rhubarb and honey curd decorating it with lashings of vanilla pod infused buttercream. To add a textured, homemade finish we ensured the buttercream was rugged and imperfect by spreading it on in layers resulting in a fun, quick and easy cake. After the following images you’ll find the recipe and a tutorial on how to make this cake and the decorative bunting. Why not try it for yourself?

Rhubarb, Honey & Vanilla Cake in Partnership with The Happy Egg Co.

Cake and buttercream recipe

To create this cake (a 9 inch circle) you will need the following…

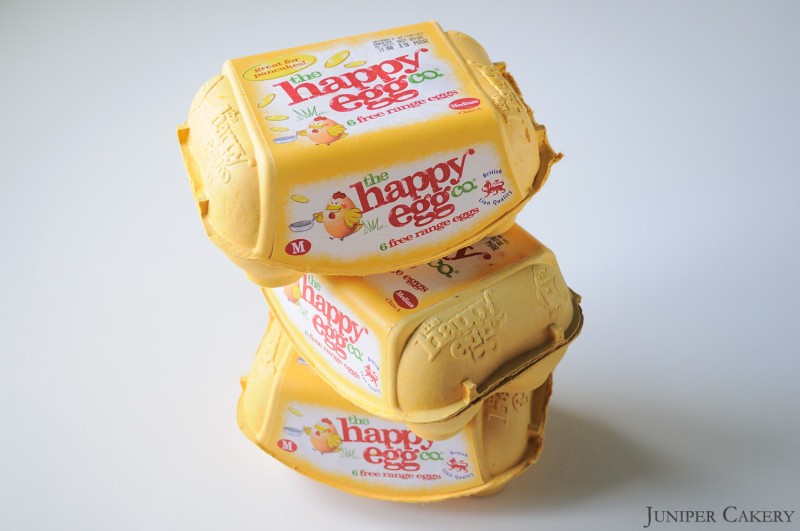
7-8 free range eggs by The Happy Egg Co. depending on egg size
453g self raising flour
453g caster sugar
453g butter

For the buttercream you will need…

453g butter (don’t use margarine as the water content is higher and not suitable for buttercream)
453g - 553g icing sugar (choose your own consistency and taste)
3 vanilla pods

Rhubarb, Honey & Vanilla Cake in Partnership with The Happy Egg Co.

Rhubarb, honey and vanilla curd recipe

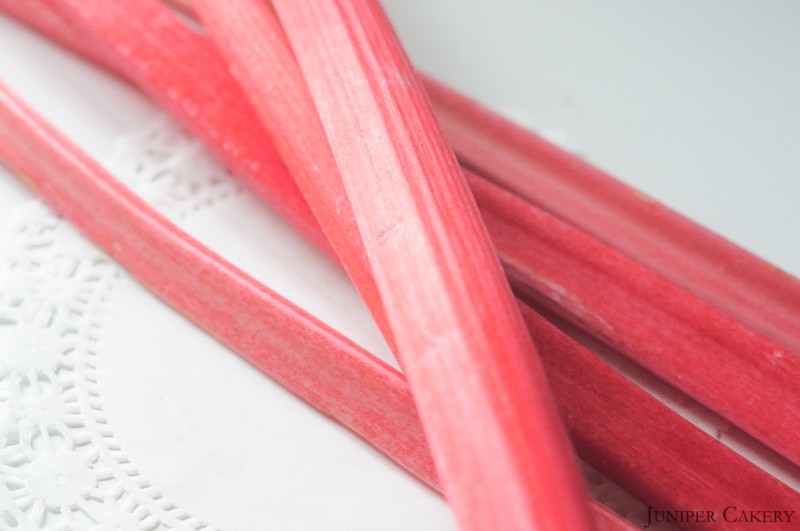
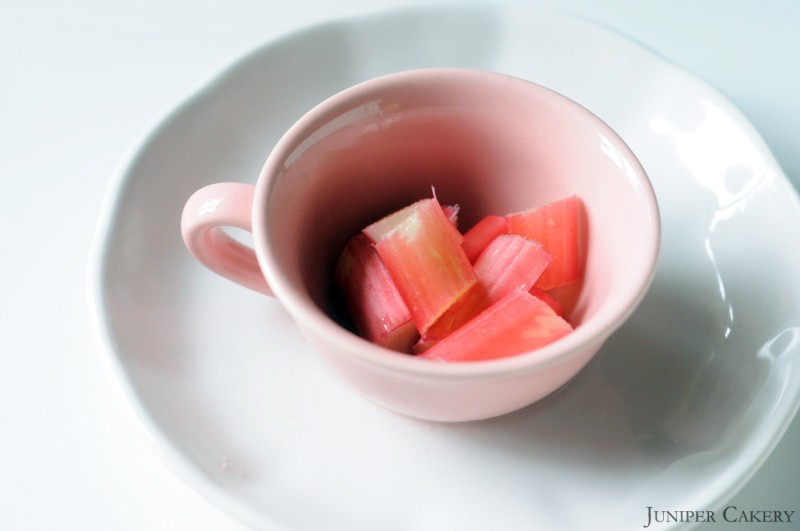
400g rhubarb cut into pieces
60g granulated sugar
60g butter
3 egg yolks
1 tablespoons of honey
2 vanilla pods
Airtight jar

To make the cake cream your butter in a mixer then add the caster sugar. Add in the flour along with half of the happy eggs for around one minute. Once half of the happy eggs are combined add the remaining and mix for about 5 minutes.

Pour each colour into separate greased cake pans and place on the top shelf of a pre-heated oven at Gas Mark 3/325F/170C. Bake for around 30 minutes.

Leave to cool and in the meantime prepare your buttercream.

For the buttercream add half of the 1lb of butter diced into pieces. Cream the butter in a mixer. Then gradually add icing sugar and the remaining butter (cut into cubes). Once the buttercream is of a smooth consistency add some the inside of your vanilla pods and mix well.

Rhubarb, Honey & Vanilla Cake in Partnership with The Happy Egg Co.

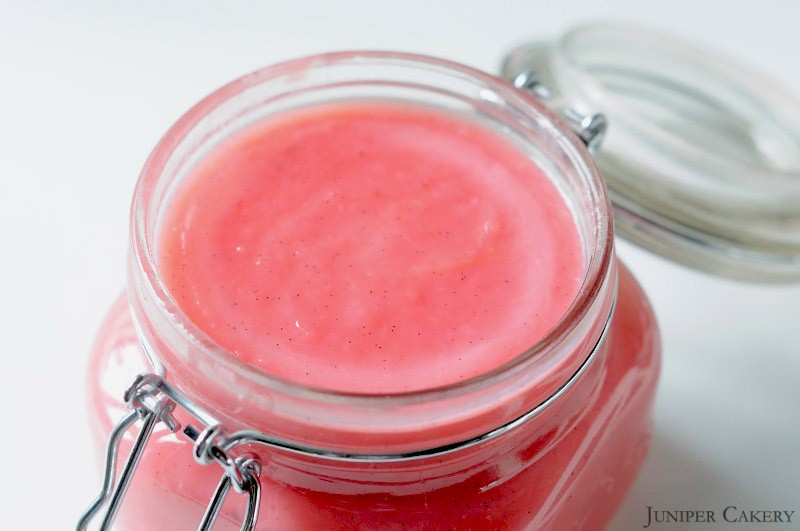
Now to make the rhubarb, honey and vanilla curd filling! Boil all 400g of rhubarb in a saucepan of water stirring every so often with a wooden spoon. When the rhubarb is ‘mushy’ pour into a colander to remove the water. Lower the heat on the stove to half of what you used to get to boiling point. Pour the rhubarb back into the pan and add the sugar. Stir gently until the sugar is dissolved then add the two tablespoons of honey. Stir again until well mixed then add the insides of your two vanilla pods. Now add the butter and stir until melted.

Rhubarb, Honey & Vanilla Cake in Partnership with The Happy Egg Co.

In a separate bowl beat your egg yolks well. Pour these slowly into your rhubarb mix and keep stirring the yolks in gently. Keep mixing and checking the curd by scooping the back of your wooden spoon into the curd; when the curd coats the back of your spoon thickly then it is ready to pour into a jar and set.

Rhubarb, Honey & Vanilla Cake in Partnership with The Happy Egg Co.

Buttercream technique

The great thing about working with buttercream is that it is easy to change, sculpt and even scrap off and start again. Another selling point to butercream icing your cakes is that it doesn’t matter if it is perfect; buttercream is messy and evokes a rustic charm. The fact that buttercream creates a lovely homemade look is perfect for this cake inspired by traditional flavours!

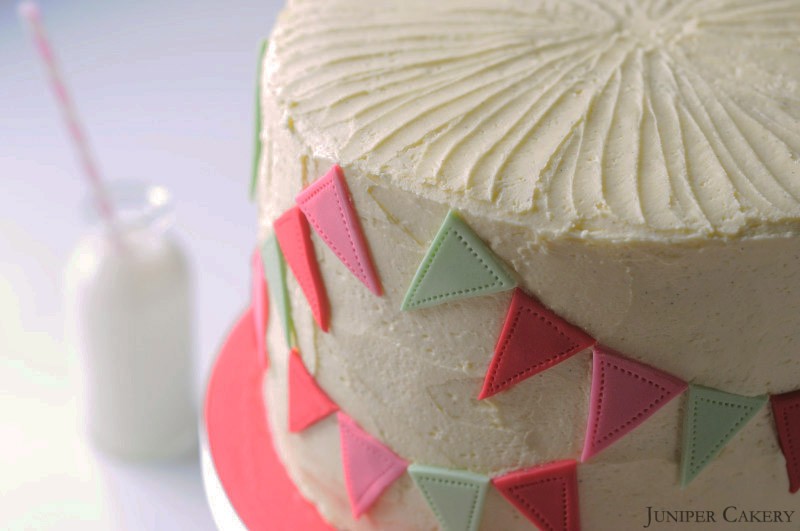
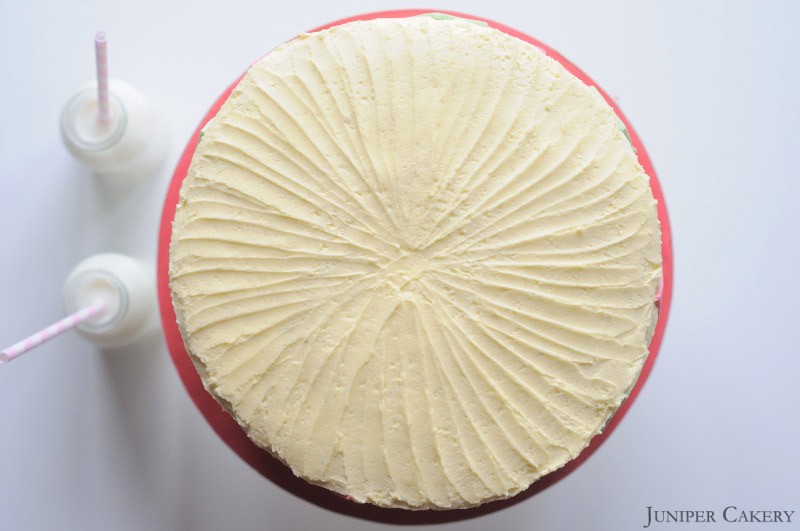
A very simple and effective buttercream technique to use is to create a pinwheel look on the top of your frosted cake. Once you’ve iced your cake smoothly take a small spatula and using only its tip begin in the centre of the top of your cake. You want to quickly (and not too heavily) drag the end of your spatula from the centre to the edge of your cake. Keep doing this around the cake and you should be left with the below effect! Once finished the edges will just need a quick tidy with your spatula.

Rhubarb, Honey & Vanilla Cake in Partnership with The Happy Egg Co.

How to make the edible bunting

To make your edible sugarpaste bunting you will need…

Sugarpaste coloured in three or more colours (we coloured ours with Wilton’s Juniper Green, Wilton’s Rose Pink and Sugarflair’s Dusky Rose)
A good straight edged knife or pizza cutter
A quilting or stitching tool (optional)
Icing sugar to dust the surfaces with
Fondant rolling pin

Step one: Dust the surface with icing sugar and begin to roll out your chosen fondant. Cut it into an oblong shape and put any excess sugarpaste to one side. The size and length of the oblong will depend on how large you would like your bunting to be.

Step two: With a knife or pizza cutter begin cutting out triangular shapes at your required size. See the images for the technique we used and repeat with all of your fondant using your first piece of bunting as a template.

Step three: Now you have your bunting use the quilting tool to add traditional stitching detail to your bunting.

Step four: If the buttercream on your cake is still soft simply stick the pieces of bunting in place.


×