Tutorial Tuesday: How to Make a Sugar Anemone Flower!

This week’s cake and cupcake decorating tutorial shows you how to create a beautiful and softly ruffled Anemone! We’ve been seeing Anemone flowers pretty much everywhere over the past couple of months. They’ve been found nestled into bouquets, fabric prints, photography and wedding decor They’re striking and unique on top of cakes and make cupcakes look instantly grown up and sophisticated too!
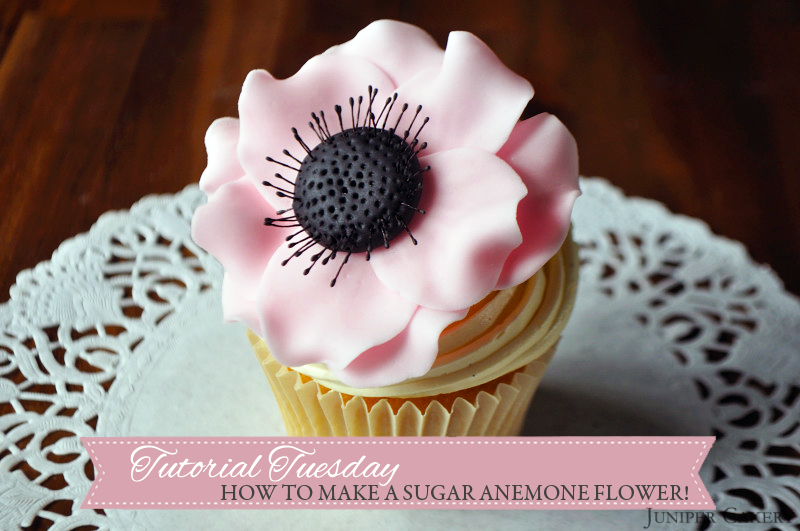
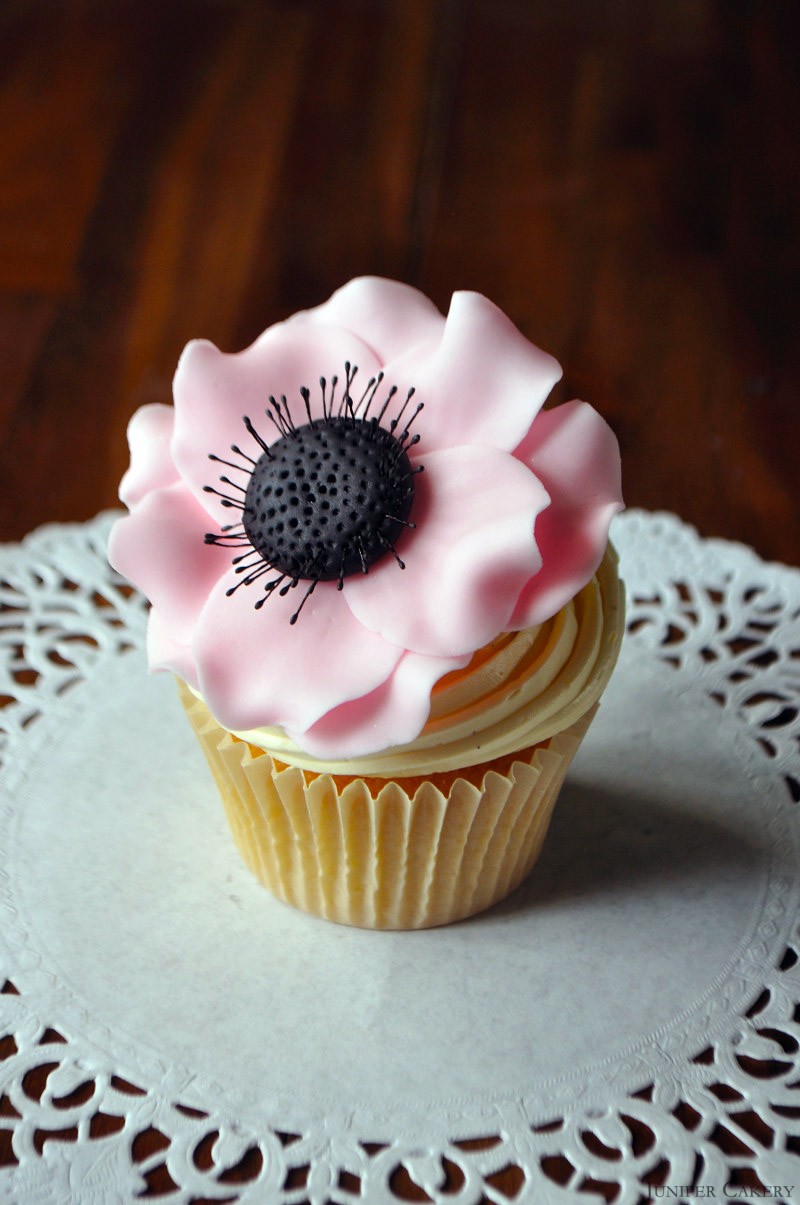
Tutorial Tuesday: How to make a sugar anemone flower for cakes

Tutorial Tuesday: How to make a sugar anemone flower for cakes

You will need…

Black sugarpaste
Pink sugarpaste (or any colour you like)
Tylo Powder (mix a little in your sugarpaste to help harden)
Quilting modelling tool
Ball modelling tool
Fondant rolling pin
Rose petal cutters
Flower Foam Pad
Black stamens or light colour stamens painted with black food dye
Edible glue
Paint brush
Flower forming cup
Foil
Icing sugar
Tutorial Tuesday: How to make a sugar anemone flower for cakes

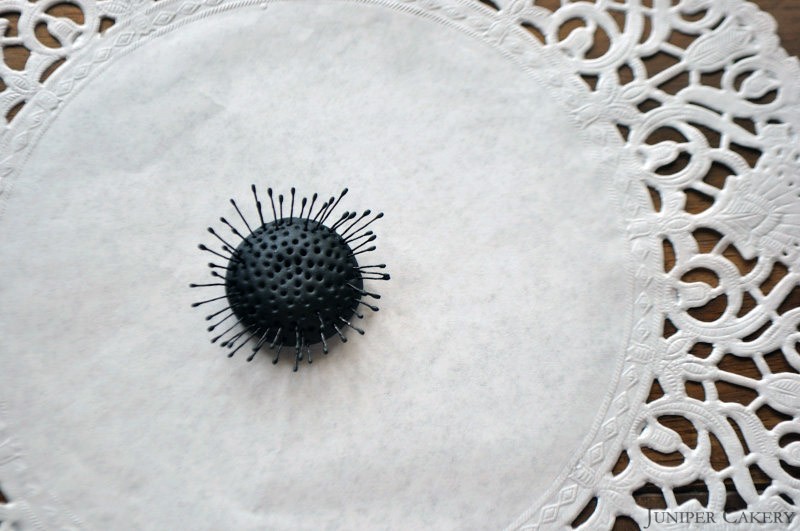
Step one: Create a ball about the size of a 10 pence coin (or 25 cents in the U.S) with your black sugarpaste. Flatten this slightly and smooth the surface.

Step two: Take your quilting tool and indent lots of ‘dots’ into the surface.

Step three: Cut down your stamens and insert these around the outer edge of the centre of your flower.
Tutorial Tuesday: How to make a sugar anemone flower for cakes

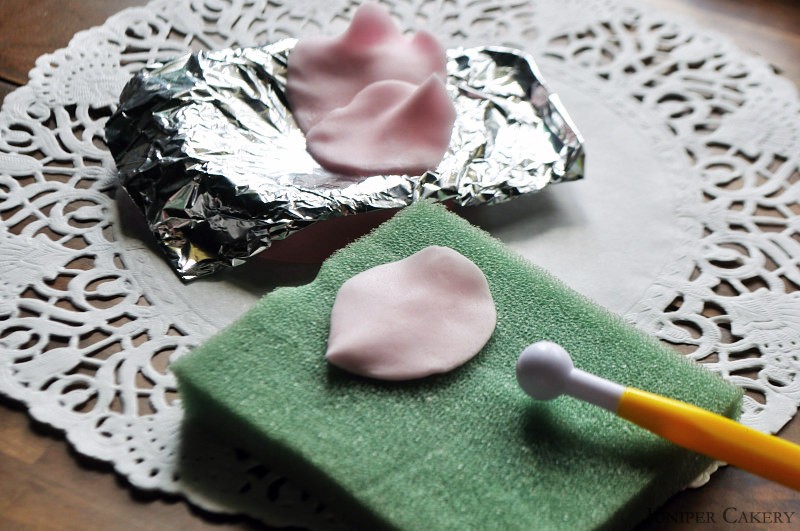
Step four: Cover your flower forming cup with foil and dust lightly with icing sugar so your petals won’t stick to the foil.

Step five: Add Tylo powder to the sugarpaste you’re using for the petals.

Step six: To make your petals roll out your sugarpaste thin and cut with your largest rose petals cutters.

Step seven: Now you need to ruffle the edges of your petals. To do this you need to lightly ‘massage’ the edges of your petals with your ball tool atop of a flower foam pad. Tweak the edge ever so slightly with your fingers.
Tutorial Tuesday: How to make a sugar anemone flower for cakes

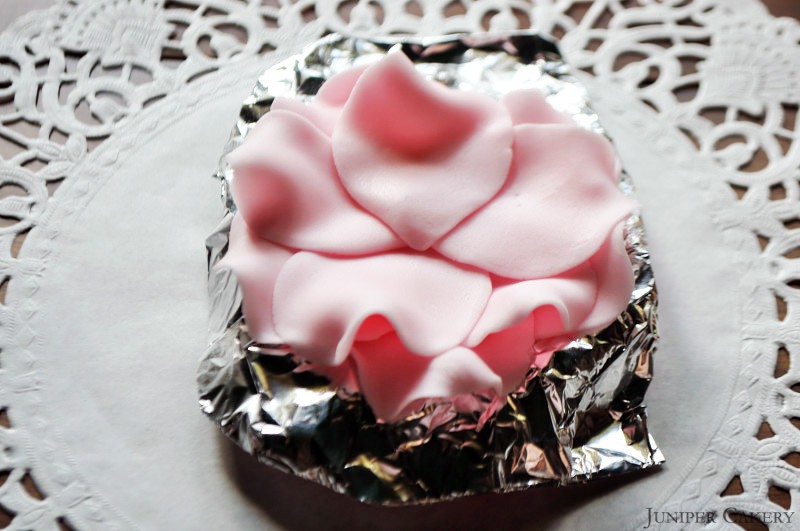
Step eight: We created 10 individual petals to create this Anemone. Nestle the first five petals into your forming cup and slightly atop each other with edible glue fixing them together. Lay the next layer of 5 petals where the petals of the first layer overlap.
Tutorial Tuesday: How to make a sugar anemone flower for cakes

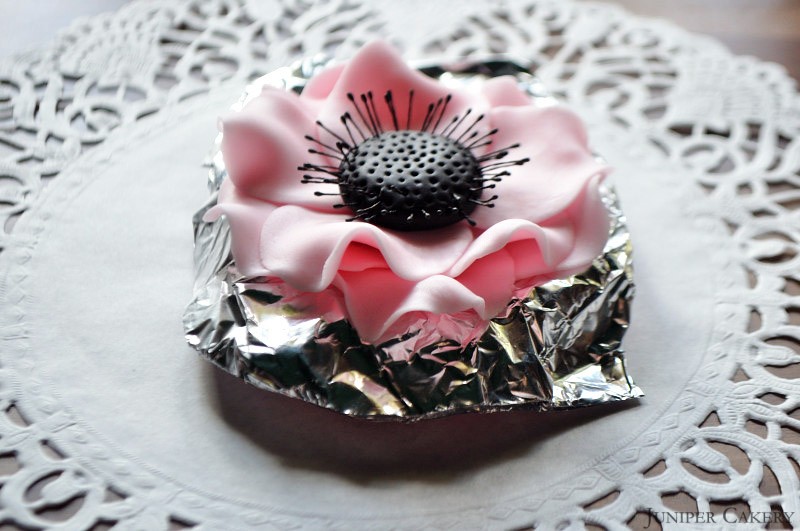
Step nine: Add some edible glue to the centre of your petals and attach the stamen studded centre you made earlier.

You should now be left with a gorgeous and elegantly ruffled Anemone flower; perfect for cakes and cupcakes!
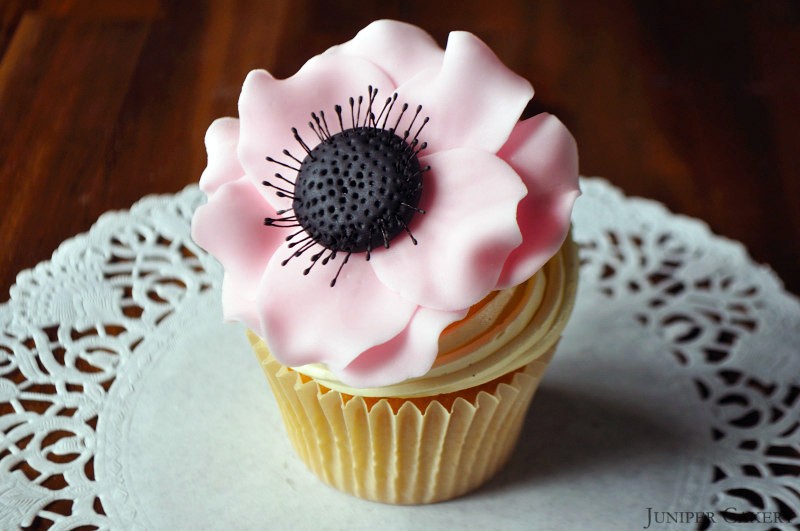
Tutorial Tuesday: How to make a sugar anemone flower for cakes


CAKE101: Candy Melts as Edible Glue

Edible glue is great when affixing lighter or smaller elements together, especially when they don’t have gravity to compete with. For larger and heavier objects like attaching sugar roses to the sides of cakes etc candy melts are a cake decorator’s best tool! It’s strong, dried quickly and can be re-tempered when needed again.

CAKE101 Candy Melts as Edible Glue

“Use candy melts to attach heavier and larger edible decorations that need to defy gravity. Candy melts are strong, dry quickly and can be re-melted when needed!”


Recipe: Lemon and Passion Fruit Cupcakes

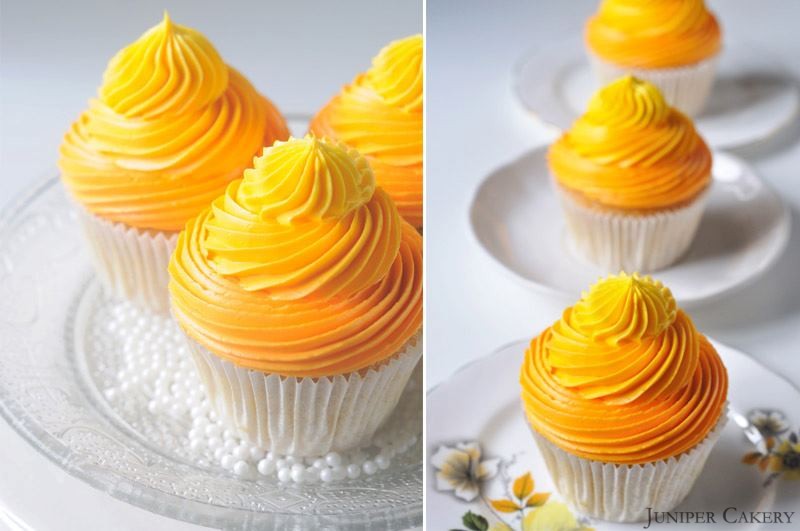
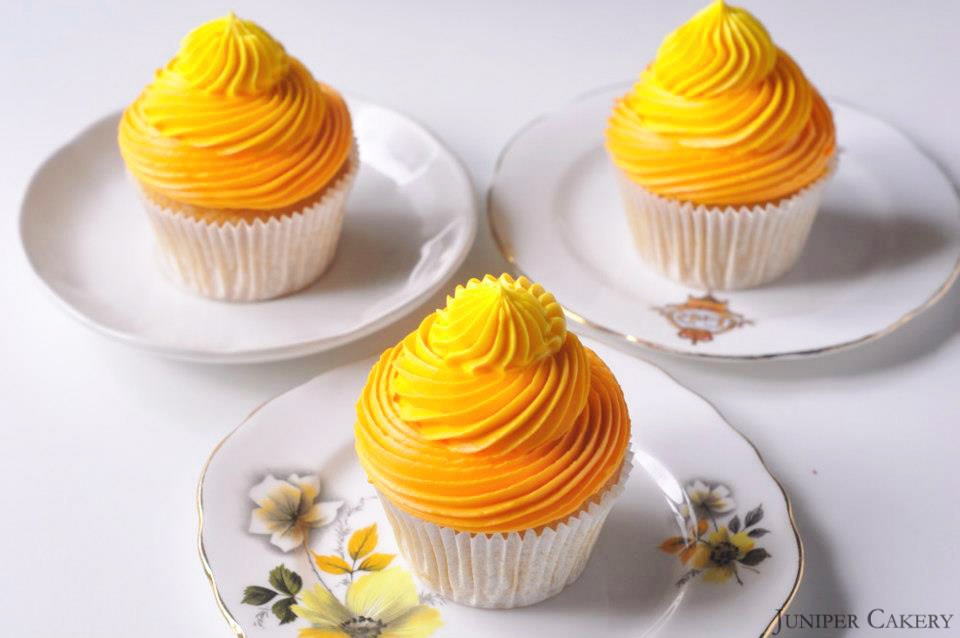
Now that we are in the middle of summer we thought we’d share a popular recipe of ours that is perfect barbecues and parties! These Lemon and Passion Fruit cupcakes are fruity, bright and fun. Add some Lemon Sherbet Crystals and you’ll be left with lovely tangy and fizzy buttercream!

Lemon and Passion Fruit cupcakes by Juniper Cakery

Makes approximately 12 cupcakes

For the cupcakes…

226g self raising flour
226g butter
226g caster sugar
4 eggs

Step one: Preheat your oven to Gas Mark 3/325F/170C

Step two: Cream the butter with sugar, flour and then the eggs.

Step three: Set out twelve cupcake cases in your pan and fill each case 2/3 full.

Step four: Bake from around 12-18 minutes or until a golden brown on top and leave to cool on a counter.

For the buttercream…

We make our buttercream using our own intuition. We’ve tried countless recipes; all of which failed to pass our test (and stability) tests. It’s best that you begin to develop and ‘eye’, ‘feel’ and ‘taste’ so that you know when your frosting is perfect for you. For starters though, the recipe below is a rough guide…

250g butter
250-350g icing sugar
1-2 teaspoons of Lemon Extract
1-2 teaspoons of Passion Fruit Essence
Orange Food Gel Colour Paste
Golden Yellow Food Gel Colour Paste
868 piping tip/nozzle
Piping bags
Lemon Sherbet Crystals

Step one: Cut your butter into small cubes and cream your butter until soft. Gradually add icing sugar until a good consistency.

Step two: Separate your buttercream into two halves. Add some Passion Fruit Essence with Orange Food Gel Colour Paste to one half. To the other add Lemon Extract with some Golden Yellow Food Gel Colour Paste.

Step three: Scoop each flavour buttercream into separate piping bags fitted with an 868 piping tip/nozzle (this tip/nozzle creates lovely linear patterned buttercream).

Step: To pipe begin with your darker colour (Passion Fruit) and pipe one layer of buttercream onto your cupcakes. Now pipe your light colour (Lemon) buttercream atop.

For a little extra pop of flavour sprinkle your cupcakes with Lemon Sherbet Crystals!

Lemon and Passion Fruit cupcakes by Juniper Cakery

Now you can sit back and enjoy these fruity cupcakes! We suggest keeping them all to yourself.


The Happy Egg Co Cake - Blueberry Season

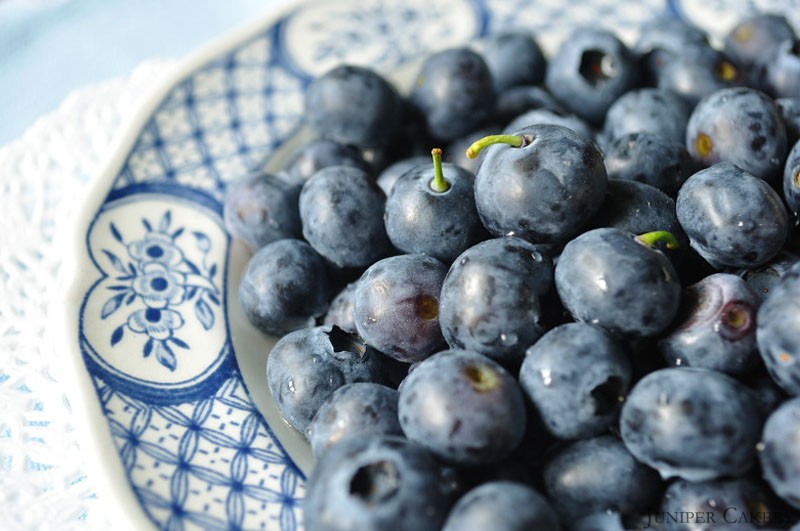
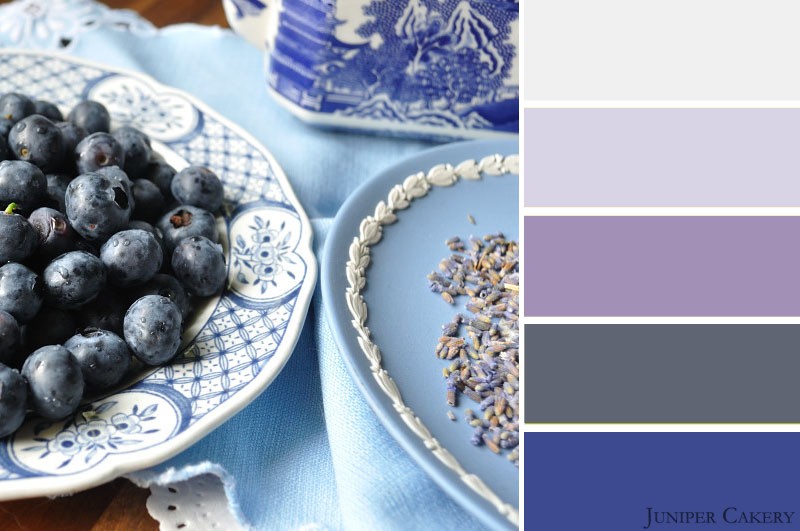
As fresh blueberries ripen in the Juniper Cakery HQ garden what better way to enjoy the month of July than by including them in this month’s happy egg recipe! Everywhere you go you’ll see blueberries in drinks, yogurts, desserts and maybe even in your own garden too.

Blueberry Cake by Juniper Cakery

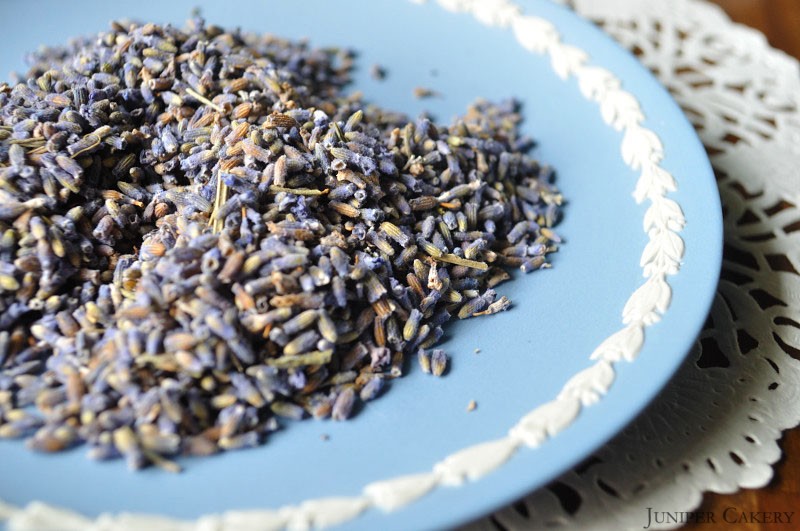
The tart taste of blueberry is perfect for a summer-themed cake recipe but the freshness they bring also makes them subtle enough to be paired with another flavour. The scent of fresh plants, trees and flowers have become a frequent enjoyment here at Juniper Cakery now that the warm, balmy weather is finally here; the most prominent of all being lavender!

Lavender and Blueberry by Juniper Cakery

Lavender would bring subtle tones of floral flavour to an otherwise all fruit recipe so our minds were soon made up; this month’s happy egg co. cake will be a white layer cake with blueberries and lavender baked in and filled with lashings of white chocolate buttercream! The natural, deep tones included in this month’s colour pallet are inspired by the blue and purple hues taken from the blueberries and lavender themselves.

Blueberry and Lavender by Juniper Cakery


CAKE101: Use Lemon Juice to Cleanse Your Bowls

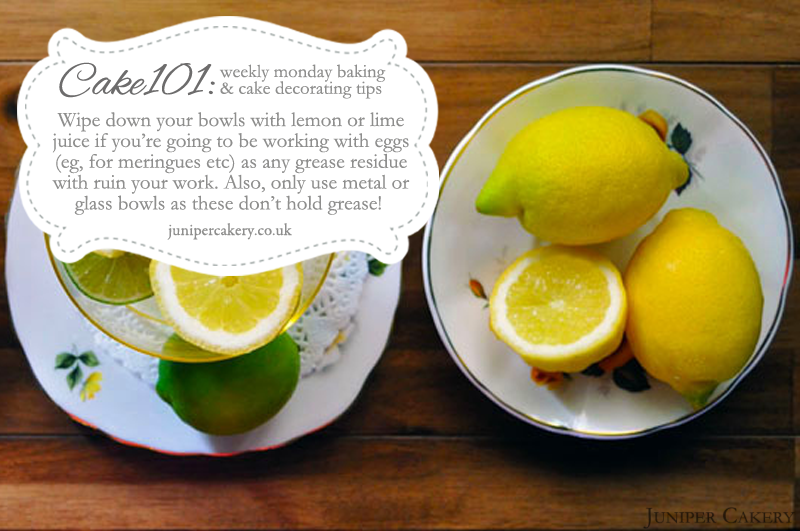
Working with eggs (specifically egg whites) when creating delicate buttercreams or meringues can be temperamental. Any grease or butter residue from past mixing can stick to your bowls even if they have been washed since. Using lemon or lime juice to cleanse them and then wiping with a clean towel gets rid of this grease! Also, always use metal or glass bowls when working with egg whites as plastic holds onto butter.

CAKE101 Use Lemon Juice to Cleanse

“Wipe down your bowls with lemon or lime juice if you’re going to be working with eggs (eg, for meringues etc) as any grease residue with ruin your work. Also, only use metal or glass bowls as these don’t hold grease!”


Tutorial Tuesday: How to Use Tappits!

In this week’s tutorial we’re going to show you how to master the art of Tappits. Using these cutters to create text on your baked creations is time consuming, but your cakes will end up looking much more sleek and professional!

How to use tappits

Whether you’re making a cake for a family member or for a client you will most likely need to add a name or a phrase at some point. There are plenty of alphabet cutters available in the cake decorating world in all sorts of sizes and fonts so you may have used Tappits already. In our experience letters made using larger alphabet cutters are prone to stretching out of shape, or ending up bumpy and ripped at the edges. Letters made using Tappits, on the other hand, are much hardier than they look (they can also be fiddly and need a steady hand) and we’ve found they make any cake look instantly more polished.

Graduation Cake by Juniper Cakery

Once we mastered our Tappit making skills they soon became one of our most used tools in our kit. In this tutorial we offer you some simple tips to help make using them easier and quicker!

What you’ll need:

Tappit set
Fondant rolling pin
Modelling paste/sugarpaste coloured to suite your needs
Icing sugar
Paintbrush
Cocktail stick

How to use Tappits

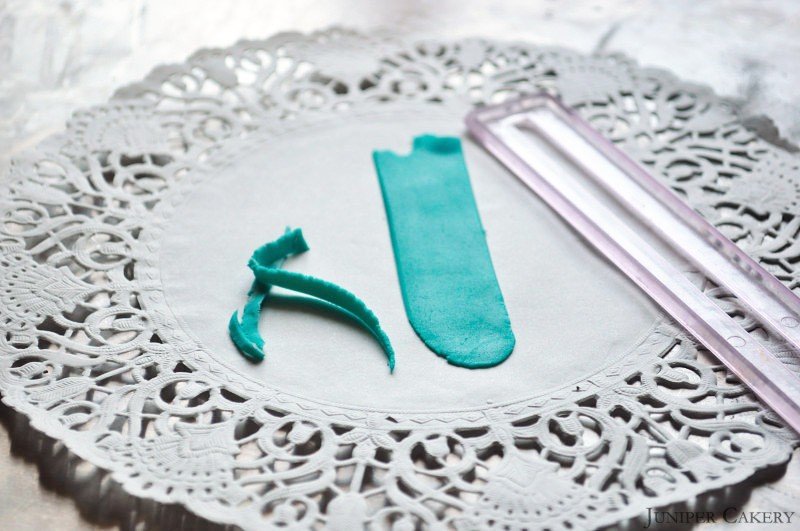
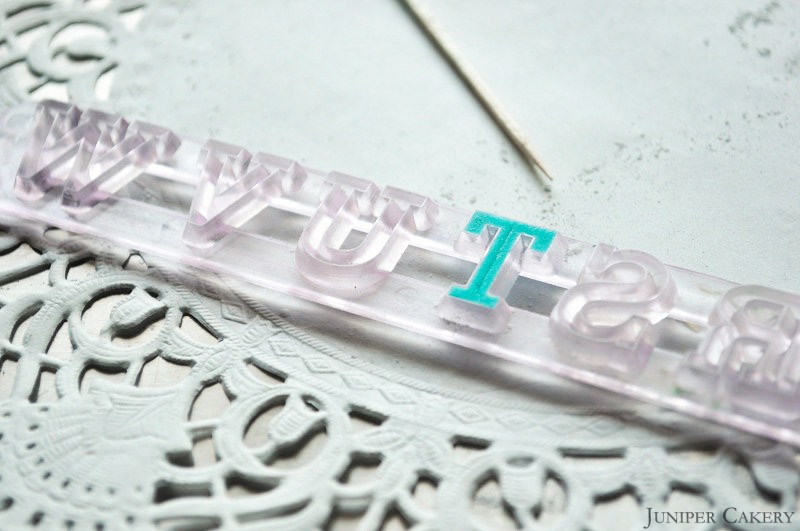
Step one: Using your fondant/sugarpaste rolling pin roll out your modelling paste/sugarpaste as thinly as possible (we use modelling paste as it is much more workable than sugarpaste but sugarpaste will work too if you add a little tylo/tylose powder). Now use the tappit strip cutter to create the perfect size to work with.

How to use Tappits

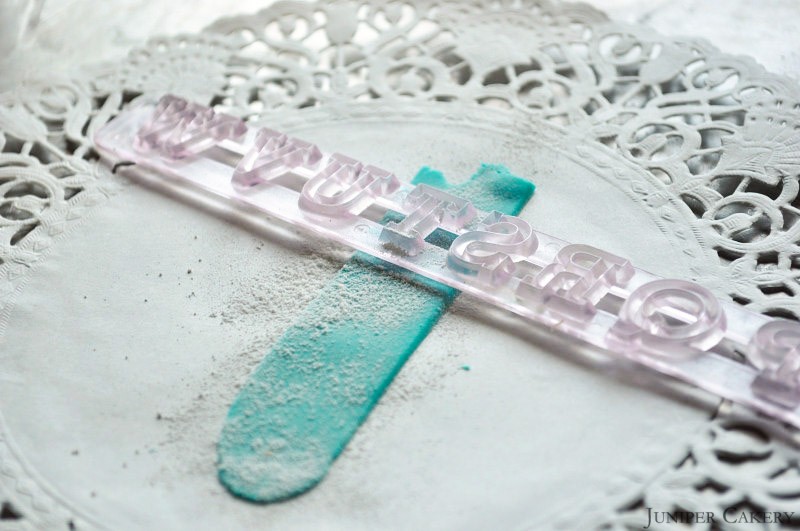
Step two: Dust down the current letter you require with a generous amount of icing sugar before you begin. Now press that letter into the modelling paste/sugarpaste and press it down as hard as you can. Using the end of your rolling pin tap/press the tappit again ensuring it has cut through properly.

How to use Tappits

Step three: Turn your tappit over to see if you can see the edges of your letter poking through. If you can your tappit is ready (if not keep tapping/pressing with the rolling pin). If there is any excess modelling paste/sugarpaste on the outside of your letter use your cocktail stick to remove it.

How to use Tappits

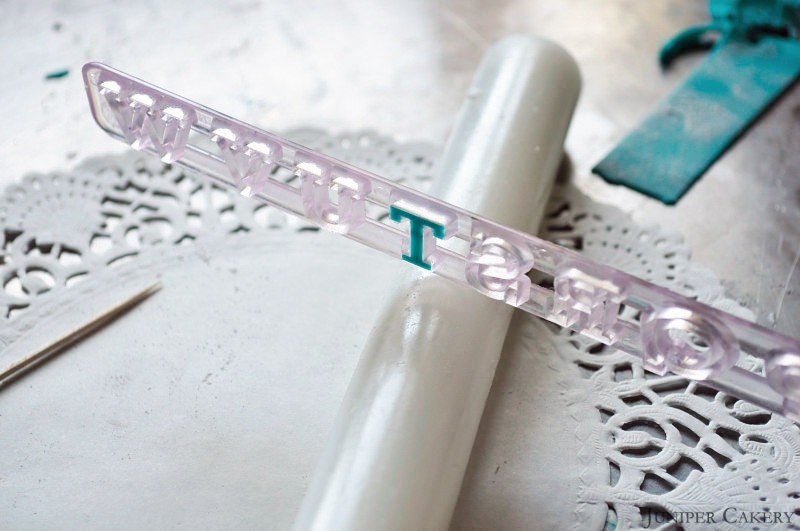
Step four: Place your rolling pin on a hard surface and rest your tappit set on it while you hold one end. Lean your tappit set forward and begin tapping, with force, until the letter falls out and on to your work surface.

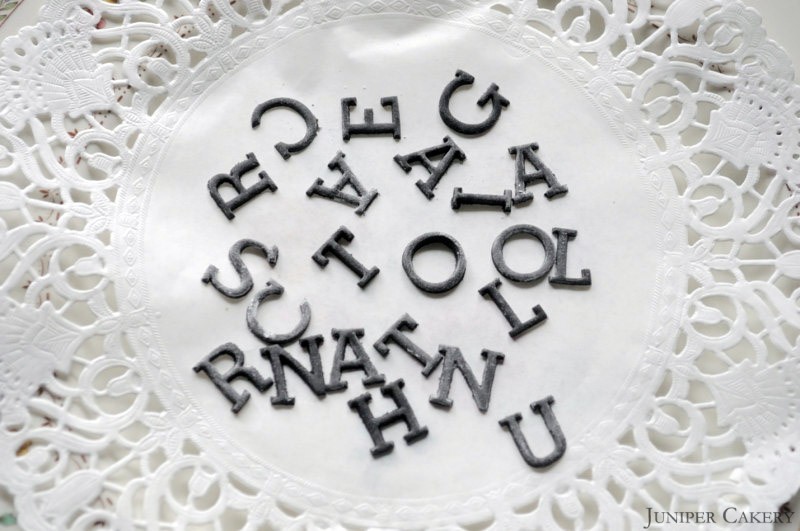
Continue the above process until you have the name, age, phrase you need to finish your baked creation!

How to use Tappits


Craft Themed Birthday Cake!

Last week we created this fun, vibrant craft themed cake! Everything but the knitting needles and pins is edible on this cake and we had great fun creating every little detail. Our favourite pieces are the pin cushion and the spools of cotton.

Craft knitting sewing cake

Inside are layers of chocolate cake filled with lashings of Belgian chocolate buttercream. Before icing in ivory and mustard fondant we covered both tiers with milk chocolate ganache making it the perfect cake for chocolate lovers!

Craft knitting sewing cake


Lemon, Lime & Passion Fruit Cake in Partnership with The Happy Egg Co.

As discussed in June’s development post our inspiration for this month’s cake was tart, fruity flavours. Our lemon, lime and passion fruit combination naturally lead us to create a fresh, vibrant colour palette full of tonal yellows, oranges and green! The ombré buttercream technique we used combined the summer hues of lemon and yellow perfectly and baked inside the cake are flecks of lemon and lime zest to add extra flavour and bursts of bright green.

Lemon, Lime & Passion Fruit Cake

Makes approx. 2-3 x 8″ circle layers depending on thickness of each layer

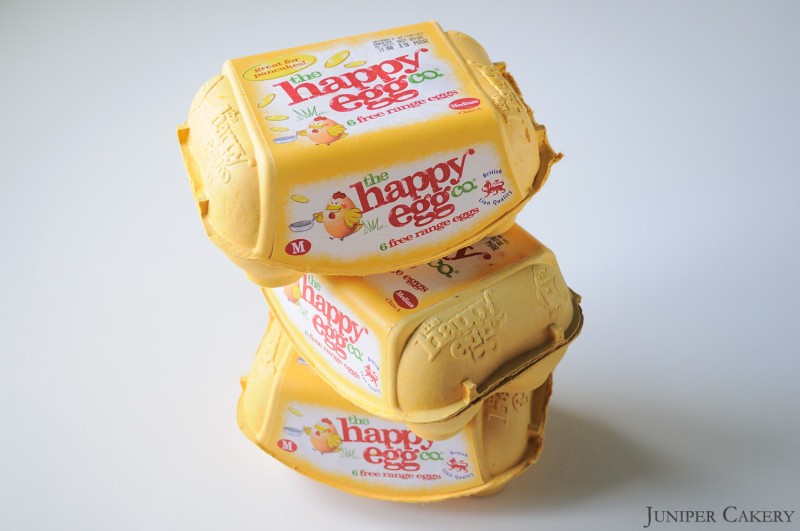
7-8 free range eggs by The Happy Egg Co. depending on egg size
453g self raising flour
453g caster sugar
453g butter
Zest from 2 lemons (optional)
Zest from 2 limes (optional)
Natural Lemon Extract 
Natural Lime Extract

Pre-heat an oven to Gas Mark 3/325F/170C.

Cream your butter in a mixer then add the sugar. Add in the flour along with half of the happy eggs for around one minute. Once half of the happy eggs are combined add the remaining eggs. Mix for about 5 minutes.

Separate your batter into two or three clean bowls (depending on how many layers you’d like) and flavour each with either lemon or lime extract (and zest if you’ve opted for this… do bear in mind that having the zest inside your cake is a little like choosing orange juice with ‘bits’).

Pour batter into an 8″ cake tin/pan around (we aim for the batter to reach 1 1/2 to 2cm in height in the tin) place on the top shelf. Bake for around 40-50 minutes or until ready. Repeat this step to create your second and third layer. When all layers are baked leave them to cool fully as you prepare your buttercream!

For the buttercream you will need…

453g butter (don’t use margarine as the water content is higher and not suitable for buttercream)
453g – 553g icing sugar (choose your own consistency and taste)
Natural Passion Fruit Essence (flavour to taste)

Add half of the of butter into your mixer and cream. Then gradually add icing sugar and the remaining butter (cut into cubes) until you get a smooth, creamy texture.

Add in the passion fruit essence to taste. Separate the buttercream evenly into three clean bowls and colour each a darker shade than the last.

Lemon, Lime & Passion Fruit Cake

The ombré buttercream technique

Achieving an ombré technique with buttercream is much simpler than with fondant as any mistakes can be improved.

Step one: Before you apply your deeper toned colours use some of your lighter coloured buttercream to apply a crumb coat; this will secure any crumbs so they won’t spill out into your design.

Step two:  Now your cake is covered in a thin crumb coat begin to work in bands of colour from the top down. Use a large cranked spatula to apply the remainder of your lighter coloured buttercream to the top of your cake. We were intentionally messy when decorating the top of our cake as this is a fun and simple way to add texture!

Step three: Add your two remaining colours in the same way and use a straight edge scraper to blend the buttercream on the sides of your cake for the perfect ombré finish.

This cake could be created using any three colours so don’t be afraid to experiment with your design.


iPhone Birthday Cake!

We created this super fun iPhone cake yesterday! We designed this cake to have the iPhone angled out of an iPhone box to create height, dimension and a bit of amusement! Underneath it is a delicious chocolate chip cake filled with milk chocolate buttercream and smothered with chocolate ganache.

iPhone Birthday Cake

Everything sat upon this cake is handmade and all of the apps are completely edible; not to mention tiny! The iPhone apps on this cake measure 1.2cm by 1.2cm and took four hours of hunching over our design table to create them individually by hand cutting and painting each one. We included the apps for Facebook, Pinterest, Instagram, and Twitter too!

iPhone Birthday Cake

At the last minute we then thought it’d be playful to add a set of those iconic Apple headphones plugged into the phone. These too are edible and hand made by yours truly!

We had a lot of fun making this cake despite the hours of treatment we might need on our necks and backs. Cakes like this are exciting for us to create. They are LONG jobs (this cake took a total of 15 hours from start to finish), but when all of the little pieces begin to come together it’s a bit like magic happening!


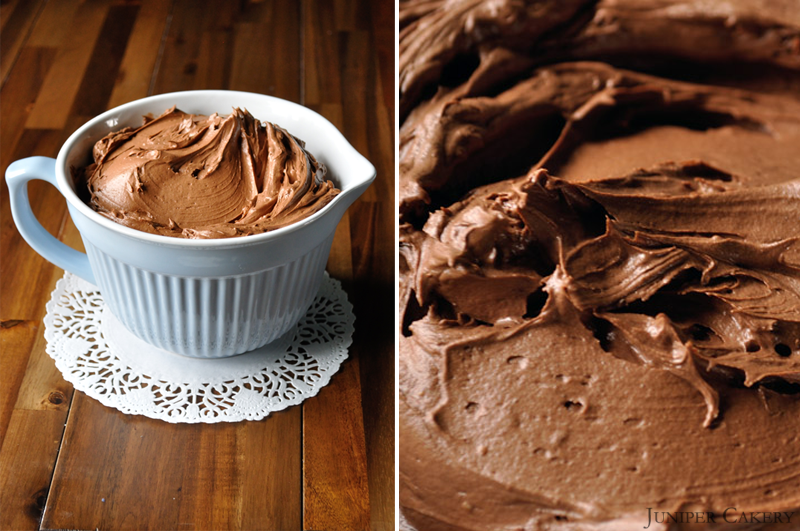
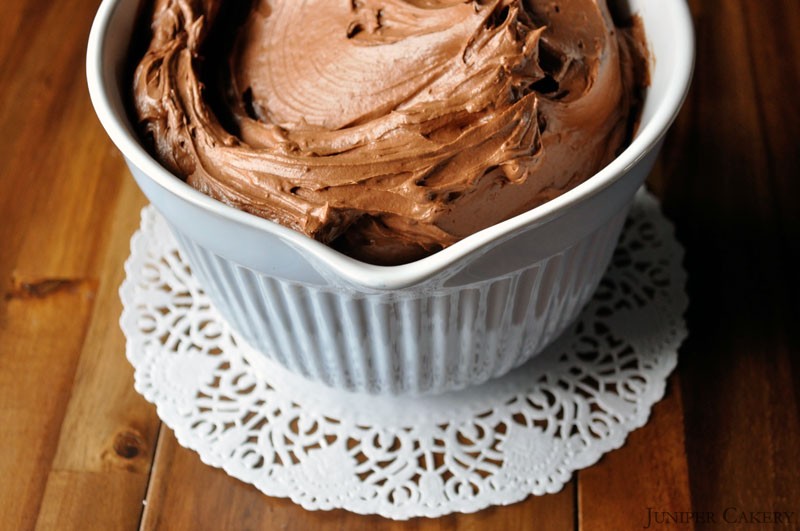
Tutorial Tuesday: How to Make Perfect Chocolate Buttercream

As a follow up from our popular How to Make Simple Buttercream tutorial / recipe we thought we’d offer up our tips on whipping up an amazingly decadent chocolate buttercream! This frosting is perfect for mouth watering dark truffle cakes and milk chocolate fudge cakes. You can even use our tips to make an amazingly smooth white chocolate buttercream; perfect with delicious fruity fillings and preserves inside layer cakes.

How to make perfect chocolate buttercream

Our first tip for creating super smooth chocolate frosting is… add melted chocolate! The best thing about adding melted chocolate is that it really helps minimise air bubbles. The second is that by mixing a simple buttercream recipe / method with tempered chocolate is that it becomes a sort of hybrid buttercream-ganache; or ‘butternache’. This makes it perfect for crumb coating cakes.

Perfect Chocolate ButtercreamPerfect Chocolate Buttercream

Perfect chocolate buttercream recipe!

To make enough to fill and ganache/buttercream a 10″ cake of three layers and a 6″ cake of three layers you’d need around 900g of our super smooth chocolate buttercream. This equates to… (NOTE: To make enough to generously frost around 24 cupcakes you’d need around two thirds of the recipe below. Simply multiply the amount per ingredient below by 2 and then divide by 3 e.g. 750g butter x 2 = 1500 / 3 = 500g)

As we stated in our Simple Buttercream tutorial use this recipe as a jumping off point to help whip up frosting perfect for you and how you work. If you haven’t read our initial tutorial about whipping up buttercream you probably should!

750g butter
400g chocolate callets / buttons (the best are by Callebaut)
400g icing / confectioner’s sugar
12 tablespoons of cocoa powder

Perfect Chocolate Buttercream

Step one: Cut up your butter into small cubes. We use a serrated knife to do this as the serrated edge causes less suction than a straight edge one. This means you shouldn’t be fighting desperately with getting the butter off your knife; a hazardous thing to do at best!

Step two: In a stand up mixer (we recommend a KitchenAid Artisan 4.8 Litre / 5 Quart Mixer) cream your butter using the flat beater on medium speed.

Step three: As the butter is creaming add in the icing sugar a bit at a time.

Step four: In a glass bowl melt up your chocolate callets in either a bain marie (the bowl in a saucepan of hot water) or a microwave (check and stir every 30 seconds to avoid burning).

Step five: Remove from heat once melted and stir until the chocolate has half cooled. Pour your melted chocolate into your mixer bowl with the buttercream and mix.

Step six: Add in the tablespoons of cocoa powder four at a time. Mix. Test your frosting once every 4 tablespoons has been incorporated.

Step four: Mix your frosting at full speed at 30 second intervals; checking each time.

Perfect Chocolate Buttercream

Remember to test, taste and analyse your buttercream as you make it and change the recipe slightly if need be. You need to develop a sort of sixth sense or intuition when it comes to whipping up things like buttercreams and fillings. With our recipe and the advice we offered on our initial How to Make Simple Buttercream post you should be on your way to making perfect and delicious frosting! Buttercream can be a trial and error thing, but with experience you’ll end up with wonderful frosting every time!


×