Recipe: White Chocolate Cupcakes!

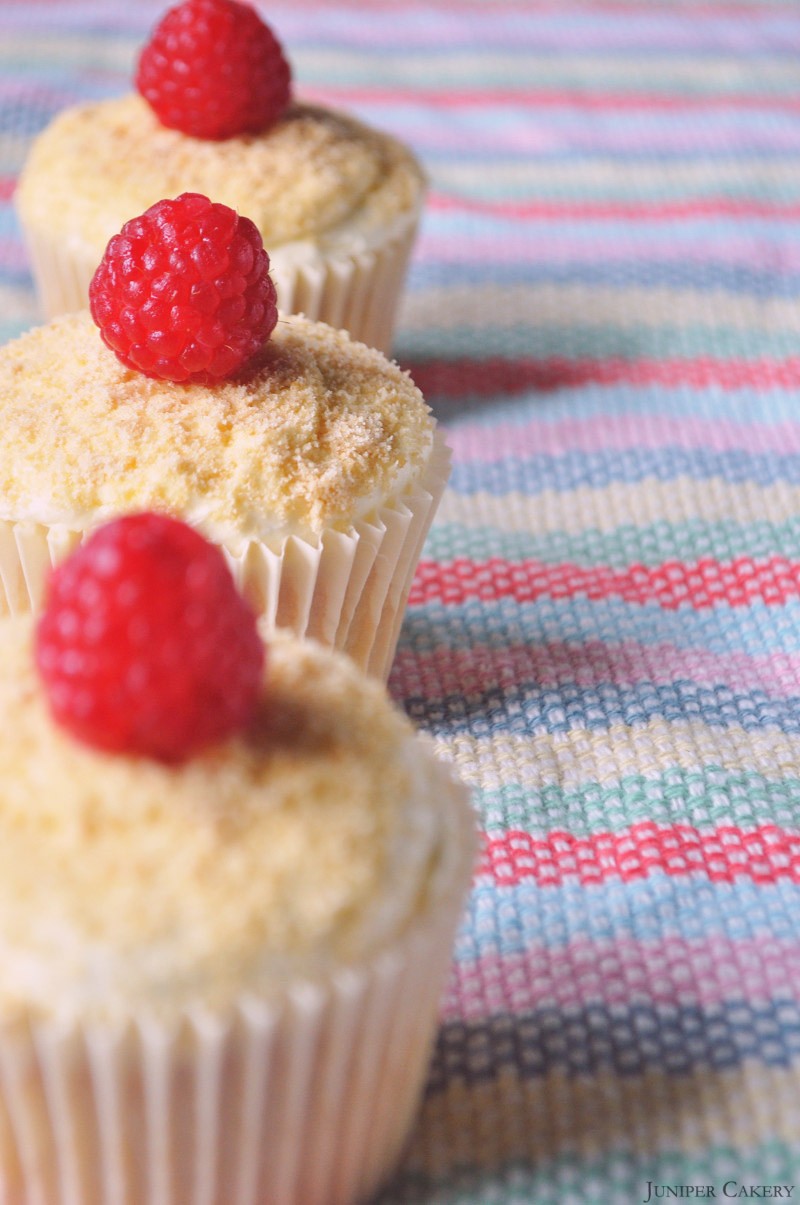
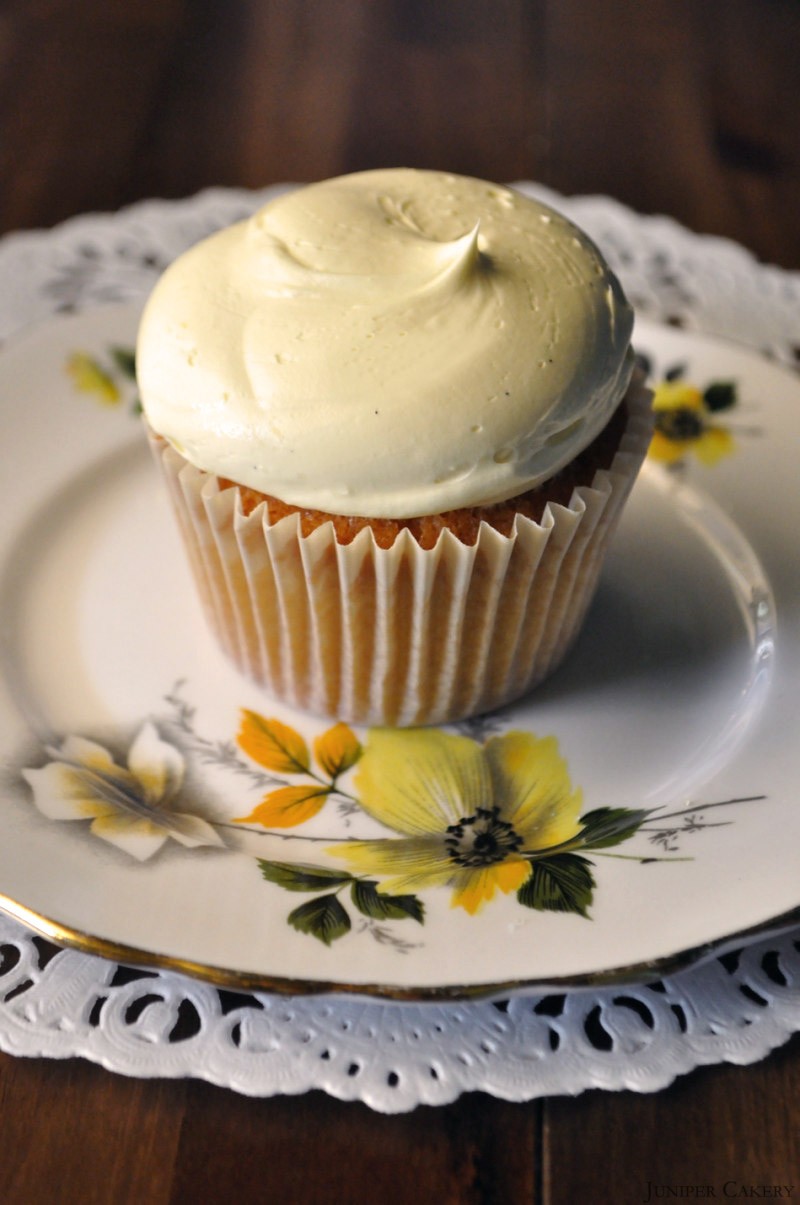
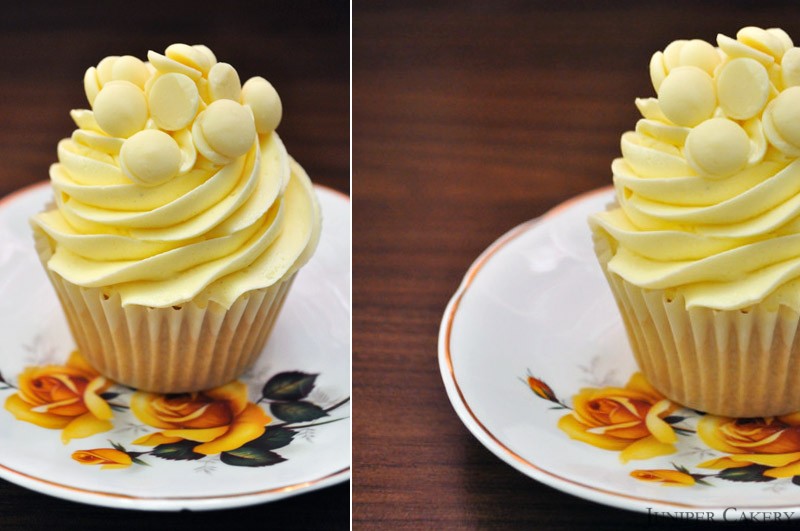
Here is a cupcake recipe for all the white chocolate lovers out there! This cupcake is a lovely creamy, soft and smooth white chocolate crammed delight. It’s perfect for the chilliness of the coming months, but if you want something with a bit of bite why not throw in some lemon extract into the batter with a handful of blueberries, raspberries or blackberries. Either way this is a wonderful cupcake for a well deserved treat!

Recipe: Triple White Chocolate Cupcakes

Recipe: Triple White Chocolate Cupcakes

Vanilla and White Chocolate cupcakes (makes approximately 12)

226g self raising flour
226g butter
226g caster sugar
4 eggs
1 Bourbon Vanilla Pod
2 handfuls of white chocolate chips or buttons

Step one: Preheat your oven to Gas Mark 3/325F/170C

Step two: Cream the butter with sugar and once well mixed add in the seeds from the inside of your vanilla pod, flour and then the eggs.

Step three: Set out twelve cupcake cases in your pan and fill each case 2/3 full. Tumble some white chocolate chips/buttons into your batter.

Step four: Bake from around 12-18 minutes or until a golden brown on top and leave to cool on a counter.

Recipe: Triple White Chocolate Cupcakes

White Chocolate Buttercream

We make our buttercream using our own intuition. We’ve tried countless recipes; all of which failed to pass our test (and stability) tests. It’s best that you begin to develop and ‘eye’, ‘feel’ and ‘taste’ so that you know when your frosting is perfect for you. For starters though, the recipe below is a rough guide…

250g butter
250-350g icing sugar
100g of white chocolate chips/buttons
1 Bourbon Vanilla Pod
Extra white chocolate chips/buttons to decorate
855 piping tip/nozzle
Piping bags

Step one: Cut your butter into small cubes and cream your butter until soft. Gradually add icing sugar until a good consistency and add the seeds from a vanilla pod..

Step two: Melt 100g of white chocolate buttons and once partially cooled add to your buttercream. Mix well. Add a little extra icing sugar if needed.

Step three: Fill a piping bag fitted with an 855 piping tip/nozzle (this tip/nozzle creates lovely ruffled buttercream) with your white chocolate buttercream.

Step four: Now you can pipe lots of generous and tasty swirls of buttercream on top of your cupcakes once they have cooled down and topple some tasty white chocolate chips/buttons on top!

Recipe: Triple White Chocolate Cupcakes


Tutorial Tuesday: How to Make an Edible Fondant Coffee Cup!

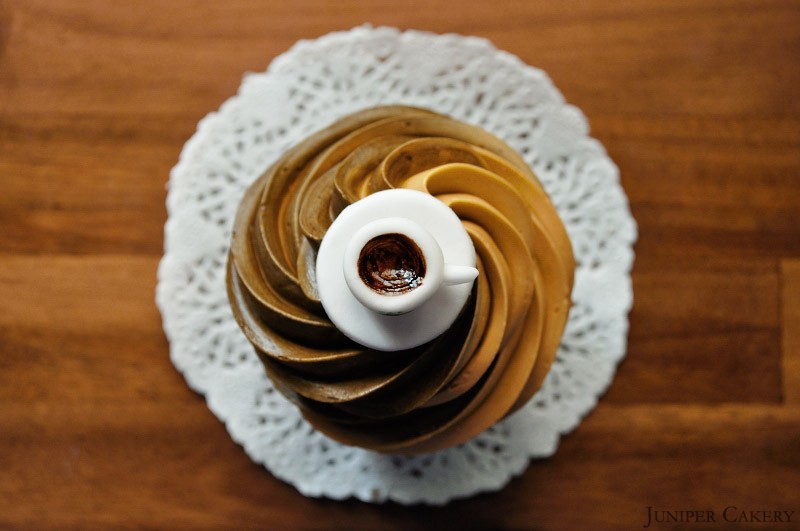
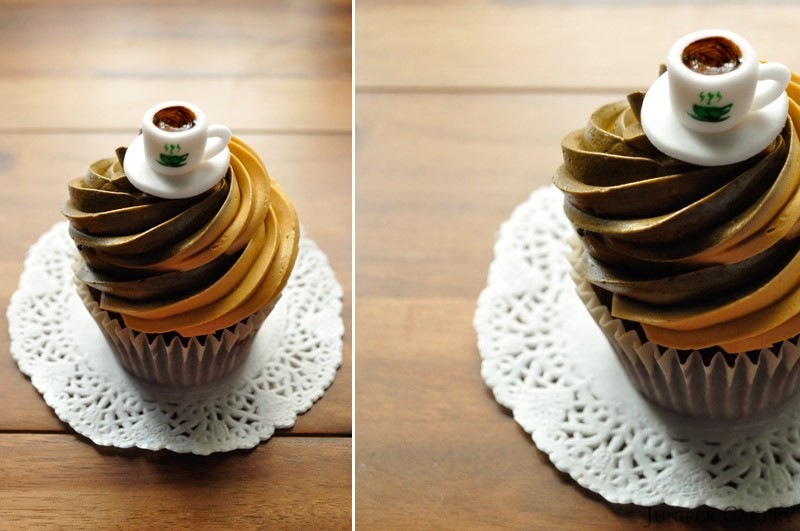
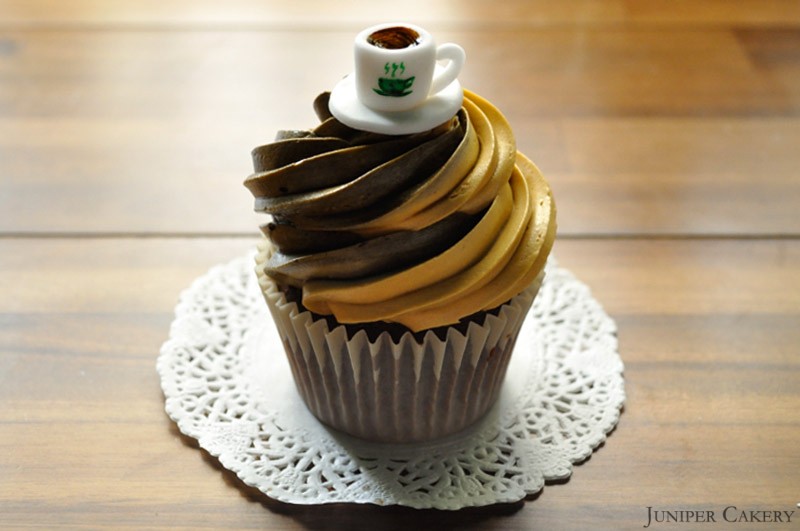
Since we created our Caramel Mochaccino cupcake complete with a tiny edible coffee cup perched on top we’ve been inundated with messages and emails asking how me made this. So here is our tutorial on how to re-create your own fondant cup of coffee. It’s obviously perfect to top cupcakes with, but also would add to an afternoon tea or dinner ‘scene’ on a cake. Another great thing is that it is super quick and easy to make!

TUTORIALcoffeecup

What you will need…

Sugarpaste/fondant
Ball tool
Piping tip
Paint brush
Green gel food colour
Brown gel food colour

DSC_0007_208

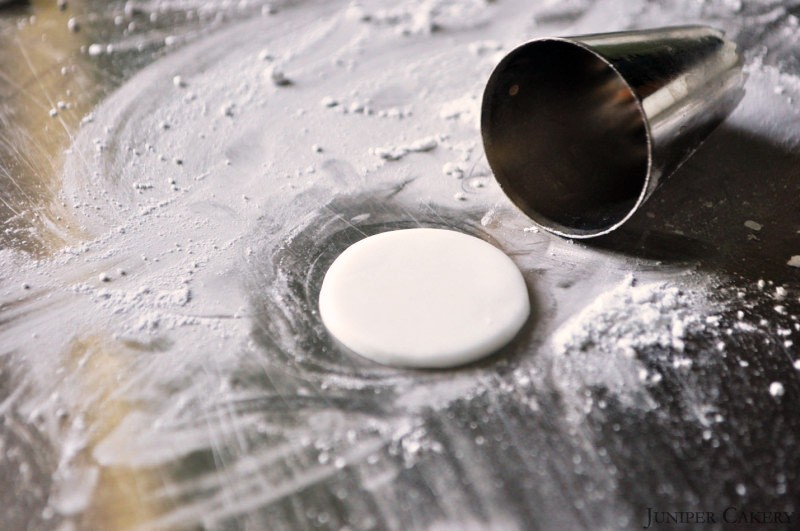
Step one: Roll out your sugarpaste / fondant on a floured surface and using the large end of a piping tube to cut out a circle. This will be your ‘saucer’.

plate

Step two: Using your ball tool indent the centre of your saucer slightly.

DSC_0017_213

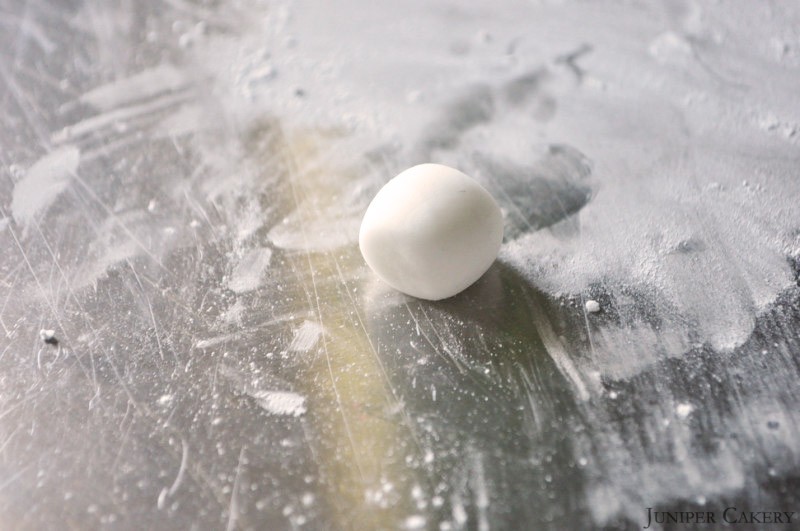
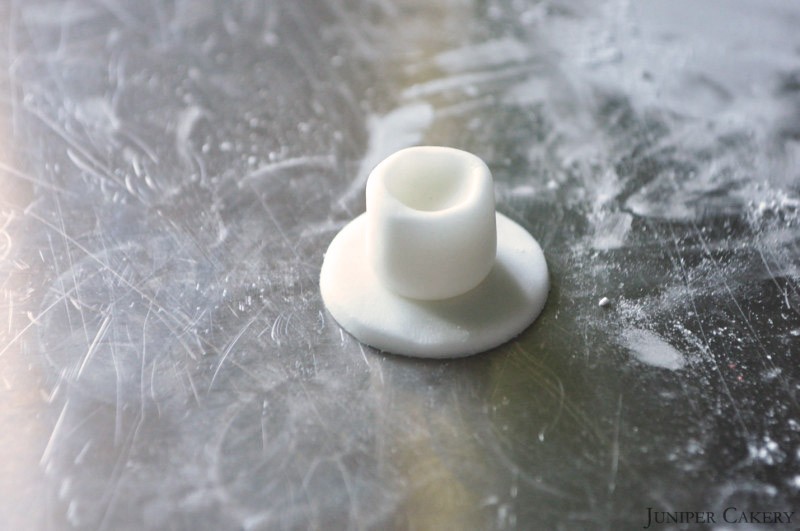
Step three: To make your actual coffee cup create a marshmallow shape around 1.5cm heigh. Make sure that the small ends are fairly flat. Set aside.

DSC_0010_209

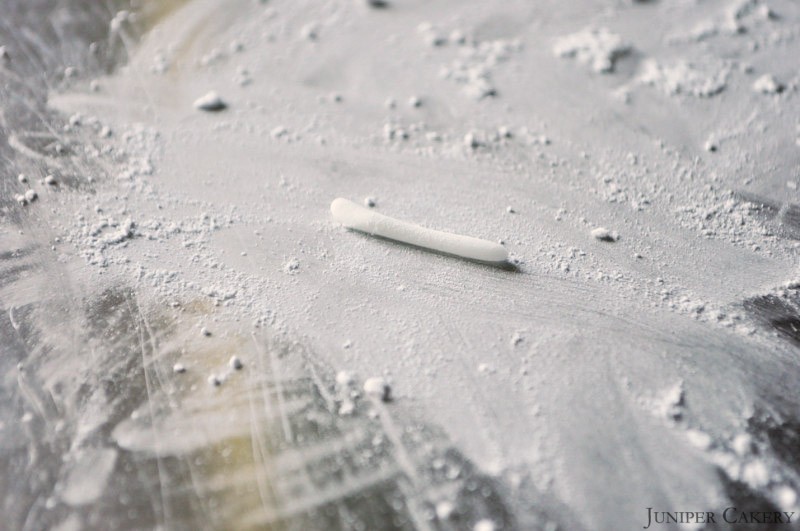
Step four: To make the handle for your cup roll out a little bit of sugarpaste / fondant into a thin sausage shape.

DSC_0024_214

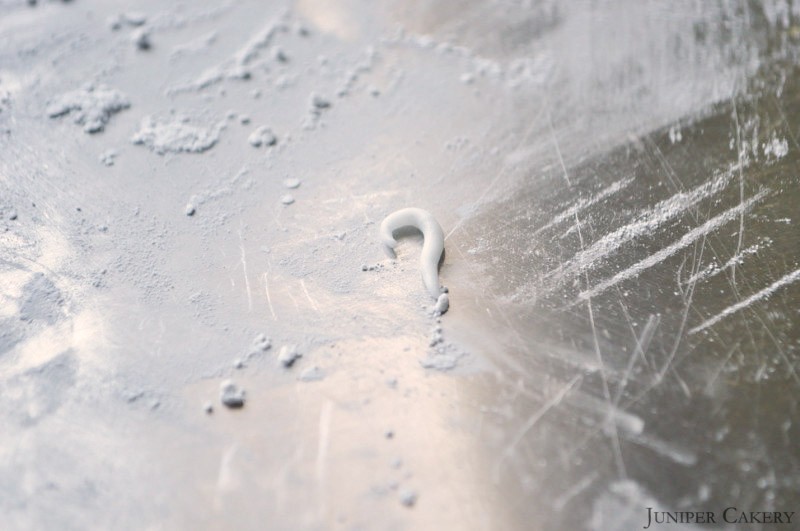
Step five: Now shape this into a nice sized curve. Set aside.

DSC_0022_211

Step six: Indent your coffee up at the top with your ball tool.

DSC_0026_217

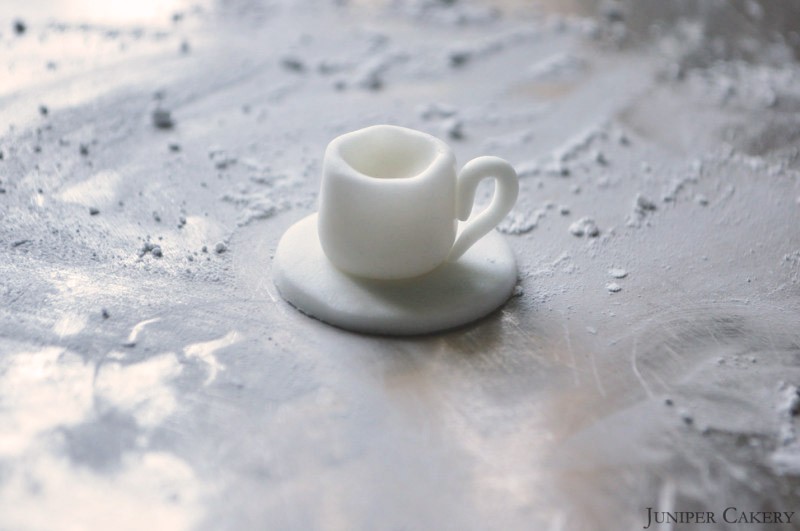
Step seven: Dab some water onto the centre of your saucer and place your cup on top to fix it into place. Paint a little water down one side of your cup and carefully attach your handle.

DSC_0028_216

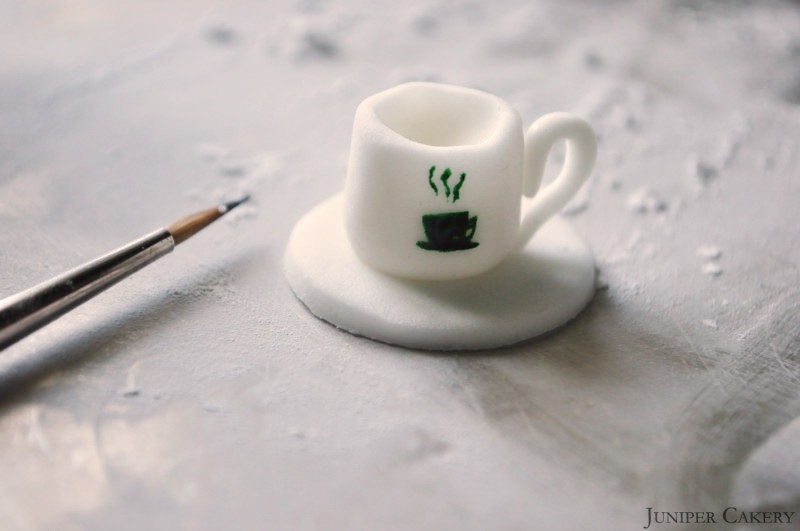
Step eight: Add some extra detail by painting a ‘logo’ onto the front of the coffee cup with a paintbrush and some food gel colour paste.

DSC_0029_215

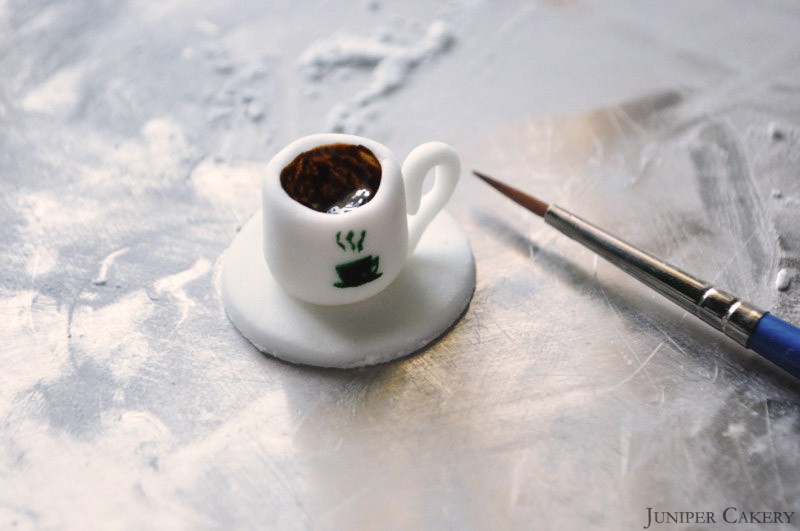
Step nine: ‘Pour’ in some coffee by painting the inside of your cup with brown food gel paste!

Caramel Mochaccino

You should now be left a really fun and playful little coffee cup to nestle atop of coffee flavoured cupcakes! For teacups and tea themed cupcakes make your cups a little more slim and add some traditional pattern like ‘swags’ or polka dots. Also, try painting the edges with edible gold paint and use a weaker brown colour to paint in the actual beverage.

Caramel Mochaccino

Caramel Mochaccino


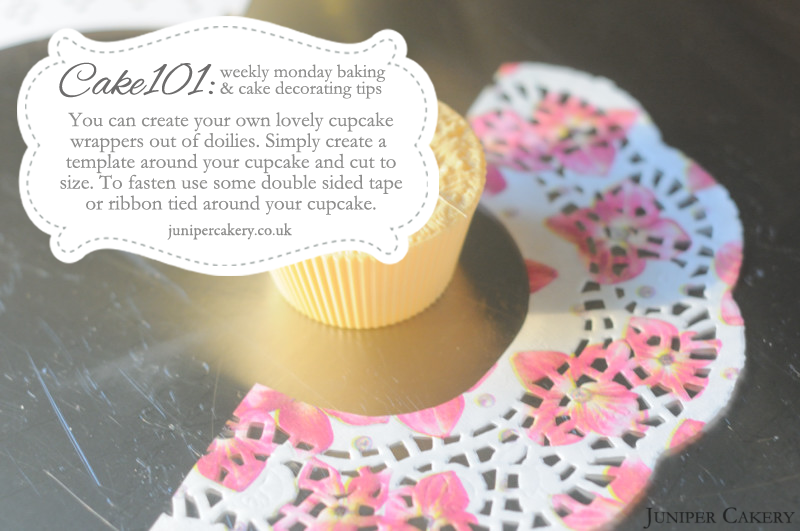
CAKE101: Make Your Own Cupcake Wrappers

Sometimes you may need to custom decorate your cupcakes with something extra. Creating cupcake wrappers for themed celebrations is quick and fun! All you need are some cupcakes, doilies, scissors and double sided tape!

CAKE101 Make Your Own Cupcake Wrapper

“You can create your own lovely cupcake wrappers out of doilies. Simply create a template around your cupcake and cut to size. To fasten use some double sided tape or ribbon tied around your cupcake.”


Recipe: Raspberry and Bergamot Cupcakes!

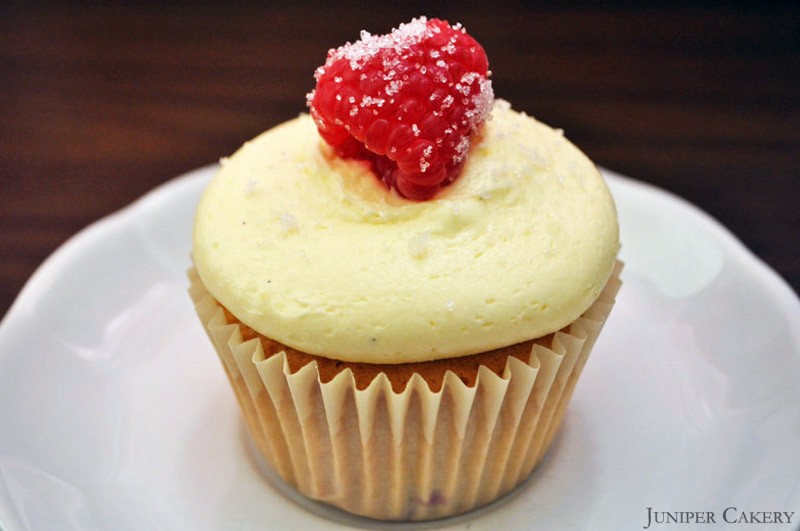
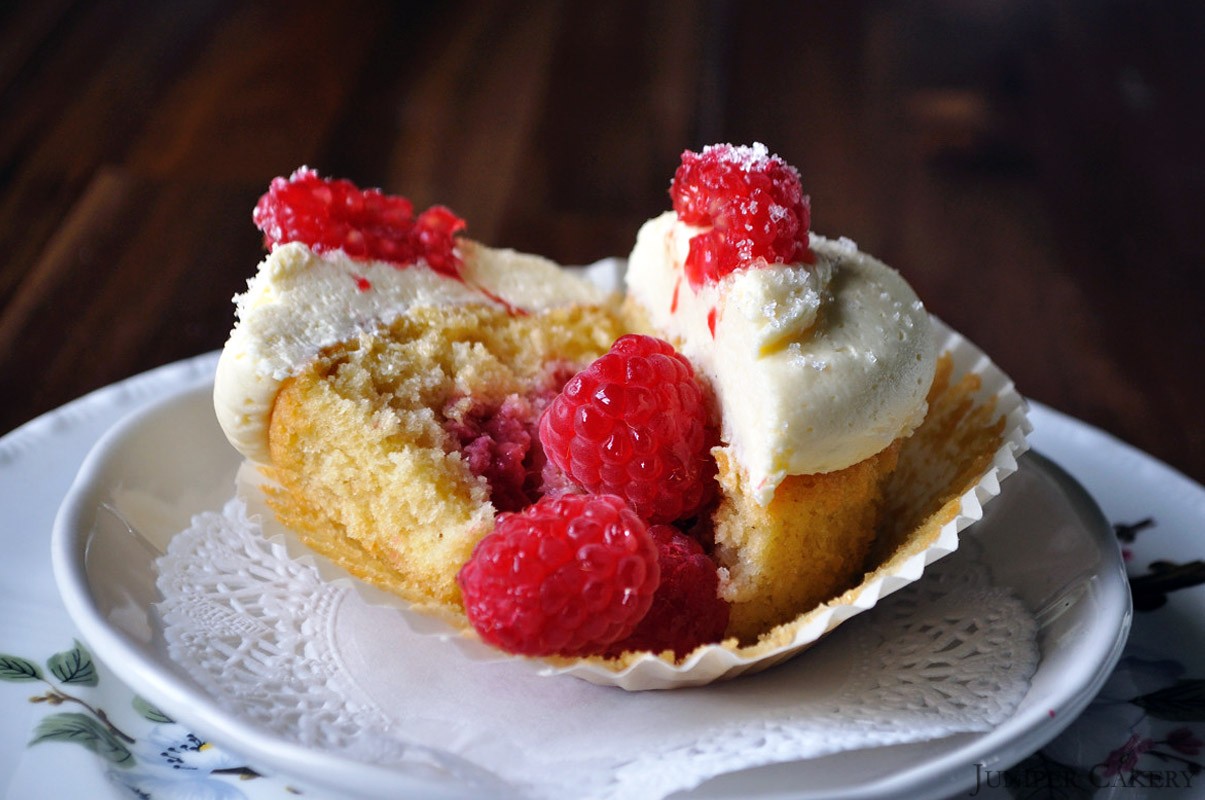
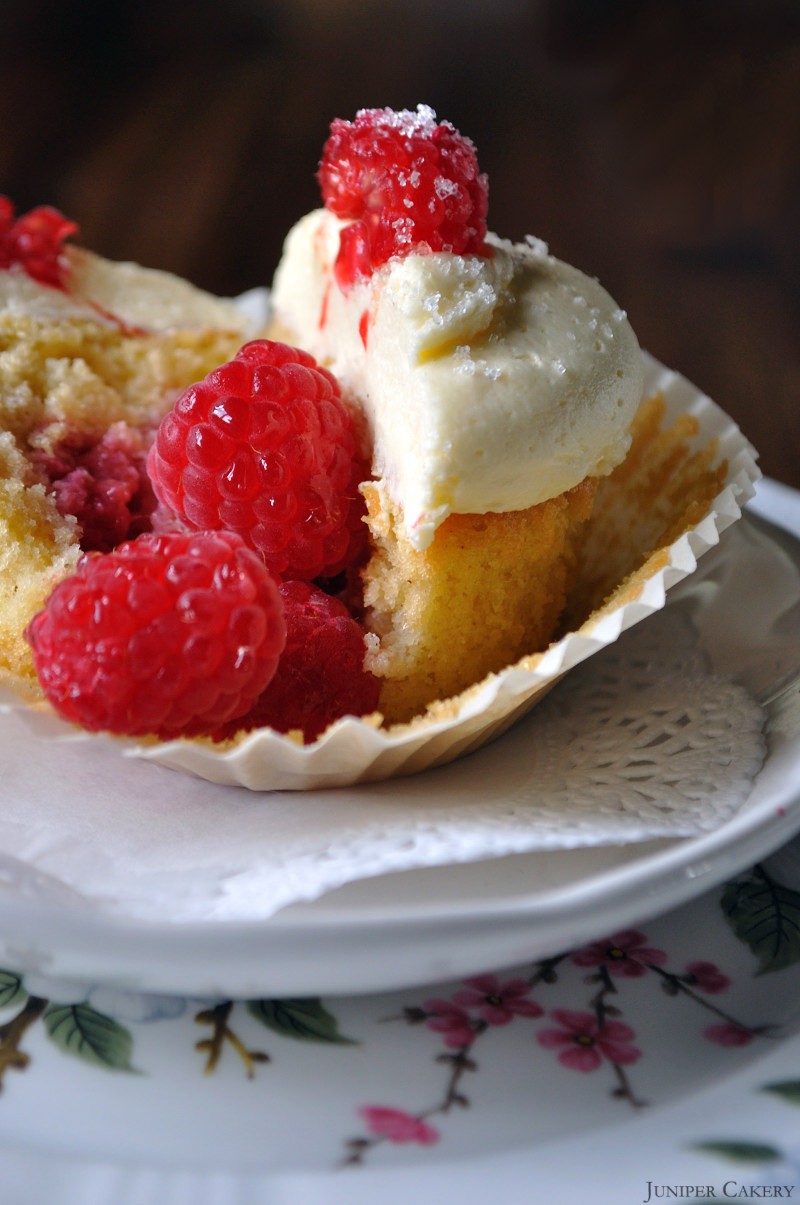
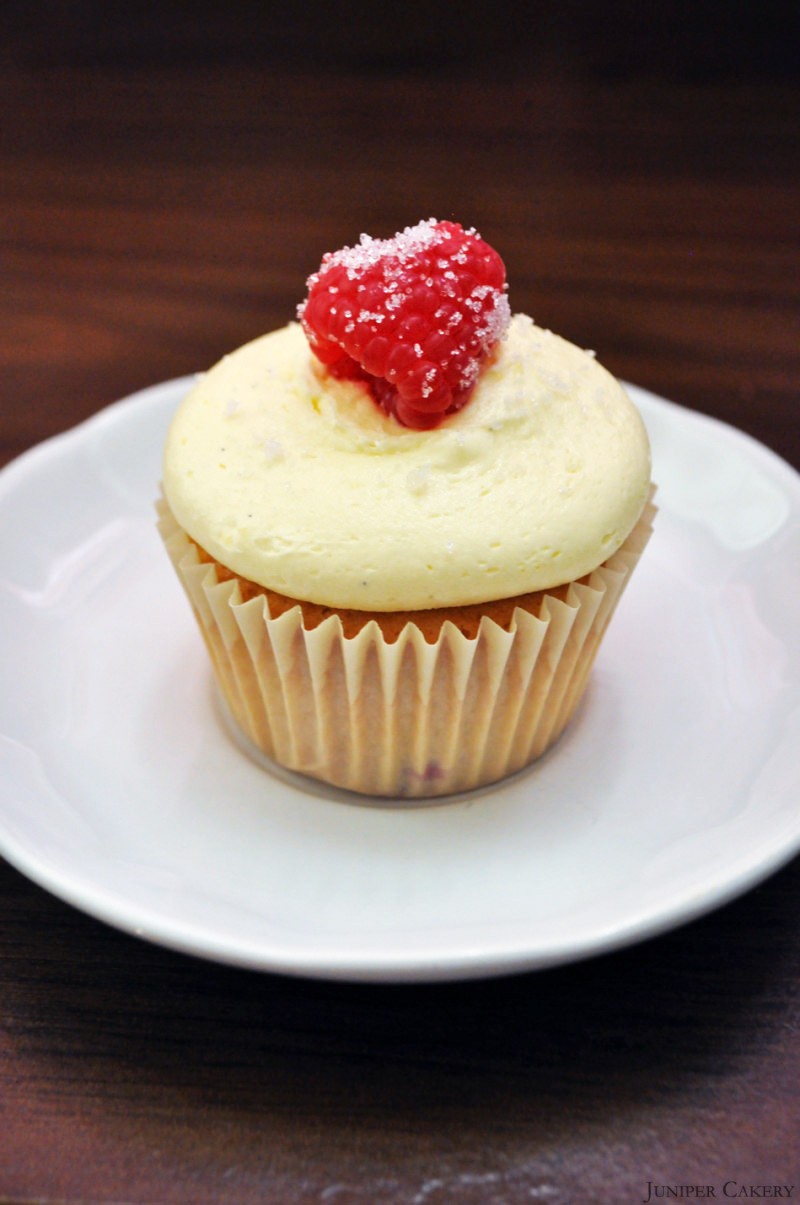
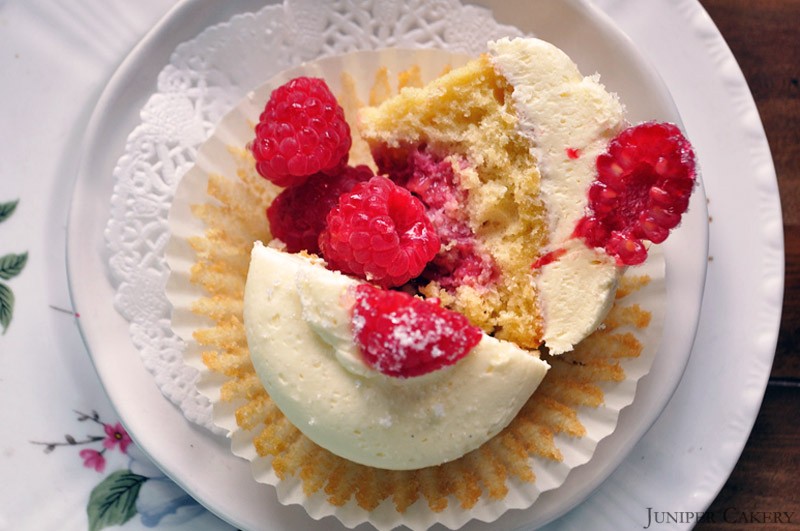
Bergamot has a wonderfully soft floral and citrus taste which pairs perfectly with tart flavours. For this cupcake recipe we teamed it with tangy raspberries baked inside. Another great thing about baking with bergamot extract is the smell; be prepared for a lovely earl grey tea scent travelling through your home when you have these cupcakes in the oven! Why not follow our recipe below for a batch of cupcakes perfect for an afternoon treat.

Recipe: Raspberry, Bergamot and Vanilla Cupcakes

Recipe: Raspberry and Bergamot Cupcakes

Recipe: Raspberry, Bergamot and Vanilla Cupcakes

Recipe: Raspberry, Bergamot and Vanilla Cupcakes

Makes approximately 12 cupcakes

Raspberry cupcakes recipe

226g self raising flour
226g butter
226g caster sugar
4 eggs
3 raspberries per cupcake

Step one: Preheat your oven to Gas Mark 3/325F/170C

Step two: Cream the butter with sugar and once well mixed add in the flour and then the eggs.

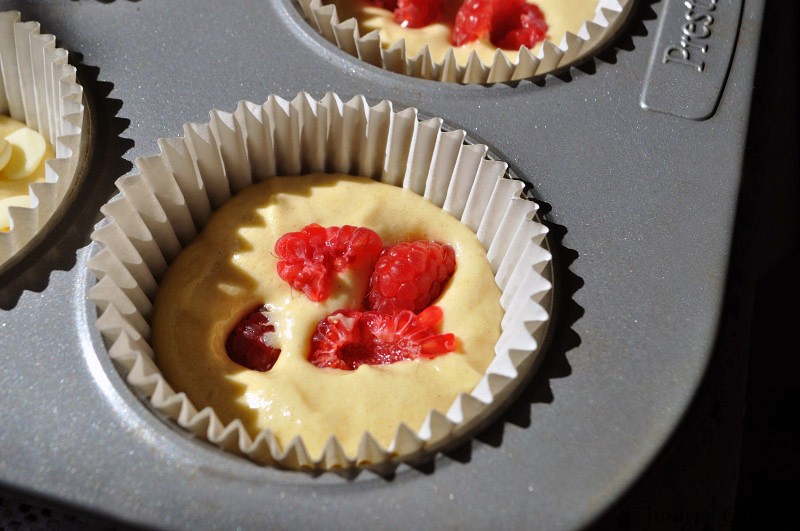
Step three: Set out twelve cupcake cases in your pan and fill each case 2/3 full. Push your raspberries into each cupcake case full of batter.

Step four: Bake from around 12-18 minutes or until a golden brown on top and leave to cool on a counter.

Recipe: Raspberry, Bergamot and Vanilla Cupcakes

Bergamot Buttercream recipe

We make our buttercream using our own intuition. We’ve tried countless recipes; all of which failed to pass our taste and stability tests. It’s best that you begin to develop an ‘eye’, ‘feel’ and ‘taste’ so that you know when your frosting is perfect for you. For starters though, the recipe below is a rough guide…

250g butter
250-350g icing sugar
1 teaspoon Bergamot Extract
Raspberries to decorate (we dampened ours and rolled them in caster sugar)
808 piping tip/nozzle
Piping bags

Step one: Cut your butter into small cubes and cream your butter until soft. Gradually add icing sugar until a good consistency.

Step two: Add the 1 teaspoon Bergamot Extract and mix well.

Step three: Fit a piping bag with 808 piping tip/nozzle and fill with your vanilla buttercream.

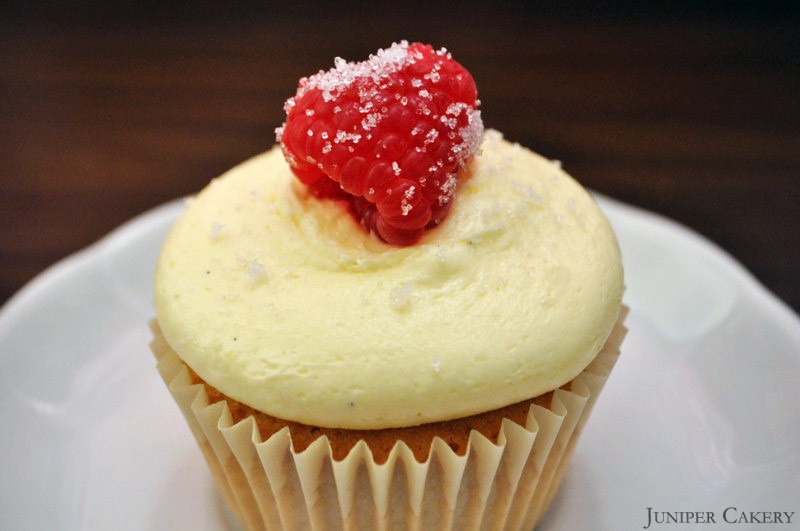
Step four: Now you can pipe lots of generous and tasty swirls of buttercream on top of your cupcakes once they have cooled down and finish with a lovely fresh raspberry!

Recipe: Raspberry, Bergamot and Vanilla Cupcakes

Recipe: Raspberry and Bergamot Cupcakes


CAKE101: Using Buttercream is Fun… and Forgiving!

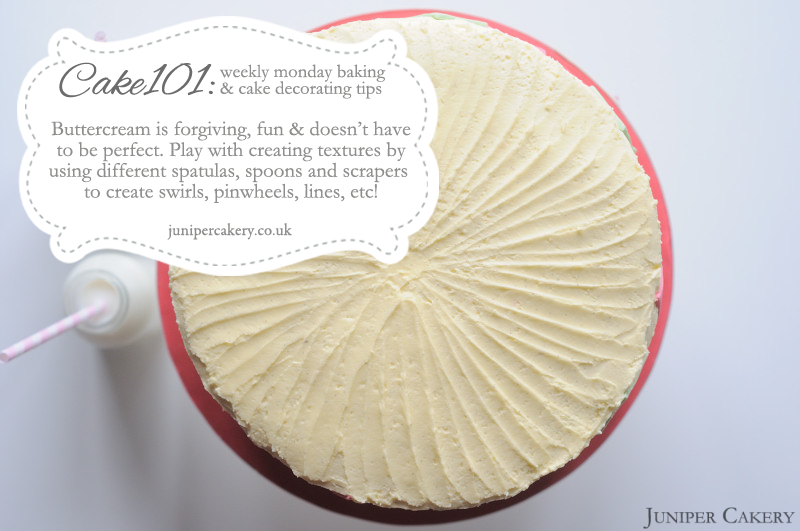
Working with buttercream is great for beginner cake decorators and for the more experienced. It’s pretty quick, flexible and easy to work with. You can scrape and shape buttercream multiple times until it is pristine or create messy texture with various tools; both look great. You can also start again as many times as you like. They key is to keep experimenting!

CAKE101 buttercream cakes

“Buttercream is forgiving, fun & doesn’t have to be perfect. Play with creating textures by using different spatulas, spoons and scrapers to create swirls, pinwheels, lines, etc!”


The Happy Egg Co. Cake - Raspberry Ripple

As the end of summer looms beaches across the UK are jam-packed with holiday makers hoping to enjoy the last bit of warm weather. We too enjoyed a trip to the seaside where we were on a mission to eat lots of fruity ice cream and make sandcastles. When we returned home we were inspired to put the two together and create a raspberry ripple sandcastle cake for this month’s happy egg co. recipe!

Raspberry Ripple Cake Development Raspberry Ripple Cake Development Raspberry Ripple Cake Development

The tart bursts of flavour from fresh raspberries remind us of past, and recent, visits to the beach on a typical British summer day. Classic flavours like vanilla, chocolate, strawberry, raspberry ripple and banana would attract adults and children alike to ice cream parlors and vans across the country. Raspberry ripple was always our favourite but it wouldn’t be a ‘ripple’ if it wasn’t accompanied by another classic flavour, vanilla!

Pairing fresh, homegrown raspberries and vanilla pod infused buttercream is a great, simple way to recreate a seaside staple! The fun, novelty sandcastle cake for this month is a wonderful way to enjoy the remaining sunshine from the comfort of your own home!


Recipe: Honey Whiskey Cupcakes!

These honey whiskey cupcakes are the perfect boozy treat exclusively for grown ups! They’re a little more rustic than the trend for cocktail infused cupcakes and the rich, deep flavour of the honey adds a great sweetness to the buttercream. By adding bourbon vanilla pod seeds in your buttercream with a splash (or several) of Tennessee honey whiskey you’ll get a lovely creamy taste too. Follow our recipe below for some indulgent treats!

Honey Whiskey Cupcakes

Honey Whiskey Cupcakes

Vanilla Cupcake Recipe (makes approximately 12 cupcakes)

226g self-raising flour
226g butter
226g caster sugar
1 Bourbon vanilla pod
4 eggs
Cupcake cases

Step one: Preheat your oven to Gas Mark 3/325F/170C

Step two: Cream the butter with the sugar and once well mixed add the eggs then gradually add the flour and seeds from your vanilla pod.

Step three: Set out your cupcake cases in your pan and fill each case 2/3 full.

Step four: Bake from around 12-18 minutes and leave to cool on a counter. TIP: To stop the tops of cakes and cupcakes from hardening when cooling place slices of bread on top of them as they cool.

Tennessee Honey Whiskey Buttercream

250g butter
300g – 400g icing sugar
50-75ml of Tennessee Honey Whiskey by Jack Daniels
Honey Gold Gel Food Colour Paste by Sugarflair
Piping bags
808 piping tip

Step one: Cut your butter into small cubes and cream your butter until soft. Gradually add icing sugar until a good consistency.

Step two: Add the honey whiskey to taste. Colour with a little Honey Gold Gel Food Colour Paste by Sugarflair.

Step three: Fit a piping bag with a 808 piping tip (to get a lovely smooth-look buttercream like our cupcake). Fill your piping bag with your buttercream.

Step four: Pipe some generous swirls atop your cupcakes. We pipe our cupcakes from the centre and around whilst cutting in on top.

Honey Whiskey Cupcakes


Tutorial Tuesday: How to Make Quick and Simple Fondant Roses!

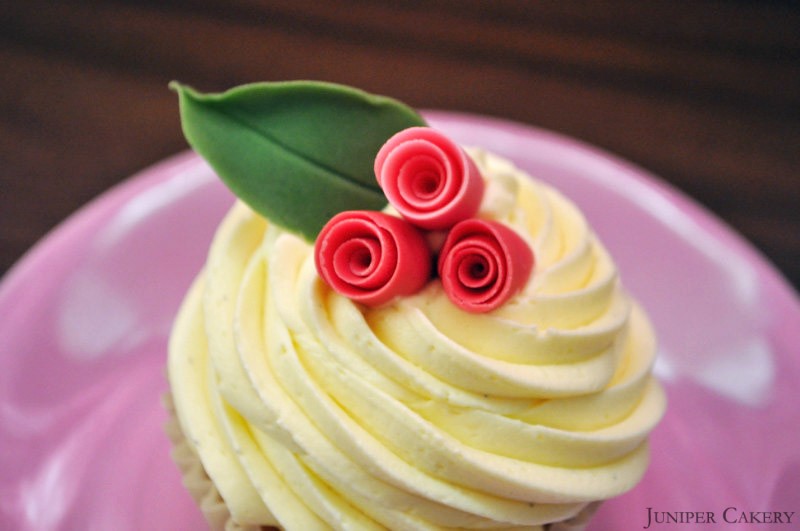
Sometimes you don’t need multi-petaled flowerpaste roses, delicate ruffled peonies or realistic hydrangeas to top floral themed cupcakes and cakes with. If you’re aiming for simple designs and convenience then these super quick and easy fondant roses will be perfect for creating flower adorned treats! They’re also small and sweet (no pun intended) enough to top cookies, mini cakes, whoopie pies and macarons with!

How to make quick and simple fondant roses

How to make quick and simple fondant roses

How to make quick and simple fondant roses

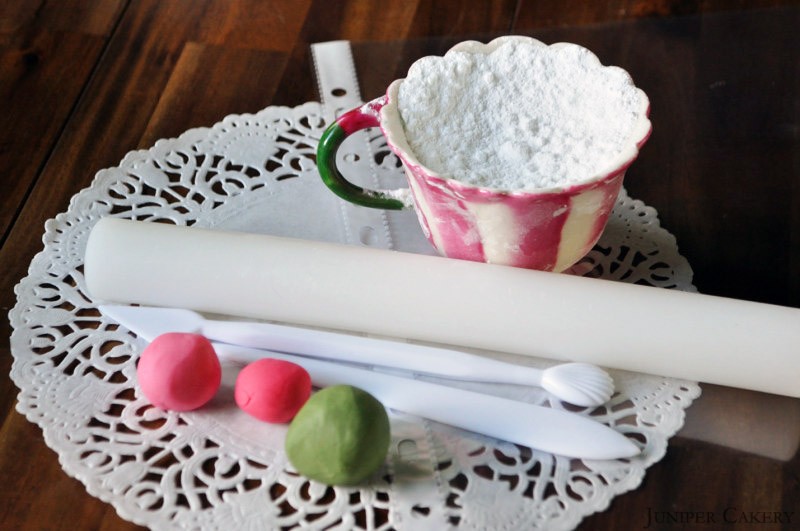
What you will need…

Green sugarpaste / fondant (we used Juniper Green by Wilton to colour white/ivory sugarpaste)
Whatever colour you wish for the roses
Fondant rolling pin
Blade modelling tool
Veiner modelling tool
Icing sugar
A clear filing pocket
Scissors

How to make quick and simple fondant rosesStep one: Cut open your filing pocket so that you can flip it open and shut easily. Using these pockets is a great tip we’ve picked up for flower making. They enable you to create thinner and smoother petal edges. Your petals are also least likely to stick to the clear material!
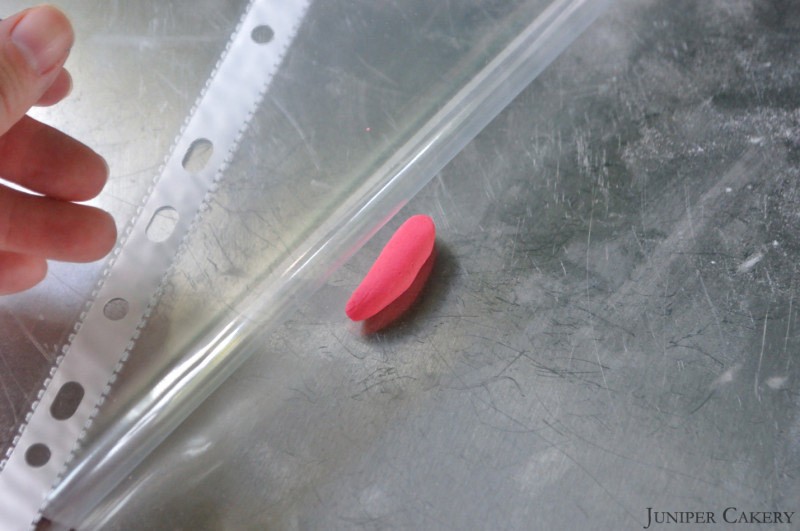
Step two: Roll and shape a little sugarpaste / fondant into a ‘slug’ shape. Place this inside your clear filing pocket.

How to make quick and simple fondant roses

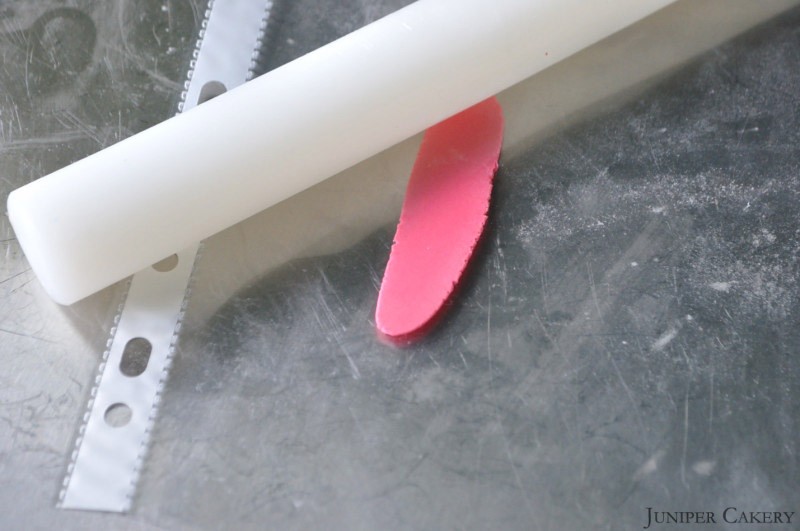
Step three: With your sugarpaste / fondant inside your pocket use a fondant rolling pin to roll it out to around 2mm.

How to make quick and simple fondant roses

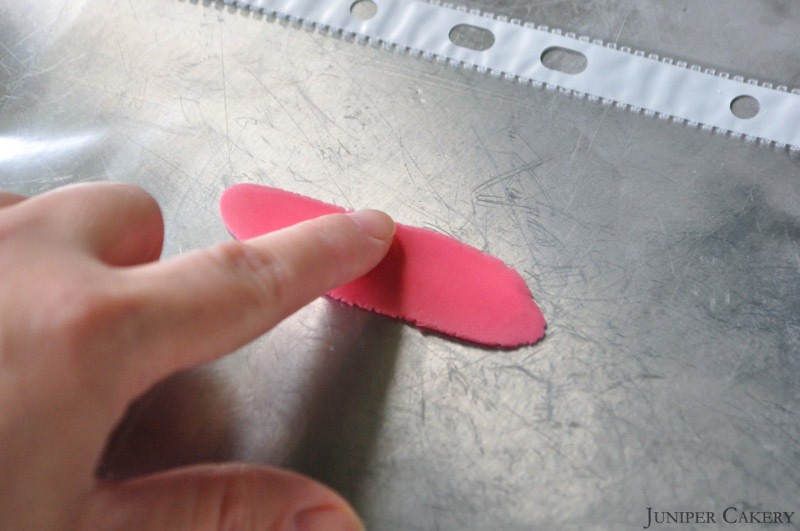
Step four: With your sugarpaste / fondant still inside the pocket press and rub along the long edges to get lovely smooth and thin edges.

How to make quick and simple fondant roses

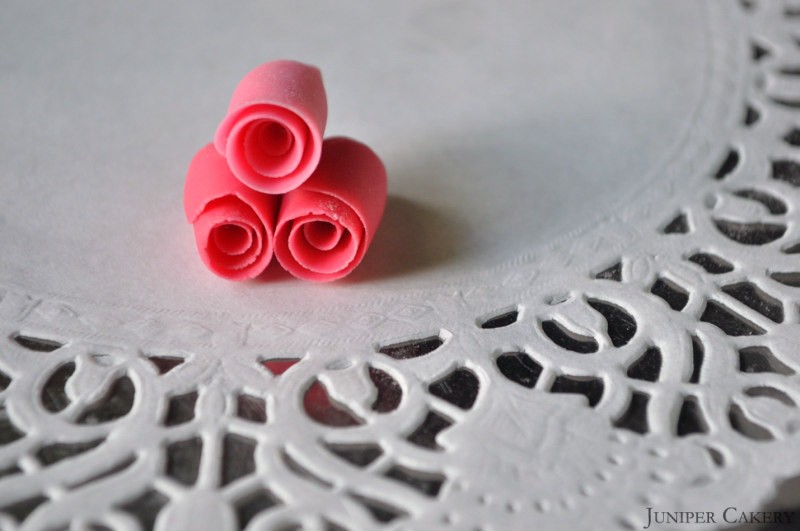
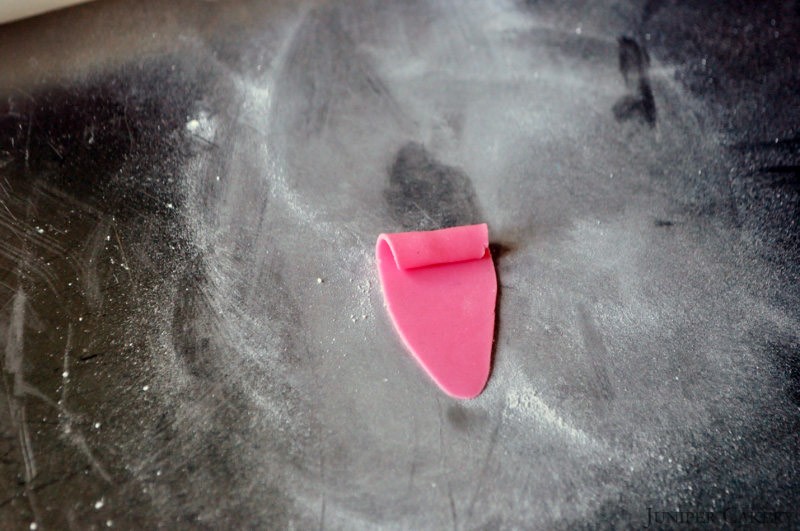
Step five: Take your piece out from the pocket and lay on an icing sugar dusted surface. Gently begin to roll your sugarpaste / fondant. Pick which end you prefer as your better petal edge and pinch the end you don’t want to show. Your rose should taper slightly to the end.

How to make quick and simple fondant roses

How to make quick and simple fondant roses

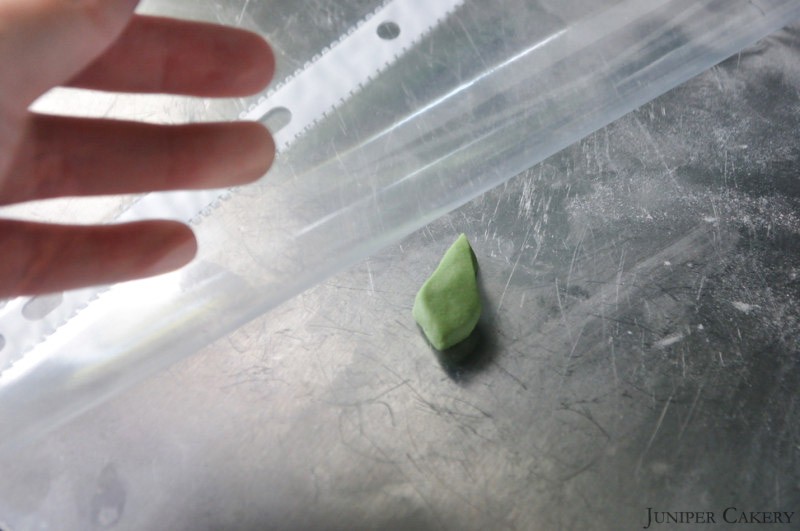
Step six: To make your leaf shape a small amount into a rough diamond shape.

Step seven: Place this inside your clear filing pocket.

How to make quick and simple fondant roses

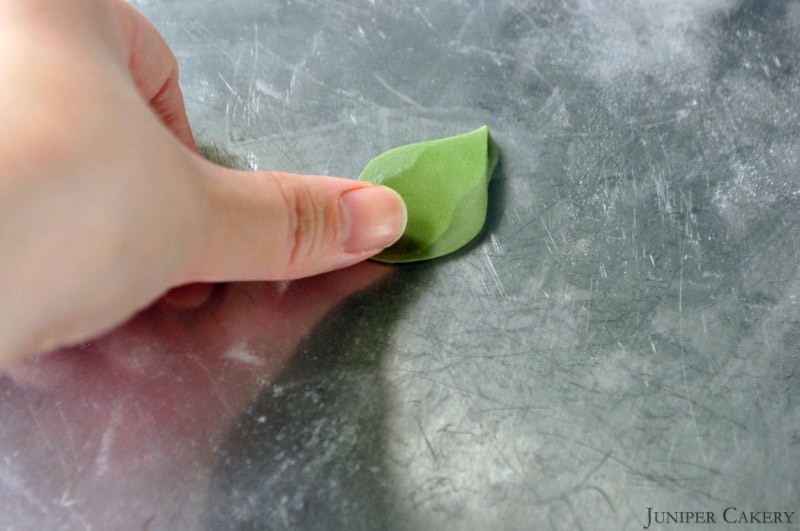
Step eight: Use your finger or thumb to press out and smooth down the edges of your leaf.

How to make quick and simple fondant roses

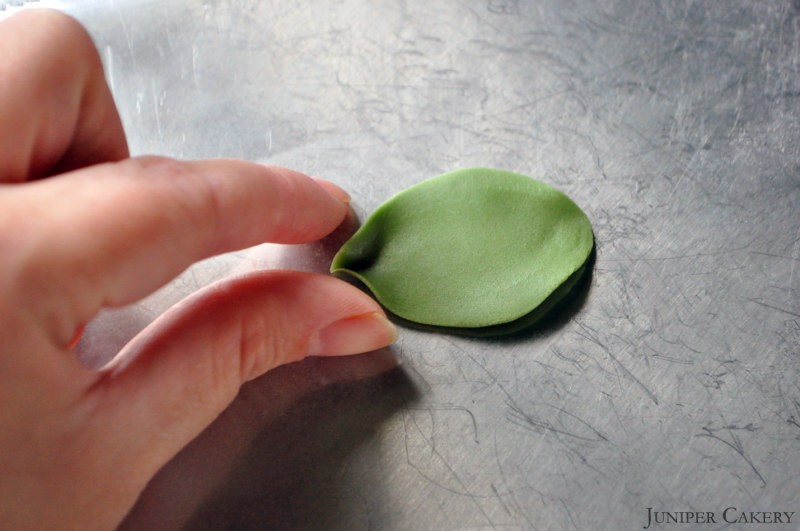
Step nine: Remove your leaf and set on a lightly icing sugar dusted surface. Shape the tip of your leaf by pinching the end with your fingers.

How to make quick and simple fondant roses

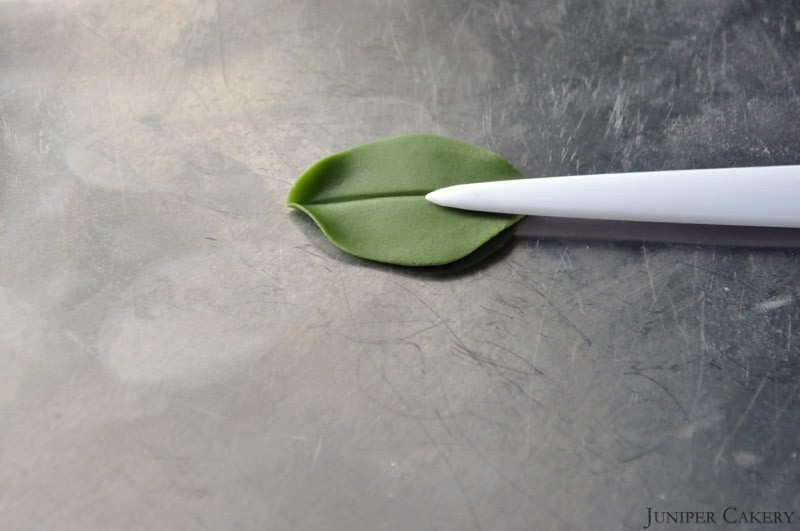
Step ten: Lightly scour a vein to your leaf with a veining tool.

How to make quick and simple fondant roses

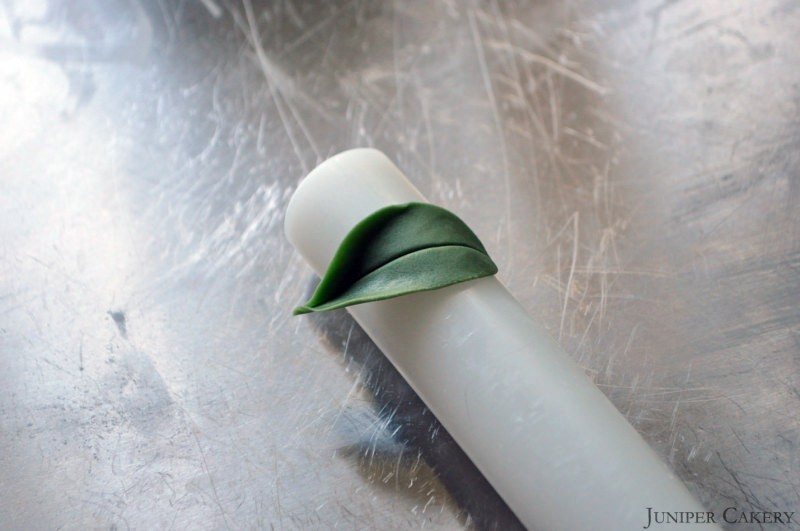
Step eleven: Leave your leaf to dry on a curved surface for a more flowing look.

Now you should have a lovely simple rose and leaf to adorn your baked treats with!

How to make quick and simple fondant roses


Recipe: Fizzy Pink Lemonade Cupcake!

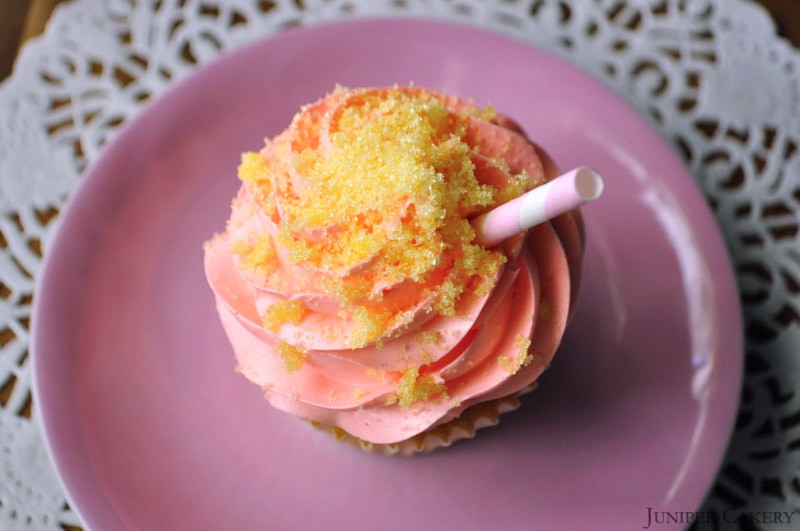
Summer is nearly over, so why not enjoy what is left of the sunny months with our recipe for Fizzy Pink Lemonade cupcakes! These will be a definite hit with both kids and grown ups at parties and barbecues. The soft lemon cake paired with the tangy lemon and pink grapefruit buttercream is fruity, sweet, refreshing and a wonderful summer inspired treat!

Pink Lemonade Cupcakes

Pink Lemonade Cupcakes

Basic Lemon Cupcake Recipe (makes approximately 12 cupcakes)

226g self-raising flour
226g butter
226g caster sugar
6-12 drops Lemon Extract
4 eggs
Cupcake cases

Step one: Preheat your oven to Gas Mark 3/325F/170C

Step two: Cream the butter with sugar and once well mixed add in lemon extract, flour and then the eggs.

Step three: Set out your cupcake cases in your pan and fill each case 2/3 full.

Step four: Bake from around 12-18 minutes or until a golden brown on top and leave to cool on a counter. TIP: To stop the tops of cakes and cupcakes from hardening when cooling place slices of bread on top of them as they cool.

Pink Lemonade Buttercream

250g butter
250g – 350g icing sugar
6-12 drops of Lemon Extract
6-12 Pink Grapefuit Essence
Pink Food Gel Paste by Squires Kitchen
Piping bags
858 piping tip
Lemon Sherbet Crystals
Retro Paper Straw

Step one: Cut your butter into small cubes and cream your butter until soft. Gradually add icing sugar until a good consistency.

Step two: Add lemon extract and your pink grapefuit essence to taste. Colour with pink food gel. Mix in some tangy lemon sherbet crystals for a hit of fizz.

Step three: Fit a piping bag with a 858 piping tip (to get a lovely traditional buttercream ruffle like our cupcake). Fill your piping bag with your buttercream.

Step four: Pipe some generous swirls atop your cupcakes, gently top with lemon sherbet crystals and add press half a retro paper straw into your buttercream!

Pink Lemonade Cupcakes


CAKE101: Piping Cupcakes

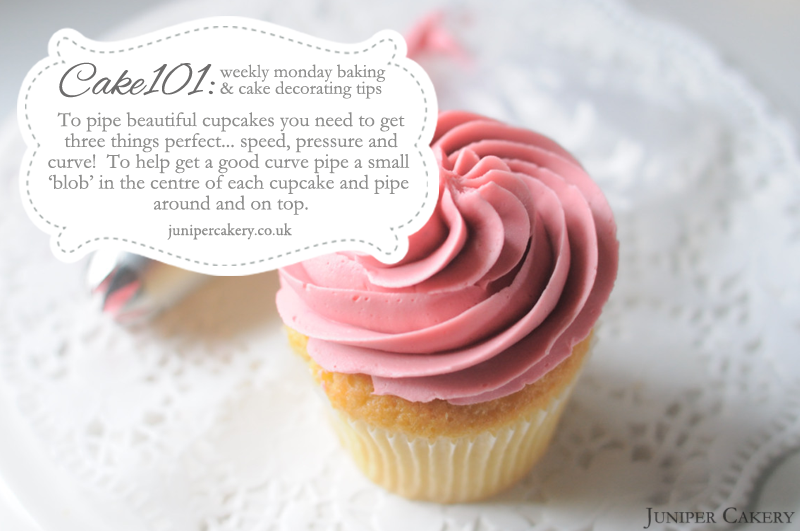
Piping cupcakes takes a little time and practice to get just right. We get a lot of people commenting on our cupcakes and how we get the perfect swirl. There is no definite answer we can give except that you need to master speed, pressure and curve. If you pipe too fast you get a sloppy mess and if you pipe too slow and you get wonky frosting. If your pressure is off you’re left with uneven, scraggly swirls.

CAKE101 Piping Cupcakes

“To pipe beautiful cupcakes you need to get three things perfect… speed, pressure and curve! To help get a good curve pipe a small ‘blob’ in the centre of each cupcake and pipe around and on top.”


×