Ruffled Golden Acorn Cake with Craftsy.com!

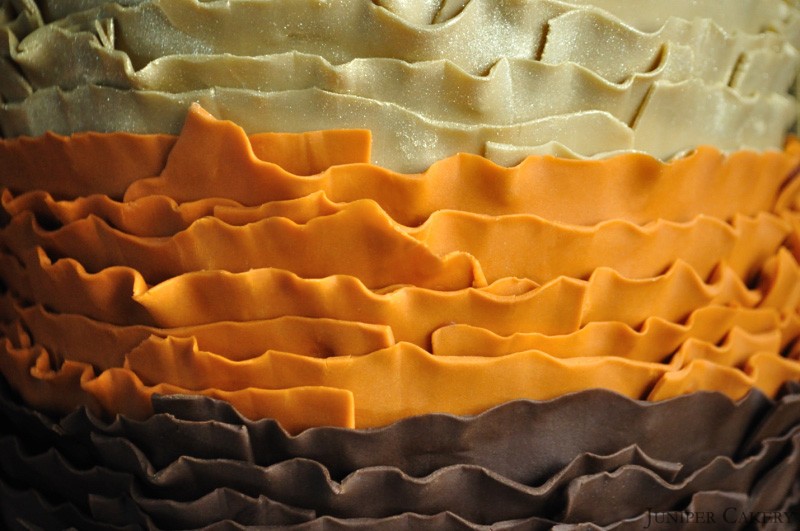
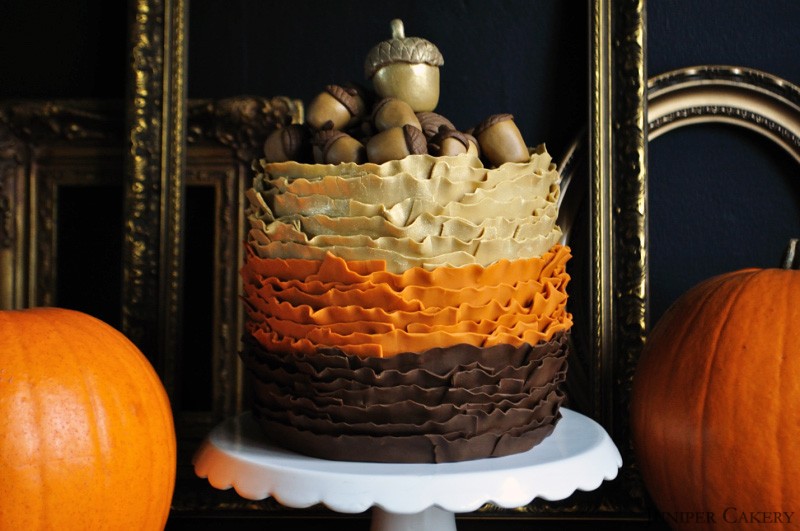
Last week we used Maggie Austin’s Fondant Frills tutorial, via Craftsy.com, to add ruffles to our spooky Witches’ Cauldron cake. Though this technique is certainly not out of place on extravagant wedding cakes the grey and black ruffles we used suited our Halloween cake perfectly! This week we’ve used a rich chocolate brown, glimmering gold and burnt orange to create a glamorous autumnal cake using the same method. We thought the frills on the Witches’ Cauldron cake resembled rugged rocks assenting a cliff face and we believe these frills resemble delicate, crunchy leaves; perfect for the season!
Ruffled Golden Acorn Cake with Craftsy.com

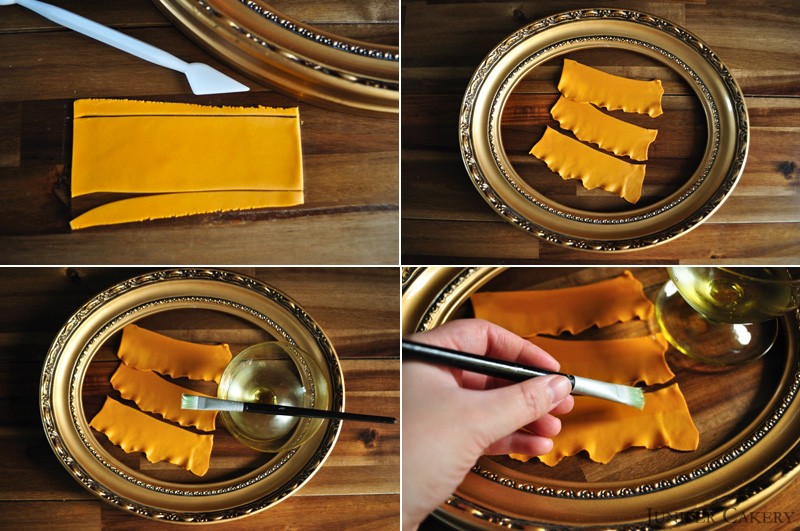
To find out how to create the gorgeous, delicate ruffles we used to decorate our Golden Acorn cake visit Craftsy.com for 25% off of your first cake decorating course. In Maggie Austen’s Fondant Frill class you’ll discover how to make your own flower paste / gumpaste, achieve a pretty ombre look, and create sumptuous cabbage roses. Why not catch the crafting and cake decorating bug in time for the festive season? You’ll be pretty darn popular when Thanksgiving, Christmas or Hanukkah arrives and you’ve created stunning ruffled mini cakes for everyone you love! We had so much fun frilling out fondant strips for our Golden Acorn cake and the dramatic yet subtle texture is perfect for lots of different projects. We’re already thinking of snowdrift themed tiers of ice blue and white ruffles teamed with shimmering hand painted snowflakes and quilting.
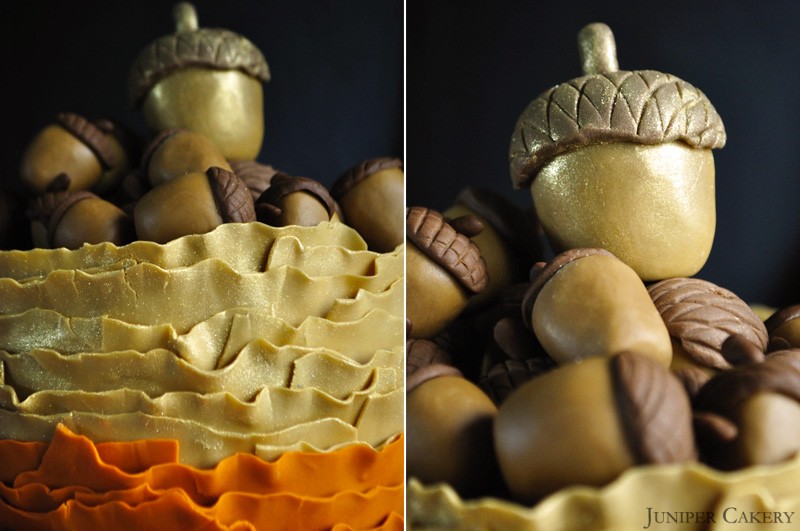
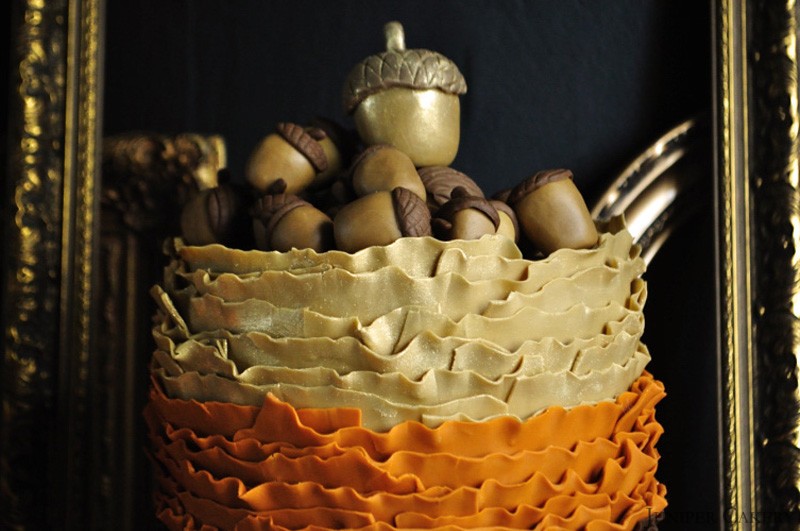
To decorate our cake we created lots of sugarpaste / fondant acorns to topple atop of our warm hued ruffle cake including one large golden acorn perched at the top; perfect for a playful yet glamorous cake. Of course, if you’re thinking of trying out this cake at home and lack the time we had why not fill the top of your cake with chocolate truffles, crumbled cookies, juicy berries or cracked walnuts.

Underneath the rich myriad of ruffles is a delicious chocolate, pumpkin and vanilla Neapolitan style layer cake filled with vanilla buttercream making this cake even more irresistible. With cold and blustery months ensuing this cake is the perfect centrepiece to cosy family get-togethers and dinners. Give our recipe below a try for a decadent treat!

Chocolate cake layer (makes one 1 1/2″ thick 8″ in diameter layer)

165g self-raising flour
165g caster sugar
165g butter
3 to 4 medium eggs
70g cocoa powder

Vanilla cake layer (makes one 1 1/2″ thick 8″ diameter layer)

165g self raising flour
165g caster sugar
165g butter
3 medium eggs
2 teaspoons vanilla extract

Pumpkin cake layer (makes one 1 1/2″ thick 8″ diameter layer)

165g self-rasing flour
165g caster sugar
165g butter
3 eggs
1/2 teaspoon of clove
1/2 teaspoon cinnamon
1/2 teaspoon allspice
1/2 teaspoon ginger
1/2 teaspoon nutmeg
80g pumpkin puree

Pre-heat your over to Gas Mark 3 / 160C / 325F and prep your 8″ circle cake pans with cake release. With each layer mix the appropriate ingredients by creaming your butter and sugar first. When pale and creamy add your eggs and any flavourings (such as cocoa powder, spices, pumpkin puree and extracts). When combined add the flour. Mix well and then pour your silky batter into your cake pan. Bake from around 25 minutes to 40 minutes or until a cake tester comes out clean when tested.

Leaving all of your cake layers to cool on a wire rack start preparing your vanilla buttercream.

Vanilla buttercream

300g butter (stay clear of low fat spreads due to the larger water content)
350g-400g icing / confectioner’s sugar
2 bourbon vanilla pods
1 tablespoon of room temperature water

To begin your buttercream dice up your butter into small cubes before adding them into the bowl of a stand up mixer and creaming until smooth and silky. Once creamed gradually add in the icing sugar by adding a little and leaving to combine in the mixer for approximately 10 seconds. Repeat this until you have a consistency you like. Add in the seeds from the inside of a bourbon vanilla pod. To do this slice the pod in half, to scrape out the seeds inside and pop them into the buttercream. Mix for another 10 seconds.
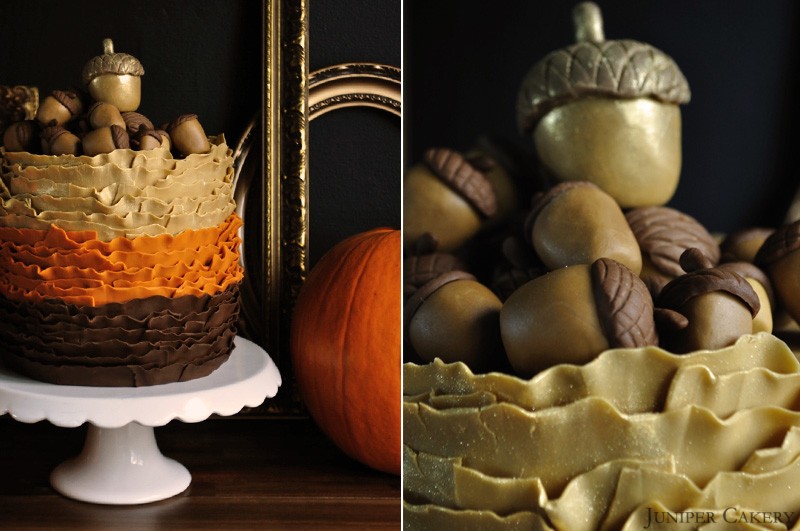
Now you can stack up your cakes! Our layers consisted of the chocolate first, then a layer of vanilla buttercream, the layer of spiced pumpkin, some more vanilla buttercream and finally the vanilla cake layer. When decorating our striped ruffles corresponded with the cake layers hidden inside! Once your layers are stacked prepare your cake with a smooth crumb coat, chill for an hour, ice with roll out icing / fondant and make your way to Craftsy.com for Maggie Austen’s Fondant Frills class to re-create the delicate ruffles!
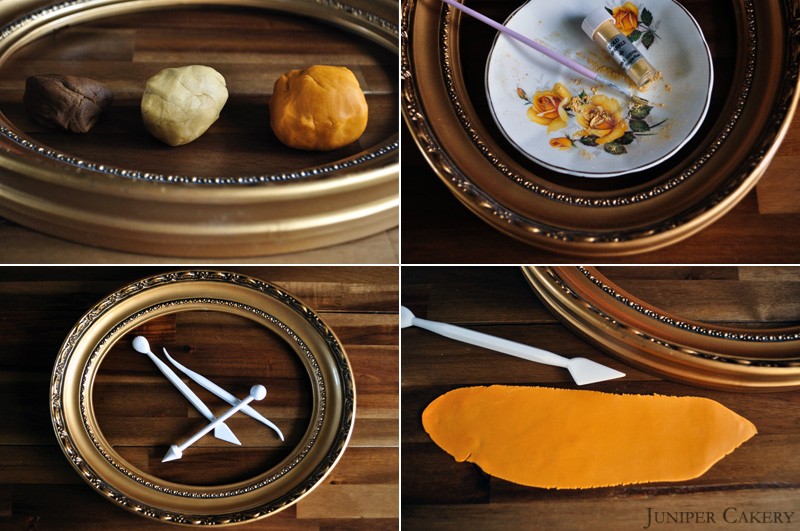
Craftsy.com provides online education for creative enthusiasts so they can turn their ideas into reality.Crafty’s online cake decorating courses allow you to learn at your own pace whenever you choose! Click here to receive 25% off your first cake decorating course with Craftsy.

This is a sponsored conversation written by Juniper Cakery on behalf of Craftsy. The opinions and text are all ours.


The Happy Egg Co. Cake - Spiced Apple

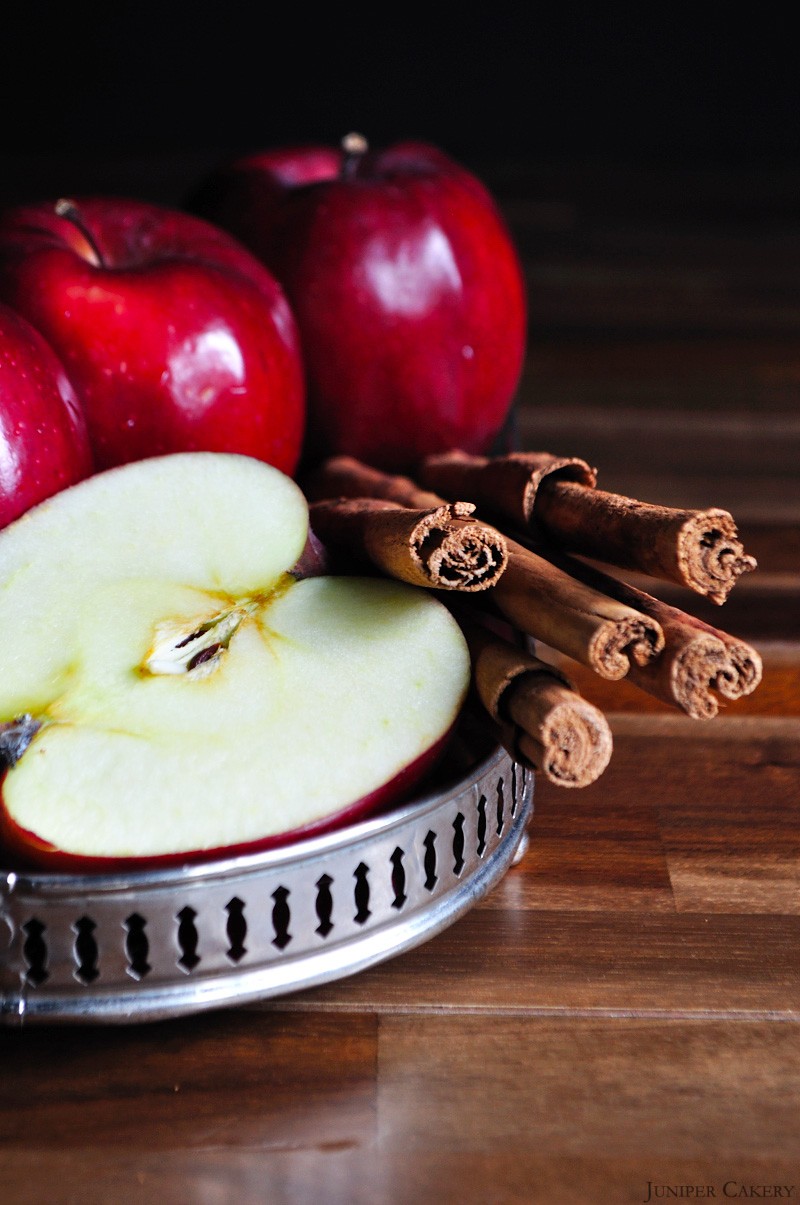
October is officially here which means burnt reds, oranges and yellows are quickly taking over the leafy greens of summer. Though this is, perhaps, the biggest change when we look through our window here at Juniper Cakery HQ there are also notable changes being made in the food and baking world too. The thought of warming seasoned fruits, soups and desserts have inspired this month’s recipe which is to be a spiced apple cake!

Spiced Apple

Spiced Apple

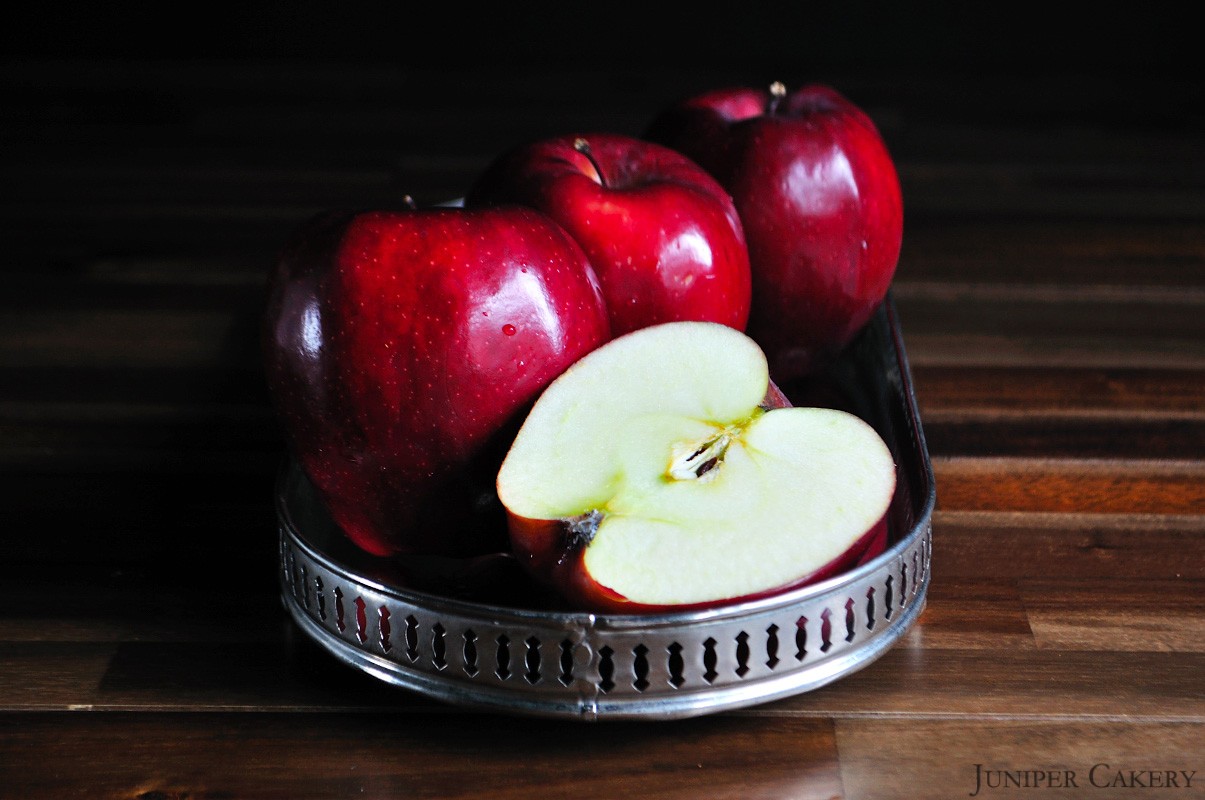
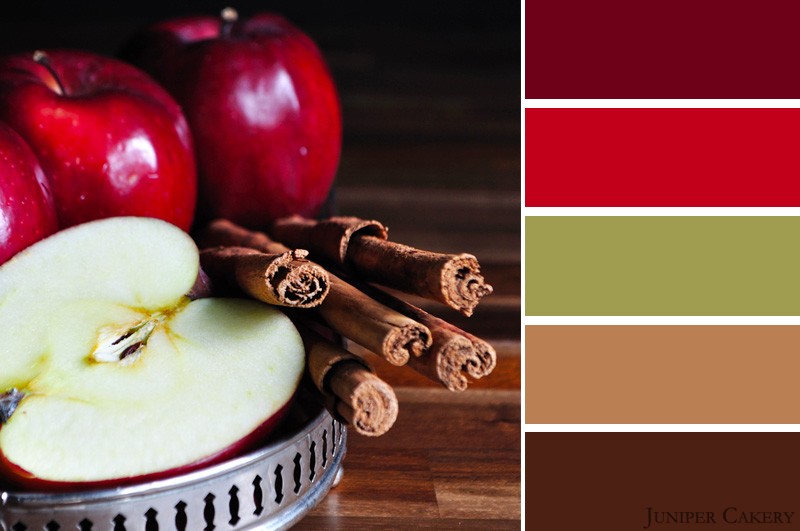
The bittersweet taste of apple and their deep reds and autumnal greens are perfect for this time of year. Their traditional, and much loved, pairing with cinnamon, clove, nutmeg and allspice creates a warm, homemade feel perfect for getting cosy in the coming blustery months.

Spiced Apple


Witches’ Cauldron Cake Using Craftsy.com’s Fondant Frills Class!

We’re always excited to try out new techniques, recipes, styles and tastes circulating in the cake decorating industry. With this in mind we were more than happy to give Maggie Austen’s famous ruffled fondant method a go courtesy of Craftsy.com!

Witches' Cauldron Ruffle Cake

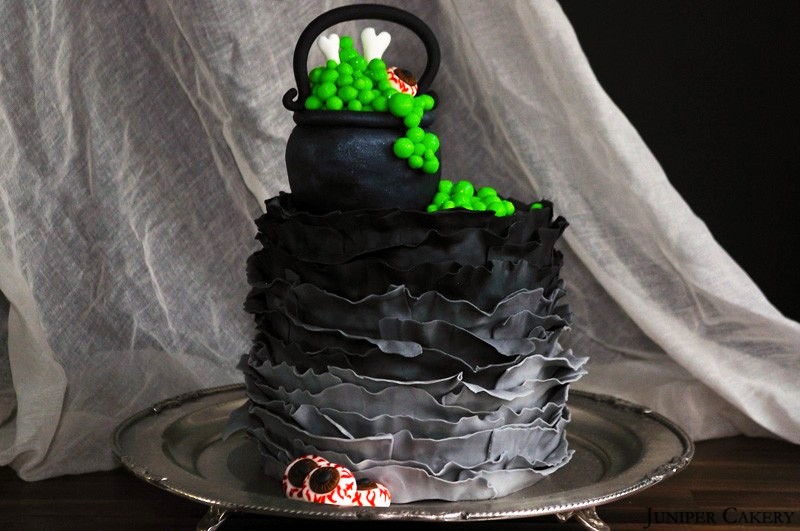
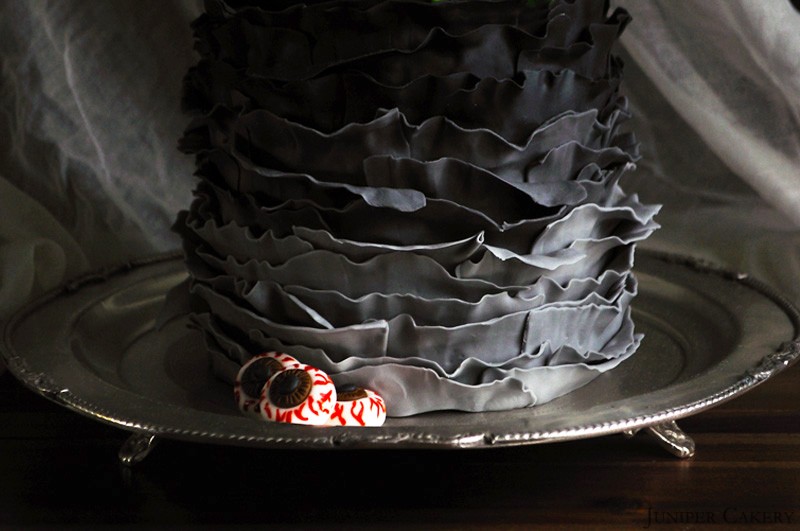
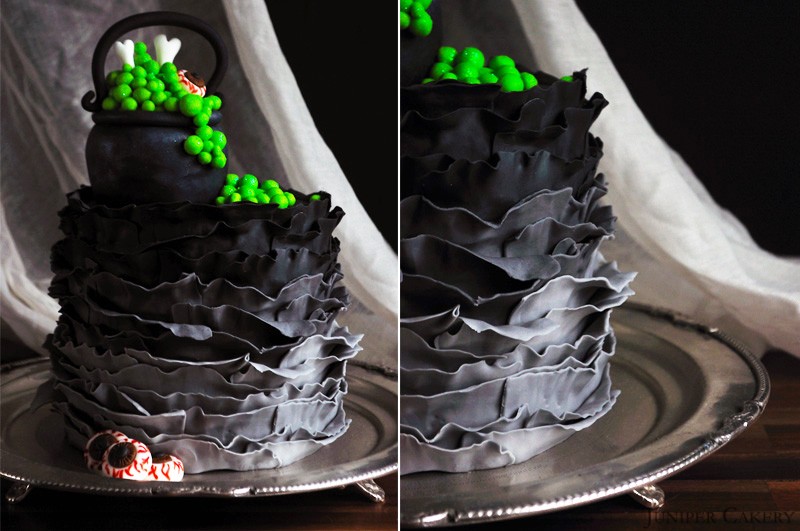
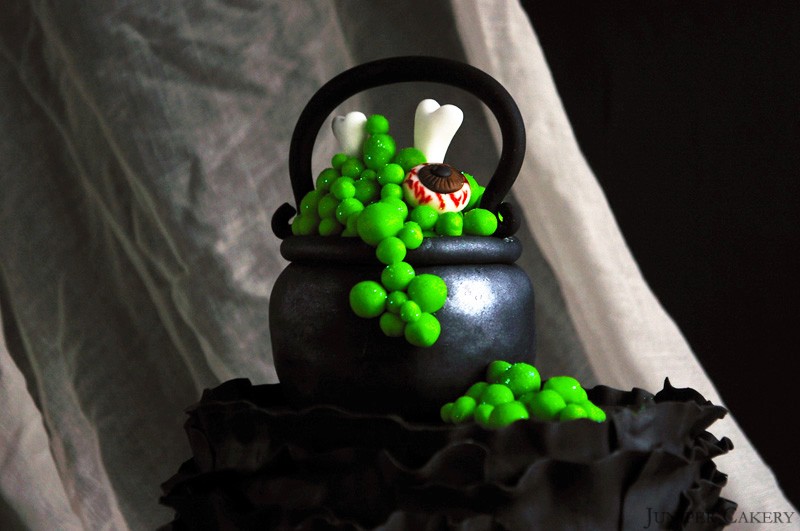
This frilling technique is perfect for so many cake designs; not just for romantic wedding tiers. These sumptuous ruffles would add a dramatic finish to any homemade dessert from birthday surprises to Christmas gateaux and, of course, to any ghoulish Halloween cake! Though we hadn’t seen a ruffled Halloween cake before we thought this was the perfect opportunity to give it a go. As a result here’s our finished spook-tacular Witches’ Cauldron cake made using Maggie Austen’s Fondant Frills class. We would have usually rolled the strips of fondant much thinner to create delicate ruffles but in this instance we deliberately created sightly chunkier ruffles to translate the feel of jagged rock face leading up to the poisonous witches’ cauldron sitting atop.

At Craftsy.com you can learn a wealth of fun D.I.Y techniques and projects including cake decorating, sewing, knitting and embroidery as well as lots of lovely ideas for your home and garden. For cake decorating enthusiasts in particular there’s a wealth of fun classes and tutorials to help create gorgeous cakes and cupcakes. Why not try out Craftsy and get 25% off your first ever class just in time for the holidays!

Witches' Cauldron Ruffle Cake

The wonderful thing about learning online is the ability take things at your own leisure. Everyone has a list of commitments, responsibilities and jobs that already take priority so being able to start or pause a class on your favourite hobby obviously really helps. At Juniper Cakery we find ourselves inundated with a billion tasks and urgent post-it notes per day so when it comes to our own past times learning online is a lifesaver. At Craftsy.com classes can be saved, played and paused for when you have some spare time. Fantastic for busy lives!

Witches' Cauldron Ruffle Cake

Maggie Austen’s Fondant Frills class on Craftsy.com includes a wealth of ideas and tips to help create decadent and textured cakes. A few techniques in this class include how to make your own flower paste / gum paste, how to achieved subtle yet stunning ombre ruffles and how to create beautiful cabbage roses to nestle atop your creation. With so many things to learn in one class we’re pretty certain that you won’t want to stop! Why not create rainbow ruffles for a vibrant birthday, adorn the top of a pretty frilled cake with lots of delicate handmade roses or make a ghoulish Halloween mummy cake by using the Fondant Frills tutorial to re-create bandages.

Witches' Cauldron Ruffle Cake

Craftsy.com provides online education for creative enthusiasts so they can turn their ideas into reality. Craftsy’s online cake decorating courses allow you to learn at your own pace whenever you choose! Click here to receive 25% off your first cake decorating course with Craftsy!

This is a sponsored conversation written by Juniper Cakery on behalf of Craftsy. The opinions and text are all ours.


Halloween Tutorial: D.I.Y Monster Cupcakes!

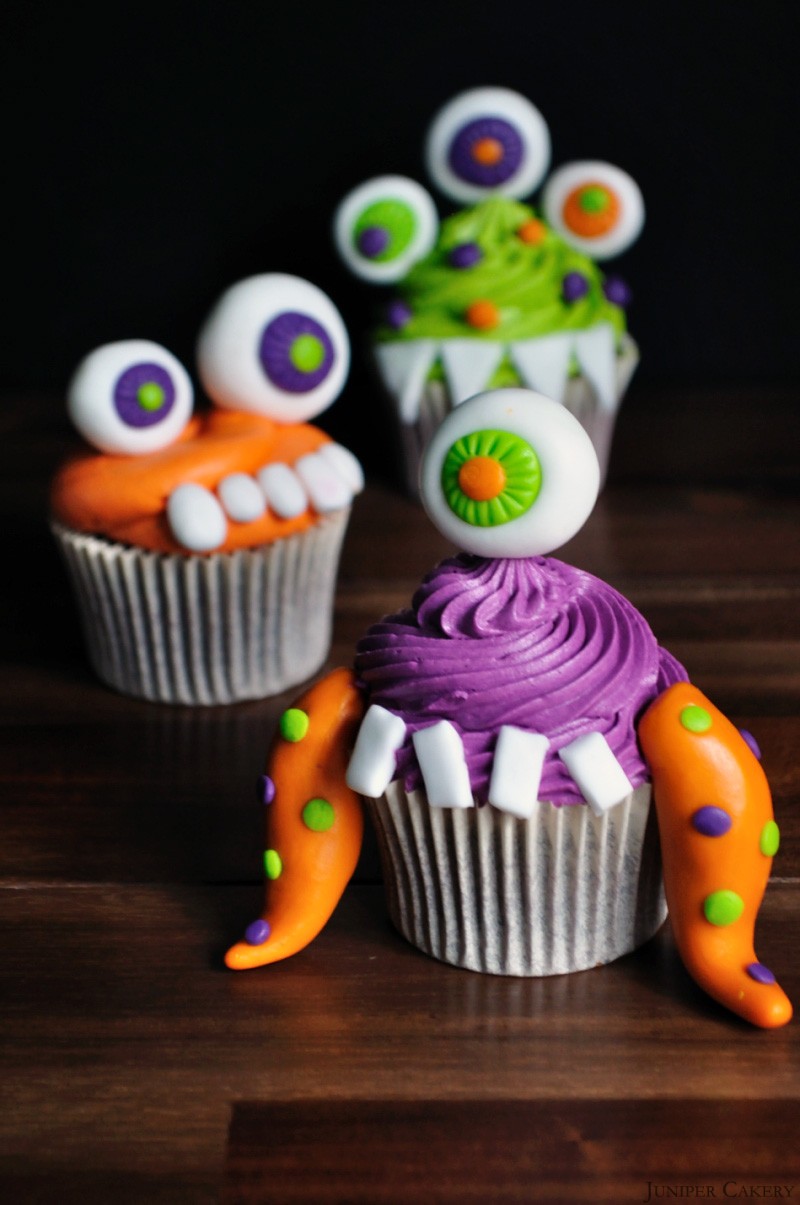
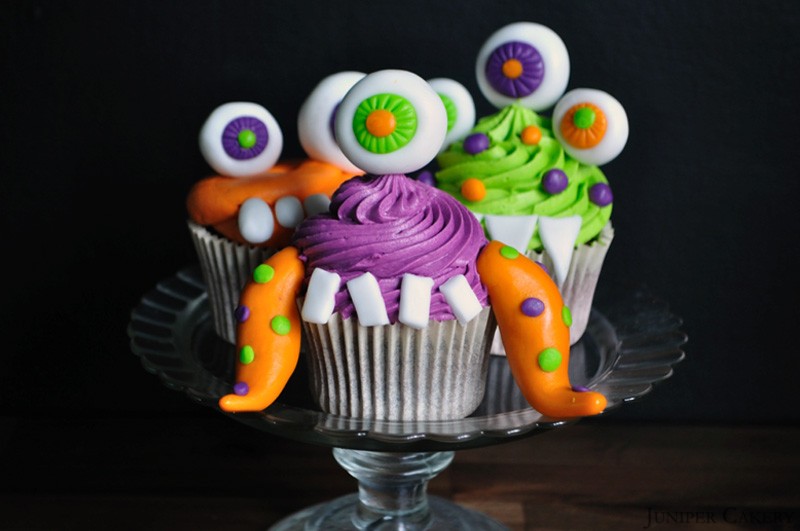
Here is our third instalment of our fang-tastically ghoulish Halloween Tutorial series for this month! This week we show you how to whip up and decorate a batch of fun D.I.Y Monster Cupcakes. These vibrant cakes are perfect for getting children involved with creating some spook-tacular Halloween party treats (they’re also great for fun-loving grown ups too). The great thing about these cupcakes is that you can sit and make a selection of different eyes, tentacles, teeth etc and mix and match them to form your own monsterous creation. We’re sure you’ll think these cupcakes are so ‘ghoul’ you’ll want to scare everyone away rather than share them!

D.I.Y Monster Cupcakes by Juniper Cakery

D.I.Y Monster Cupcakes by Juniper Cakery

What you will need…
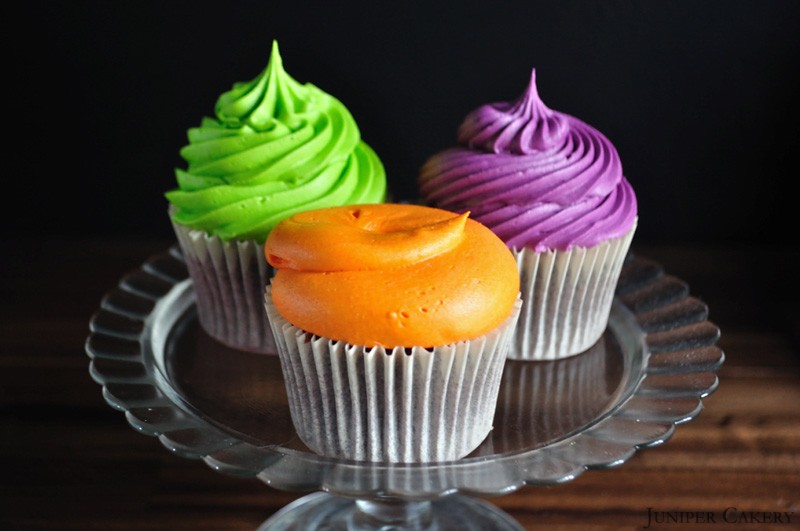
A batch of piped cupcakes in bright colours (we used Vine green, Grape/Violet and Orange)
3 brightly coloured balls of sugarpaste / fondant
1 ball of white sugarpaste / fondant
Toothpicks (cut the sharp ends off if planning to decorate these with kids)
Fondant rolling pin
Ball tool (with a larger and smaller ball on each end)
Edible glue
Sprinkles (optional)
Edible glitter (optional)
Scissors
Paint brush
Icing sugar or cornstarch to dust your surface
Candy melts
Disposable piping bags

D.I.Y Monster Cupcakes by Juniper Cakery

Step one: Pipe some generous swirls atop your cupcakes in a variety of colours. We used 809 (open round tip), 868 (fine toothed pastry tip) and 828 (larger toothed pastry tip).
D.I.Y Monster Cupcakes by Juniper Cakery

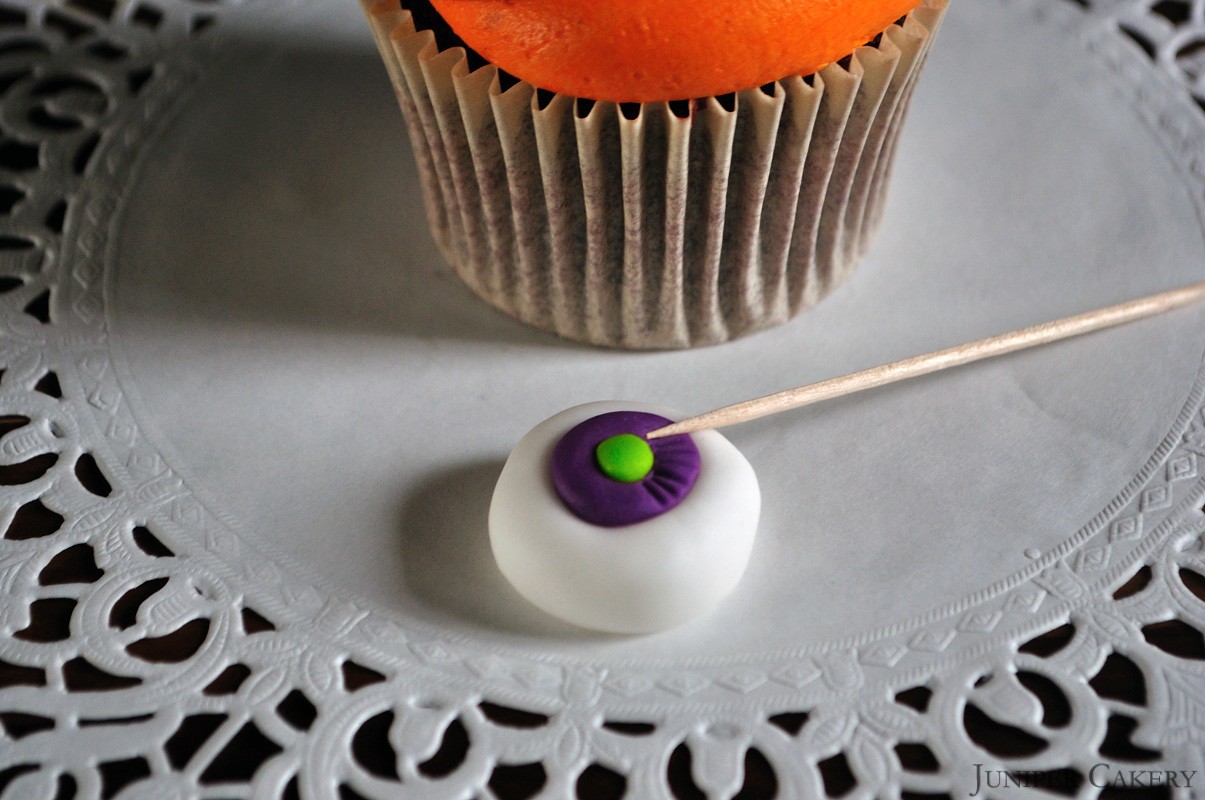
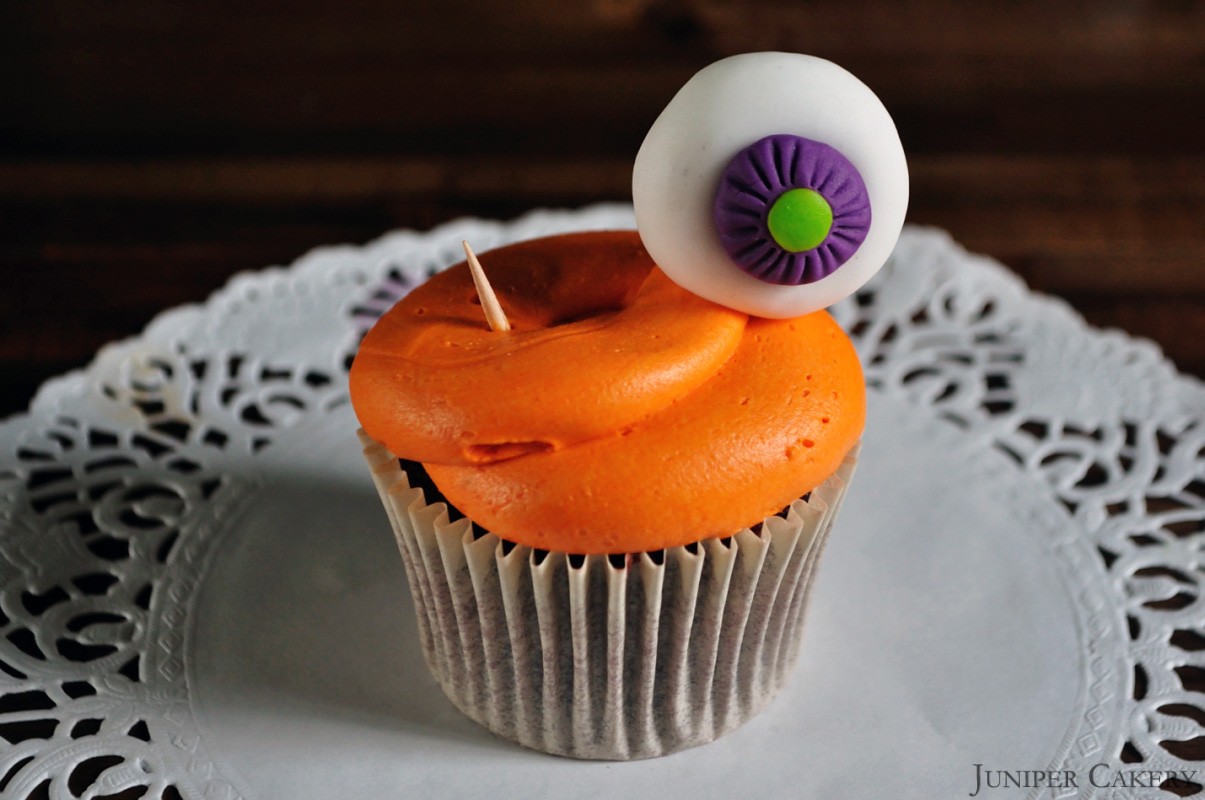
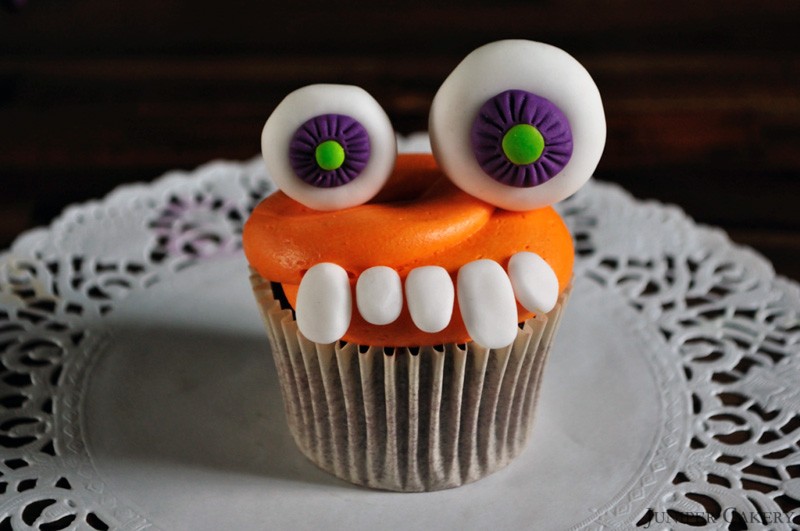
Step two: To make eyes roll out balls of white sugarpaste. Indent them with a large ball tool and apply some edible glue inside the impression. Roll up a smaller ball of coloured sugarpaste and gently press this into your white ball. Indent the smaller ball with a smaller ball tool. Roll up another colour in an even smaller size and press this in. Finally take a toothpick or blade tool and create indented lines to create an iris.

D.I.Y Monster Cupcakes by Juniper Cakery

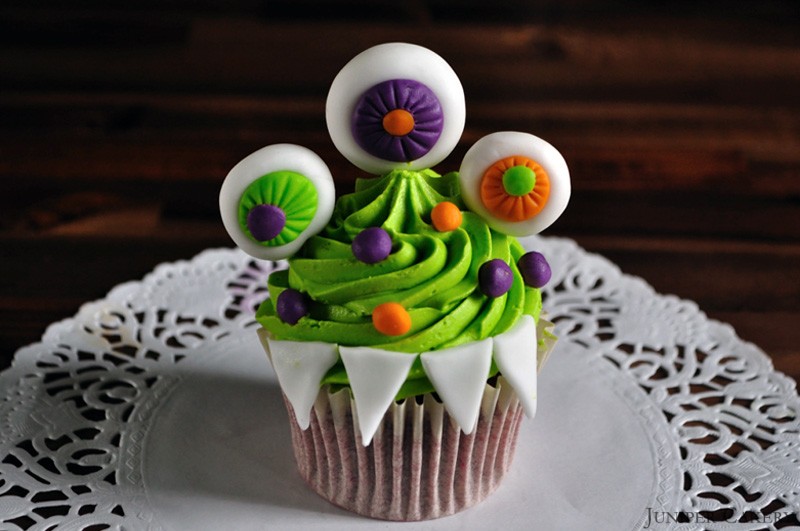
Step three: After making the eyeballs you need to assemble them onto toothpicks to position them into your cupcakes. To help stop them sliding down the toothpicks apply a bit of melted candy melt into your toothpick where the eyeball will fit. Before it sets slide your eyeball onto the top and leave to dry. If you’re ready you can insert the eyes into your cupcake when set!

D.I.Y Monster Cupcakes by Juniper Cakery D.I.Y Monster Cupcakes by Juniper Cakery

D.I.Y Monster Cupcakes by Juniper Cakery

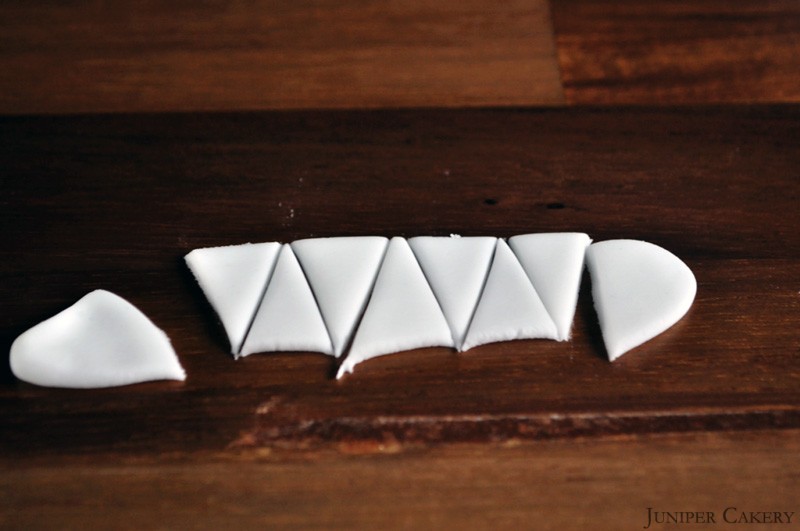
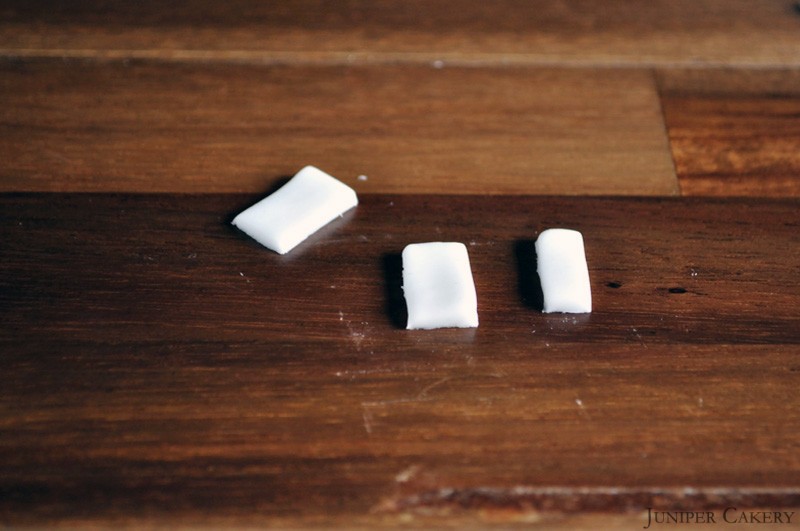
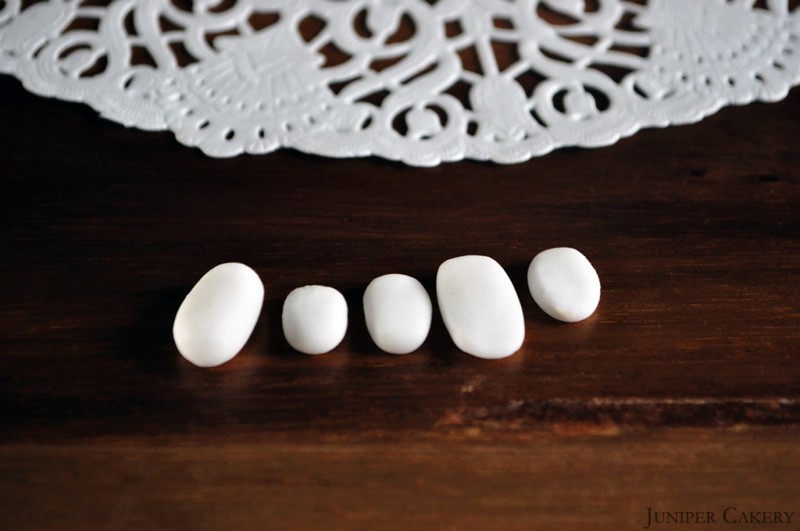
Step four: To create teeth simply play with white fondant to create sharp fangs, picket fence-style buck teeth or more human shaped dentures.

D.I.Y Monster Cupcakes by Juniper Cakery

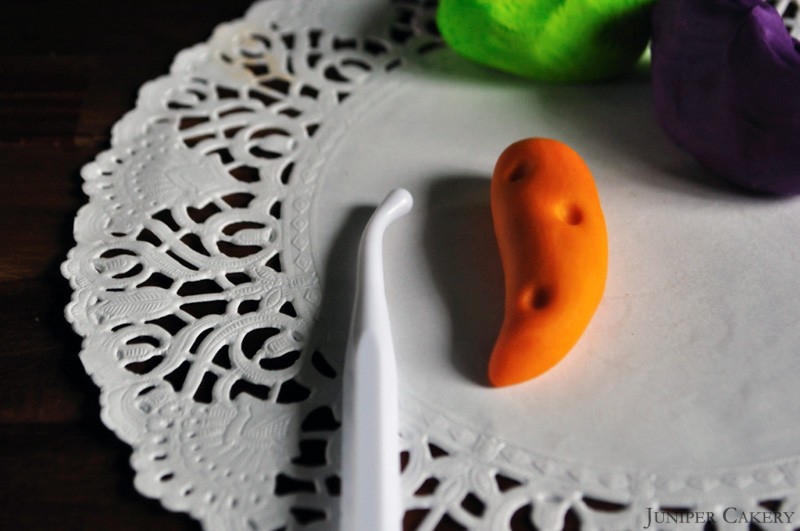
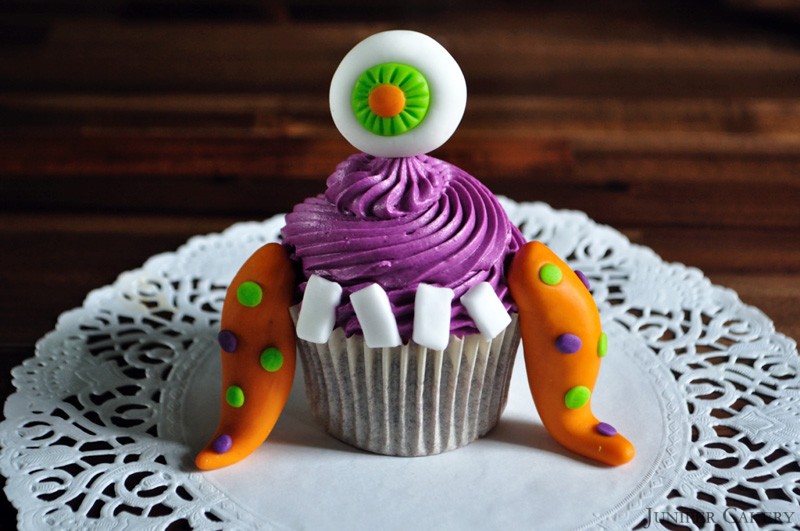
Step five: When it comes to tentacles shape some coloured sugarpaste / fondant into a variety of ‘slug’ shapes (make sure these are long enough to sit from your cupcake to your chosen surface… e.g. plate or cake stand). Add some ‘suckers’ by indenting with a small ball tool, some edible glue and small rolled up balls of coloured sugarpaste.

Step six: Try adding some extra customisation with sprinkles, cut out sugarpaste shapes or edible glitter!

D.I.Y Monster Cupcakes by Juniper Cakery D.I.Y Monster Cupcakes by Juniper Cakery

D.I.Y Monster Cupcakes by Juniper Cakery

Step seven: Now for the super fun part! Design and decorate your cupcakes with as many eyes, teeth, tentacles, spots etc as you wish.

D.I.Y Monster Cupcakes by Juniper Cakery

By the end of this tutorial you should be left with a batch of monsterous treats perfect for petrifying parties and spooky soirées!


Review: Step by Step Cake Decorating by Karen Sullivan

When we were asked to review Step by Step Cake Decorating by Karen Sullivan we jumped at the chance. As professional bakers and cake decorators we have amassed an impressive collection of cooking and baking books.

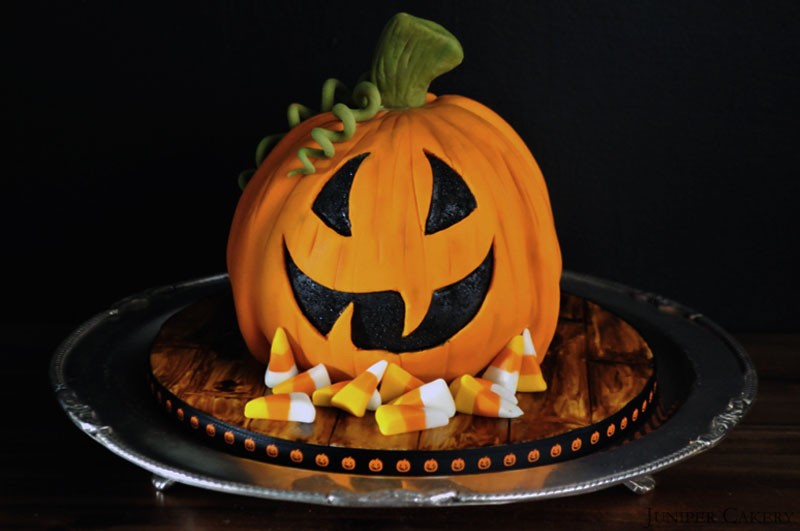
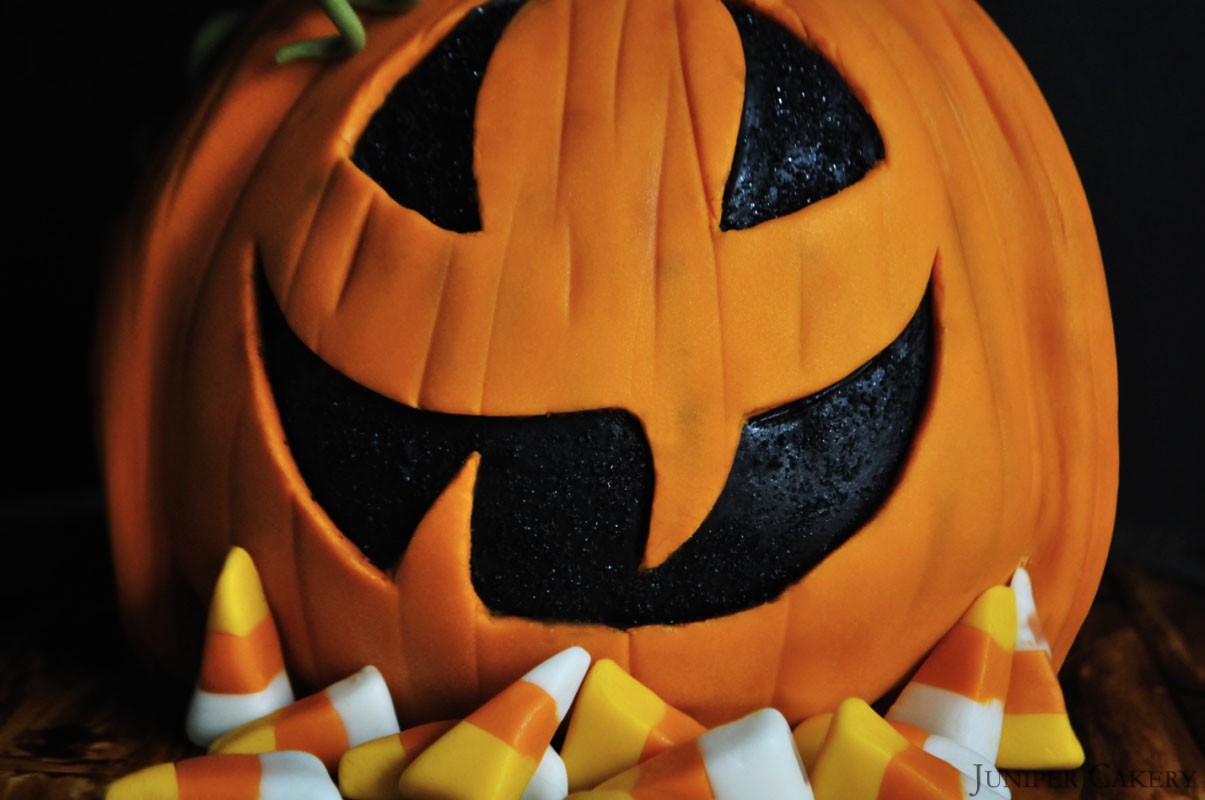
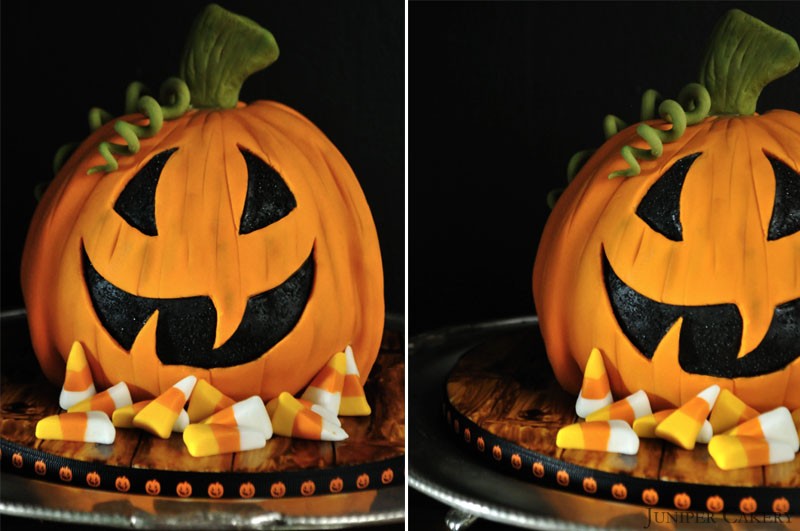
In order to review Step-by-Step Cake Decorating we decided to be hands on and re-create a playful and seasonal cake from within the book… the fun jack o’ lantern! We put our own spin on this cake and added candy corn (a bit of an addiction in the Juniper Cakery office) which we made using strips of coloured sugarpaste / fondant. We also decorated our cake board with wood effect painted fondant. The pumpkin cake itself was created by following the book’s instructions step by step.

Pumpkin Cake by Juniper Cakery

Step by Step Cake Decorating by Karen Sullivan is a great beginners guide where novices will find an array of cakes to re-create. The instructions for this fun, ‘fangtastic’ cake were clear and concise and prove to be a prime example of how accessible other tutorials are in the book. Whilst the tutorial is simple and straightforward you’ll still be eased into learning some handy terminology throughout. There are a good few pages dedicated to introducing the decorator to a selection of tools and equipment with explanations of use where needed. These tools range from basics such as scrapers and turntables to specialist items such as airbrushing machines and florist tape. The difference between a cake drum and cake board is also discussed as are other basics such as how to fill and cover a layer cake.Step by Step Cake Decorating BookStep-by-Step Cake Decorating by Karen Sullivan, published by DK, £16.99 at dk.com

For advanced cake decorators this will still become a reference book where quick ideas, tips and tricks of the trade are at the ready as we all have our ‘designer’s block’ days. Though the jack o’ lantern cake is one of our personal favourites, and a fitting choice for this time of year, there are still plenty of projects to take you though winter, spring and summer too! There are also great ideas for children’s birthdays including, but certainly not limited to, a pirate ship, dinosaur and a train.

Pumpkin Cake by Juniper Cakery

Step-by-Step Cake Decorating by Karen Sullivan is a book filled with fun and vibrant projects. This book a great introduction to those eager to begin learning the craft and the book even includes and a collection of basic cake, icing and buttercream recipes ready for you to get creating!

Pumpkin Cake by Juniper Cakery

If you’d love to get your hands on a copy of Step-by-Step Cake Decorating by Karen Sullivan why not try your luck at entering our giveaway! We have two copies ready to send out to two lucky winners. All you need to do is comment on this post! Entrants must reside in the UK and have their comment submitted by November 1st. The two lucky winners will be chosen at random and will be announced via our blog and social channels (Twitter, Facebook, Pinterest & Instagram) on November 4th. Good luck!
blogbookgive


Halloween Recipe and Tutorial: Red Bloody Velvet Cupcakes!

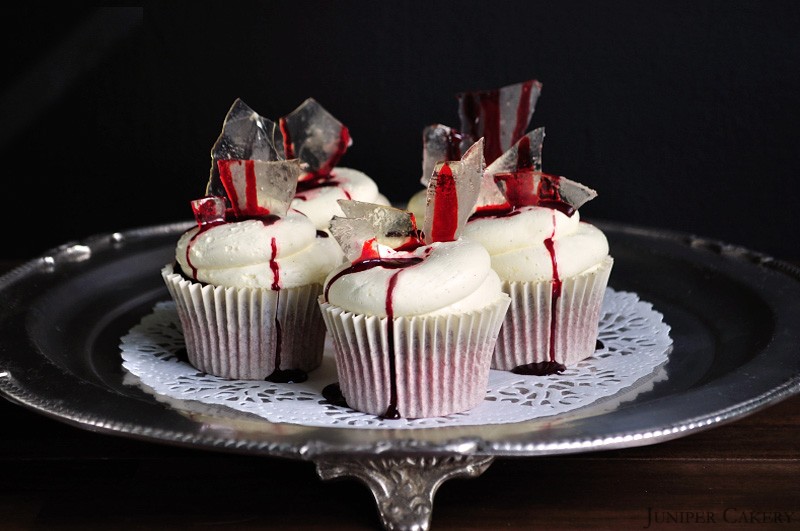
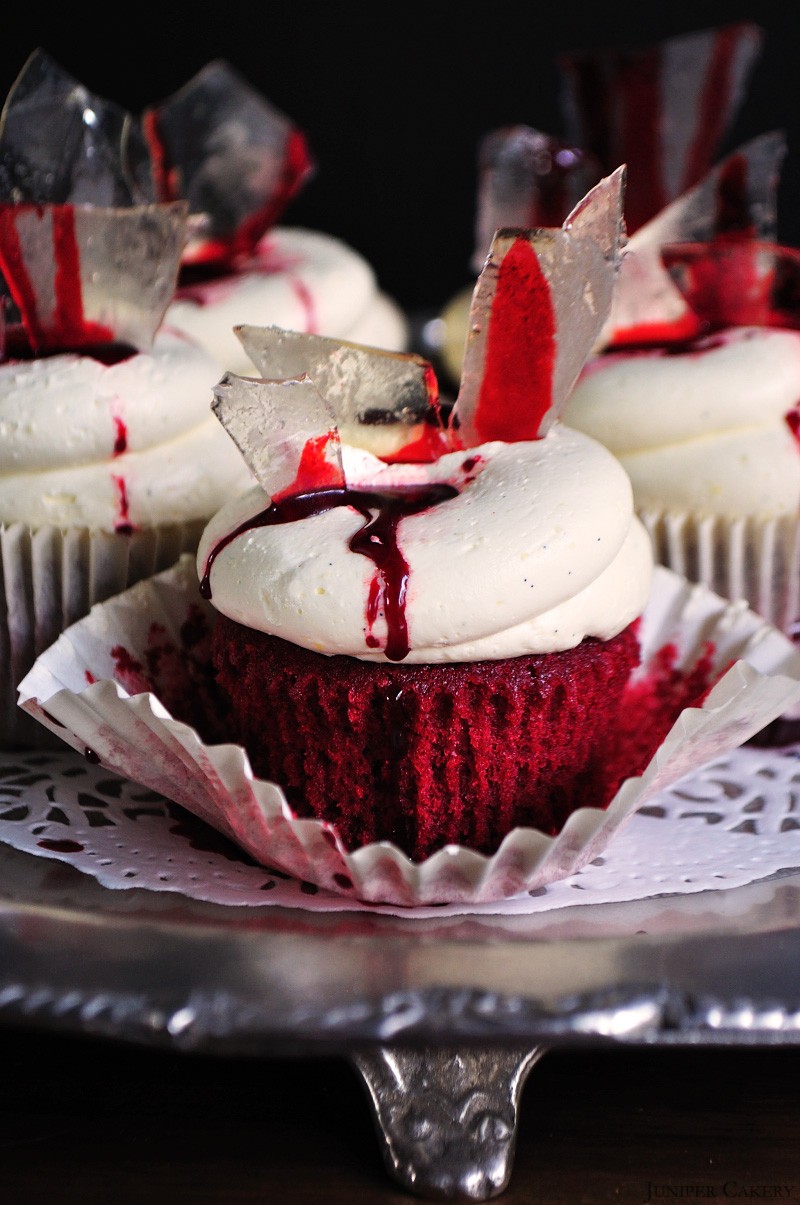
We’ve had a lot of requests for our Red Velvet Cupcake recipe over the past few months, which we’ve saved especially for this ghastly yet fun recipe and tutorial; Red Bloody Velvet Cupcakes! They’re great for petrifying parties or spooky soirées and are a perfect conversation starter at any Halloween hootenanny! These cupcakes are a lovely light cocoa red velvet cake swirled with delicious vanilla pod infused buttercream, stabbed with a shard of sugar glass and dripping with ‘blood’. Certainly a gruesome gourmet cupcake for the Halloween festivities!

Red Bloody Velvet Cupcakes by Juniper Cakery

Red Bloody Velvet Cupcakes by Juniper Cakery

Basic Red Velvet Cupcake Recipe (makes approximately 12 cupcakes)

Here is our recipe for perfect Red Velvet Cupcakes which we have used for years now and never fails to bring a smile to everyone’s face! We have had some people query the use of buttermilk and cider vinegar in general Red Velvet recipes (this one included) and whilst you can simply add some cocoa powder and red gel food colour paste to your normal cupcake recipe the point of a Red Velvet Cake is that it encompasses a gorgeously fluffy, velvety texture (hence the name) which is produced by the addition of these two ingredients. Baking is a science so it really helps to understand what ingredients you’re adding and why! To help we’ve typed up a quick description of what buttermilk and cider vinegar do!
Buttermilk is an acidic ingredient which essentially tenderises the gluten in cake recipes creating a softer feel and a better rise.
Cider Vinegar is also acidic and reacts with the bicarbonate of soda in cake recipes to create carbon dioxide whilst baking which helps baked goods to rise.

125g plain flour
1 tablespoons cocoa powder (sifted)
1 teaspoons baking powder
1/4 teaspoon bicarbonate of soda
50 grams soft unsalted butter
100 grams caster sugar
1-2 teaspoons of red gel paste food colouring
6-12 drops vanilla extract
2 medium eggs
90 ml buttermilk (When we began whipping up Red Velvet cakes buttermilk was pretty much unheard up in UK shops. Fortunately, you can now purchase buttermilk in Tesco and Asda stores, BUT you can make a buttermilk substitute by adding 1 tablespoon of fresh lemon juice per cup of full fat milk and leave to stand for 5 minutes.)
1/2 teaspoon cider vinegar
12 cupcake cases

Pre-heat your oven to Gas Mark 3/325F/170C.

Mix the flour, cocoa, baking powder and bicarbonate of soda in a bowl.

Now for one of the fun parts… In a separate bowl, cream together the butter and sugar until soft and pale. Then add in the red gel paste food colouring until a gorgeous rich red shade.

Gradually add in the dry ingredients along with the eggs to your lovely rubescent butter and sugar mixture. Then add in the buttermilk and cider vinegar!

Fill your cupcake cases until 2/3 full and place on the top shelf. Bake for around 20/25 minutes.

Basic Vanilla Buttercream Recipe

250g butter
300-350g icing sugar / confectioner’s sugar
1 bourbon vanilla pod
Piping tips (we used the large round 808 tip by Ateco)

Add half of the of butter diced into pieces. Cream the butter in a mixer. Then gradually add icing sugar and the remaining butter (cut into cubes) until you get a smooth, creamy texture. Add the seeds inside of the vanilla pod by slicing the pod lengthways and scraping the little seeds out with a knife.

Red Bloody Velvet Cupcakes by Juniper Cakery

‘Blood’ Recipe

1/2 - 1 teaspoon of red gel paste food colouring
6 tablespoons of icing sugar
1 tablespoon of honey or golden syrup
1 tablespoon of room temperature water (though you may need to add more or less depending on the consistency you’d like)

In a small bowl mix together the red gel food paste colour with the sugar, syrup and water and set aside.

Sugar Glass Recipe

150g caster or granulated sugar
88ml water
Candy Thermometer
Stove top
Small saucepan
Cake release spray
Flat cookie tray/sheet

In a sauce pan add the sugar and water together and set on the highest heat.

Prepare a flat cookie sheet by spritzing lightly with cake release.

Stir occasionally and leave to bubble until the sugar mix reduces and reaches around 132 degrees C or 270 degrees F. You should start to smell a faint burnt caramel scent. The mix may also begin to go a slight champagne gold colour too.

Remove the pan from the heat. Quickly pour your sugar mixture onto a clean baking sheet or tray with a rim or lip around it’s edges. Quickly spread the mix to the edges by tilting the sheet or tray. Don’t worry if the mix doesn’t reach the tray edges; sometimes the cake release spray will stop this spreading too much. Leave to cool and harden (this may take from 30 minutes to 1 hour).

Don’t leave your ‘glass’ for too long, however. Sugar glass is hygroscopic, which means that it quite readily absorbs moisture from it’s surrounding atmosphere. As soon as the mix has cooled and harden quickly smash it in the required jagged shards before it loses that lovely brittle and hard quality!

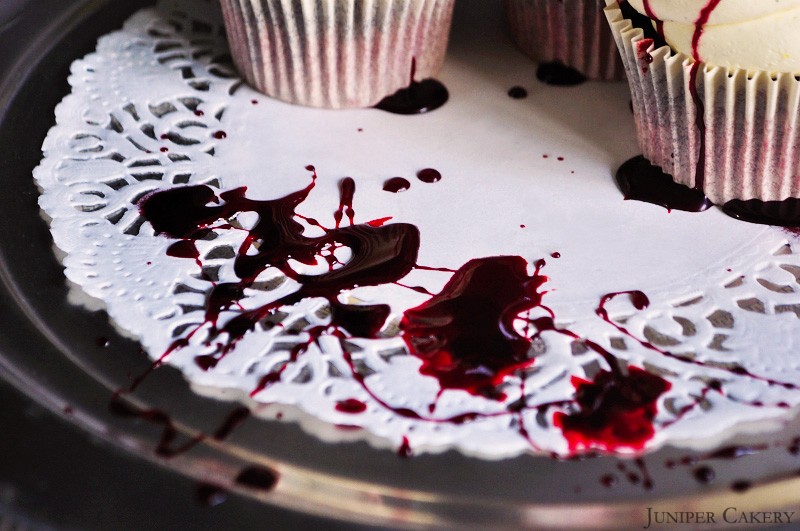
Now it’s time to assemble your Red Bloody Velvet Cupcakes! Pipe some generous swirls of your lovely vanilla buttercream atop your cakes, stab a large shard into the top of each and then using a disposable piping bag with your ‘blood’ mix pipe messy dripping splattered blood where the sugar glass meets the cupcake. For extra gore why not fill your cupcakes with gooey strawberry preserve!

Red Bloody Velvet Cupcakes by Juniper Cakery


Halloween Recipe and Tutorial: Haunted Black Forest Cupcakes!

We always get excited when the Halloween festivities come creeping around the corner. We love planning (and eating up) fun ghoulish tutorials and recipes, carving out pumpkins, buying in spook-tacular baking supplies and of course over using the pun ‘spook-tacular’. With all this in mind here is a fun recipe and tutorial so you can create these ghostly Haunted Black Forest Cupcakes at home! These spooky cupcakes are our non-alcoholic spin (great for the kids!) on the traditional Black Forest Gâteau cake. They’re soft dark chocolate cupcakes swirled with delicious cherry buttercream finished with floating fondant ghosts; perfect for petrifying parties or spooky soirées!

Haunted Black Forest Cupcakes by Juniper Cakery

Haunted Black Forest Cupcakes by Juniper Cakery

Basic Dark Chocolate Recipe (makes approx. 12 cupcakes)

226g self raising flour
226g butter
226g caster sugar
6 eggs
2 heaped tablespoons of cocoa powder
100g of melted dark chocolate buttons, callets or broken pieces
12 cupcake cases

Pre-heat your oven to Gas Mark 3/325F/170C.

Cream your butter in a mixer then add the caster sugar. Add in the flour along with half of the eggs for around one minute. Once half of the eggs are combined add the remaining and mix for about 5 minutes. Add in your melted dark chocolate and cocoa powder. Mix.

Fill your cupcake cases until 2/3 full and place on the top shelf. Bake for around 20/25 minutes.

Cherry Buttercream Recipe

250g butter
300-350g icing sugar / confectioner’s sugar
6-12 drops of cherry essence
Cherry Pink gel paste food colour
Piping Tip (We used the Ateco 858 tip that we stock)

Add half of the butter diced into pieces. Cream the butter in a mixer then gradually add icing sugar and the remaining butter (cut into cubes) until you get a smooth, creamy texture. Add in your cherry essence. Finally add some pink gel paste food colour with black gel paste food colour until you get your desired dark cherry colour.

What you need to make your spooky ghosts:

Black Edible Ink Pen
White fondant / sugarpaste
Kebab sticks
Large plain circle cutter
Tylo powder
White candy melts
Fondant rolling pin

Assembling your cupcakes and creating your fondant ghosts…

Haunted Black Forest Cupcakes by Juniper Cakery

Step one: Pipe your cupcakes with swirls of your delicious cherry buttercream.

Step two: Cut down three kebab stick to about 4 to 5 inches in height (though you should compare this alongside your cupcakes).

Haunted Black Forest Cupcakes by Juniper Cakery

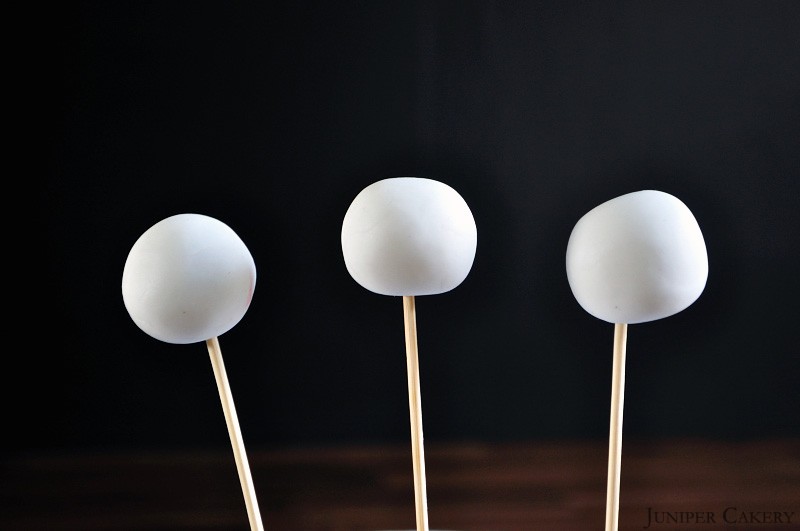
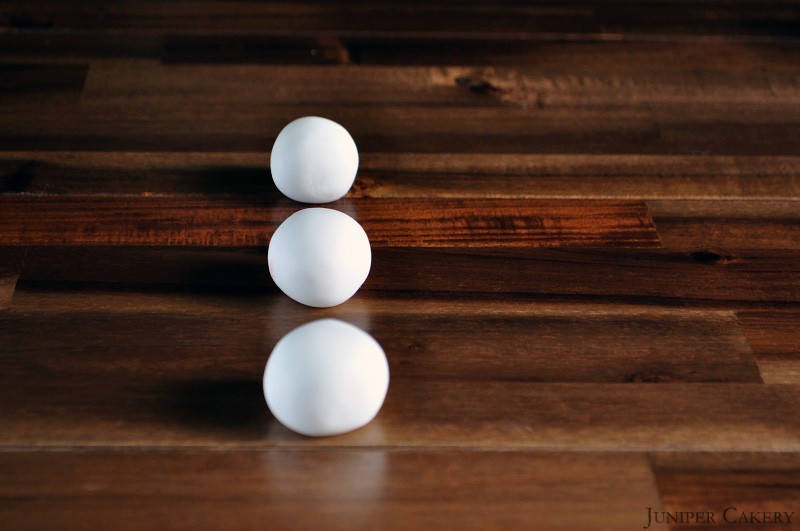
Step three: Mix some tylo powder in with some white sugarpaste fondant and form into spherical balls about the diameter of a 10 pence piece (or a quarter if you’re US bound).

Haunted Black Forest Cupcakes by Juniper Cakery

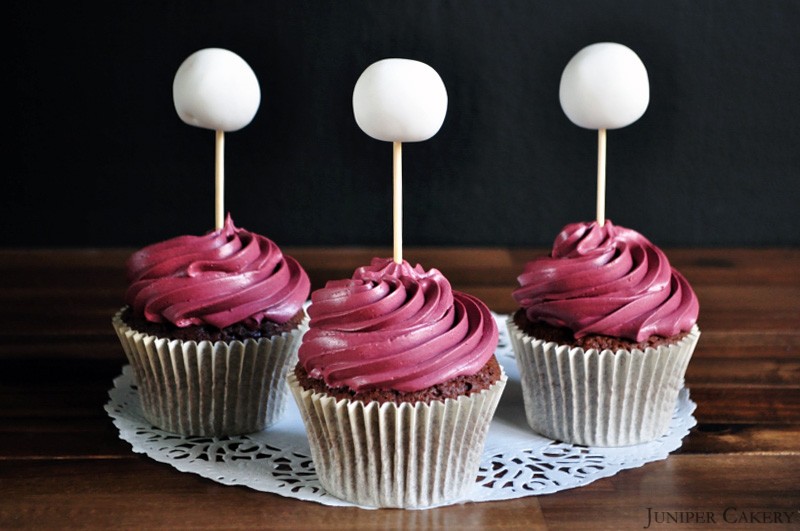
Step four: Melt some candy melts. (Tip: We pop some in a disposable piping bag, melt them in the microwave and then snip the bag.) Apply a little to the top of the kebab sticks and carefully slide the sugarpaste balls on.

Step five: Leave these to dry and harden. You can stand your sticks upright by pushing them into a cake dummy or a thick cardboard box… or by even leaving them to stand in a high and narrow container (e.g. a coffee pot).

Haunted Black Forest Cupcakes by Juniper Cakery

Step six: When the balls are a little firmer push these into the centre of your piped cupcakes.

Haunted Black Forest Cupcakes by Juniper Cakery

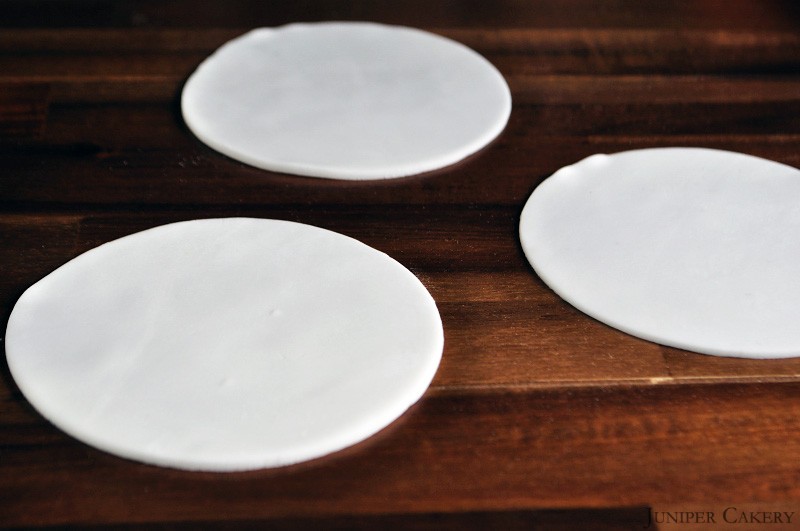
Step seven: Roll out some white sugar paste to around 2mm thick and cut out as many circles as there are cupcakes using a plain circle cutter.

Haunted Black Forest Cupcakes by Juniper Cakery

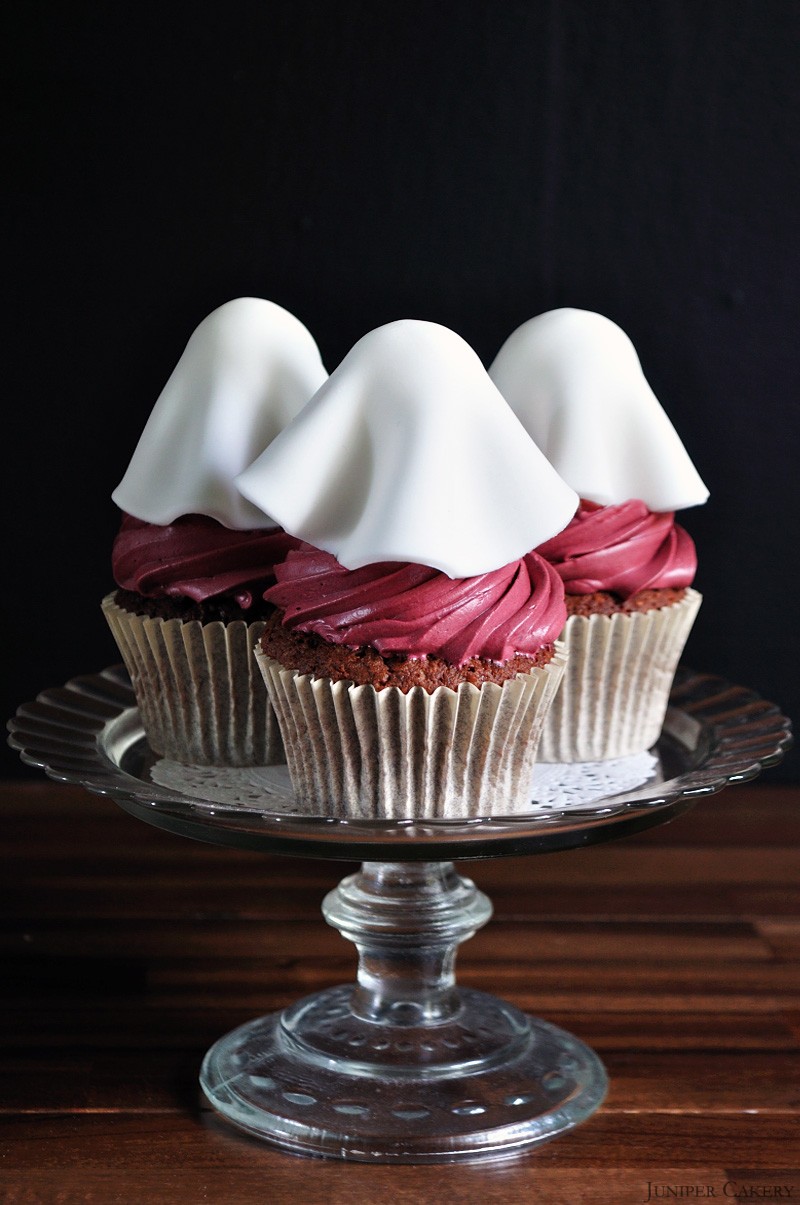
Step eight: Carefully lay your circles out over the kebab stick and fondant ball ‘lollipops’ in your cupcakes and arrange the bottoms of them to look like flowing ghostly shapes. This takes a steady hand as you can end up smearing the buttercream underneath!

Haunted Black Forest Cupcakes by Juniper Cakery

Step nine: For the finishing touch carefully draw some creepy (or funny) faces on your little ghosts!

Hurrah! Finally you have a little army of ghosts ready to celebrate the Halloween season!

Haunted Black Forest Cupcakes by Juniper Cakery


Chocolate Truffle Cupcakes!

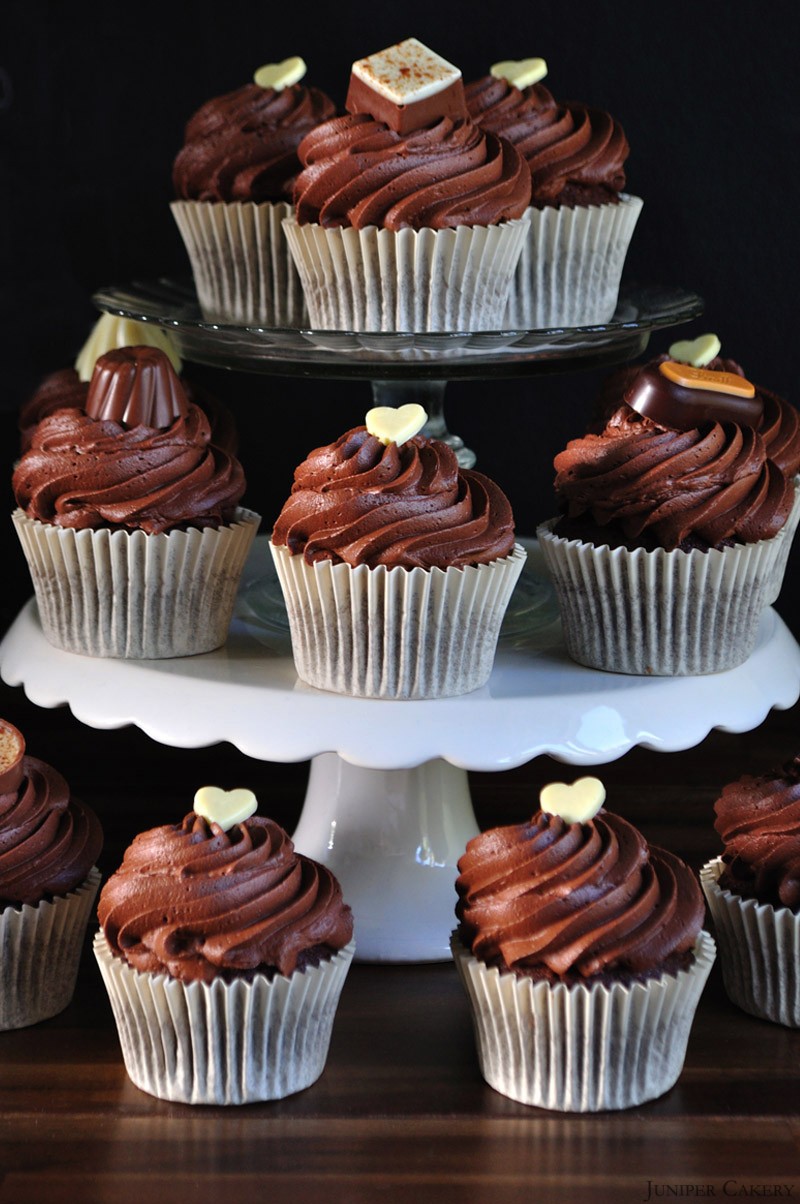
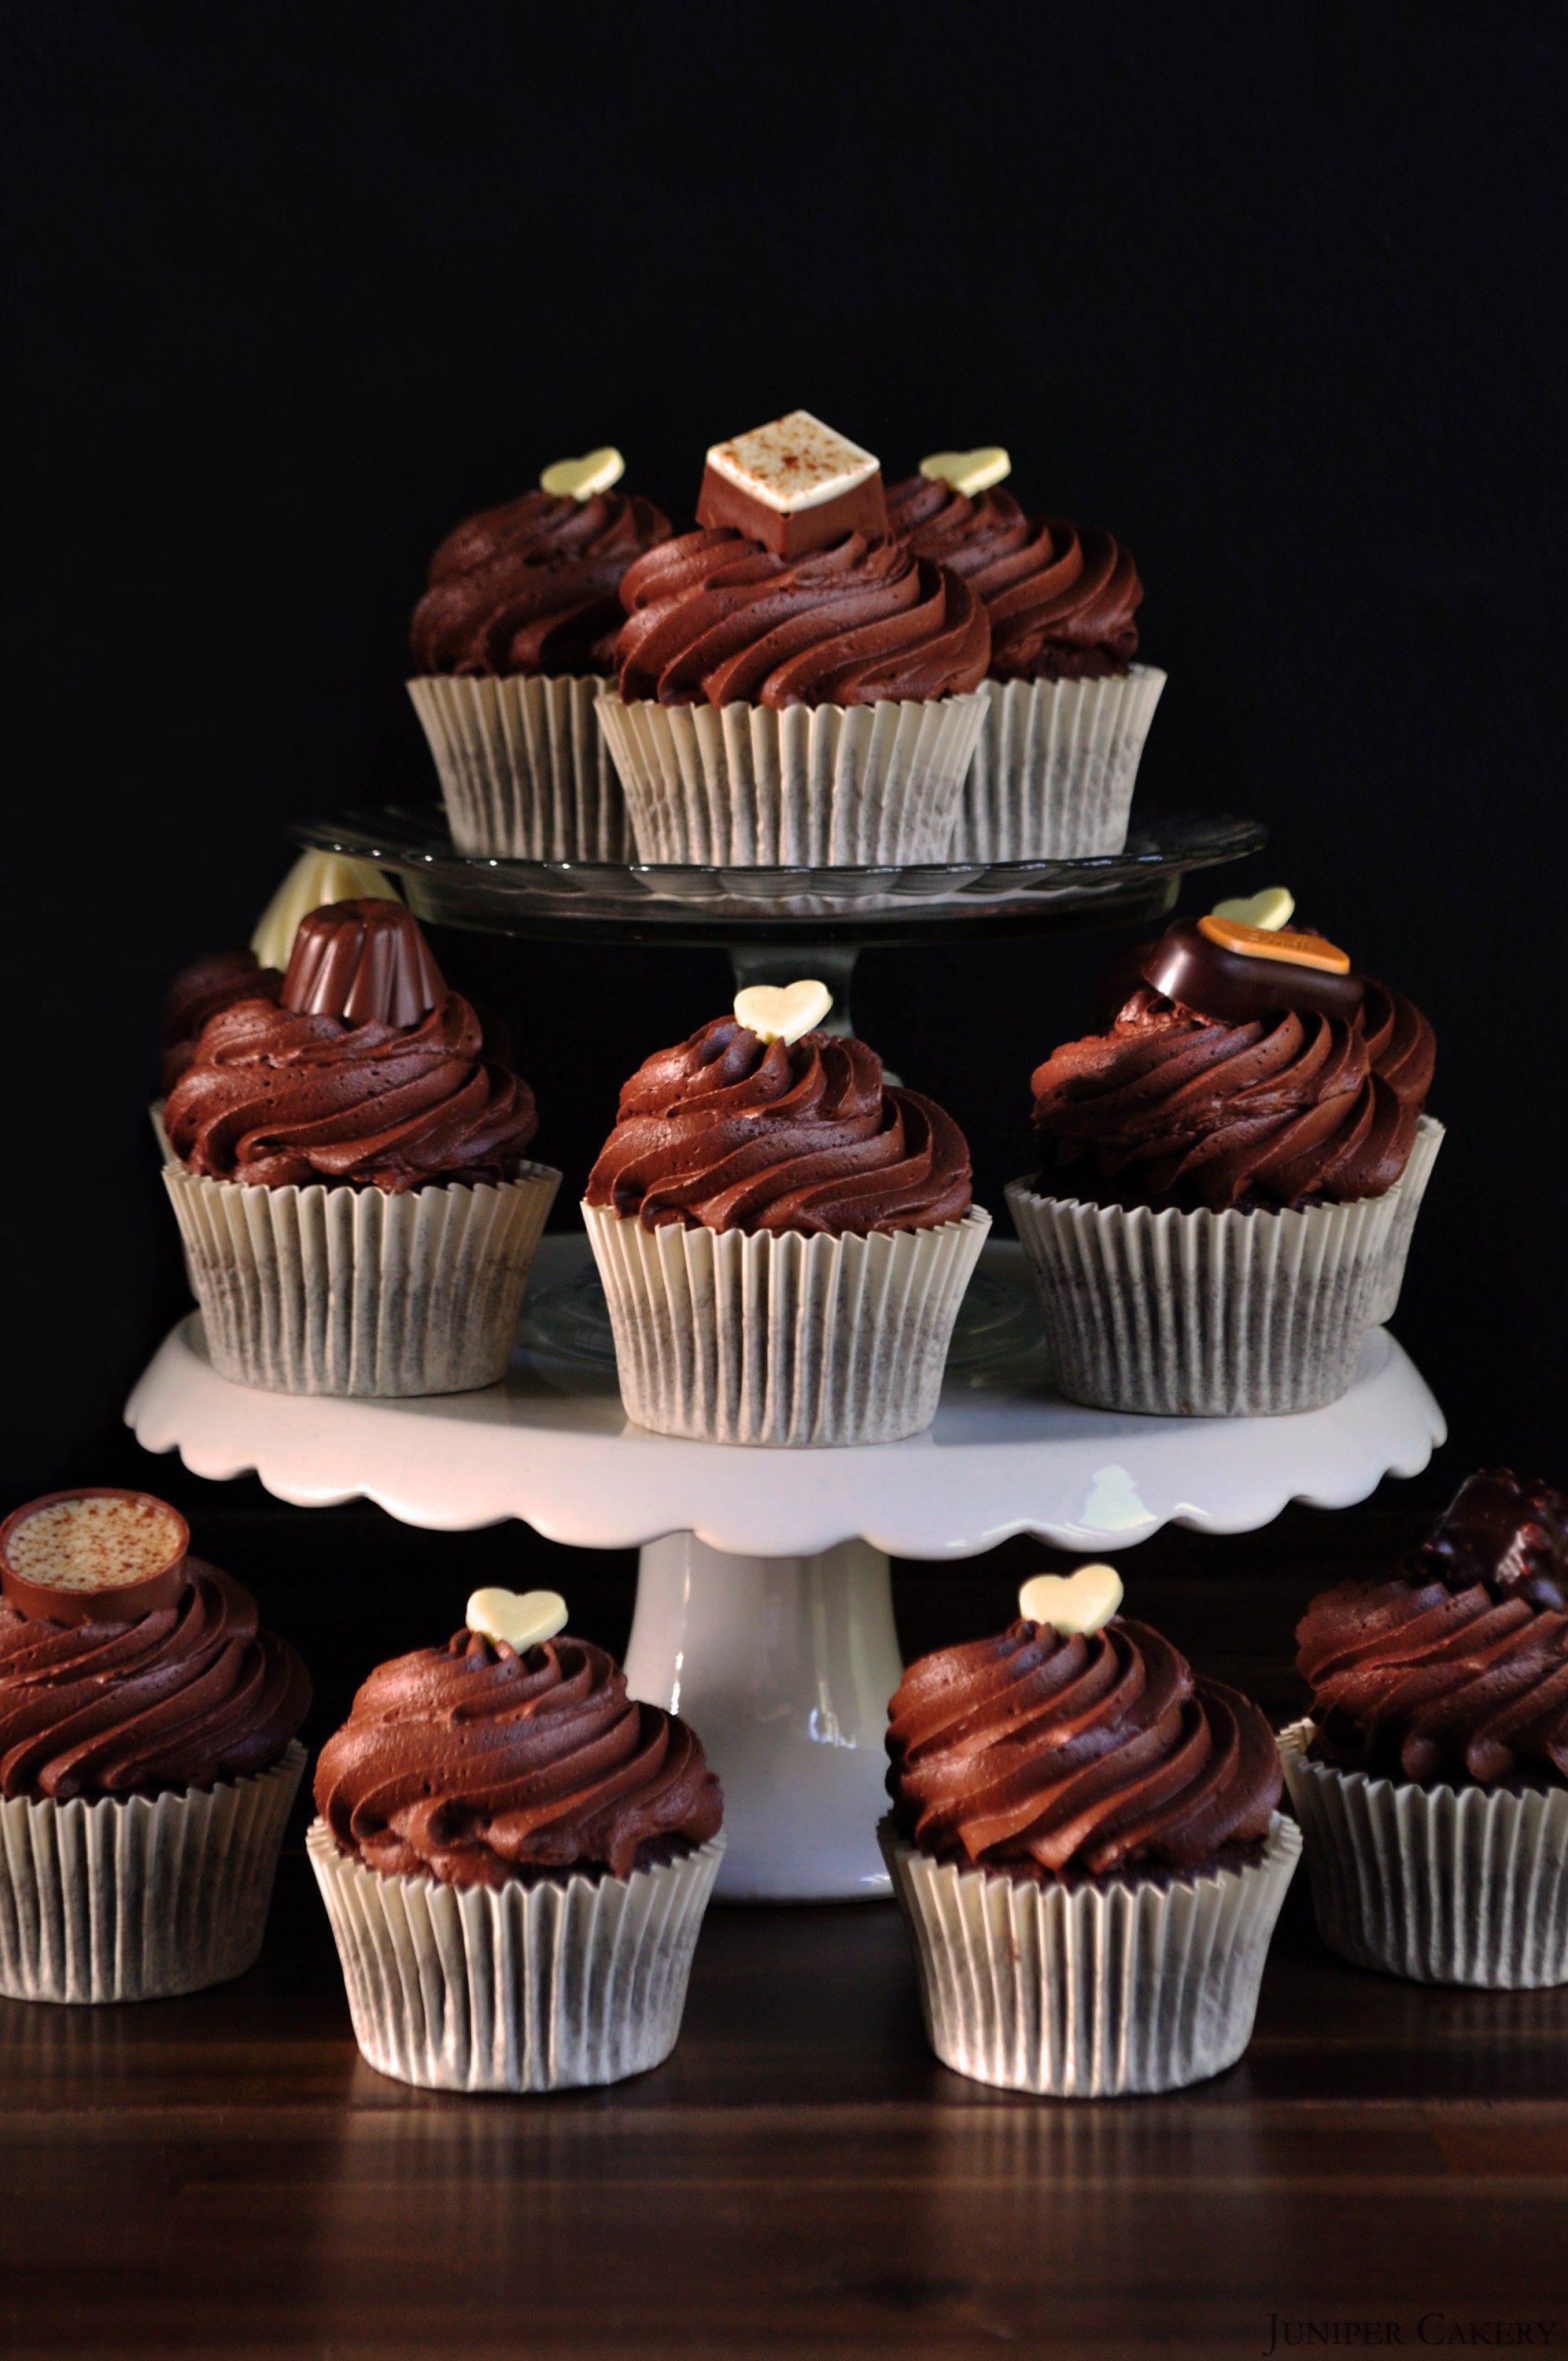
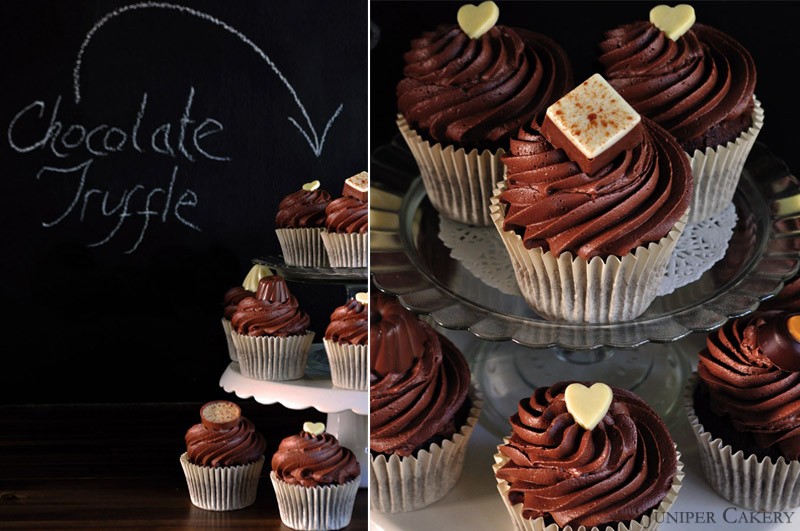
When it comes to cake (or usually any type of sweet) chocolate is usually a winner isn’t it? We adore the rich and warming aroma of our freshly baked cocoa filled cupcakes swirled with silky whipped chocolate buttercream! With that in mind here is a lovely little batch of fine chocolate truffle cupcakes we whipped up! Each cupcake is topped with either a hand made white chocolate heart or an indulgent chocolate truffle (some flavours include Tiramisu, White Chocolate Meringue and Caramel Eclair).

h

If you need to re-create our super smooth and luxurious chocolate buttercream for your own cakes we’ve posted up our recipe and ‘tutorial’ here! Beware… you may find yourself huddled up in the dark of your kitchen cupboard possessively devouring every dollop!

DSC_0021_381

DSC_0026_379

trufflesplice


Coffee, Brown Sugar and Caramel Cake with The Happy Egg Co. Eggs!

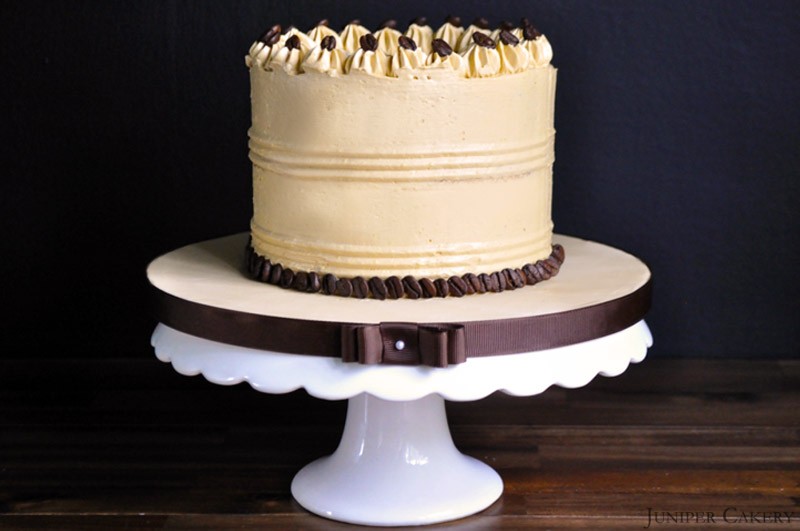
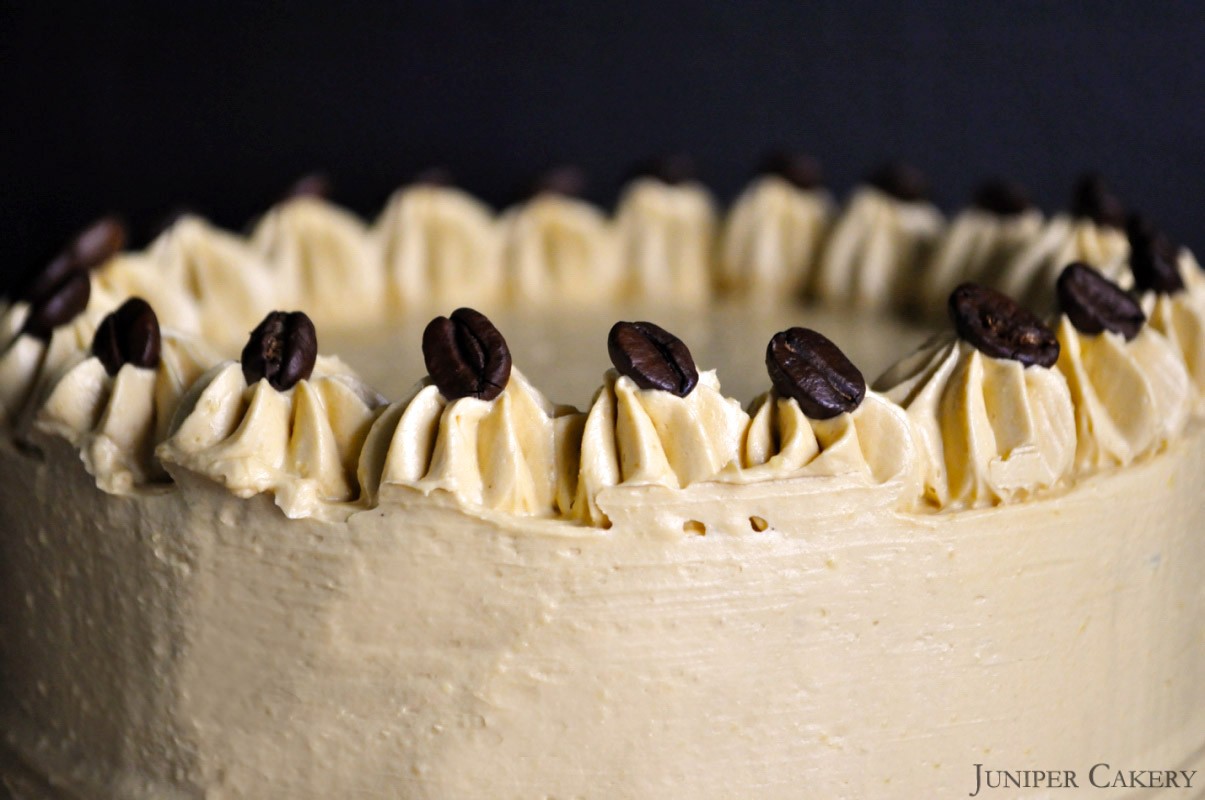
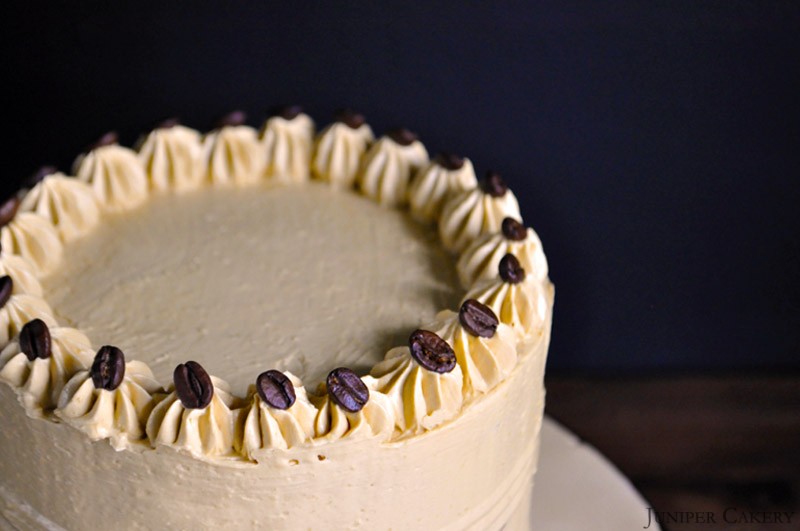
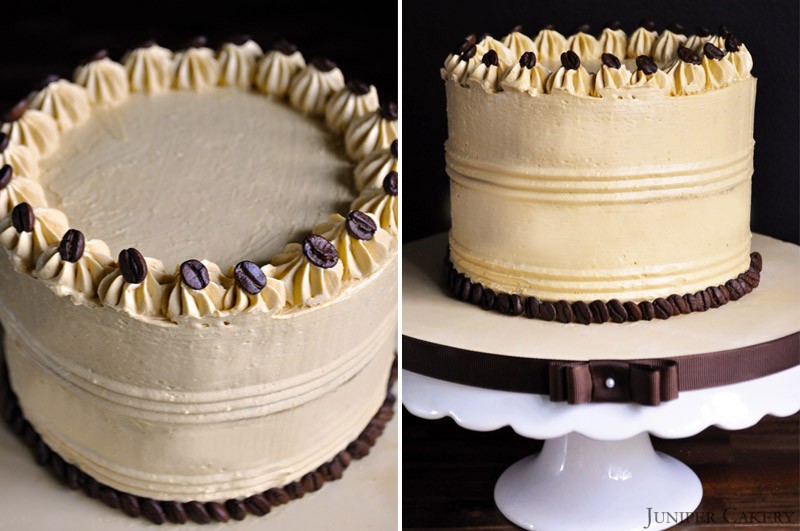
On September 22nd the British summertime ended and autumn began! Cooler mornings and darker evenings makes this month’s cake the perfect treat. Our coffee, brown sugar and caramel cake is simple to recreate as the indulgent flavours combine to make a wonderful autumn treat perfect for any occasion!

Coffee, Brown Sugar and Caramel Cake

Coffee Cake Recipe (Makes two 8″ layers)

4-5 eggs by the happy egg co.
250g self-raising flour
250g brown sugar
250g butter
6-12 drops of natural coffee essence

Coffee, Brown Sugar and Caramel Cake

The Happy Egg Co. Eggs

Cream your butter in a mixer then add the brown sugar. Add in the flour along with half of the happy eggs for around one minute. Once half of the happy eggs are combined add the remaining and flavour to taste. Mix for about 5 minutes.

Pour batter in the pan until 2/3 full and place on the top shelf of a pre-heated oven at Gas Mark 3/325F/170C. Bake for around 30 minutes. Repeat this step to create your second layer.

Coffee, Brown Sugar and Caramel Cake

Caramel Buttercream Recipe

250g butter
400g icing sugar
5 tablespoons of room temperature water
6-12 drops of natural caramel essence

Add half of the of butter diced into pieces. Cream the butter in a mixer. Then gradually add icing sugar and the remaining butter (cut into cubes) until you get a smooth, creamy texture. Add the flavour to taste.

Coffee, Brown Sugar and Caramel Cake

Adding whole coffee beans for decoration is a great way to finish this cake off, why not give it a go!


×