Circus Cake & Cupcake Topper Tutorial: Lion

As the days and months get brighter so do our colour palettes! That was our main thought when we began discussing tutorial themes… vibrance. With that in mind, of course, our newest collection of cake and cupcake decorating tutorials look at the bright colours and animal characters from cartoon circuses! This week we show you how to create your own friendly lion; perfect for kids’ party cakes. This character is so easily adaptable to suit other themed cakes and cupcakes too; add a golden crown for a playful royal design or change the colours and create other characters for an amazing selection of Narnia cupcakes!
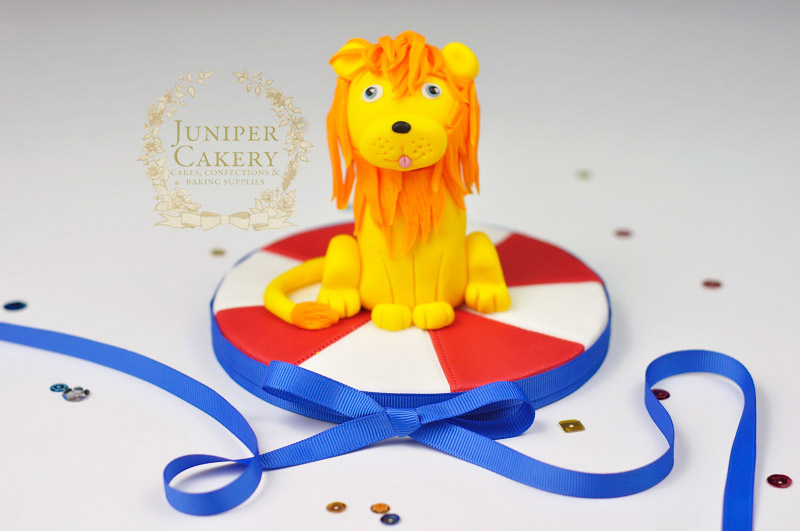
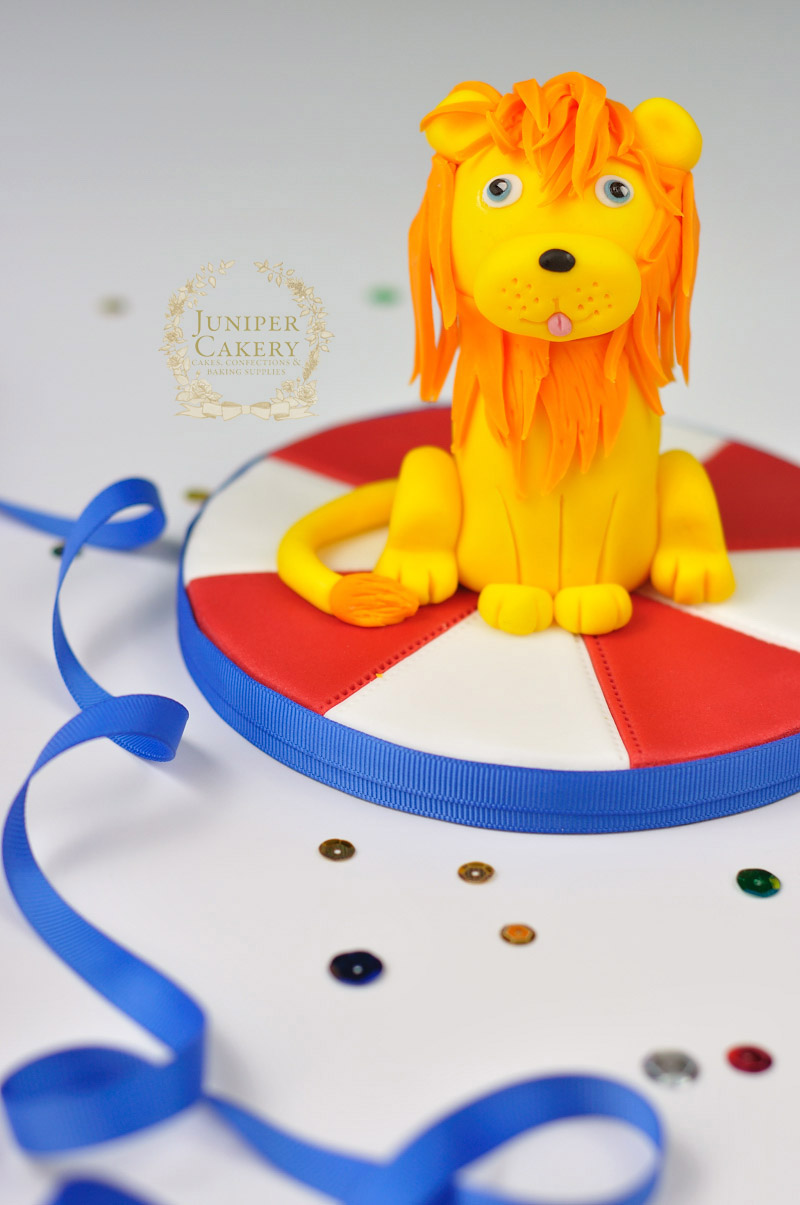
Fondant lion cake topper tutorial

How to make a circus lion cake topper by Juniper Cakery

You’ll need…

Learn how to make a sugar paste lion

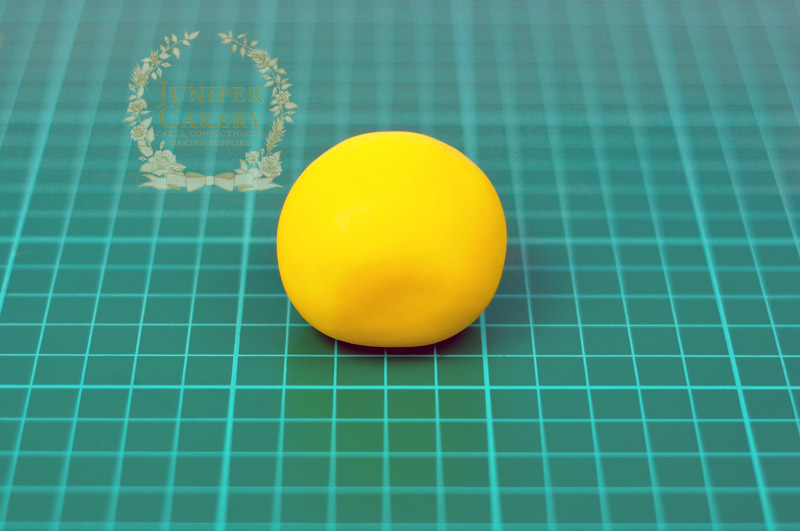
Step 1: Form a ball of yellow fondant / sugarpaste (mixed with a pinch of tylo powder to help make the fondant / sugarpaste harder) approximately the size of a ping pong ball. Slightly flatten the lower part of the front where the muzzle will be attached later.
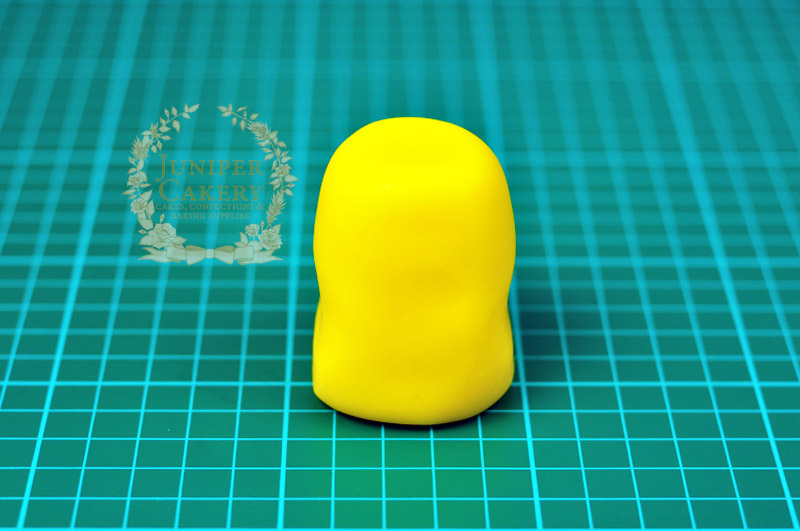
Circus lion cupcake topper tutorial

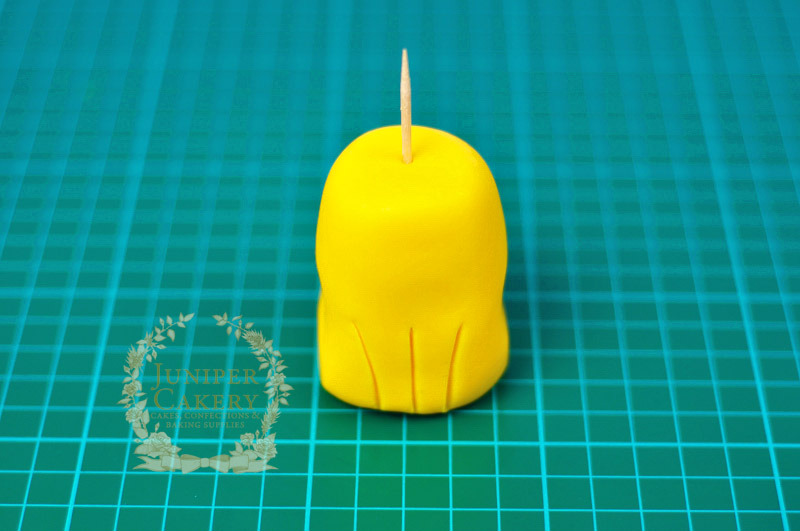
Step 2: With some tylo mixed yellow fondant / sugarpaste form a larger ball (around double the size as the piece in step 1) and mould oblong smoothing the sides inwards to create a slight hourglass shape.
Lion cupcake topper how to

Step 3: With a blade tool etch two front legs and then push a cocktail stick down the centre. The head will attach to this so make sure the stick won’t protrude out of the yellow ball made in step 1.
Tutorial for a sugar paste lion figure

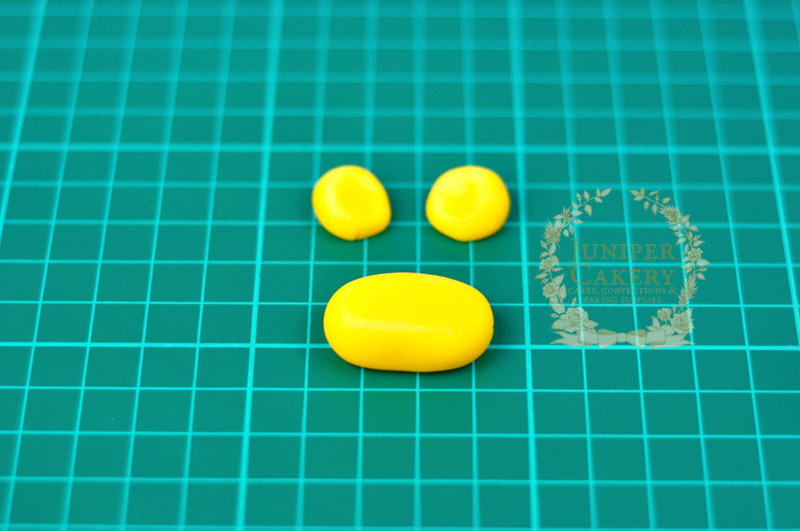
Step 4: For the muzzle make an oblong shape of yellow fondant / sugarpaste. For the ears make two small balls, flatten them slightly and with the ball tool indent where they’ll be place.
Circus lion cupcake topper

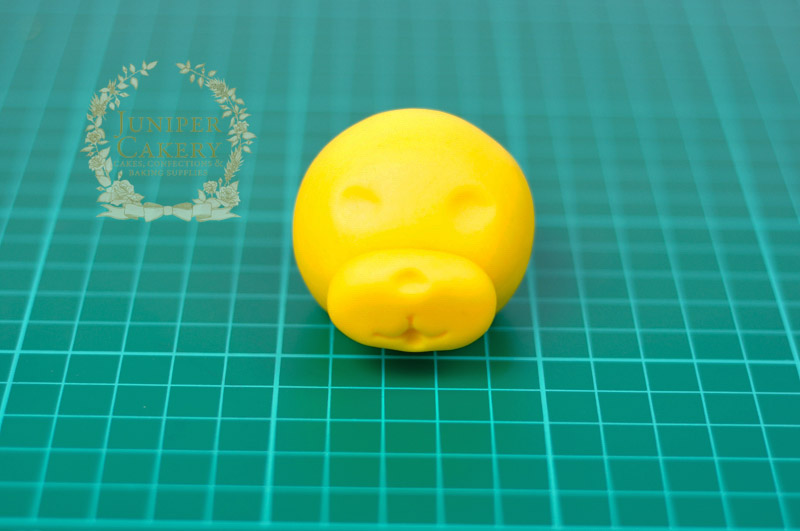
Step 5: To begin creating the face attach the muzzle to the flattened lower front area of the head with some edible glue. Use the scallop tool to create the mouth. With the ball tool indent the eye sockets, nose and a groove for the tongue to fit into.
How to make a cute lion topper

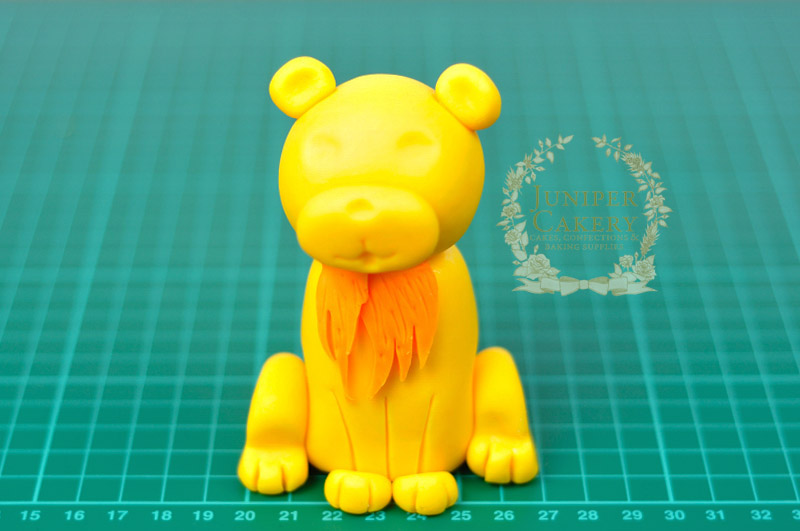
Step 6: Take the head and attach onto the body with a little edible glue on the cocktail stick.

Step 7: Use smaller pieces of a cocktail stick pushed into both sides of the lion’s head and attach the ears with some edible glue.

Step 8: To create the mane roll out some orange fondant / sugarpaste. With the blade tool cut out a series of jagged shapes and draw lines into them lightly with the scriber tool. Attach these around the lion’s head with edible glue.
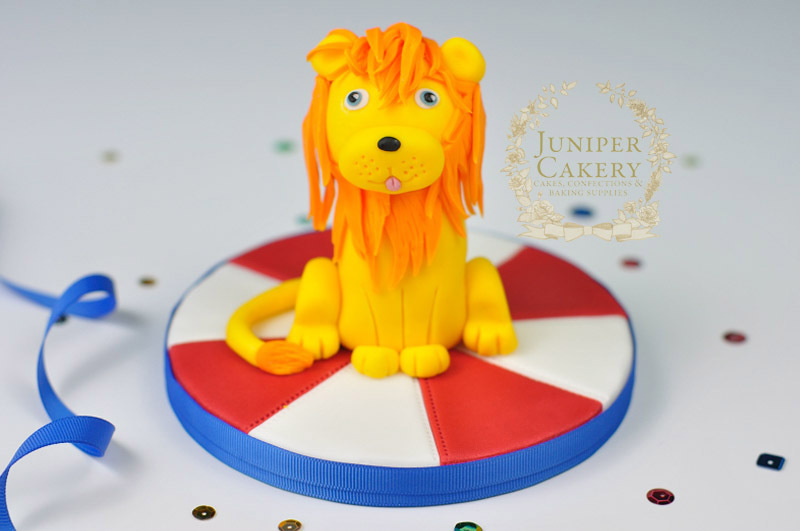
Circus lion cake and cupcake topper tutorial by Juniper Cakery

Step 9: For the tail roll out a rope of yellow fondant and finish the end with a tapered piece of orange fondant detailed with lines. Attach to the back with edible glue once the lion is finished and sat on your cake or cupcake!

Step 10: Add the final details such as the tongue, whiskers (you can add white floral wire or just create dots with a scriber tool), the nose and the eyes. For the eyes simply layer colours of fondant / sugarpaste. Begin with the whites, indent with the small end of the ball tool, add the eye colour, indent again, then add a little black and then a tiny amount of white.
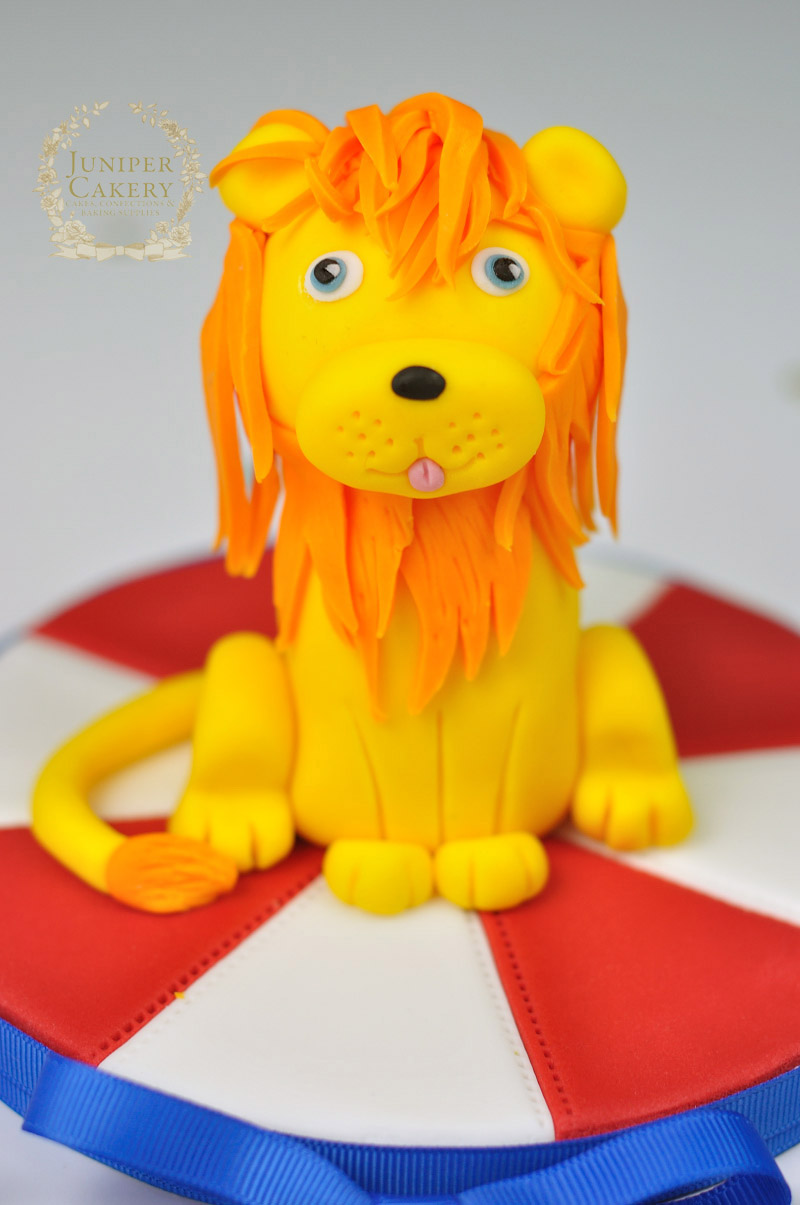
Fun sugar paste lion tutorial


The 3 Bunnies of Easter Cupcakes!

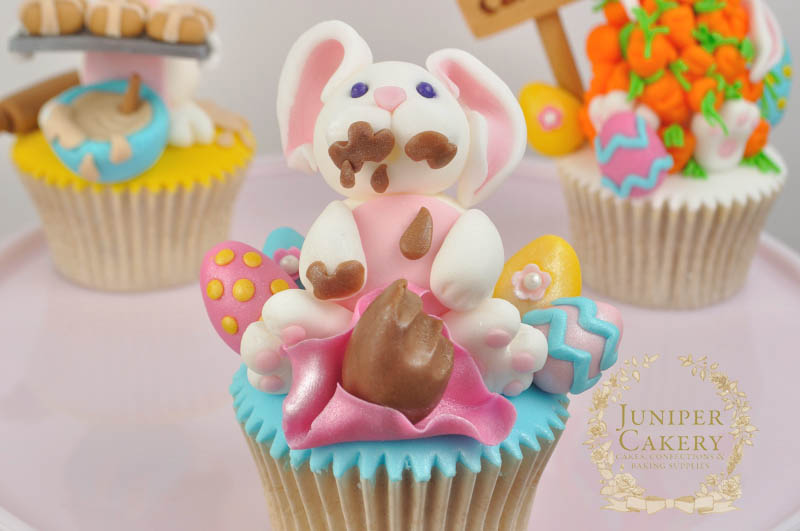
Easter is finally here and for a little bit of fun (yes, on a holiday AND on our time off) we decided to put together some rather fun little cupcakes that suit the occasion particularly well we think. Our design ideas for these furry nice bunnies was the process throughout the Easter holidays (or any holiday season for that matter). Our hot cross bun baking bunny begins the holiday season with the best of intentions; full of festive spirit and raring to whip up everything from scratch! The second bunny is overwhelmed with Easter and buried underneath a myriad of carrots. Finally, our third bunny rabbit has just given in to the gluttony of modern day Easter celebrations; chocolate, chocolate and more chocolate!

Funny Easter Bunny Cupcake Toppers by Juniper Cakery

Each cupcake is flavoured to match its decoration. The hot cross bun baking bunny is a delicious apple and sultana cupcake, the carrot overload bunny is a spiced carrot and orange cupcake and the chocolate chomping bunny rabbit features a vanilla cupcake with chocolate chips and a chocolate ganache filling. All are then topped with vanilla buttercream and fondant icing. Just because we’re ever so generous we’ve included our recipe for each flavour with this post!

Cute Easter Bunny Cupcake Toppers by Juniper Cakery

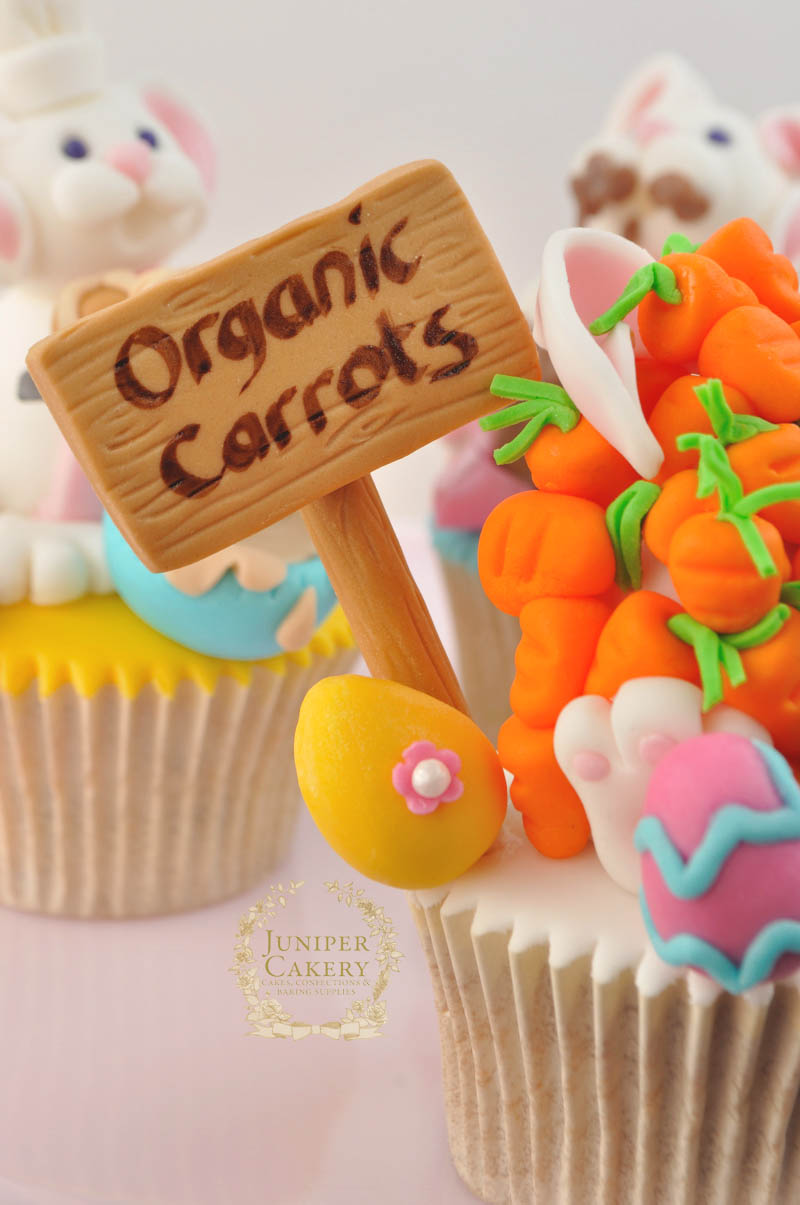
We added a fun ‘organic carrots’ signpost to our ‘overwhelmed’ bunny cupcake along with lots of bright Easter eggs!

Adorable Easter Bunny Cupcakes and Toppers by Juniper Cakery

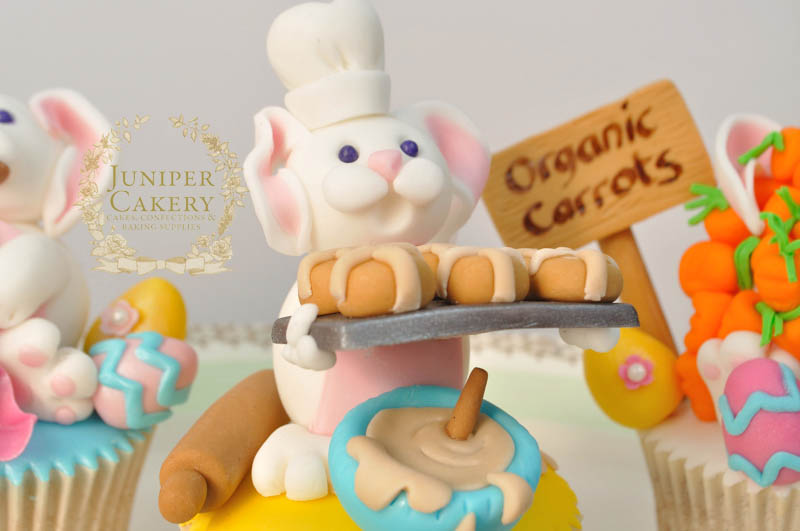
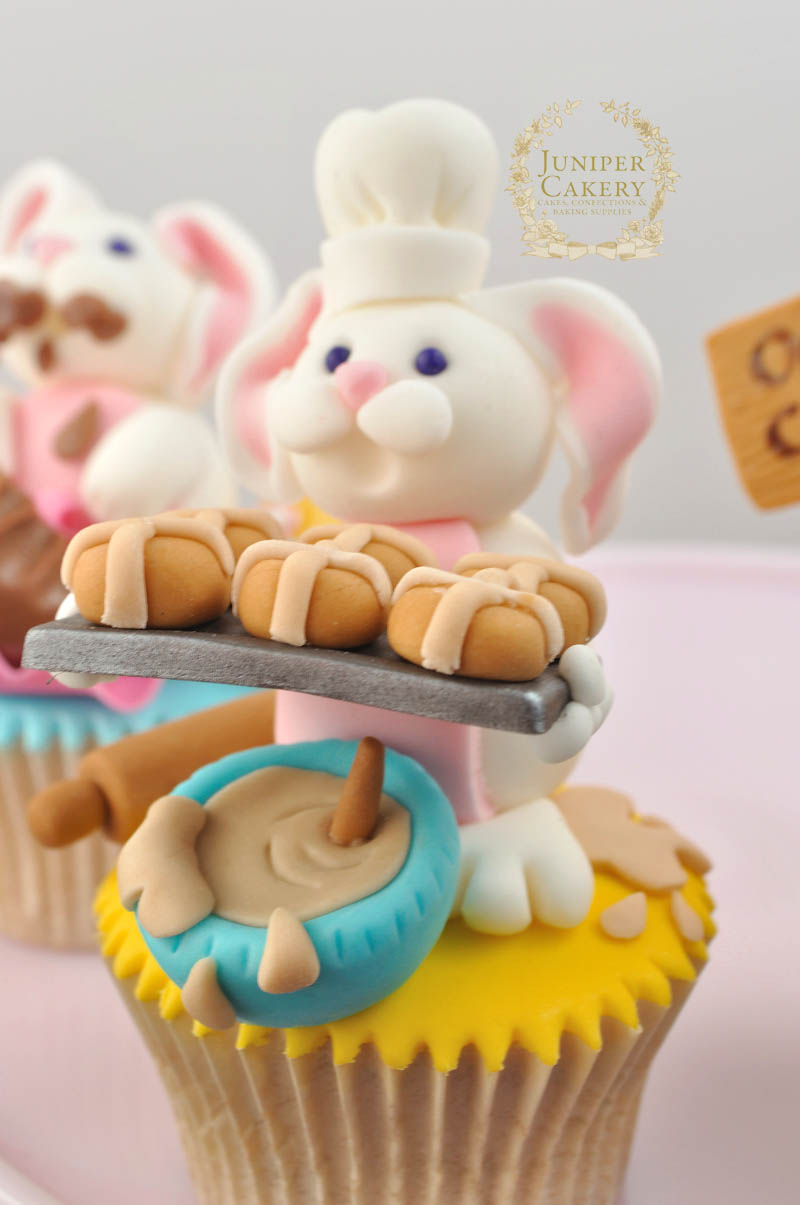
Our adorable little chef bunny was certainly busy in the kitchen with its rolling pin, batter splattered floor, mixing bowl and tray full of freshly baked hot cross buns.

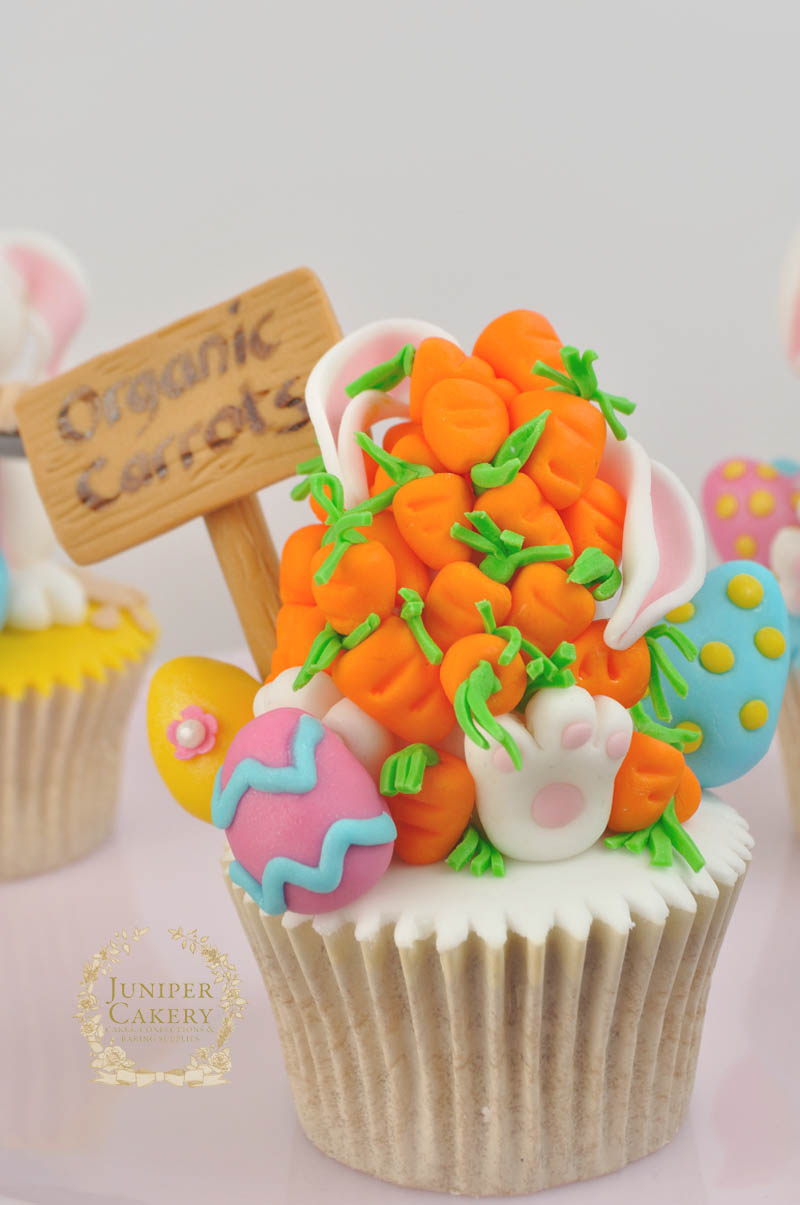
Easter bunny and carrots cupcake by Juniper Cakery

Here’s our overwhelmed bunny cupcake.We often feel like the above bunny rabbit most of the time. The cupcake itself is a delicious spiced carrot and orange cake.

Cute Easter Bunny with Chocolate Eggs Cupcake by Juniper Cakery

Here’s our chocolate overload bunny who has found themselves amidst a plethora of tasty chocolate Easter eggs! We added a little lustre dust to the eggs and wrapper to create a shimmery metallic look. The cupcake flavour for this was vanilla with chocolate chips with a lovely chocolate ganache filling.

Easter Hot Cross Bunny Cupcake by Juniper Cakery

Mmm… hot cross buns. For this cupcake we mimicked our favourite hot cross bun flavour and created an apple and sultana cupcake with a hint of nutmeg and cinnamon!

We’ve also submitted all three of these funny Easter bunny cupcakes to The Pink Whisk’s Easter Makes & Bakes Competition and placed second!

”Prize


Fun Easter Bunny Cupcakes by Juniper Cakery

We hope you all enjoy a fun-filled Easter weekend and that you find yourself more like the baking or chocolate bunnies we created rather than the poor stressed-out little carrot buried rabbit! Hoppy Easter!


Kangaroo Sprinkle Party Cake!

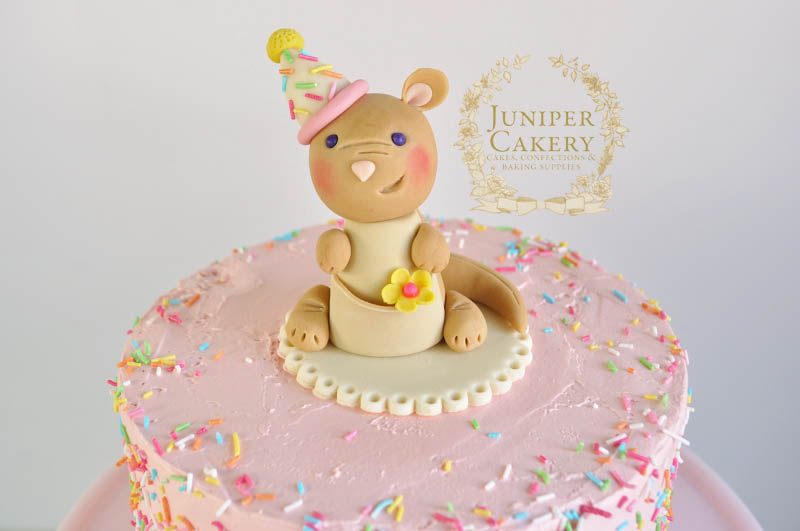
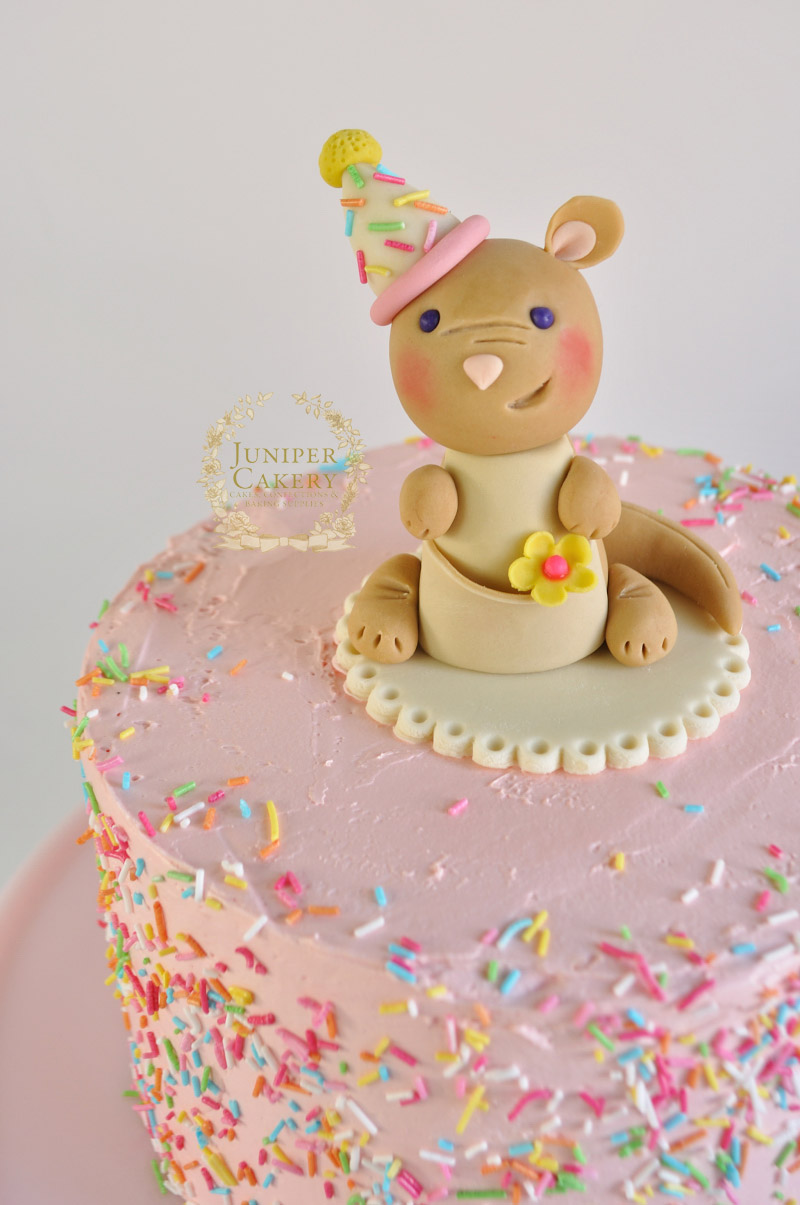
Yesterday our friend Tammie flew over from Australia to visit everyone and, of course, we saw it as a great ‘hoppertunity’ to create this adorable kangaroo party cake! We entertained ideas from Moomins to luggage cakes before settling on having the cake topper be a hoppy little ‘roo. 

fondant kangaroo by Juniper Cakery

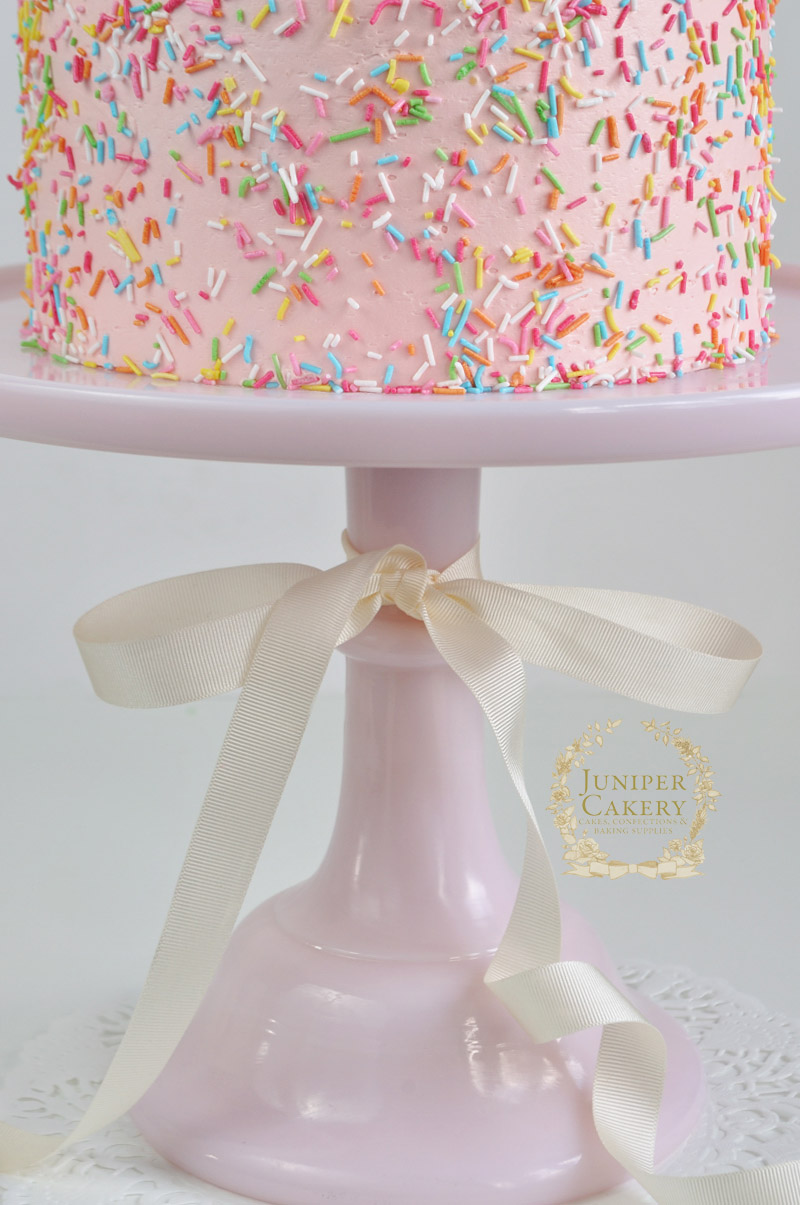
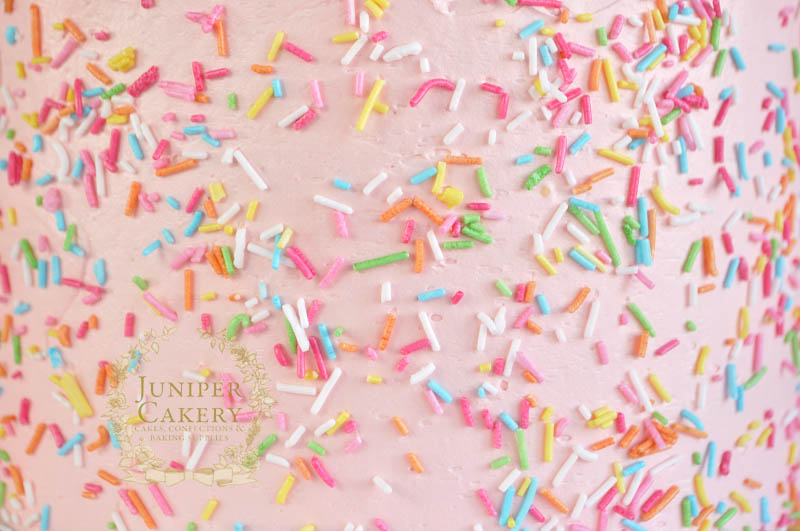
The cake itself is a lovely pink lemonade flavour; perfect for spring! Inside are layers of natural lemon extract infused cake filled with a generous amount of home made raspberry jam. We then smothered the cake in raspberry buttercream and added fun rainbow sprinkles!

Rainbow sprinkles on a pink cake by Juniper Cakery

Rainbow sprinkles on a pink buttercream cake by Juniper Cakery

Pink rainbow party cake with kangaroo figure by Juniper Cakery

This cake was also a belated birthday offering for Tammie so we whipped it up with a little birthday party theme too. We popped a colourful little party hat atop of our fondant ‘roo as well as a brightly coloured blossom nestled in her pouch.

Kangaroo cake by Juniper Cakery


Easter Recipe & Tutorial: Floral Easter Basket Cupcakes!

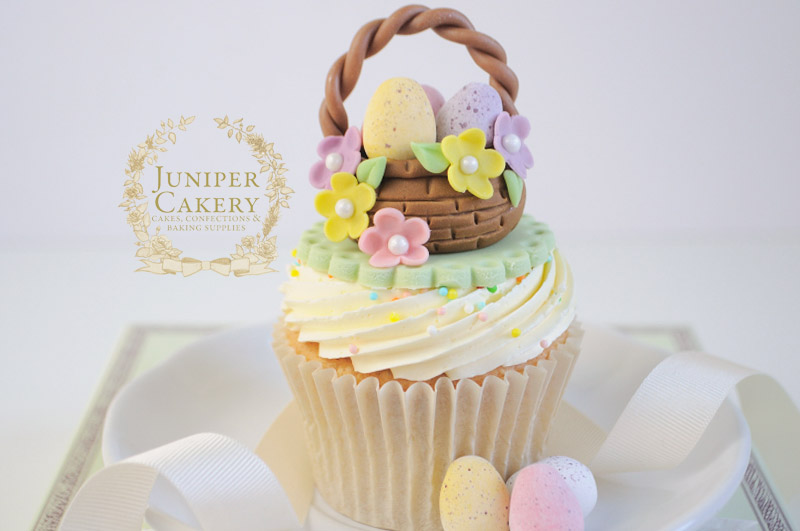
With the Easter festivities fast approaching we’ve began working on lots of sweet cake, cupcake and macaron treats for you to whip up at home. It’s one or favourite times of year for cake and cooking decorating because of all  the fun and adorable things just waiting to adorn home baked treats! With that in mind here’s the first of our Easter recipe and tutorial collection; how to create Floral Easter Basket Cupcakes! Be sure to try out our accompanying recipe for lemon and marshmallow cupcakes for a delicious Easter treat.

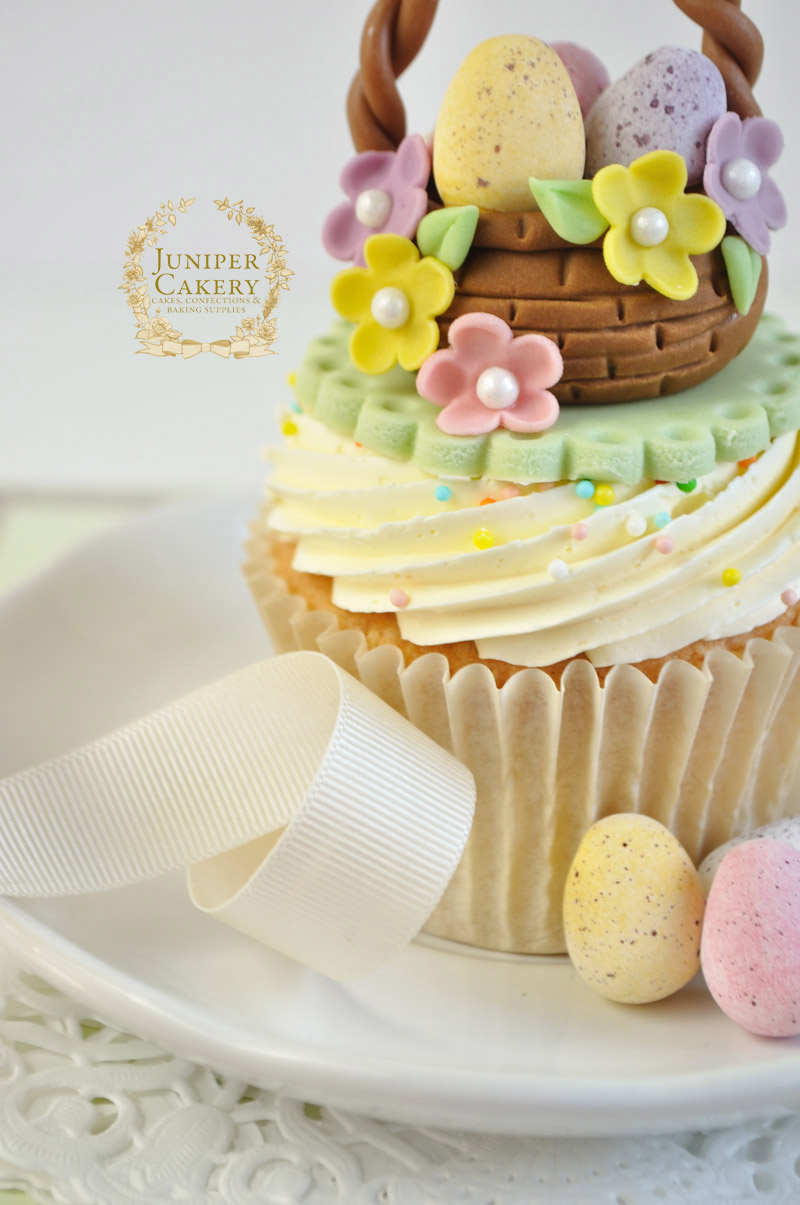
Cute Easter Basket Cupcake by Juniper Cakery

Lovely Easter basket cupcake tutorial by Juniper Cakery

Easter basket cupcake tutorial by Juniper Cakery

How to make floral Easter basket cupcake toppers

You’ll need…

Brown fondant
Pastel pink fondant
Pastel green fondant
Pastel yellow fondant
Pastel purple fondant
2 1/4 inch scalloped circle cutter
Sugar pearls
Small candy / chocolate eggs
Medium blossom cutter
Ball tool
Veining / flower and leaf shaping tool
Fondant rolling pin
Icing sugar to dust surface
Edible glue
Paintbrush
Tylo powder
Cake smoother
Blade tool
Flower foam pad

Easter cupcake tutorial by Juniper Cakery

Easter basket cupcake tutorial by Juniper Cakery

Step 1: Roll out some pastel fondant mixed with tylo powder in your chosen colour and cut with a 2 1/2 inch scalloped circle cutter. Add extra detail by pressing the small end of the ball tool into each scallop. Leave to dry and harden on a clean flat surface. Once ready set on top of a piped cupcake!

Step 2: Take a little brown fondant and add a couple pinches of tylo powder. Using a cake smoother roll these out into a thin ‘rope’. To do so ‘roll’ your cake smoother over an oblong shape of brown fondant backwards and forwards. 

Make an Easter basket cupcake by Juniper Cakery

Step 3: Slice your ‘rope’ in half with your blade tool and gently twist both pieces together to form the handle for your basket. Set aside to harden and dry.

Step 4: Take a ball of fondant about the size of a ping pong ball and add a pinch or two of tylo powder. Roll into a smooth and crease-less ball in the palms of your hand. Work into an oval shape to form the beginning of your basket.

How to make a fondant basket by Juniper Cakery

Step 5: Using the larger end of your ball tool indent the centre of your basket.

Easter flower basket tutorial by Juniper Cakery

Step 6: With your veining tool etch out a wicker-like pattern along the outside of your little fondant basket.

Fondant basket tutorial by Juniper Cakery

Step 7: Roll out some more fondant into a thin ‘rope’ and attach this along the top of your basket. Add detail with your veining tool.

Sweet Easter basket tutorial by Juniper Cakery

Step 8: With some edible glue attach three miniature candy / chocolate eggs into your basket.

Step 9: To make the little blossoms roll out coloured fondant and cut out the florals using your blossom plunger cutter. 

How to create an Easter basket cupcake by Juniper Cakery

Step 10: On a flower foam pad shape the petals of your blossoms with smaller end of your ball tool.

Step 11: Add the blossoms to the basket with a dab of edible glue and finish the centres of them with sugar pearls or small balls of fondant.

Step 12: With edible glue attach your basket handle and leave to set. This may need holding up with strips of kitchen towel or cling film. 

Sweet Easter basket cupcake tutorial by Juniper Cakery

Once you’ve finished why not arrange your gorgeous Floral Easter Basket Cupcakes on a pastel cake stand strewn with silk flowers and crepe paper ‘grass’ for a gorgeous spring look.


Our Tips For Filling Layer Cakes!

Sometimes the most simple of tasks can be a little bamboozling and may not be so simple after all. Knowing how to fill your cakes and what to avoid can make or break that 6 tier masterpiece you’ve spent weeks designing. Head on over to the Craftsy Blog to read our top tips on how to fill your cakes to perfection!

Strawberry Jam and Whipped Cream Cake by Juniper Cakery


Need to Know How to Achieve a Gorgeous Vintage Colour Palette?

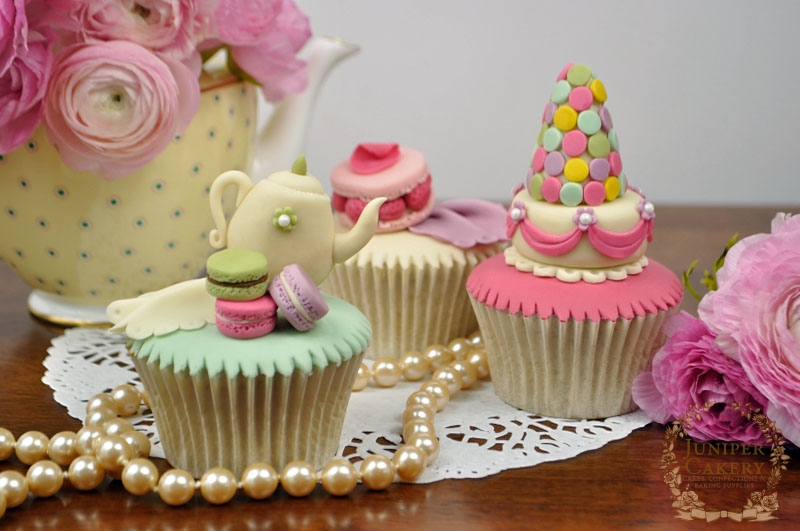
We’ve some exciting news to share! We’re now writing over at Craftsy’s blog as well as here at our humble online abode. We’ll be talking about cakes (of course) and sharing lots of fun cake decorating tricks and tutorials! For our second Craftsy blog post we’re offering up some handy tips on tinting fondant and how to create a beautiful vintage colour palette. We even created the Parisan Macarons / Salon de Thé cupcakes below to help illustrate just how lovely a vintage colour scheme can be!

So, if you’ve a burning need to know how to achieve a gorgeous vintage colour palette then head on over to Craftsy to see our post!

Paris themed cupcake toppers by Juniper Cakery


Our Floral Birdcage Cake in Cake Decoration Heaven Magazine!

Do you love Cake Decoration Magazine? We sure do! For their lovely spring edition our Lamb and Anemone flower topper tutorials were featured within their pages. Now our Floral Birdcage Cake (and how to create it) is sitting proudly upon pages 52 and 53 of their Summer 2014 issue! Go and grab your copy today and discover lots of gorgeous cakes and tutorials for you to re-create at home!

Here's our floral birdcage cake in Cake Decoration Heaven magazine - Juniper Cakery


×