Tutorial Tuesday: Simple Spiced Sugar Cookies with Royal Icing Detail!

Every winter time, as soon as the slightest hint of Christmas shows up, we excitedly whip up batches upon batches of our go to ‘gingerbread’ cookies in a variety of fun and festive shapes! Our own recipe is a little different to the traditional gingerbread cookie fare as we prefer thinner cookies with more of a crunch so instead of adding bicarbonate of soda we, over the years, have adapted our standard sugar cookie recipe into the delightfully thin, crisp and light gingerbread variant we create every Christmas! 

Simple gingerbread spiced sugar cookies recipe…
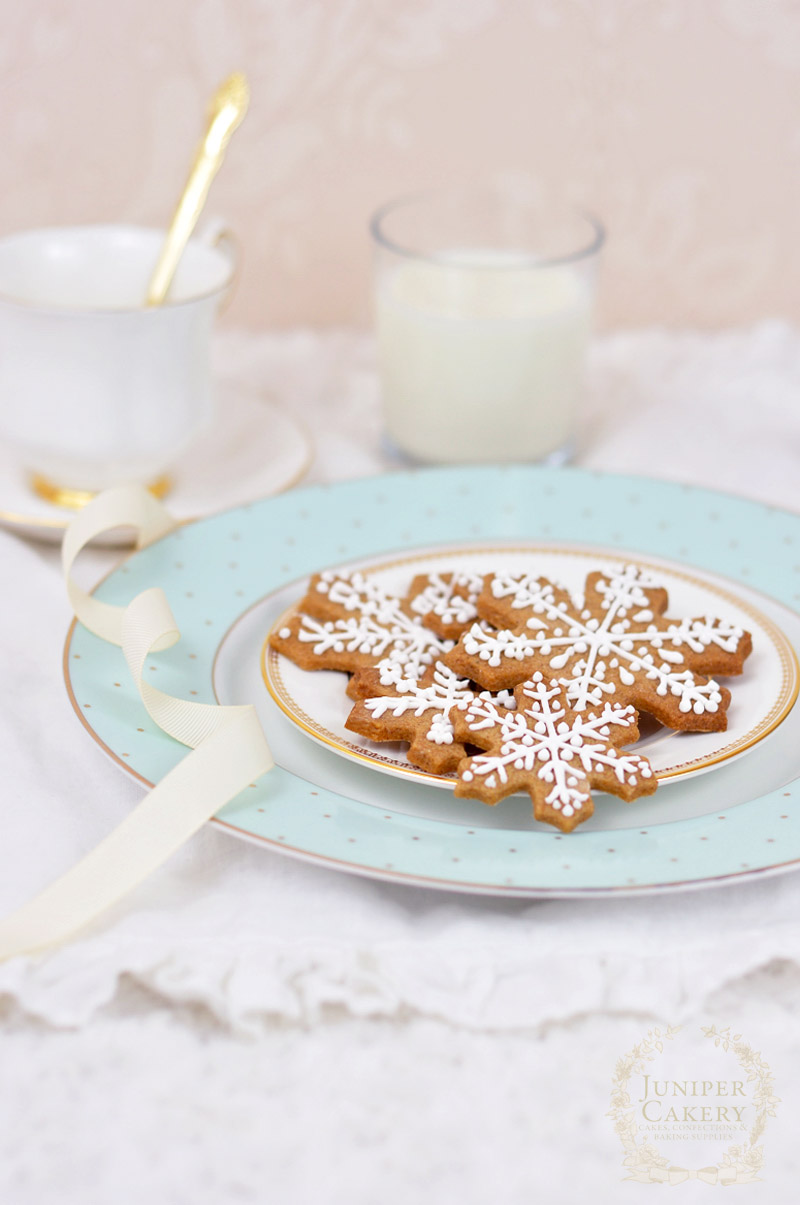
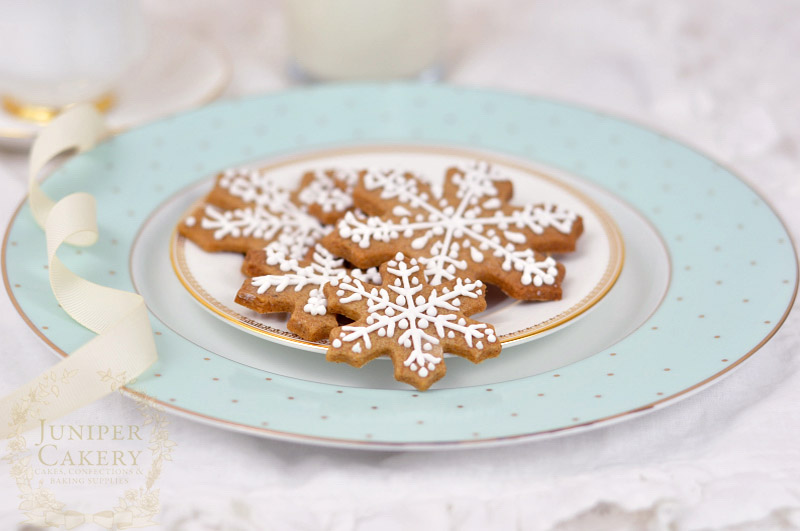
Gingerbread snowflake cookies recipe by Juniper Cakery

Winter snowflake cookies by Juniper Cakery

Ingredients and materials needed to make the cookies… (creates approx. 25-30 cookies depending on size)

  • 200g softened butter
  • 200g caster sugar
  • 4 tablespoons golden syrup
  • 1 tablespoon cinnamon
  • 1 tablespoon allspice
  • 1 tablespoon nutmeg
  • 2 tablespoons ground ginger
  • 400g plain flour (plus extra to dust)
  • 1 lightly beaten egg
  • Snowflake cookie cutters
  • Rolling pin
  • Cookie baking tray
  • Silicone matt or parchment paper
  • angled palette knife

Step 1:

Pre-heat your oven to 180C/350F/Gas mark 4 and prepare a flat baking tray with either a silicone baking mat or parchment paper.
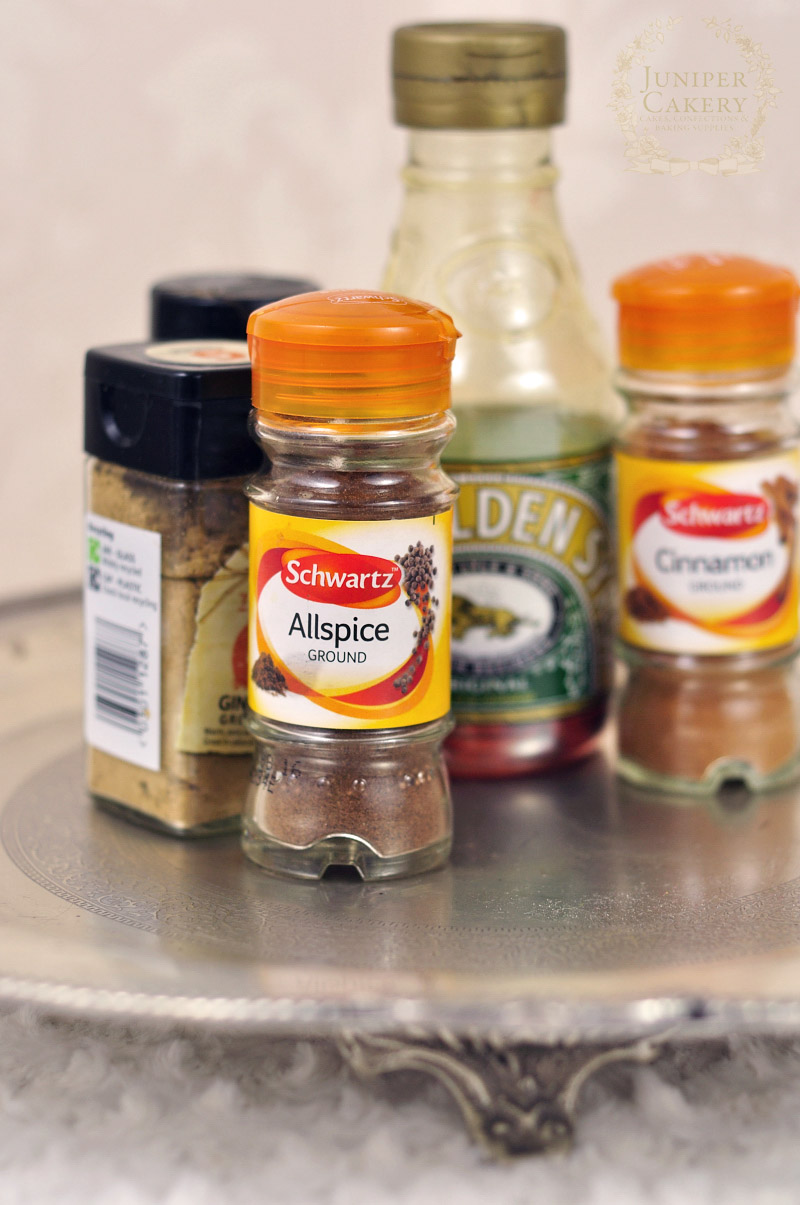
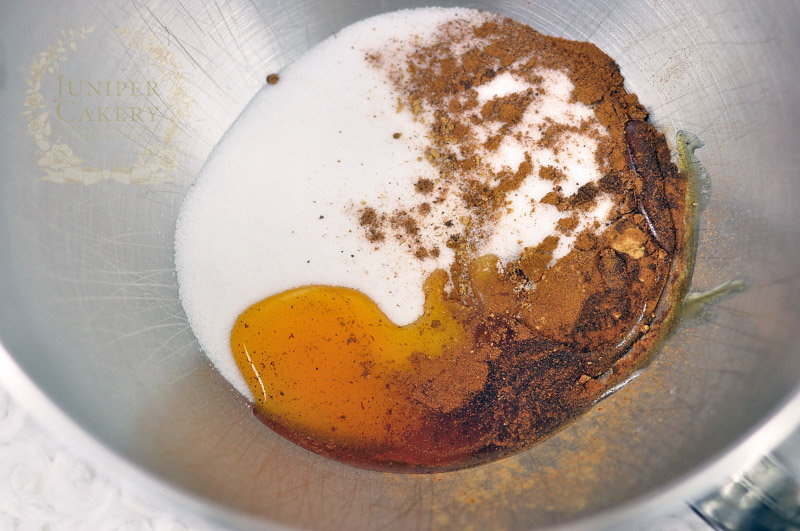
Festive spiced sugar cookies recipe by Juniper Cakery

Gingerbread snowflake cookies ingredients

Step 2:

Add your syrup, spices and sugar together in the bowl of a stand-up mixer. If you like darker and spicer cookies add some more to taste!
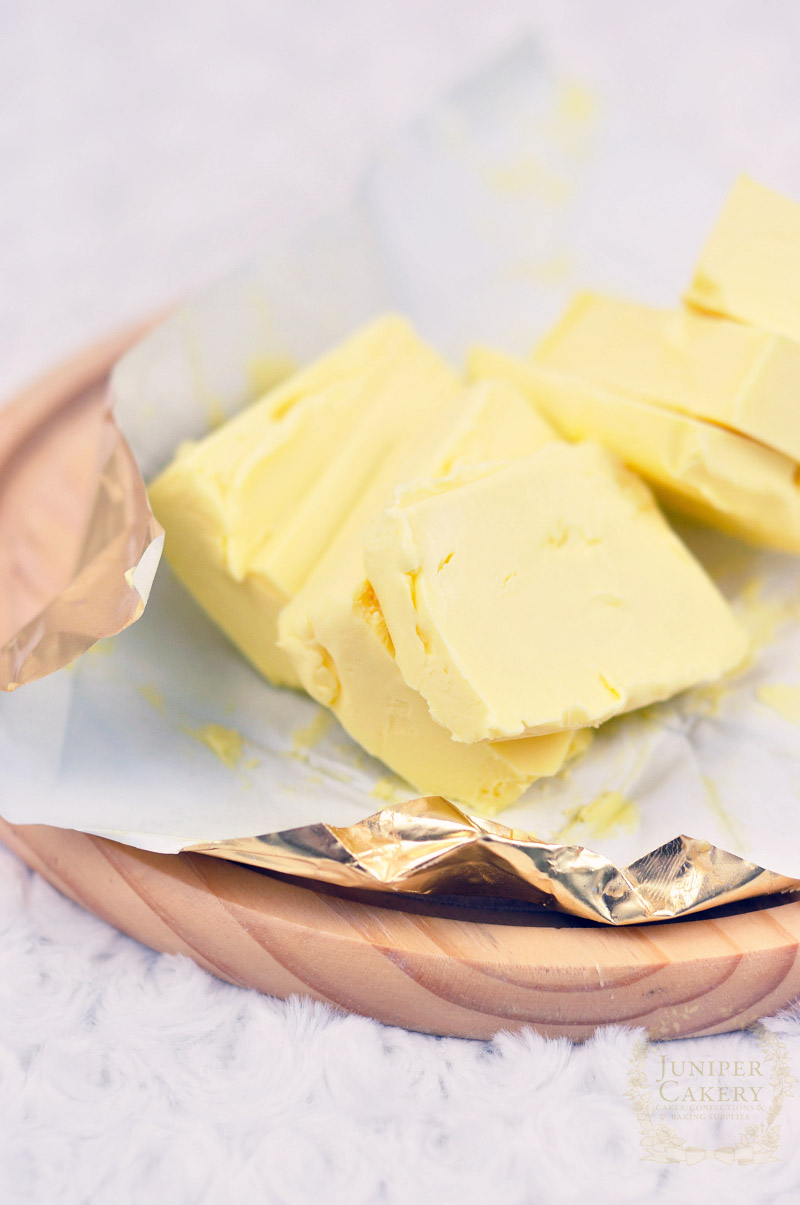
Soft butter used in gingerbread snowflake recipe by Juniper Cakery

Step 3:

Add in the softened butter and cream your ingredients together on medium speed.
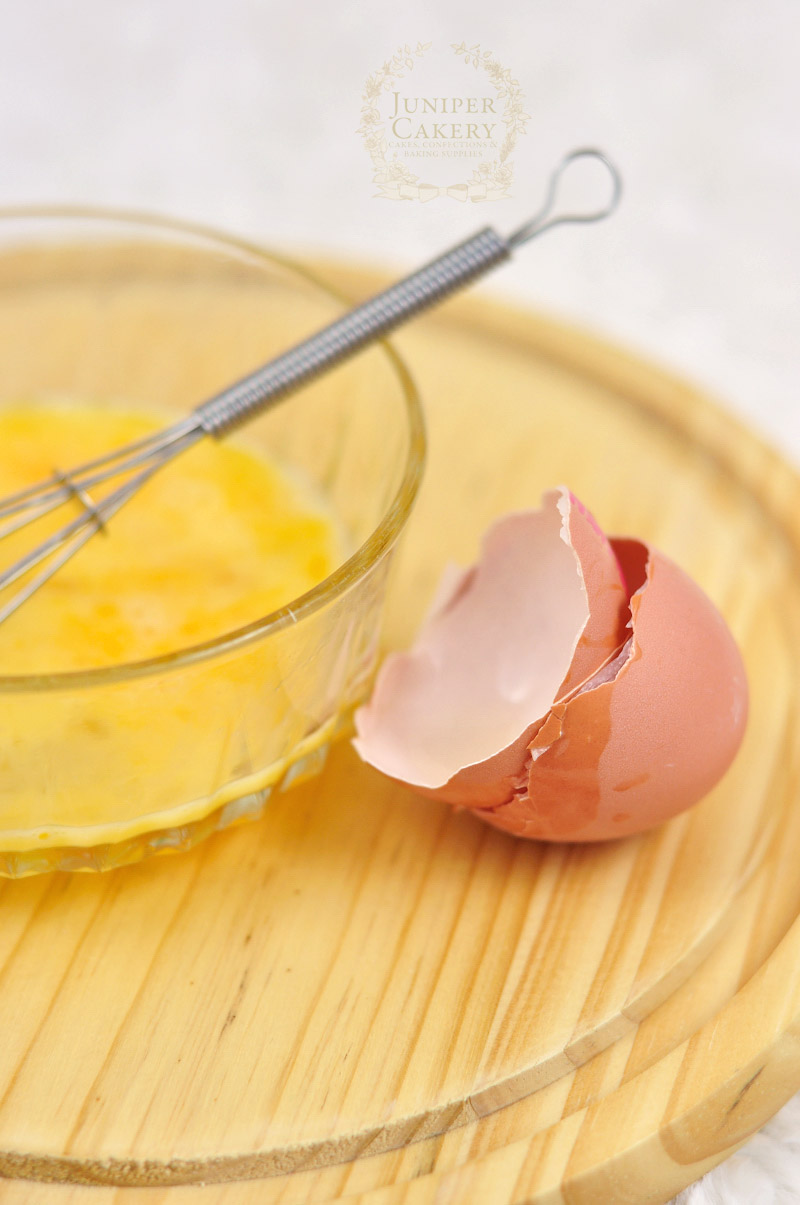
Gingerbread cookies recipe by Juniper Cakery

Step 4:

Once incorporated the lightly beaten egg along with the flour and mix on medium speed once again. Try not to overmix or your cookies will be more likely to spread when baking!
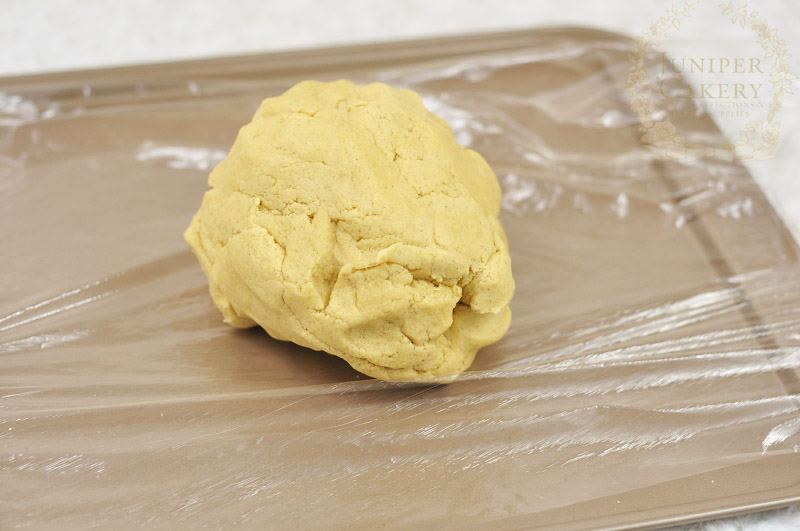
Gingerbread spiced sugar cookies by Juniper Cakery

Step 5:

Quickly mould your dough into a ball, wrap with cling film and leave to chill in a fridge for 1 hour.

Step 6:

When ready knead the dough a little and roll out onto a flour dusted surface before cutting out your cookie shapes!

Step 7: Carefully lift your cut cookies and place onto a baking tray with a palette knife. Set in the fridge for 30 mins.

Step 8: 

When ready pop into your pre-heated oven for approx. 10-15 minutes or until the edges are a golden brown. Remove and leave to cool on a wire rack!
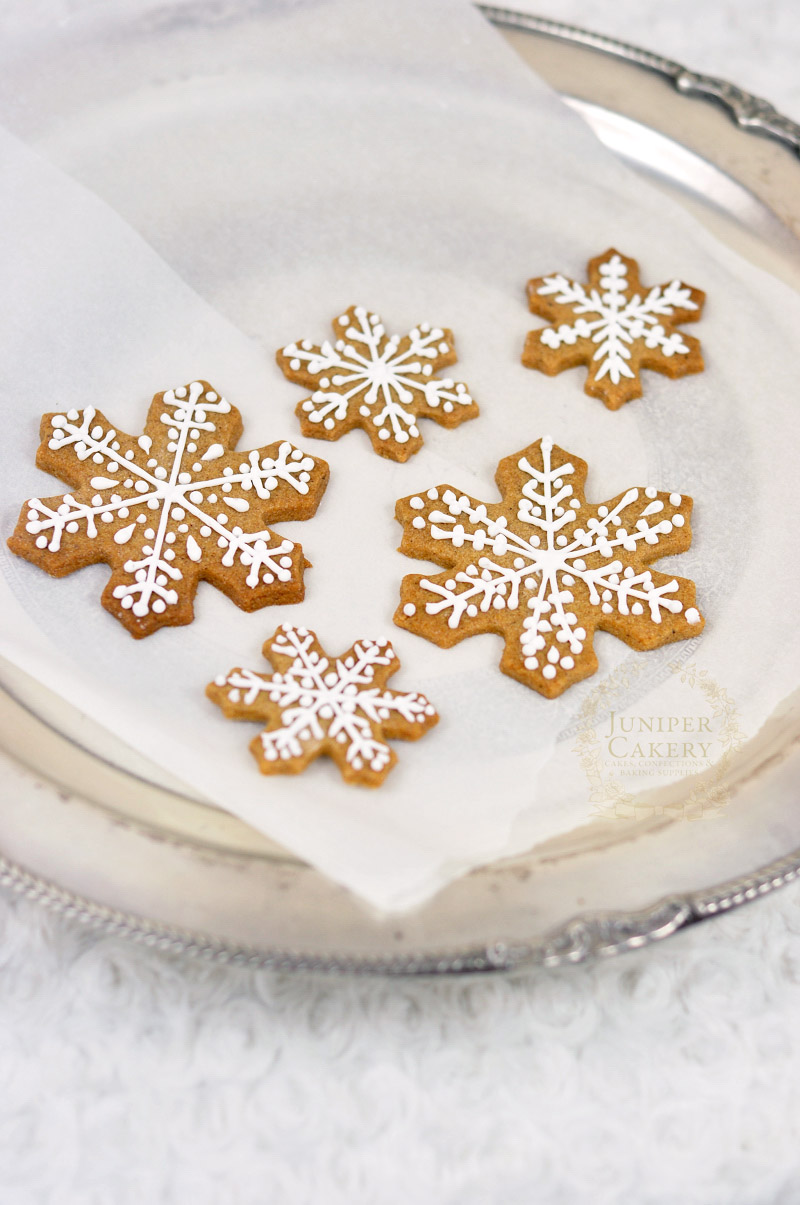
Make some gingerbread snowflake cookies with this recipe by Juniper Cakery

Now it’s time to show you how to pipe out wonderfully sweet (pun fully intended) royal icing patterns onto your freshly baked and cooled snowflake cookies! This take a little practice and should be relatively pain free, however, if you run into a spot of bother working with royal icing you’ll still be left with pretty and tasty cookies if you either leave your cookies plain or simply smothered with royal icing and dotted with fun sprinkles!

Ingredients and materials needed for our quick royal icing recipe… (enough to ice 12-25 cookies depending on how much is used per cookie)

  • Whites from 1 medium egg
  • 188g icing/confectioner’s sugar
  • 1 teaspoon lemon juice (and extra to wipe down your bowl and whisk attachment)
  • Kitchen scales
  • Stand-up mixer with whisk attachment and metal bowl
  • Small round writing piping tip
  • Disposable piping bag

Step 1: 

Wipe down the bowl of your stand up mixer with lemon juice along with your whisk attachment.

Step 2:

Add the whites of 1 medium egg to the bowl and whisk on high speed until white and frothy.

Step 3:

Add in the icing/confectioner’s sugar and mix until incorporated.

Step 4:

Finally add in the lemon juice. You need your royal icing to be the consistency of runny honey so add a little more lemon juice if you find your icing too thick.

To pipe royal icing detail onto your snowflake cookies…

Step 1:

Add your royal icing to a piping bag fitted with a small round piping tip.
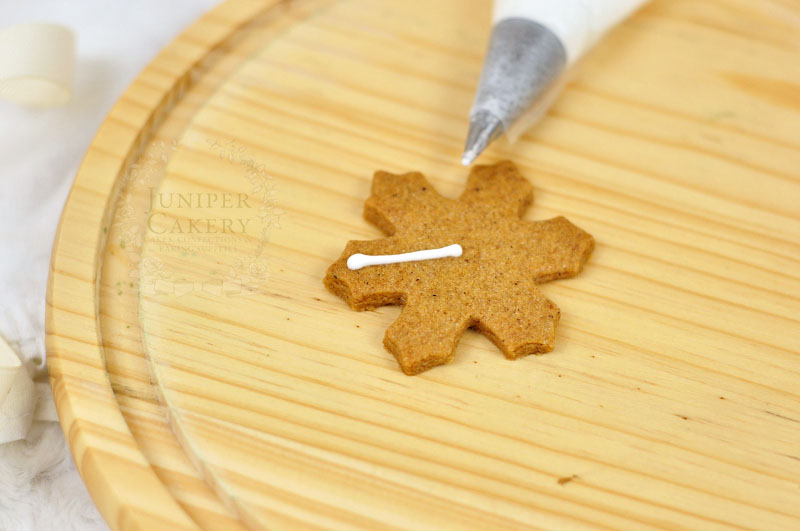
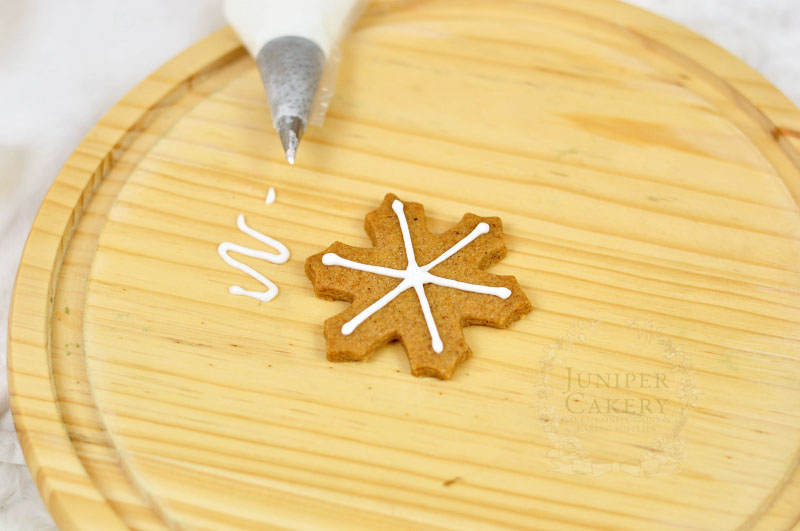
How to pipe snowflake cookies by Juniper Cakery

Tutorial for piping snowflake cookies for Christmas by Juniper Cakery

Step 2:

Beginning in the very centre of your cookie carefully pipe lines out to the tip. Make sure that you don’t touch the cookie with the royal icing the entire time. You want to start by touching the cookie and lightly piping out a little icing before lifting the royal icing and bag off the cookie. Keep pressingly and piping icing out but move above the cookie so that the icing falls tidily onto the surface!
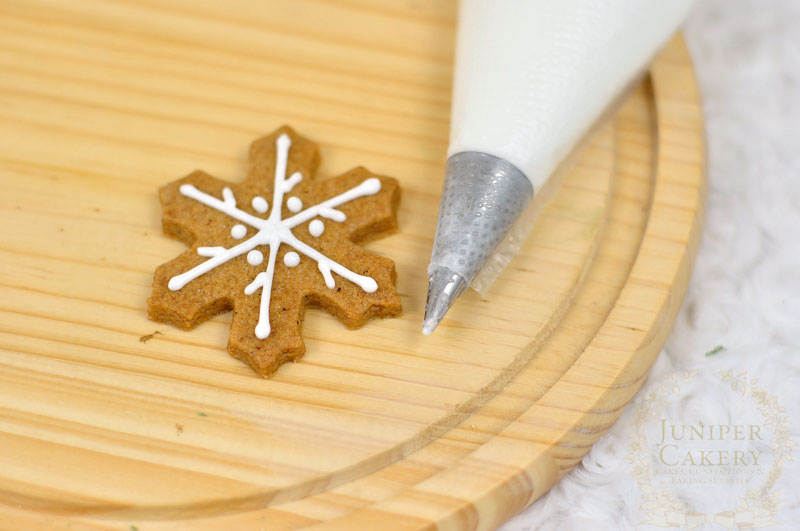
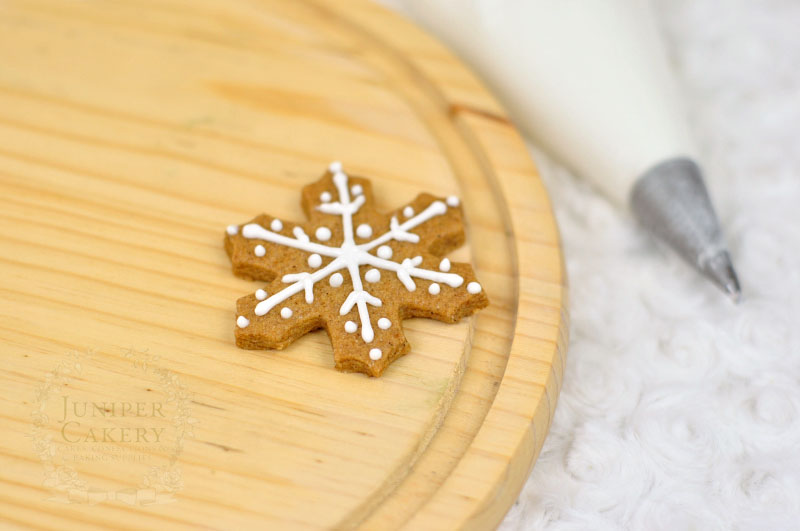
Piping snowflake cookies by Juniper Cakery

How to decorate snowflake cookies by Juniper Cakery

Step 3:

Add smaller details in by lightly piping out small dots, lines and teardrops around the edges of the snowflake!

Step 4: 

To add a little sparkle sprinkle granulated sugar over the still wet royal icing. If you’d like a more shimmery look wait until your icing is full dry (this make take from 4-6 hours) and carefully dust the icing with white lustre dust.
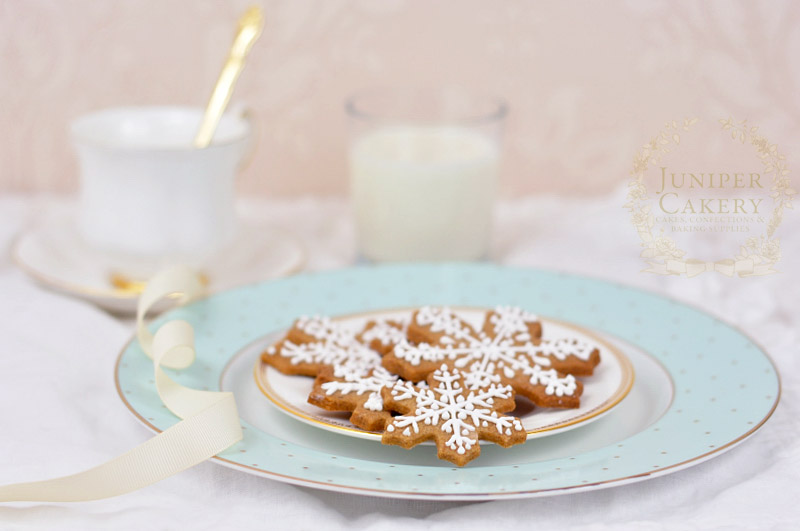
Recipe for festive gingerbread snowflake cookies by Juniper Cakery

You should now be left with a plate full of incredibly cosy and festive looking snowflake cookies (that’s if you’ve not eaten them all…). We’ve bagged up ours to give away as extra little gifts this Christmas (sugar cookies generally last around 4-6 weeks depending on humidity) with gold ribbon and pretty gift tags! We’ve even baked extra spiced sugar cookies featuring small ribbon holes punched into the tops so that we can add then to the Christmas tree later on!


Vintage Tea and Macarons Cake with Cheeky Rabbit!

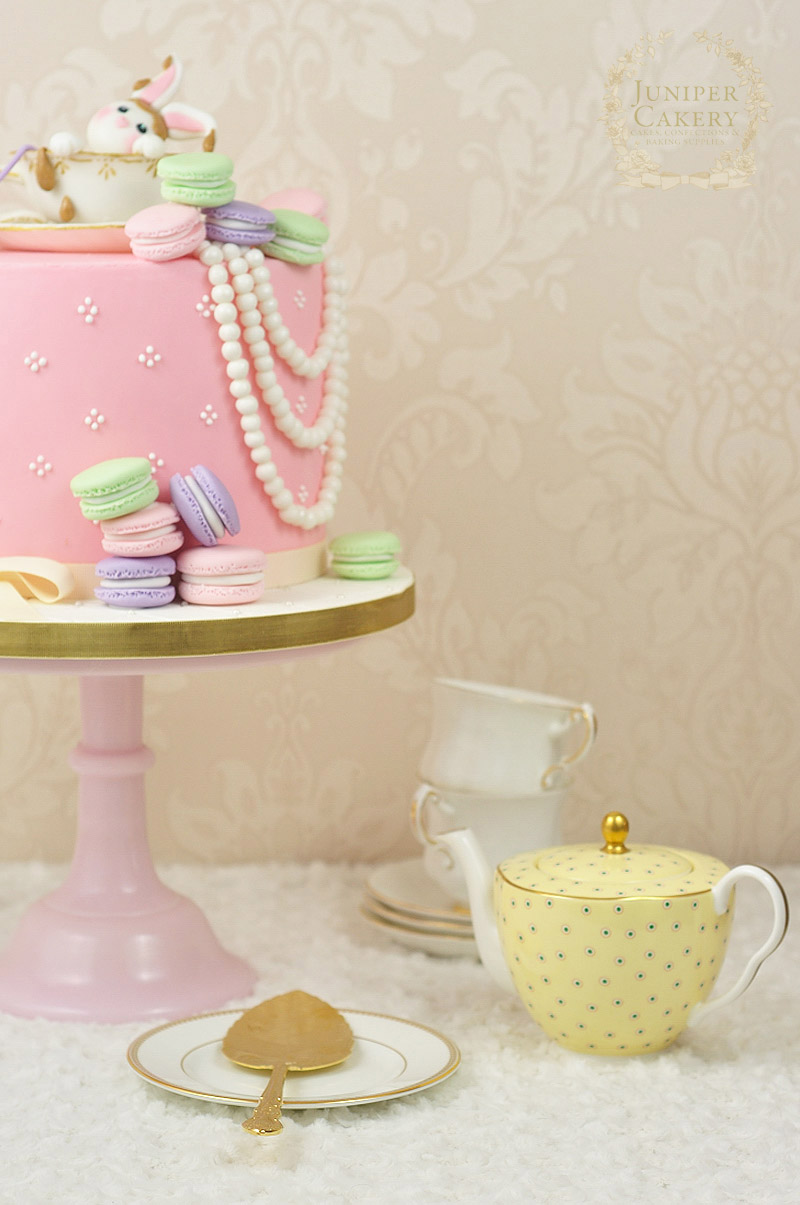
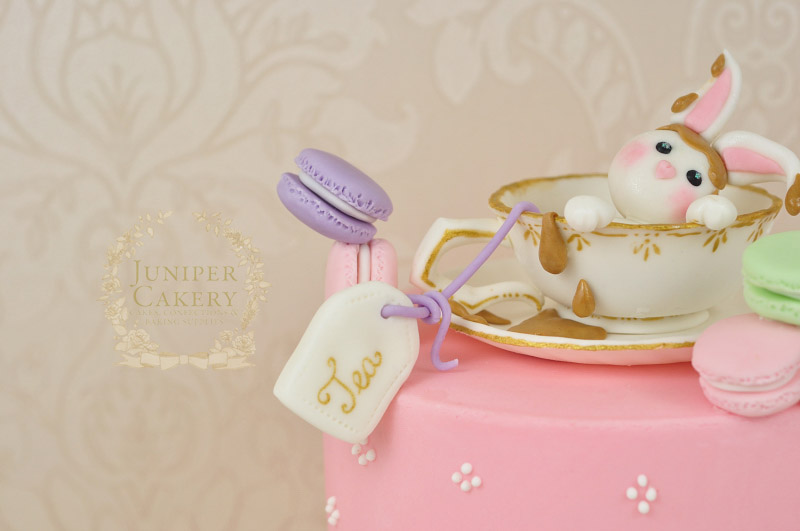
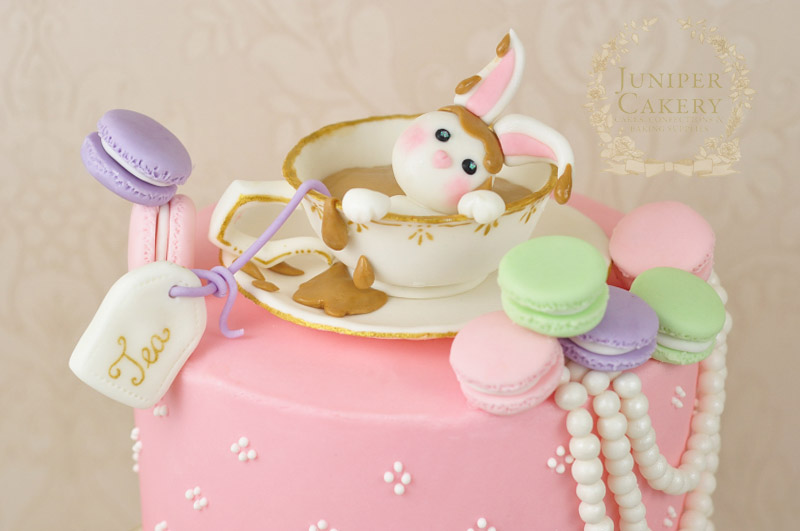
Amidst the flurry of sparkling Christmas treats, designs and decor we created this adorable tea and macarons cake featured a tea drenched fondant rabbit peering out over an edible teacup and saucer! This pastel hued cake is the perfect addition to a fun afternoon tea themed party with it’s bright fondant macarons, shimmering fondant pearl necklaces and gold painted tea paraphernalia. Whilst we adore winter festivities and themed this vintage inspired design was a delightful break!

Cute afternoon tea cake with fondant rabbit by Juniper Cakery

Adorable Vintage Tea and Macarons birthday cake with fondant rabbit by Juniper Cakery

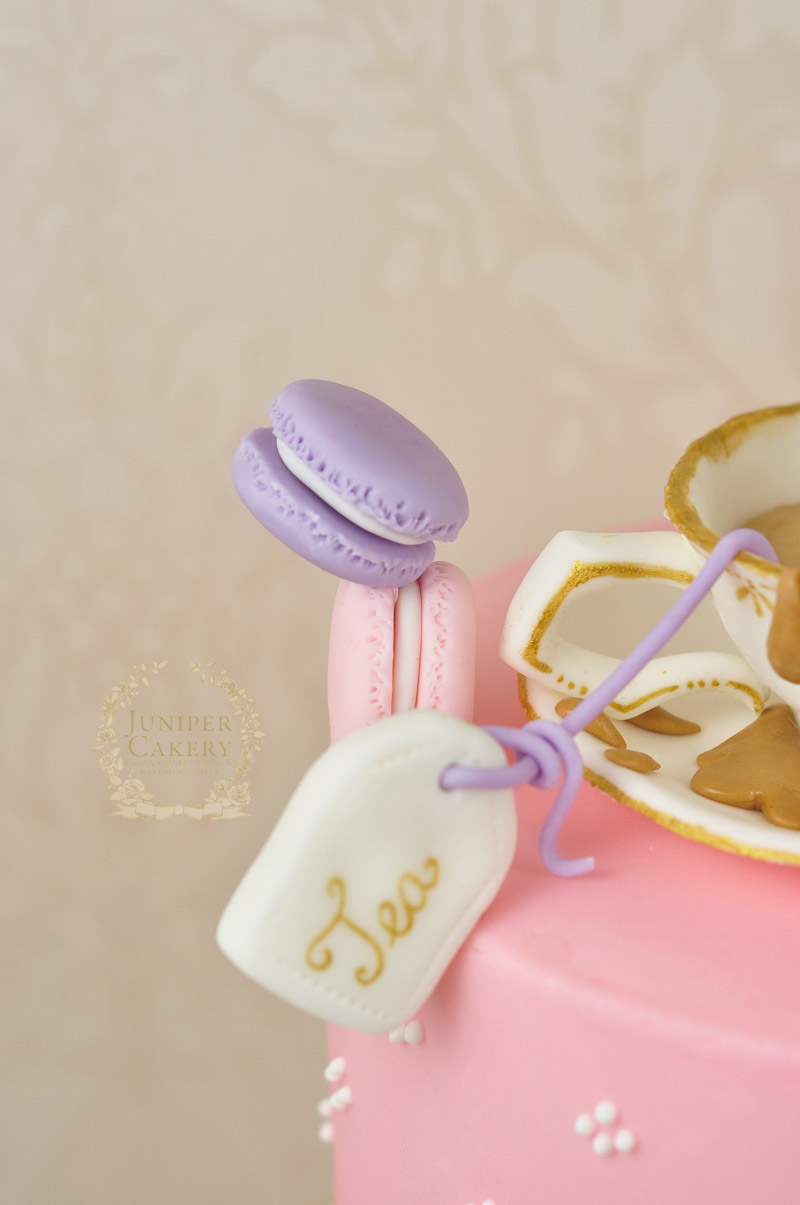
Vintage themed tea and macarons cake with fondant rabbit by Juniper Cakery

An initial vintage look was applied to the design with clusters of swiss royal icing dots around the sides. This was inspired by the vintage and antique lace trims sewn onto handkerchiefs, doilies and tablecloths. This element was kept fairly simple as intricate hand-piped lace would have perhaps overpowered the design and looked a little too busy.

Tea and macarons themed cake with gum paste rabbit in teacup by Juniper Cakery

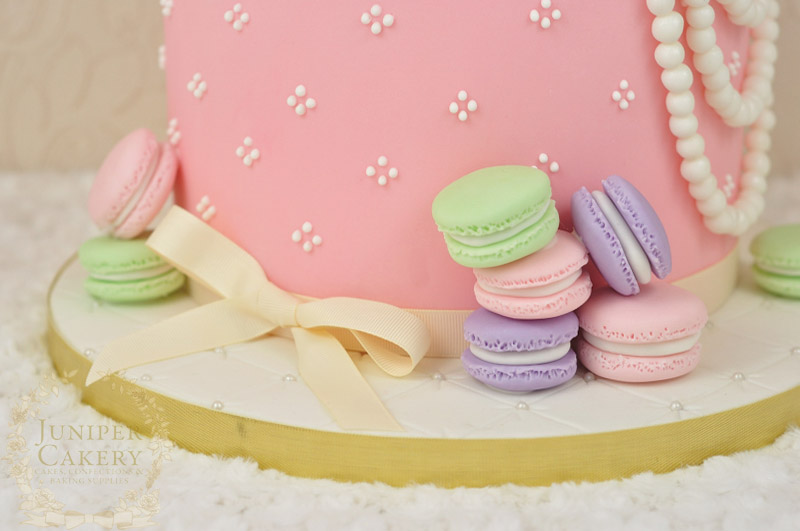
The vintage inspiration was further strengthened by the addition of shimmering fondant pearl necklaces draping down one side, a luxurious quilted cake board studded with edible sugar pearls and a simple trim of ivory grosgrain ribbon around the base of the cake itself. 

Cute tea drenched fondant rabbit topped cake by Juniper Cakery

Edible teacups are one of our favourite things to create. They can be fairly time consuming due to waiting for the paste to set fully before getting to royal ice all of the pieces together. Once we put together the cup and saucer we hand painted some detail along the sides with edible gold paint.

Macaron and rabbit themed cake by Juniper Cakery

To give the cake a slight whimsical touch we added the fondant macarons onto the cake in little ‘toppled’ formations using cocktail sticks to help hold each fondant on at different angles created a sort of balanced look! 

Afternoon tea rabbit themed cake by Juniper Cakery

This fun and adorably vintage styled cake design would be ideal for a spring or summer birthday party, but it can easily be adapted to fit the current seasonal frostiness; add small piped snowflakes onto the sides, embos the board with snowflake plunger cutters, change the colour palette to glimmering cold hues and perhaps add a melting snowman into the freshly brewed cup of tea. We love the idea of swapping the cup of tea for a warming deep cup of hot chocolate featuring fondant marshmallows and changing the macarons for candy canes!


Tutorial Tuesday: Easy Meringue Christmas Trees!

Hurrah! Christmas is coming! Whilst this is ever so exciting we understand that whipping up (pun fully intended due to the nature of this blog post) festive treats for the holiday season need to be both striking yet stress-free. That’s why for our collection of Christmas cake, cupcake and cookie decorating tutorials and recipes we’ve tried our best to keep them simple. This week we begin our festive series with some delightfully easy Meringue Christmas Trees!

How to whip up easy Meringue Christmas Trees…

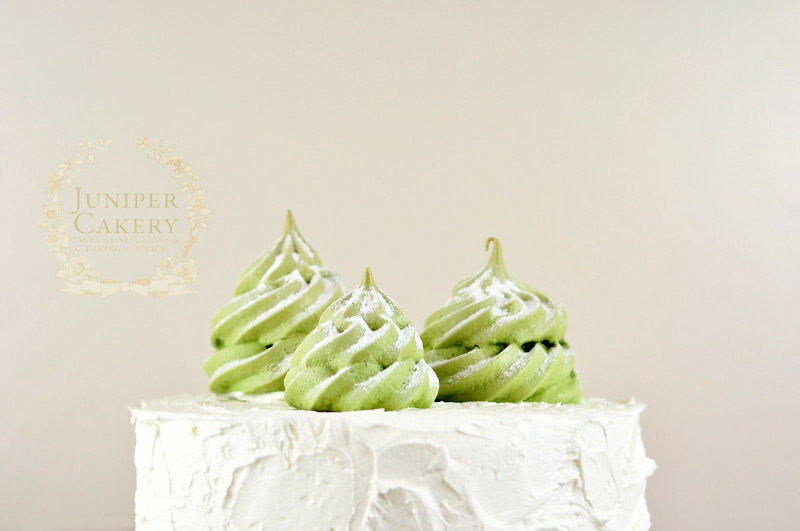
Easy meringue Christmas trees recipe and tutorial

Meringue Christmas Trees

Ingredients needed

  • 60g egg whites (room temperature works best)
  • 120g caster sugar (this needs to be caster sugar as it dissolves perfectly in a meringue)
  • Green gel or paste food colour

Note: As a general rule you need double the amount of caster sugar to egg whites so if you need to make a large bowl of meringue keep this in mind!

Materials needed

  • Piping bag
  • 828 Ateco piping tip
  • Cookie sheet/tray or any flat baking tray
  • Parchment paper or silicone baking mat
  • Clean kitchen paper towels
  • Lemon juice

Meringue recipe

Step 1:

Pre-heat your oven to gas mark 2/300F/170C and line a flat baking try with either parchment paper or a silicone mat.

Step 2:

In the lemon juice wiped (this rids any fat residue with can make a meringue seriously fail) bowl on a stand-up mixer add your room temperature egg whites and whisk on high speed for a few minutes or until lovely stiff peaks are formed! 

Step 3:

Add in your food coloring and mix for around 20 seconds or until fully incorporated. Don’t worry if your egg whites begin to look a little ‘clumpy’ or if they all seem to congregate inside your whisk. Adding the sugar next ‘loosens’ them.

Step 4:

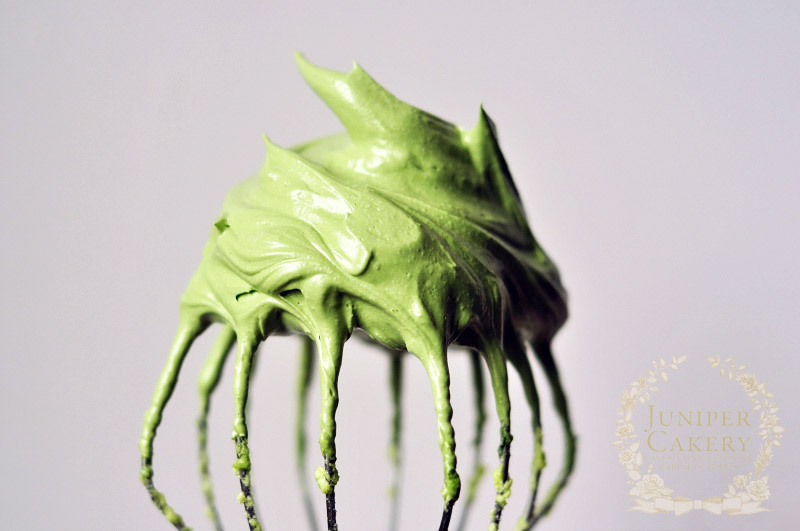
Gradually add in your caster sugar a tablespoon at a time as you whisk on high until glossy, stiff peaks form.

Pipes meringue Christmas trees

Step 5:

Fill a piping bag fitted with a 828 piping tip with your green meringue mix and shake the bag down to rid yourself of any unwanted air bubbles.

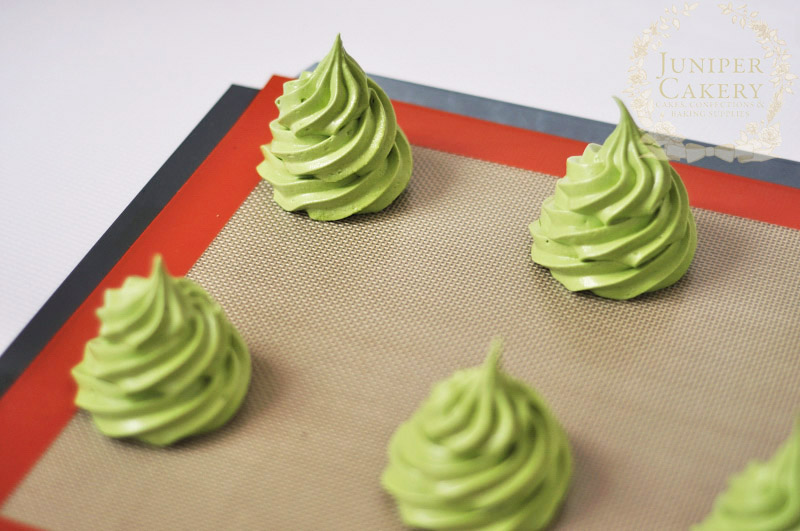
Step 6:

Pipe a row of Christmas trees at least 2 inches apart on your tray. To do this simply pip as your would with  cupcake buttercream/frosting yet a little taller.

Step 7: 

Place in the oven on the lowest rack for around 1 hour. To prevent the tops from browning add a thin sheet of foil to the top tray of your oven and increase your baking time to 1 hour and 30 minutes.

Step 8:

When baked remove and set aside to cool. You can then work on some decorations like fondant/sugar paste stars using rolled out fondant or sugar paste icing, some star shaped cutters and a little pearlescent, gold or silver lustre dust! Attach any extra decorations on with a tiny dab of melted white chocolate and you should be left with a miniature forest of festive trees.

Recipe for meringue Christmas tree cake toppers

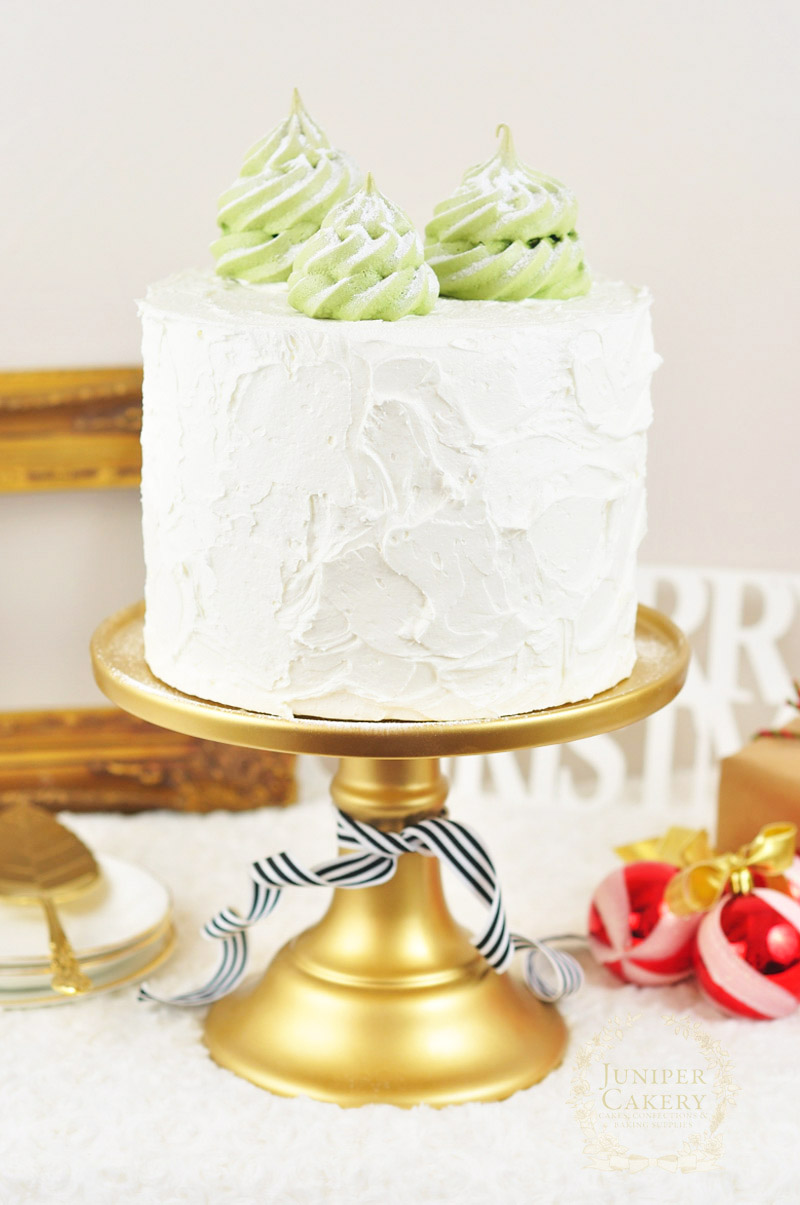
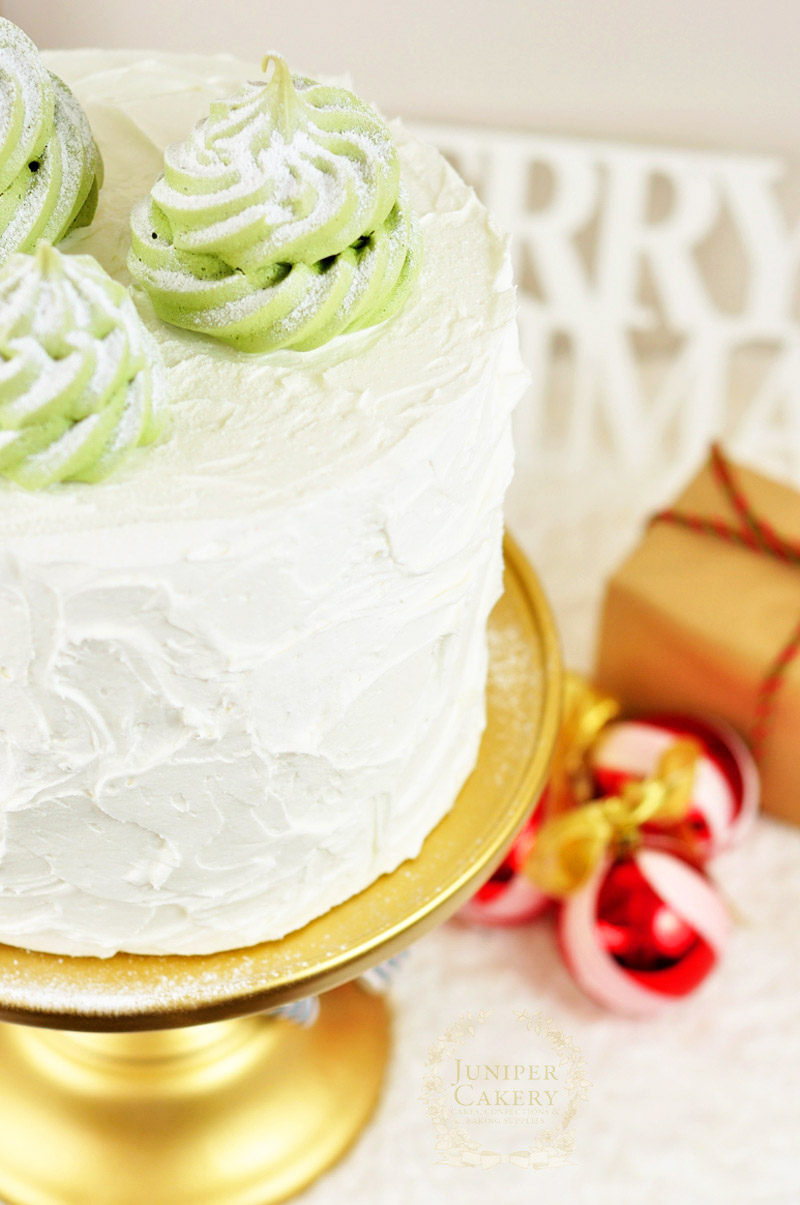
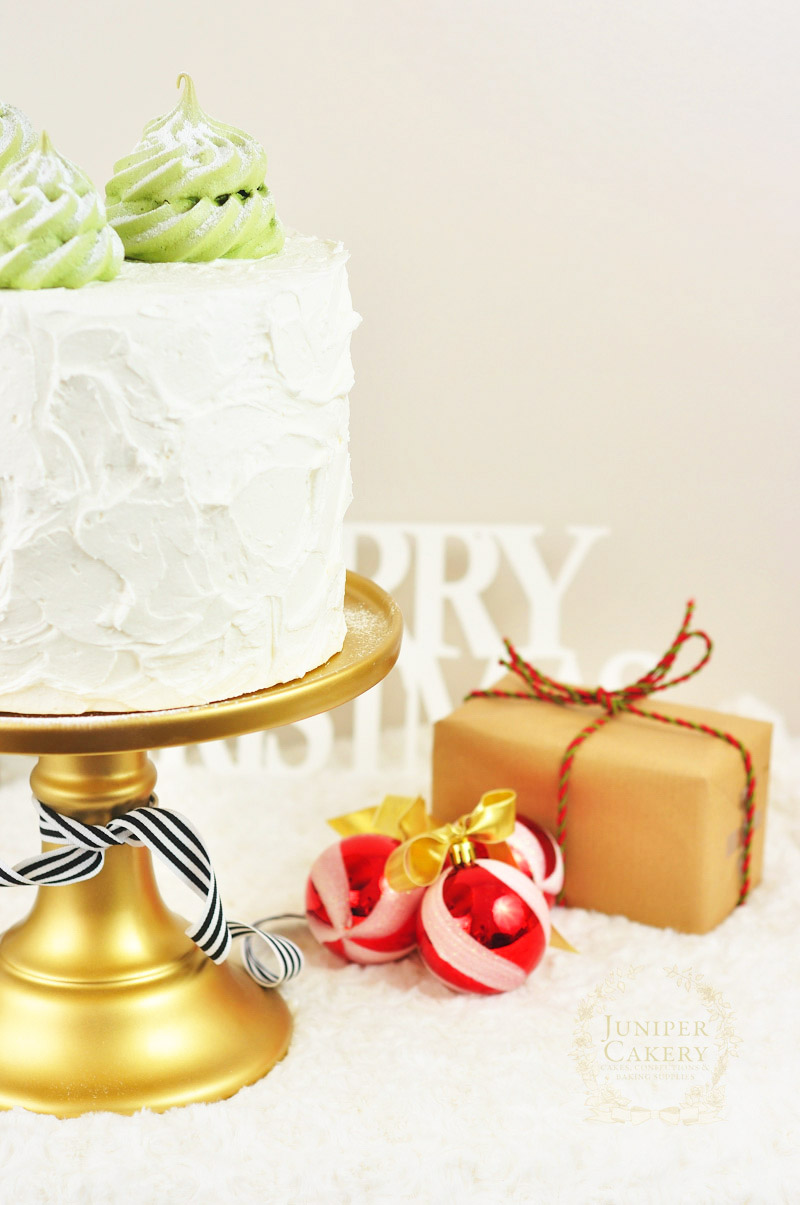
There are lots of fabulous ways you can use these adorable edible Christmas trees for holiday treats. We added ours on top of a red velvet cake smothered with rustic and white cream cheese buttercream before dusting them lightly with a little icing sugar to create a quaint snowy scene. 

Simple meringue Christmas tree desserts

Some great ideas on how you could decorate cakes and cupcakes with your easy Meringue Christmas Trees are to nestle them on top of tasty cupcakes, add them around the edges of a freshly baked and iced cake, or your could even serve them up on a silver platter just as they are!


Three Ways to Frost a Cupcake!

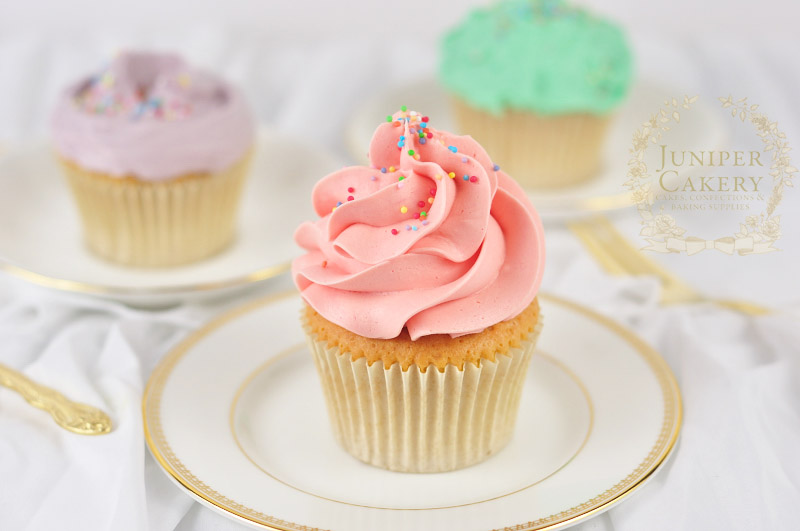
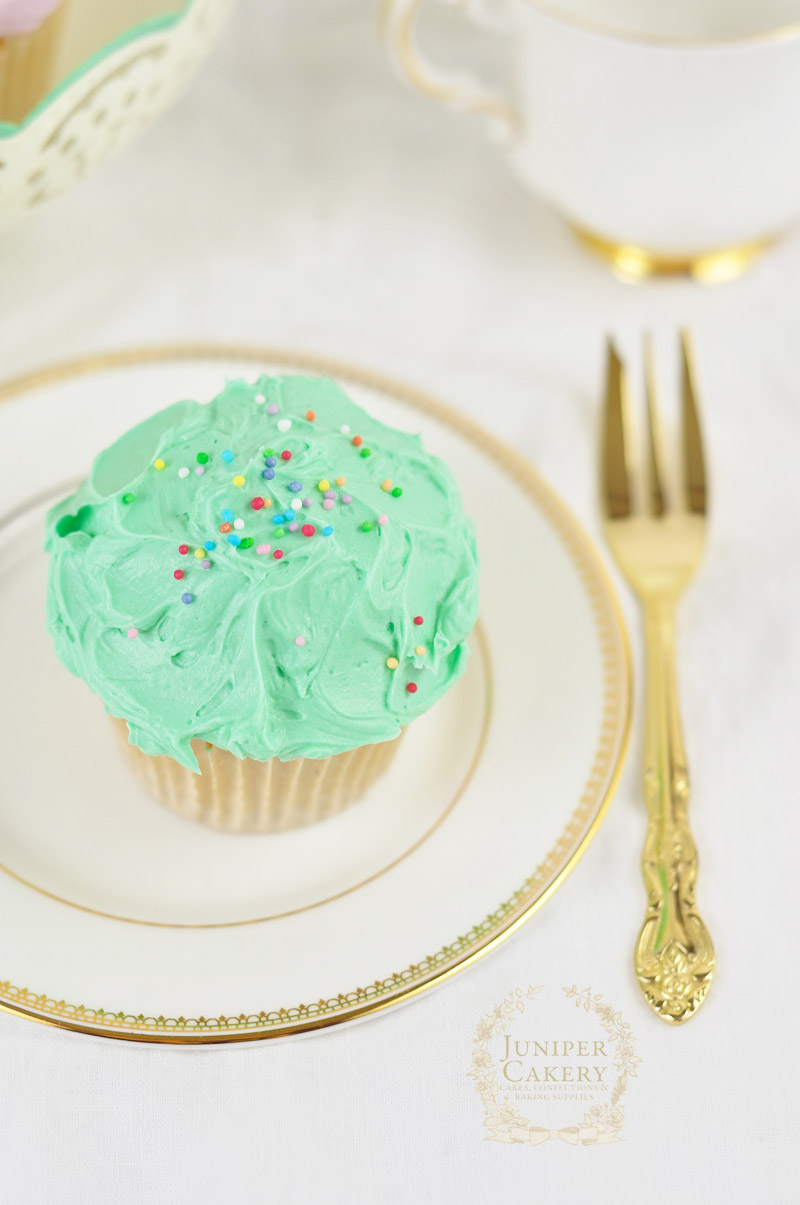
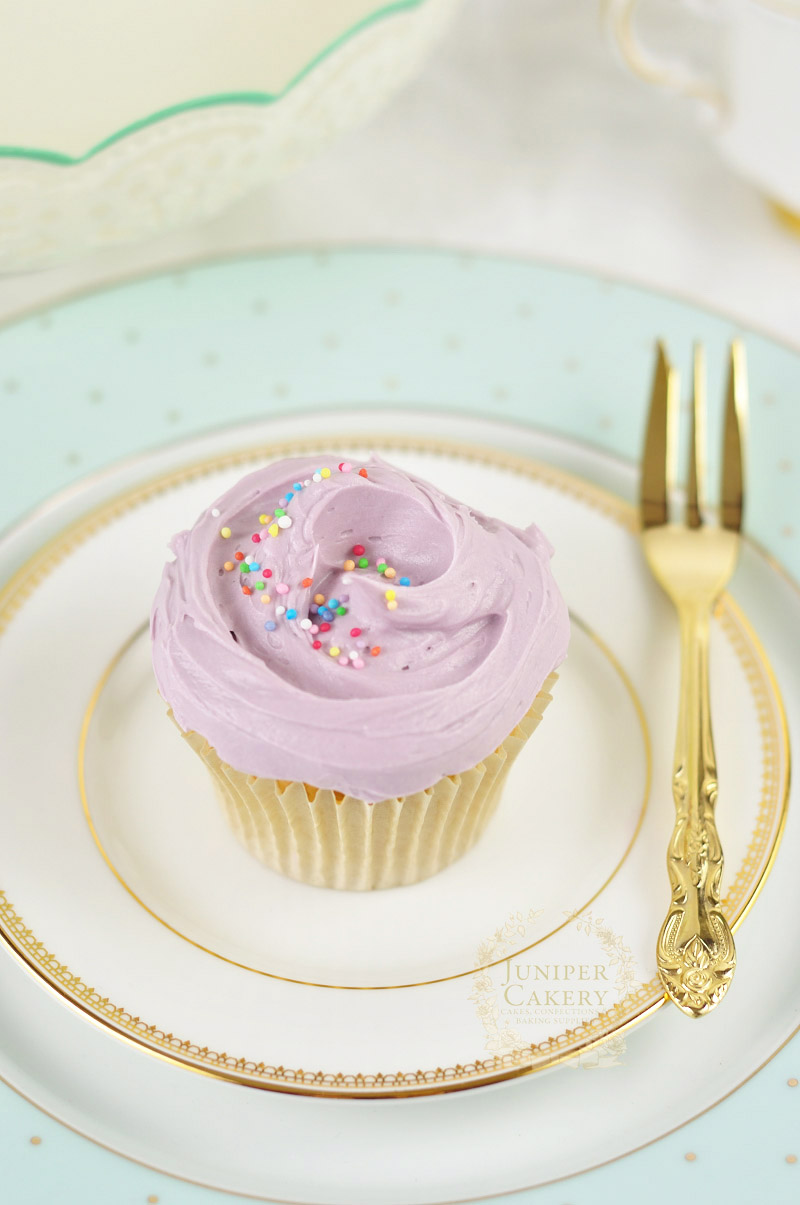
Piping a buttercream swirl is one of the first things a baker learns and one of the first techniques for a good cake designer to perfect. Sometimes, however, a quick and stress-free frosted cupcake is all that’s needed for a quick party or a box of cupcakes as a thoughtful gift! We’ve put together three pretty yet pain-free ways to frost up a batch of freshly baked cupcakes; perfect for last minute parties or for the ensuing holiday season. Why not head on over to our post at the Craftsy blog for more?

How to frost cupcakes with buttercream by Juniper Cakery

Easy frosting techniques for cupcakes by Juniper Cakery
Bakery swirl cupcake by Juniper Cakery


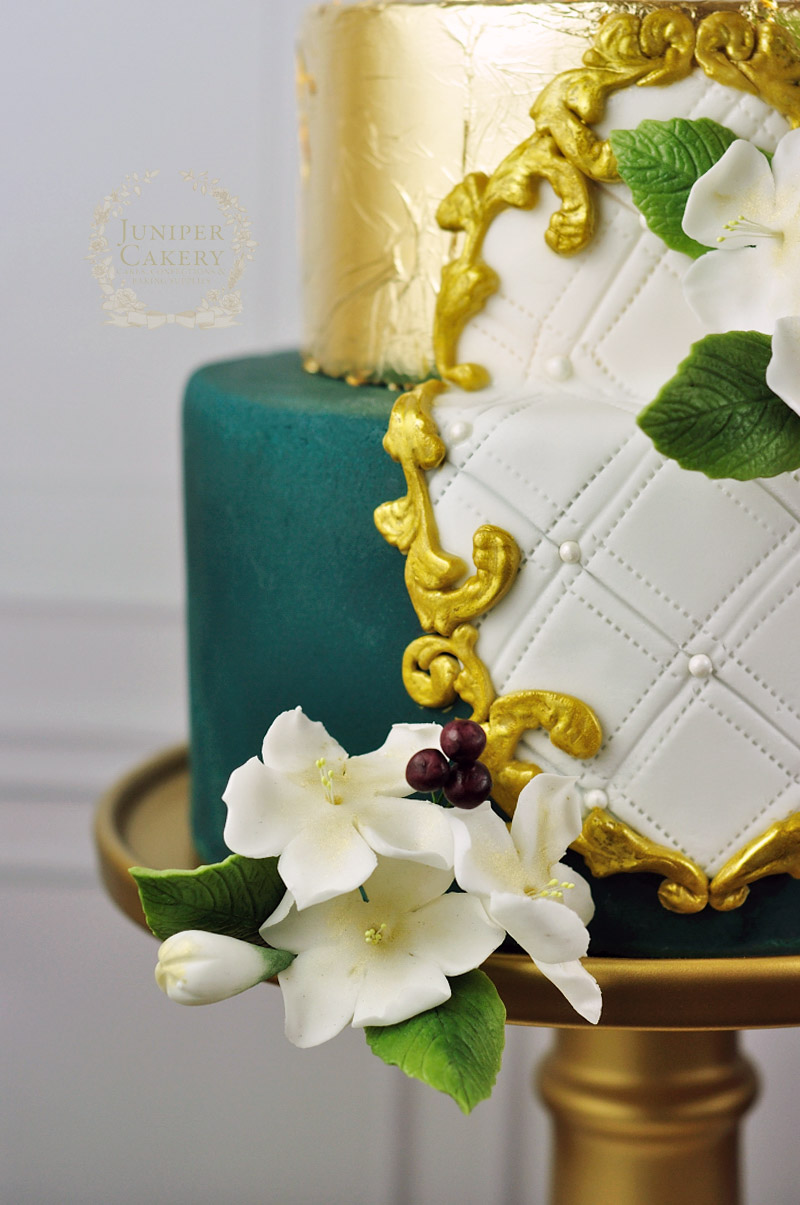
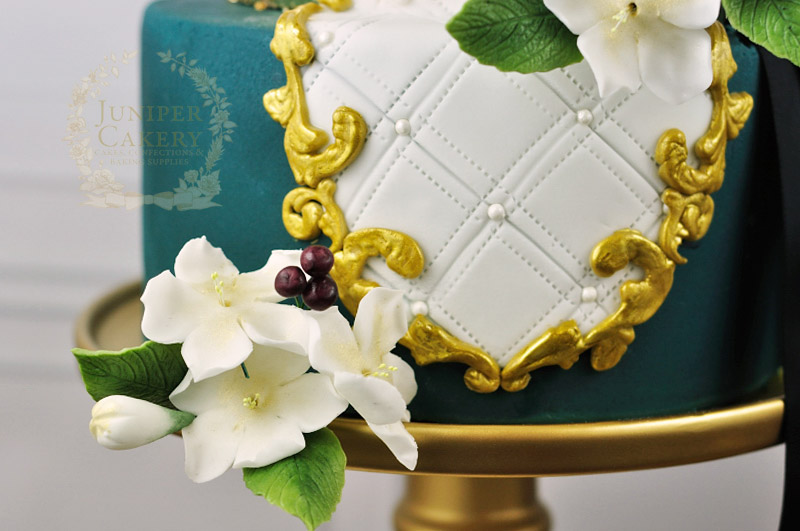
Ornate Frame Cake with Gold Leaf, Damson Blossoms & Hypercium Berries!

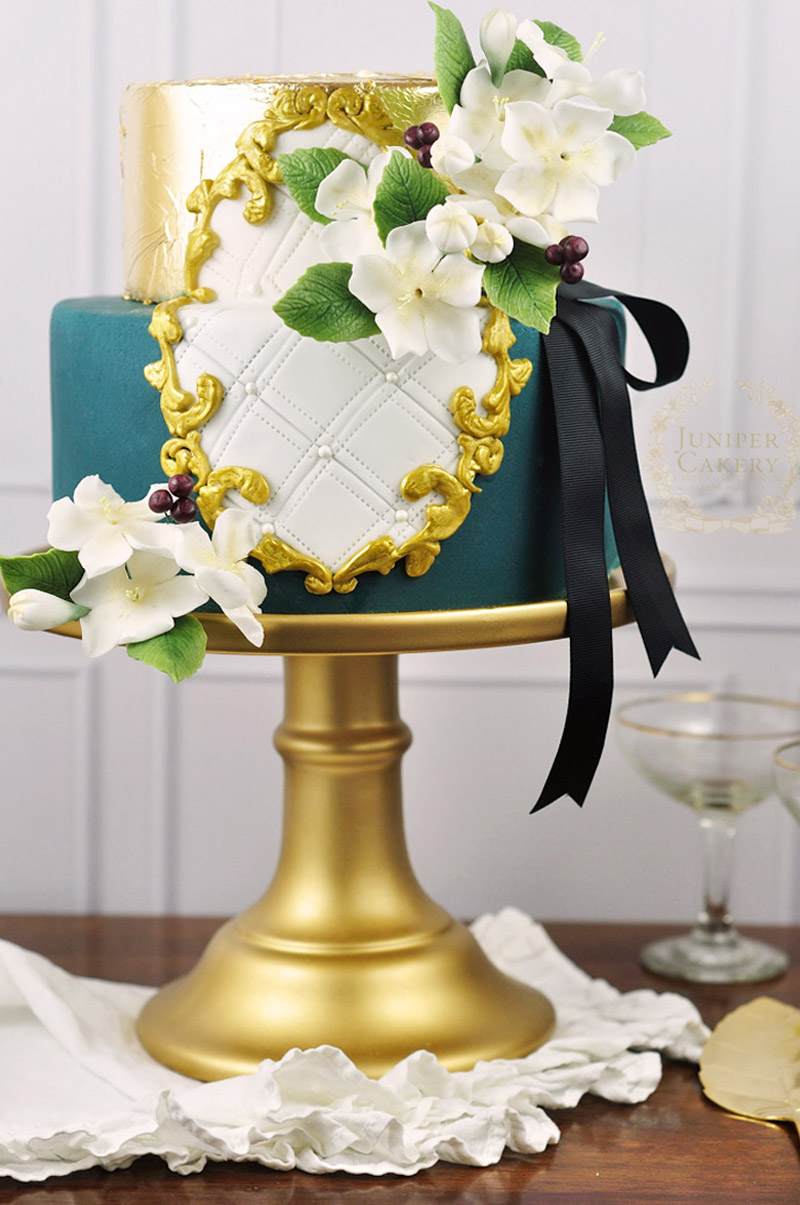
Here’s an incredibly decadent small frame cake we designed and created for a wedding. For this cake we were pretty much given full creative control with just a few definite design requests from the happy couple that included lots of gold, simple blossoms, a lavish style in terms of overall look and a bit of an autumn/winter feel to the end cake. 

Gold hand painted frame cake by Juniper Cakery

With all of the fabulous elements that the couple requested in mind we decided upon a bit of a Rococo (always a favourite) influence combined with a luxurious jewel-inspired colour palette which pairs wonderfully with gold and copper accents.

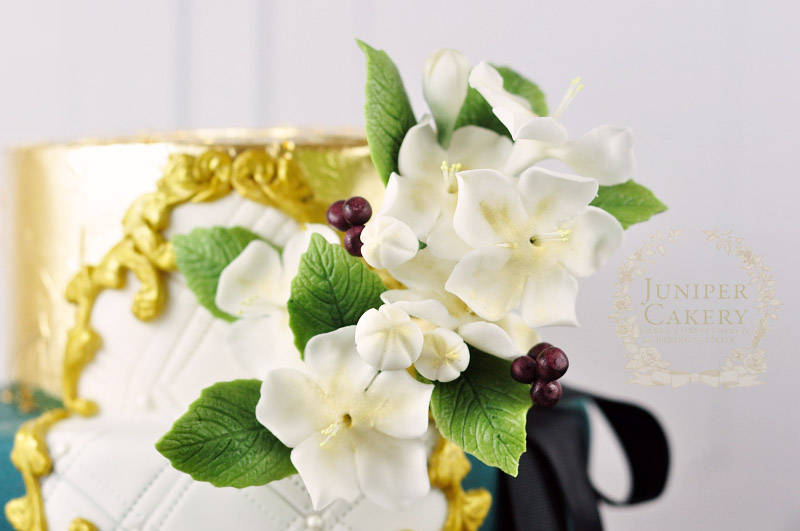
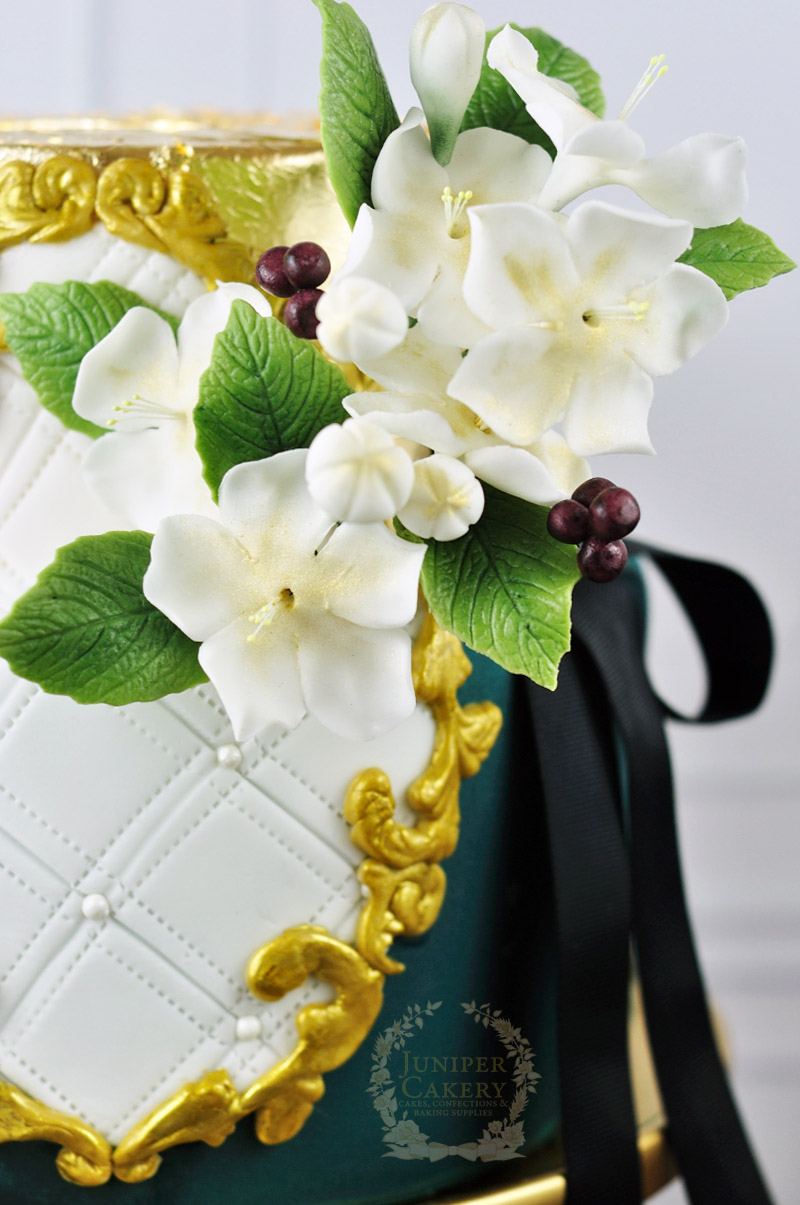
Sugar damson blossoms on gold frame cake by Juniper Cakery

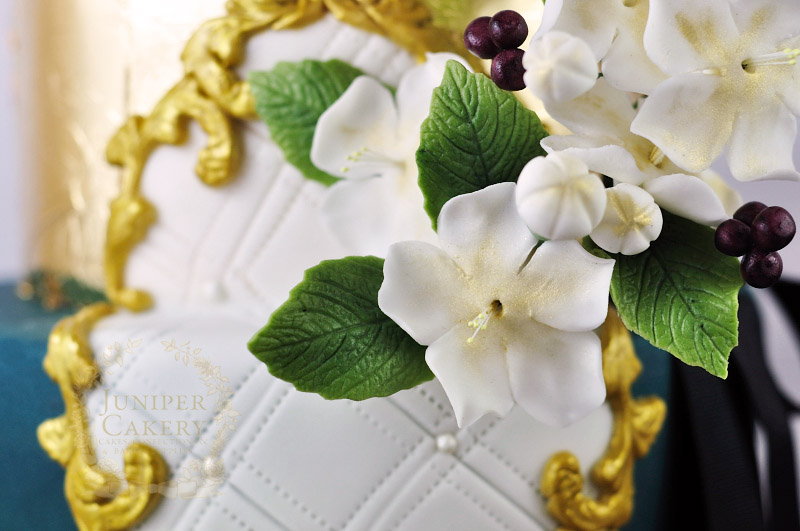
The small bouquets nestled onto the cake are all hand-made from cmc reinforced sugarpaste / gum paste. Following the request for simple blossoms we picked out the silk taffeta damson-style blossoms from the table centrepieces and invites to use as small arrangements adorning the cake. Each was lightly dusted with shimmering gold lustre dust and further accented with burgundy tinted hypercium berries and sugar leaves.

Gold frame cake by Juniper Cakery

When we designed the cake a few sketches featured the use of grosgrain ribbon to add a little dimenson to the cake’s decor. This idea came from looking though fashionable attire that straddled both the Rococo era and Baroque for women’s necklaces being tied about the neck with silk ribbons. After initially assembling it was clear a little bit of black grosgrain ribbon with chevron snipped tails was needed.

Sugar flowers on ornate wedding cake by Juniper Cakery

Golden frame cake with damson blossoms by Juniper Cakery

To a nice element of drama as well as to fulfil the couple’s request for lots of gold we decided to carefully gild the smaller top tier with sheets of edible gold leaf. This also added a wonderful bit of texture and a touch of the rustic look. 

Using gold leaf is fairly costly and can be quite the challenge. Applying the edible gold took a fair bit of steadiness as well as minutes of holding one’s breath to complete. Our tips for trying out this technique is to use cake decorating tweezers to lift the top two corners of the sheet, carry it slowly to the cake and drape over the side and top before lightly brushing the leaf on to the tier. Also, don’t wet the fondant covering of the cake before doing so!

Gilded frame wedding cake by Juniper Cakery

It was so sad to see this stunning piece leave us as it is definitely our style of cake from the realistic florals to the lavish usage of gold. 


×