Tiffany and Co. Bridal Shower Cake!

Here’s a lovely bright Tiffany and Co. bridal shower cake that we recently created for a New York themed party! We were asked to create something minimal and inspired by the iconic Tiffany’s store and it’s luxurious packaging on 5th Avenue. For this we concentrated on three elements that are instantly recognisable  and associated with Tiffany and Co.!

If you want to re-create this chic cake yourself then we’ve created a wonderful step-by-step tutorial that’s available via the Craftsy.com blog.

Tiffany's bridal shower cake by Juniper Cakery

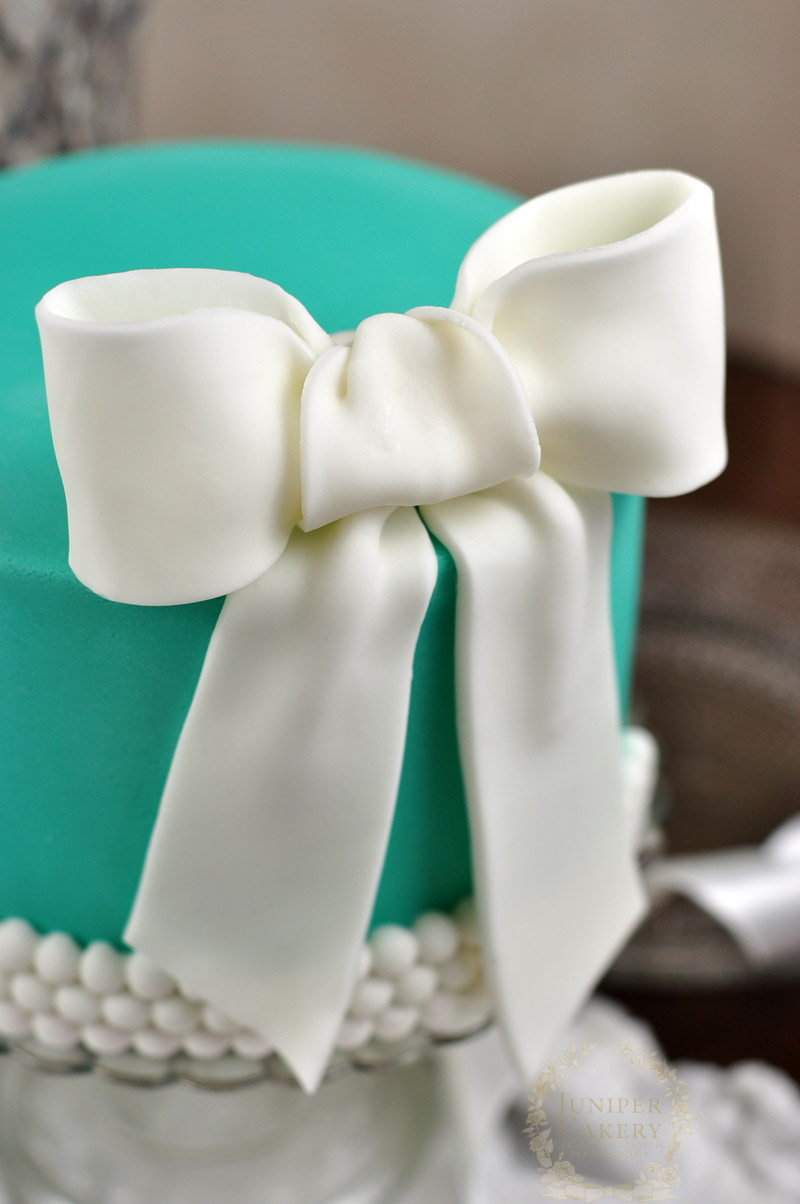
Our first thoughts and ideas on creating a Tiffany’s inspired cake were of the classic Tiffany blue colour, elegant strings of pearls and the lovely crisp white satin ribbon that finishes each boxed purchase. From these elements we played with shopping bags, vintage hat box styled cakes, a wrapped parcel cake and then simplified our ideas down to a clean and minimal circle cake trimmed with three rows of shimmering edible pearls and accented with a draped fondant bow.
Tiffany and Co. bridal shower cake by Juniper Cakery

The cake itself is a wonderfully vibrant red velvet cake! We suggested this to our customer due to the iconic Waldorf=Astoria in NYC being the birthplace of the decadent ruby tinted chocolate dessert itself. It is filled and then crumb coated with our silky Madagascan vanilla buttercream before it was covered with marshmallow fondant tinted to match some Tiffany and Co. packaging.

Tiffany and Co. cake by Juniper Cakery

For a more elaborate take on this Tiffany and Co. bridal shower cake why not add different jewels, ice a square cake before decorating it to look as though gift-wrapped,  create a fun shopping bag with glistening edible jewellery spilling out?


Vintage Record Player Cake!

We absolutely love creating fun cakes with a great theme like this fabulous vintage record player cake that we made to order recently. We were asked to make an Arctic Monkeys themed cake and we pitched the idea of a playful (no pun intended) vintage record player design!

Retro record player birthday cake by Juniper Cakery

The cake itself was our popular Cookies ‘n’ Cream flavour - soft chocolate cake sandwiched with Madagascan vanilla and Oreo crumble infused buttercream, crumb coated in silky Madagascan vanilla buttercream and iced with coloured marshmallow fondant!

Retro vinyl record player cake by Juniper Cakery

To decorate we iced the cake before panelling it with bright blue marshmallow fondant pieces. Then all edible decorations were added such as the hand-painted retro style ‘Arctic’ logo badge, golden volume knobs, speaker section, fake vinyl record and wood effect needle.

The edible record was created using hand tinted fondant etched with random concentric circles before a white circular layer of fondant was placed on top as the record label or sticker. This was then hand painted with a requested band and song!

Blue vintage record player cake by Juniper Cakery

The custom hand-painted vintage inspired badge on the front of the cake was a fun idea. We picked out several retro fonts and typography samples before settling upon one with a slight upward movement. It was then hand painted onto a fondant piece using edible gold paint.

Vintage Record Player Cake by Juniper Cakery

This vintage record player cake was great fun to create. Adding a few extra touches such as the reto logo and the dark wood effect needle helped make this cake have an extra vintage look and feel to it!


Minecraft Themed Giant Xbox Controller Cake!

Playing with scales (not the kind you weigh ingredients with) is always a fun thing to do with cake! We’re often asked to design and create adorable miniature cupcake decorations like these tiny French patisseries or oversized cupcakes with huge rainbow sprinkles. Last week we created a giant Xbox controller cake with a playful Minecraft theme for a definite gaming fan!

Giant xbox controller cake by Juniper Cakery

The cake itself is a super tasty and fragrant vanilla cake filled with our own fresh raspberry preserve and Madagascan vanilla buttercream, smoothed with white chocolate ganache and iced with marshmallow fondant - always a popular request!

We baked three sheet cakes before levelling, filling and stacking each to form a 4 inch tall rectangular cake. Then it was time to carve and add contour to create the iconic Xbox controller shape before crumb coating and chilling.

Fun oversized xbox controller cake by Juniper Cakey

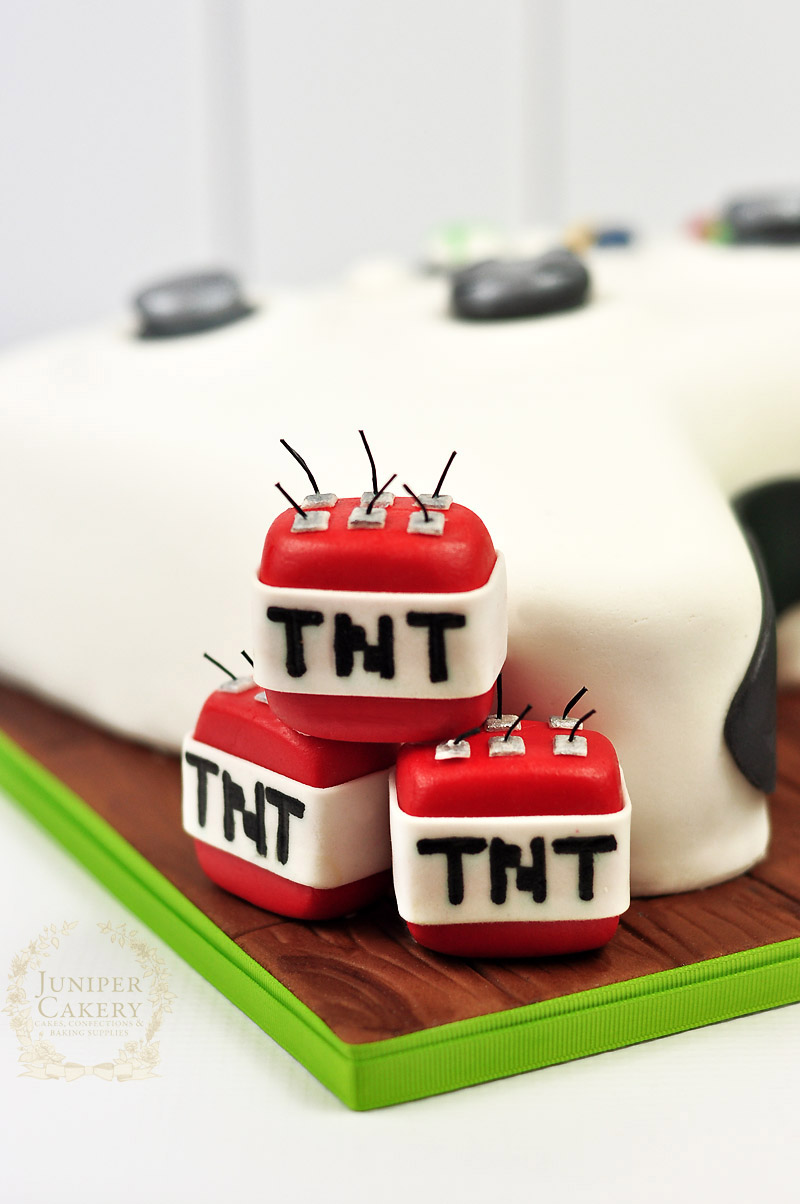
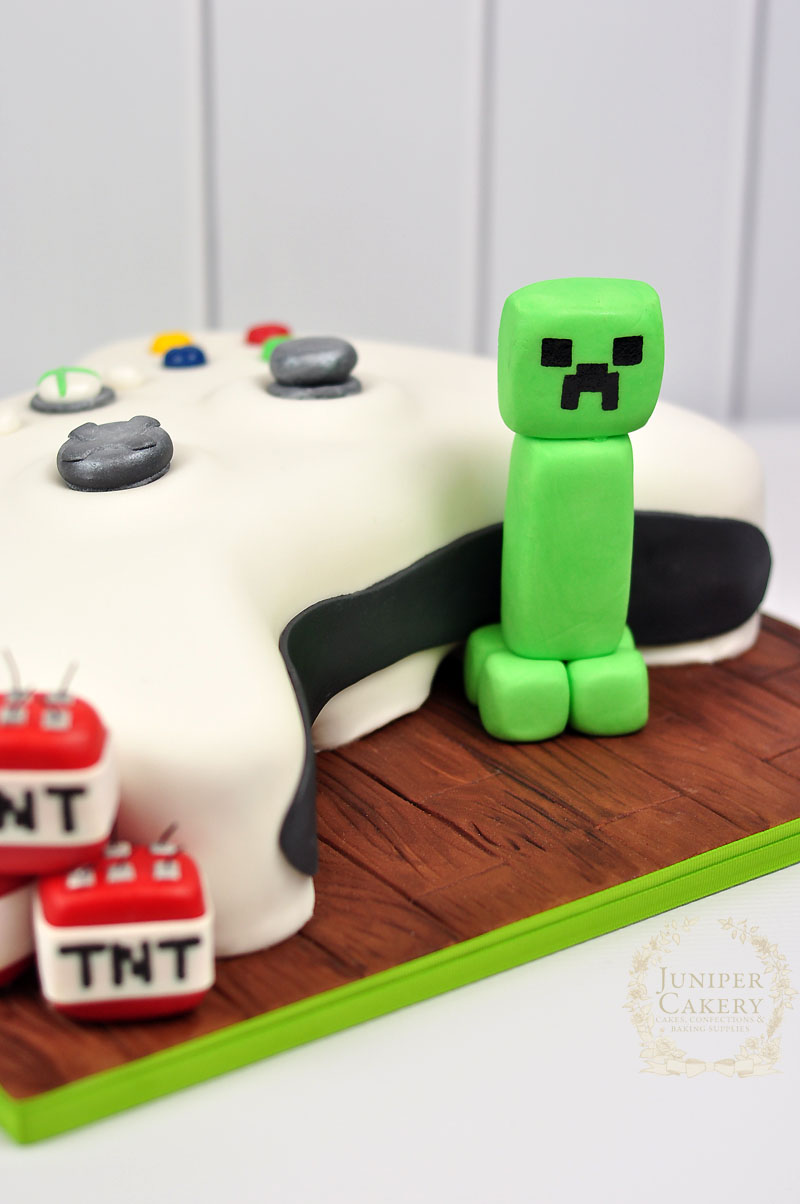
One of our favourite parts about this cake is the dark woodgrain effect board. The deep brown adds a little more focus on the bright white controller and the lime green of the grosgrain ribbon trim and gum paste creeper figure.

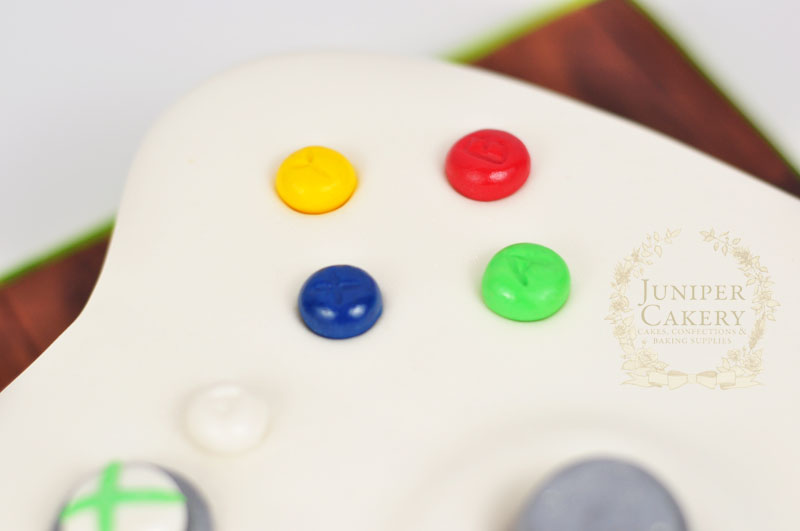
Close up detail of giant xbox controller cake by Juniper Cakery

All of the little details that adorn the oversized Xbox controller cake are completely edible from the silver joysticks to the bright buttons! Each were shaped, indented with detail and then hand-painted with confectioner’s glaze or lustre paint to really bring them to life.

Gumpaste Creeper from Minecraft by Juniper Cakery

 This cake made its way to a lively birthday party to be enjoyed by guests. We know that the lucky recipient is a big fan of fondant icing and has saved the lime green creeper character… possibly as a tasty treat later!


Vintage Hat Box Cake with Hand-Painted Violets and Peonies!

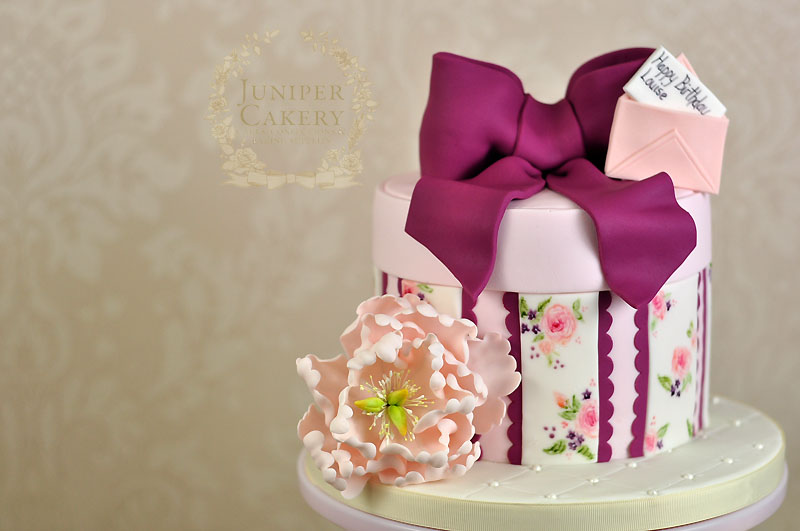
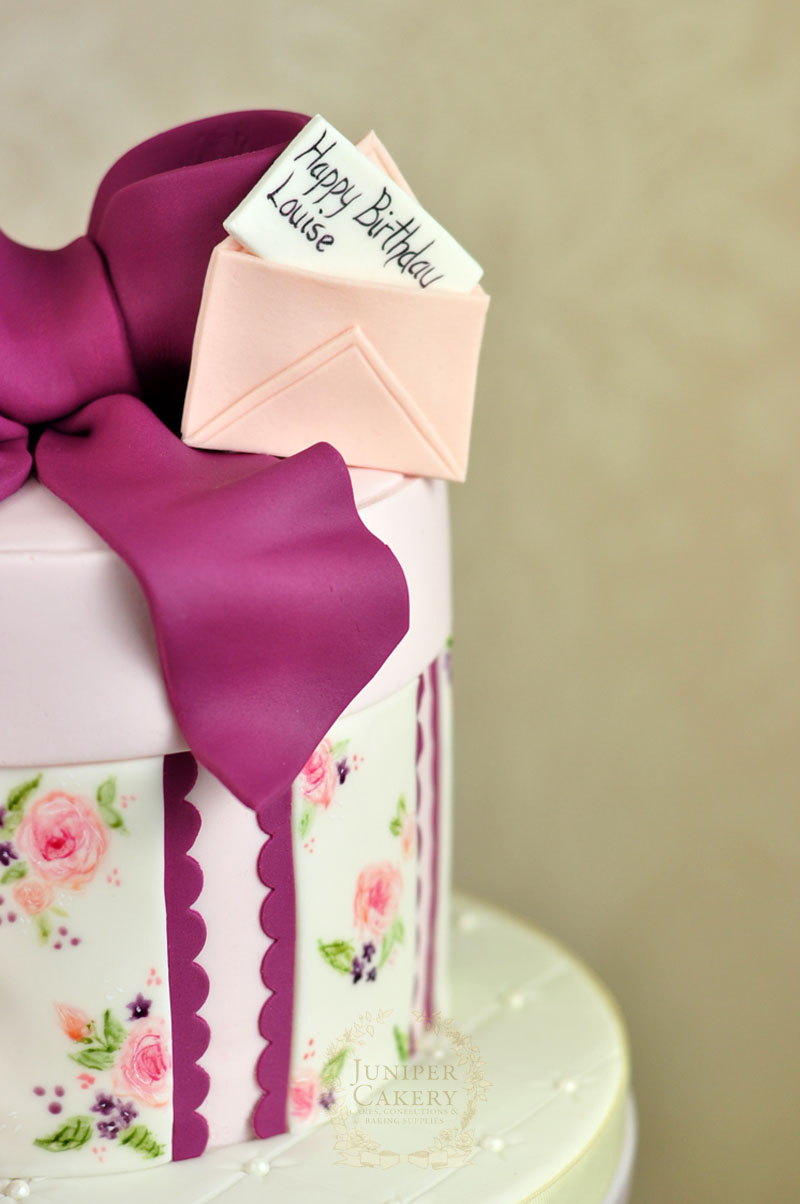
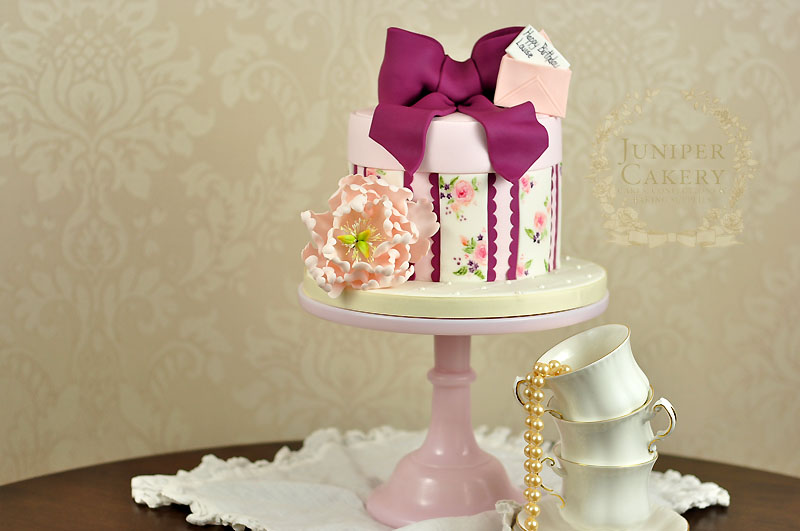
Lovely hat box cakes are always popular requests for us around this time of year. They’re vintage styling and softer colours seem synonymous with the light-hearted spring season. Earlier this week we created this wonderful peony and violet themed hat box cake for a 40th birthday! It features dainty hand-painted florals and a sweet plum, peach, juniper green, ivory and blush pink palette.

Pretty hand-painted peony and violet hat box cake by Juniper Cakery

The cake itself was a classic Madagascan vanilla cake sandwiched with fresh Madagascan vanilla buttercream and home-made raspberry preserve which was then iced with fragrant marshmallow fondant tinted in a lovely blush pink colour. 

We created the large voluminous bow and open peony flower a few days in advance so that each could set into fluid shapes and ruffles before being handled and placed on the finished design.

Each white stripe and plum coloured scallop edging was measured and spaced accordingly before we began hand painting small peony blooms, violets, leaves and tiny berries onto each. We planned out a pattern that alternates around the cake with one stripe featuring peonies centered and in each corner and another stripe with bundles of florals placed at the top and bottom.

Hand-painted floral hat box cake by Juniper Cakery

To balance out the peach of the sugar peony flower we decided to create an edible gift card and envelope out of white and peach gum paste which was then placed at the top opposite side of the flower. The message was completely hand-painted and left to dry before we carefully nestled it inside our little envelope!

Purple, peach and blush vintage hat box cake by Juniper Cakery

We hope this vintage delight was enjoyed by the lucky birthday girl! The very last thing we heard about this cake was that no one wanted to cut it at all. 

Vintage hat box birthday cake by Juniper Cakery


Tutorial Tuesday: How To Make a Fondant Ruffled Heart Pick For Cakes and Cupcakes!

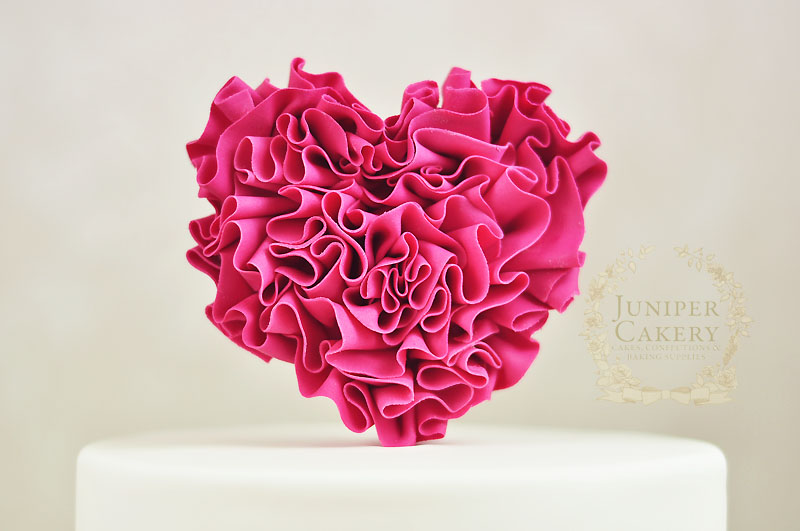
Finding quick and fuss-free ways to decorate a seasonal cake can be a stressful task in itself, but with our fabulous tutorial on how to create your own fondant ruffled heart pick you’ll be ready for your next cake project in no time! The wonderful thing about creating fondant ruffles is that they can be fairly forgiving. Randomly placed curls and frills only add to their textural allure so why not read on for our handy how-to…

Fondant ruffled heart cake pick tutorial!

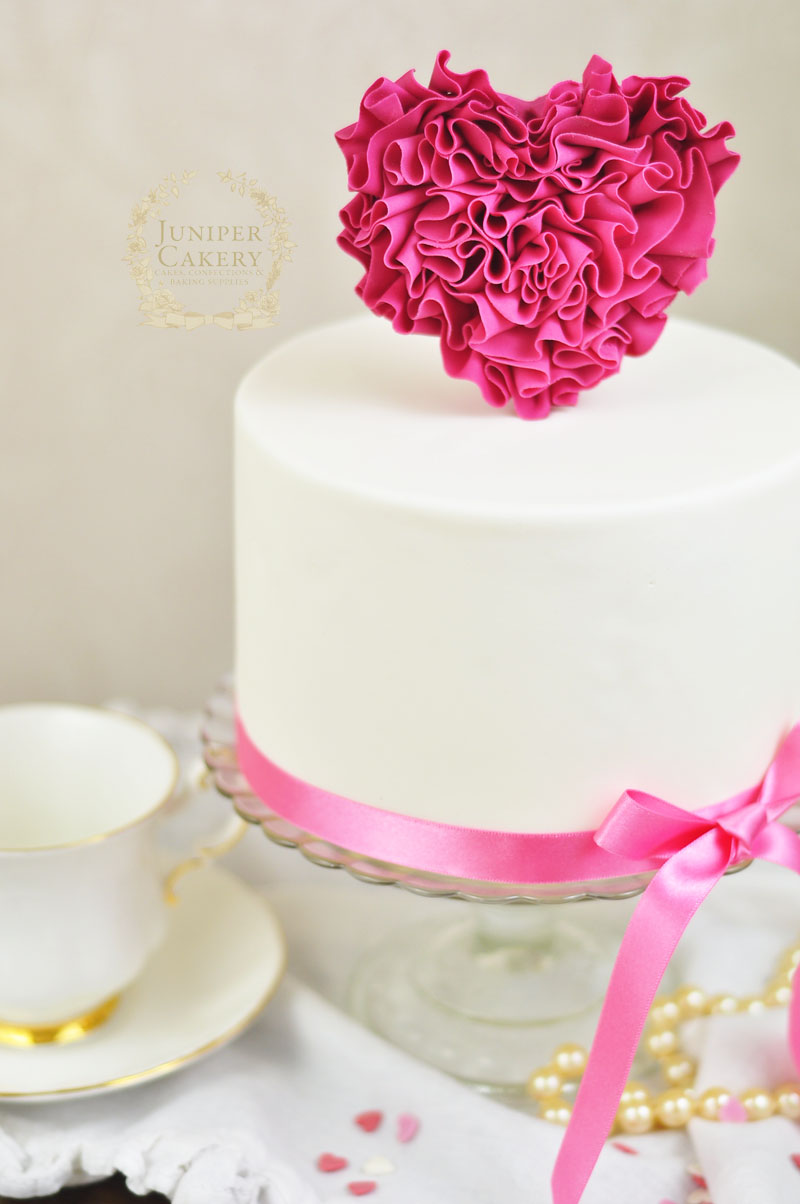
how to make a Valentine ruffled heart cake by Juniper Cakery

Materials needed:

Juniper Cakery's tutorial for a fondant ruffle heart

Step 1:

Roll our some fondant or gum paste to a thickness of around 6mm-8mm. Be sure to check that the thickness of the fondant is wider than your wooden skewer or cake pop stick.

Create pink fondant ruffle hearts for cakes and cupcakes by Juniper Cakery

Step 2:

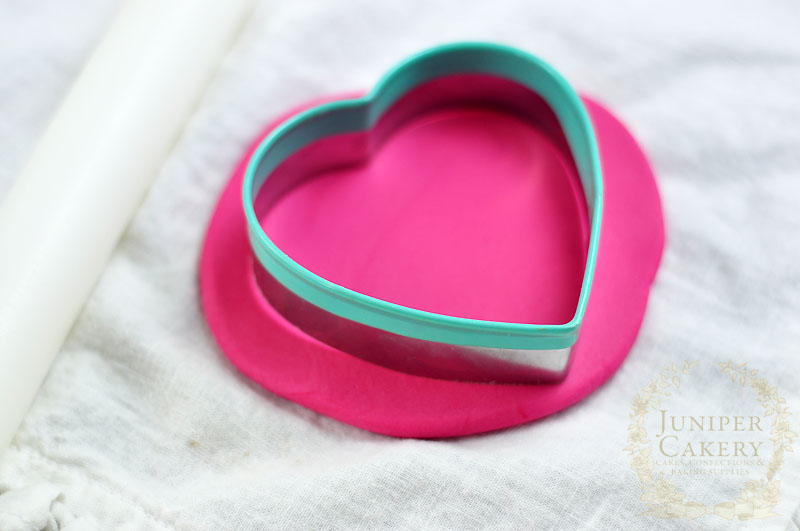
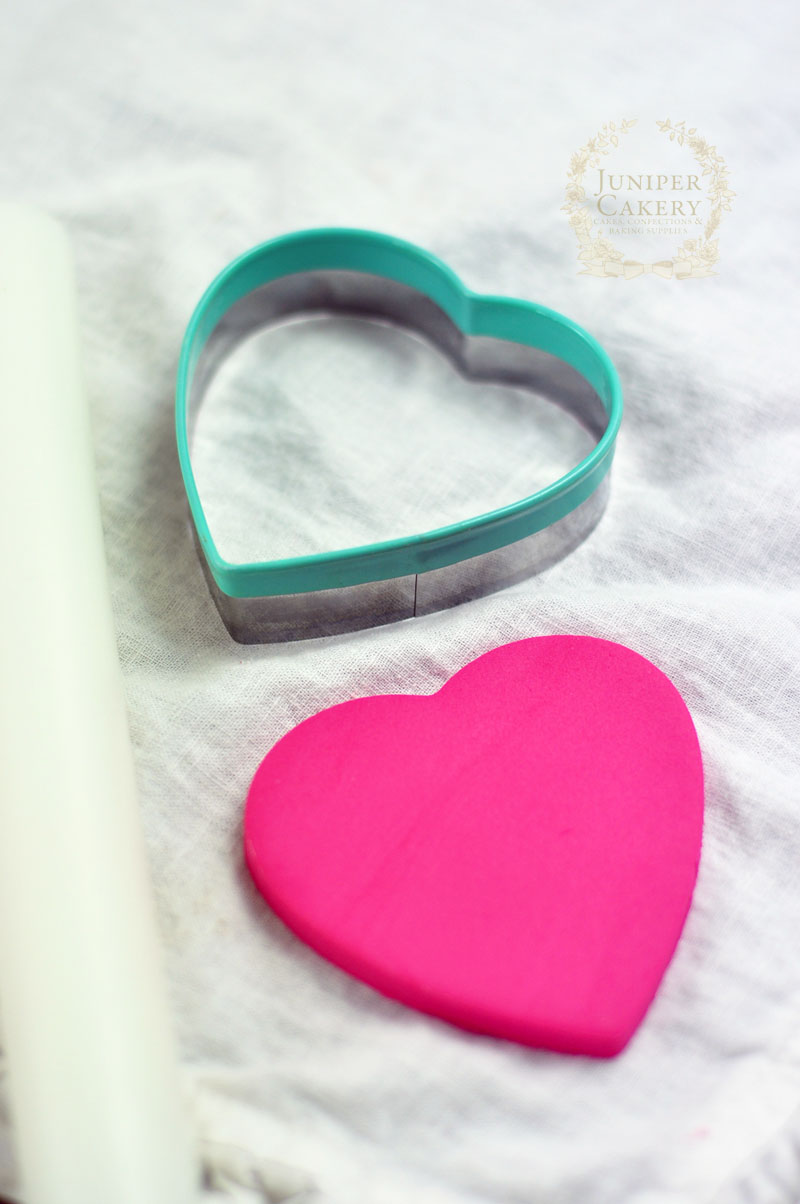
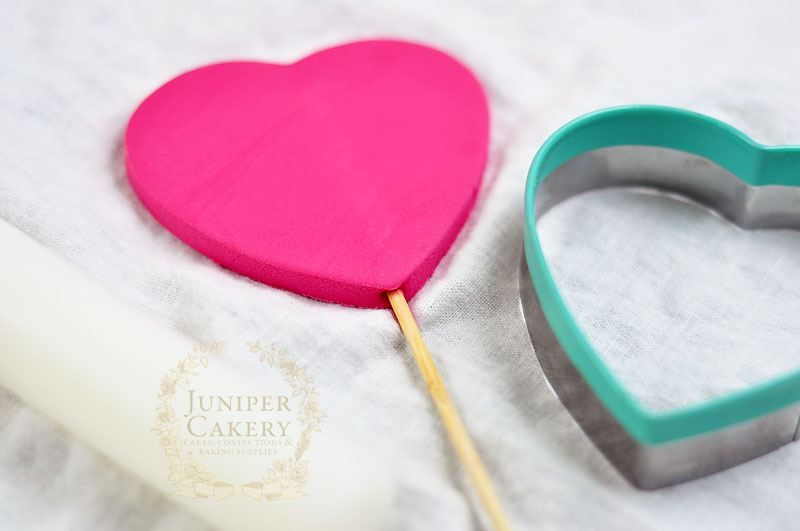
Using your heart cutter cut out a nice clean heart shaped piece of fondant.

Of course, for different themed cakes you can utilise different shapes. Plain circles are wonderful for adding edible sugar pearls or fondant cameos in the centre for a luxurious jewelled brooch look. 

How to make a sugar paste ruffled heart for cakes by Juniper Cakery

Step 3:

Take your cake pop stick or wooden skewer and paint with a little edible glue before carefully inserting into the base of your heart halfway. Leave to set.

Make pretty frilled hearts for cakes with this tutorial by Juniper Cakery

Step 4:

Roll out some thin fondant and cut into strips around 1 1/2cm in height. Too short and you’ll lose the lovely textural look like the ruffles create when then curl and fan out randomly. Too long and you’ll risk finding each strip harder to handle.

Step 5:

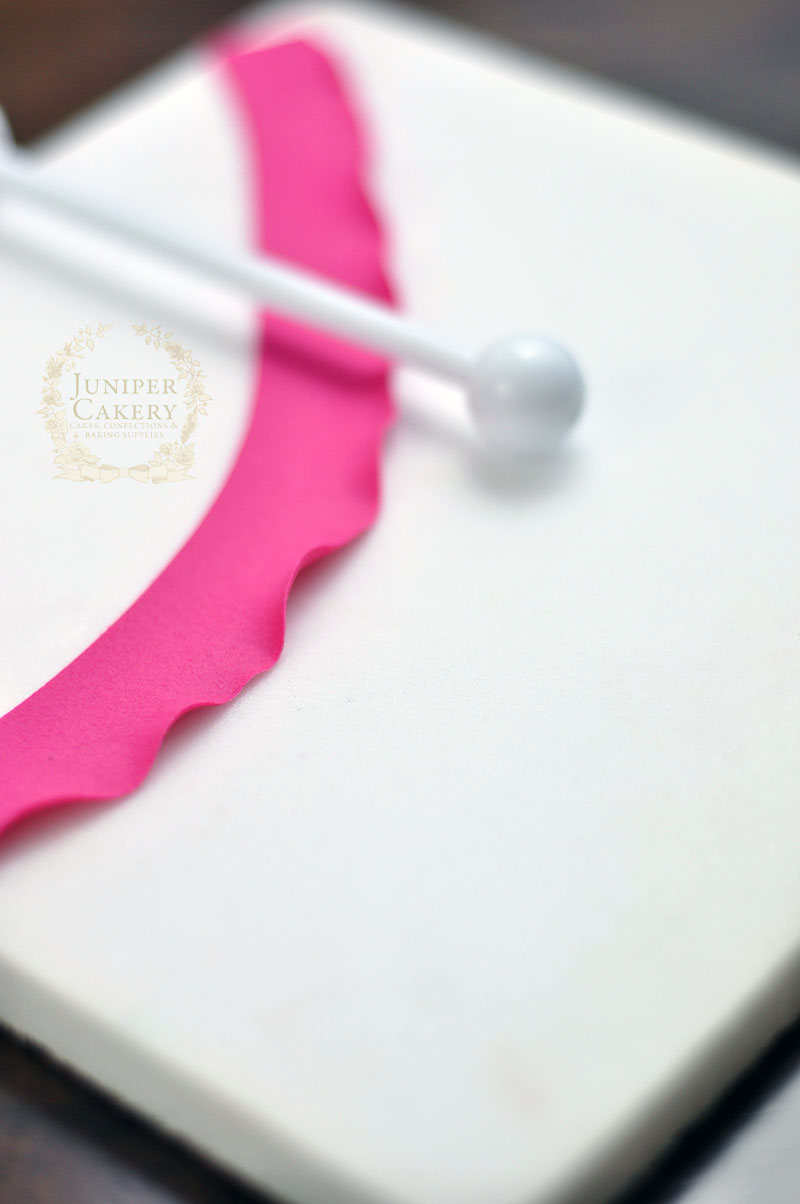
Using a ball tool thin and ruffle the edges of each strip. To do this take your ball tool and press down moving along the long edge of each strip. You should find that the edge has little ruffled waves!

Ruffled fondant heart tutorial from Juniper Cakery

Step 6:

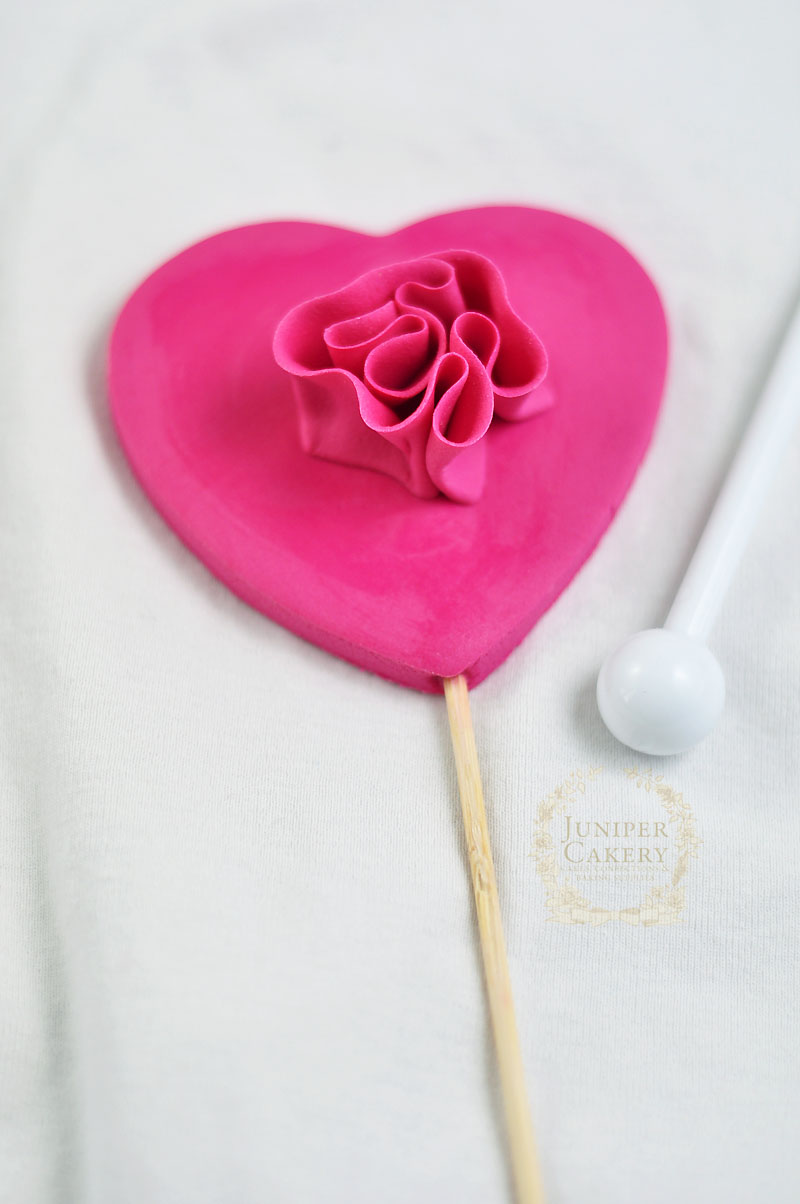
Paint edible glue onto the surface of your heart and arrange your ruffled strips of fondant from the centre to the outer edges of the shape! To help attach the strips down press lightly on the base. It’s ok if they spread or fold a little as your apply pressure.

 Tutorial on how to decorate a ruffle heart cake for Valentine's Day by Juniper Cakery

Step 7:

Once set and hardened it’s time to see your work finished! Gently insert your ruffled fondant heart cake pick into your cake or cupcake.

Tutorial on how to decorate a ruffle heart cake for Valentine's Day by Juniper Cakery

We absolutely love things that can be tweaked slightly or given a new slant to be useful for other designs and these ruffled heart picks are no exception! For baby showers stick to soft pastel colours. Why not even create lots of different sized vintage coloured hearts to adorn a simple first birthday cake? 

For bridal showers or weddings miniaturise your pick for lots of sweet and tempting cupcakes and perhaps dust or paint the edges with edible gold paint for a decadent feel. You can even omit the cake pop sticks or wooden skewers for lovely cupcake toppers that will sit flat atop of your miniature treats.

how to make a Valentine ruffled heart cake by Juniper Cakery


Tutorial Tuesday: How To Make a Fondant Love Bug!

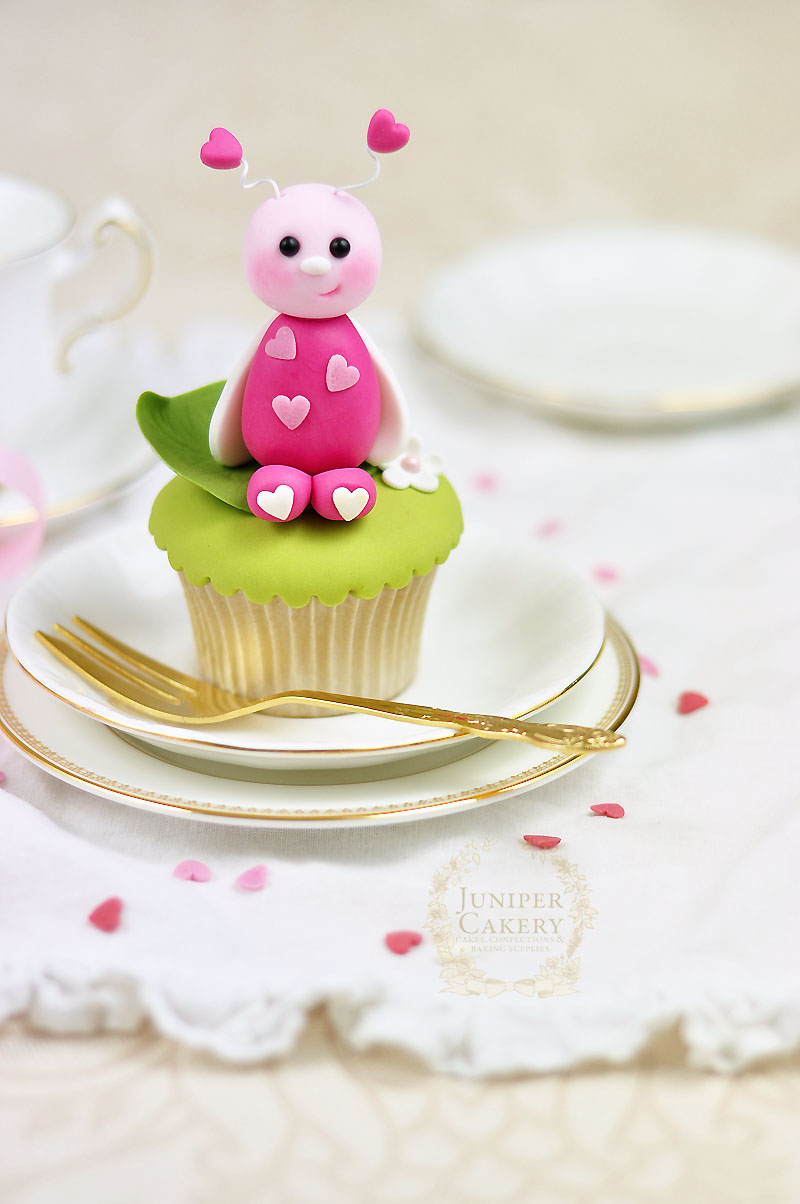
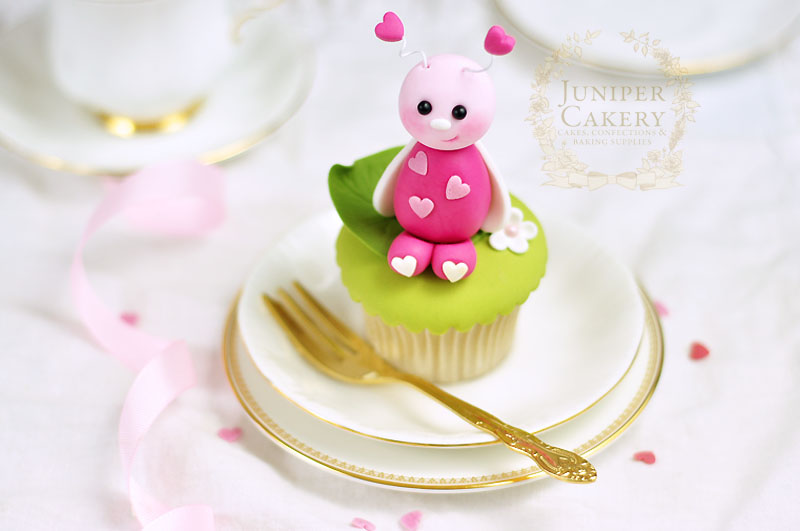
It’s Valentine’s Day around the corner and love certainly is in the air for our adorable little love bug! This fun and wonderfully cute tutorial is surprisingly pain-free so why not follow our step by step guide and create a heart-warming collection of Valentine cupcakes for your sweetheart?

Fondant love bug tutorial to fall head over heels for!

Valentine's Day cupcake decorating tutorial on how to make a cute edible love bug from Juniper Cakery

Valentine Love Bug cupcake tutorial by Juniper Cakery

Materials needed:

How to make a fondant love bug for Valentine's Day by Juniper Cakery

Step 1:

Make a medium size ball of soft pink fondant / sugar paste with a small amount of tylo powder added… 1 teaspoon per 250g of paste).

Step 2:

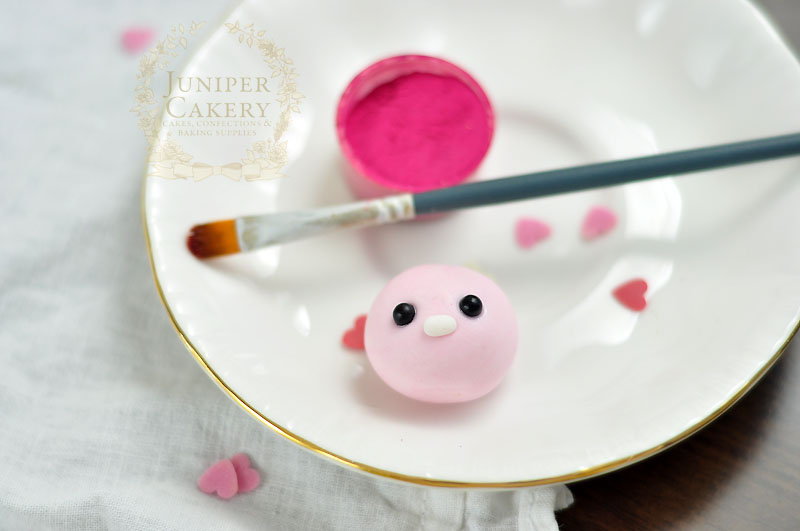
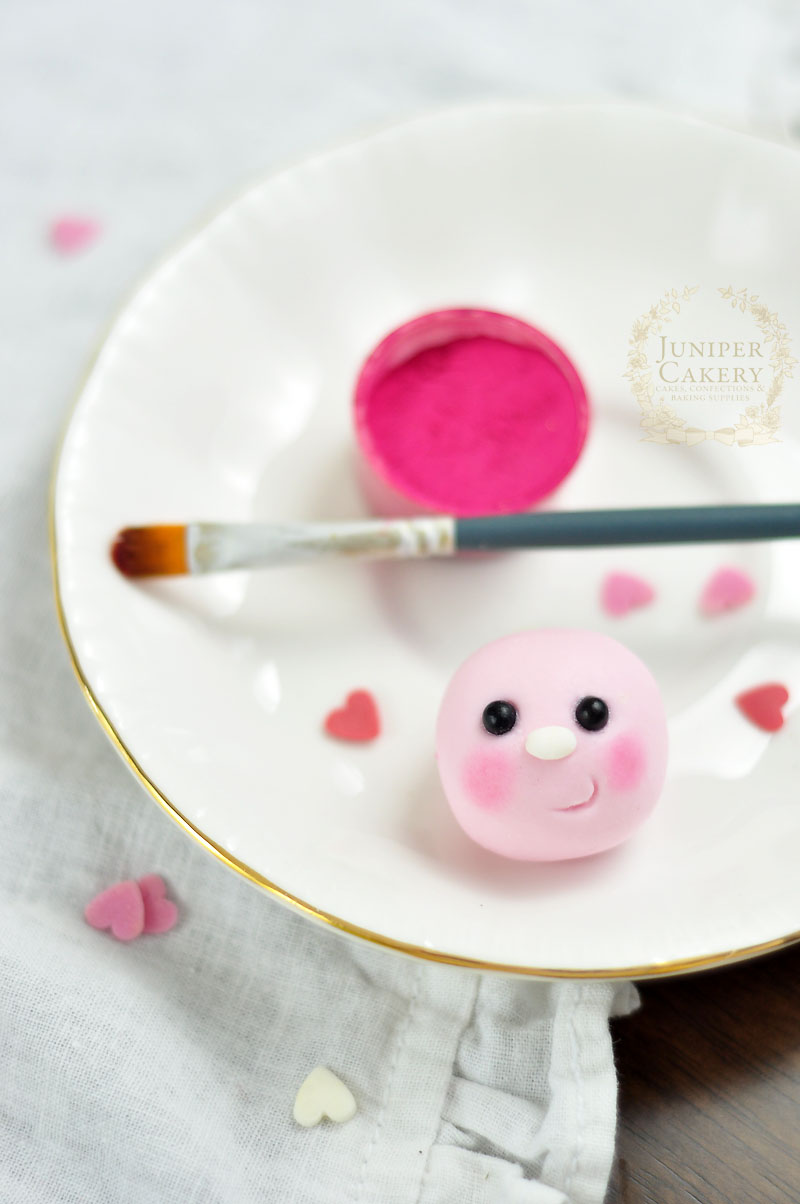
Roll two tiny balls of black fondant. Indent where you want to place the eyes with the small ball tool and with a little edible glue attach the black fondant balls in place.

Step 3:

For the nose shape a tiny piece of white fondant into an oval shape and attach with edible glue.

Make a cute little edible love bug cupcake topper with this tutorial by Juniper Cakery

Step 4: 

For the mouth take a round piping tip and carefully press half of it into the face. Accentuate the smile with a little pink petal dust.

Step 5:

To add some rosy cheeks dust a little pink petal dust at a time underneath and opposite the nose.

Pink love bug cupcake topper tutorial from Juniper Cakery

Step 6:

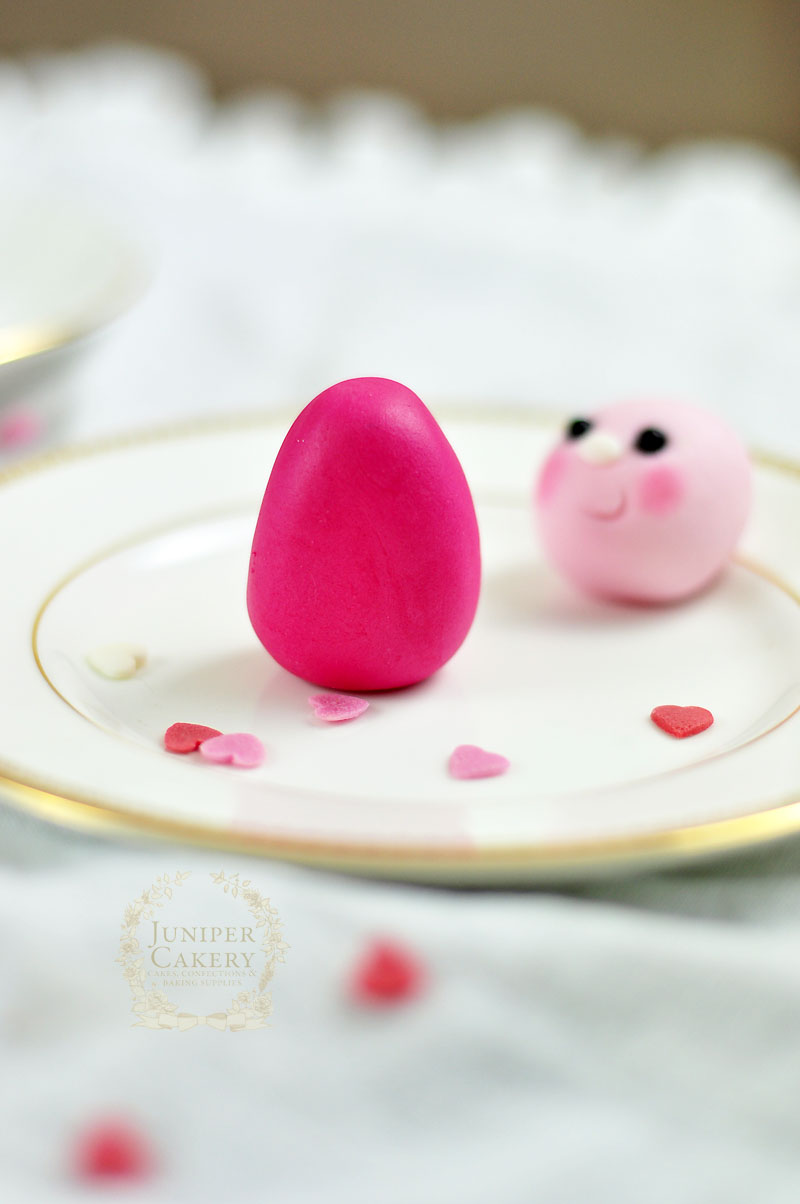
To create the body take some hot pink fondant mixed with some tylo powder and form into a teardrop shape. 

Step 7:

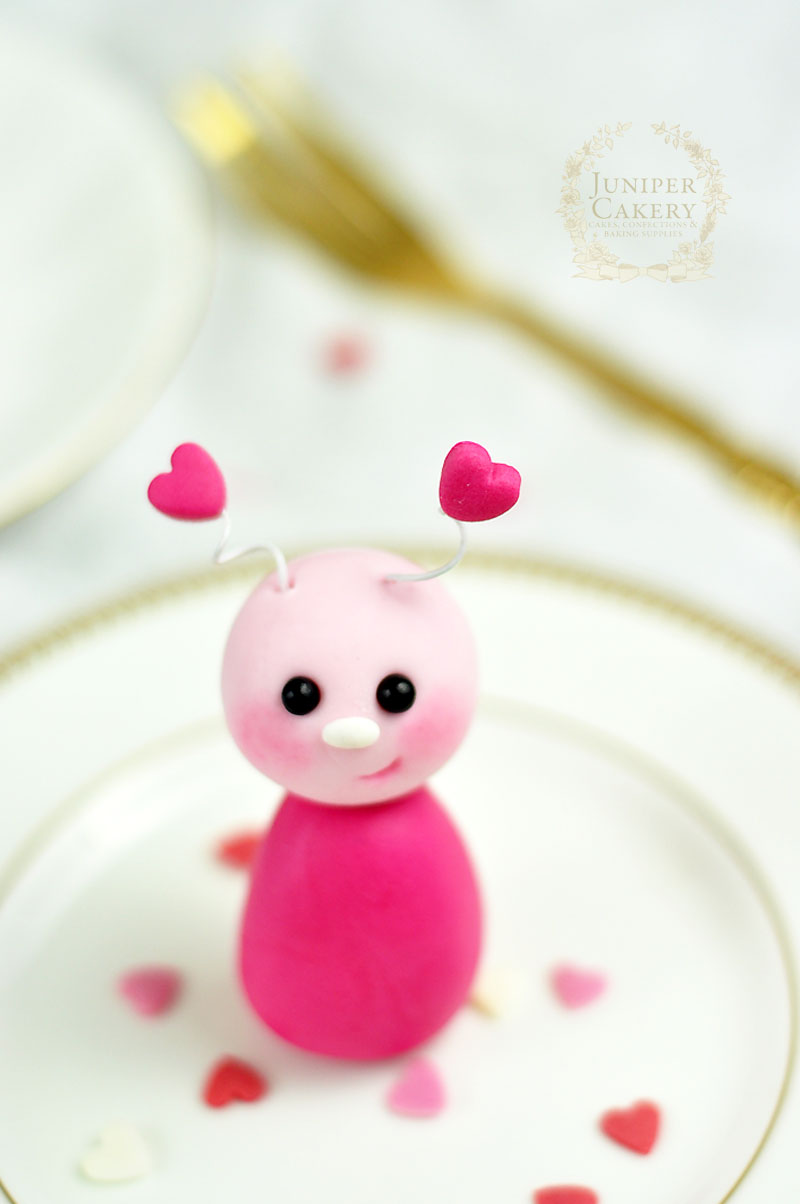
Take a stick of uncooked spaghetti and push into it’s centre leaving some protruding to hold the head of the bug on. Attach with some edible glue and by carefully pressing the head onto the body through the spaghetti.

Create a sugar paste love bug for your Valentine's cupcakes with this how-to from Juniper Cakery

Step 8:

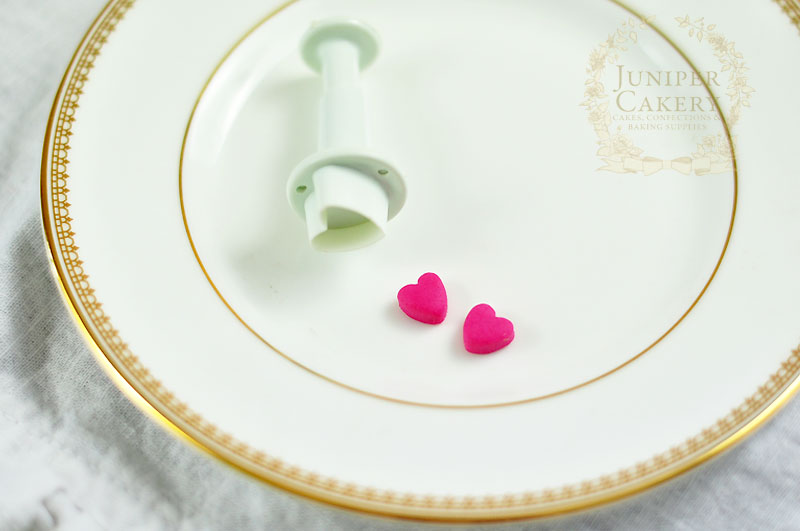
Now it’s time to make your little love bug’s antennae! Roll out some hot pink fondant to a thickness of around 5mm and with a small heart shaped plunger cutter cut out two hearts.

Sweet little fondant love bug tutorial by Juniper Cakery

Step 9:

Cut two pieces of floral wire around 2 inches long and curl around a thin paintbrush before sliding off and snipping down to around 1 inch in length.

Step 10:

Carefully straighten out a little bit at the end and with each tip dipped in some edible glue insert into the plunger cut hearts half way.

Step 11:

Carefully insert each antenna into the top of your bug’s head.

Edible fondant lovebug tutorial from Juniper Cakery

Step 12:

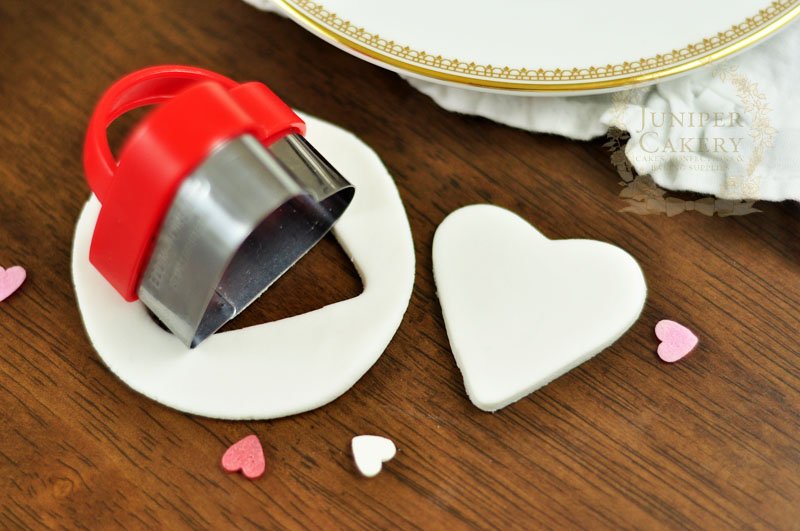
For the wings roll out some white fondant and cut out a medium sized heart using a cookie or pastry cutter.

Step 13:

With a small sharp knife slice the heart into half lengthwise and attach to the back of your bug with edible glue.

How to make a fondant love bug Valentine cupcake figure by Juniper Cakery

Step 14:

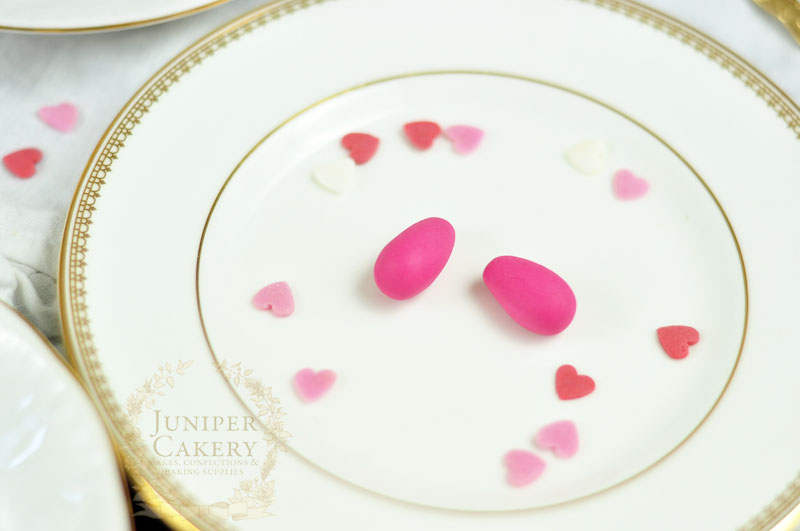
To add legs create two small rounded teardrop shapes from some hot pink fondant. Pinch and flatten the tapered ends together slightly. Attach and place your bug on top of the legs with a little edible glue.

Adorable fondant love bug for cupcakes by Juniper Cakery

Step 15:

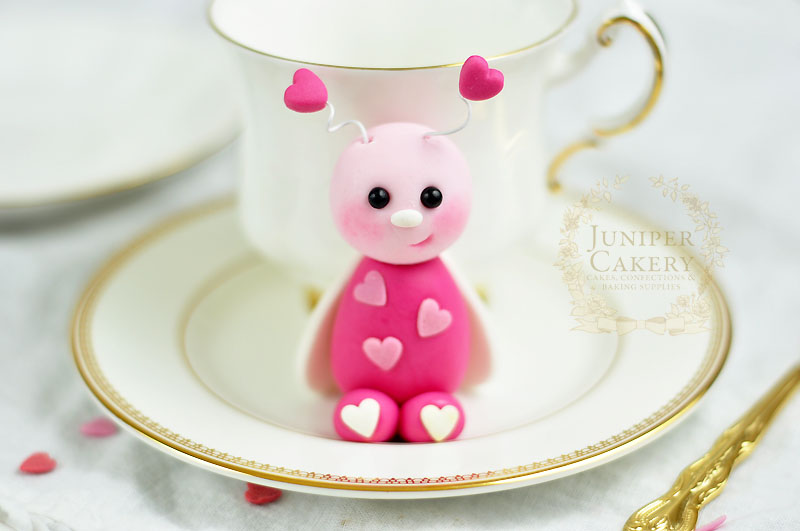
Add some lovely heart details to your love bug with some heart shaped sprinkles!

This fondant love bug tutorial by Juniper Cakery is perfect for Valentine's Day cupcakes!

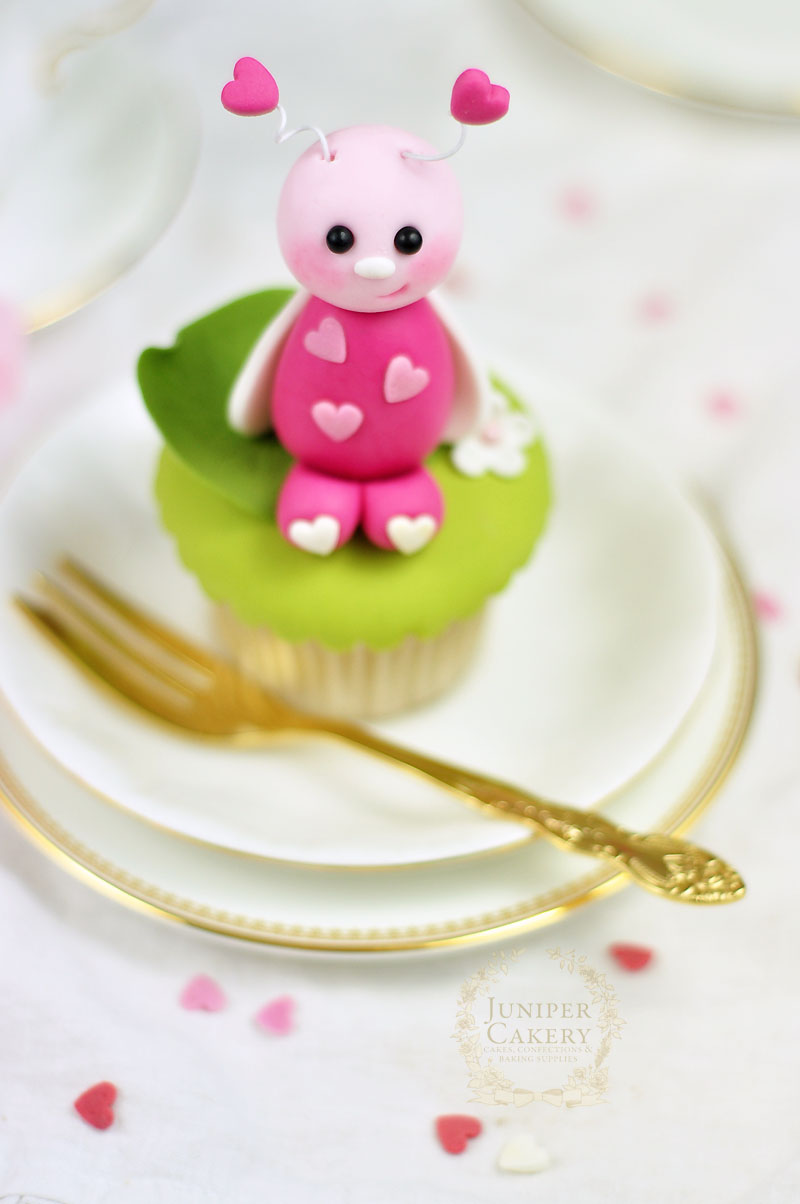
We like to think that a cutie like this would indeed look rather fetching perched on top of cakes as well as cupcakes so have fun making a little fondant love bug for large or small treats! For gorgeous baby shower cakes a sweet little heart themed bug like this would be positively show stealing. We love the idea of a pastel hued love bug sat atop of fondant ABC building blooks as part of a fun cake design!


Ruffles and Elephant Baby Shower Cake!

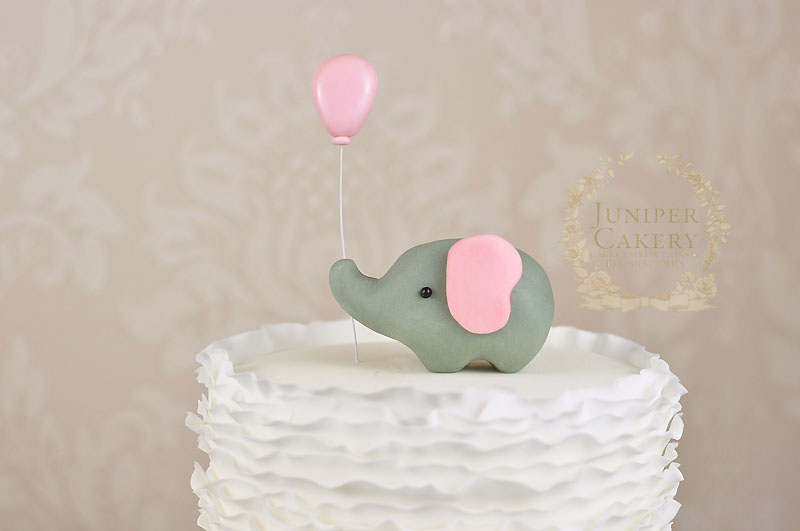
Here’s a very sweet little elephant cake we were asked to create for a fun baby shower! For this design we were requested to decorate a small cake that had a simple elephant theme with soft pinks and ruffles. For an extra bit of adorable playfulness we added in a pink gum paste balloon and made the baby elephant hold it too!

Sweet Ruffle and Elephant Baby Shower Cake by Juniper Cakery

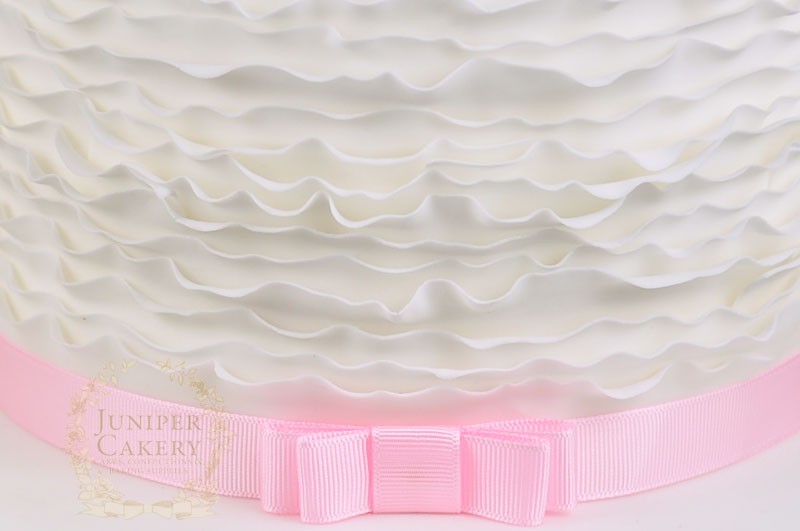
Our first thought was to add delicate fondant ruffles around the sides in a crisp white to keep the cake bright and have the main focus be the tiny grey elephant character and it’s shiny edible balloon. Each pretty ruffled strip of fondant was added individually, tweaked lightly with a dry paintbrush to fan out a little and left to set before we adding the pink ribbon trimmings and the decorations on top.

The cake itself was a Sicilian lemon oil cake filled with fresh raspberry jam and covered with a Madagascan vanilla buttercream and then iced in marshmallow fondant! The smell of this cake in the studio and kitchen was incredible to say the least. This may just need to be a tempting cupcake flavour for late spring/summer that we have to develop and test ourselves!

Fondant ruffles on a cake by Juniper Cakery

Adding fondant frills and ruffles to cakes is such a decadent and lovely technique. It can add texture and drama to a grown-up design or a definite sweet look to a kids’ party cake! We especially love combining ruffles with fashion and vintage glamour inspired tiers and also bright Christening cakes. You can really help bring out fondant or buttercream ruffles with theatrical gold painted sequins and beautifully crafted sugar flowers for a chic wedding creation. For cute baby shower cakes teaming fondant frills with pastel colour palettes, simple blossoms, an adorable character and royal icing polka dots dusted with an edible pearlescent lustre works perfectly!

Ruffled baby shower cake with gum paste elephant by Juniper Cakery

Adorable fondant elephant cake topper with balloon by Juniper Cakery

Creating the gum paste elephant for this ruffled elephant baby shower cake was and is a lot harder than it looks! It’s quite mischievous and deceiving! Due to the elephant being created in one continuous piece of fondant (execpt for the pink ears) it appears to be rather straight-forward and simple. It helps to first begin with a smooth ball of gum paste that has been rolled around in your hands for a few minutes before you begin tackling the shape. Warming up and rolling the fondant or gum paste helps rid the paste of any annoying and horrifying cracks and creases.

Cute baby shower cake with fondant ruffles and elephant by Juniper Cakery

We hope that this sweet little gem of a cake was enjoyed. It was great to work on such a bright and fresh design when the winter days are growing more and more dark in our part of the world!


×