Harry Potter Themed 13th Birthday Cake!

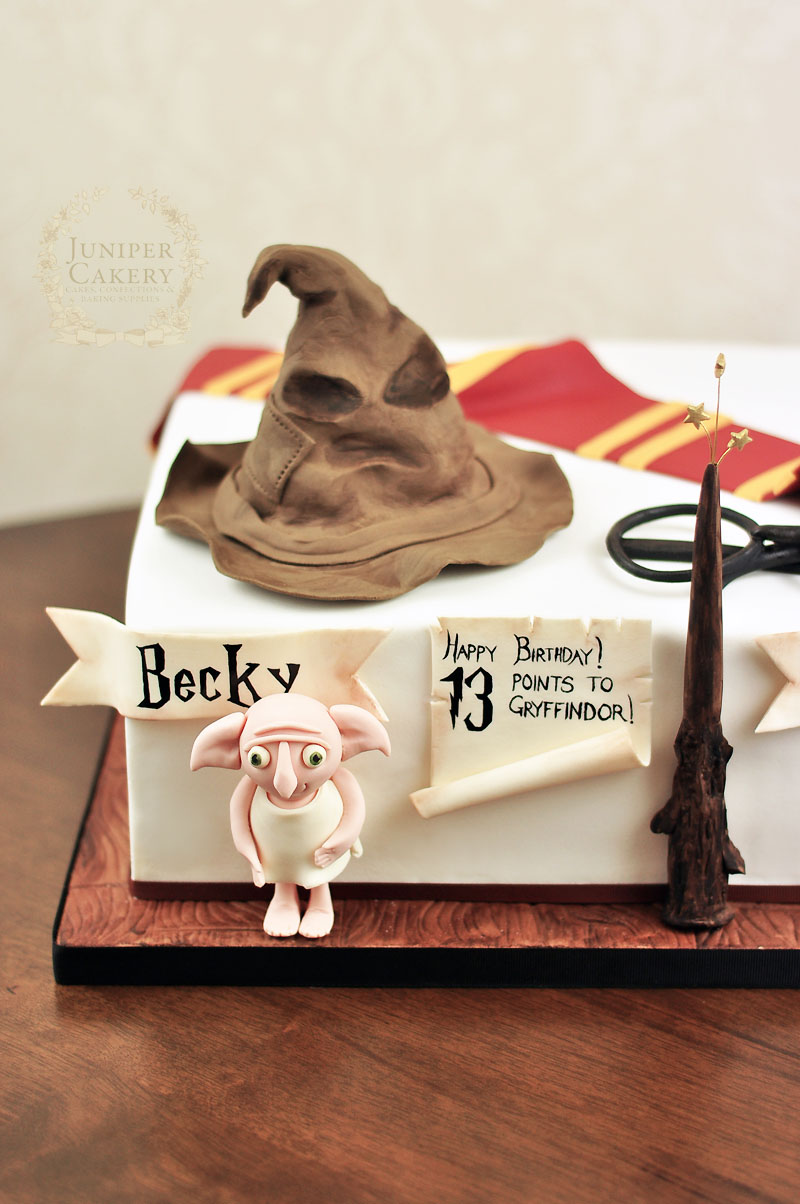
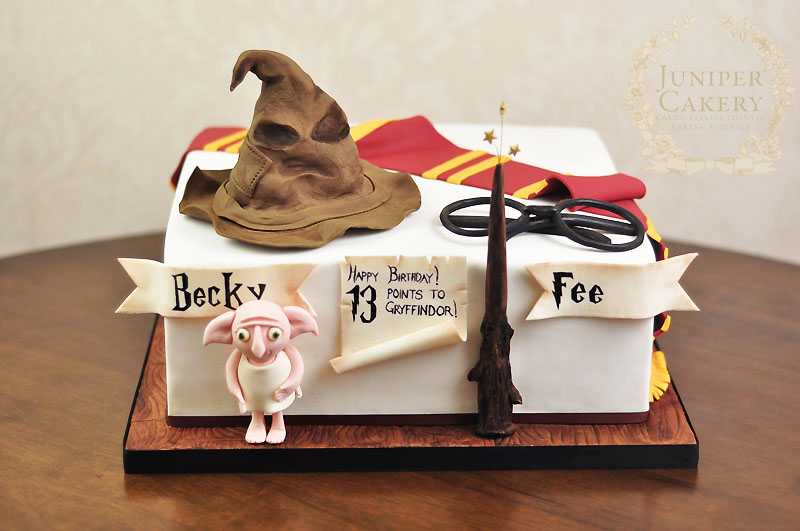
For a wonderfully fun joint 13th birthday party we were asked to create a rather magical Harry Potter themed cake. Our brief was to design and make a large cake for 40 servings adorned with edible decorations including… a sorting hat, wand, name plaques, Harry Potter’s famous round glasses, the iconic Gryffindor scarf and a small Dobby character perched on the cake board!

Harry Potter birthday cake by Juniper Cakery

The cake itself was filled with a crowd pleasing Madagascan vanilla and strawberry preserve and crumb coated with silky vanilla buttercream before being double iced with Satin Ice fondant! We chilled the cake once smothered with its crumb coat to help keep the corners lovely and sharp before icing. Satin Ice has a wonderful elasticity to it which really helps cover square edges.

Edible Harry Potter wand with shooting stars by Juniper Cakery

To make Harry Potter’s wand we used modelling chocolate sculpted and moulded into shape before we added a wood texture with a sharp veining tool. It was then hand painted with different shades of brown food colouring before the fun shooting stars were added for a playful effect!
Harry Potter cake with edible Dobby by Juniper Cakery

Harry Potter Cake by Juniper Cakery

We created all of the decorative elements (except for the scarf as it needed to drape down the sides) a day before the cake was baked and assembled so they could set and dry appropriately. The names and birthday message were hand painted onto banners and a scroll ‘aged’ with edible brown petal dust before being attached to the front of the design. We thought that utilising the Harry Potter font and placing the messages on a weathered scroll and old fashioned banners would work much better with the overall design than just placing them on using letter cutters.
Edible gum paste Harry Potter sorting hat by Juniper Cakery

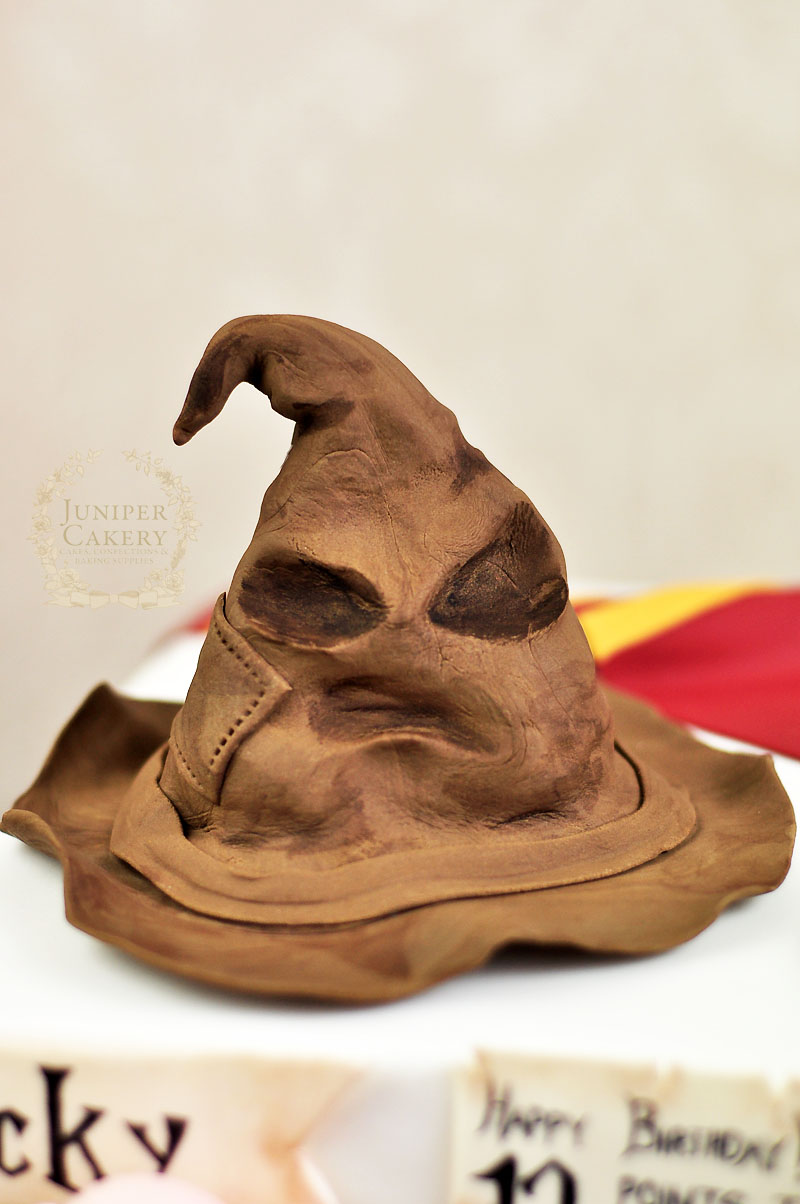
The 100% edible sorting hat was particularly fun for us to create. We began with a large ball of a 50/50 modelling chocolate and fondant mix before moulding a tall conical shape. With some extra fondant/modelling chocolate we rolled out and cut a large circle for the brim of the hat before thinning the edges with a large ball tool. The hat and brim were then intentionally scoured, ‘beaten’ and re-moulded to look aged and weathered. Then we sculpted in dents and the hollow facial features by hand, added the little patch at the side with some little stitching detail and hand painted sections roughly to add to the aged look of the piece.

This cake was a lot of fun for us to design and decorate. We even toyed with the idea of having a Harry Potter marathon for research purposes, but then we took one look at our bake and design sheets for the weeks running up to this cake’s due date and nearly fainted. There are such iconic and memorable styles and looks from the book and film series that we luckily had more than enough inspiration from memory, and pictures, alone to re-create the elements we needed. 

For a future Harry Potter themed cake we’d love to create a giant carved and sculpted sorting hat cake nestled on a flurry of house scarves!


Hoppy Easter Cake Decorating: Quick and Cute Fondant Chick Tutorial!

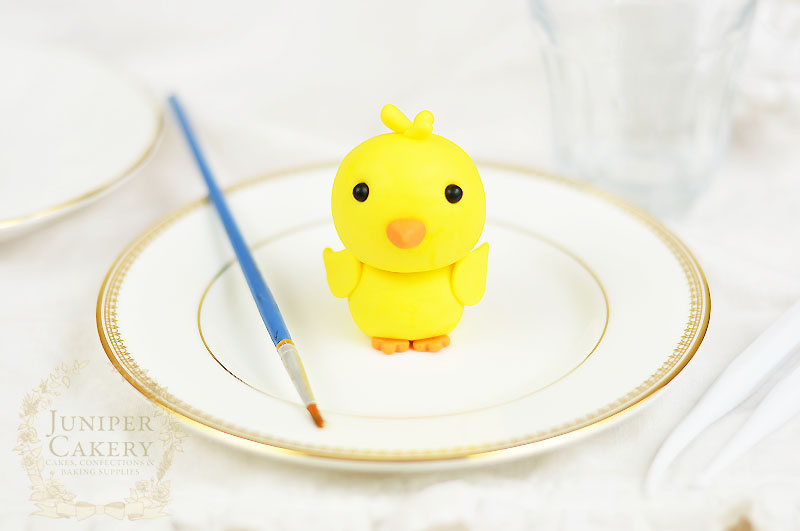
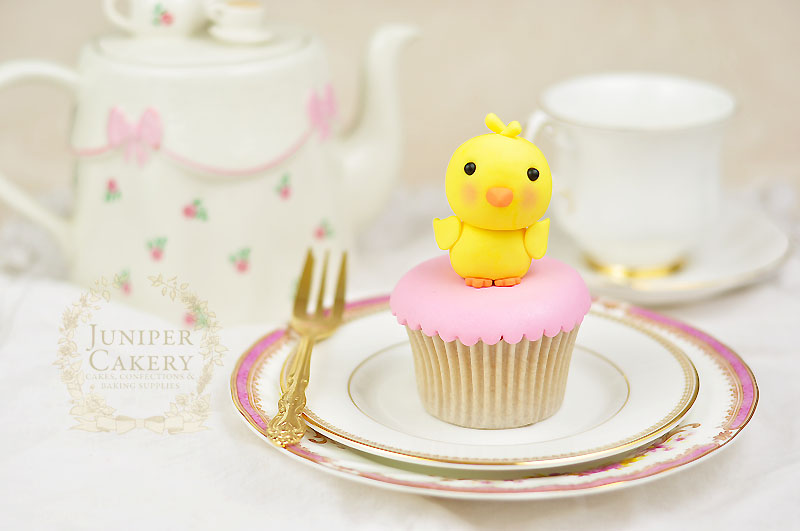
For Easter or general spring-themed treats it’s easy to feel a little overwhelmed, but why not add a little extra sweetness to your cakes with our surprisingly pain-free tutorial for an adorable fondant (or gum paste) chick! This little cutie is perfect for adding a little character to novelty cupcakes or freshly baked cakes so read on for our step-by-step guide on how to make your very own lovable little bird.

Fondant chick tutorial for cakes and cupcakes by Juniper Cakery

How to create a fondant chick tutorial…

Materials needed:

  • Yellow fondant/sugar paste or gum paste/modelling paste
  • Small black fondant balls approx. 4mm in size
  • A little orange fondant
  • Pink petal dust
  • Paintbrush
  • Edible glue
  • Uncooked spaghetti stick
  • Blade tool
  • Small ball tool
  • Small blossom cutter

Step 1:
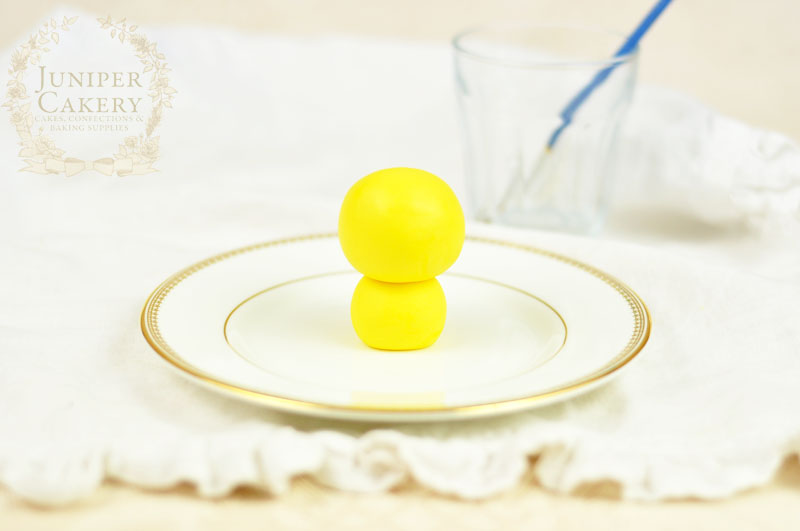
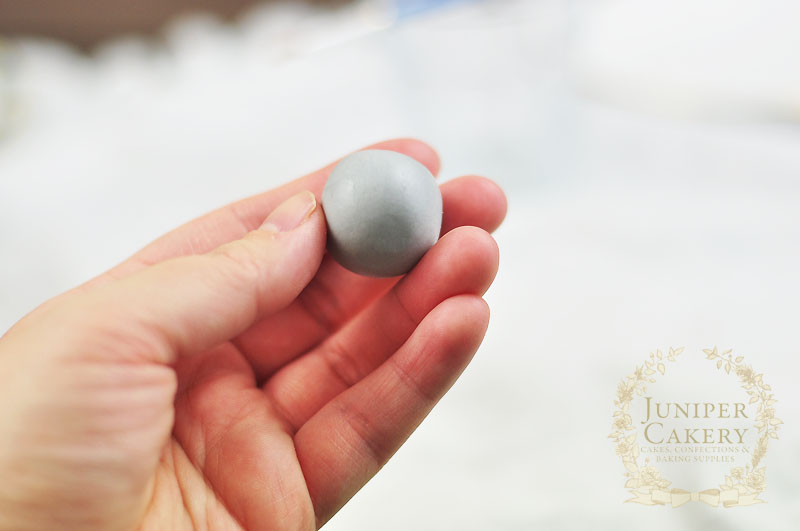
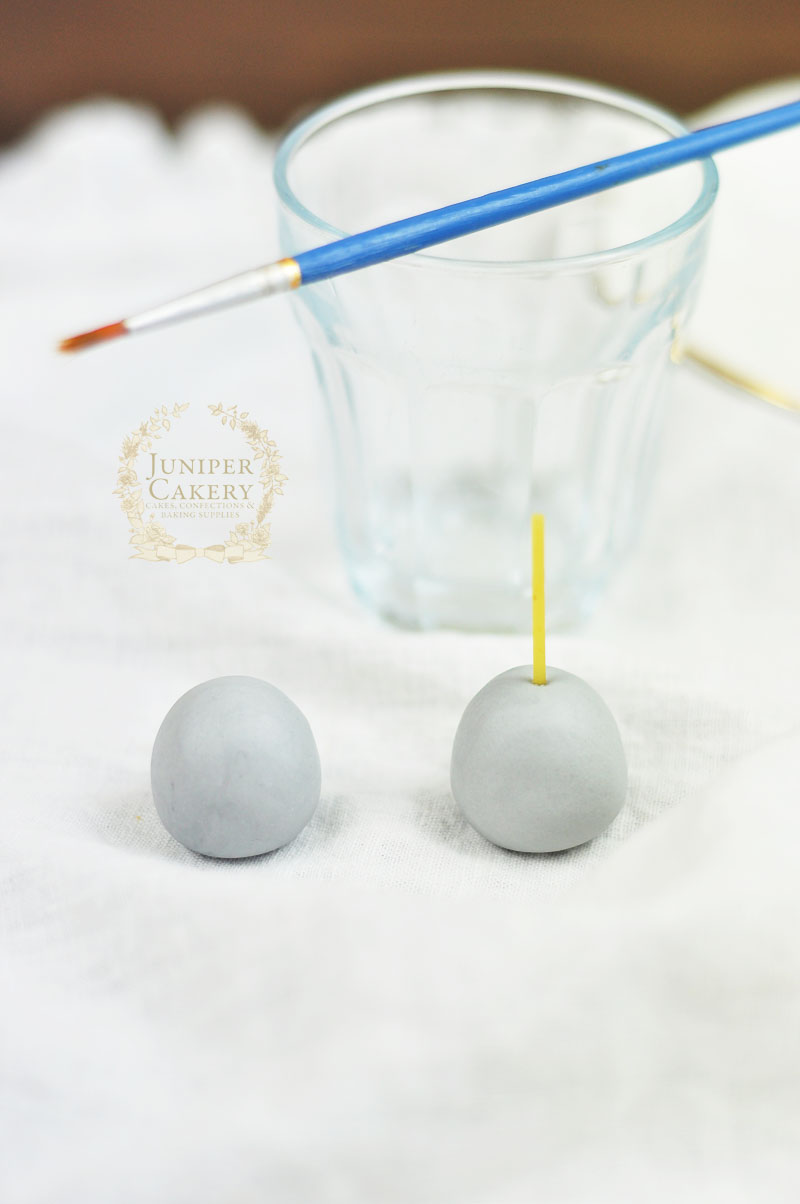
Make a small ball of yellow fondant approximately the size of a standard marble. This will be your chick’s body.

Create a sweet fondant chick with this tutorial by Juniper Cakery

Step 2:
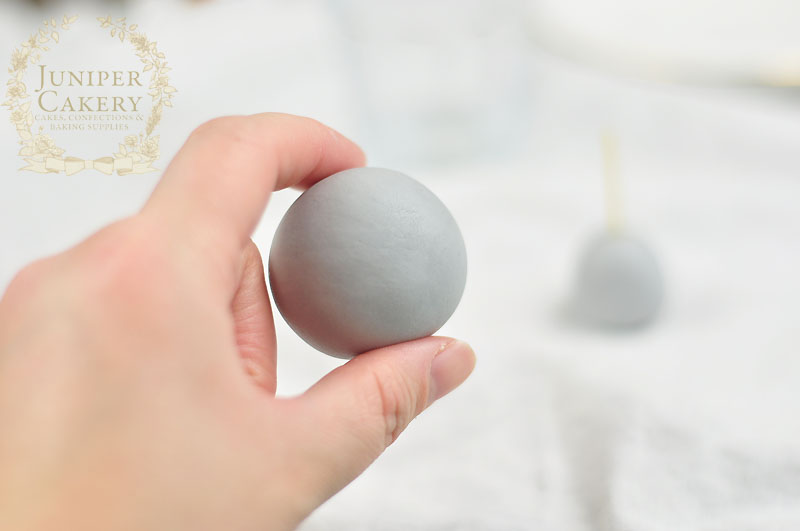
Roll a larger ball of yellow fondant similar in size to a golf or ping pong ball. This will become the head.

Step 3:
Take a piece of spaghetti stick around 1cm longer than the first small ball of fondant you rolled and dip in edible glue before plunging carefully down the centre of your chick’s body (aka the smaller ball you rolled in step 1).

Step 4:
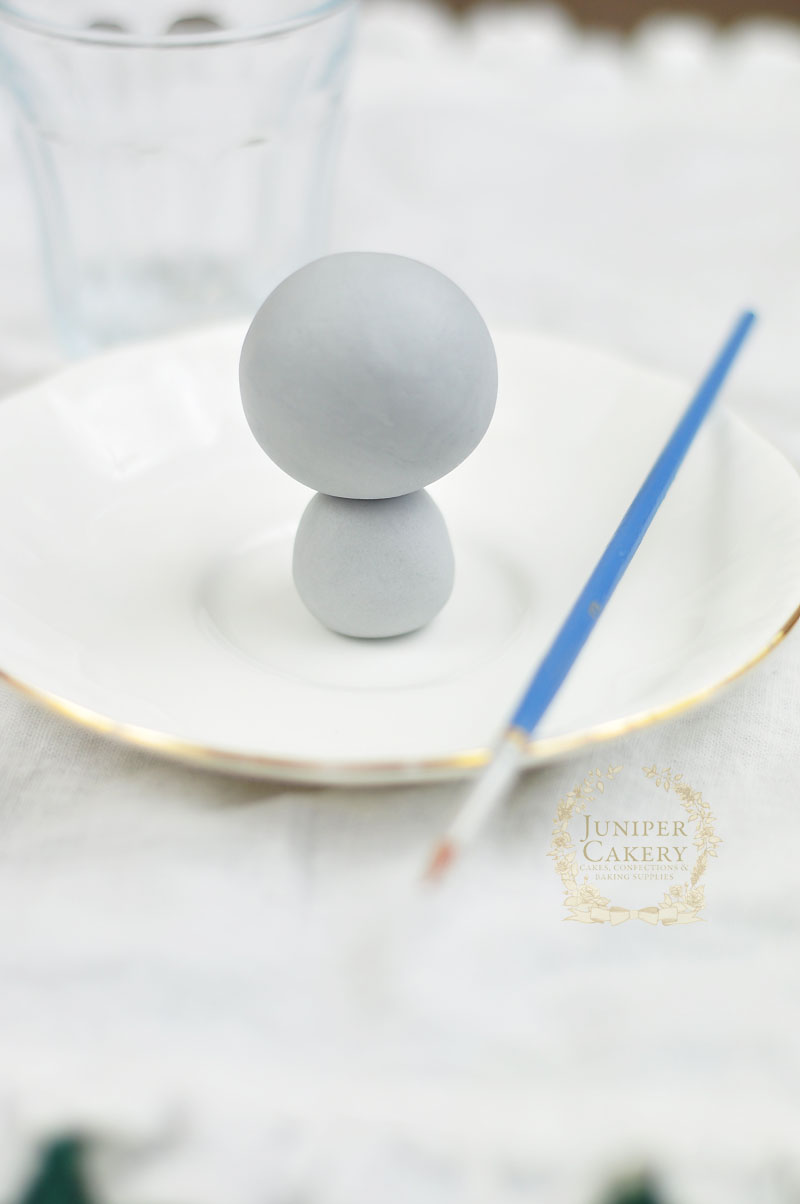
Paint the exposed part of the spaghetti with edible glue and attach the larger ball/ head onto the body.

Easter chick tutorial for cakes and cupcakes by Juniper Cakery

Step 5:
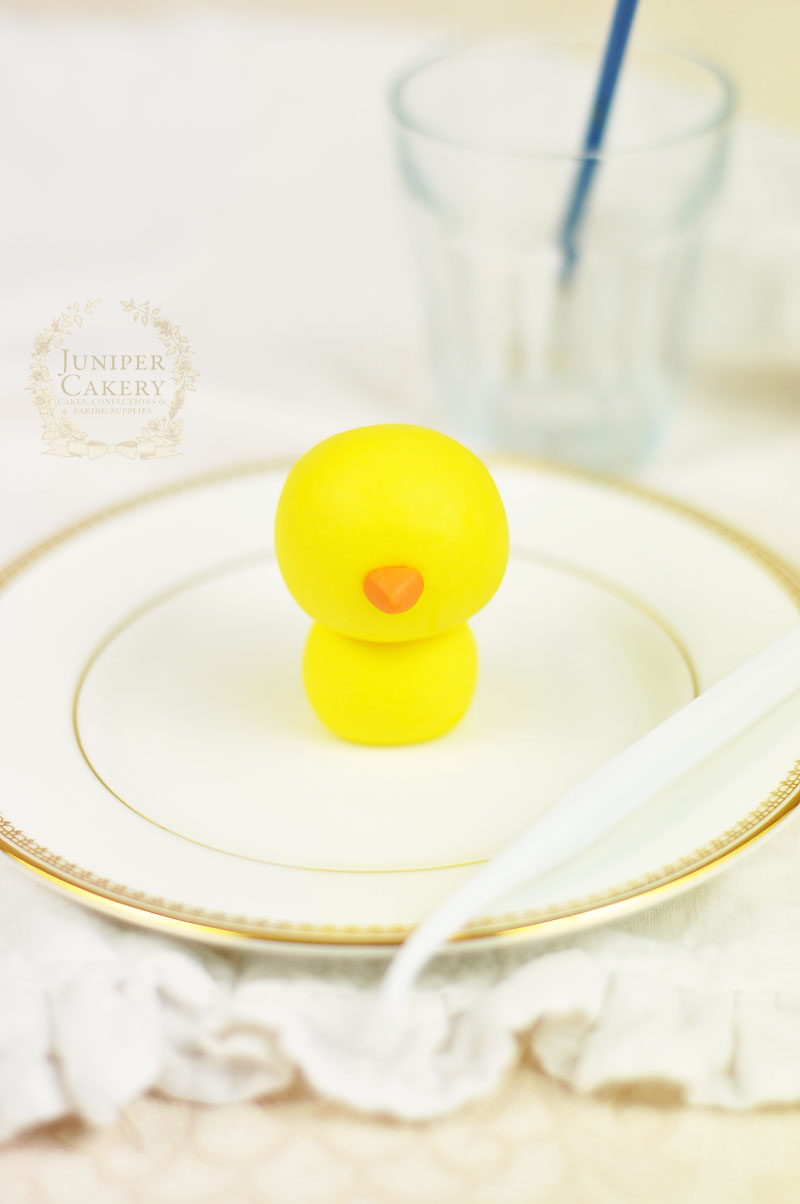
For the beak take a small ball of orange fondant and mould into a rounded triangular shape. Attach in the centre with edible glue.

Gum paste chick tutorial by Juniper Cakery

Tutorial for a cute edible chick by Juniper Cakery

Step 6:
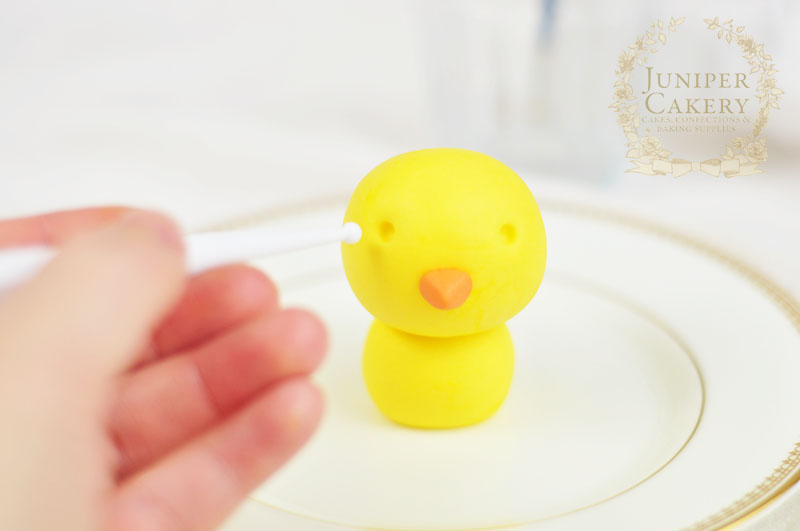
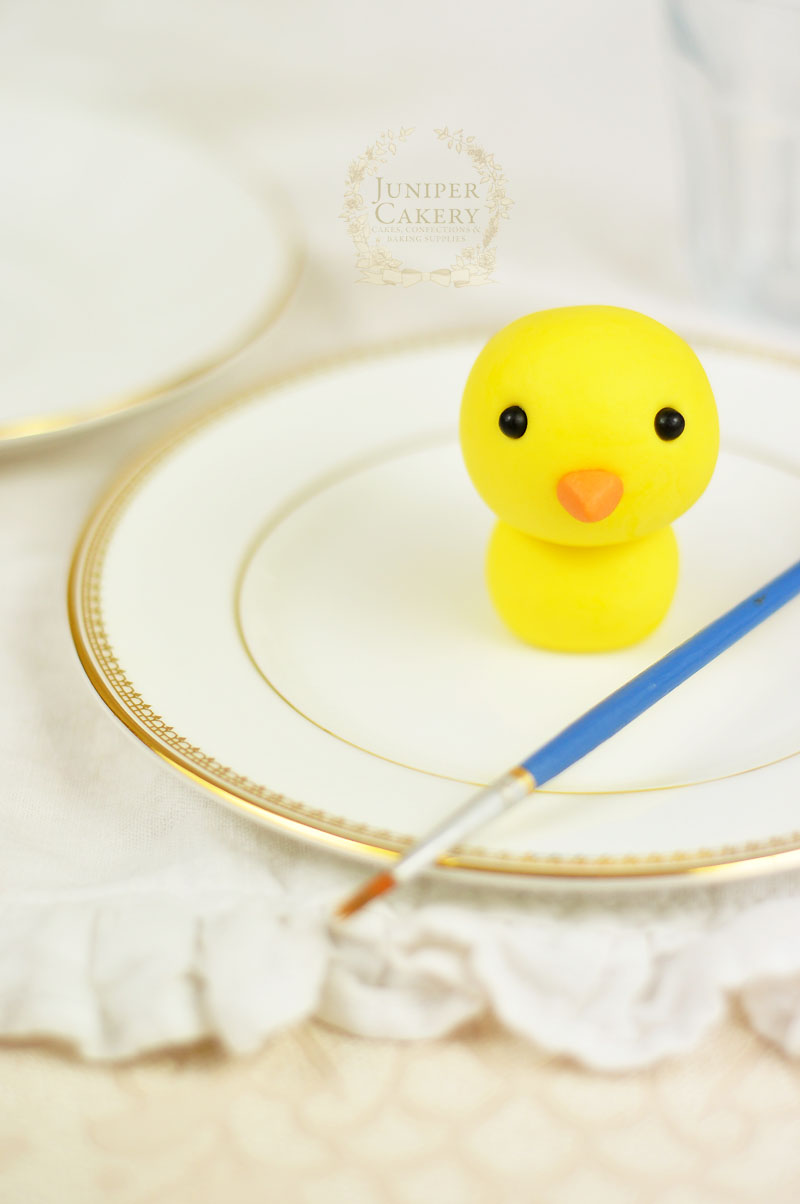
Indent two circles onto the head just higher than the middle of the ball to create the eye sockets. Attach the black fondant balls with edible glue.

Make a cute chick from fondant with this tutorial by Juniper Cakery

Easter fondant or gum paste chick birt tutorial by Juniper Cakery

Step 7:
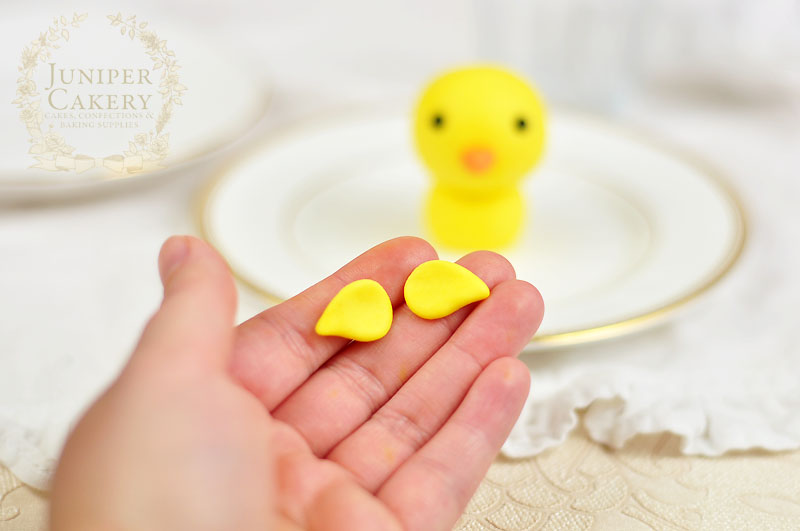
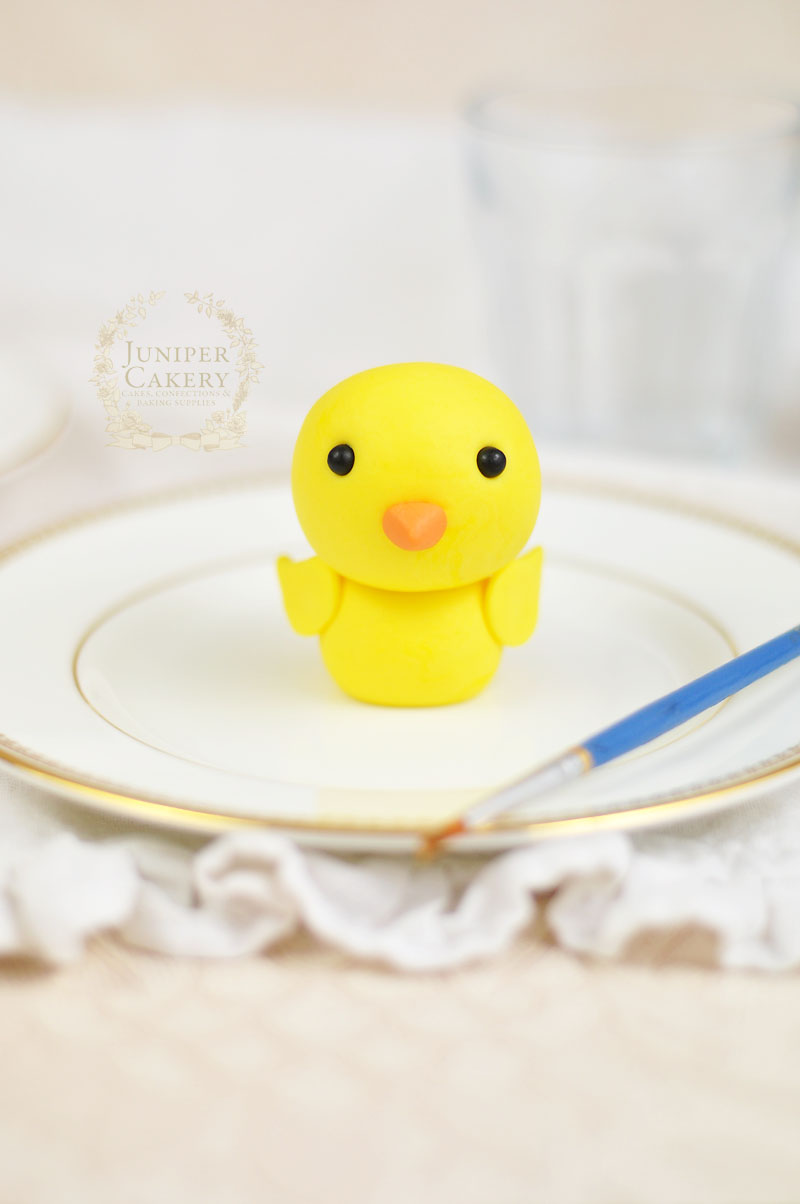
To add wings roll two equal sized balls of fondant a quarter of the size of the body. Flatten and smooth a little with your hands before pinching one side of each to form a tapered wing shape. Attach to the sides of the chick’s body with edible glue.

Step by step guide to making a fondant chick for Easter cupcakes by Juniper Cakery

Easter sugar paste chick tutorial by Juniper Cakery

Step 8:
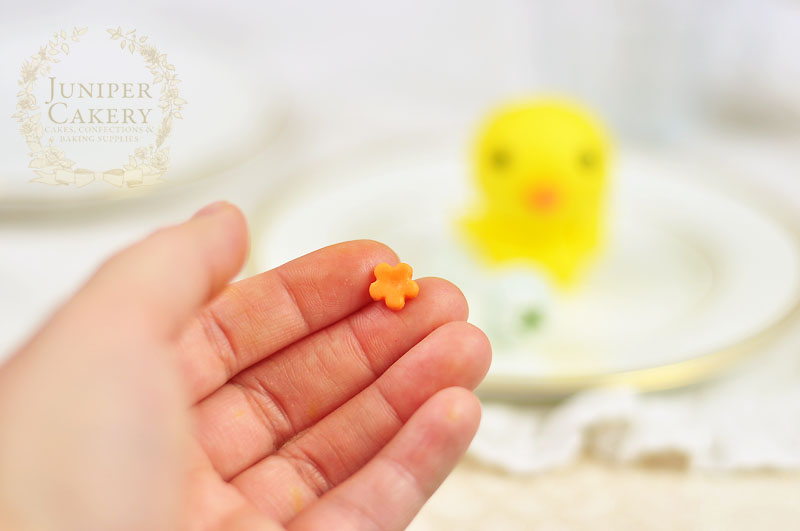
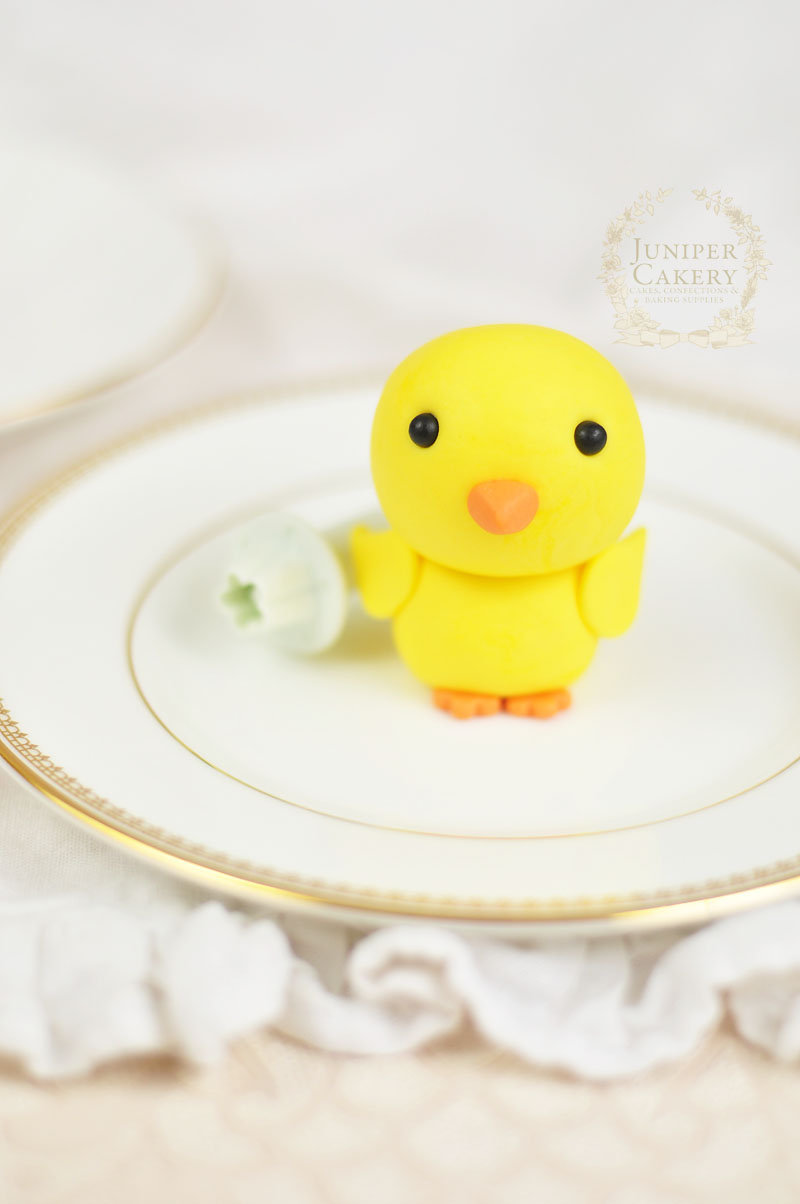
For cute tiny feet roll out some orange fondant to a thickness of around 4mm and cut two blossom shapes with a cutter of each chick. Attach to the bottom of the body with three scallops or petals of the blossom poking out from underneath.

Modelling paste Easter chick tutorial by Juniper Cakery

Step 9:
If you want to add a cute little tuft of feathers on the head create three tiny teardrop shapes of yellow fondant and attach to the top with a dab of edible glue.

Step 10:
Finally add some lovely flushed cheeks with a little pink petal dust!

How to create a gum paste chick for Easter cake decorating by Juniper Cakery

Fondant Easter chick tutorial by Juniper Cakery

You can easily customise your fondant chick to suit so many different themed cakes and treats. Add tiny baseball caps or flags for sports themed designs, attach a bold fondant letter to them to personalise a fun party cake for someone special or change the colours (like blue for a Twitter addict)! 


Hoppy Easter Cake Decorating: Chocolate Easter Egg Bark!

Decorating cakes doesn’t have to be hard. Sometimes simplicity and fun really helps (as well as knowing your limits). Our fabulously fuss-free chocolate Easter egg-inspired ‘bark’ is perfect for breaking up and using as gourmet style cupcake decorations and even better for adding a wonderfully dramatic effect to freshly buttercreamed cakes. 

Decorate cakes and cupcakes with this easy tutorial for Easter chocolate bark by Juniper Cakery

Tutorial for fun Easter chocolate bark by Juniper Cakery

Inspired by tempting hand-crafted Easter eggs that have been somewhat of a trend in the UK for a past few years our quick chocolate bark can be adjusted to suit any recipe or theme. We create bark for an array of bakery-style cakes we make such as peanut butter (with crushed Nutter Butter cookies and a dark chocolate drizzle) to lemon and white chocolate (with yellow tinted white chocolate drizzles and bright rainbow sprinkles) because it’s tasty, quick and eye-catching! Follow our tutorial below to make this impressive and edible cake and cupcake decor! 

Easy Easter chocolate bark tutorial by Juniper Cakery

How to make easy chocolate Easter egg bark!

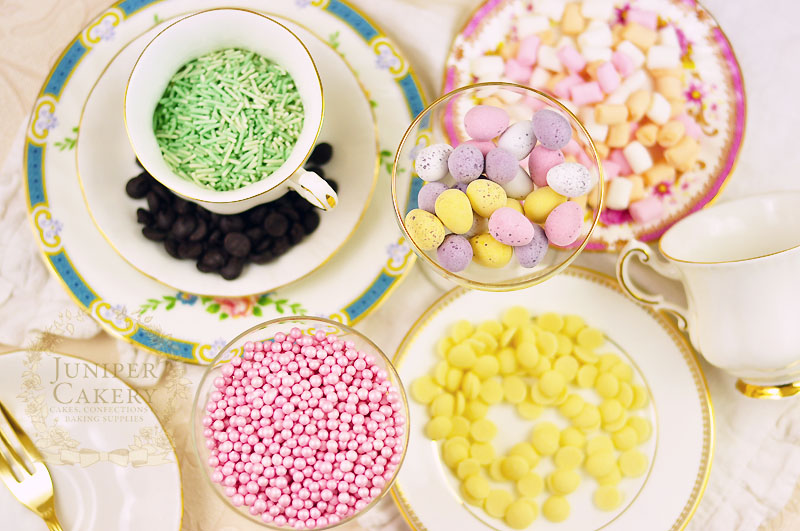
Materials and ingredients needed:

Melt good quality chocolate to make Easter egg bark

Step 1:
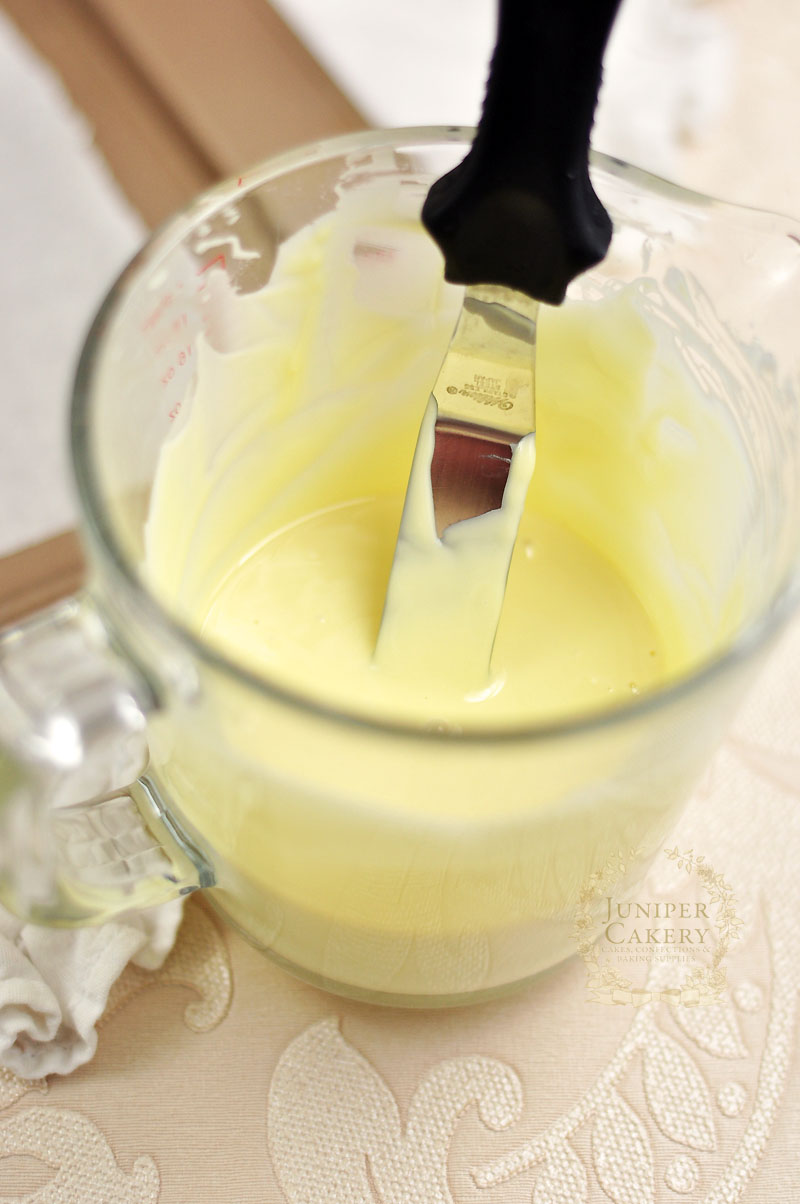
In a microwave use a glass microwavable jug to melt your chocolate buttons or chips. Heat them for around a minute BUT keep checking them every 10-15 seconds or so giving them a good stir with a metal palette knife each time until all buttons are melted.

How to whip up quick chocolate bark tutorial by Juniper Cakery

Step 2:
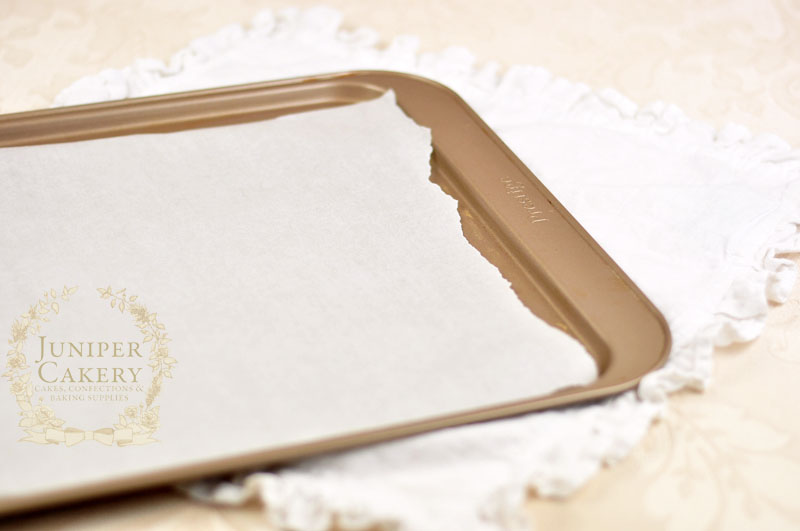
Line a flat baking tray with greaseproof paper and spread your melted chocolate thickly on top using the small angled palette knife.

Make Easter chocolate bark with fun sprinkles and candies

Tutorial for fun chocolate bark by Juniper Cakery

Step 3:
Now for the super fun part! Add sprinkles, crushed candies, cookie crumbs, tasty chocolate chips etc on top. To help seal these delicious toppings in use melted chocolate drizzles on top.

Create pretty chocolate bark with this handy tutorial by Juniper Cakery

Step 4:
Take your tray of tempting chocolate bark and place in the freezer for up to 30 mins to set fully. You can set your bark aside at room temperature for a few hours, but utilising a freezer helps speed up the wait a little.

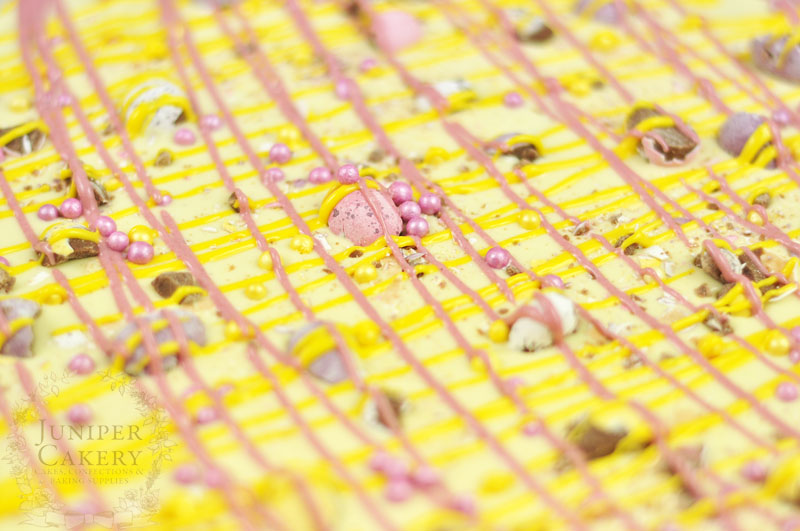
Pink and yellow mini egg chocolate bark by Juniper Cakery

Step 5:
Remove from the freezer and use your hands to break the slab of chocolate into large shards (to decorate smaller items such as slices of opera cake, buttercream piped cupcakes etc break into smaller pieces).

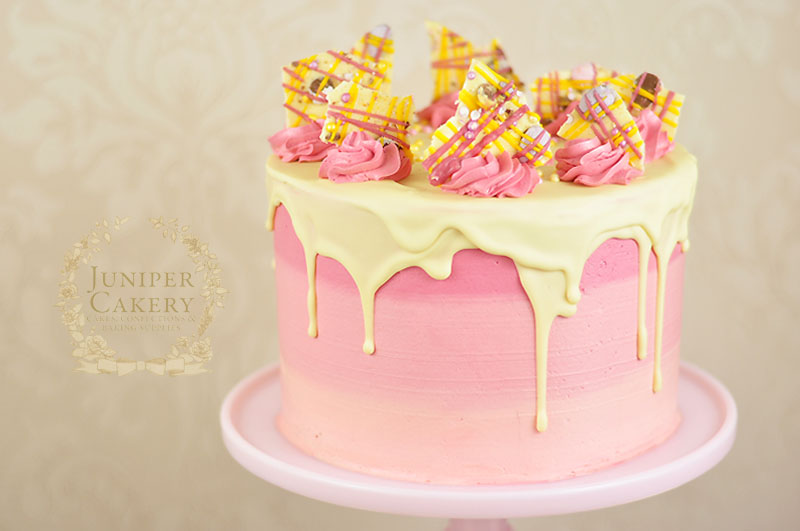
Strawberry milkshake birthday cake by Juniper Cakery

Step 6:
Now you can use the colourful pieces to adorn your freshly buttercreamed cakes and cupcakes!
Strawberry Milkshake Cake by Juniper Cakery

How to make simple Easter chocolate bark to decorate cakes and cupcakes with

Easy right? We bet you’re looking at one deliciously gorgeous cake right now. The best thing about creating chocolate bark and decorating with it is its adaptability. Its amazing to adjust and try out new sprinkles, sweets and chocolates for different occasions. We just can’t wait to make rocky road bark for chocolate fudge cakes or tasty s’mores inspired shards (mini marshmallows, chocolate pieces, graham crackers etc) for a toasted marshmallow and chocolate bakery cake!


Hoppy Easter Cake Decorating: How To Make a Simple Yet Sweet Bunny Rabbit!

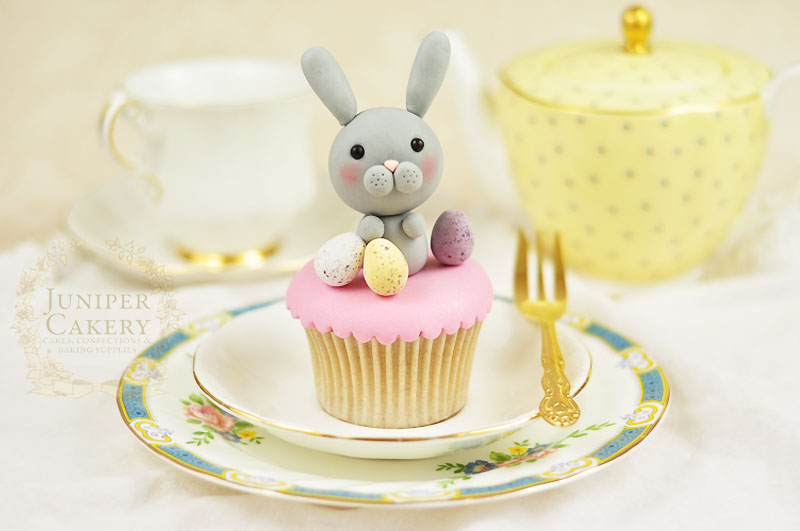
Yes, it’s that time again and with spring paving the way for all the wonderful pastel Easter festivities it’s time for us to unveil the very first of our Easter cake decorating tutorials; how to make a simple yet sweet bunny rabbit! This adorable edible bunny would be the perfect finish to any delicious cake or cupcake so read on for our step-by-step guide!

How to create a cute and easy fondant bunny…

How to make a cute and simple fondant bunny by Juniper Cakery

Step-by-step tutorial for a fondant rabbit by Juniper Cakery

Materials needed:

How to assemble and make an edible bunny cupcake topper by Juniper Cakery

Step 1:
Take a small ball of fondant around the size of a standard marble and roll into a ball before tapering slightly into a rounded teardrop shape.

Step by step tutorial for a fondant bunny by Juniper Cakery

Step 2:
Paint a broken spaghetti stick around 1cm longer than the body you created in step 1 with edible glue. Insert into the centre of the fondant bunny’s body. Above is a photo of the fondant or gum paste ball before and then with the spaghetti stick inserted.

Make a sweet gum paste rabbit with this tutorial from Juniper Cakery

Step 3:
Roll a larger ball of fondant approximately the size of a golf ball. 

Learn how to make a gum paste bunny rabbit with this tutorial by Juniper Cakery

Step 4:
Add edible glue to the exposed half of the spaghetti stick and attach the larger ball of fondant on top. This will be the head of your rabbit.

Create a cute sugarpaste bunny for Easter bakes with this tutorial from Juniper Cakery

Step 5:
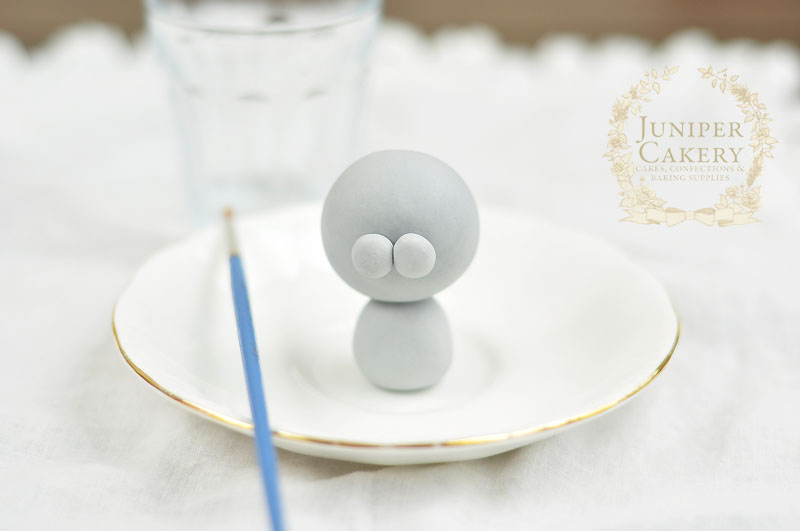
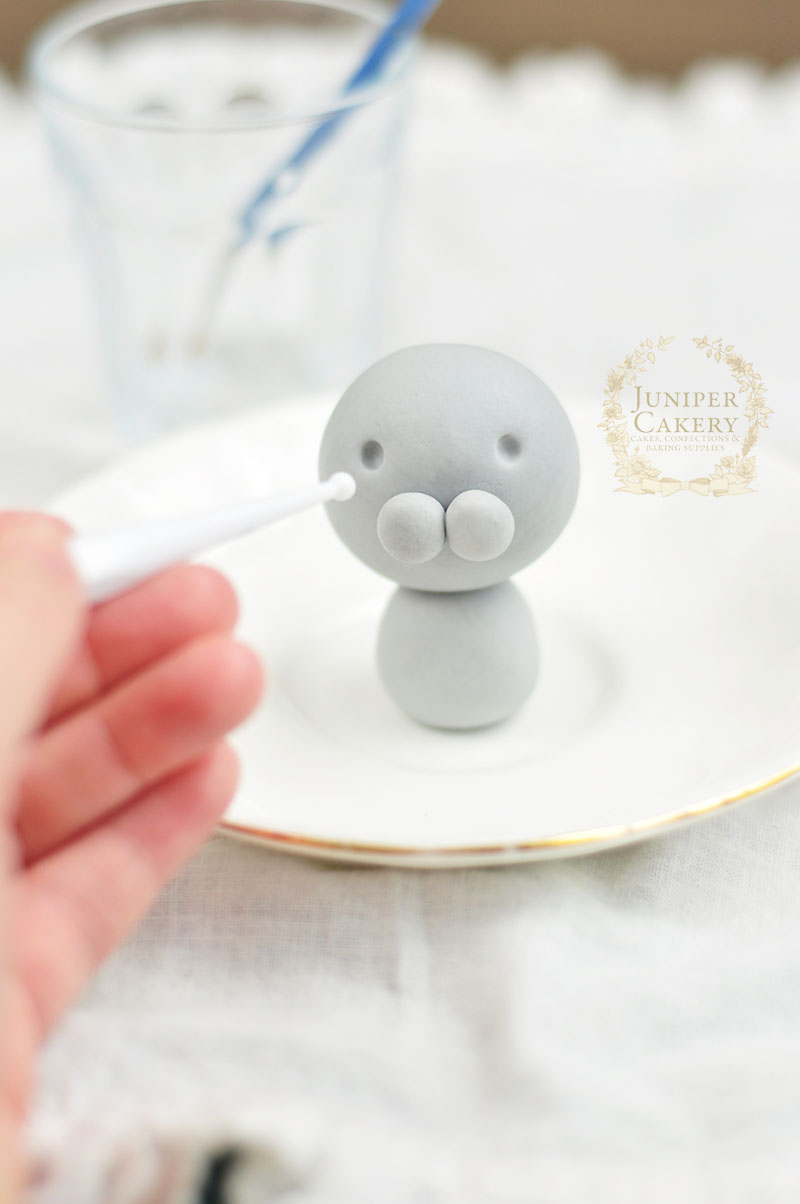
Create two tiny balls of fondant and attach midway up the head to create the muzzle. 

Easy tutorial for  bunny rabbit cupcake topper from Juniper Cakery

Edible gum paste rabbit tutorial by Juniper Cakery

Step 6:
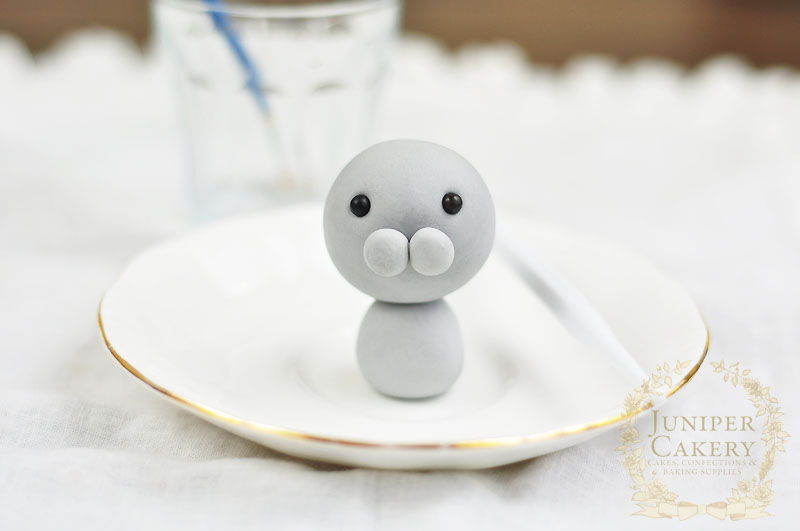
Using a small ball tool indent two eye sockets and attach your black fondant balls into these with a dab of edible glue.

How to make a lovely Easter bunny rabbit

Step 7:
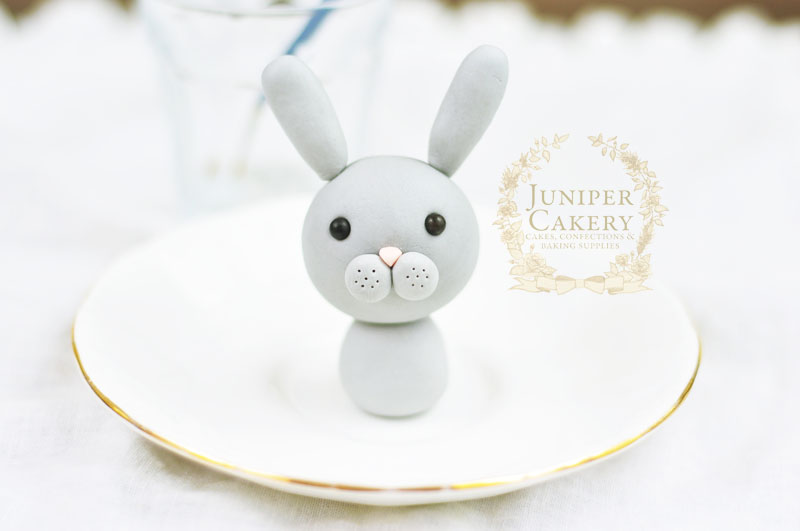
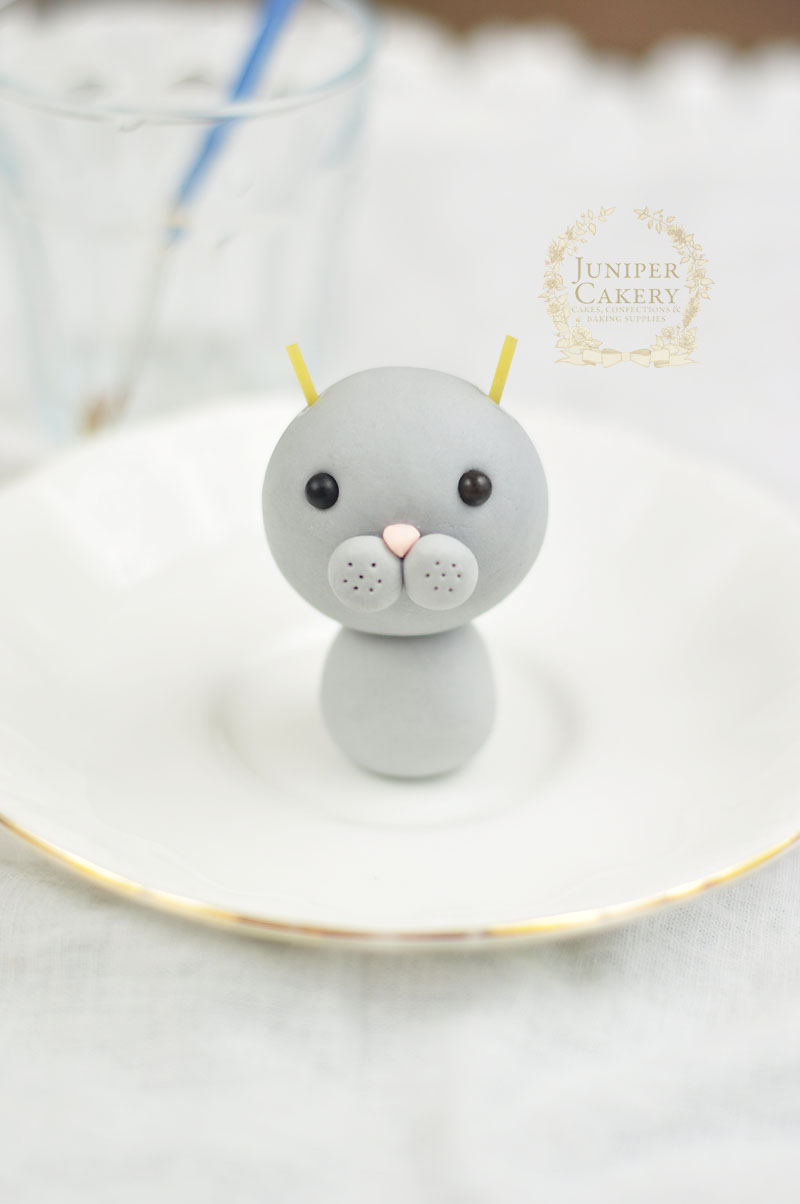
Add a tiny pink button nose with a small triangular shaped piece of pink fondant and some edible glue.

For Easter try this sweet tutorial for an edible bunny from Juniper Cakery

Step 8: 
Add detail to the muzzle with a scriber tool or even the pointed end of a cocktail stick!
Fondant or gum paste rabbit tutorial from Juniper Cakery

Step 9:
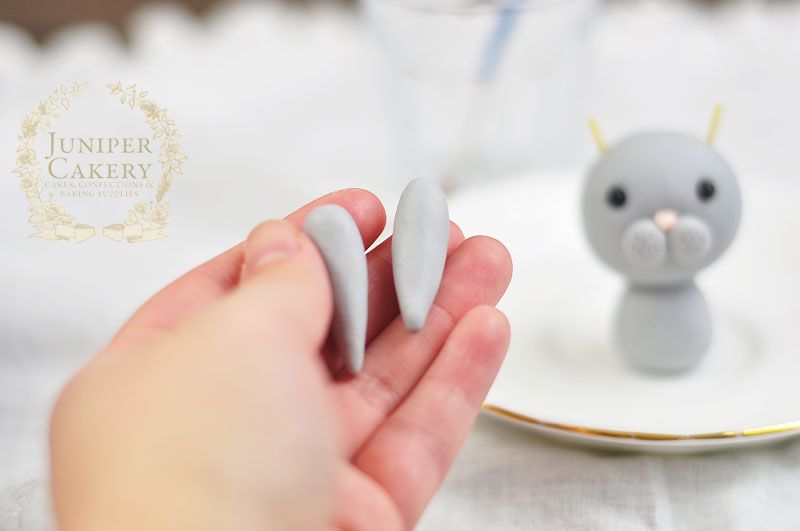
To add ears roll out two equal sized balls of fondant around the size of a small to medium bean before rolling lengthways to form long rounded teardrop shapes. 

How to make a bunny for cakes and cupcakes by Juniper Cakery

Step 10:
Insert two lengths of spaghetti sticks where you’d like the ears to sit. Make sure that each is the same length as the fondant ears. Paint these with a little edible glue.

Fondant bunny rabbit tutorial by Juniper Cakery

Step 11:
Carefully push each fondant ear onto the spaghetti and flatten slightly.

Adorable edible rabbit tutorial by Juniper Cakery

Step 12:
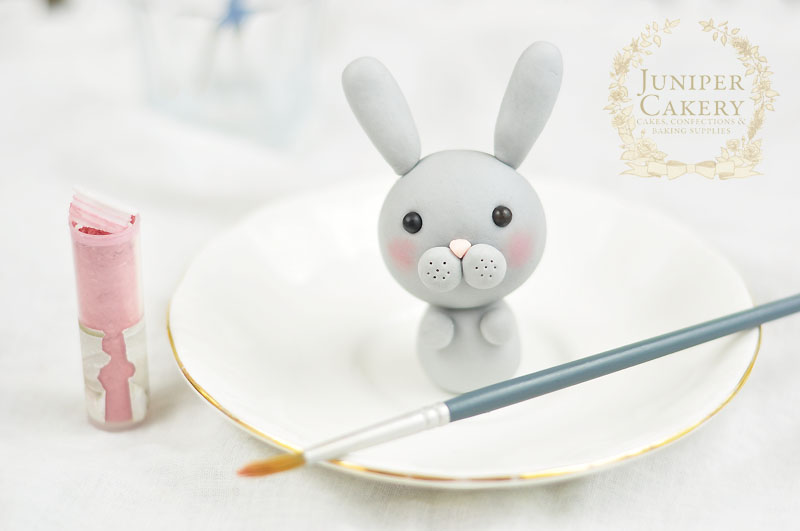
To create a cute bunny-like stance attach two small balls of fondant underneath it’s head. These will be adorable little paws perched just under the bunny’s face!

Made super cute bunny rabbits for Easter cakes with this tutorial from Juniper Cakery

Step 13:
Add some flushed cheeks to your bunny with some edible petal dust.

Adorable fondant bunny cupcake by Juniper Cakery

Create a cute gum paste edible Easter bunny with this tutorial from Juniper Cakery

If you’ve followed our tutorial step by step then you should now be faced with one wonderfully sweet little bunny ready to nestle into a freshly buttercream cupcake or attach on top of an iced cake; ready just in time for a fun Easter party!


Our Bakery Cakes!
Bakery style cakes are fabulous. They’re fun, bright, and come in a variety of mouth-watering flavours. That’s why we’ve whipped up a small collection of bakery-style cakes perfect for the Easter festivities available for order and pick-up in the Kingston-upon-Hull area!
Our prices begin at just £10 for a small bakery style cake and can be customised further with different colour palettes and added messages too! If you’d love to order one, but had your heart set on a different flavour just get in contact with us and we’ll do our best to help. Email us or inbox us via Facebook to enquire.

Our bakery cakes in Kington-upon-Hull area…

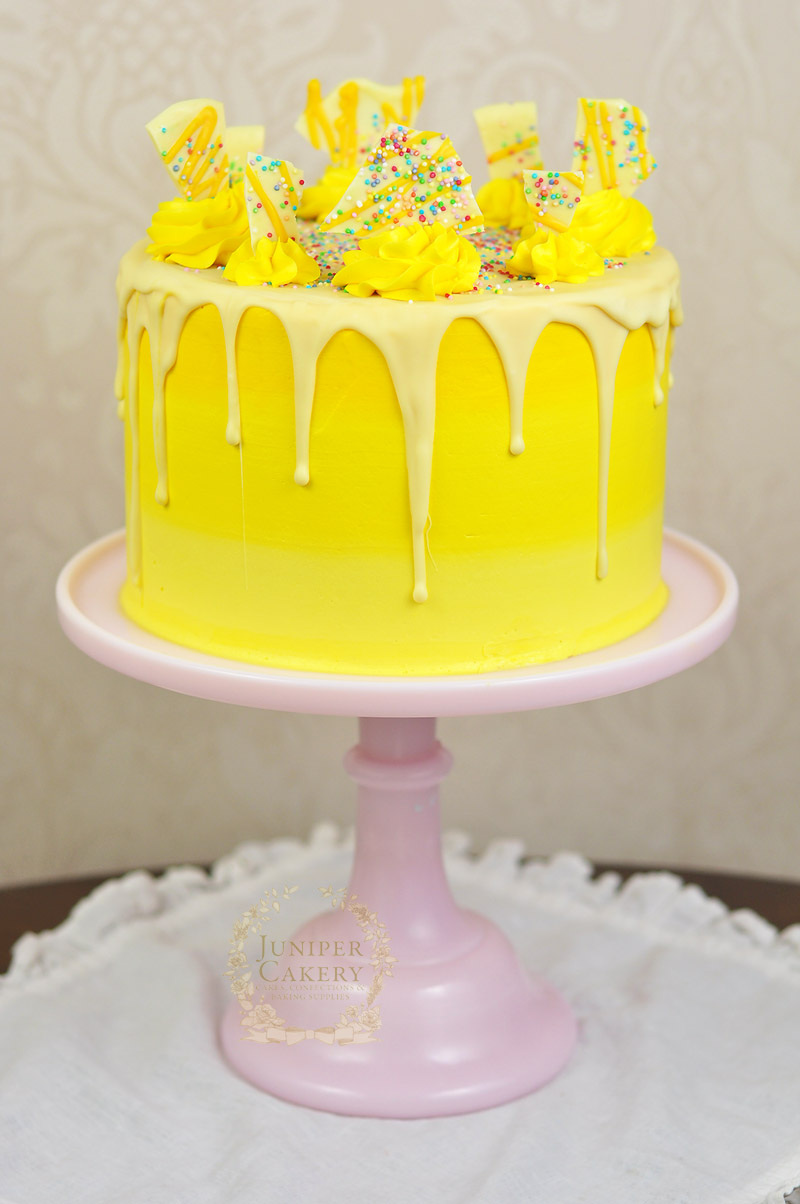
Lemon ombré bakery style cake by Juniper Cakery

White chocolate and lemon cake by Juniper Cakery

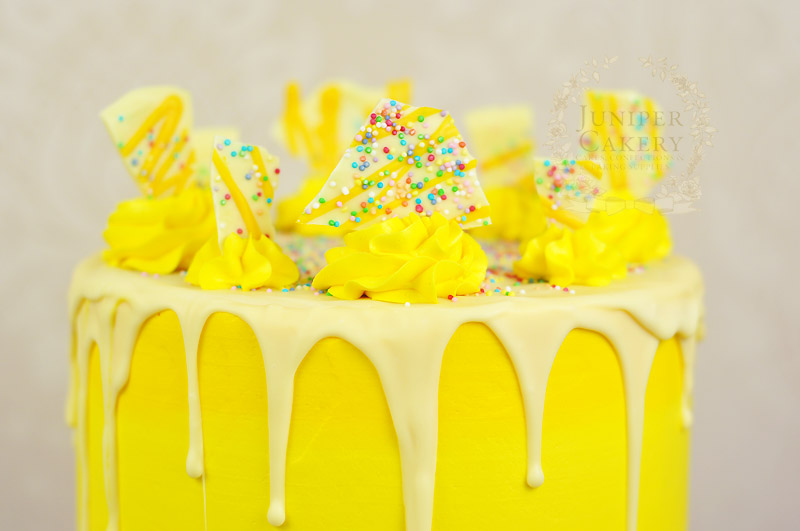
Lemon ombré with white chocolate and Easter egg inspired ‘bark’

Wonderfully fresh tasting lemon cakes are always a crowd pleaser at a party or around a dinner table. Our lemon and white chocolate bakery cake is created using the finest Sicilian lemon oil along with Belgian white chocolate. We decorated ours with rainbow nonpareil sprinkles, but you can customise your cake with stars, hearts, edible pearls or even a personalised message! Why not email us or inbox us via Facebook for more info!

Soft vanilla cake filled with fresh lemon curd and Sicilian lemon oil infused buttercream, smoothed with chic ombré lemon buttercream, drizzled with white chocolate, sprinkled with rainbow nonpareils, piped with lemon buttercream and finished with white chocolate, lemon drizzle and sprinkle ‘bark’

Decorate cakes and cupcakes with this easy tutorial for Easter chocolate bark by Juniper Cakery

How to make simple Easter chocolate bark to decorate cakes and cupcakes with

Strawberry milkshake ombré with white chocolate and mini egg ‘bark’

Our Strawberry milkshake flavour was inspired by both a fabulous 1950s style diner we visited in Dublin and Felicity’s childhood spent in the Californian sun (where weekends involved drives around San Francisco with carousels, Arby’s Roast Beef sandwiches and malted strawberry shakes and rainbow sherbet ice cream). It’s an incredibly fragrant cake too and is the perfect mix of fun and fancy! For Easter we’ve adorned the Strawberry Milkshake cake with crumbled mini egg chocolate shards, but of course you could add fresh strawberries on top of each buttercream swirl or even a sweet hand-painted message! Email us or inbox us via Facebook for to enquire!

Soft vanilla cake filled with strawberry preserve and strawberry milkshake (strawberry with Madagascan vanilla and Belgian white chocolate) buttercream, smoothed with an ombré effect, drizzled with white chocolate, sprinkled with bright sugar pearls, piped with strawberry milkshake buttercream and finished with white chocolate and mini egg ‘bark’

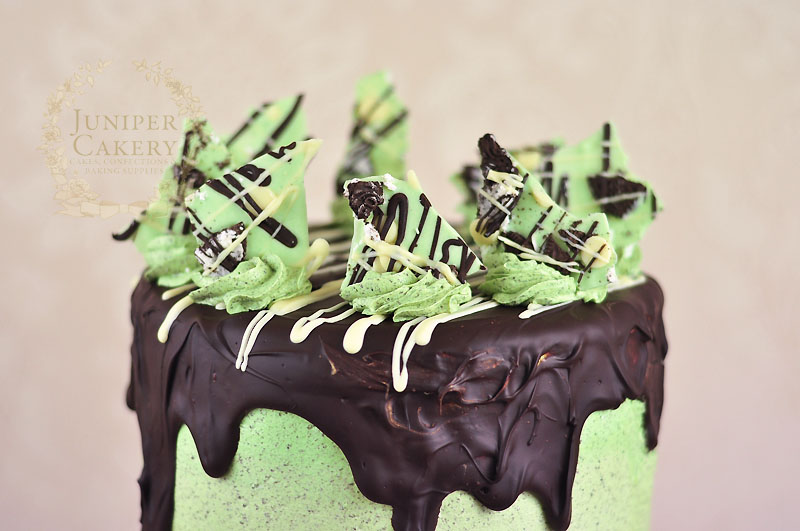
Peppermint Oreo Cake by Juniper Cakery

Peppermint and Cookies n Cream Cake by Juniper Cakery 

Peppermint cookies ‘n’ cream ombré with a dark chocolate drizzle and crushed Oreo ‘bark’

Inspired by both our love for anything Cookies ‘n’ Cream flavoured and fresh Mint Choc Chip ice cream this lovely cake is perfect for any chocoholic who also loves a little twist. We automatically adorn our bakery cakes with our made to order chocolate ‘bark’ or shards, however, you can opt for Oreo cookie on each swirl of buttercream and perhaps include a short message or name on a hand-painted custom plaque too!

Soft chocolate cake filled with peppermint and Oreo cookie buttercream, decorated with an ombré stripe effect, drizzled with dark and white chocolate, piped with more fragrant peppermint Oreo buttercream and finished with  a cookie crumb ‘bark’

Our bakery style cakes are perfect for anyone who needs a cake in a few days, who doesn’t like fondant or sugar paste icing or who simply just wants something fun and delicious!


‘Converse’ High-Tops Baby Shower Cake!

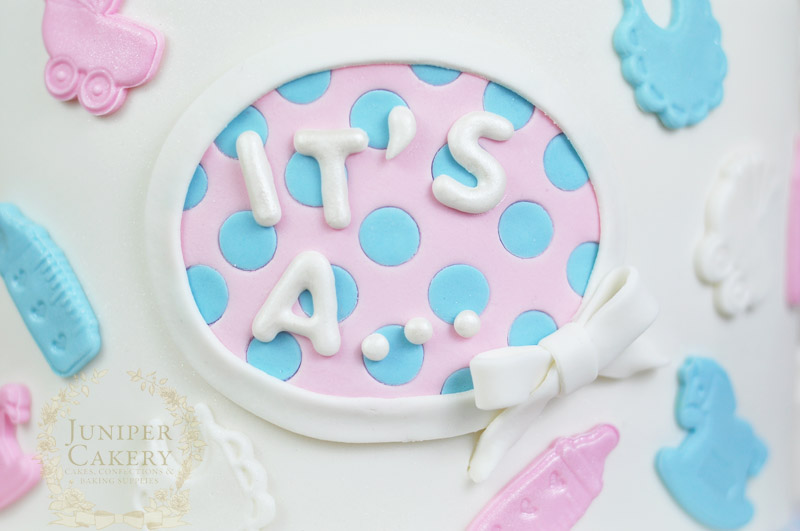
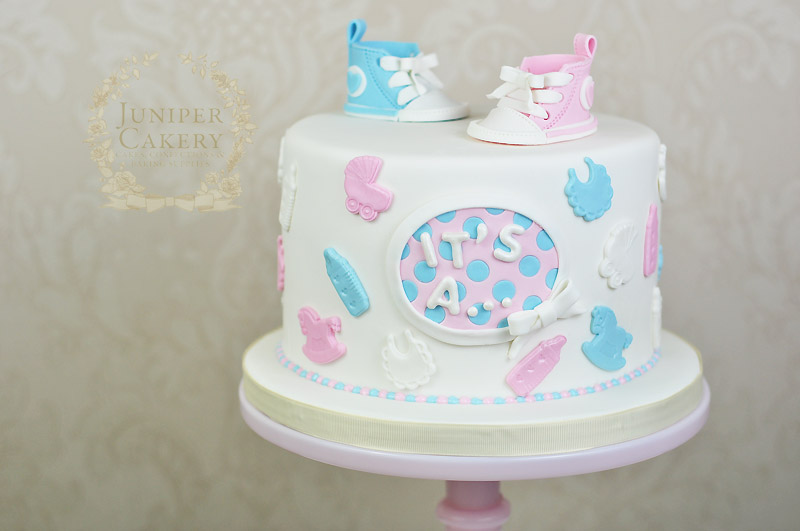
We had been wanting to create some cute little edible ‘Converse’ high-tops for a while now. We’d almost forgotten about this before we received a request for a lovely baby shower cake! For this cake there’s a definite concentration on various baby paraphernalia and pink and blue colours combined with crisp clean white.

Converse baby cake by Juniper Cakery

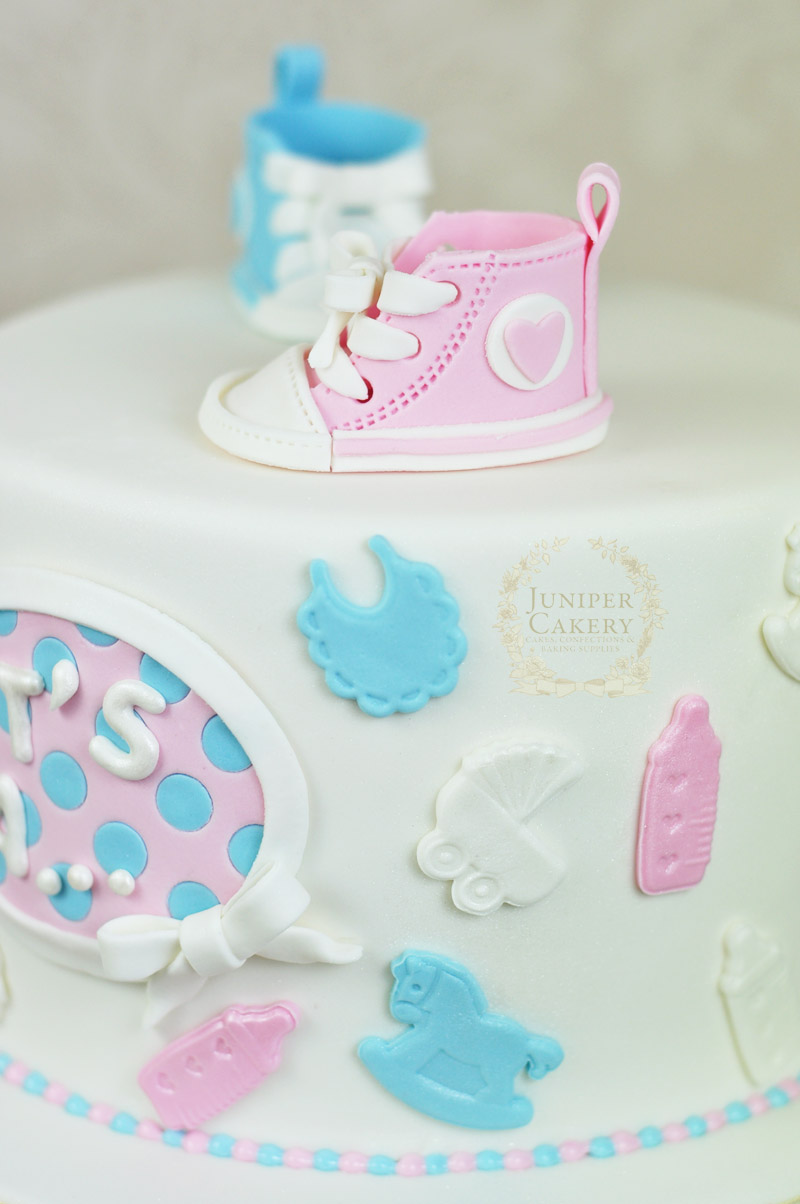
When the customer contacted us they weren’t too sure what design they’d like so we sent through a few ideas including one idea that held the possibility of tiny gum paste high-top shoes. After choosing which style and asking for a few custom changes (like the fun pink, white and blue bibs, bottles, prams and rocking horses dotted around the cake) we then quickly sketched out the cake and refined the design. We decided on a pale pink and blue colour palette and added in the tiny pink and blue royal icing pearl border, polka dot plaque and the adorable idea of trimming the plaque with a fondant shoe lace design!

The cake itself is Madagascan vanilla with strawberry seedless preserve, silky Madagascan vanilla buttercream and wonderfully fragrant Satin Ice fondant! 

Baby shower cake detail by Juniper Cakery

To create the fun message we used this fun silicone mould that we stock in our e-store by Katy Sue Designs. It’s perfect for playful cakes especially kids’ birthday cakes, baby shower creations or themed treats. We love the bold rounded corners of the letters and numbers.

Cake with gum paste Converse shoes by Juniper Cakery

To create the tiny ‘Converse’ shoes we first sketched out a rough template on greaseproof paper before taping the pieces together to check measurements and trimming off or re-sizing any off sizes. We then rolled out some gum paste and began using our template to cut each piece. For a single shoe we used a sole, a tongue and toe section, a heel and sides piece than then wrapped around to the front, a strip to fashion into the loop at the back, a white half circle for the toe cover and small strips for the laces and thin panels around the base of the shoe. Detail was added with a quilting tool to add a stitch effect, small rounded piping tip for the shoelace holes and a large round piping tip and heart cutter for the ‘logo’.

Baby shower cake by Juniper Cakery

Converse themed baby shower cake by Juniper Cakery

Assembling and adding all of the pre-made decorations  to a cake is always fun and it’s incredible feeling to see all that hard work finally coming together in front of your eyes. Even though we prepare pieces a day or two in advance we bake and stack all our cakes as close to the collection date as possible to ensure freshness so we don’t get to spend to long admiring our work! A few hours later any finished creation gets picked up and taken away to be devoured and enjoyed!


Adorably Sweet Kitten Themed Cake!

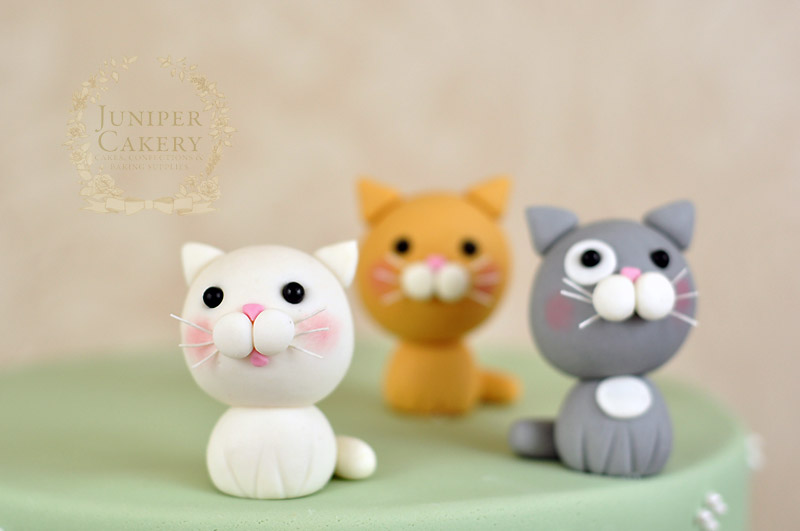
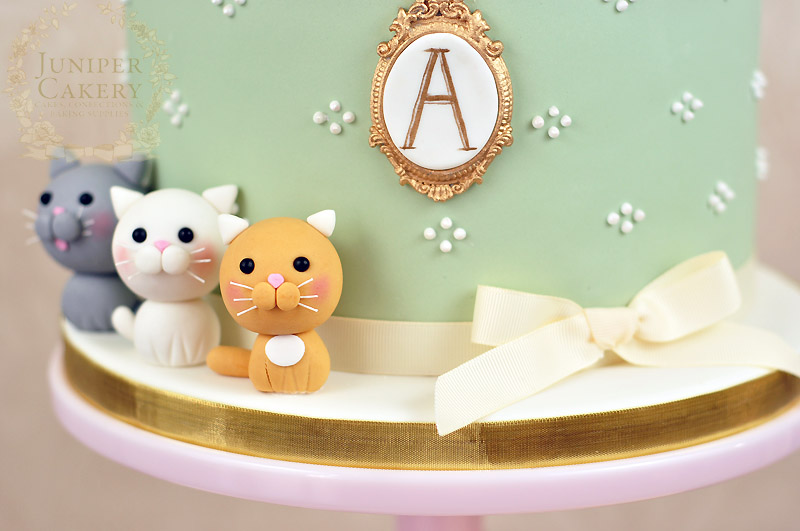
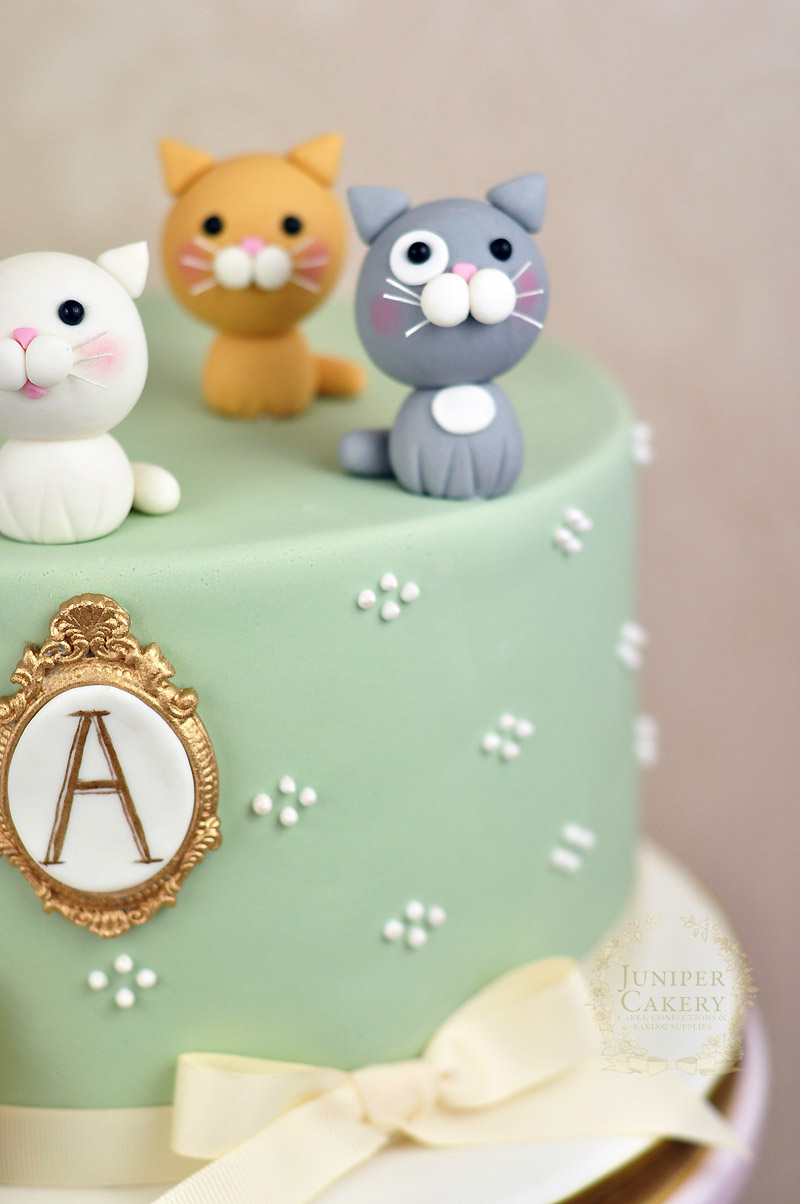
One of our more quirky requests for a Mother’s Day cake this year called for a “vintage looking single tier with lots of cartoon-like kittens”. This sweet kitten themed cake ended up being one of the most fun designs we created recently. We loved making the little chorus (or kindle) of white, grey and ginger kittens ready to perch on top of a lovely pale green cake.

Kitten themed cake by Juniper Cakery

The cake itself was double Belgian chocolate; one of our most requested cake flavours. It’s a lovely soft Belgian chocolate cake filled and crumb coated with silky Belgian chocolate buttercream! The wonderfully tempting smell sure did fill the kitchen and studio a treat! It was then iced with hand-tinted pale shade of juniper green before we added the sweet vintage-inspired royal icing swiss dots around the sides.

Edible fondant kittens by Juniper Cakery

Adorably sweet kitten themed cake by Juniper Cakery

As for the edible kittens, we created each one with a large ball of gum paste for the head and a smaller more tapered shape for the body before details like the indented floral wire whiskers and blossom dust blushed cheeks were added. These feline friends were prepared a day in advance to allow them to set before we got to arrange them on the cake and decorated board!

Kitten and cat inspired cake by Juniper Cakery

Cake with gum paste kittens by Juniper Cakery

A monogram feature was requested at a later stage  which we thought was a fabulous idea. It’s a great way to personalise a cake whilst being elegant. We proposed hand painting the ‘A’ in gold and nestling the fondant ‘cabochon’ inside a ornate gilded fondant frame. We thought that including a touch of gold would help bring the monogram feature a little focus of its own!

Cute kitten themed cake with monogram by Juniper Cakery

Whilst this was a fairly simple cake it’s made that little bit more chic with the vintage styling and adorably cute kitten theme. The little figures add height and dimension to a single tier; plus including quite a few of the characters is a little less static than just one lonely figure placed in the centre. 

Creating and assembling the kittens did give a fair few ideas of costumed cat cakes… Walking Dead kittens with Daryl’s somewhat emo hair or Michonne and her sword perhaps? Possibly even a crazy Twin Peaks cat themed design; que the red check lumberjack shirts, Nadine’s eye patch and of course…log lady too! It may be good that we’re too busy to re-create these ideas for ourselves.


Peony Ruffle Wedding Cake with Gold Sequins!

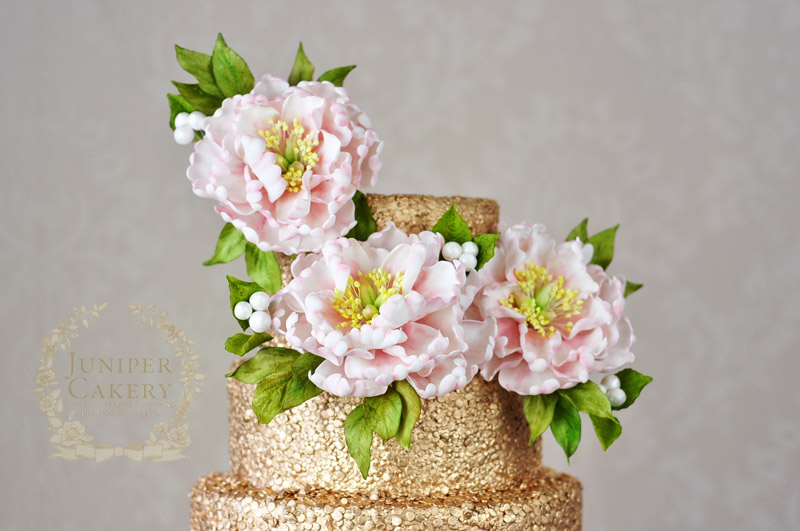
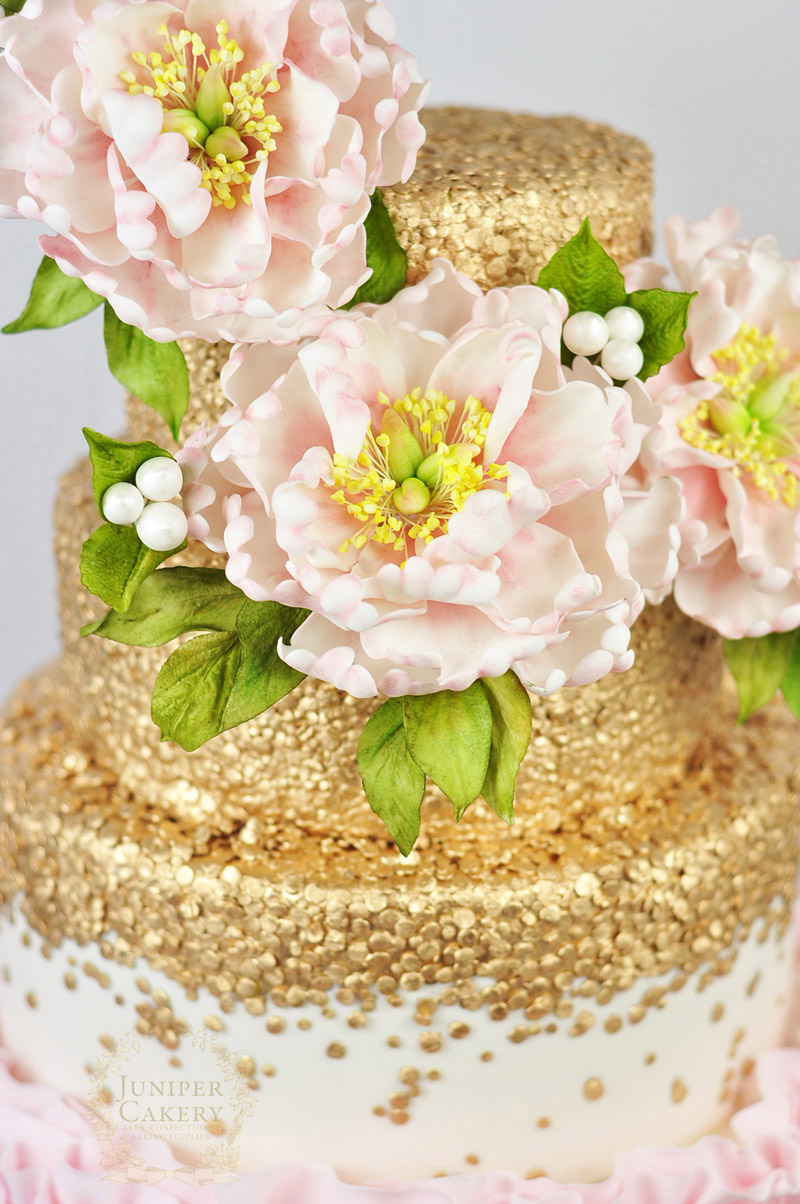
We get excited about all of the cakes we get asked to create, but every so often there’s a cake that comes along that we just can’t get enough off. This wonderfully decadent peony ruffle wedding cake is one of those cakes. It incorporates nature (and lots of lovely green sugar leaves), glistening gold painted edible sequins, textured ruffles and a bit of a carefree feel too!

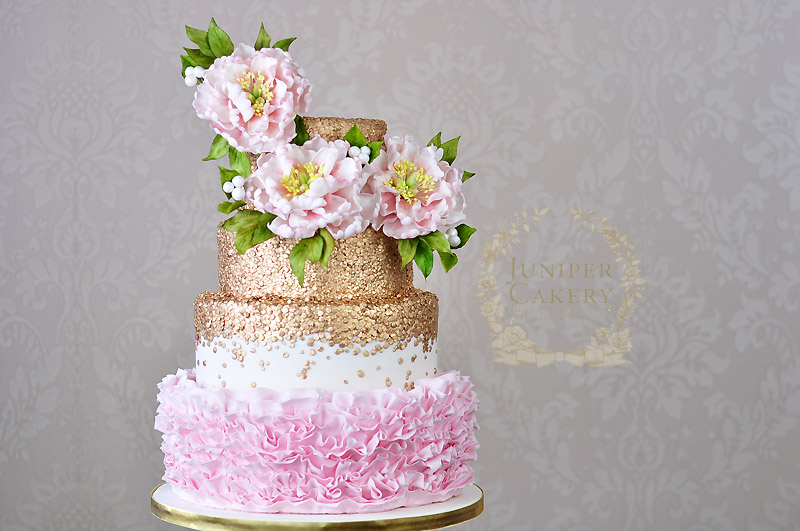
Gold sequin and pink ruffle peony wedding cake by Juniper Cakery

For this cake the couple weren’t too sure of what they wanted. They knew they’d like a bright and glamorous look with gold sequins to match their venue’s golden table runners and had spotted the trend of gold painted sequin cakes bursting out of the pages of Pinterest. In terms of wedding theme they had opted for a minimal white and gold look with pale floral centerpieces filled with water and gold confetti to tie everything together.

At the consultation we took note of their colour palette and made a few quick sketches and suggestions before a few final details were settled upon fairly quickly. They decided upon a four tiered circle cake with gold sequins and a pale blush pink and white sugar floral bouquet on top. With these ideas in mind we sketched more ideas afterwards and sent them to the couple who quickly picked out the peony ruffled cake with toppled gold sequins and simple yet large open peony arrangement!

Pretty peony wedding cake by Juniper Cakery

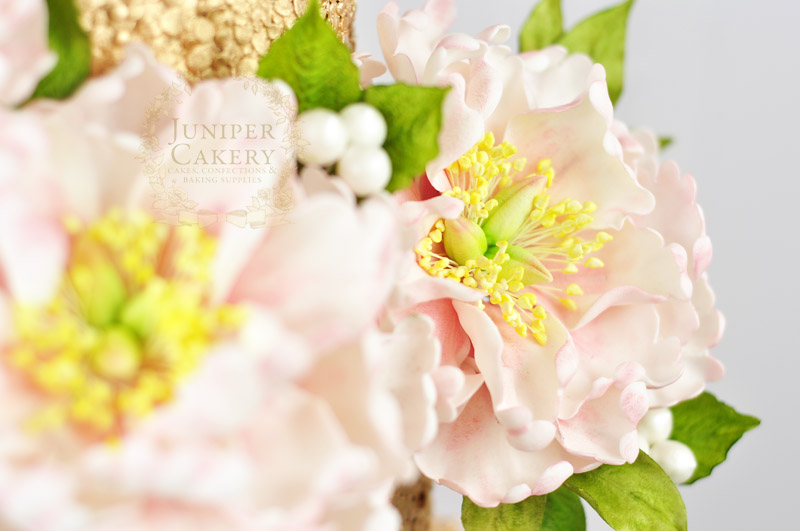
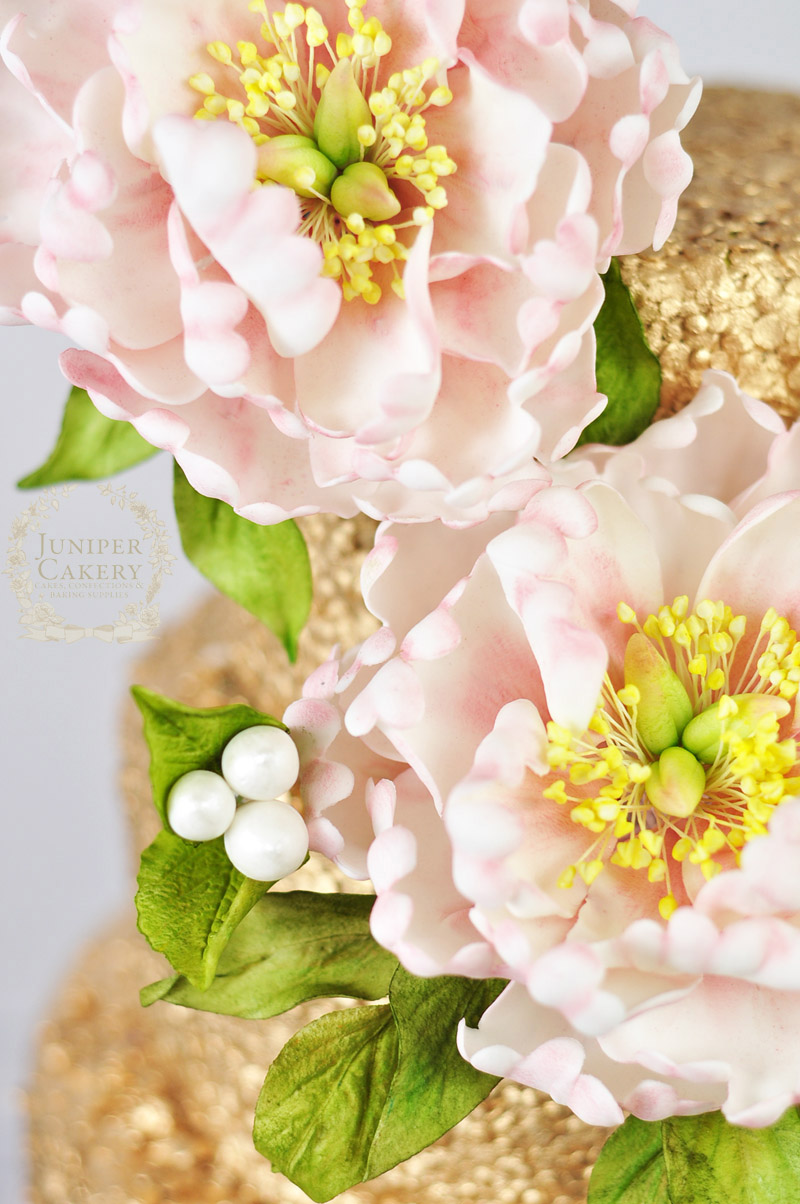
To make the wired open peonies we began with gum paste pistils with a full arrangement of dusted medium sized stamens before creating a total of 60 ruffled sugar petals (20 petals per flower) that would surround the centres. For peony leaves we like to create several long slender pieces that get grouped into threes and taped together before they then are attached to the base of the flower so that the natural greens poke out from underneath each bloom.

Peony Ruffle Wedding Cake florals by Juniper Cakery

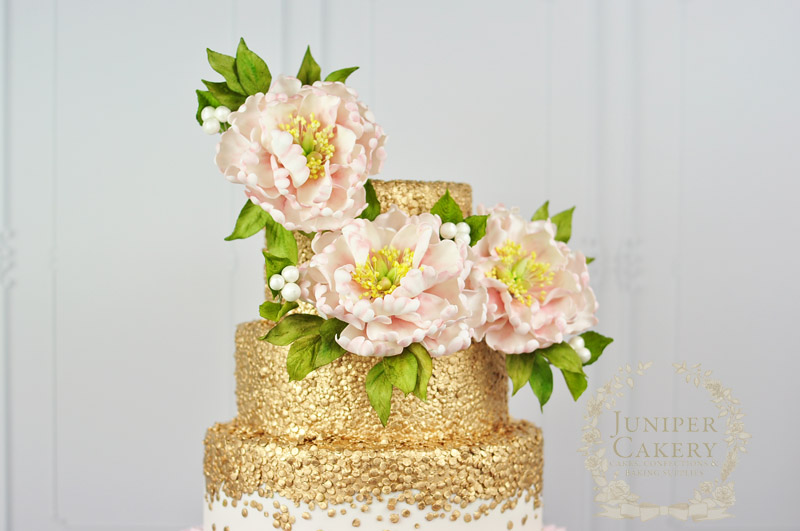
Our design for the floral cake topper focused on a lovely crescent formation. It helps that there is two of us as this part involves a lot of holding bundles of sugar flowers in position and standing back a good few metres to judge if it’ll work or not. One of our favourite things to do when arranging sugar flowers on a cake is to extend the bouquet out a little further using leaves, blossoms or berries. This helps create a sense of drama and also makes the end design look a little gravity defying!

Luxurious pink and gold peony wedding cake by Juniper Cakery

Simple white frosted berries with moss green and terracotta dusted sugar blackberry leaves were added to incorporate a little interest as well as to extend the arrangement and fill in some gaps.

Creating and utilising gum paste or modelling paste berries is one of our most favourite design elements to include on our cakes. We absolutely love nature; so much so that we named our bakery after our favourite berry. Krystle, in fact, was considering studying Forestry at university before heading off into the wilderness of Canada to live in a log cabin surrounded by herbs, mushrooms and moose.

Gilded sequin wedding cake with sugar peonies by Juniper Cakery

Lovely sweet peony wedding cake by Juniper Cakery

To balance out the bottom half of the cake with the voluminous florals we created a wonderfully carefree toppled gold sequin effect that revealed a traditional white wedding cake tier before the tier below bursts into pretty blush pink fondant ruffles! Adding edible frills to a cake not only incorporates wonderful texture, but helps make the design look fuller and grander. It’s perfect for small and large cakes too.

Pretty peony wedding cake by Juniper Cakery

What a delight this wedding cake was for us to design and create! We do admit that we wish it was still in our studio so we could still admire it.  


Vintage Prom Dress Bridal Shower Cookies!

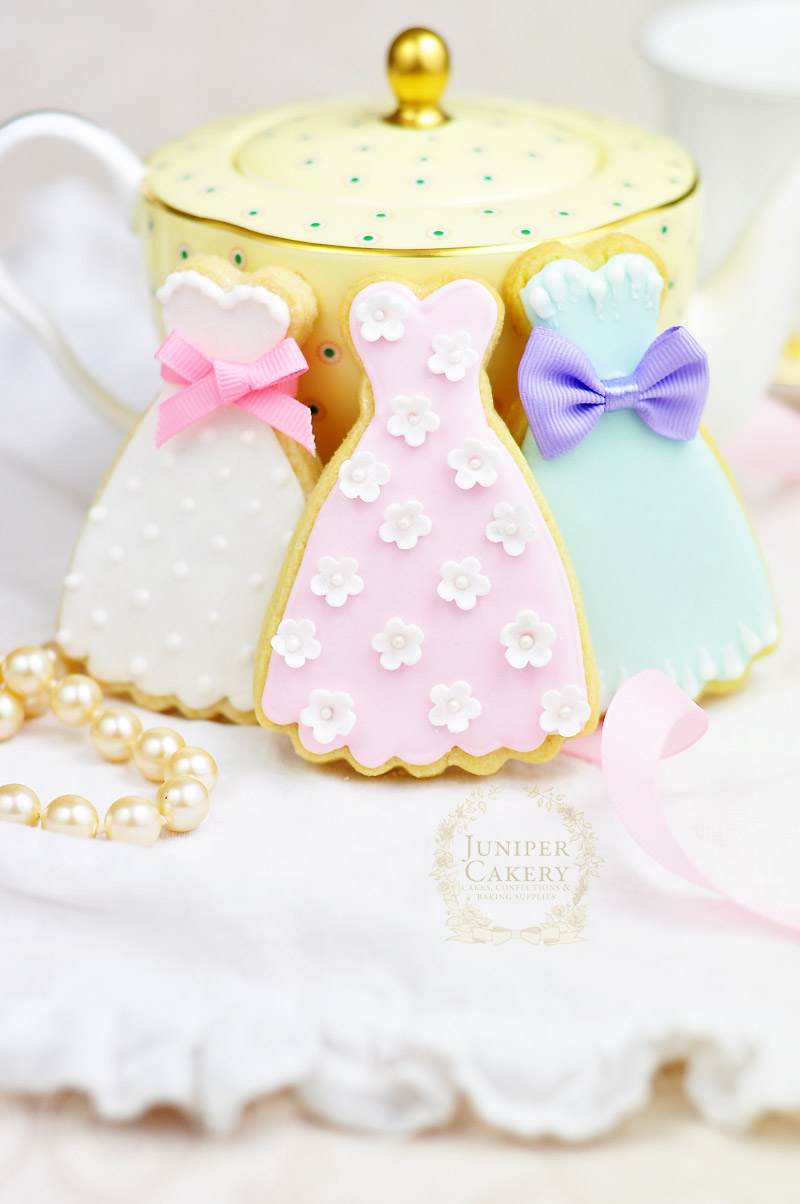
Here are some vintage prom dress bridal shower cookies we created recently. We were asked to create some spring and early 1960s-inspired sugar cookies perfect for a vintage prom themed bridal shower and these lovely treats were the result. 

Bridal Shower Cookies by Juniper Cakery

The client wanted bright pastels and some fashion details included on each cookie along with three different designs to represent the two bridesmaids and the one bride. One of the first decisions was to make each cookie a different colour instead of creating the same base colour but with different detailing. Looking at the customer’s inspiration board on Pinterest we selected a fresh scheme of pale pinks, white, lilac and a faded Tiffany blue - perfect for spring and the early 1960s!

Vintage prom dress bridal shower cookies by Juniper Cakery

Quick sketches were made of each dress with ideas and notes on textures, colours, materials and design elements. For the bridal dress we added simple royal icing swiss dots, a pearl border to trim the bust and a lovely pink grosgrain ribbon bow. Each of the bridesmaids dresses featuring a pale base colour in flooded royal icing. We added tiny blossoms to the pink that were delicately thinned given a little dimension before being finished with a small sugar pearl inside each. The pale Tiffany blue cookie had simple brush embroidery style teardrops trimming the bust and hem of the dress before being finished with a grosgrain lilac ribbon bow!


Baby Shower Carousel Cupcakes!

Sometimes a fabulous idea comes from something relatively simple and everyday… like retro style paper straws! We were recently asked to create some pink, white and gold carousel themed cupcakes for a sweet baby shower. Originally, the customer wanted some flat decorated cupcakes, but after testing out some ideas using pink and white striped party straws we proposed a rather cute carousel-inspired idea!

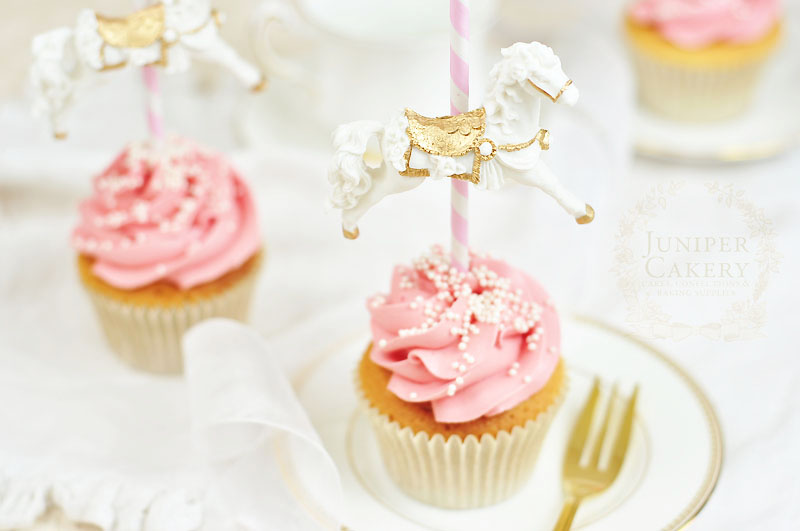
Baby shower cupcakes with carousel horses by Juniper Cakery

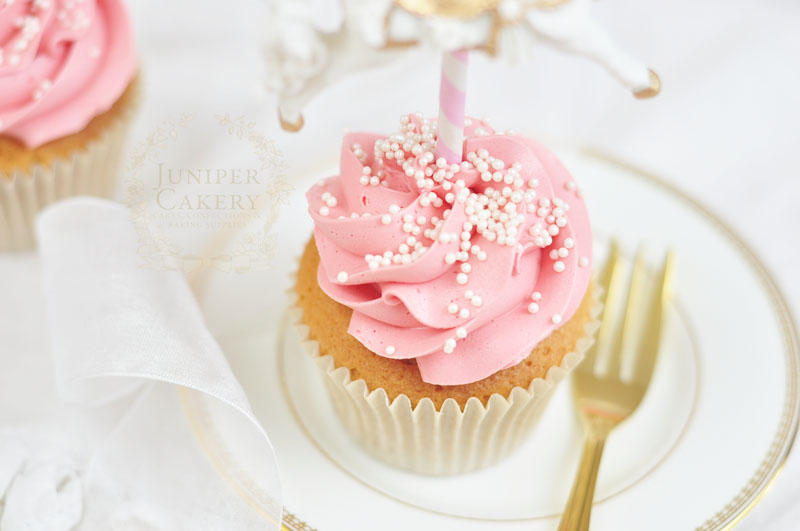
Each cupcake for the baby shower was our delightfully fragrant Strawberry Milkshake flavour - soft Madagascan vanilla cake topped with a soft pink swirl of Strawberry and vanilla infused buttercream! We sprinkled each with tiny sugar pearls before each treat was then transformed with pretty carousel horses!

Strawberry Milkshake Cupcake by Juniper Cakery

As the horses and their pink and white striped poles were the main focus we decided to keep the actual cupcakes simple and relatively unfussy. We swapped our usual plain round piping tip for a closed star tip to create the pretty ruffled effect. This added a lovely element of texture and softness to each.

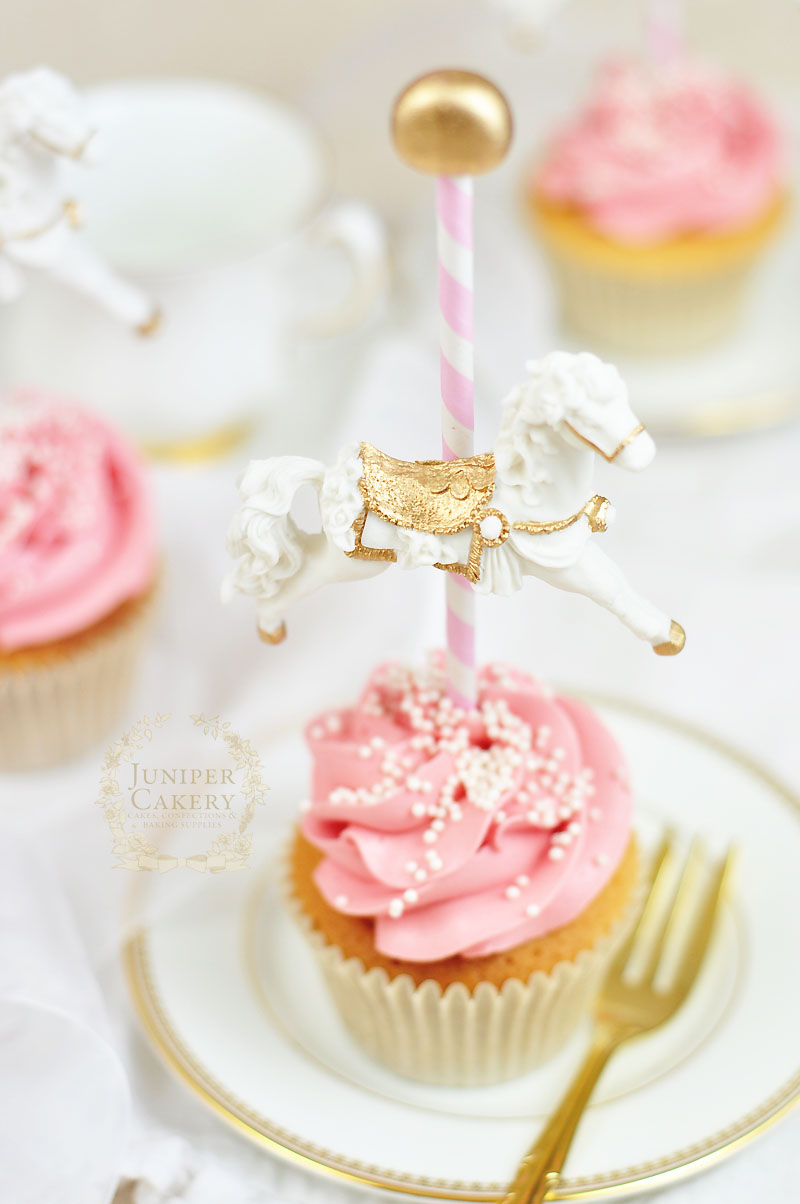
Strawberry carousel cupcake by Juniper Cakery

Carousel Cupcake by Juniper Cakery in Anlaby, Hull

Each carousel cupcake featured a galloping merry-go-round horse attached to a striped pole tipped with a golden ball. We created the horses using modelling paste and once set they were attached to strong pink and white retro-style paper straws with white chocolate before being painted with edible gold and finished with a gold painted balls on top.

Once finished these carousel cupcakes were then boxed up in an extended cake box before making their way to be enjoyed at a wonderfully vintage themed baby shower in Anlaby!


×