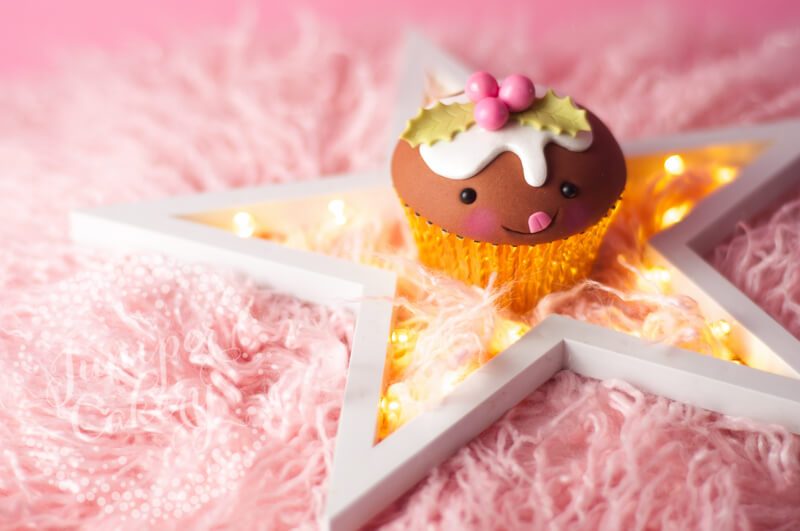
Yay! It’s Christmas week! We’ve been SO insanely busy throughout November and December that we haven’t had much time to work on any tutorials or recipes for our blog. Fear not, however, we’re kick starting this week with this cute how-to… make a Christmas pudding cupcake tutorial! Our gold splattered Christmas pudding cookies were ridiculously popular this year. We created just over 300 of them (and so many other Christmas themed cookie designs too) before we had to stop taking Christmas orders last week. As we sat decorating each one we ended up sketching a quick cupcake idea for a character driven Christmas pudding! Behold our Christmas pudding cupcake tutorial… so tasty that it’s even trying to eat itself.
Christmas pudding cupcake tutorial!

Materials and tools needed…
- Domed cupcake(s)
- Buttercream
- Cupcake corer
- Brown fondant
- White fondant
- Pink fondant
- Green fondant
- Black edible sugar pearls
- Confectioner’s glaze
- Small holly leaf plunger cutter
- Edible glue
- Small ball tool
- Small piping tip (we used the 2.5 Supatube by PME)
- Edible white lustre dust
- Veining tool
- Small sharp knife or blade tool
- Food safe brushes
- Edible pink blossom / petal dust
- Circle cutters

Step 01:
Firstly, core and fill your cupcake with buttercream or whatever filling you like to use. You can even use a small sharp knife to remove a little of the cupcake at the centre before filling. Some tasty filling ideas include salted caramel, marshmallow cream or even cookie butter!
Tip! Don’t go overboard when coring your cupcake. Try not to go all the way to the bottom or else you could pierce the cupcake case, which may mean your filling will seep out completely!

Step 02:
For a super smooth and flawless look to fondant iced cupcakes we always double ice. This just means smoothing down a small circle of fondant on top of the cupcake before you really start decorating!
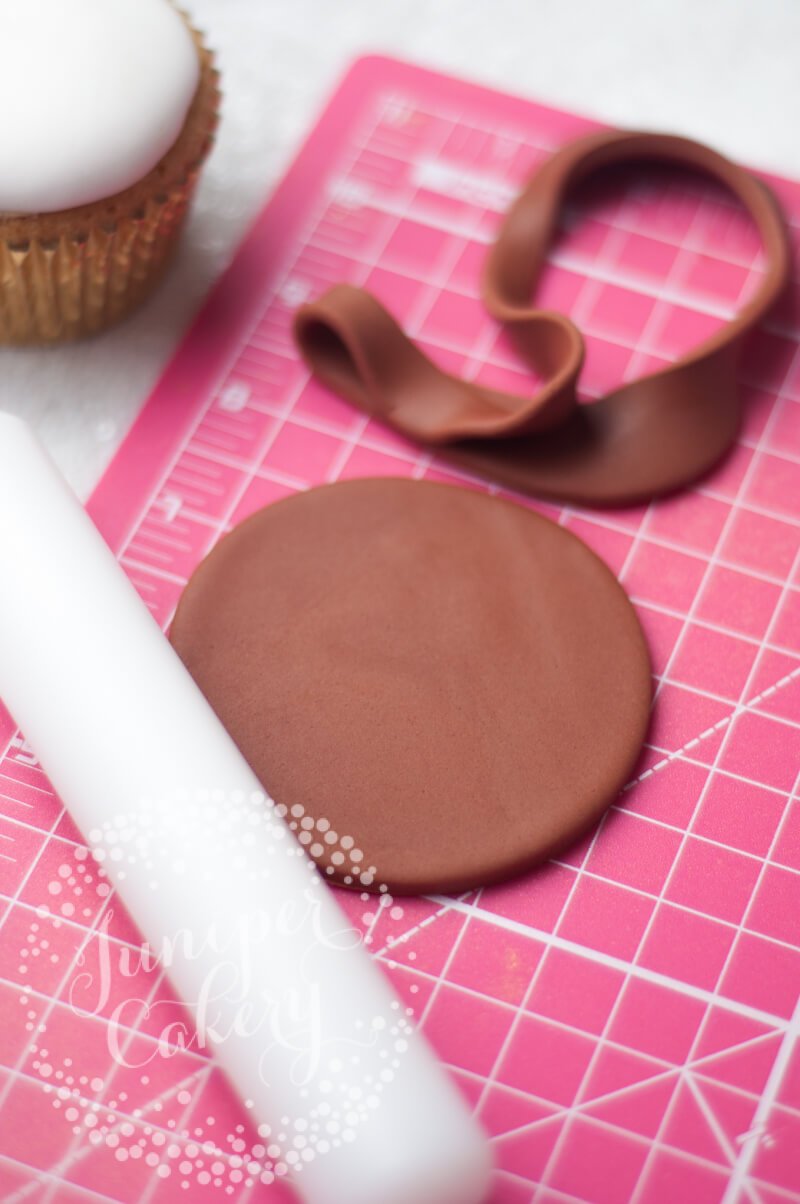
Roll out some sugar paste / fondant and cut a circle just a little smaller than your cupcake. Place on top and smooth down.


Step 03:
Repeat step 02, but with brown fondant and also use a circle a little larger than your cupcake so that the fondant can cover the entire top of your cupcake! Smooth down so the brown fondant sits along the top of your cupcake case. You may also need to use a little edible glue to stick it in place too.

Step 04:
Roll out white fondant and cut a small circle from this. This is going to create the icing on top of your Christmas pudding cupcake!

Step 05:
With a small sharp knife or a blade tool cut away sections of your white sugar paste / fondant circle until it resembles a ‘wobbly’ shape like the one above. This is going to be the icing that will drip down your little Christmas pudding cupcake.

Step 06:
Attach the ‘icing’ on top with some edible glue. Then dust or paint the white icing section with some sparkling lustre! This step isn’t absolutely essential, BUT a little glitz this time of year is a win/win!

Step 07:
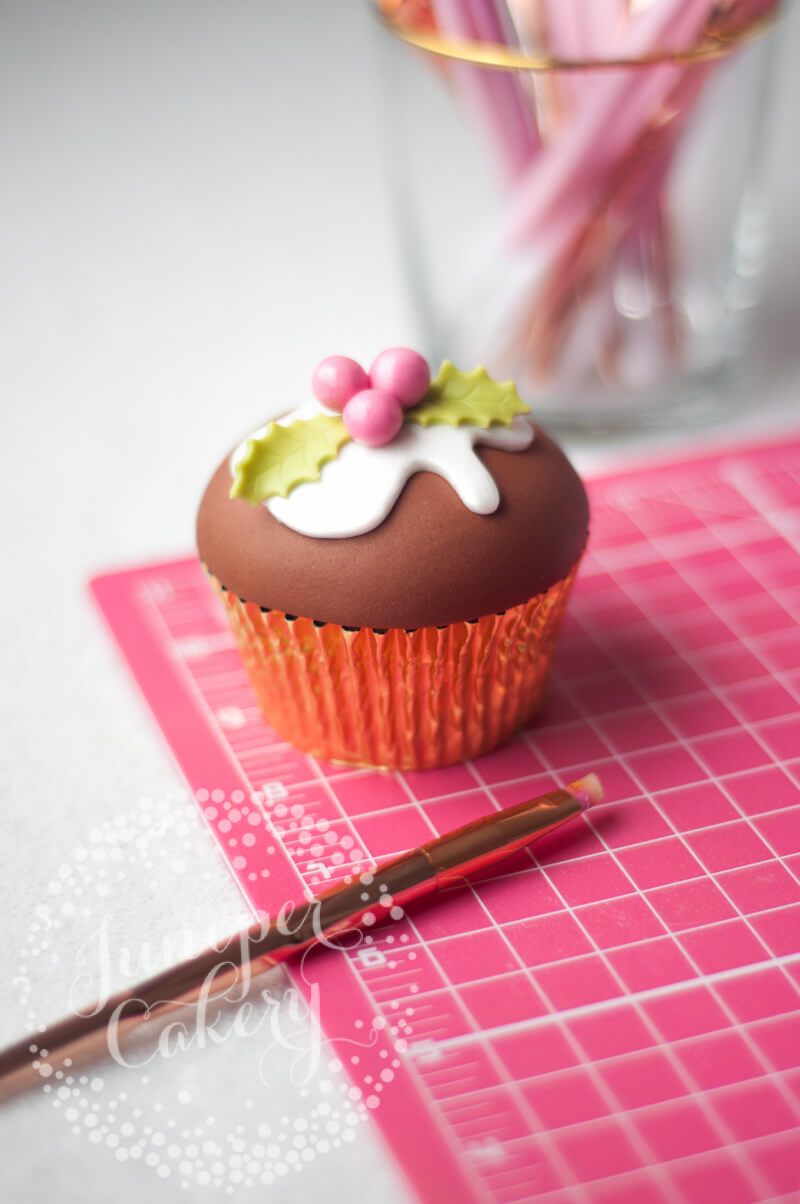
Roll some green fondant and then cut and stamp two holly leaves per cupcake. Small plunger cutters are great for this because the plunger section usually features a ‘print’ or texture that you can then transfer onto the cut piece.

Step 08:
Attach the holly leaves in place on top of your Christmas pudding cupcake with a little edible glue. Edible glue can be a little slippery so don’t use too much and make sure you gently hold your pieces in place until they feel stuck down.
Step 09:
Take some pink (you can use red though if you like) sugar paste / fondant and roll into three small balls per cupcake. Then attach with a dab of edible glue. Afterwards, once these have been attach you’ll need to paint each berry with a little confectioner’s glaze. This helps make the berries shine!

Step 10:
Using a small ball tool indent where you’d like your cupcake’s eyes to sit. Then with a tiny amount of edible glue attach two black sugar pearls (or you can roll two small balls of black fondant) into the indentations.

Step 11:
Use the base of a small piping tip to then indent a cheeky smile underneath the eyes! Or you can also use a scallop tool, which can usually be found in an icing modelling tool set. It looks like a simple curved line.

Step 12:
For the tongue roll out a small ball of pink sugar paste / fondant and flatten it into an oval-like shape. Cut the piece in half then indent a line down the middle with a blade tool or small sharp knife. Be careful not to cut the tongue in half!
Step 13:
Next, attach the tongue with a small amount of edible glue as in the image above. Also, try not to add too much as edible glue can seep out or lead to pieces sliding around if too much is applied… which isn’t a good look.
Step 14:
Finally, add blush to your Christmas pudding cupcake with pink edible blossom / petal dust and a fluffy food safe brush. You don’t need to follow this step, however it really ups the cute factor!
Build your colour up a little at a time. It’s easier to add further blush if needed than have to start all over again!

How cute is this Christmas pudding cupcake tutorial? We (almost) wouldn’t be able to eat it. Traditionally holly berries and leaves are used to decorate a Christmas pudding, but you can personalise yours to fit whatever your festive theme is. So why not opt for plunger cut snowflakes or a cute little edible bow?


1 Comment
No doubt that Christmas is one of the most exciting festival across the world. The idea of sharing the happiness and joy of this festival with this beautiful Christmas pudding cupcake is really great one . It looks so yummy and delicious.