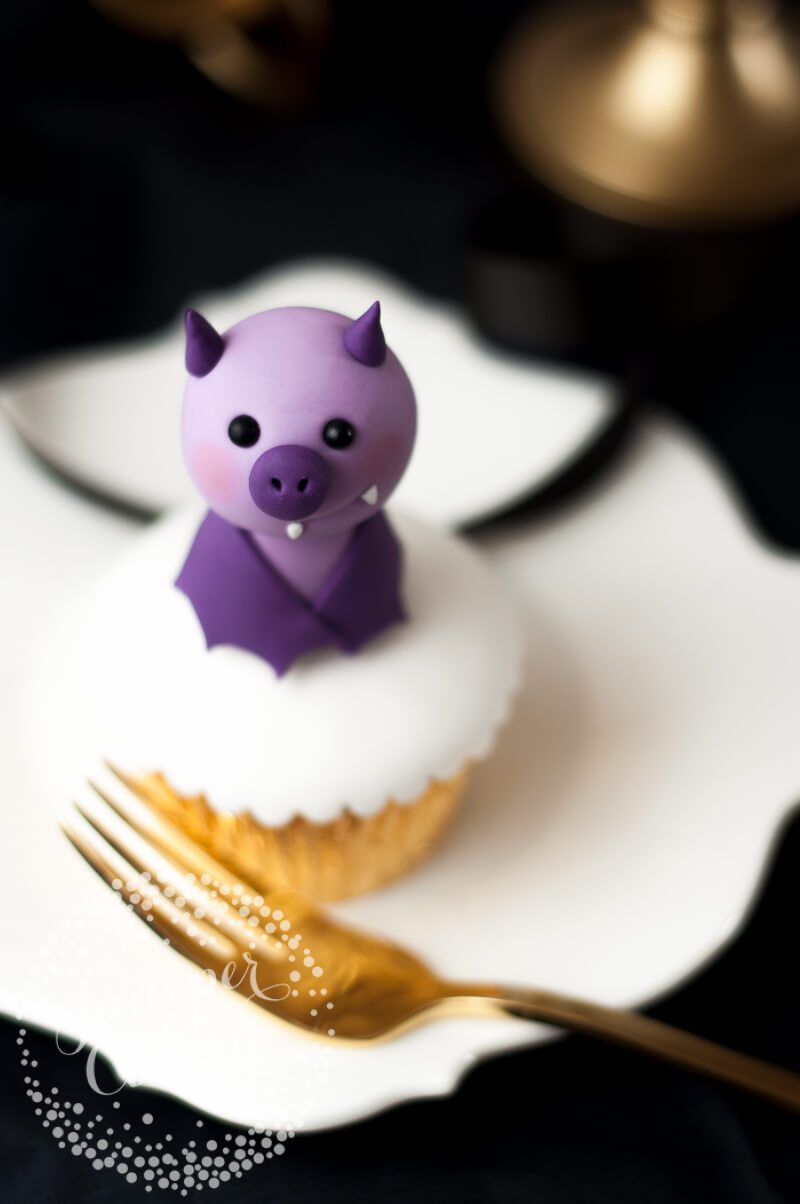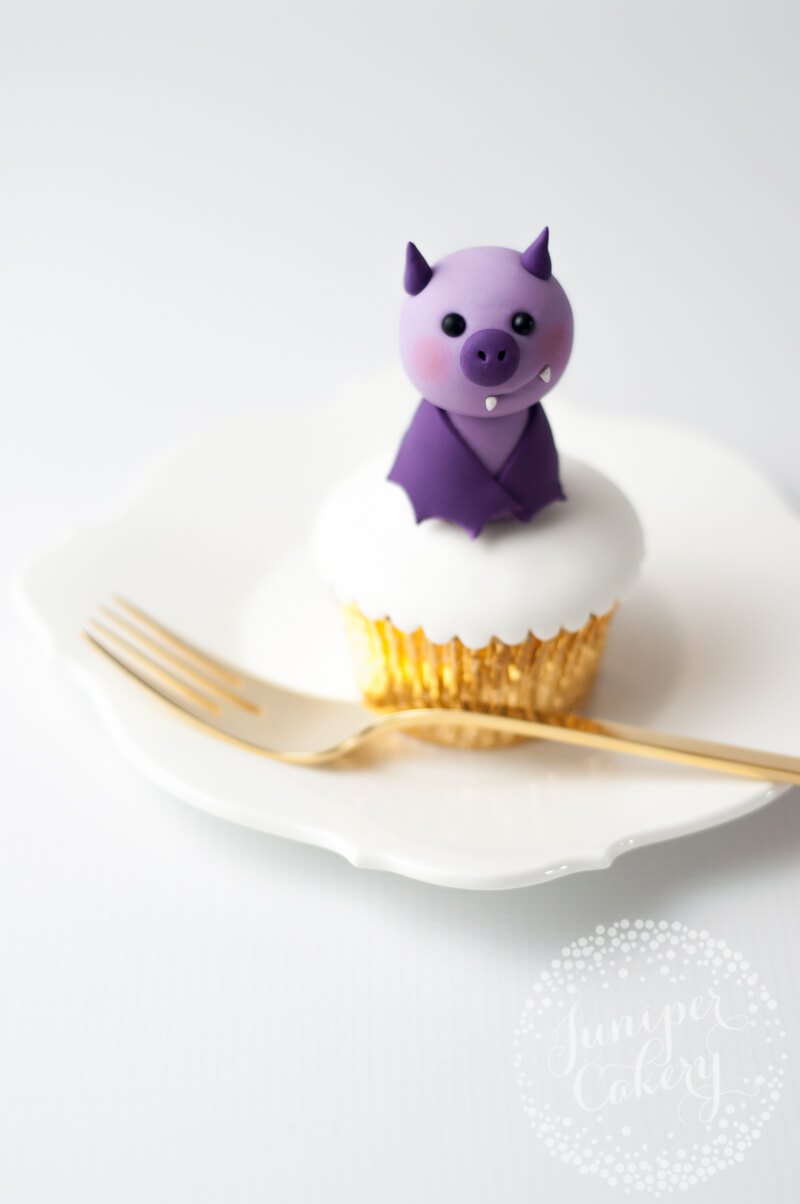
We LOVE Halloween (to be honest though we love every single darn thing about this season). There’s a lot of things to love about the spooky holiday. Horror-movie marathons, The Walking Dead returning back to our screens, pumpkin spice anything, blustery weather, longer dark nights, creepy urban legends, crazy costumes and an injection of super cute versions of ‘ghoulish’ characters. This is where our little fondant bat friend comes in (we named her Nora… if you’re British and perhaps of a certain age range then this might make you chuckle). We thought it’d be cool to put together an effective, but pretty easy to create fondant bat tutorial. Honestly, we made this little lady in around 40 mins (and that was with extra pieces to shoot the steps with). One of the pluses is that her wings fold in around her (is it cold where we are after all) so there’s no need to panic about how to make them support themselves or stretch outwards delicately. Oh yes and those cute little fangs…

Fondant bat tutorial!
Materials and tools needed…
- Lavender tinted fondant / sugar paste (with a little CMC powder added… around 1 teaspoon per 250g)
- Darker lavender tinted fondant / sugar paste (with a little CMC powder added… around 1 teaspoon per 250g)
- Black edible sugar pearls
- Pink petal dust
- Small paintbrushes
- Cocktail sticks
- Small ball tool
- Thin veining tool
- Circle cookie/pastry cutter (this should be around the same height as the body you’ll make)
- Edible glue
- Small rolling pin
- Small round piping tip (you need the larger end - we used a PME Supatube No. 0)


01: The first step in our fondant bat tutorial is to roll a ball of the lighter lavender fondant / sugar paste. This is going to form your little bat’s head so make sure that it’s a size you like. For cute characters it helps to make the head a bit larger than the body so keep this in mind.
Tip!
Keep rolling if you find cracks or creases appearing in the fondant as the heat and friction from your hands will help smooth these over. If they’re not budging squish and re-mould the ball shape before rolling it around in your hands.
02: Take a small amount of the darker purple fondant / sugar paste and form this into a ball. Find the centre of your bat’s head and attach the snout a little higher up with a dab of edible glue.
03: With the sharp end of a cocktail stick create your bat’s little nostrils parallel to each other in the centre of the snout.
04: Indent eye sockets with a small ball tool and add in black sugar pearls for the eyes with a tiny amount of edible glue and a paintbrush.
Tip!
When it comes to adding tiny details, using minimal dabs of edible glue or even securing miniature accents in place we use nail art brushes. They’re slim, small and can reach into some hard to get places. Make sure they’re brand new, however, and haven’t been used on nails!
05: For the little smile use the curved side of a thin veining tool to smoothly etch it in place.

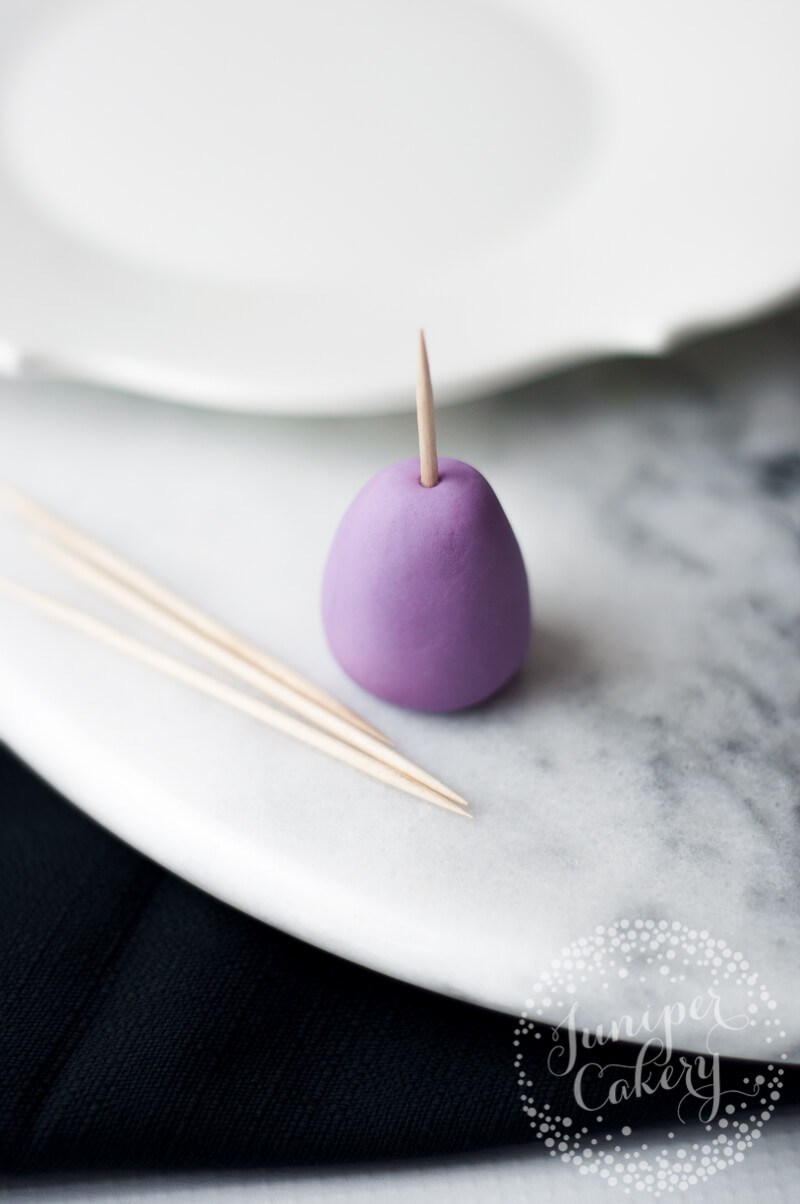
06: To form the body roll some fondant into a chubby teardrop-like shape. Flatten the top tapered bit so that your little bat’s head will fit on nicely. Now carefully skewer the body with a cocktail stick. You can also use an uncooked spaghetti stick instead if you like. Make sure that you trim the stick down so that it doesn’t end up coming out through the top of your bat’s head.

07: Now add the bat’s head onto the body. Make sure that the cocktail stick had gone into the base of the head centrally or your bat won’t be stable and may end up leaning or falling over.
08: You can now add some cute details such as the blushing cheeks, tiny fangs and cute pointed ears! To blush we gradually brushed on pale pink petal dust in a small circular motion.
Tip!
When it comes to either colouring fondant / sugar paste or dusting colour on always start small and add a little more colour each time. It’s easier to add colour than remove it!
09: For the fangs cut 2 tiny triangles of white fondant and attach at the ends of the bat’s smile with the tiniest dot of edible glue.
10: To add the ears take two small balls of the darker purple fondant and form into tapered tear drops. Now stick each in place carefully with edible glue.

11: Now for the wings! These are ridiculously easy. Roll out some of the darker purple fondant/ sugar paste. A thickness of around 3mm is good. Cut out a circle from the fondant with a round cookie or pastry cutter. The circle should be around the same size of your bat’s body.
12: Slice the circle into two halves and add the webbed look cut away pieces of the curved edge using the larger end of a small piping tip (the end of ours was around 1cm in diameter).

13: Taking one half wing at a time wrap them around your bat’s body. Begin with the edge of a circle at the centre of it’s back and wind it around to the bottom part of the front. You should be working with the completely straight cut edge of the wings facing upwards towards your little bat’s head.

Yay! Now you can add your utterly adorable fondant bat to whatever cupcakes or cakes you like ready for one amazing Halloween party. We really like the idea of lots of them all covering the top of a simply iced cake. They’d even look great nestled onto a naked cake to add a spooky but sweet theme to an All Hallow’s Eve dessert table.


2 Comments
[…] Link to Tutorial […]
[…] Cute Halloween Bat Cupcake Topper Tutorial […]