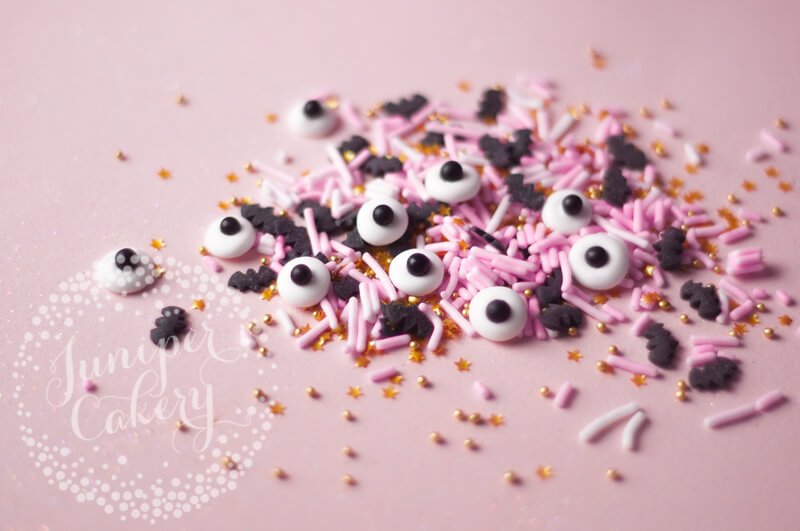
Here’s a super quick and easy tutorial that we use every year to make our creepy candy eyes. They are so much fun to use once they’ve dried. We add them onto cupcakes, cookies, cakes and even macarons for some Halloween (black) magic! Another spook-facular idea is to mix them in with Halloween colour themed sprinkles for an extra ghoulish look. Check out our easy to follow DIY candy eye sprinkles tutorial!
DIY candy eye sprinkles tutorial!


Materials and tools needed…
- Your go-to royal icing recipe or Squire’s Pro Royal Icing Mix
- Wilton size 03 plain round piping tip
- Disposable piping bag
- Black sugar pearls
- Parchment paper or silicone mat

Step 01:
Lay out a sheet of parchment paper or your silicone mat onto a flat surface. If you’re going to need to move your candy eyes out of the way to dry it’s a good idea to use a baking tray underneath.
Make sure to tape down your parchment paper or else it’ll lift or wiggle around as you pipe. You can also hold down your parchment paper with a blob of royal icing at each corner.
Tip! Be sure to use good quality parchment paper. Cheaper brands tend to tear or stick way too hard to whatever you’re working with.

Step 02:
Fit your disposable piping bag with the piping tip and fill with royal icing. Your royal icing should be a nice soft yet stiff consistency that forms peaks with a little droop or curl at the tip!
We added a shot above that illustrates what you should be looking for in terms of softness and stiffness. The icing should hold itself, but look soft right at the tips.
Step 03:
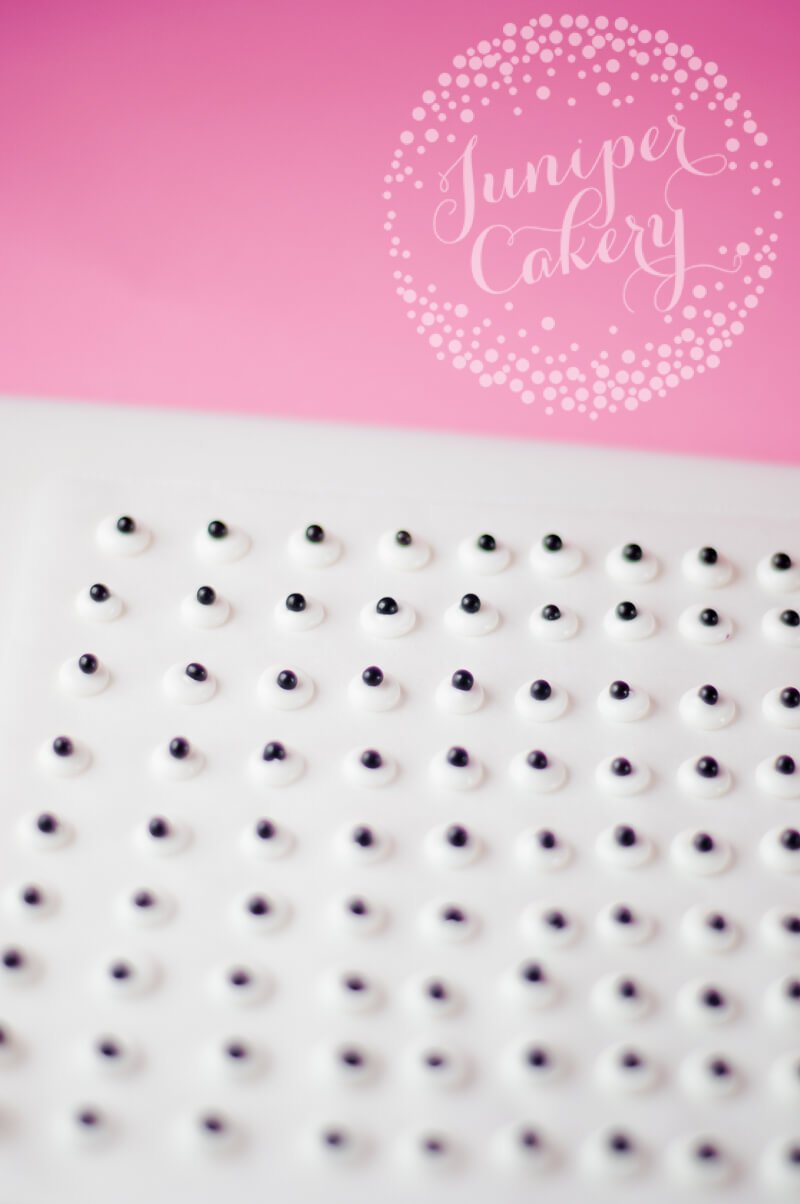
Now pipe out a row of white royal icing ’rounds’ onto your parchment paper or silicone mat. You can pipe these to whatever size you want. Our’s measured at 7mm.
Tip! Work one row at a time so that the icing doesn’t crust over before adding


Step 04:
Now add your black sugar pearls to your royal icing eyes. You can keep them in the middle or go crazy and add them off to the sides too!
When done leave your candy eyes to set for around 6-12 hours. In some humid countries drying times can take as long as 24 hours so keep this in mind. When ready they should just peel off!

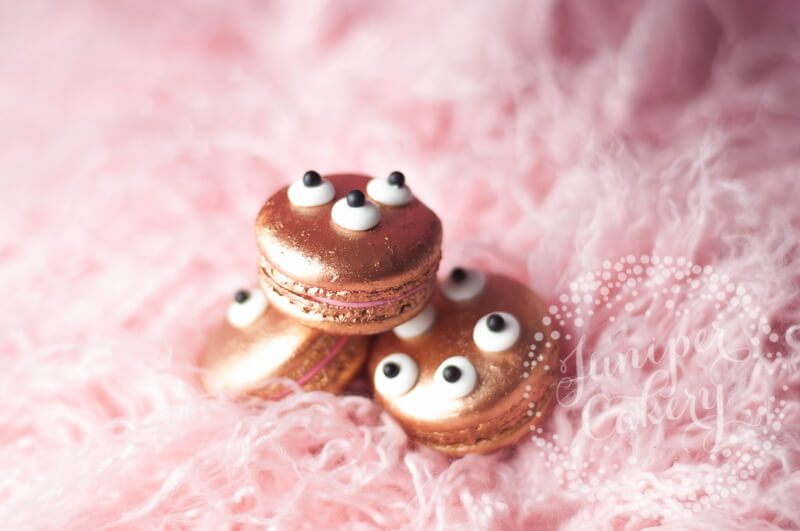
We added our DIY candy eyes to our Bubblegum Monster macarons this Halloween. They helped add a creepy yet fun seasonal look to glistening copper painted treats! To attach we used a little royal icing piped onto the back of each eye. You can also use a tiny amount of melted white chocolate if you like.


1 Comment
[…] of party season! Yay! Each year we go with a theme and last year’s was ‘Too Cute to be Creepy‘. For 2018 we decided to go with a more stylish look for October 31st full of blacks, edible […]