
Earl Grey cake in partnership with The Happy Egg Co.
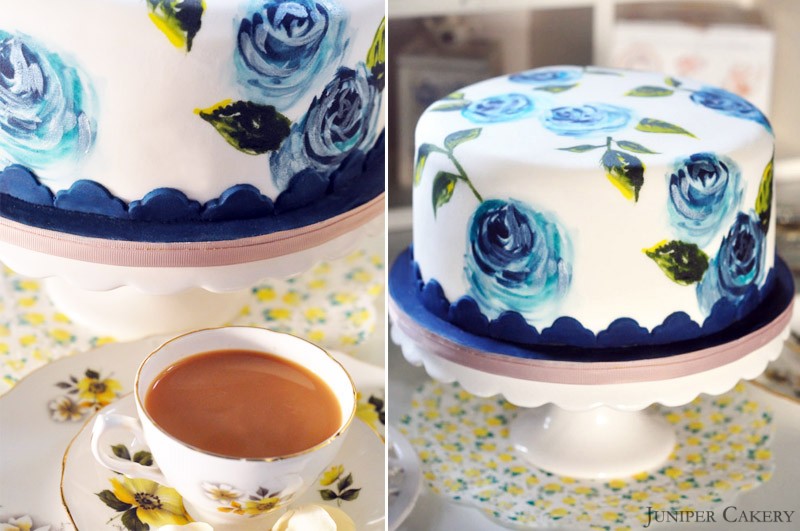
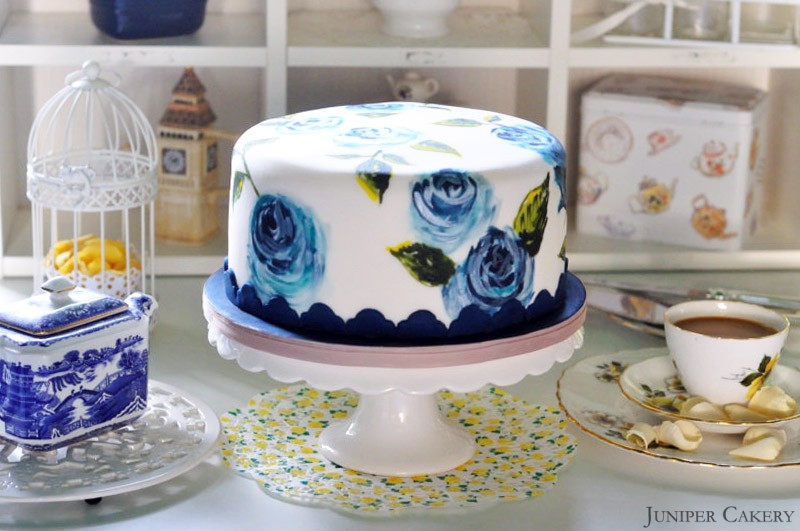
Here it is! This is our début cake, recipe and tutorial in partnership with The Happy Egg Co. In our design and development post we blogged about creating a delicious tea infused cake. We settled upon the delicate taste of Earl Grey tea paired with fragrant scent of lemon and bergamot. After the following images of the finished cake you’ll find the recipe and a tutorial on how to hand paint a rose onto an iced cake. Why not create this cake, or elements of it, yourself?
Recipe
To create this cake (a 9 inch circle) you will need the following…
7-8 free range eggs by The Happy Egg Co. depending on egg size
453g self raising flour
453g caster sugar
543g butter
3-4 Earl Grey teabags
4-6 drops of Bergamot extract
For the buttercream you will need…
453g butter (don’t use margarine as the water content is higher and not suitable for buttercream)
Bergamot extract (flavour to your own taste)
Lemon extract (flavour to your own taste)
453g - 553g icing sugar (choose your own consistency and taste)
The very first step you need to do is to create a pat of Earl Grey tea infused butter. This ensures the tea will become more prominent in flavour once baked. Simply adding Earl Grey leaves to the batter only gives a very faint scent and taste.
‘Brewing’ your tea
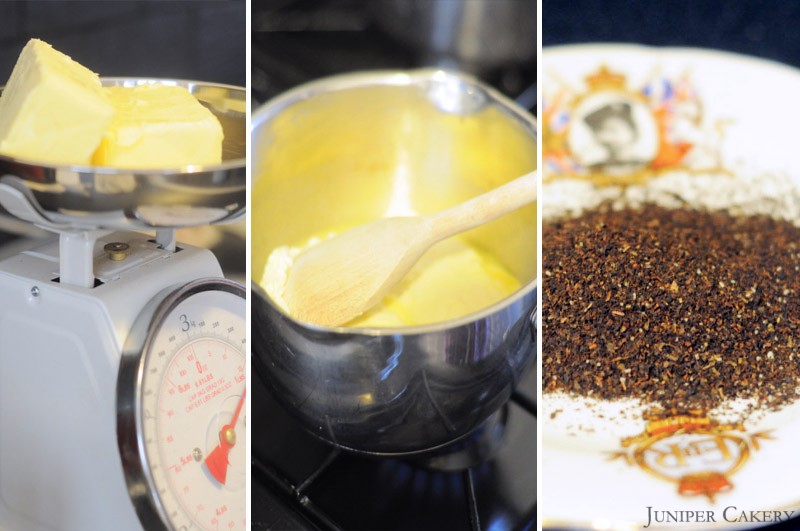
To create your Earl Grey butter you need to ‘brew’ the tea leaves and butter together in a saucepan. Once mixed together pour the melted Earl Grey butter into a suitable container and allow to chill and reset in the fridge. Once chilled you can simply add the Earl Grey butter to your recipe as normal.
To create the cake cream your butter in a stand up mixer and then add the caster sugar. Add the flour along with half of happy eggs for approximately one minute. Once half the happy eggs are combined add the remaining and mix for around 5 minutes. Once the batter is fully mixed add a few drops of bergamot to enhance the Earl Grey flavour further.
Pour into greased cake pans (we use Wilton’s Bake Easy Non-Stick Spray to prepare our cake pans) and place on the top shelf of a pre-heated oven at Gas Mark 3/325F/170C. Bake for approximately 30 minutes. Baking time may differ slightly depending on your oven.
Leave to cool and in the meantime prepare your buttercream.
For the buttercream add entire pat of butter diced into cubes to be creamed in a stand up mixer. Then gradually add icing sugar and small cubes of the remaining pat of butter. Once the buttercream is of a smooth consistency add your flavourings and mix well.
How to hand paint a rose onto your cake
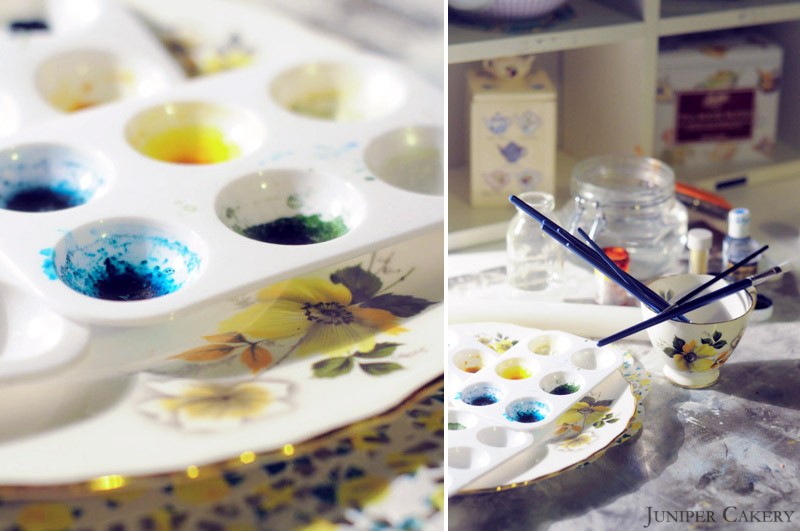
We decided to decorate our Earl Grey cake with hand painted roses in order to evoke a lovely traditional, British look. Painting onto an iced cake can be scary, but if you follow our tips and practice on a small rolled out section of icing you should be able to create a beautiful and dramatic design.
What you need…
Good paintbrushes in various sizes (use different sizes for each colour)
Gel and paste colours (don’t use liquid colours as these will be faint)
Lustre dusts (these are wonderful for adding shimmer, texture and a lighter colour)
Vodka (this is used as a ‘thinner’… it evaporates quickly and leaves no alcohol behind so it is safe to use on kids’ cakes)
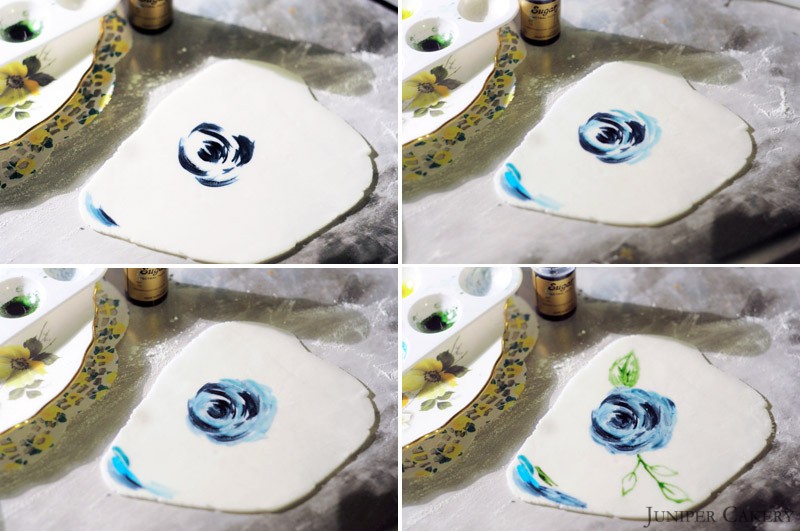
Step one: Using a brush around 1cm in width and your darkest colour paint a rough circle as the centre of your rose and brush some ‘petals’ around the outside. Make sure you don’t pick up too much liquid on your brush or you’ll find your painting very blotchy. Keep a towel or tissue close by to dry your brush.
Step two: At this stage you need to decide the direction your rose will face. In the images above our rose faces top left. To add direction brush in some tonal colour around the rose concentrating on the lower part of the flower.
Step three: Keep adding colour into your rose with a smaller brush. A tip is to use around four colours in total… the dark for the centre and defined petals combined with a brighter colour to add interest, a pale colour and finally a white or pearlised cream to tone down some sections.
Step four: To add leaves think of how they would flow. Either imagine a simple curved line through your rose or an S shape. Add the leaves and then use tones of green and yellow to add colour.


I have been making my Christmas cakes for the past 10 years with either earl grey tea or chai tea.
Both work beautifully for those that dont like alcohol in their cakes.