
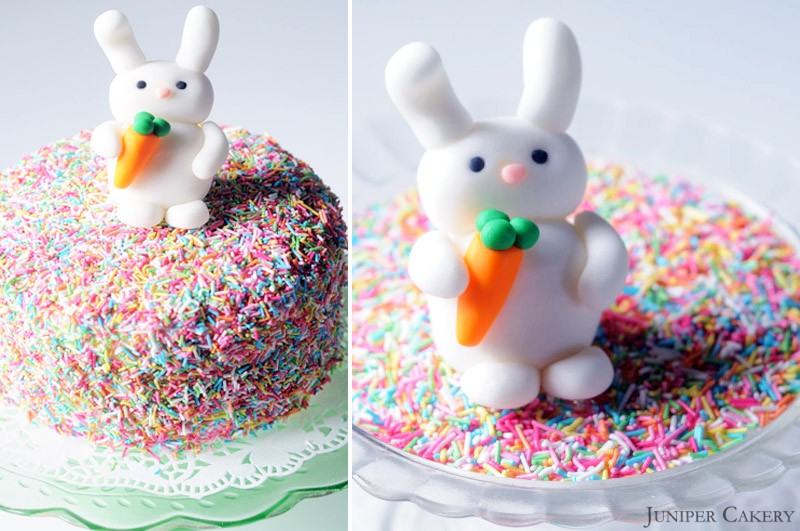
In today’s Easter tutorial we show you how to create your very own Easter bunny! By following this simple tutorial not only will you be able to create a cute bunny perfect for your springtime cakes and cupcakes; you will also be bale to customize your creation into a number of different animals. Why not experiment and once Easter is through use the basics learnt in this tutorial to create a panda bear, teddy bear, cat, dog or mouse! To begin this tutorial take a look at what you will need below.
Easter Tutorial Week: How to make a sugarpaste bunny!
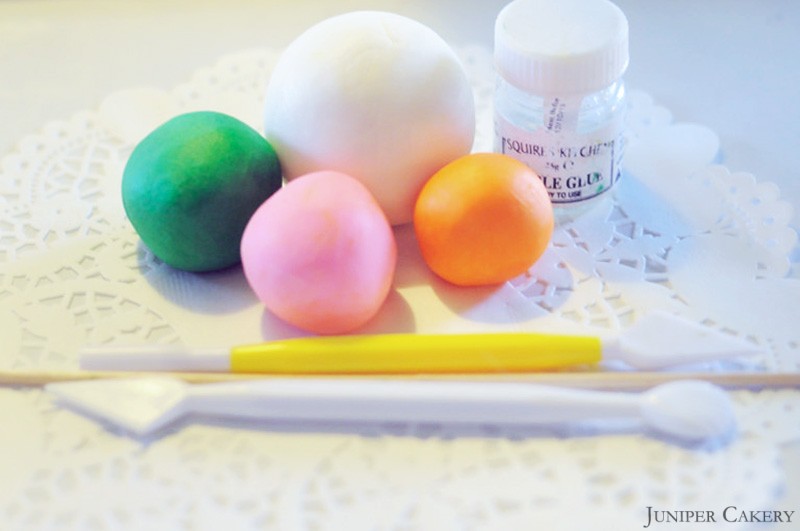
What you will need:
White fondant
Green fondant (we used Wilton’s Leaf Green gel paste to colour white fondant)
Orange fondant (we used Wilton’s Orange gel paste to colour white fondant)
Pink fondant (we used Wilton’s Pink gel paste to colour white fondant)
Black fondant (we used Wilton’s Black gel paste to colour white fondant)
Edible glue
Paint brush
Blade tool
Kebab stick or cocktail stick

Step one: Take a piece of the white fondant and shape it in to a ‘rugby ball’ ensuring you don’t taper at either end, this will be your bunny’s head. Placing the head to one side take a generous piece of white fondant and create and, almost, ‘egg’ shaped oval. Now you have your bunny’s head and body.
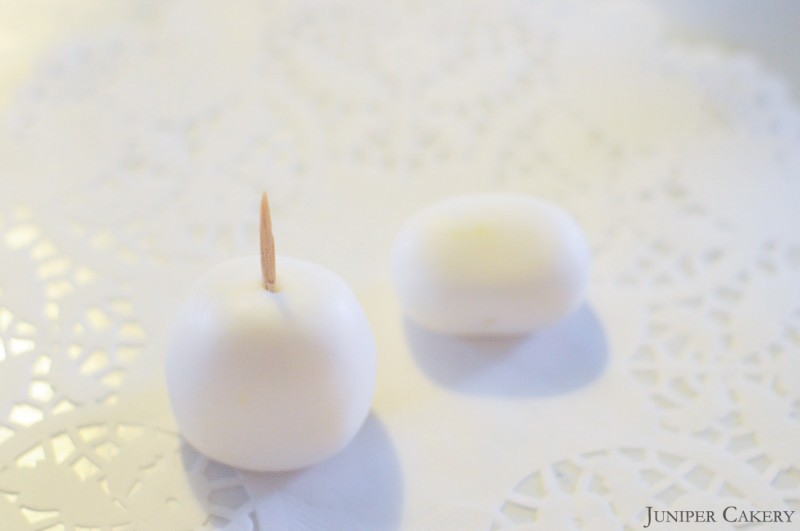
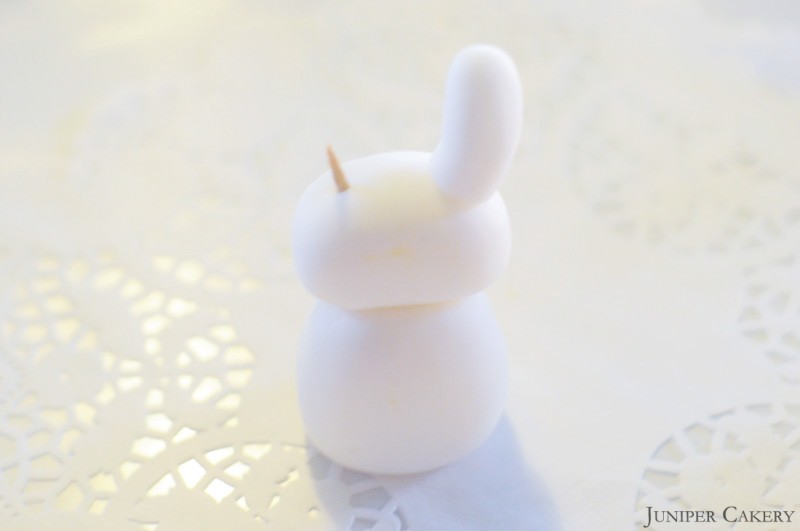
Step two: Take your bunny’s body and slide a piece of the kebab stick/cocktail stick down through the ‘neck’ with 1cm or so still showing. Paint a small amount of edible glue around the stick and slide your bunny’s head in place.
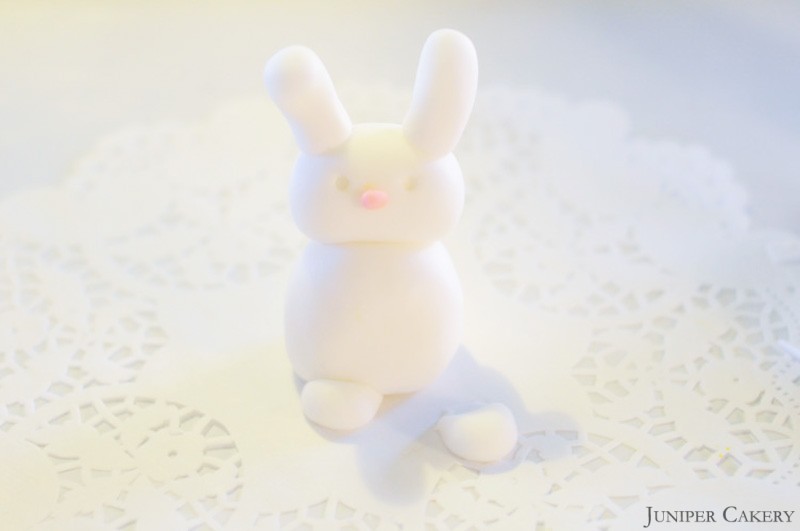
Step three: Using a small amount of the pink fondant shape and oval with your fingers and glue in the centre of your bunny’s face. Now your bunny has a nose!
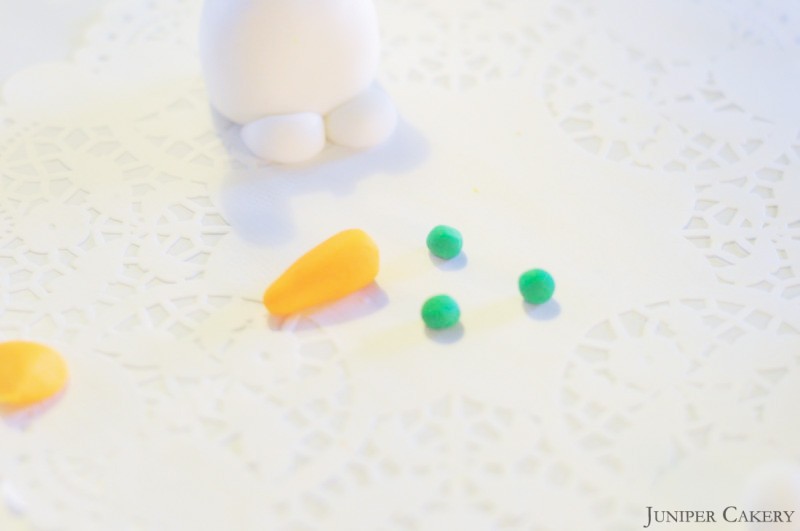
Step four: Put your bunny to one side at this point. Take a small amount of the orange fondant and begin to shape into a sausage tapering at one end to create a ‘carrot’ shape. With the green fondant roll out three small balls. Paint the non-tapered end of your bunny’s carrot and stick the balls in place.
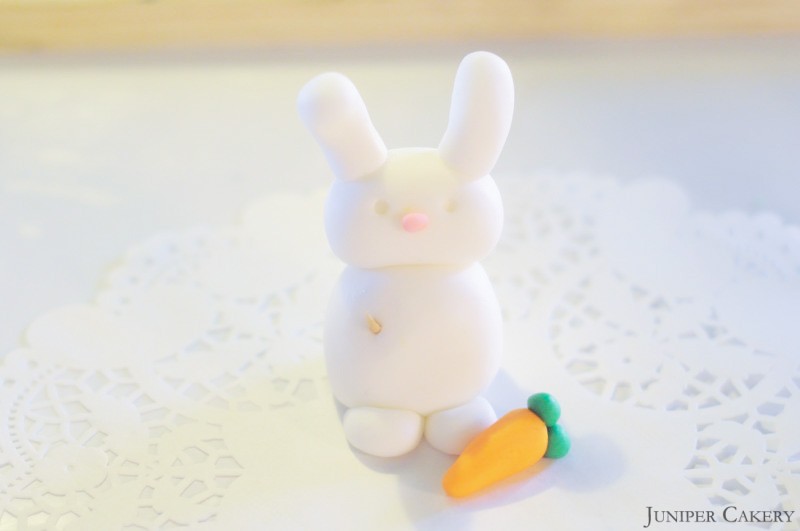
Step five: Paint the location you would like to place your bunny’s carrot and stick on ensuring you hold it in place for a few moments.
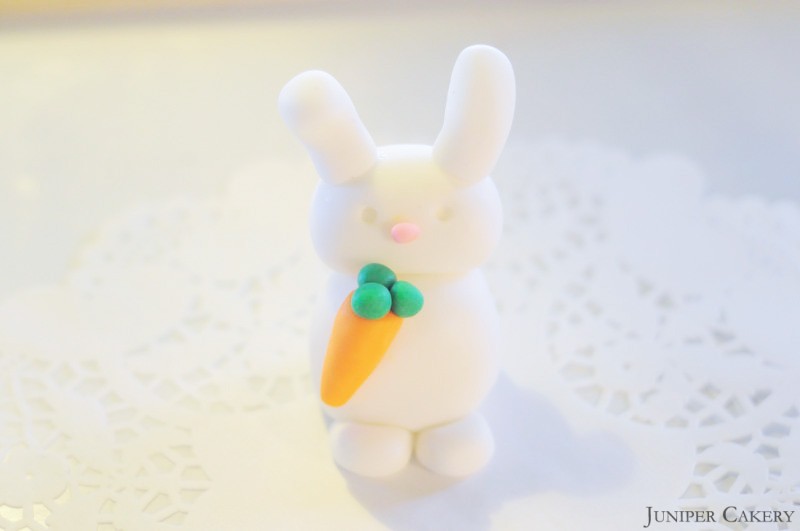
Step six: Now it is time to create your bunny’s feet! Using the left over white fondant create two balls flattening one end with your fingers until it is no more than about 1mm thick. Now sit your bunny onto those flat pieces after painting them with edible glue so they become secured.
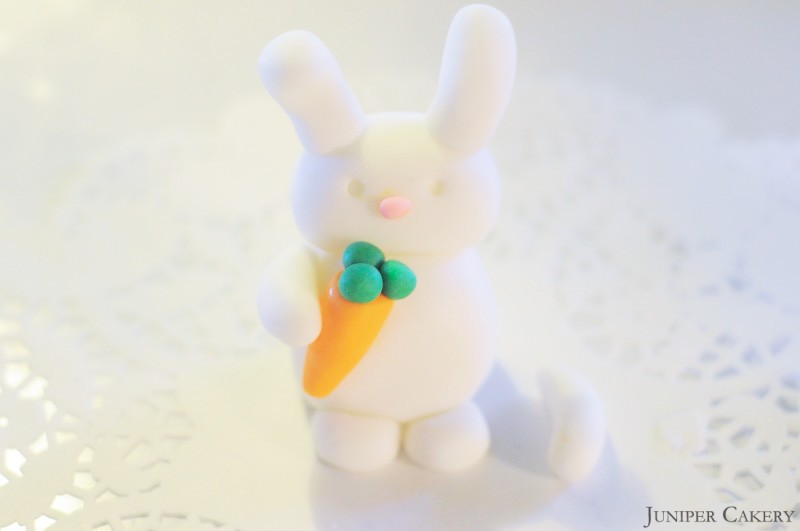
Step seven: Similarly to your bunny’s carrot roll two ‘sausage’ shapes out using a small amount of white fondant to form your bunny’s arms. Flatten them slightly and stick them in place using the edible glue. Place one over the carrot as though your bunny is holding it in place.
Step eight: Indent two dots where you would like your bunny’s eyes to be and roll two small balls out of the black fondant. Stick in place.

If you have followed this tutorial step-by-step now you will have your very own fondant Easter bunny! Why not experiment with colour and create a brown, black, grey or multi-coloured bunny!


I am enjoying this easy looking ( lol) and awesome tutorials.. you are very talented.
Hi Aimee, Thank you for your comment. We’re happy you enjoy the tutorials. If you given any of them a try do share them with us! Kind regards, Juniper Cakery
Hi, I’ve been looking for a tutorial that I can use with my 6 year old niece to make some Easter themed cakes (that aren’t chocolate rice crispy cakes) and these are perfect! You’ve made them really simple and clear, thanks!