In this tutorial we show you how to create some simple sugarpaste chicks! Easter is a great time to get inventive with homemade treats and this easy-to-follow tutorial will give you all the knowledge you need to create some adorable Easter decorations. Why not adorn your cakes and cupcakes with these cute little chicks and offer them as an Easter gift, at parties or keep them all to yourself. Also, these chicks would not look out of place on nest cupcakes! To begin this tutorial take a look at the ‘what you will need’ list below.
What you will need:
Yellow fondant (we used Lemon Yellow by Wilton to colour white fondant)
Orange fondant (we used Orange by Wilton to colour white fondant)
Black fondant (we used Black by Wilton to colour white fondant)
Pint brush
Edible glue
Blade tool

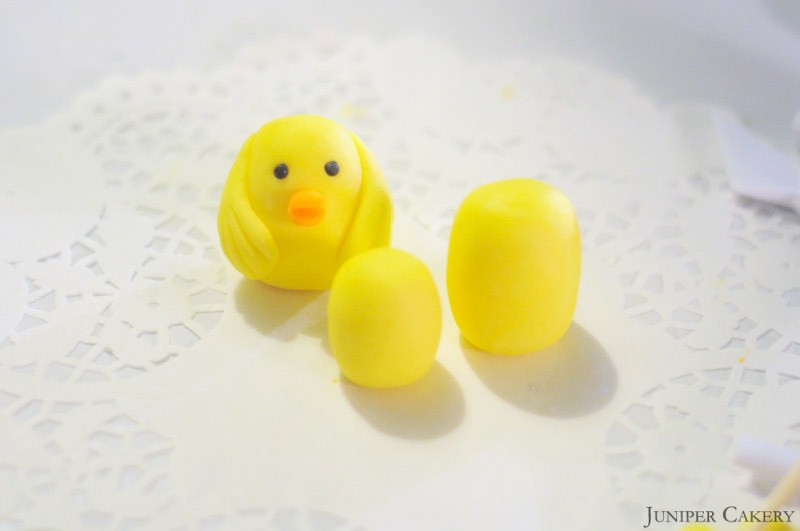
Step one: Using the yellow fondant form an ‘egg’ shape and place it to one side to set a little.

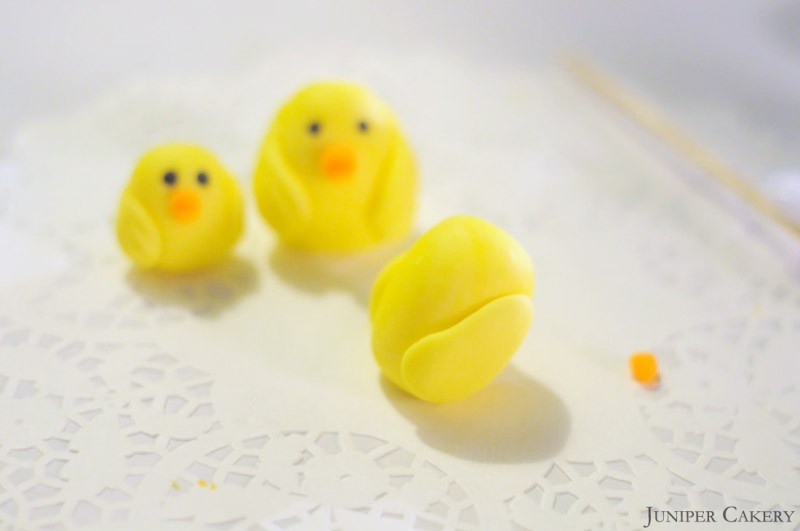
Step two: Using the remainder of the yellow fondant now roll out a ‘sausage’ shape, flatten it and taper slightly at one end. Repeat this twice for each little chick you’re making and stick them on using the edible glue and paint brush. To give each wing feathered markings use the blade tool and gently indent lines as many or as few times as you desire.

Step three: To make a beak for your chick take a very small amount of orange fondant and shape into a ‘cone’ using your fingers. At the larger end of the cone apply a little edible glue and stick it in place. Once stuck down take your blade tool and make a slit in the middle of the cone from side to side create an open beak for your chick! Repeat this on each chick you make.

Step four: Mark where you would like your chick’s eyes to be and place a small amount of black fondant over the desired place!

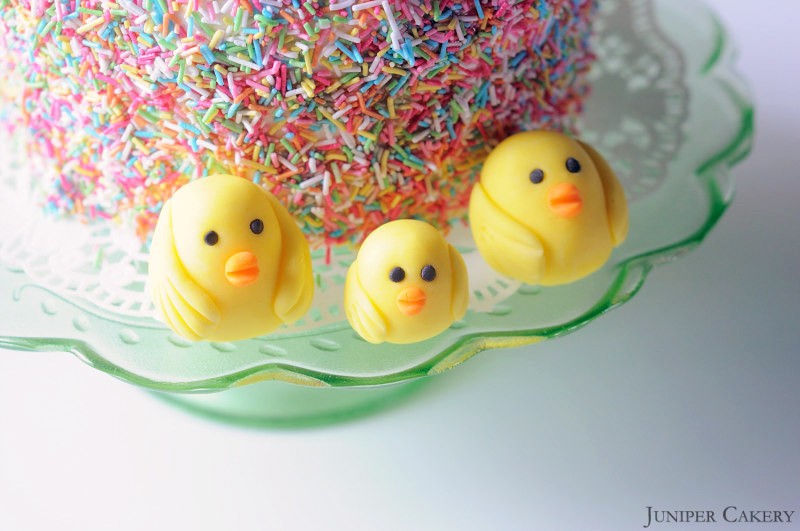
If you have followed this step-by-step tutorial you will now have made your very own Easter chick/chicks! Why not play around with this simple design and create robins, penguins, owls or bluebirds!

