
Last week we were ridiculously busy with festive orders (we’ve lost track how many of our cookies, cakes, macarons and cupcakes left us in the past 7 days) so we sadly couldn’t finish up our Christmas themed tutorial. This week, however, we have one and it’s insanely cute! Say hello to Ginger. We whipped up gingerbread people macarons and cookies recently so it was obvious that we had to complete the collection and make a little gingerbread character perfect for cakes and cupcakes! Keep on reading this post to find out how to make one of your very own!
Fondant gingerbread character tutorial!
Materials and tools needed…
- Brown tinted fondant / sugar paste
- Pink fondant / sugar paste
- Green fondant / sugar paste
- Caramel tinted fondant / sugar paste
- White fondant / sugar paste
- White royal icing (though you can just use fondant to add the wavy detailing on the legs and arms)
- Edible gold paint
- Paint brushes
- Pink confetti sprinkles
- Black edible pearls (around 4mm)
- Holly leaf cutter
- Edible glue
- Cocktail sticks or uncooked spaghetti sticks
- Ball tool
- Piping tip (to indent the smile… you’ll be using the bottom edge of this)
- Small sharp knife or blade tool
- Rolling pin

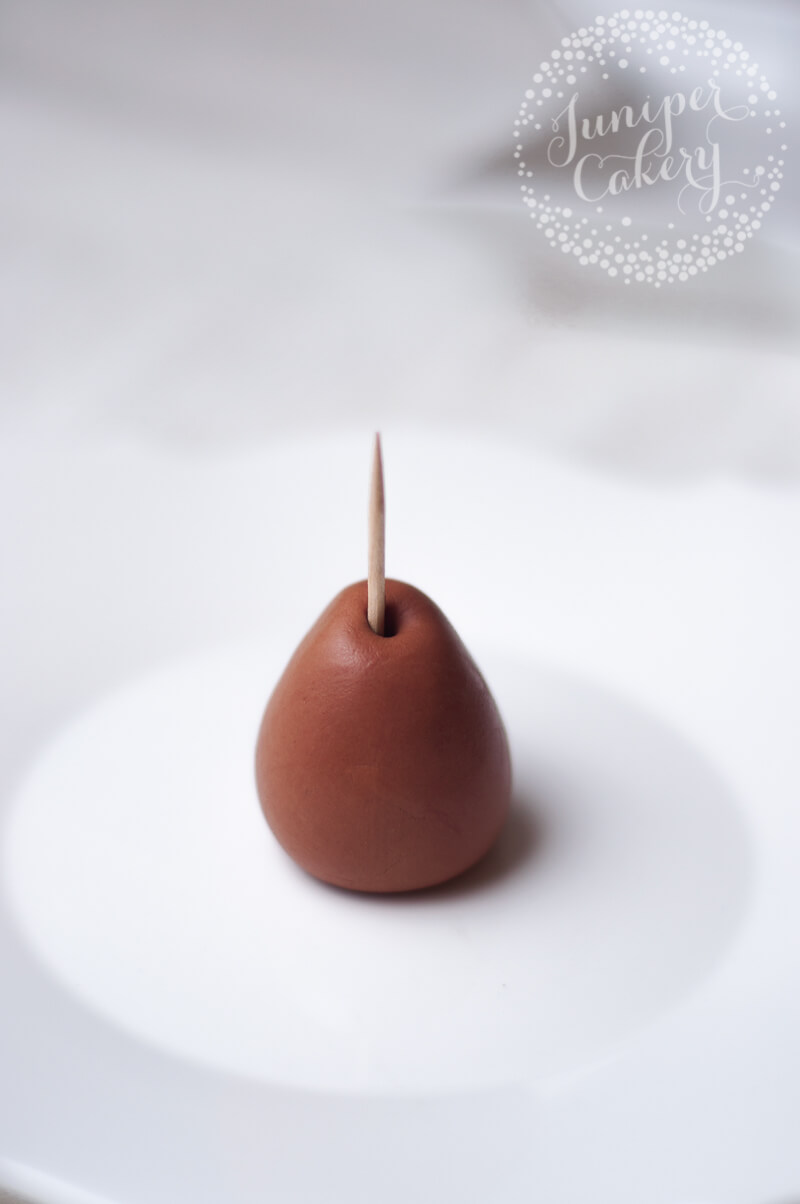
01: Begin with the body. Roll some brown fondant (you can use gum paste or modelling paste too) and mould into a rounded teardrop shape. Skewer down it’s centre with a cocktail stick or a piece of uncooked spaghetti.
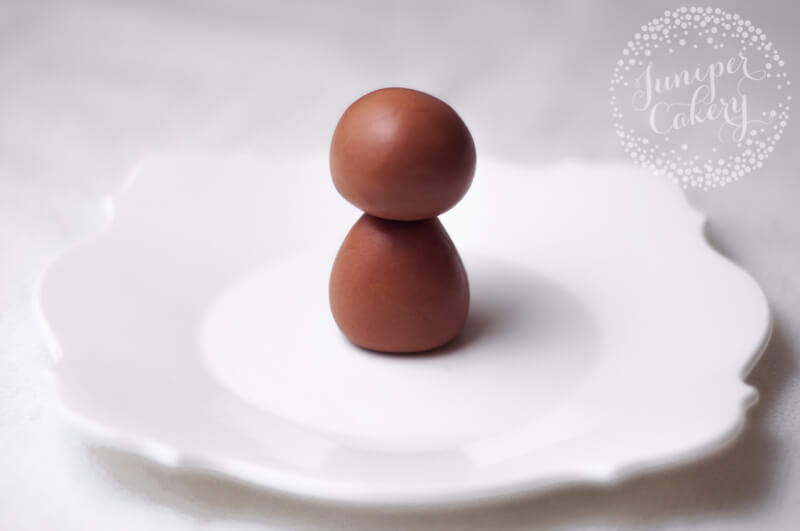
02: For the head roll a smooth ball of brown fondant and attach on top of your body via the cocktail stick or uncooked spaghetti. Make sure that this is fitted on nice and central. If not your little gingerbread person could lean, tilt oddly or just plain fall over.
Christmas cupcake tutorial!
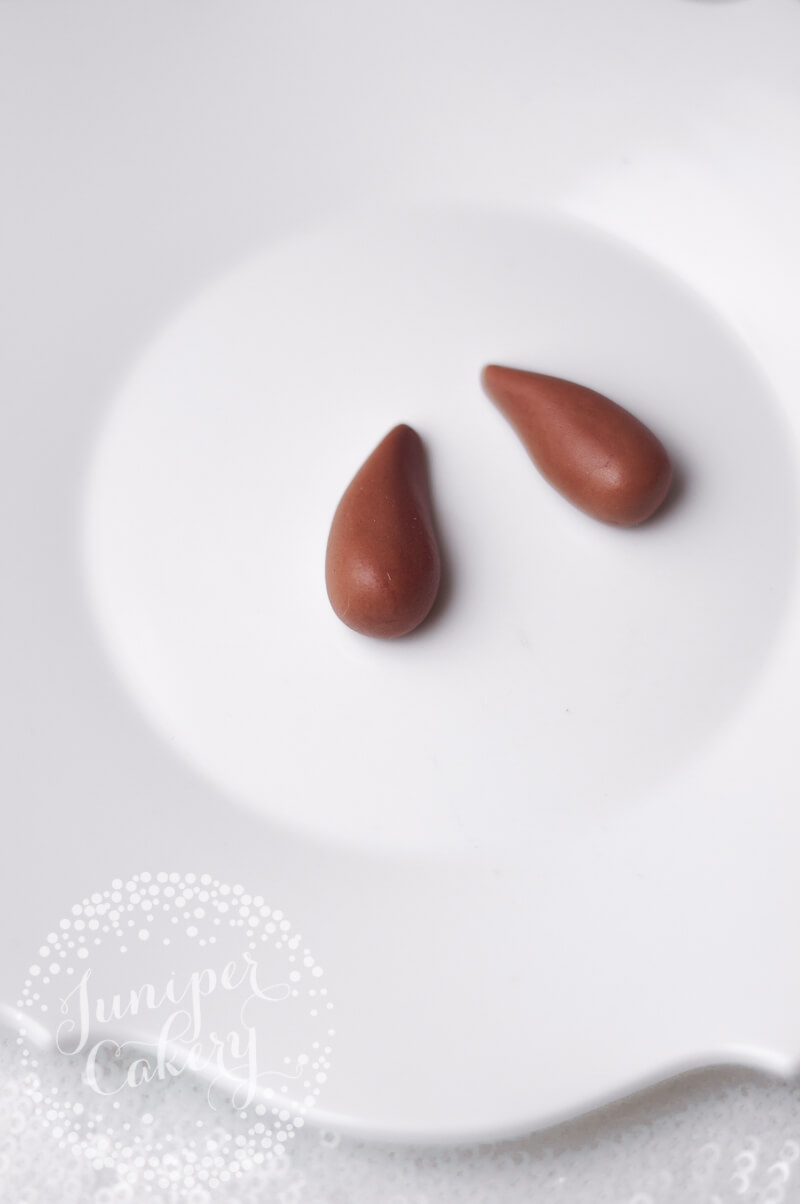
03: Take 2 smaller pieces of brown fondant / sugar paste and mould into chubby teardrop shapes, repeat this for another 2 pieces making 4 in total. These are going to be the arms and legs!
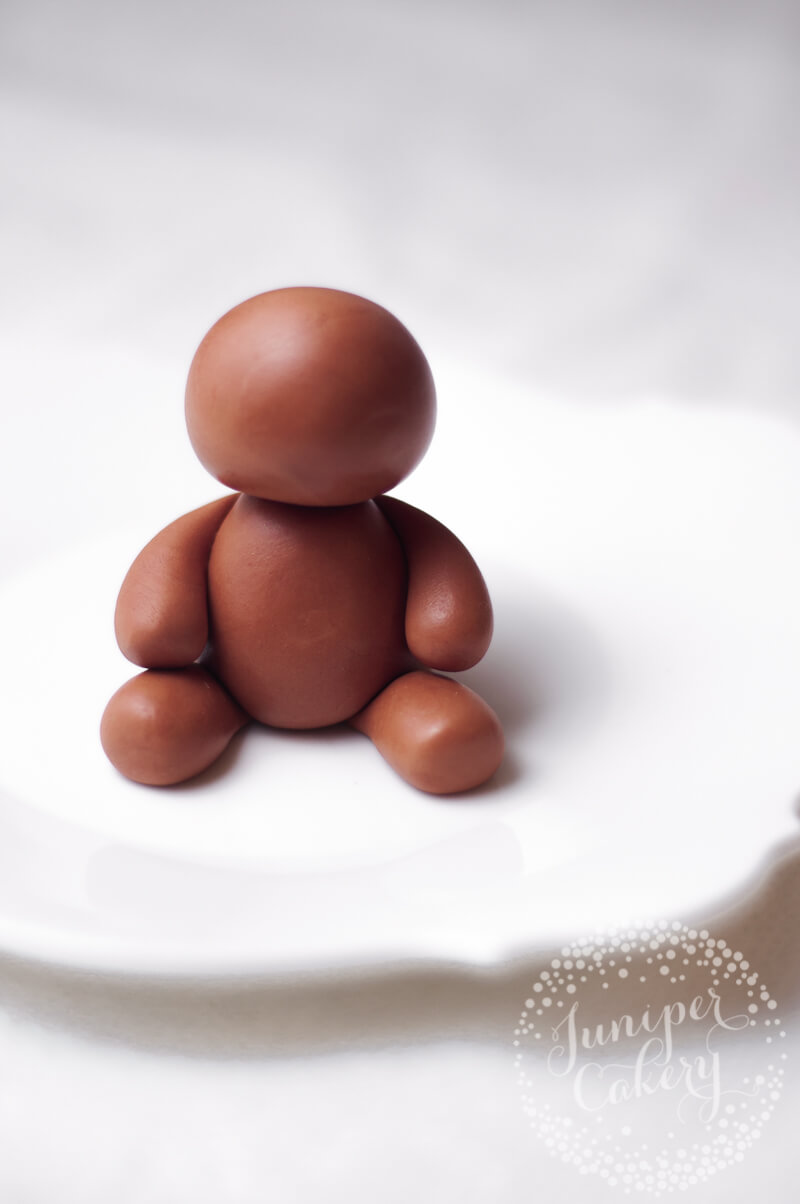
04: With some edible glue arrange and attach the limbs in place. You may need to hold the arms lightly until they’re secure.
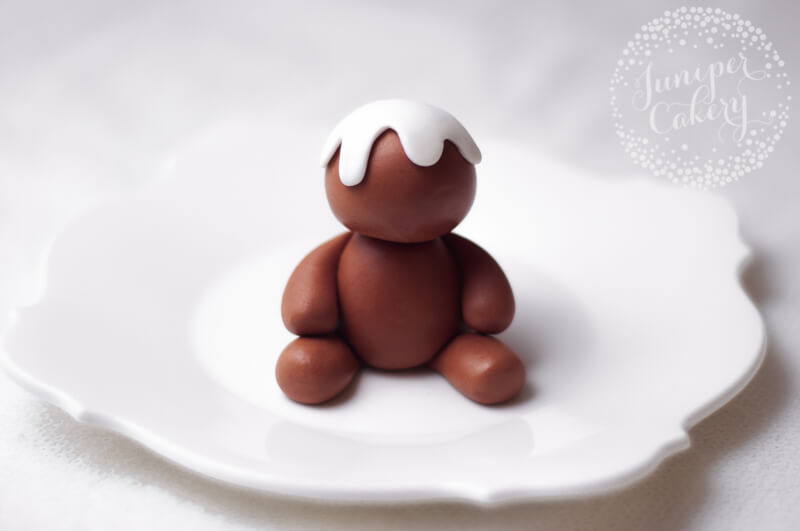
05: To add the icing on top roll out a small circle of white fondant / sugar paste and with a small sharp knife cut a wavy shape from it. Smooth any rough edges and with some edible glue attach on top of the head before patting it down gently.
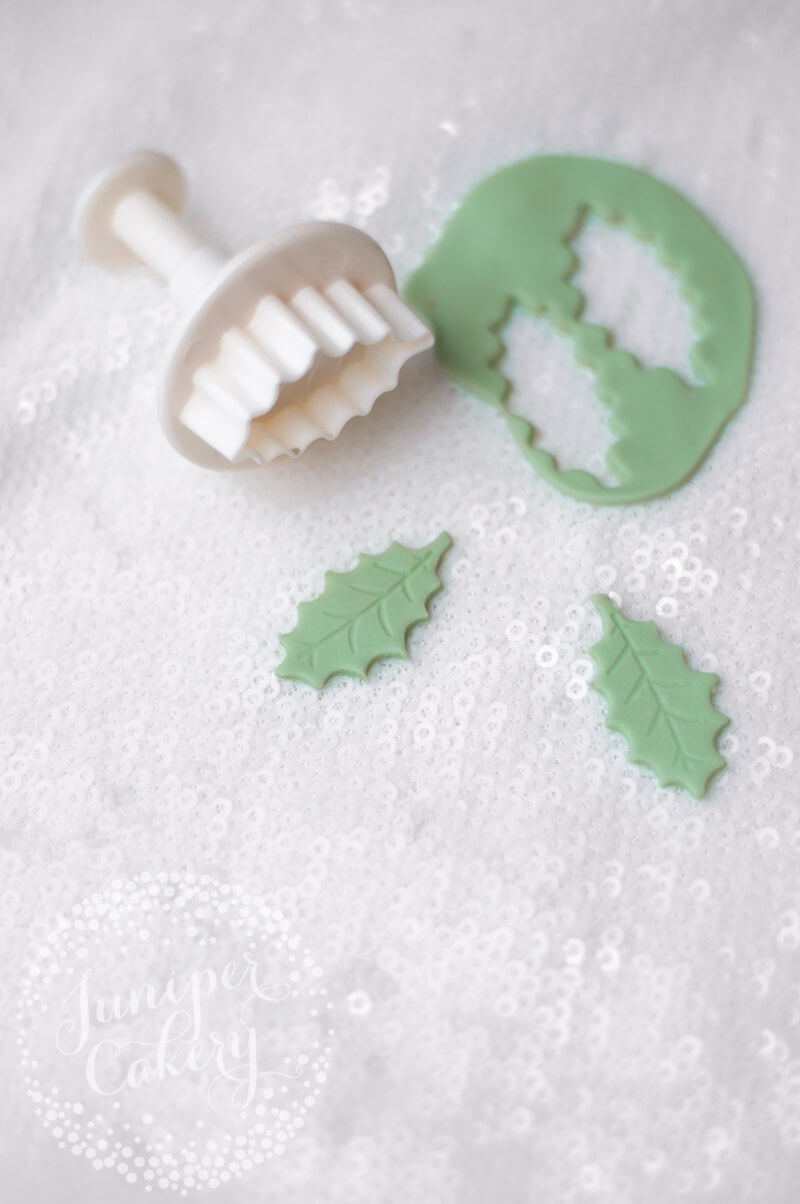
06: Roll out some green fondant / sugar paste and use your holly leaf plunger cutter to cut out some festive foliage! If you want the leaves to set a little curved then leave them to dry on a flower former or even some scrunched up cling film.
Gingerbread character tutorial!
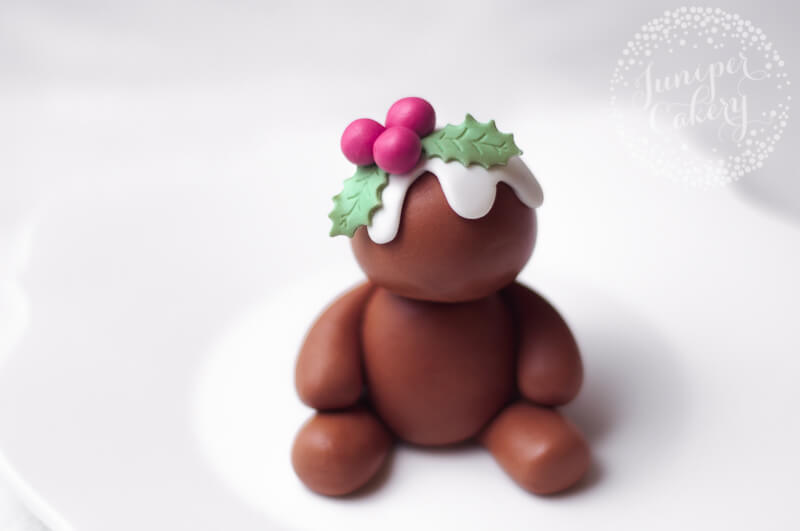
07: When your holly leaves are ready attach with a dab of edible glue on top of your fondant gingerbread character.
08: Take some pink fondant and roll out three balls. Add these on top and in the centre of your holly leaves.
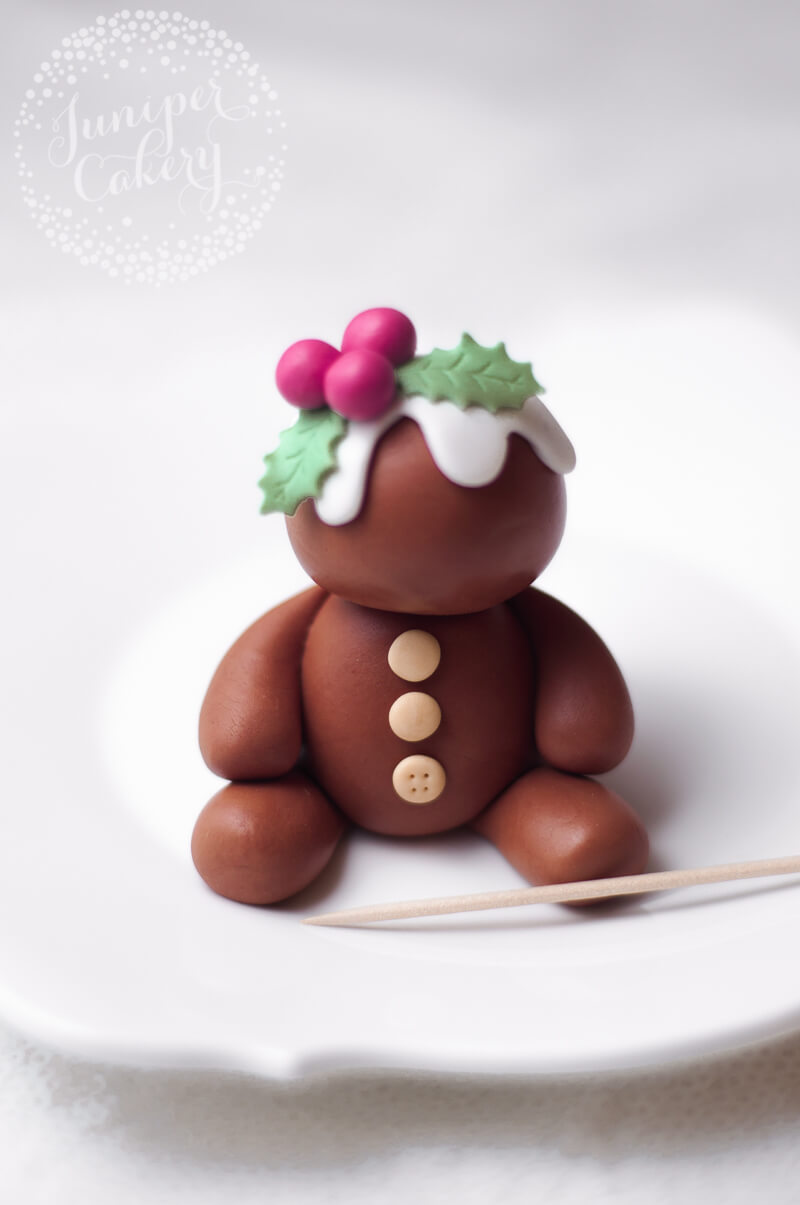
09: One of our favourite things about this little cutie is the tiny little buttons! These are super easy to make too. Make three tiny balls of caramel tinted fondant and stick to the front of your figure with edible glue. For the button detailing simply use the sharp end of a cocktail stick to poke 4 holes. You can paint these buttons now or when you’re completely finished. We generally wait until everything is done to add any painted elements.
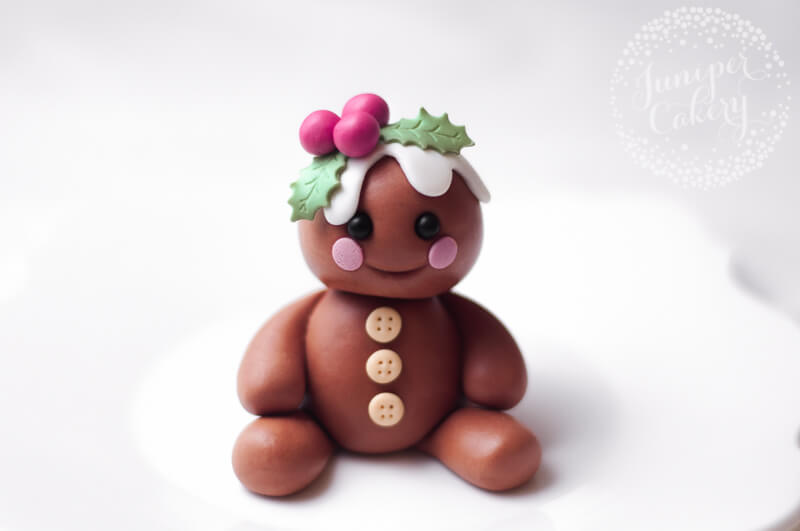
10: For the face indent two eye sockets using a small ball tool and attach the black edible sugar pearls. Then using the bottom end of a piping tip create it’s smile before finished each end with pink confetti sprinkles for some sweet rosy cheeks!
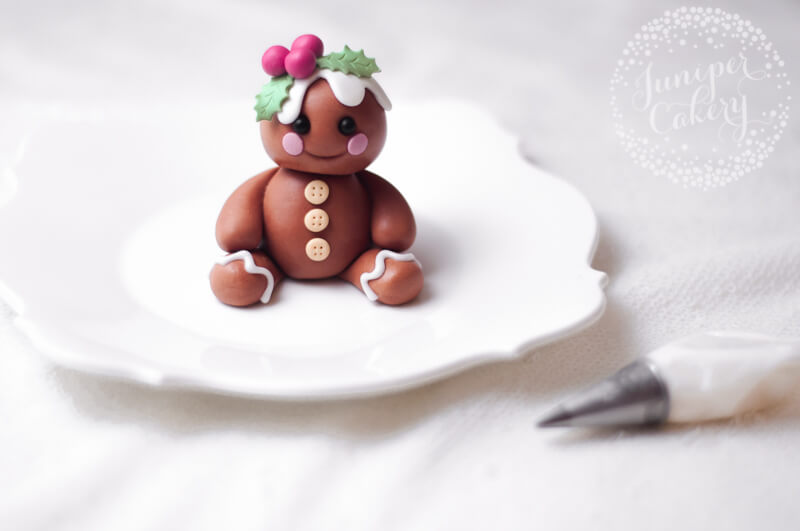
11: Add the cute cookie-inspired detailing to it’s arms and legs with either some royal icing (we just piped wavy lines in place) or thinly rolled out white fondant!

Now you can add your adorable little fondant gingerbread character to festive cakes and cupcakes! How amazing would this little beauty be on sweet treats at a Candyland themed Christmas party? Pair it with swirly lollipops, candy cane decorated cakes and gum drop studded cookies for an impressive dessert table!



1 Comment
[…] Cute Fondant Gingerbread Character […]