As discussed in June’s development post our inspiration for this month’s cake was tart, fruity flavours. Our lemon, lime and passion fruit combination naturally lead us to create a fresh, vibrant colour palette full of tonal yellows, oranges and green! The ombré buttercream technique we used combined the summer hues of lemon and yellow perfectly and baked inside the cake are flecks of lemon and lime zest to add extra flavour and bursts of bright green.

Makes approx. 2-3 x 8″ circle layers depending on thickness of each layer
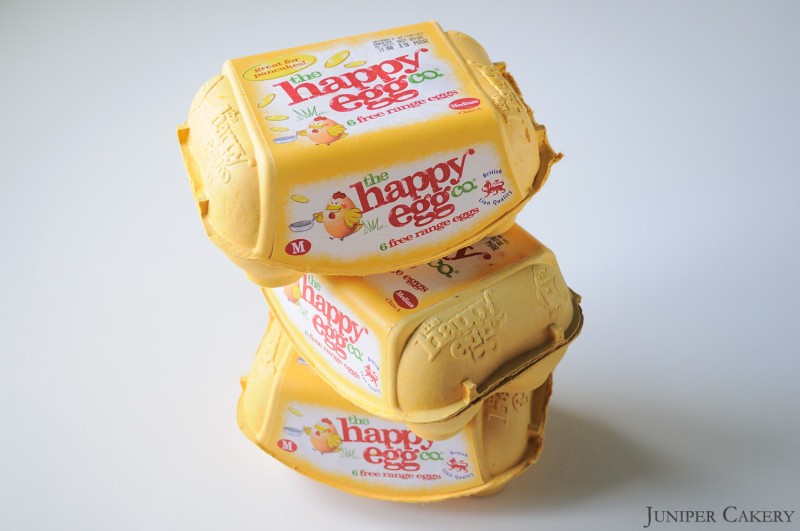
7-8 free range eggs by The Happy Egg Co. depending on egg size
453g self raising flour
453g caster sugar
453g butter
Zest from 2 lemons (optional)
Zest from 2 limes (optional)
Natural Lemon Extract
Natural Lime Extract
Pre-heat an oven to Gas Mark 3/325F/170C.
Cream your butter in a mixer then add the sugar. Add in the flour along with half of the happy eggs for around one minute. Once half of the happy eggs are combined add the remaining eggs. Mix for about 5 minutes.
Separate your batter into two or three clean bowls (depending on how many layers you’d like) and flavour each with either lemon or lime extract (and zest if you’ve opted for this… do bear in mind that having the zest inside your cake is a little like choosing orange juice with ‘bits’).
Pour batter into an 8″ cake tin/pan around (we aim for the batter to reach 1 1/2 to 2cm in height in the tin) place on the top shelf. Bake for around 40-50 minutes or until ready. Repeat this step to create your second and third layer. When all layers are baked leave them to cool fully as you prepare your buttercream!

For the buttercream you will need…
453g butter (don’t use margarine as the water content is higher and not suitable for buttercream)
453g – 553g icing sugar (choose your own consistency and taste)
Natural Passion Fruit Essence (flavour to taste)
Add half of the of butter into your mixer and cream. Then gradually add icing sugar and the remaining butter (cut into cubes) until you get a smooth, creamy texture.
Add in the passion fruit essence to taste. Separate the buttercream evenly into three clean bowls and colour each a darker shade than the last.

The ombré buttercream technique
Achieving an ombré technique with buttercream is much simpler than with fondant as any mistakes can be improved.
Step one: Before you apply your deeper toned colours use some of your lighter coloured buttercream to apply a crumb coat; this will secure any crumbs so they won’t spill out into your design.
Step two: Now your cake is covered in a thin crumb coat begin to work in bands of colour from the top down. Use a large cranked spatula to apply the remainder of your lighter coloured buttercream to the top of your cake. We were intentionally messy when decorating the top of our cake as this is a fun and simple way to add texture!
Step three: Add your two remaining colours in the same way and use a straight edge scraper to blend the buttercream on the sides of your cake for the perfect ombré finish.
This cake could be created using any three colours so don’t be afraid to experiment with your design.


I love the yellow ombre look of this cake. It’s stunning!
Hi. Thanks for your lovely comment, Elle. Ombre is a wonderful look for cakes right now isn’t it?
This is a beautifully decorated simple and somber cake. LOVE IT
Hi, Thanks for your kind comment. It was really simple cake to frost and makes a lovely effect too.
This cake is stunning! Can I ask what type of color gel/paste you used? It looks more gold to me but I know different gels produce different hues. So lovely!!!
Hi Catherie,
Thank you for your lovely comment. To get the Passion Fruit toned colours of the buttercream we used Wilton’s Golden Yellow (http://junipercakery.co.uk/edibles/gel-paste-colourings/golden-yellow-food-colour-paste-by-wilton.html) and Sugarflair’s Autumn Leaf (http://junipercakery.co.uk/edibles/gel-paste-colourings/autumn-leaf-food-colour-paste-by-sugarflair.html) and strengthened each batch of buttercream with more of both colours!
We hope this helps!
THANK YOU! I can’t wait to try this and some of your other amazing recipes!! Do you ship to the US???
Hi Catherine, If you try out our recipes or tutorials we’d love to see your work.
Yes, we do ship to the States. Our e-store generates a shipping quote for you based on where you live and the weight of your order once you are ready to check out. Also, on the top right hand side of our website you can change the currency settings to view all items in US dollars.
We hope this helps!
That is just wonderful! I will certainly forward any pictures/links to my work via your amazing website. Thank you, again!
This looks absolutely amazing! Looking forward to trying some of your recipes when I find the time!
Hi,
Thank you for your lovely comment. We’re happy you enjoy the recipes. If you do try any do feel free to share your pictures.
was it hard to get the two tonned colour? Will any cake work?
Do you have directions for making the cake?
Hi Naomi, The full recipe for the cake is included in this blog post. We hope this helps.