
Rainbow Candy Cake in Partnership with The Happy Egg Co.
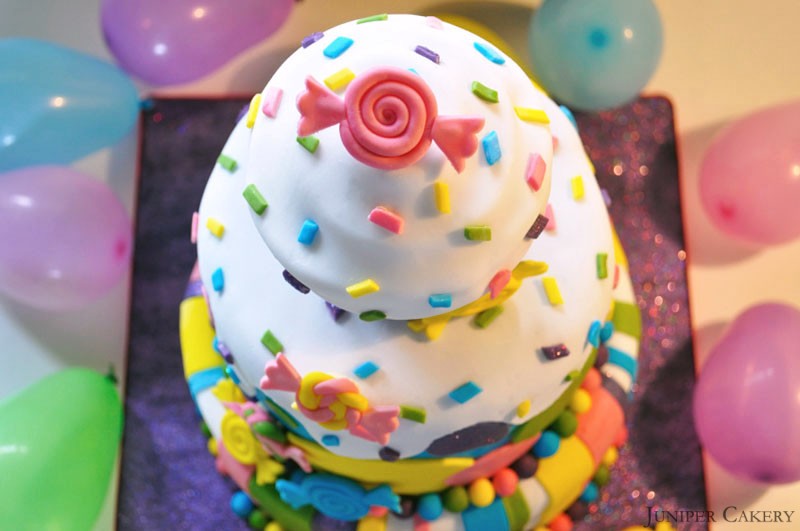
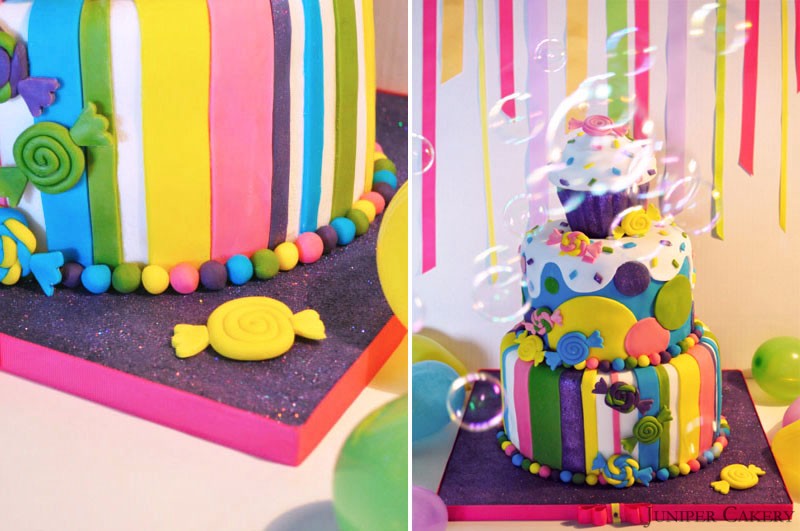
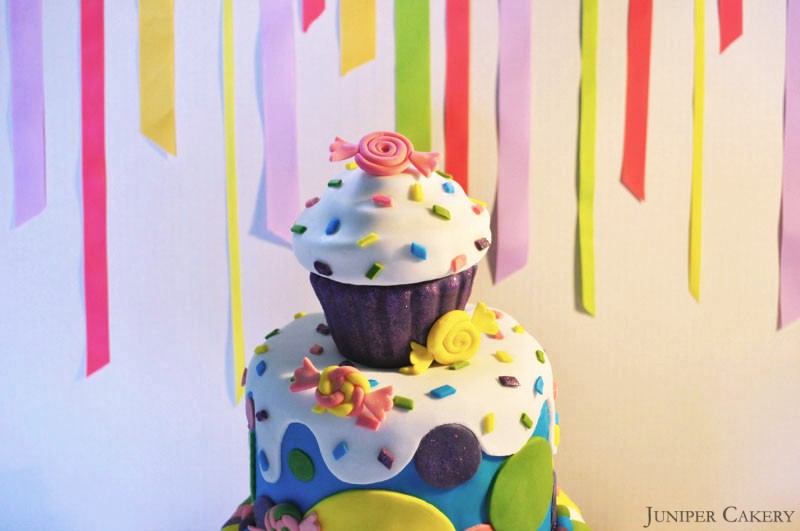
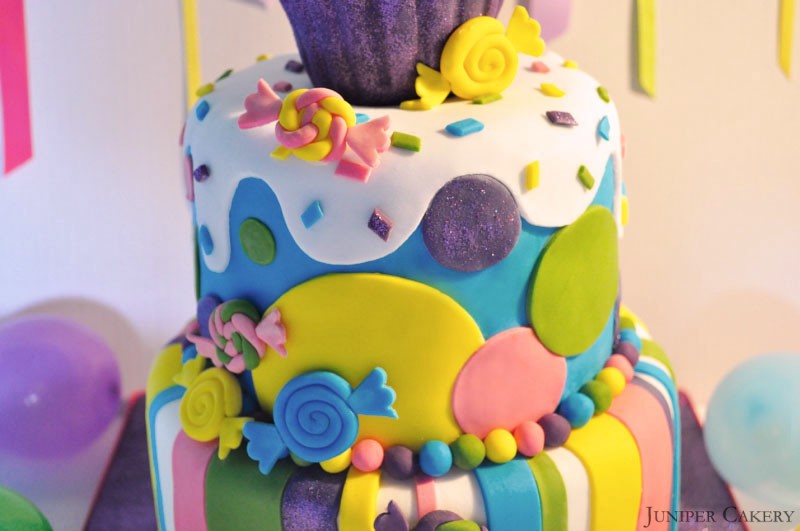
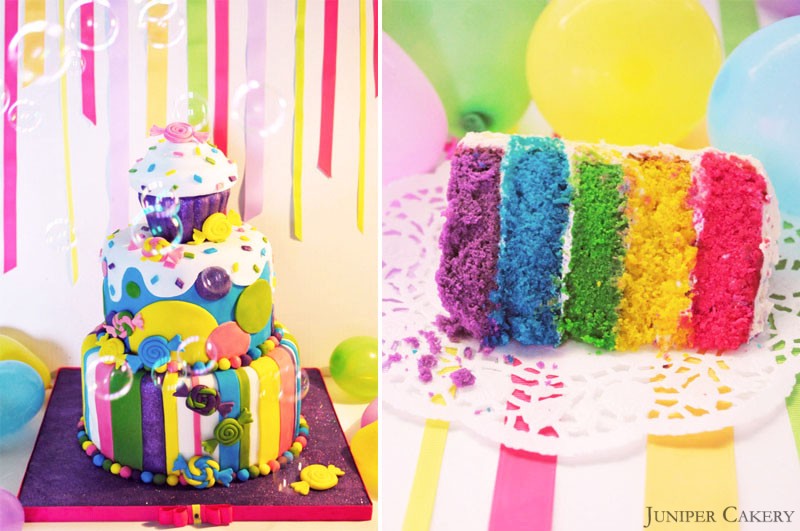
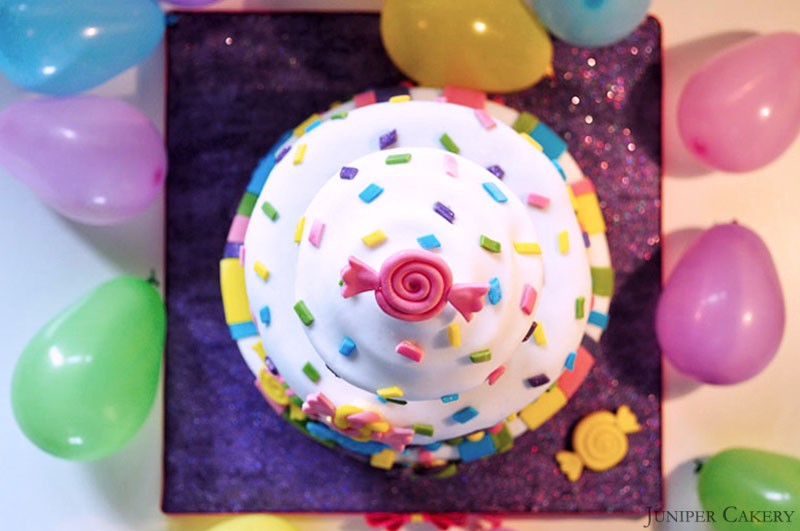
Welcome to our fourth cake, recipe and cake decorating tutorial in partnership with The Happy Egg Co.! In our development post we blogged about creating an exciting candy themed cake which would fit right in at children’s parties and picnics. To recreate that sense of fun we chose a rainbow cake filled with our toasted raspberry marshmallow fluff and piled it high with colourful handmade sweets, candies, stripes and spots. To add a textured finish to the board, and to add a little sparkle, we added liberal amounts of purple glitter for the three-tier candy cake to sit atop. After the following images you’ll find the recipe and a tutorial on how to make this cake and the decorative sweets. Why not try it for yourself?
Raspberry Marshmallow Fluff Recipe
3 egg whites at room temperature
256g icing sugar
256g light corn syrup (easily found on Amazon or online American food stores)
1/2 tea spoon of salt
Natural raspberry essence
Weigh the icing sugar and corn syrup in preparation and leave them to one side. Separate three egg whites into a bowl.
Place the egg whites, corn syrup and salt into your mixer and leave on high speed for 5 minutes. This will be done when it turns white in colour.
Now add the icing sugar little by little as you continue to mix your ingredients on a low speed. Once the icing sugar has been integrated it is time to pour in your chosen flavouring (this can be adjusted according to taste). Once your ‘Fluff’ has gained volume it is done.
Cake recipe
To create this cake (a 9 inch circle) you will need the following…
7-8 free range eggs by The Happy Egg Co. depending on egg size
1 lb self raising flour
1lb caster sugar
1lb butter
Gel paste food colour in a range of rainbow colours (purple, blue, green, yellow and pink)
To make the cake cream your butter in a mixer then add the caster sugar. Add in the flour along with half of the happy eggs for around one minute. Once half of the happy eggs are combined add the remaining and mix for about 5 minutes.
Pour each colour into separate greased cake pans and place on the top shelf of a pre-heated oven at Gas Mark 3/325F/170C. Bake for around 30 minutes.
Note: Repeat this recipe for your second tier and half it for the cupcake tier.
Leave to cool and in the meantime prepare your buttercream.
Buttercream recipe
For the buttercream you will need…
453g butter (don’t use margarine as the water content is higher and not suitable for buttercream)
453g - 553g icing sugar (choose your own consistency and taste)
3 vanilla pods
For the buttercream add half of the 1lb of butter diced into pieces. Cream the butter in a mixer. Then gradually add icing sugar and the remaining butter (cut into cubes). Once the buttercream is of a smooth consistency add some the inside of your vanilla pods and mix well.
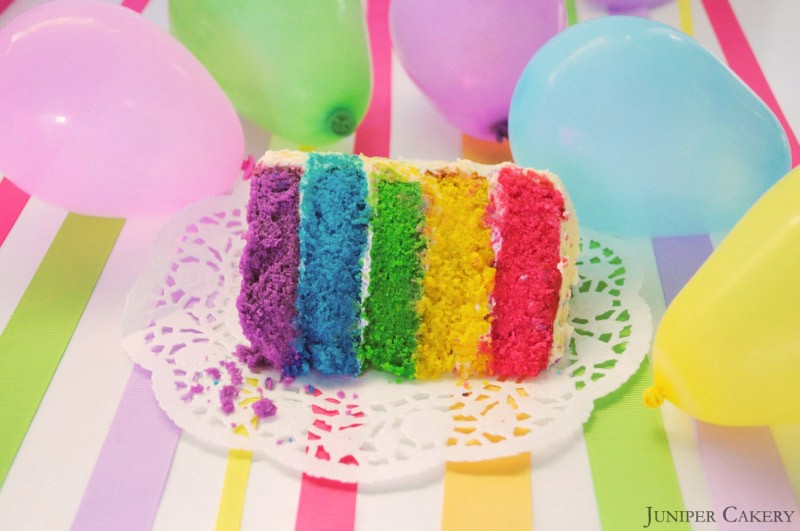
As this cake is stacked with five multi-coloured layers the cake batter needs to be split accordingly. We aimed for reasonably thin layers which meant splitting each 1lb of batter into five.
How to Make the Fondant Sweets
What you will need:
White sugarpaste/fondant
Gel paste food colour in a range of rainbow colours (purple, blue, green, yellow and pink)
Edible glue
Cocktail sticks
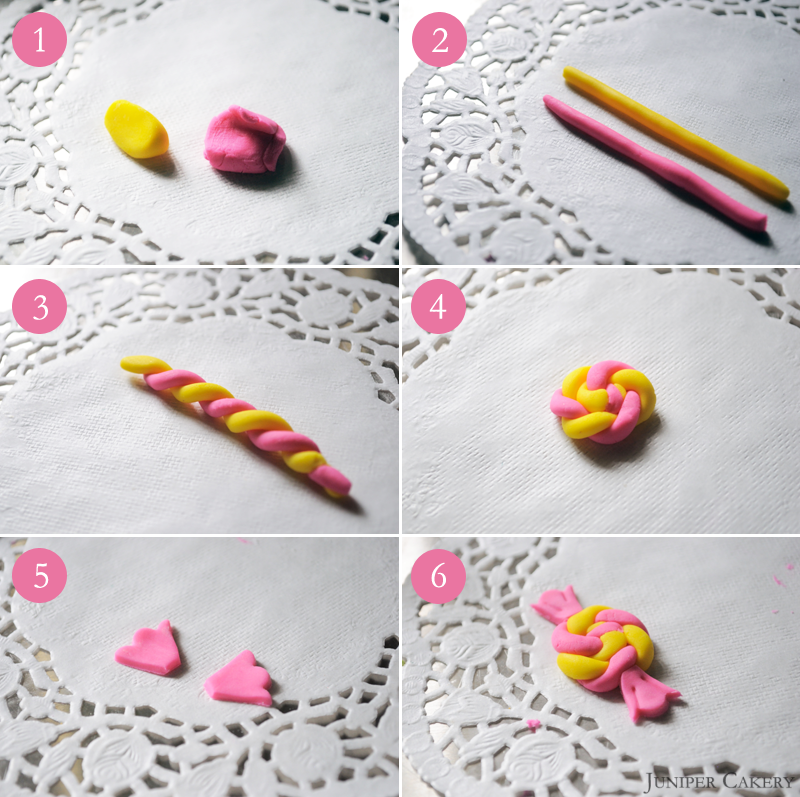
Step one: Custom colour your white sugarpaste
Step two: Begin rolling to make two long ‘sausage’ or ‘snake’ shapes.
Step three: Pinch the two strips of fondant together and gently twist to create the entwined colours and pinch the other end.
Step four: Begin rolling to create a swirl.
Step five: Cut a cocktail stick down and stick into opposite sides of the swirl and set to one side. Cut one two triangles and use the small Tala cutter to create a scalloped edge.
Step six: Place a small amount of edible glue on each piece of cocktail stick and press the triangles in place.
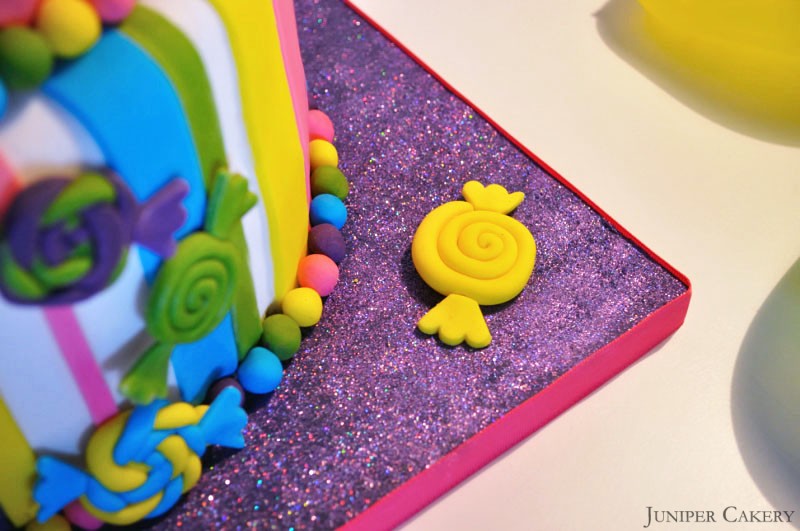
This cake is easily customisable and would be great in any season; changing the colours to reds, greens and golds would make for a fantastic Christmas cake!
If you are feeling less daring why not create cups of bright rainbow batter add the colours together in cupcake cases, bake, and then top with the fondant candy decor featured in this post!

