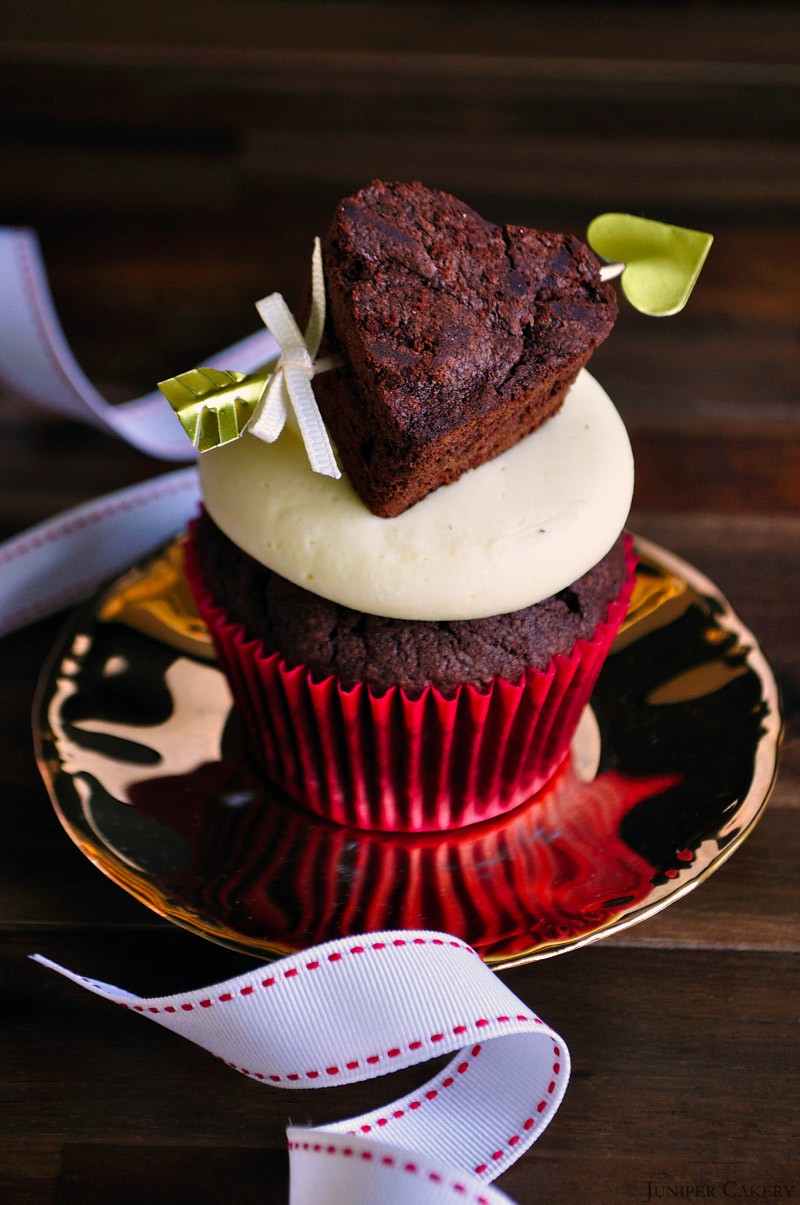
Hoppy Easter Cake Decorating: Chocolate Easter Egg Bark!

Decorating cakes doesn’t have to be hard. Sometimes simplicity and fun really helps (as well as knowing your limits). Our fabulously fuss-free chocolate Easter egg-inspired ‘bark’ is perfect for breaking up and using as gourmet style cupcake decorations and even better for adding a wonderfully dramatic effect to freshly buttercreamed cakes. 

Decorate cakes and cupcakes with this easy tutorial for Easter chocolate bark by Juniper Cakery

Tutorial for fun Easter chocolate bark by Juniper Cakery

Inspired by tempting hand-crafted Easter eggs that have been somewhat of a trend in the UK for a past few years our quick chocolate bark can be adjusted to suit any recipe or theme. We create bark for an array of bakery-style cakes we make such as peanut butter (with crushed Nutter Butter cookies and a dark chocolate drizzle) to lemon and white chocolate (with yellow tinted white chocolate drizzles and bright rainbow sprinkles) because it’s tasty, quick and eye-catching! Follow our tutorial below to make this impressive and edible cake and cupcake decor! 

Easy Easter chocolate bark tutorial by Juniper Cakery

How to make easy chocolate Easter egg bark!

Materials and ingredients needed:

Melt good quality chocolate to make Easter egg bark

Step 1:
In a microwave use a glass microwavable jug to melt your chocolate buttons or chips. Heat them for around a minute BUT keep checking them every 10-15 seconds or so giving them a good stir with a metal palette knife each time until all buttons are melted.
How to whip up quick chocolate bark tutorial by Juniper Cakery

Step 2:
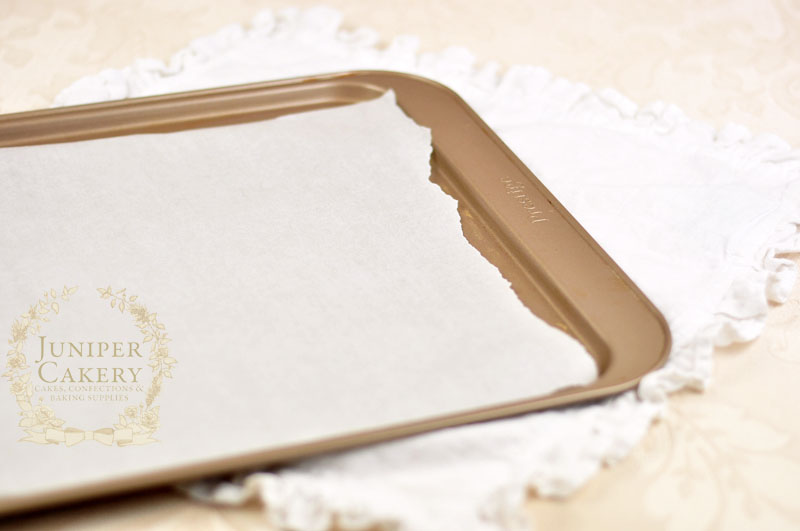
Line a flat baking tray with greaseproof paper and spread your melted chocolate thickly on top using the small angled palette knife.
Make Easter chocolate bark with fun sprinkles and candies

Tutorial for fun chocolate bark by Juniper Cakery

Step 3:
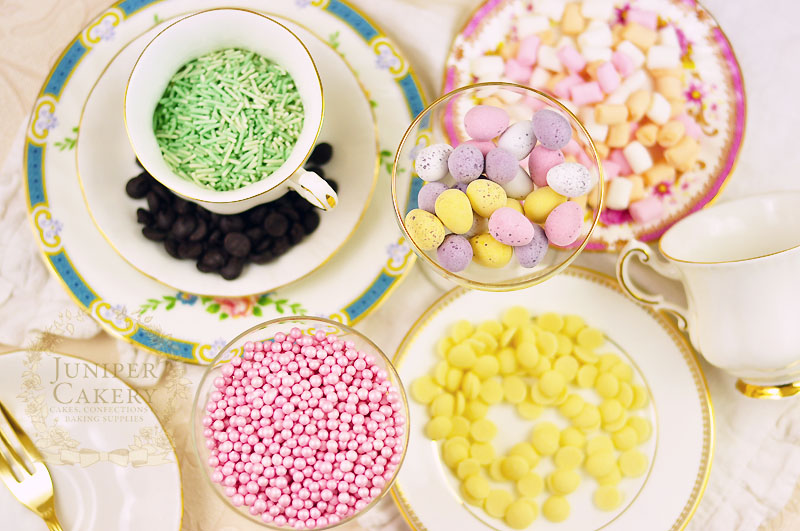
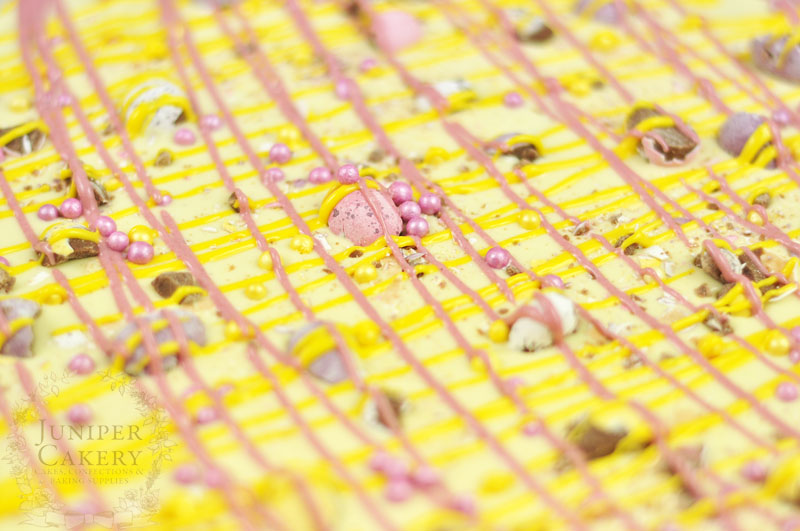
Now for the super fun part! Add sprinkles, crushed candies, cookie crumbs, tasty chocolate chips etc on top. To help seal these delicious toppings in use melted chocolate drizzles on top.

Create pretty chocolate bark with this handy tutorial by Juniper Cakery

Step 4:
Take your tray of tempting chocolate bark and place in the freezer for up to 30 mins to set fully. You can set your bark aside at room temperature for a few hours, but utilising a freezer helps speed up the wait a little.

Pink and yellow mini egg chocolate bark by Juniper Cakery

Step 5:
Remove from the freezer and use your hands to break the slab of chocolate into large shards (to decorate smaller items such as slices of opera cake, buttercream piped cupcakes etc break into smaller pieces).
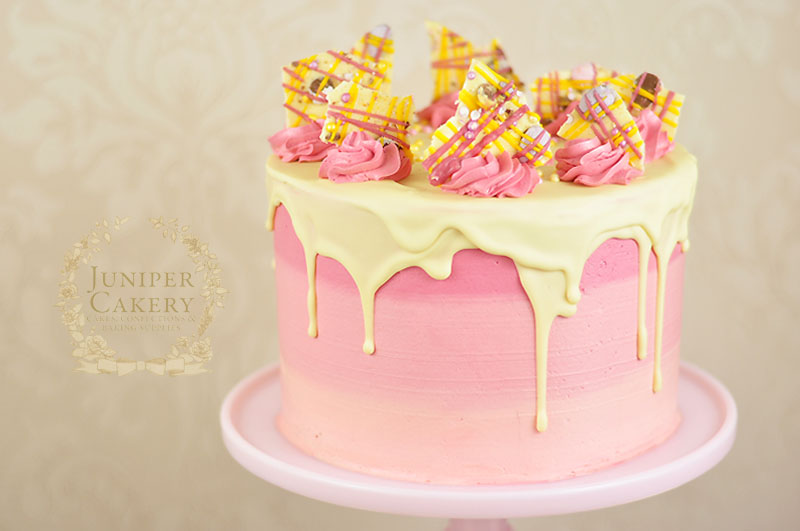
Strawberry milkshake birthday cake by Juniper Cakery

Step 6:
Now you can use the colourful pieces to adorn your freshly buttercreamed cakes and cupcakes!

Strawberry Milkshake Cake by Juniper Cakery

How to make simple Easter chocolate bark to decorate cakes and cupcakes with

Easy right? We bet you’re looking at one deliciously gorgeous cake right now. The best thing about creating chocolate bark and decorating with it is its adaptability. Its amazing to adjust and try out new sprinkles, sweets and chocolates for different occasions. We just can’t wait to make rocky road bark for chocolate fudge cakes or tasty s’mores inspired shards (mini marshmallows, chocolate pieces, graham crackers etc) for a toasted marshmallow and chocolate bakery cake!


Raspberry, White Chocolate and Pink Peppercorn Cake!

Add a little subtle heat to your Valentine’s Day treats with our fabulous Raspberry, White Chocolate & Pink Peppercorn Cake recipe! This cake is a delight to whip up, but it’s even better to eat! We love the luxurious silky taste of the white chocolate buttercream featuring fruity warm hits of pink peppercorns dotted throughout. Follow our super tasty recipe below for a fantastic treat…

Raspberry, White Chocolate and Pink Peppercorn Cake

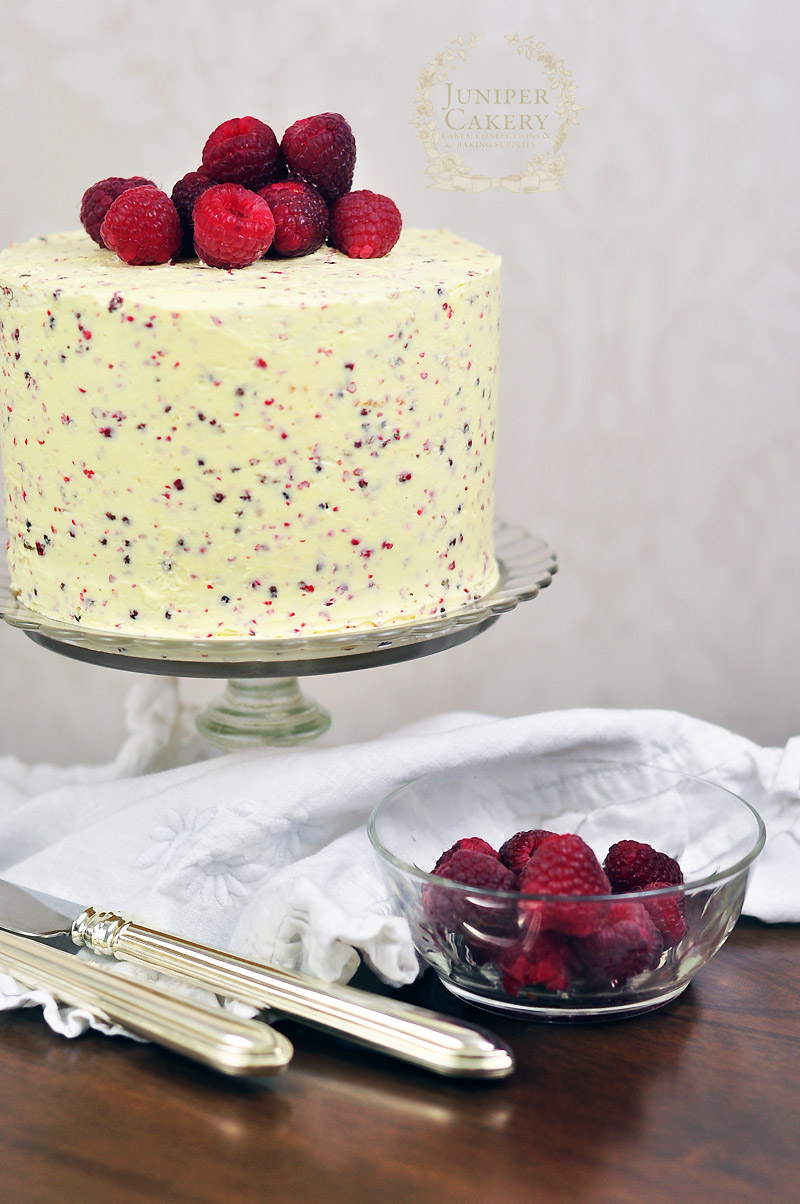
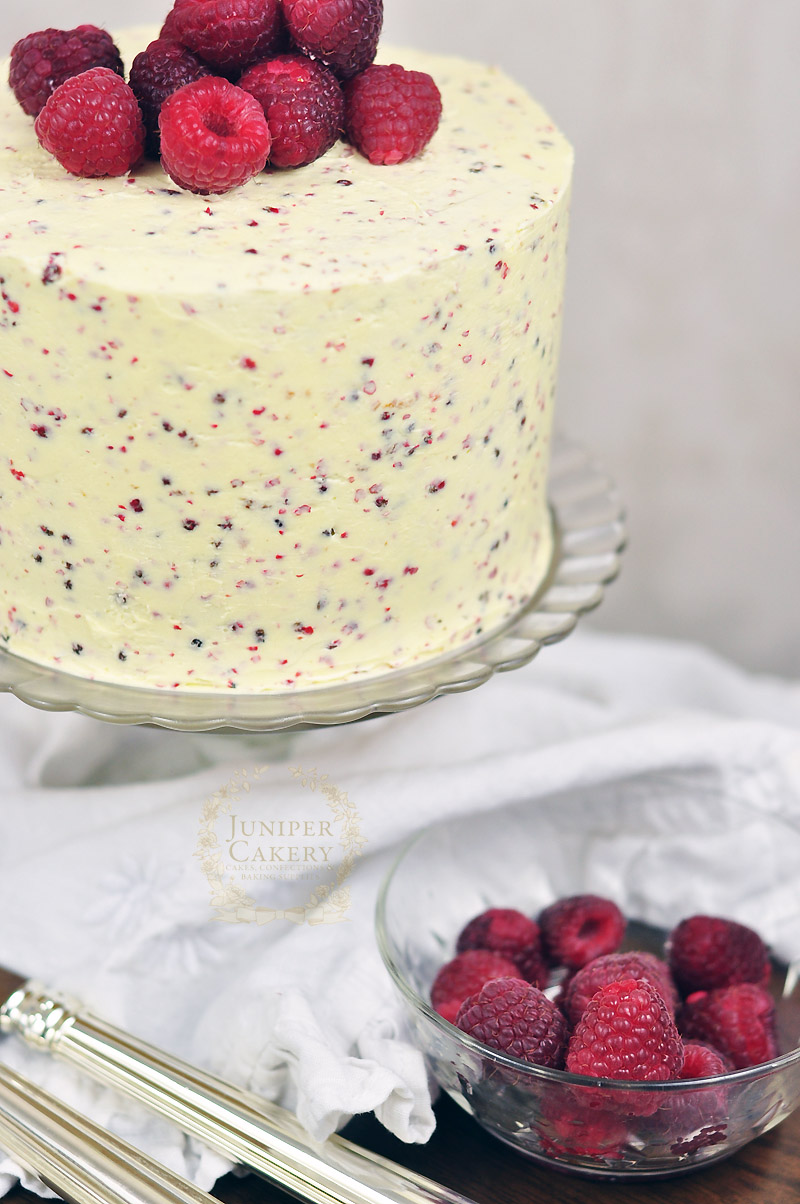
Raspberry, White Chocolate and Pink Peppercorn Cake by Juniper Cakery

Recipe for a Raspberry, White Chocolate and Pink Peppercorn cake by Juniper Cakery

Recipe for a fruity yet peppery Raspberry, White Chocolate and Pink Peppercorn cake by Juniper Cakery
(makes approx. 3 x 1″ layers 6″ in diameter)

Ingredients for the vanilla cake

453g self-raising flour
453g caster sugar
453g butter or baking margarine (diced and left at room temperature to soften)
7 medium sized eggs
Vanilla extract

Ingredients for the white chocolate and pink peppercorn buttercream

500g butter
400g icing sugar (approx.)
300g white chocolate good quality callets, buttons or chips
2 tablespoons pink peppercorns

Ingredients for the raspberry preserve

300g fresh raspberries
300g pectin sugar
1 tablespoons lemon juice

To decorate

Fresh raspberries (not frozen)

To bake, fill, cover and decorate your cake

Step 1: Preheat your oven to 170 degrees C / 325 degrees F / Gas mark 3 and grease or line your cake pans.

Pink peppercorn cake recipe by Juniper Cakery

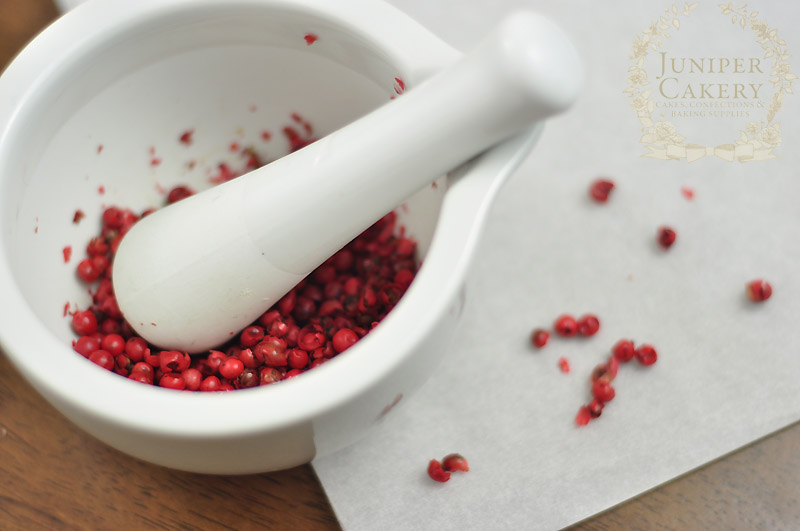
Step 2: Prep your pink peppercorns by adding them to a pestle and mortar to grind down. It’s OK if you have pink husks in your mix as these don’t hinder the taste and texture of your buttercream too much! At this stage you’re simply preparing your peppercorns for your buttercream as this can be a lengthy process. Set aside once crushed and ground.

Step 3: Add diced room temperature butter to a stand up mixer and mix until creamy.

Step 4: Add in the sugar and vanilla extract. Mix well before adding in the eggs.

Step 5: Gradually add in the flour whilst mixing. We add half and mix well before we include the last half of the flour once the first half has been incorporated.

Step 6: Separate your batter evenly between 3 x 6″ circle baking pans (you can use 8″, however, be aware that your layers may be a little thinner once baked)

Step 7: Place in the oven and bake for around 30-40 minutes or until a cake tester is inserted and comes out clean! Once baked remove and leave to cool on a wire rack.

Step 8: To make the buttercream add softened diced butter to a stand up mixer and cream.

Step 9: Sift icing / confectioner’s sugar into the bowl of creamed butter until a consistency and taste you like. When you can taste equal amounts of butter and sugar it’s ready!

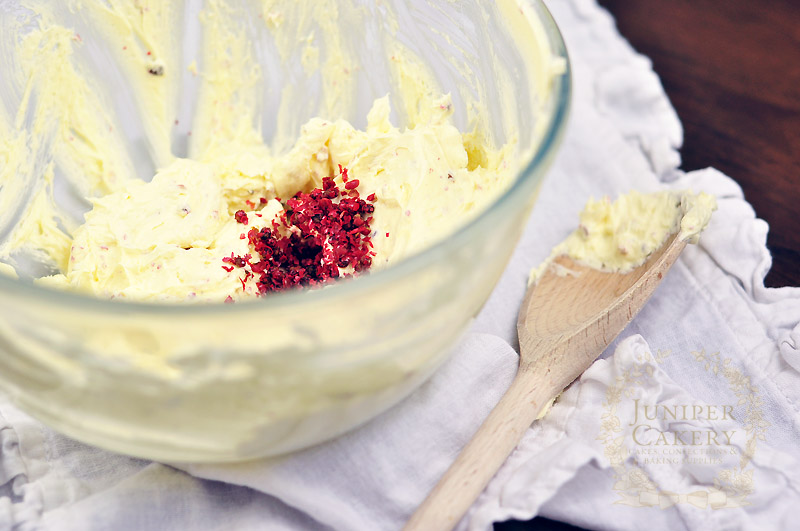
Pink peppercorn buttercream by Juniper Cakery

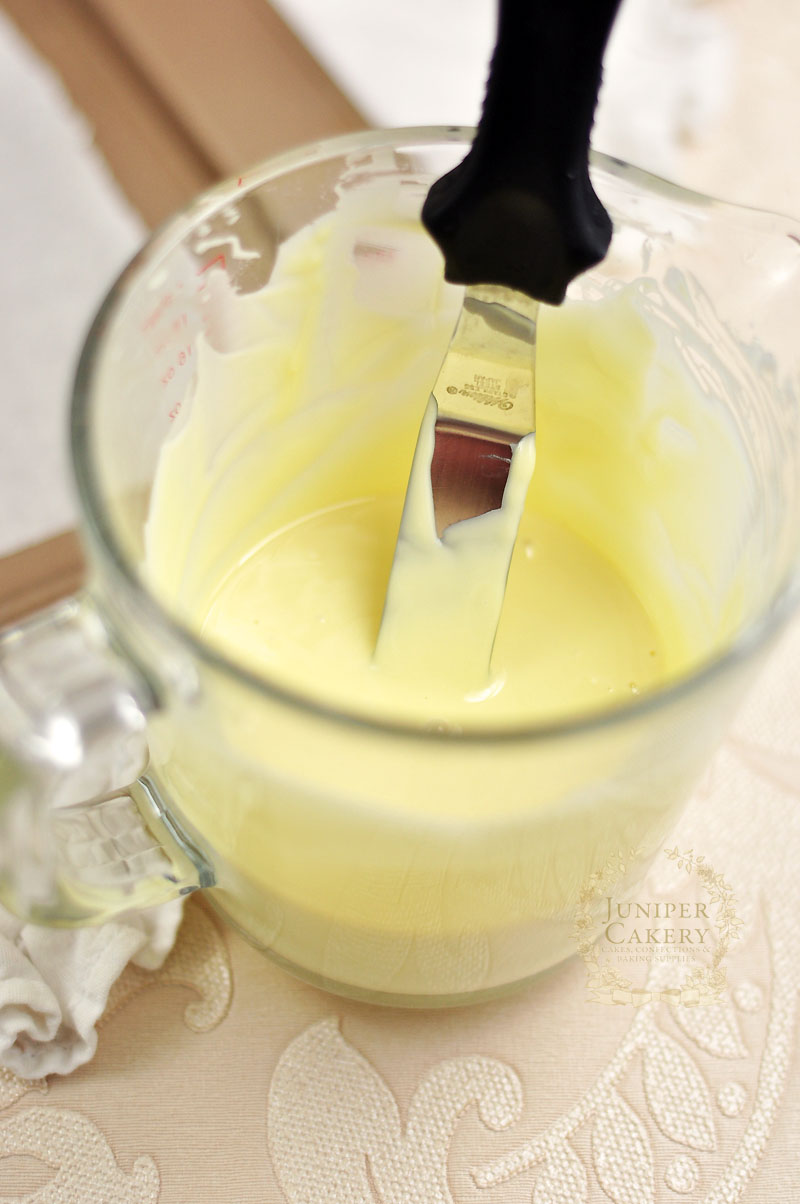
Step 10: Add melted white chocolate and mix on medium speed before adding in ground pink peppercorns you prepared in step 2! Don’t over mix or you’ll be left with lots of annoying air bubbles. Set aside.

Step 11: To create your raspberry jam add your fresh raspberries, lemon juice and water to a saucepan. 

Step 12: Cook the preserve ingredients on medium to high heat and stir until the raspberries break down and the mix is a good thick consistency.

Step 13: Remove and transfer to a clean bowl or jar to leave to cool.

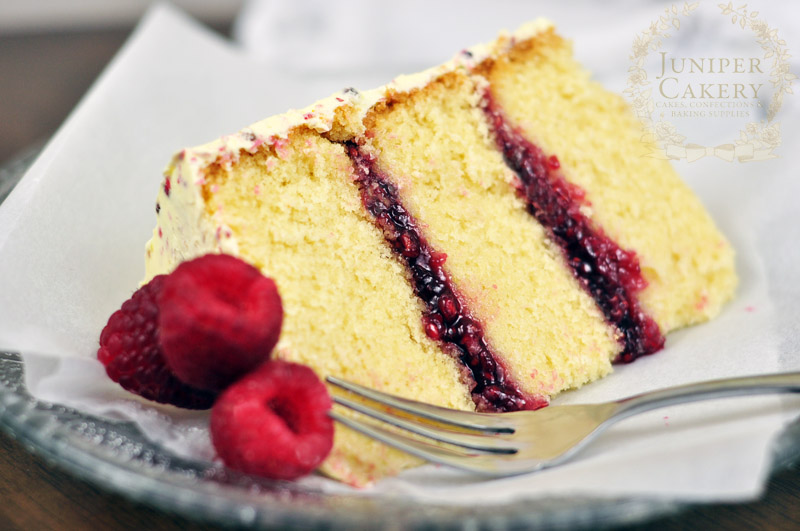
Step 14: To assemble cut your cake layers so that each is level and flat. Then fill with your raspberry preserve placing the next layer on top until complete. Once fully stacked remember not to add your jam to the very top/outside layer of cake.

Step 15: With a large angled palette knife smother your white chocolate and pink peppercorn buttercream onto the top and sides of the cake. Use cake scrapers to smooth out your buttercream.

Step 16: Topple fresh raspberries on top to finish!

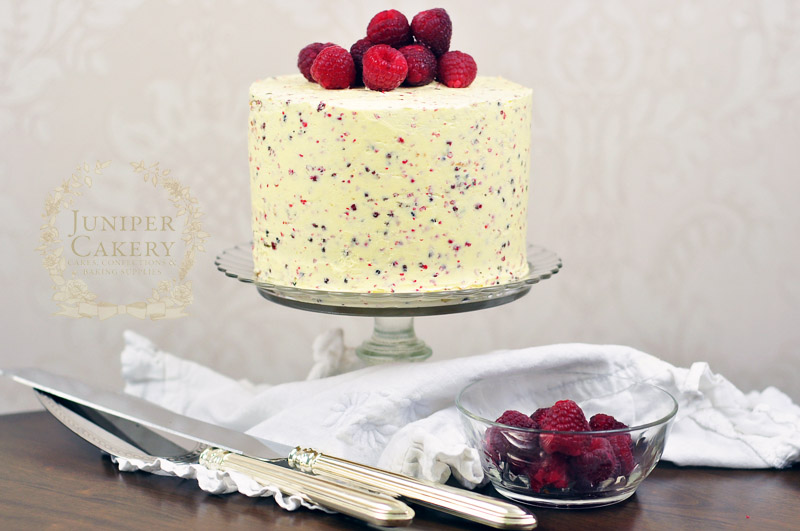
Raspberry, White Chocolate and Pink Peppercorn cake recipe by Juniper Cakery

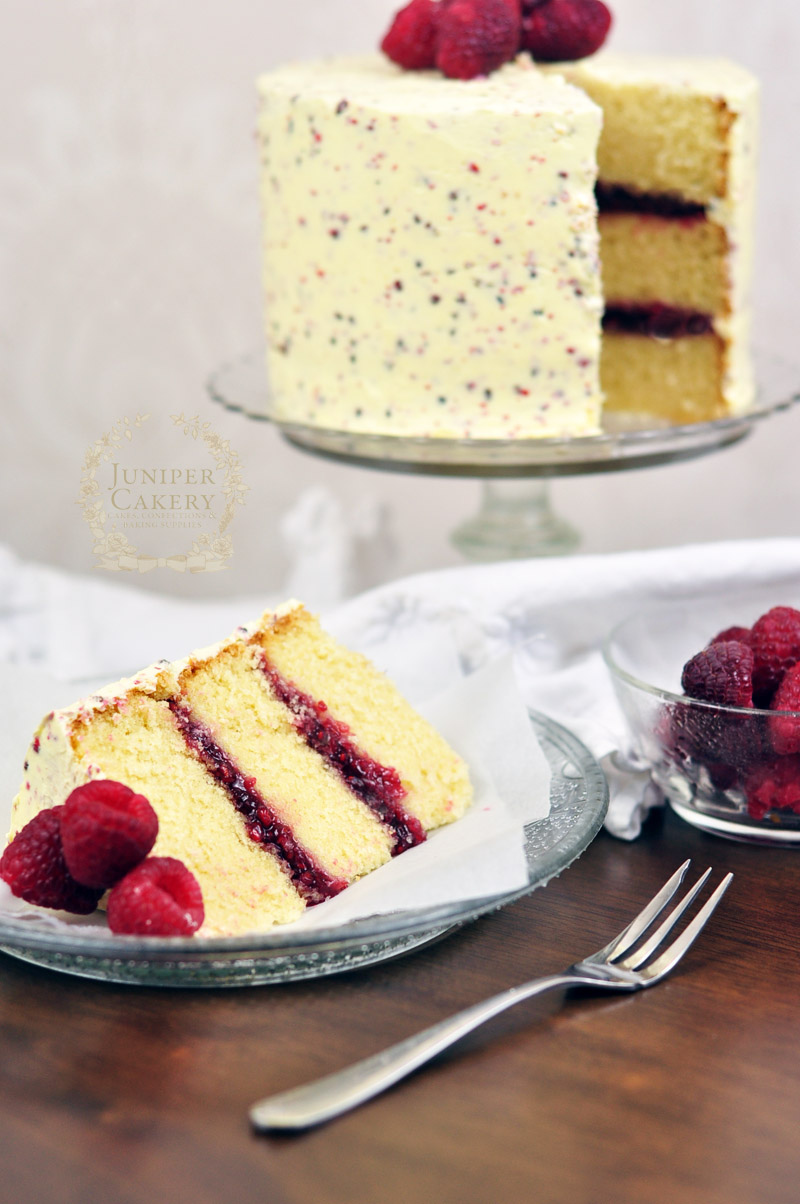
Slice of raspberry and pink peppercorn cake by Juniper Cakery

Pink peppercorns make a truly unique and surprising twist to this recipe. They’re sweet and fruity yet exude a subtle hit of pepper heat. To turn it up a notch why not add ground pink peppercorns to your cake batter before baking? Or grind some into your home made raspberry preserve? They pair well with other fruity tastes so if you’re not a fan of raspberries why not try morello cherries, strawberries, tangy lemon curd or even healthy blueberries?


Zesty Lemon Cupcake Recipe!

This fabulous lemon cupcake recipe is always a definite hit for us when in need of a little afternoon pick-me-up. We love the sweet yet tangy dimensions of taste found in these little gems and adore how they work so well against the soft and creamy textures of the cake and buttercream. They’re wonderful additions to get-togethers, parties or a quick treat during the warm summer months so why not follow our lemon cupcake recipe below for a crowd-pleasing batch treats!

Lemon cupcake recipe by Juniper Cakery

Zesty Lemon Cupcakes Recipe (Makes approx. 12 cupcakes)

  • 226g self raising flour
  • 226 butter
  • 226g caster sugar
  • 4 eggs
  • Lemon extract
  • Finely grated peel/zest of 1/2 a lemon

Step 1: Pre-heat your oven to Gas Mark 3 / 160C / 325F and line a cupcake pan with cupcake cases.

Step 2: Cream your butter and sugar first and when ready add your eggs, lemon zest and lemon extract (test your batter to make sure it’s as lemon-y as you’ve like it).

Step 3: Once combined add the flour, mix well and pour your batter into your cases.

Step 4: Bake for around 20-30 minutes or until a cake tester comes out clean when tested.

If you’re throwing a grown-up party why not fancy this recipe up with a splash of King’s Ginger (one of our favourite liqueurs) in the buttercream, fill with a vodka and lemon curd preserve, or add a touch of class with reduced champagne in the buttercream and topple with curled lemon zest and fresh raspberries!

Lemon buttercream

  • 500g softened butter
  • 400g-500g icing sugar
  • Lemon oil or extract

Step 1: Cream your softened butter in a stand up mixer.

Step 2: Sift your icing sugar and this add to your butter. Cream together.

Step 3: Add in your lemon oil or extract to flavour your frosting. We add in around 2 teaspoons, but you should add in whatever amount tastes best for you!

Lovely recipe for lemon cupcakes by Juniper Cakery

Lemon cupcake recipe by Juniper Cakery

Our top tip when it comes to baking gorgeous cupcakes is to fill your cases carefully. It doesn’t matter how busy we are and how insane our workload gets we make sure to never spill or drip batter onto the cases. Not only does this look rather unsightly and adds burnt cake to the outer edges of your cupcake cases, but it can even hinder your cakes baking evenly! A really handy method for filling your cases is to use a disposable piping bag and pipe batter into each cases.

Recipe for some tangy lemon cupcakes by Juniper Cakery

We fully advocate baking and making buttercream completely from scratch so we’re perfectionists when it comes to getting super silky buttercream. Our advice is to experiment, modify and test like a mad scientist! Our baked creations, buttercreams and fillings are the result of stressful late nights in the kitchen timing how long butter was whipped for, which butter performs/looks/tastes/holds better, etc. When we found a recipe that didn’t work we took it apart and adjusted it, tried again and repeated until it was perfect for us!

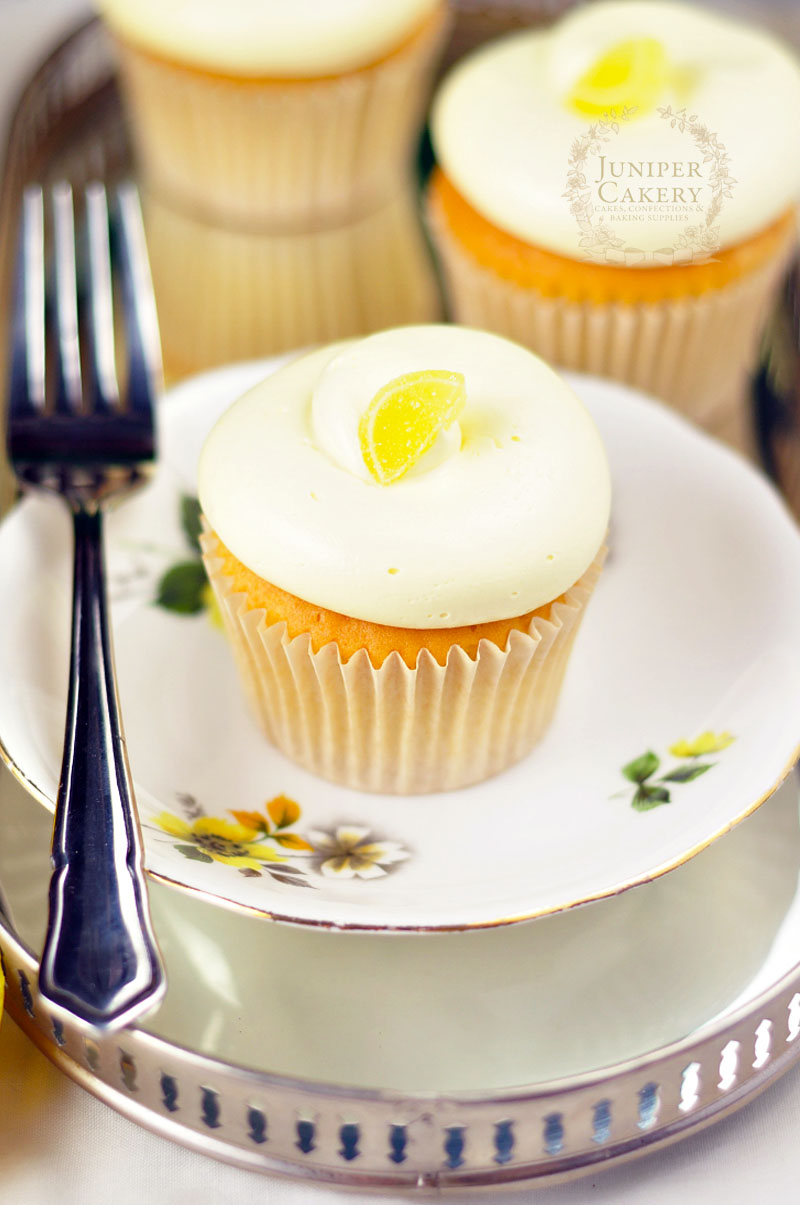
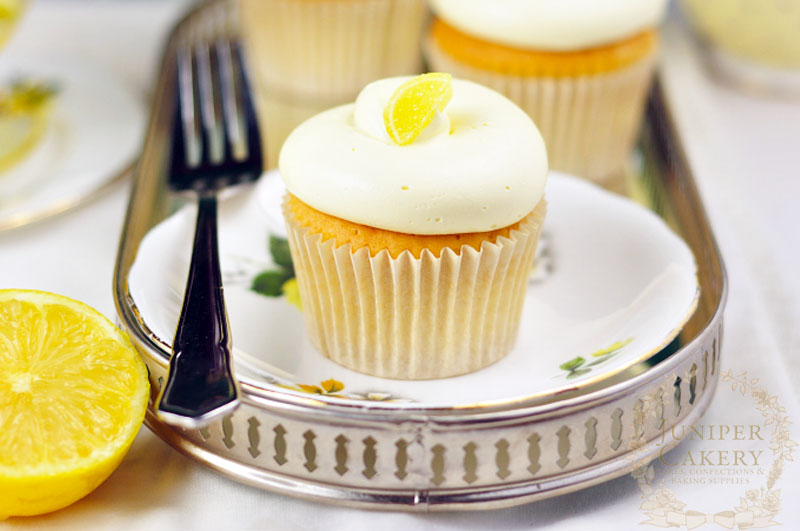
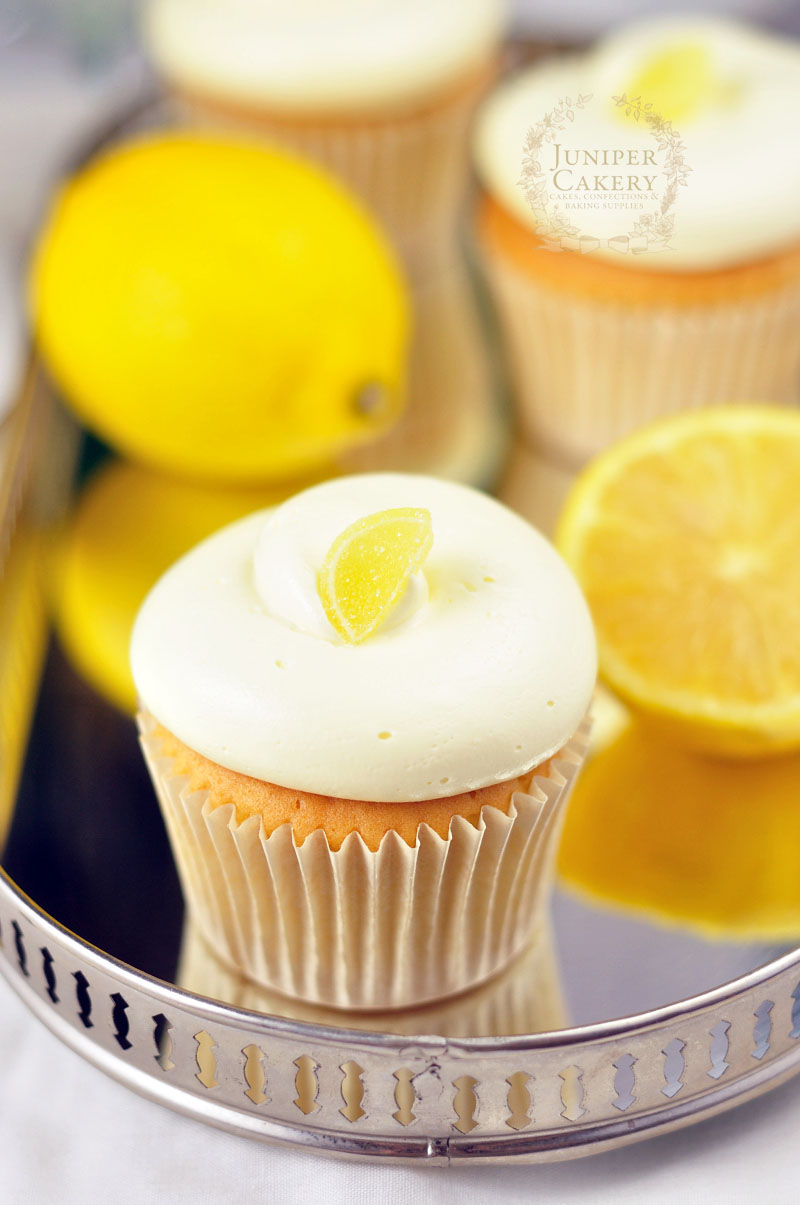
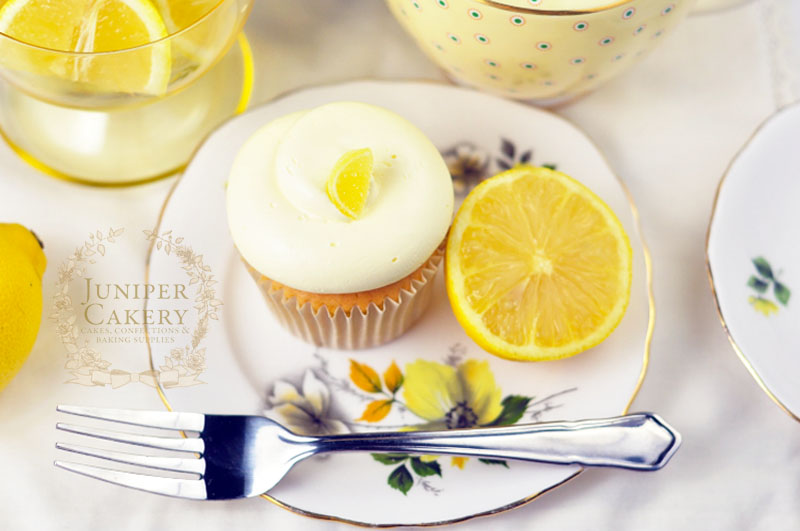
Gorgeous lemon cupcake by Juniper Cakery

Make sure to pipe each cupcake with a generous swirl of buttercream and decorate however you wish. Some fantastic decor ideas include sprinkling fun popping candy on top or a dash of lemon sherbet crystals, using sugar pearls for a more subtle look, jellied fruit inspired candies or some grated lemon peel.

If you’ve followed our lemon cupcake recipe you should be left with a deliciously sweet and zesty batch of lemon treats; perfect for relaxing with in the garden. We’d highly recommend pairing these tasty cakes with tangy lemonade or a soothing cup of fruit tea for a well-deserved rest!

Lemon cupcake recipe perfect for summer by Juniper Cakery


Pink Raspberry Cupcakes Recipe!

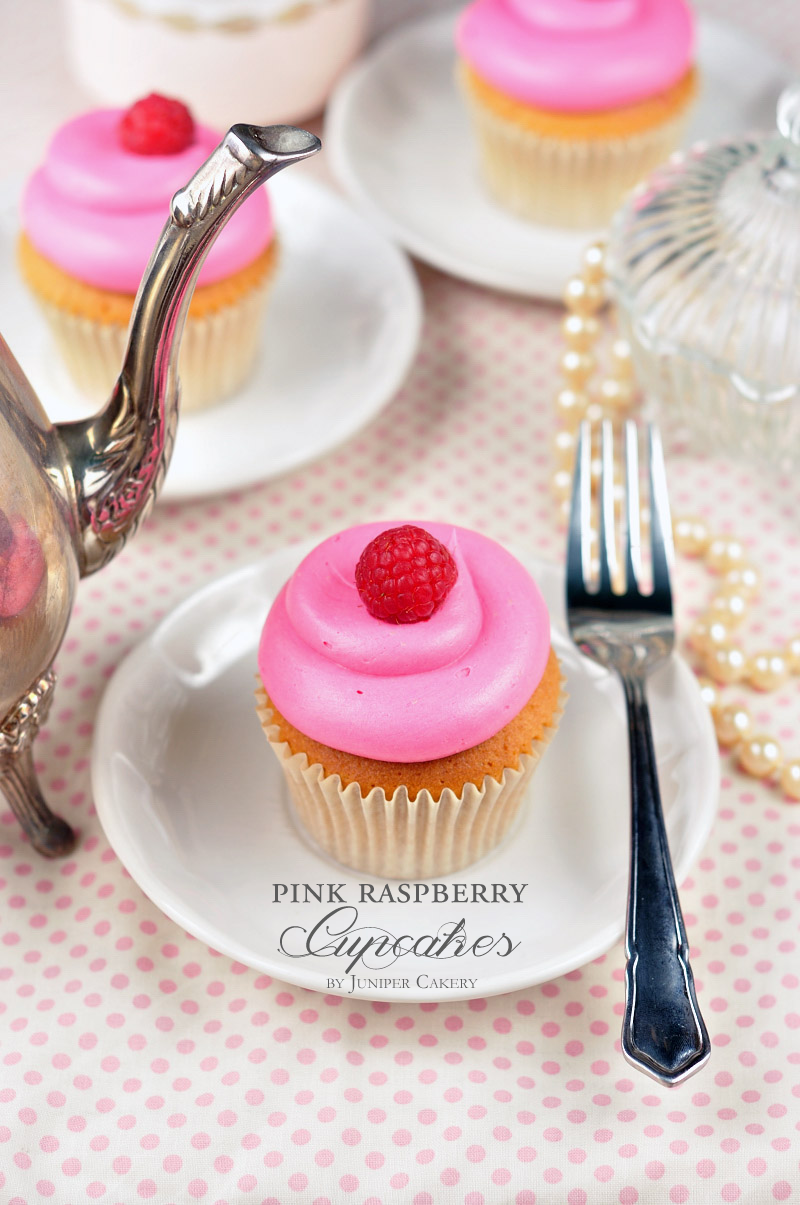
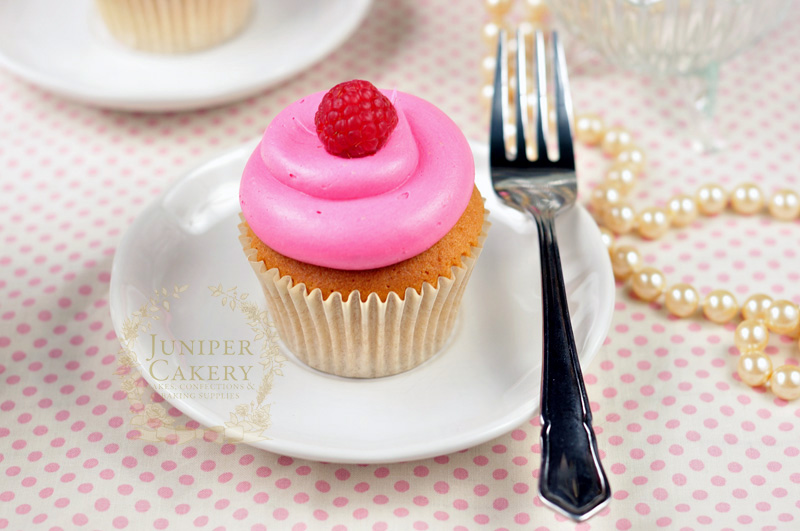
Fruity raspberry cupcakes are always popular especially when the cold winter months become warmer and brighter. They’re the perfect addition to any fun picnic, garden tea party or after work treat! We love adding little twists to this recipe by adding in mango, passion fruit, peach; baking champagne or lemon into the cake or by the playful addition of popping candy or sherbet into the silky smooth buttercream (always great for those who enjoy a tangy taste). Why not follow our pink raspberry cupcakes recipe below for your next event!

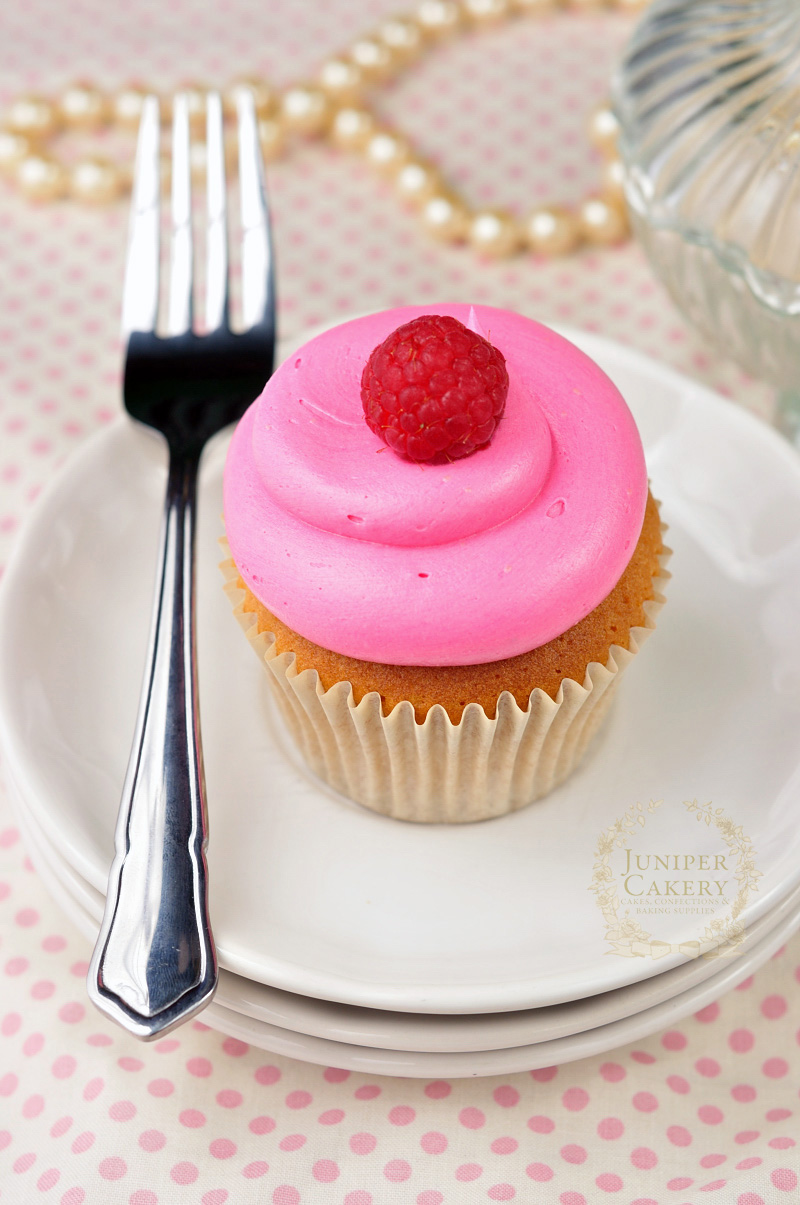
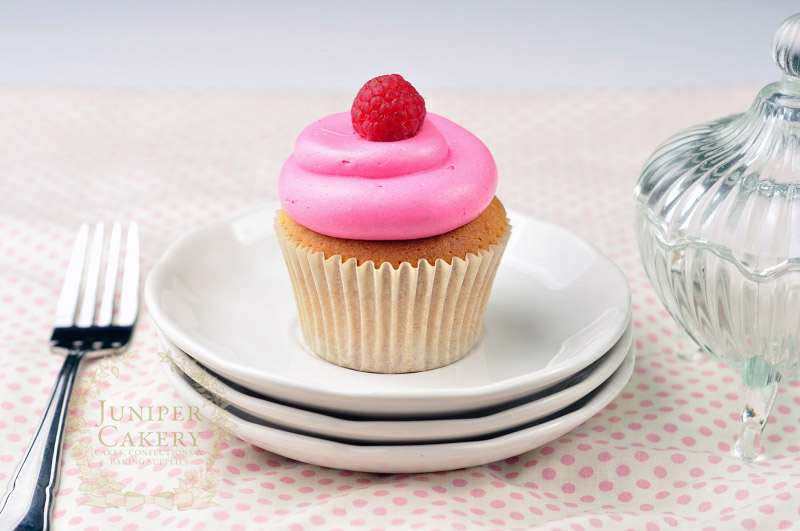
Pink raspberry cupcakes by Juniper Cakery

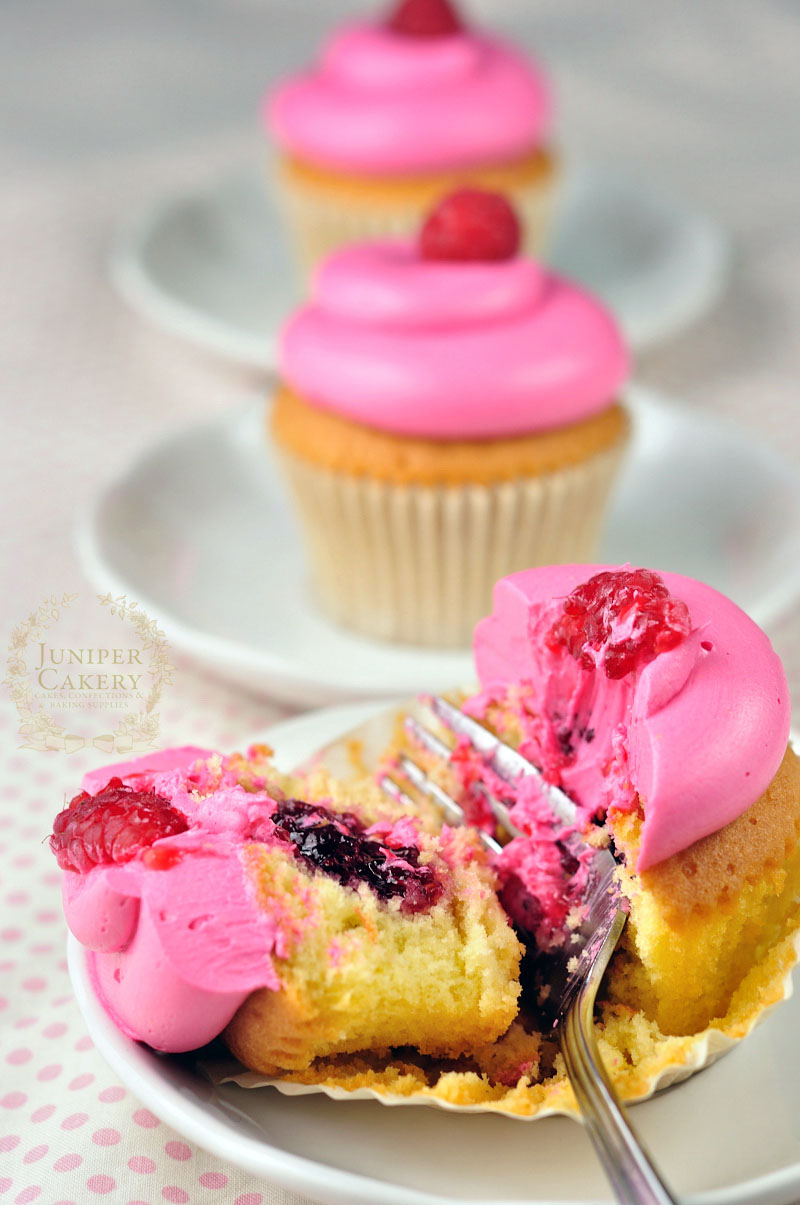
Raspberry jam filled cupcake by Juniper Cakery

These simple cupcakes are wonderfully perfect for summer get-togethers, fun parties or as a sweet thank you gift for someone special. Personalise each one with thoughtful messages or hand-made fondant toppers for an extra customised feel.

Personally, we love piping our raspberry cupcakes in a simple yet generous swirl of frosting or in a pretty buttercream rose finished with a fondant rose leaf. Other rather fabulous ways to decorate these little gems is to adorn the tops with fresh sugar-coated raspberries, raspberry coulis, sprinkles, white chocolate curls, sugar pearls, sugar flowers or gorgeous edible petals!

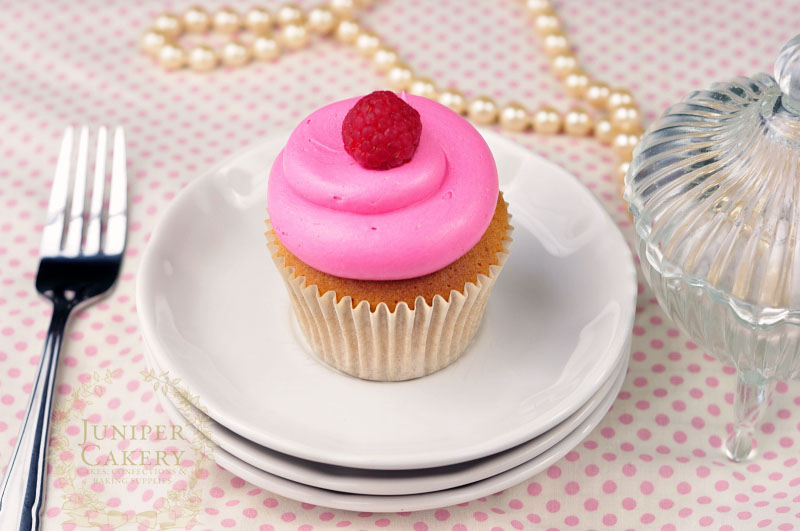
Raspberry cupcakes in a row by Juniper Cakery

Vanilla Cupcakes Recipe (Makes approx. 12 cupcakes)

  • 226g self raising flour
  • 226 butter
  • 226g caster sugar
  • 4 eggs
  • 1 teaspoon vanilla extract or bean paste

Step 1: Pre-heat your oven to Gas Mark 3 / 160C / 325F and line a cupcake pan with cupcake cases.

Step 2: Cream your butter and sugar first and when ready add your eggs and vanilla.

Step 3: Once combined add the flour, mix well and pour your batter into your cases.

Step 4: Bake for around 20-30 minutes or until a cake tester comes out clean when tested. 

Gorgeous pink raspberry cupcake by Juniper Cakery

Pink Raspberry Buttercream

  • 500g softened butter
  • 400g-500g icing sugar
  • raspberry extract
  • Pink gel food colour

Step 1: Cream your softened butter in a stand up mixer.

Step 2: Sift your icing sugar and this add to your butter. Cream together.

Step 3: Add in your raspberry extract to flavour your frosting. We add in around 2 teaspoons, but you should add in whatever amount tastes best for you!

Note: You can add in lots of crushed or blitzed raspberries if you wish, however, this will add lots of extra moisture into your buttercream making it sloppy in texture. Our tip for adding in raspberries would be to add equal measures of raspberries and caster sugar to a pan and reduce down into a sticky syrup before adding to your buttercream. 

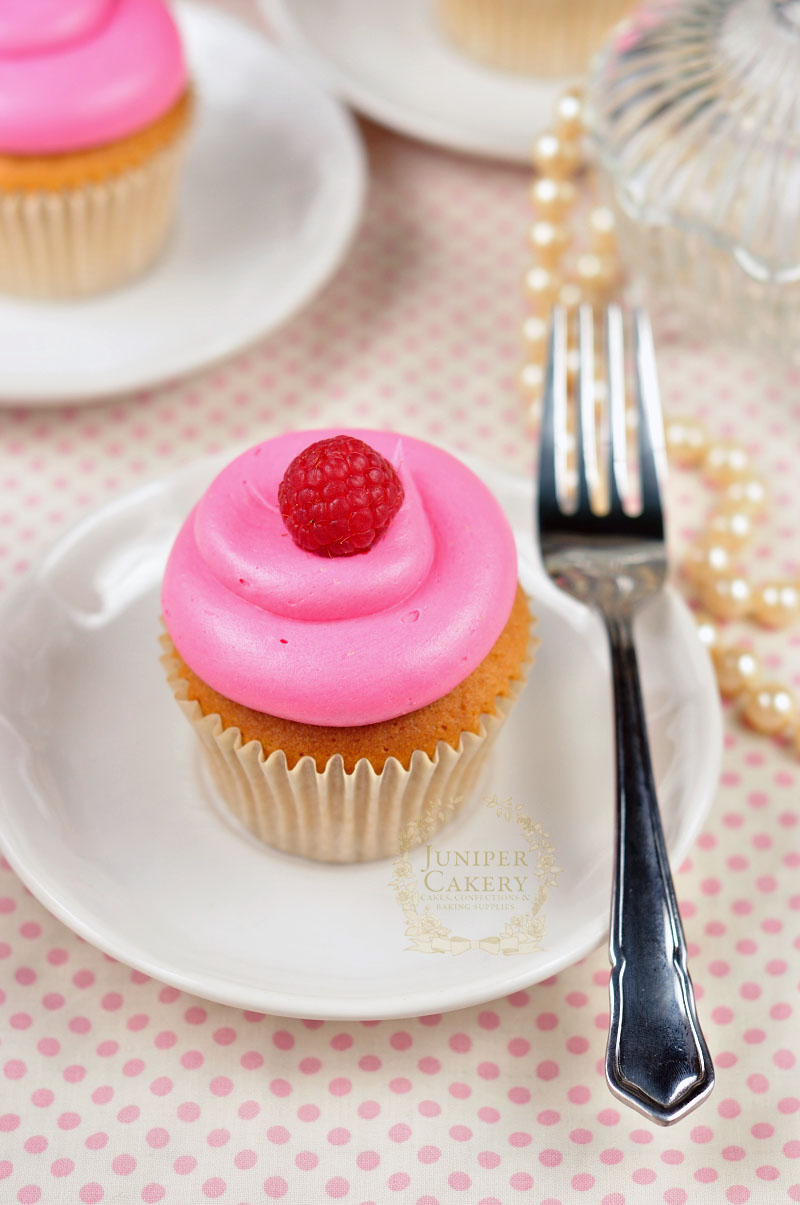
Pink raspberry cupcake by Juniper Cakery

Raspberry Preserve Recipe

  • 1oog fresh raspberries
  • 100g caster sugar
  • 1 tablespoon lemon juice

Step 1: To a saucepan on high heat add all of your ingredients.

Step 2: Bring to the boil and then turn the heat down to medium heat.

Step 3: Leave to simmer until thick and jam-like in consistency.

Step 4: Pour into clean jars and leave to cool.

Must try this raspberry cupcake by Juniper Cakery

To assemble your cupcakes core using a good cupcake corer and spoon your cooled down raspberry preserve into the cored centre of the cupcake. Add your fruity pink buttercream to a piping bag fitted with any piping tip you desire (we used a large plain round nozzle) and pipe generous swirls on top of your cakes! 

Raspberry Cupcake by Juniper Cakery

Why not add some extra indulgence just for the grown-ups to your batch of pink raspberry cupcakes with a splash of King’s Ginger, Taittinger champagne or Raspberry Chambord in your preserve and buttercream for a fabulously boozy treat! We love the idea of a sherbet lemon cupcake that’s been infused with some zesty King’s ginger liqueur, filled with Charmbord and fresh raspberry confiture and swirled with fruity raspberry buttercream! 

Top 101 Summer Recipes by Amara Living

Wow! This recipe was selected as one of Amara Living’s Top 101 Summer Recipes! Check out their blog post here for 100 other fabulously mouth-watering recipes!


Easter Recipe & Tutorial: Floral Easter Basket Cupcakes!

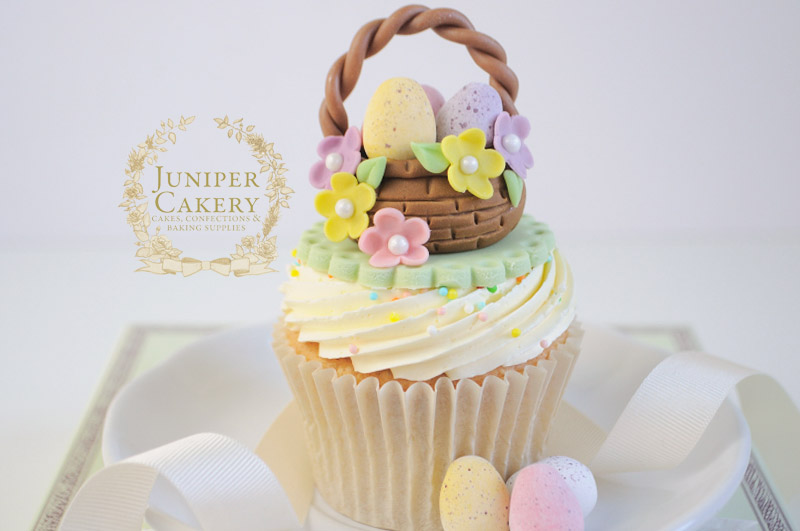
With the Easter festivities fast approaching we’ve began working on lots of sweet cake, cupcake and macaron treats for you to whip up at home. It’s one or favourite times of year for cake and cooking decorating because of all  the fun and adorable things just waiting to adorn home baked treats! With that in mind here’s the first of our Easter recipe and tutorial collection; how to create Floral Easter Basket Cupcakes! Be sure to try out our accompanying recipe for lemon and marshmallow cupcakes for a delicious Easter treat.

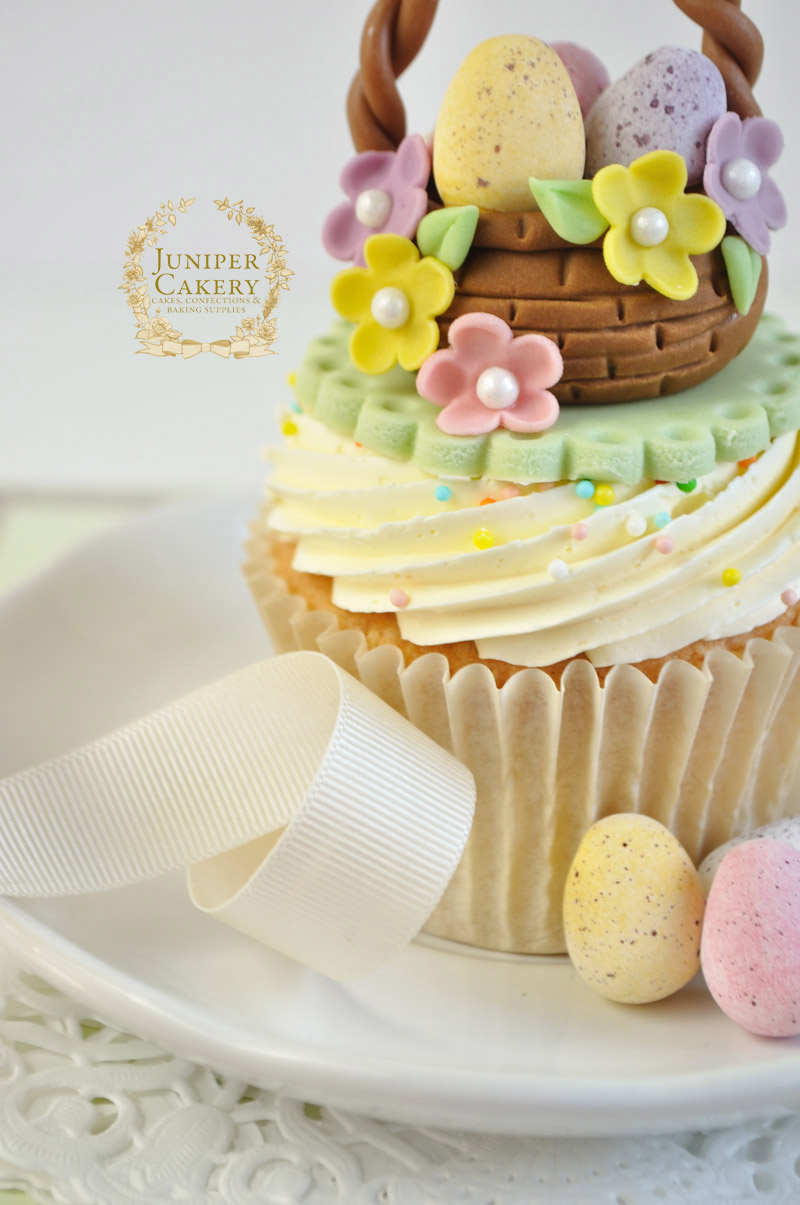
Cute Easter Basket Cupcake by Juniper Cakery

Lovely Easter basket cupcake tutorial by Juniper Cakery

Easter basket cupcake tutorial by Juniper Cakery

How to make floral Easter basket cupcake toppers

You’ll need…

Brown fondant
Pastel pink fondant
Pastel green fondant
Pastel yellow fondant
Pastel purple fondant
2 1/4 inch scalloped circle cutter
Sugar pearls
Small candy / chocolate eggs
Medium blossom cutter
Ball tool
Veining / flower and leaf shaping tool
Fondant rolling pin
Icing sugar to dust surface
Edible glue
Paintbrush
Tylo powder
Cake smoother
Blade tool
Flower foam pad

Easter cupcake tutorial by Juniper Cakery

Easter basket cupcake tutorial by Juniper Cakery

Step 1: Roll out some pastel fondant mixed with tylo powder in your chosen colour and cut with a 2 1/2 inch scalloped circle cutter. Add extra detail by pressing the small end of the ball tool into each scallop. Leave to dry and harden on a clean flat surface. Once ready set on top of a piped cupcake!

Step 2: Take a little brown fondant and add a couple pinches of tylo powder. Using a cake smoother roll these out into a thin ‘rope’. To do so ‘roll’ your cake smoother over an oblong shape of brown fondant backwards and forwards. 

Make an Easter basket cupcake by Juniper Cakery

Step 3: Slice your ‘rope’ in half with your blade tool and gently twist both pieces together to form the handle for your basket. Set aside to harden and dry.

Step 4: Take a ball of fondant about the size of a ping pong ball and add a pinch or two of tylo powder. Roll into a smooth and crease-less ball in the palms of your hand. Work into an oval shape to form the beginning of your basket.

How to make a fondant basket by Juniper Cakery

Step 5: Using the larger end of your ball tool indent the centre of your basket.

Easter flower basket tutorial by Juniper Cakery

Step 6: With your veining tool etch out a wicker-like pattern along the outside of your little fondant basket.

Fondant basket tutorial by Juniper Cakery

Step 7: Roll out some more fondant into a thin ‘rope’ and attach this along the top of your basket. Add detail with your veining tool.

Sweet Easter basket tutorial by Juniper Cakery

Step 8: With some edible glue attach three miniature candy / chocolate eggs into your basket.

Step 9: To make the little blossoms roll out coloured fondant and cut out the florals using your blossom plunger cutter. 

How to create an Easter basket cupcake by Juniper Cakery

Step 10: On a flower foam pad shape the petals of your blossoms with smaller end of your ball tool.

Step 11: Add the blossoms to the basket with a dab of edible glue and finish the centres of them with sugar pearls or small balls of fondant.

Step 12: With edible glue attach your basket handle and leave to set. This may need holding up with strips of kitchen towel or cling film. 

Sweet Easter basket cupcake tutorial by Juniper Cakery

Once you’ve finished why not arrange your gorgeous Floral Easter Basket Cupcakes on a pastel cake stand strewn with silk flowers and crepe paper ‘grass’ for a gorgeous spring look.


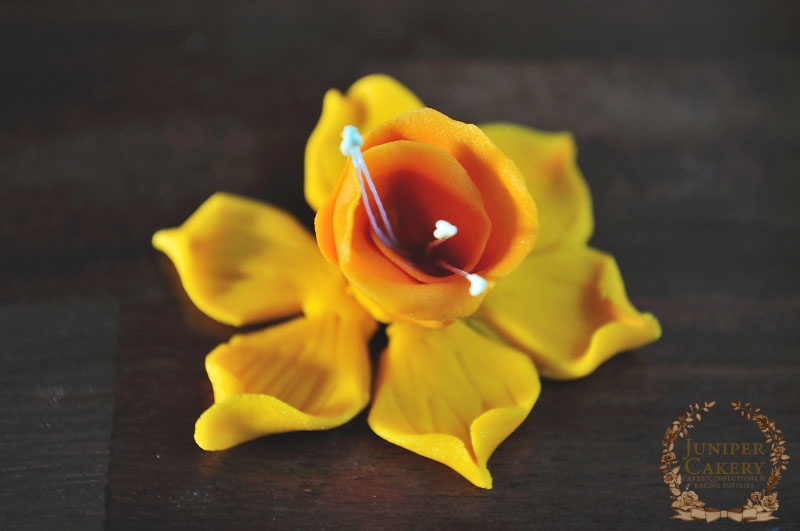
Mother’s Day Tutorial: Daffodil & Rose Adorned Cupcakes!

Instead of a bouquet of flowers for Mother’s Day (March 30th in the UK) why not give our recipe and tutorial a try and create a gorgeous floral collection of delectable cupcakes? We’ve created some ever so sweet daffodil and rose cupcakes for you to re-create at home! Perhaps the only thing better than a lovely bundle of flowers is a batch of floral decorated cupcakes?

How to create sugar daffodil flowers and roses…

Daffodil and rose adorned cupcakes by Juniper Cakery

Cupcakes adorned with daffodils and roses by Juniper Cakery

To create an abundant bouquet feel we clustered a few daffodils together atop of each delicious cupcake! Instead you can mix roses and daffodils together or keep it simple with a single flower nestled into the buttercream of each cake.

Floral decorated mother's day cupcakes by Juniper Cakery

Cupcakes with roses and daffodil sugar flowers by Juniper Cakery

Why not add adorable fondant ladybugs, caterpillars or butterflies nestled in between your sugar blossoms for a fun collection of garden themed cupcakes?

How to make sugar daffodil cupcake toppers…

You will need…

Fondant rolling pin
Mexican flower foam pad
Icing sugar to dust
Flower foam pad
Ball tool
Veining tool
Plain stamens
Tylo powder
Yellow fondant /sugarpaste
Darker yellow/orange fondant / sugarpaste
Edible glue
Tapered 6 point star tool
Blade tool
Cocktail stick

Learn how to create a sugar daffodil by Juniper Cakery

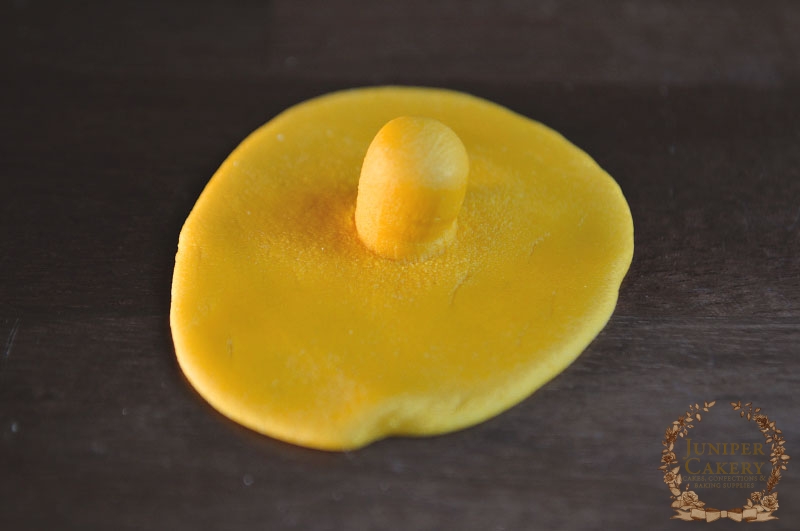
Step one: Using a Mexican flower foampad create a hat-like shape from yellow fondant / sugarpaste. To do this roll out a ball of fondant over the largest hole in your mexican flower foam pad. When you carefully tease this out you should be left with a flat rolled out fondant… but with a tapered or tube-like shape on one end.

Create a gum paste daffodil by Juniper Cakery

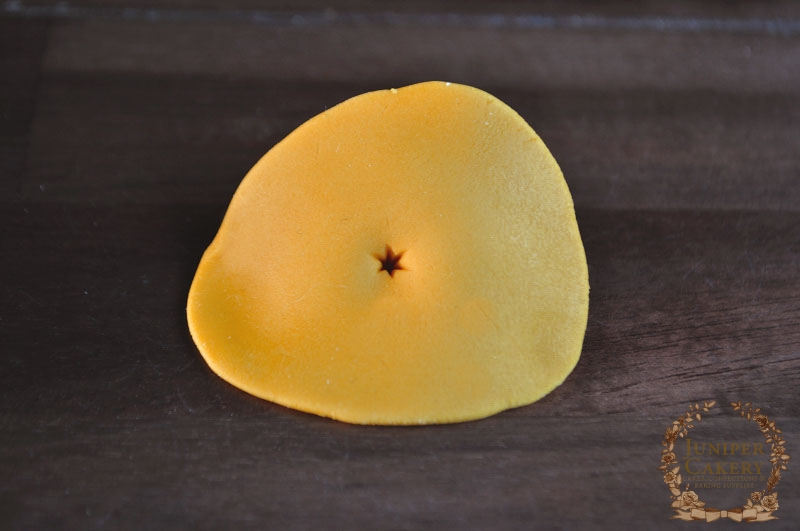
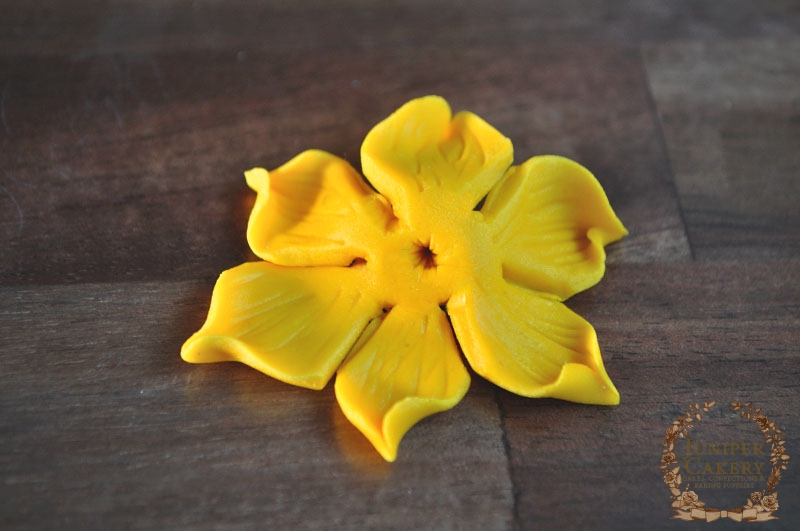
Step two: On the completely flat side use the 6 point side of your tapered star tool to indent a 6 point star in the centre of the fondant. This will mark where each of your six petals will separate.

Tutorial on how to make a sugar gum paste daffodil by Juniper Cakery

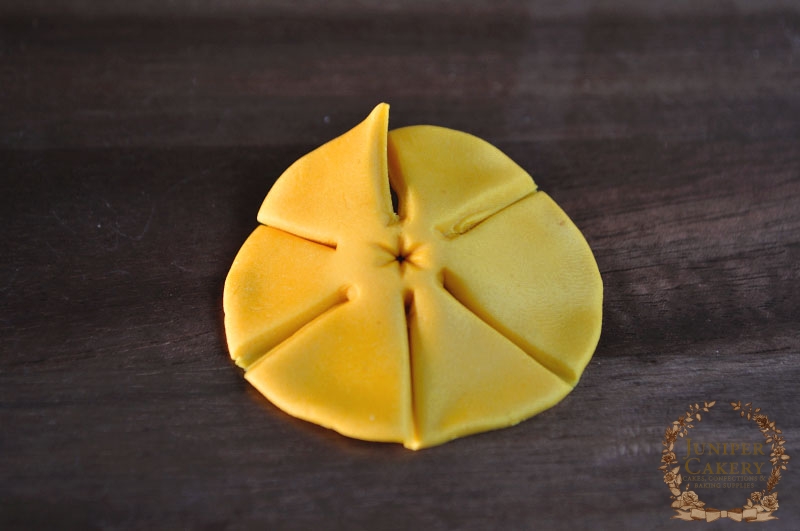
Step three: With the blade tool carefully cut the fondant with the cuts matching up to the points of the indentation made with your 6 point tapered star tool. These will become your petals.

Tutorial for a sugar daffodil flower by Juniper Cakery

Step four: Add detail by using the veining tool to draw lines on the petals. Shape, thin and ruffle each petal tip using your ball tool and flower foam pad. Then pinch the tip of each petal to create shape. Use a little edible glue to secure each pinched tip if needed. Set aside.

Gum paste daffodil tutorial by Juniper Cakery

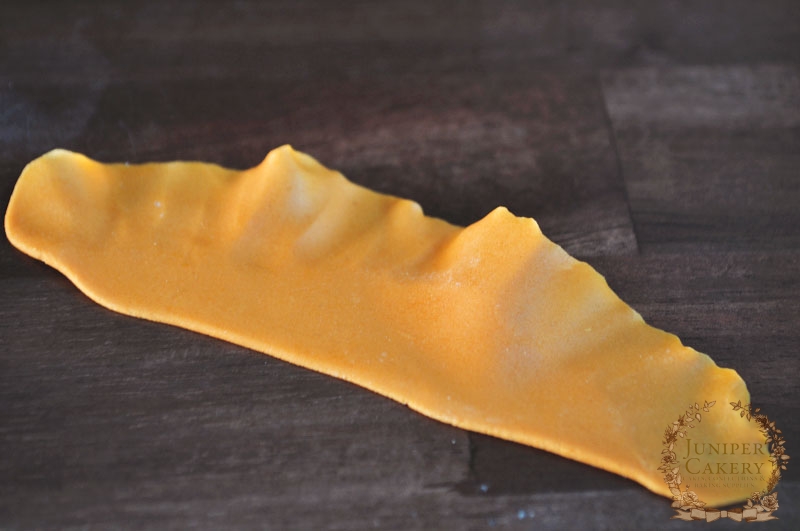
Step five: To create the ruffled centre roll out some darker yellow / orange fondant into a oblong shape. Thin and ruffle the edges using your ball tool and flower foam pad. 

Sugar daffodil tutorial by Juniper Cakery

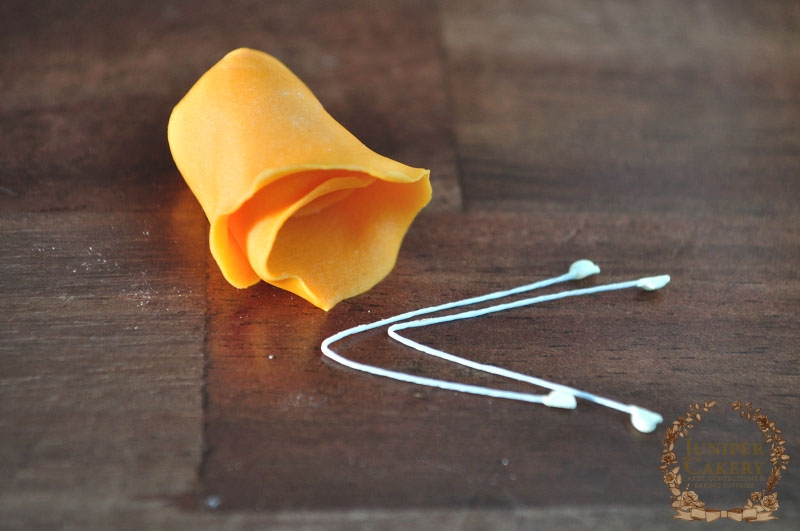
Step six: Loosely roll up the oblong shaped fondant and pinch one end. Cut some of the pinched of section if necessary. Take your taper star tool and indent the middle of the base of the ruffled section just made. Dab a little edible glue on the indentation inside the ruffled piece.

How to make a sugar daffodil flower by Juniper Cakery

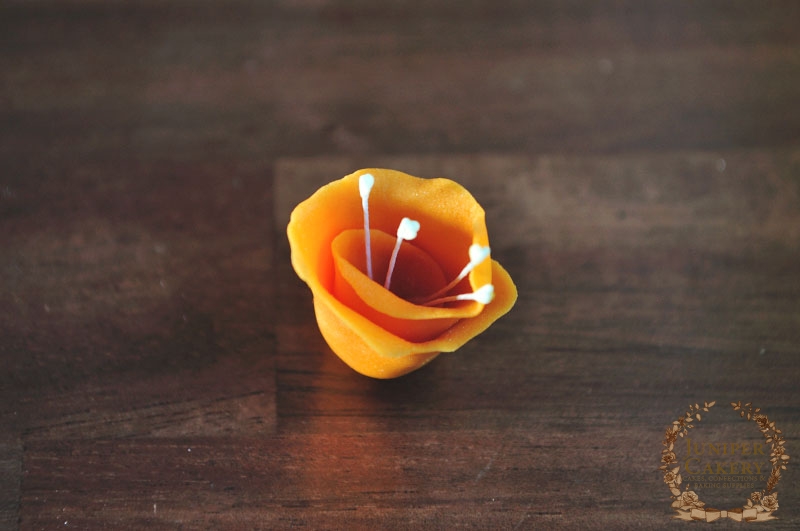
Step seven: Take some stamens, fold them and using a cocktail stick push them into the indentation inside the ruffled section.

How to make a sugar daffodil by Juniper Cakery

Step eight: Add a little edible glue onto the middle of the petal section that had been set aside and attach the ruffled middle. Hold until set.

How to make sugar rose cupcake toppers…

You will need…

Fondant rolling pin
Flower foam pad
Ball tool
Lavender coloured fondant / sugarpaste
Olive green coloured fondant / sugarpaste
Icing sugar to dust
Rose petal cutters
Cocktail stick
Tylo powder
Edible glue
Rose leaf plunger cutter

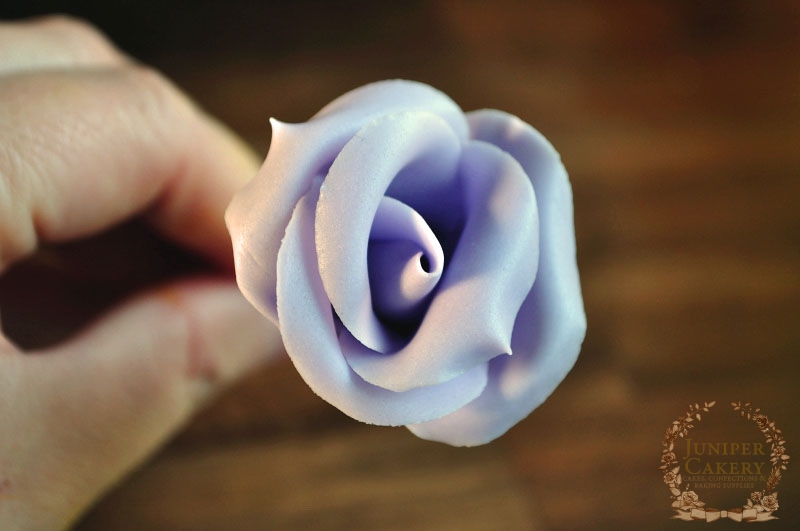
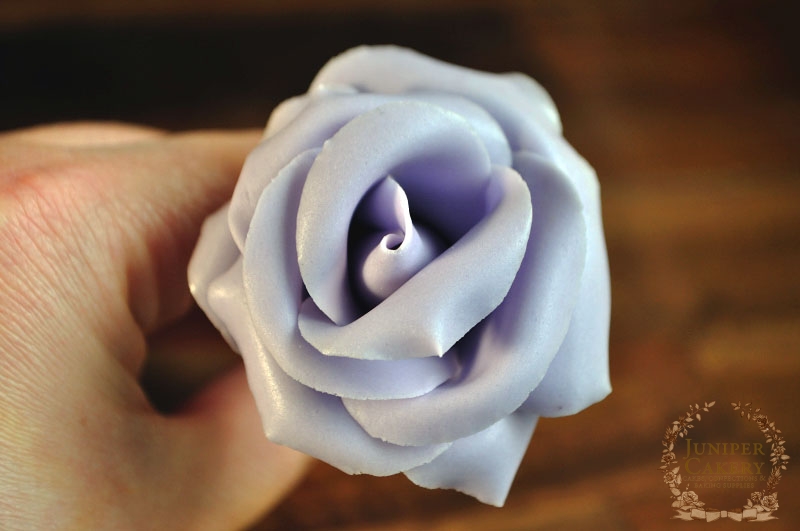
How to make a sugar rose by Juniper Cakery

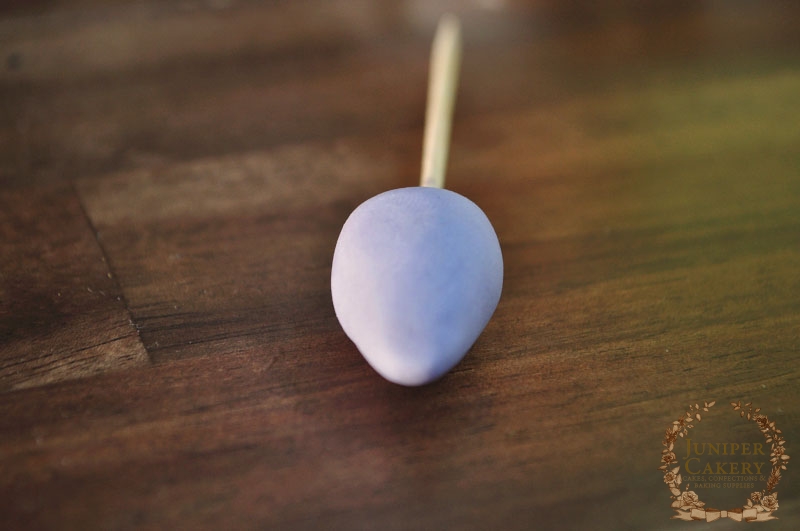
 Step one: The night before you begin your roses you need to prepare your buds! Take a small amount of fondant / sugarpaste mixed with tylo powder and form into a ball then taper into a bud shape. Take a cocktail stick and add edible glue to one end. Push the edible glue covered end into the base of the cocktail stick (just past half way) and leave to harden overnight.

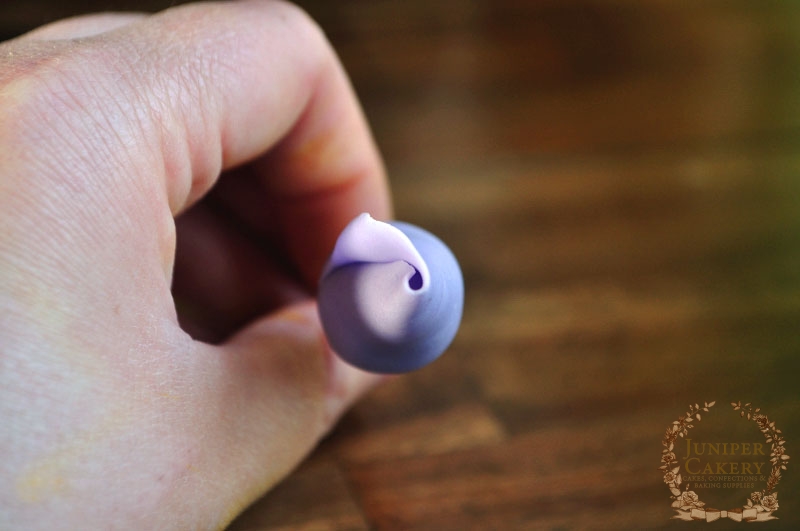
Step two: Roll out your fondant / sugarpaste thinly on a surface dusted with icing sugar. Using the largest rose petal cutter cut out a petal from the fondant. Using your ball tool and flower foam pad thin and ruffle out the edges of the petal.

How to make a gum paste rose by Juniper Cakery

Step three: Dab some edible glue onto the bud. Attach the petal with the tip of the petal over the top of the bud. Carefully wrap the petal around the bud forming a peak at the top and ensure your bud overlaps down one side.

Tutorial on how to create a sugar rose by Juniper Cakery

Step four: Next cut two petals using a petal cutter a little longer than the bud. Thin and ruffle out the edges of the petal. Attach around the bud of your rose whilst carefully curving and shaping the edges of the two petals.

Learn how to create a gum paste rose by Juniper Cakery

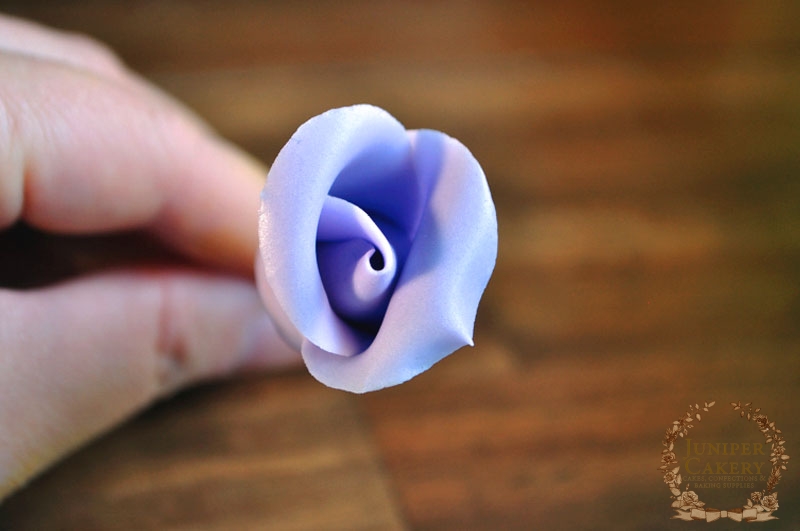
Step five: Now cut three petals using the same petal cutter used in step four. Using edible glue arrange these around your growing rose. Remember to overlap each petal slightly and place alternatively to the layer before. Carefully curve and shape the edges of the three petals.

Sugar rose tutorial by Juniper Cakery

Step six: Now cut five petals using a larger petal cutter than the one used in step four. Using edible glue arrange these around your growing rose. Remember to overlap each petal slightly and place alternatively to the layer before. Carefully curve and shape the edges of the five petals.

Step seven: For the rose leaf roll out some olive green fondant thinly and use a medium rose leaf plunger cutter to cut out a leaf.

Cupcakes topped with gum paste daffodils and roses by Juniper Cakery

After piping your cupcakes with buttercream nestle your blossoms atop each one and enjoy!


Fairy Tale Recipe & Tutorial: Rainbow Unicorn Cupcakes!

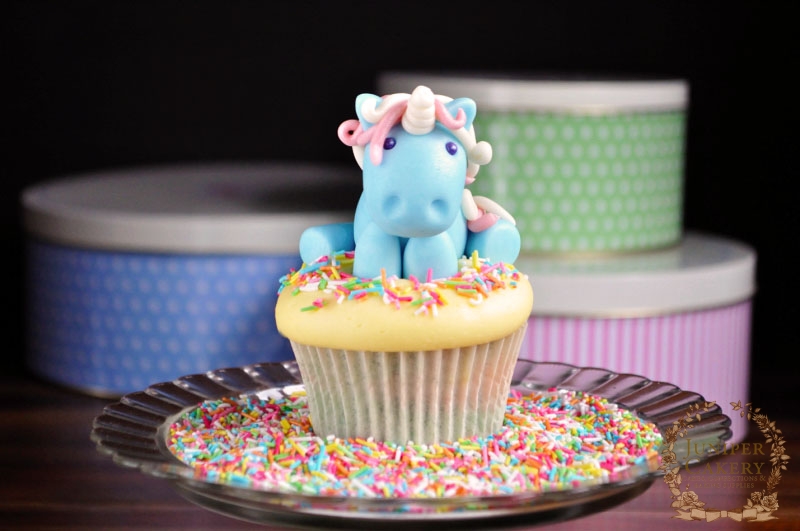
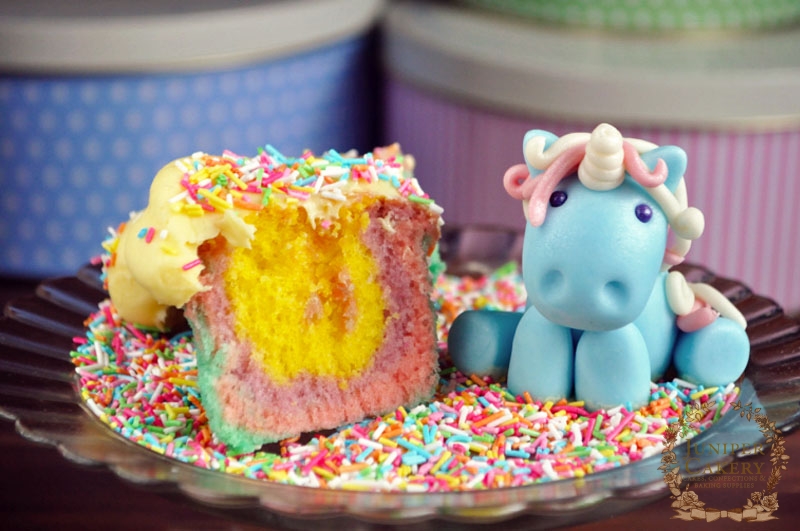
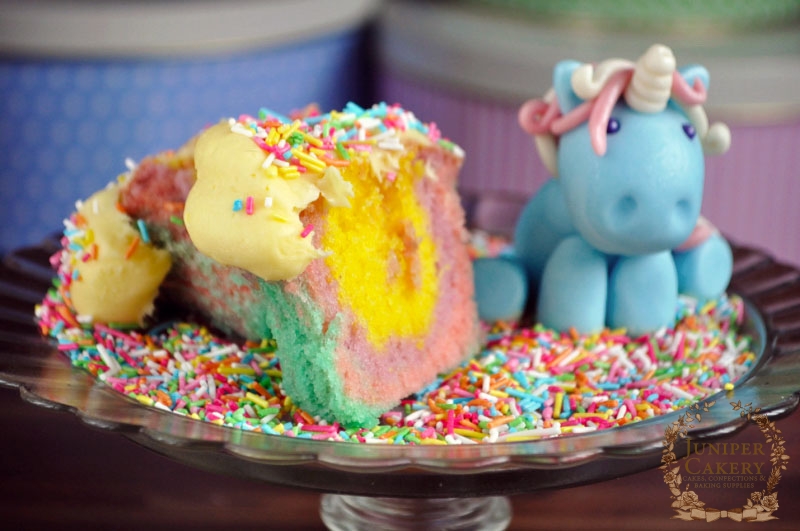
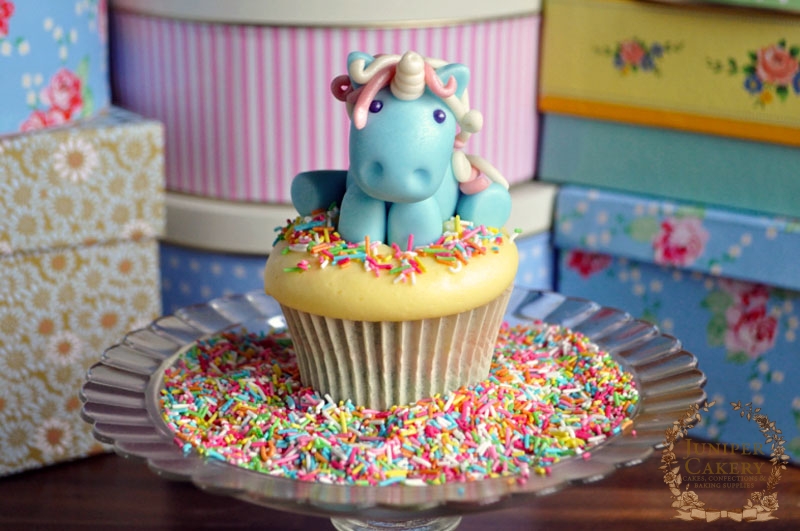
It’s time to begin our next collection of cake and cupcake decorating tutorials and we are super excited about the next four instalments! For the next four weeks we’ll be showing you how to create some rather sweet and whimsical fairy tale themed pieces as well as some pretty darn fun and tasty recipes too! We commence with a wonderfully adorable fondant / sugarpaste unicorn sat upon rainbow swirled cupcakes with vanilla buttercream; perfect for kids’ parties. Now if these cupcakes don’t educe an excitable rush to the dessert table at a party then we may eat our chef’s hats! Keep posted on the next three tutorials/recipes to find how what we’ll be creating next…

Unicorn Cupcake by Juniper Cakery

Unicorn Cupcake by Juniper Cakery

Unicorn Cupcake by Juniper Cakery

 Unicorn Cupcake by Juniper Cakery

Fondant / Sugarpaste Unicorn Cake and Cupcake Decor

You’ll need…

Coloured fondant
-  Blue for the body
-  Pink and ivory for the mane
-  Ivory for the horn
Cake smoother
Toothpicks
Sugar pearls
Blade tool
Ball tool
Flower and leaf shaping tool
Small round piping tip

Unicorn Cupcake by Juniper Cakery

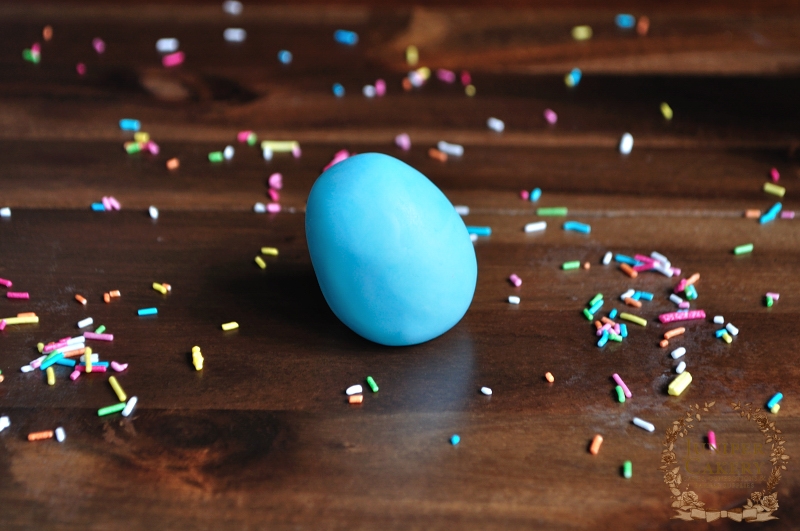
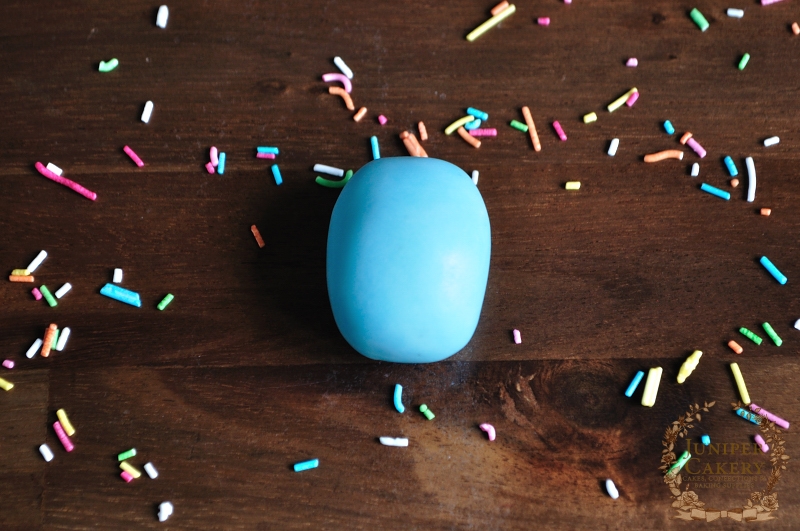
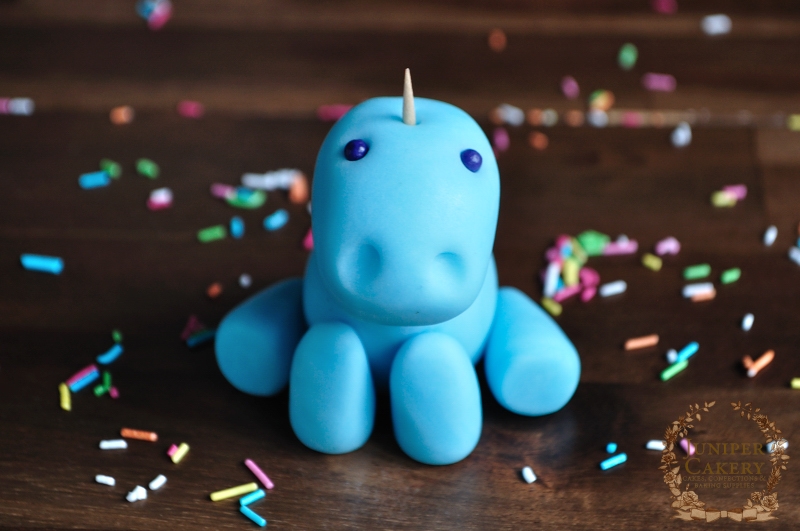
Step one: To create your unicorn’s body simply shape a fair amount of your blue fondant into an ‘egg’. This will be your unicorn’s body.

Unicorn Cupcake by Juniper Cakery

Unicorn Cupcake by Juniper Cakery

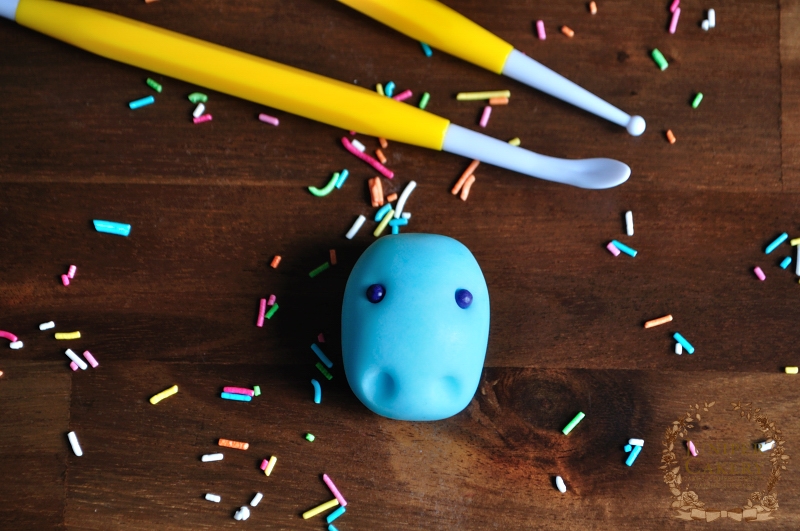
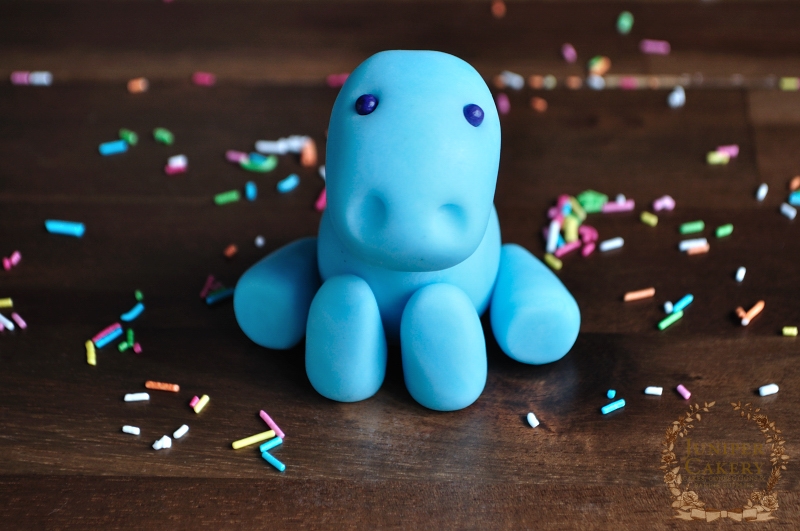
Step two: Set your unicorn’s body aside for the time being and use the same method to create a smaller ‘egg'; this will become your unicorn’s head. Using the small end of the ball tool indent two eye sockets and place a sugar pearl in each. For the nostrils simply use the larger end of the flower and leaf shaping tool to indent the fondant.

Unicorn Cupcake by Juniper Cakery

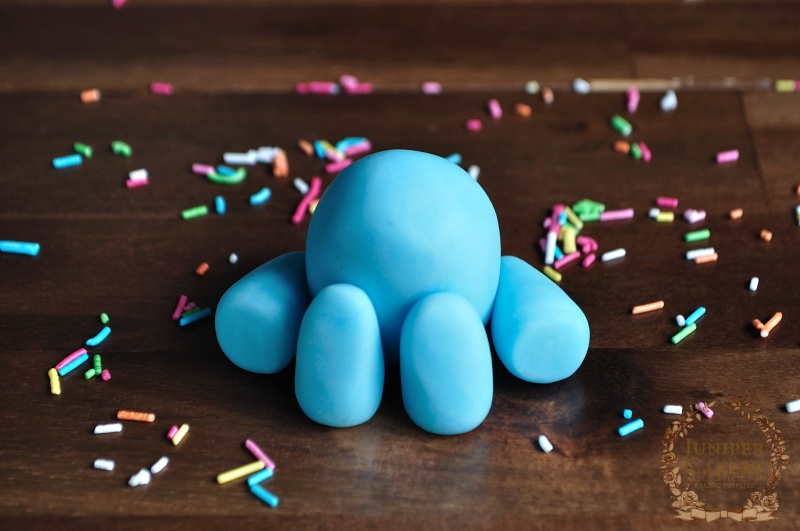
Step three: To create the legs take four small balls of blue fondant, two slightly larger than the other two, and roll until you have four ‘sausage’ shapes. Once you’re happy with these begin tapering one end of each leg and flattening the other. 

Unicorn Cupcake by Juniper Cakery

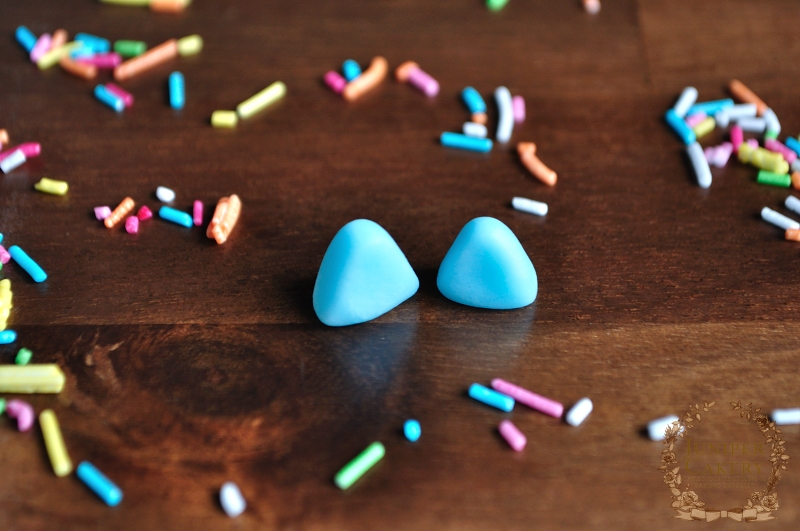
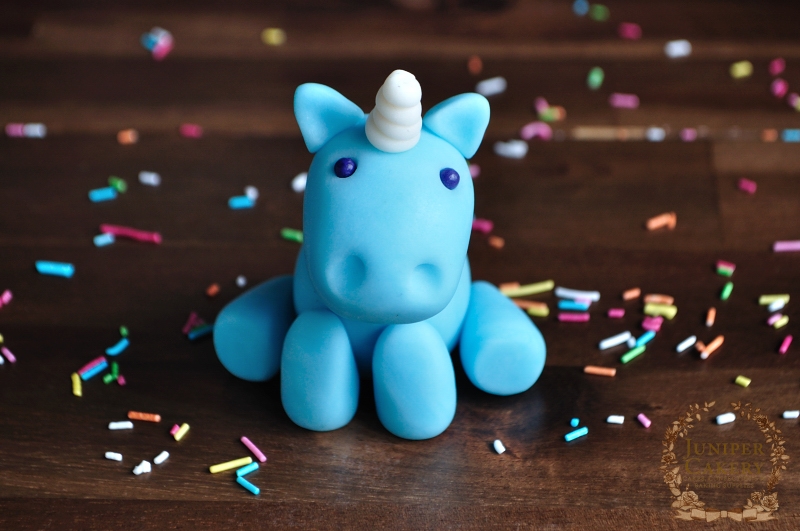
Step four: To create your unicorn’s ears take two very small balls of blue fondant and use your fingers to shape them into triangles. Using your flower and leaf shaping tool indent two triangular shapes to add detail.

Unicorn Cupcake by Juniper Cakery

Unicorn Cupcake by Juniper Cakery

Unicorn Cupcake by Juniper Cakery

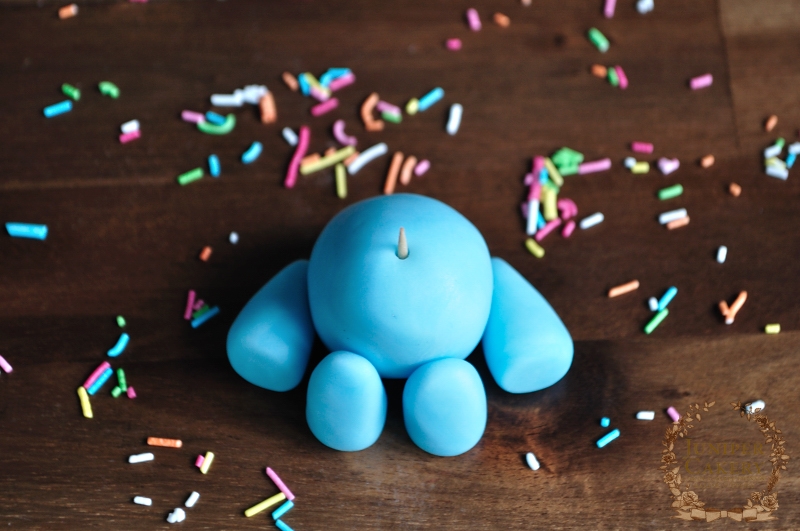
Step five: To assemble your unicorn you will need water and a paintbrush. Apply a small amount of water to where you need to apply the legs and press the legs gently in place. To affix the head press half a toothpick into the ‘neck’ area, add a little water around the toothpick and attach the head.

Unicorn Cupcake by Juniper Cakery

Unicorn Cupcake by Juniper Cakery

Unicorn Cupcake by Juniper Cakery

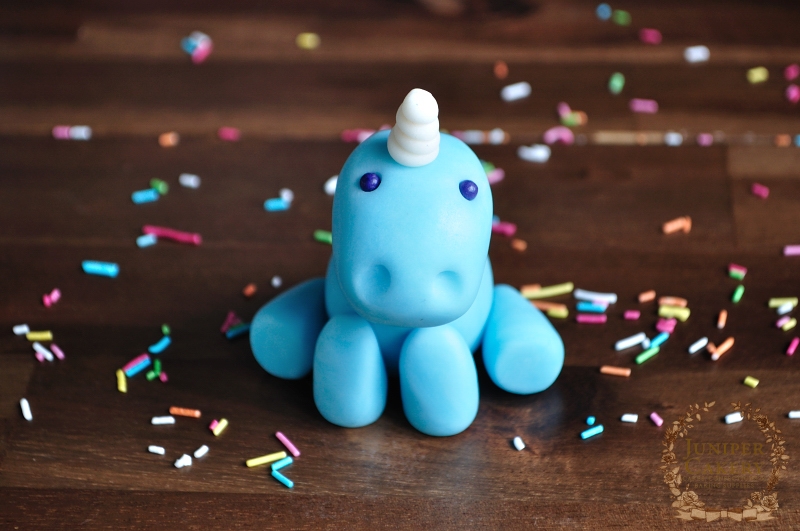
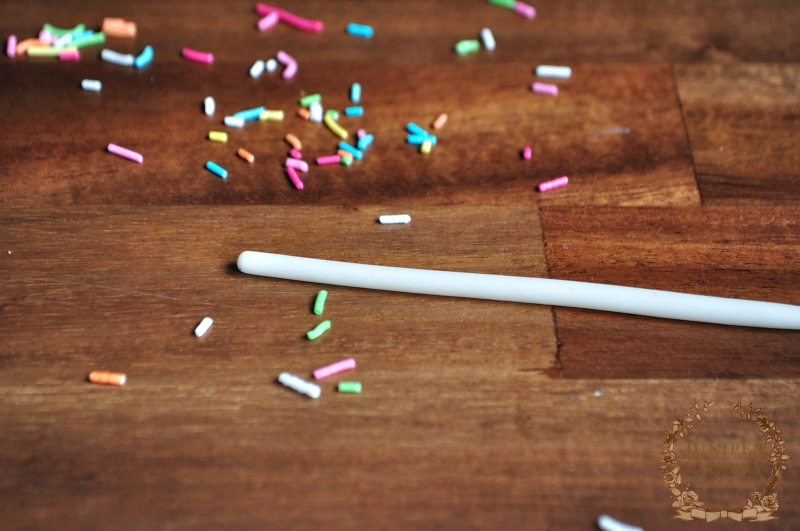
Step six: Now it is time to create your unicorn’s horn! Cut a toothpick down to the appropriate size (this will depend on how small or large you have made the actual unicorn) and push it into the fondant between where your unicorn’s ears will be. Using your cake smoother roll a long, thin tube of fondant cutting away any rough edges with your blade tool. Paint the tool pick with a small amount of water and wind the fondant around until it is completely covered. Now with a little water affix the ears in place!

Unicorn Cupcake by Juniper Cakery

Step six: To make your unicorn’s hair and tail use the cake smoother to roll out more thin tube shaped fondant in ivory and pink. Cut away rough edges with your blade tool and stick in place with water and a paintbrush.

Once your unicorns are finished pipe your rainbow cupcakes and swirl with vanilla buttercream and sit the fondant unicorns on top. You should be left with an array of bright, lovely and wonderfully fun cupcakes; perfect for a vibrant kids’ party or any event with a whimsical theme!

Unicorn Cupcake by Juniper Cakery


Valentine Tutorial: Pink Champagne Cupcakes!

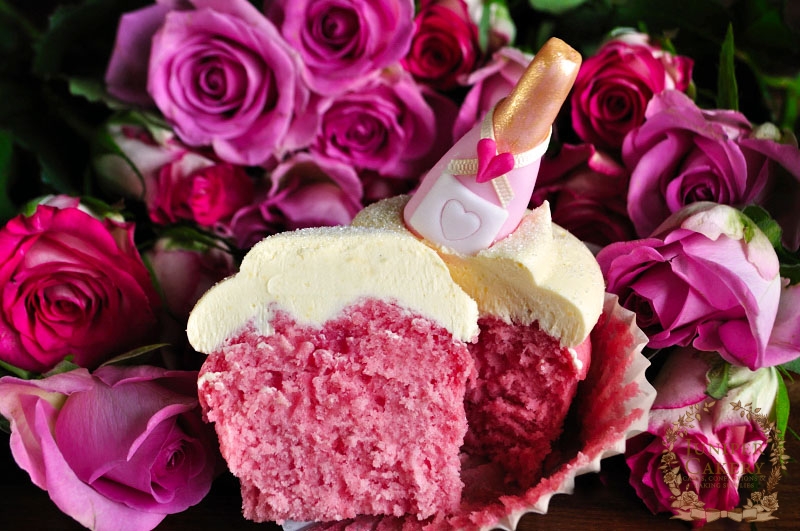
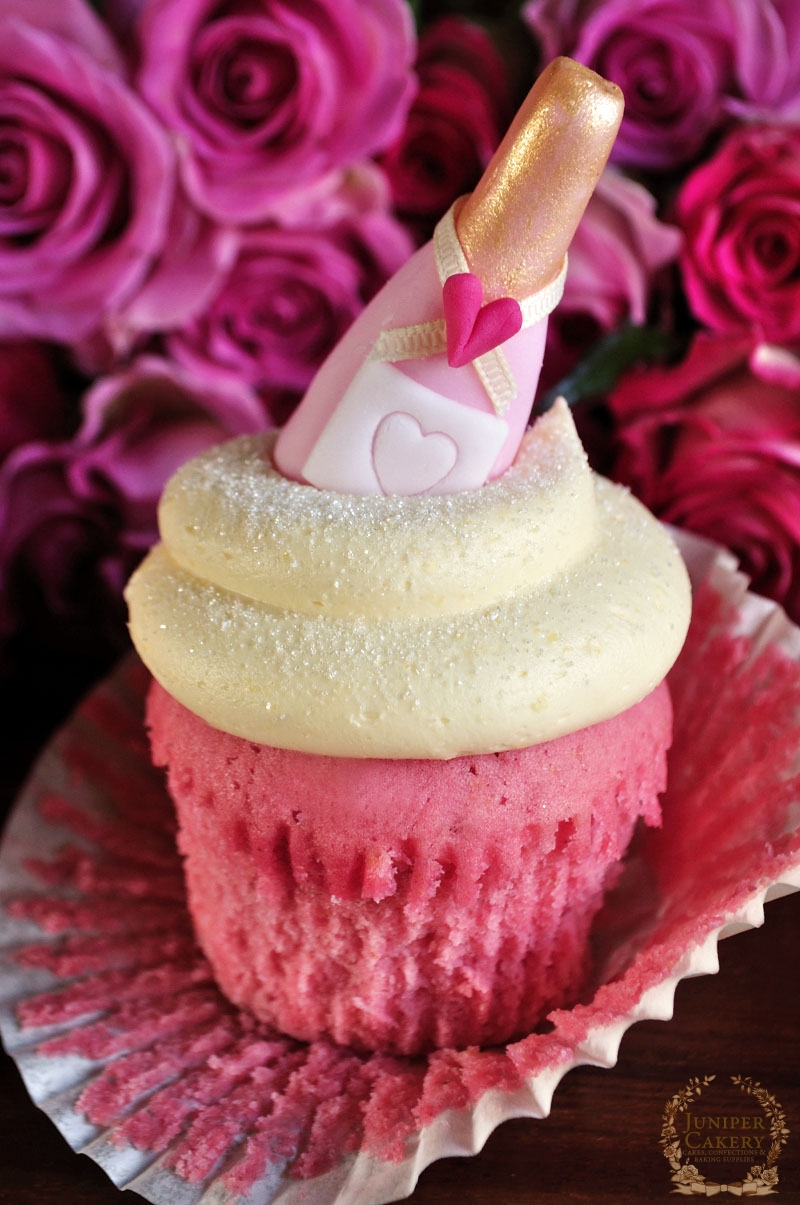
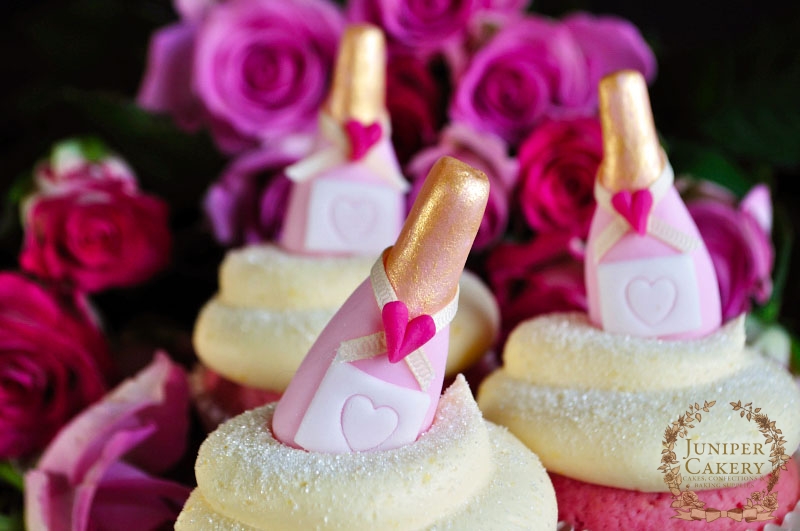
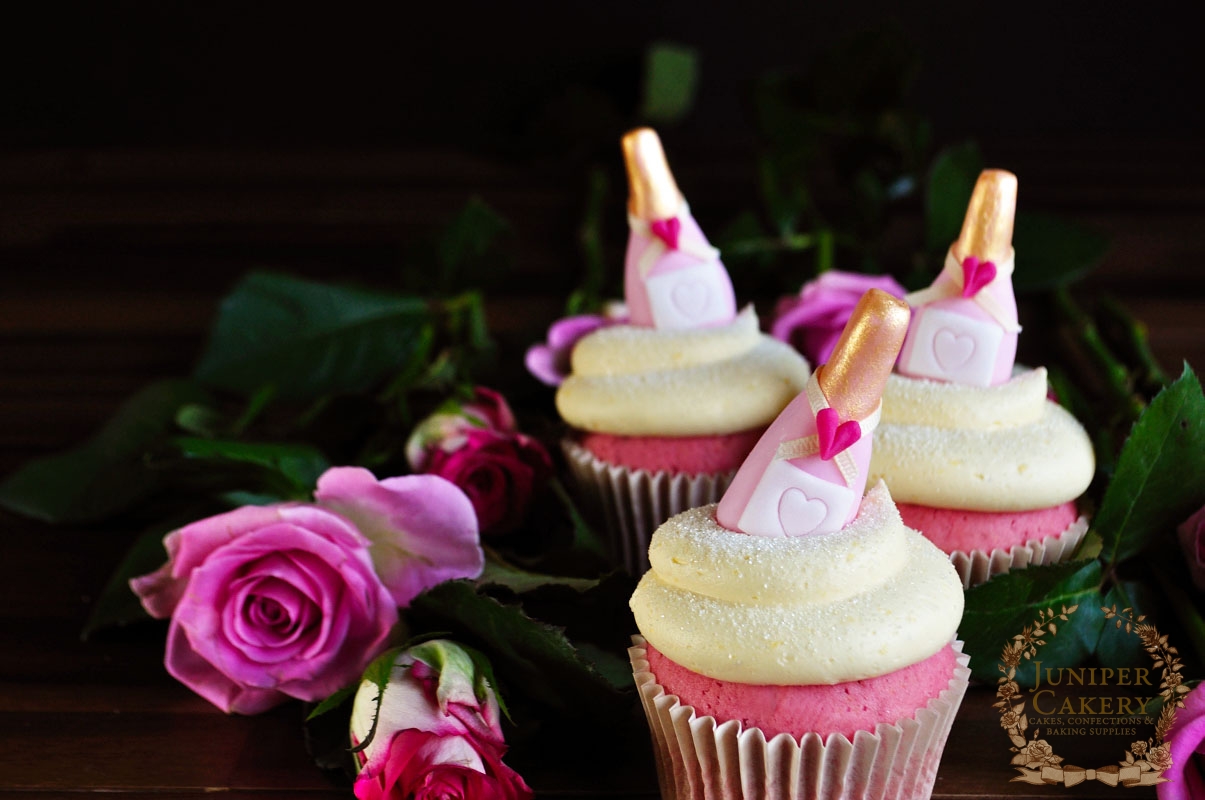
With Valentine’s Day literally just days away here’s a lovely cupcake recipe and tutorial for you to re-create at home for that special someone. We had such fun whipping these up in the Juniper Cakery kitchen and studio as you can imagine; cue lots of champagne, gold hand painting, miniature champagne bottles from fondant and decadent swirls of lovely vanilla buttercream! These adorable little pink champagne bottles nestled into silky vanilla buttercream atop soft rosy champagne infused cupcakes are bound to be a show-stopping hit with loved ones; they definitely were with ours! If you’re feeling extra adventurous why not paint, indent or pipe the recipient’s initials onto each bottle label for a sweet and impressive personal touch.

Pink Champagne Cupcakes by Juniper Cakery

Pink Champagne Cupcakes by Juniper Cakery

As an alternative to using real champagne, as this can get costly, in your cupcakes why not try utilising 6-12 drops of champagne essence.

Pink Champagne Cupcakes by Juniper Cakery

Pink Champagne Cupcakes by Juniper Cakery

 Pink Champagne Cupcakes by Juniper Cakery

Miniature Fondant Pink Champagne Bottles

You’ll need…

Pink or a dark green fondant / sugarpaste if creating normal champagne bottles
White or ivory fondant / sugarpaste
Raspberry pink fondant / sugarpaste
Edible glue
Paintbrush
Gold lustre dust or edible metallic paint
Vodka
Small plunger cutters (optional)
Blade tool
Candy melts
3mm thin ivory ribbon
Disposable piping bag
Fondant rolling pin
Icing / confectioner’s sugar

Pink Champagne Cupcakes by Juniper Cakery

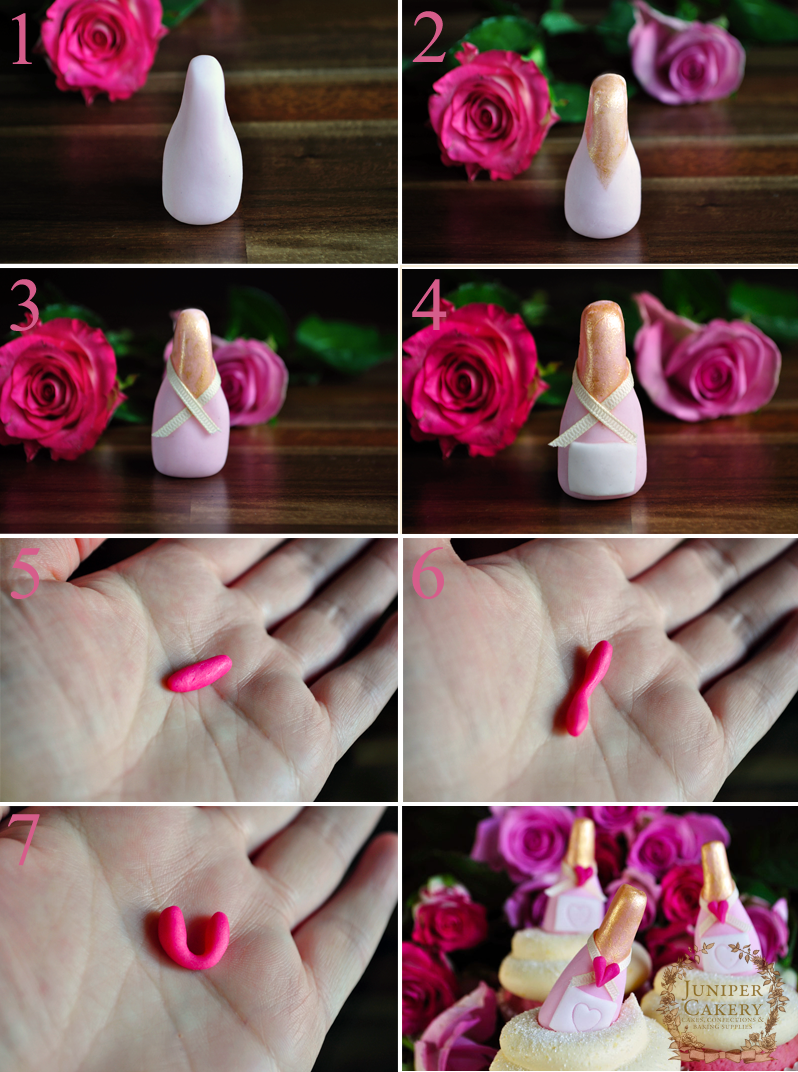
Step one: Take some fondant the colour you wish your bottle to be and roll into a ball then a tapered oblong and shape carefully into a bottle whilst it is stood up on a flat surface. 

Step two: With a approximately 2-3 drops of vodka added to some gold lustre dust  OR some gold metallic edible paint hand paint the neck of the bottle. This may need a few coats if your bottle if a dark coloured fondant.

Step three: Take some 3mm ivory ribbon and cut to a length that fits around the bottle’s neck and crosses at the front well. Attach with a few tiny dots of melted candy melt (melt these quickly by filling a disposable back with the melts and microwaving until ready before snipping off the end of the piping bag). Hold gently until set.Step four: Roll out some white or ivory fondant / sugarpaste to 2mm thick onto an icing sugar dusted surface

Step four: With the blade tool cut out a rectangular shape an appropriate size for the front of your champagne bottle. Attach using a little edible glue. Imprint or add any detail to the label now.

Step five: Take a small amount of red or pink fondant and roll into a ball then into an oblong shape.

Step six: Shape into a dumb bell or bone-like shape by rolling the middle of the red fondant oblong with a finger.

Step nine: Take the dumb bell / bone shaped red fondant and carefully pinch in half into a heart shape. Smooth the centre over a little.

Step seven: With a little melted candy melt attach the heart where the ribbon crosses and meets at the front of the champagne bottle.

Step eight: Repeat all above steps until you have the desired amount of champagne bottles.

Now all that is left to do is to pipe your cupcakes generously with vanilla buttercream, add any decor you wish (edible glitter, sprinkles, sugar pearls etc) and nestle your tiny champagne bottles atop at a jaunty angle!

Pink Champagne Cupcakes by Juniper Cakery

After all your hard work you should now be left with an array of delicious and adorable cupcakes waiting to steal the heart of all who cast their eyes upon them. If you’re making these for yourself, however, we really wouldn’t blame you at all!


Ruffled Champagne Cake with The Happy Egg Co. Eggs!

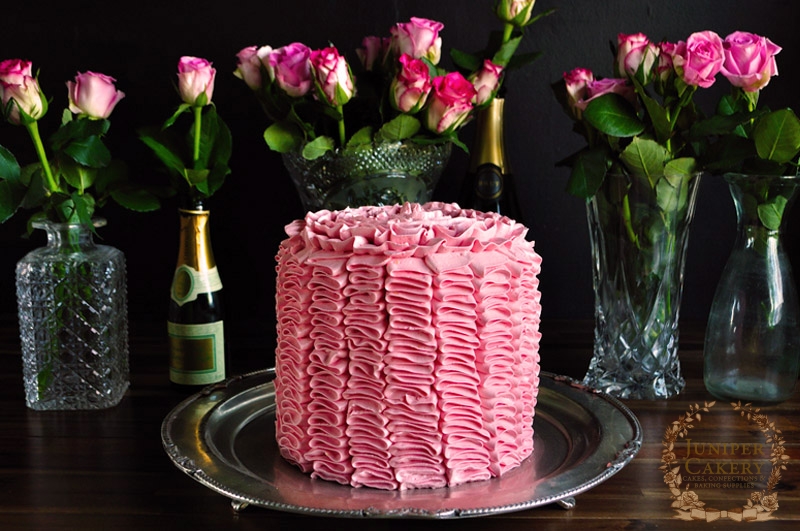
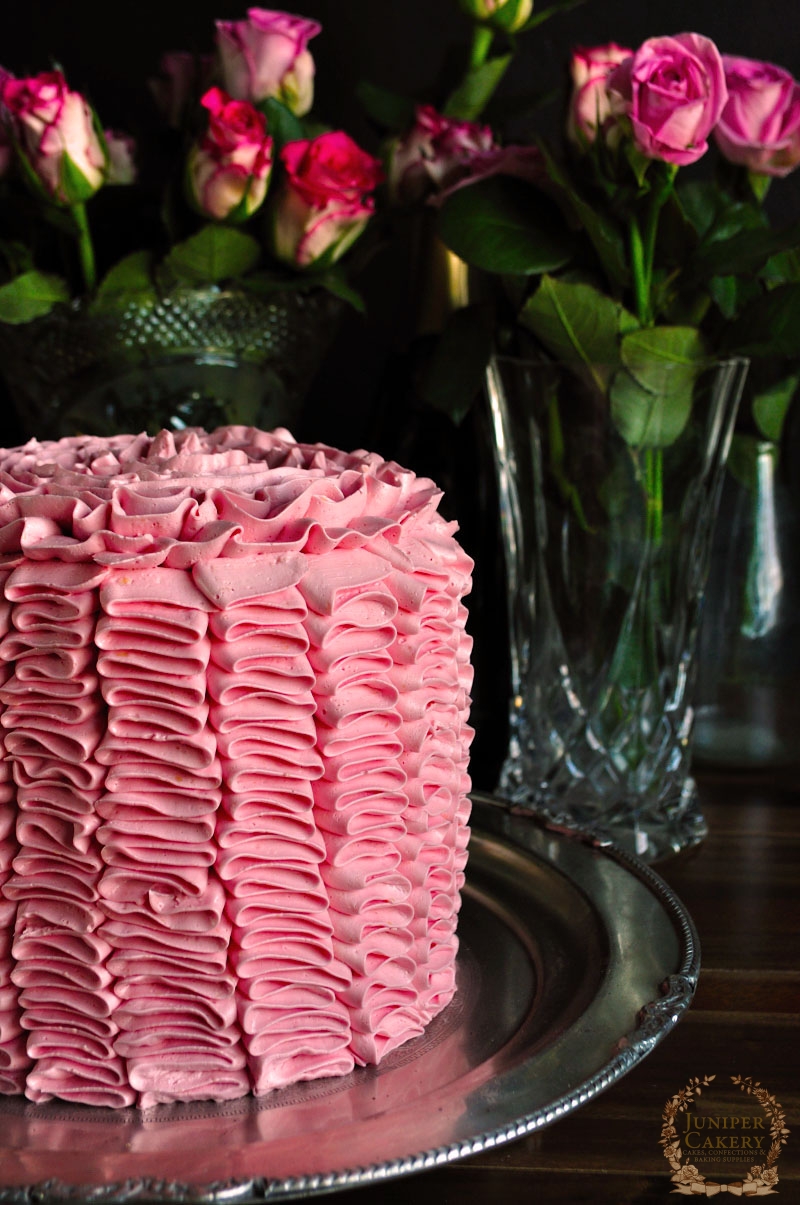
What better way to treat a loved one for Valentine’s Day than with a beautiful and indulgent home-made cake! Using three key Valentine ingredients, and some egg whites from The Happy Egg Co. eggs, we created this truly lovely and decadent cake. One of the best things about this recipe is that it incorporates some incredibly sumptuous flavours and ingredients without being too sweet or rich. Perhaps the only bad thing about this cake is that you’ll find you’ve eaten quite a few slices without realising! Imagine a gorgeously soft and fluffy champagne infused cake smothered with fruity yet creamy strawberry and white chocolate buttercream just waiting to be devoured… can’t wait to start baking? We thought so.

Ruffle Champagne Cake by Juniper Cakery

Ruffle Champagne Cake by Juniper Cakery

White Champagne Cake (makes three 9 inch diameter layers one inch deep)

453g Self-raising flour
453g Butter
453g Caster sugar
453g Egg whites from The Happy Egg Co. eggs
400ml Champagne or 12-18 drops of champagne essence

Pre-heat an oven to Gas Mark 3/325F/170C.

In a saucepan add the 400ml of champagne, set to boil then simmer until reduced to half the amount. Set aside to cool.

Cream your butter in a mixer then add the sugar. Add in the flour along with half of the happy eggs for around one minute. Once half of the happy eggs are combined add the remaining eggs along with the champagne or champagne essence. Mix for about 5 minutes.

Pour batter in the pan around 2cm in height and place on the top shelf. Bake for around 40-50 minutes. Repeat this step to create your second and third layer. When all layers are baked leave them to cool fully as you prepare your buttercream!

Ruffle Champagne Cake by Juniper Cakery

Ruffle Champagne Cake by Juniper Cakery

Strawberry and White Chocolate Buttercream

500g Diced/chopped butter at room temperature
300-400g Icing sugar (keep testing when adding to make sure it is the consistency and sweetness you like)
6-12 Drops of strawberry extract
150g Melted white chocolate
Pink gel paste food colour

Add half of the of butter into your mixer and cream. Then gradually add icing sugar and the remaining butter (cut into cubes) until you get a smooth, creamy texture. Add in the melted chocolate and then add the strawberry essence to taste with some pink gel paste food colour.

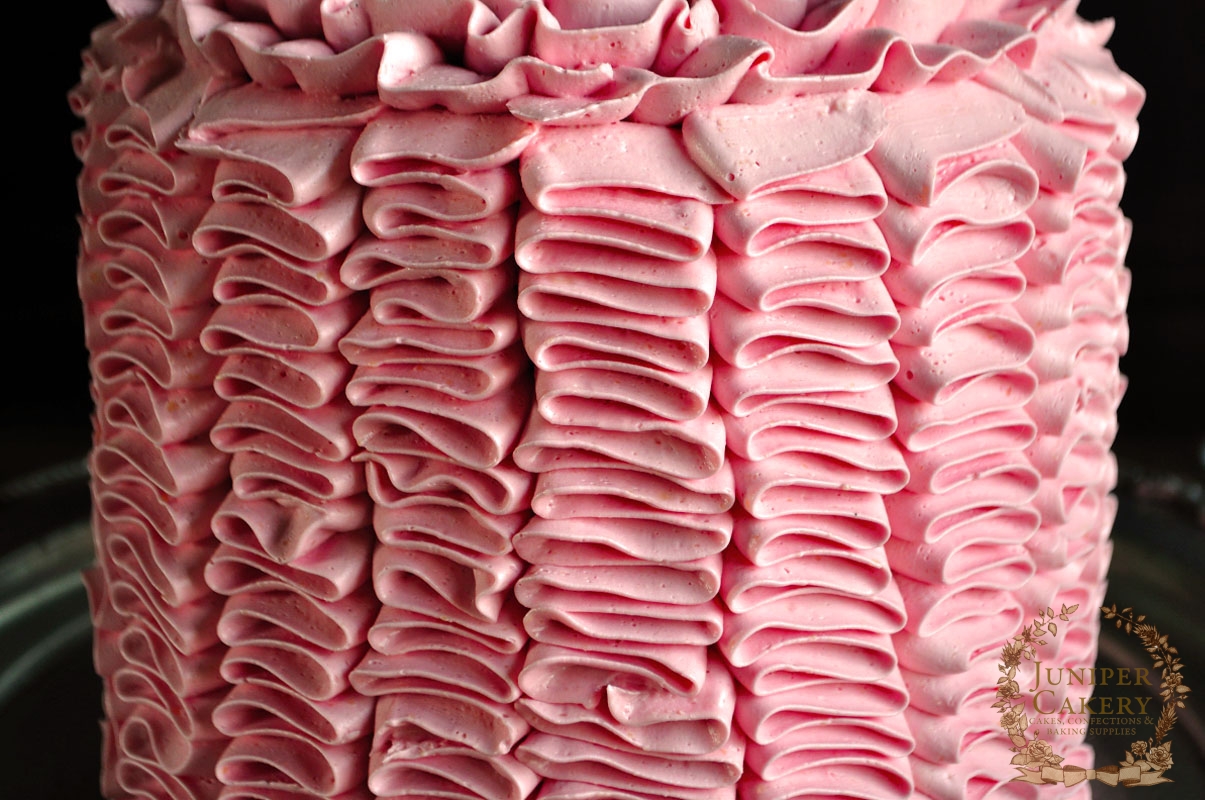
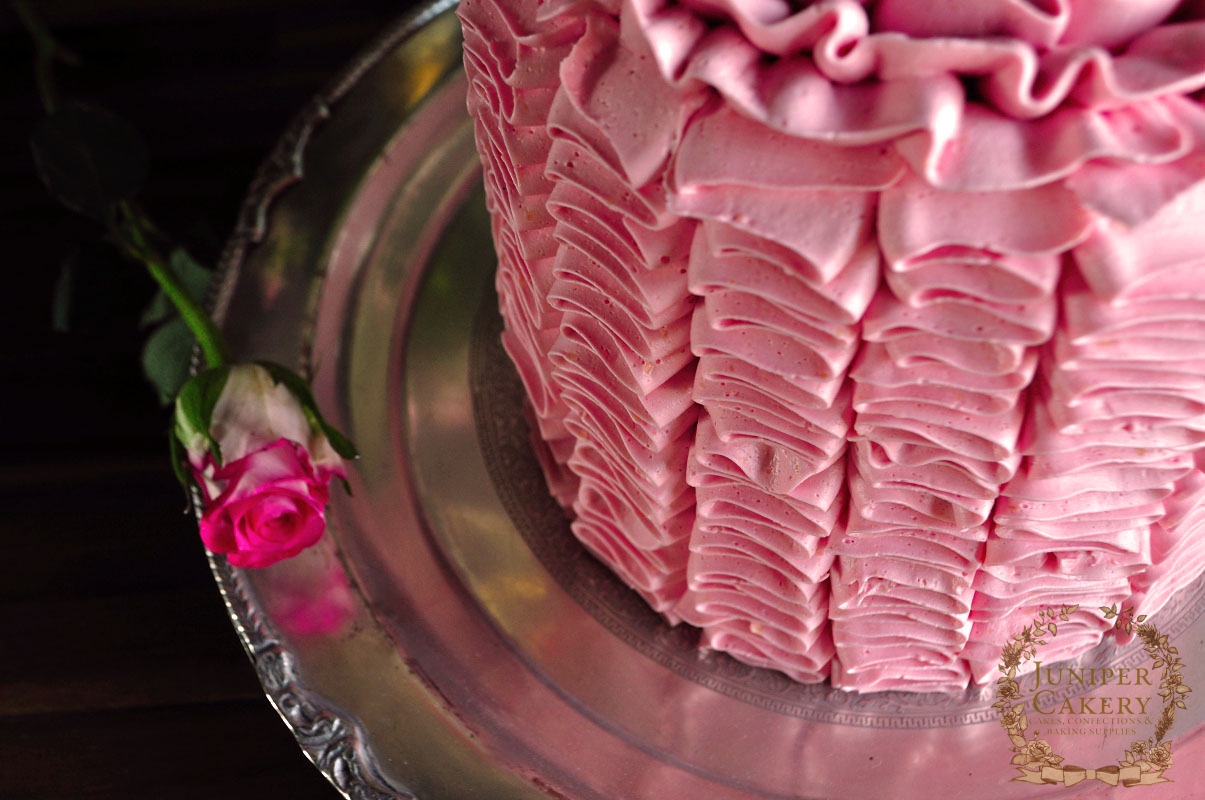
To assemble you need to stack your layers with your buttercream sandwiching them together; now you need to crumb coat your cake. A crumbcoat is a thin layer of buttercream or ganache that seals in the crumbs before being fully iced or covered. With a good angled spatula smoother some of the buttercream atop and around the sides of the stacked cake until covered. Chill in a refrigerator for 20-40 minutes. Once chilled remove and cover with the rest of your strawberries and white chocolate buttercream using a spatula. We covered ours with soft buttercream ruffles for a romantic look.

Ruffle Champagne Cake by Juniper Cakery

We hope you’ve enjoyed our year of various cake recipes utilising eggs from The Happy Egg Co. as we have and that we’ve inspired more people to try their hand a new skill… or several.


Tuesday Tutorial and Recipe: Shot Through The Heart Brownie Cupcakes!

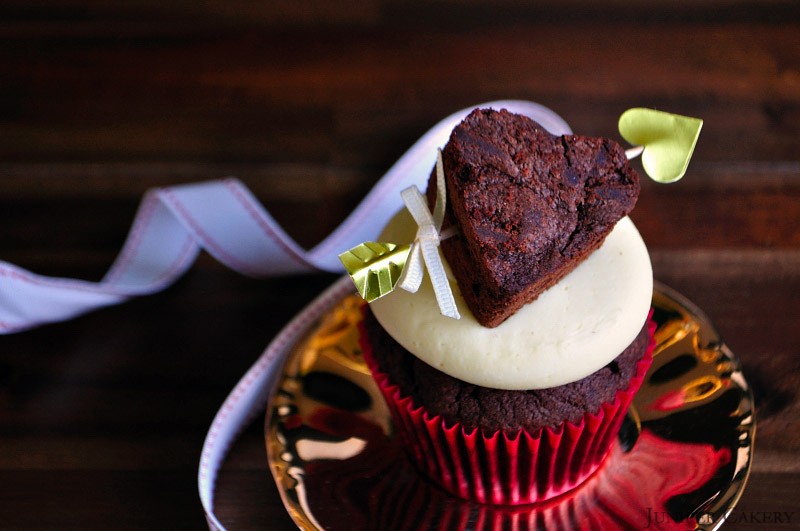
Valentine’s Day is right around the corner so what better way to treat your sweetheart than to some lovingly home made sweets! We’ll be offering up some recipes and tutorials that show you how you can create some delicious treats to impress your Valentine with. This week’s Shot Through The Heart Brownie Cupcakes are the perfect treats to present to your loved one. They are chocolate crammed brownie cupcakes swirled with silky smooth chocolate buttercream and finished with adorable and fun brownie hearts shot with mini arrows! Nestle these into a cupcake gift box with a little message and you will definitely sweeten someone’s day!

browniefull1

Brownie Cupcakes (Makes approx. 12 cupcakes)

226g self raising flour
226g caster sugar
226g butter
4 medium eggs
2/3 tablespoons cocoa powder
100g melted dark chocolate callets, baking chips
12 baking cases
1 cupcake or muffin pan
2 tablespoons hot water
1 teaspoon baking powder

Pre-heat your oven to Gas Mark 3 / 160C / 325F and line a cupcake pan with cupcake cases.

Cream your butter and sugar first. When creamy add your eggs and combine together with the flour and baking powder. Mix well until silky and pour in the melted chocolate and make a paste with the cocoa powder and water then add, mix again and fill your cases with the batter.

Bake for around 20 minutes to 30 minutes or until a cake tester comes out clean when tested.

Chocolate Buttercream

250g butter
250-300g icing sugar (keep testing when adding to make sure it is the consistency and sweetness you are comfortable with)
100g melted dark chocolate callets, buttons or chips
1-2 tablespoons of cocoa powder
808 or 809 plain round piping tip
Disposable piping bag

Dice the butter and add to your mixer to cream. Then gradually add icing sugar and the remaining butter (cut into cubes) until you get a smooth, creamy texture. Add the cocoa powder and melted chocolate.

For more hints and tips see our tutorial on how to make buttercream here.

Mini Chocolate Brownie Hearts

200g chopped milk chocolate
175g self raising flour
100g butter
100g caster sugar
3 eggs

Melt the chocolate and butter together by setting a bowl in a saucepan of hot water. Keep stirring until both the butter and the chocolate are mixed and then remove the pan from the heat.

In a separate bowl mix the eggs and the sugar together until they form a creamy yellow colour.

Combine the chocolate and butter mix with the eggs and sugar and stir until fully mix.

Add the flour to the mix and stir. Mix until smooth until you get a thick and sticky texture (if you would like any chocolate chips or chunks in your brownies now is the perfect time to add them)

Pour the batter into a greased pan and bake for around 30 minutes (depending on oven) on gas mark 4 (conversions are available on Google) Leave to cool.

Once cooled cut out some hearts using a good heart shaped cutter. Remember to use a small cutter if using these to top your cupcakes with!

Cupid’s Arrows

12 toothpicks
Thick paper or card (this can be coloured or plain) or heart stickers
Scissors
Double sided tape (omit this if you are using stickers)

Cut matching triangles from some paper (around 24 for the backs and fronts). Stick small patches of double sided tape to the backs of them. To attach peel the tape backing off and press onto one end of a toothpick. Repeat this process until done.

Shot Through The Heart Brownie Cupcake

Once the arrowheads have been created and fixed on push the toothpick carefully through your mini brownie hearts at an angle. Then you can finished them!

Shot Through The Heart Brownie Cupcake

For the ‘feather’ ends of the arrows cut 24 rectangles out of paper or card. Snip the sides of them so that they are angled. Attached them to the toothpicks with double sided tape. Finally, carefully snip the sides to create ‘feather-like’ edging! We also added a little ribbon bow to our arrow.

Now to assemble your cupcakes generously pipe them with buttercream and adorn the tops with your brownie hearts and cupid’s arrows! You should finally be left with a batch of delicious and heart warming cupcakes ready to be admired for Valentine’s Day!

Shot Through The Heart Brownie Cupcake


×