Browsing Tag

tutorials

23rd December 2017 // 0 Comments

Benefit Cosmetics x Juniper Cakery: Mrs Claus Cupcake Tutorial!

Mrs Claus cupcake for Benefit Cosmetics by Juniper Cakery

When it comes to companies that we LOVE Benefit Cosmetics are definitely way up on the list. They’re fun, quirky and we love the amount of pink they use! When they contacted us about collaborating together to create some fun (and chic) festive content we were thrilled! Plus we got to create a super exclusive collection of Benefit cookies for one lucky winner (giveaway now ended)! Head on over to Benefit’s Instagram to find our Mrs Claus cupcake tutorial via their story highlights.

Mrs Claus cupcake tutorial for Benefit Cosmetics!

Cute Mrs Claus cupcake for Benefit Cosmetics by Juniper Cakery

Materials and tools needed…

Christmas cupcake tutorial

Christmas cupcake tutorial with Benefit Cosmetics

Step 01:

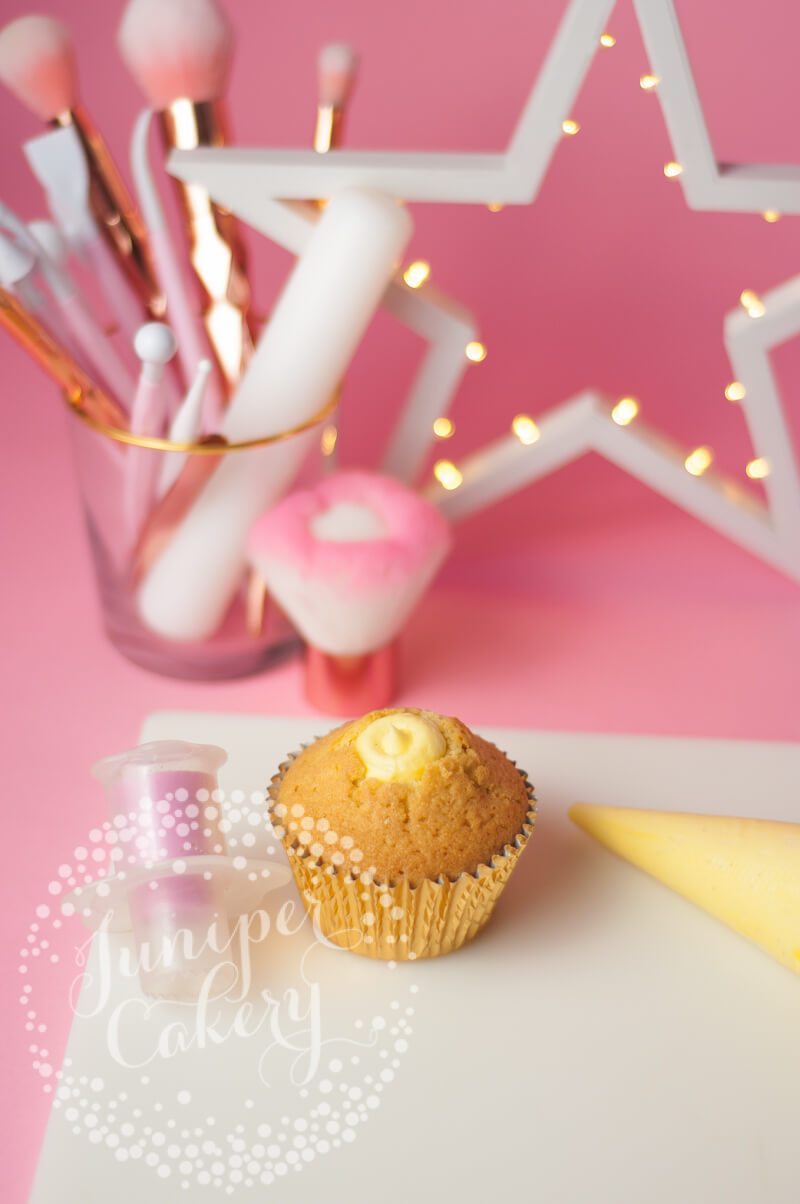
Core and fill your cupcake(s) with frosting. We used a classic Madagascan vanilla buttercream for our cupcake! It’s absolutely fine to fill your cupcakes with other fillings such as salted caramel, cookie butter or fruity jams.

Tip! You don’t need to core your cupcake all the way to the bottom. Halfway down is a great amount of space for enough buttercream. Also, you’ll risk piercing the cupcake case so take it easy.

Step 02:

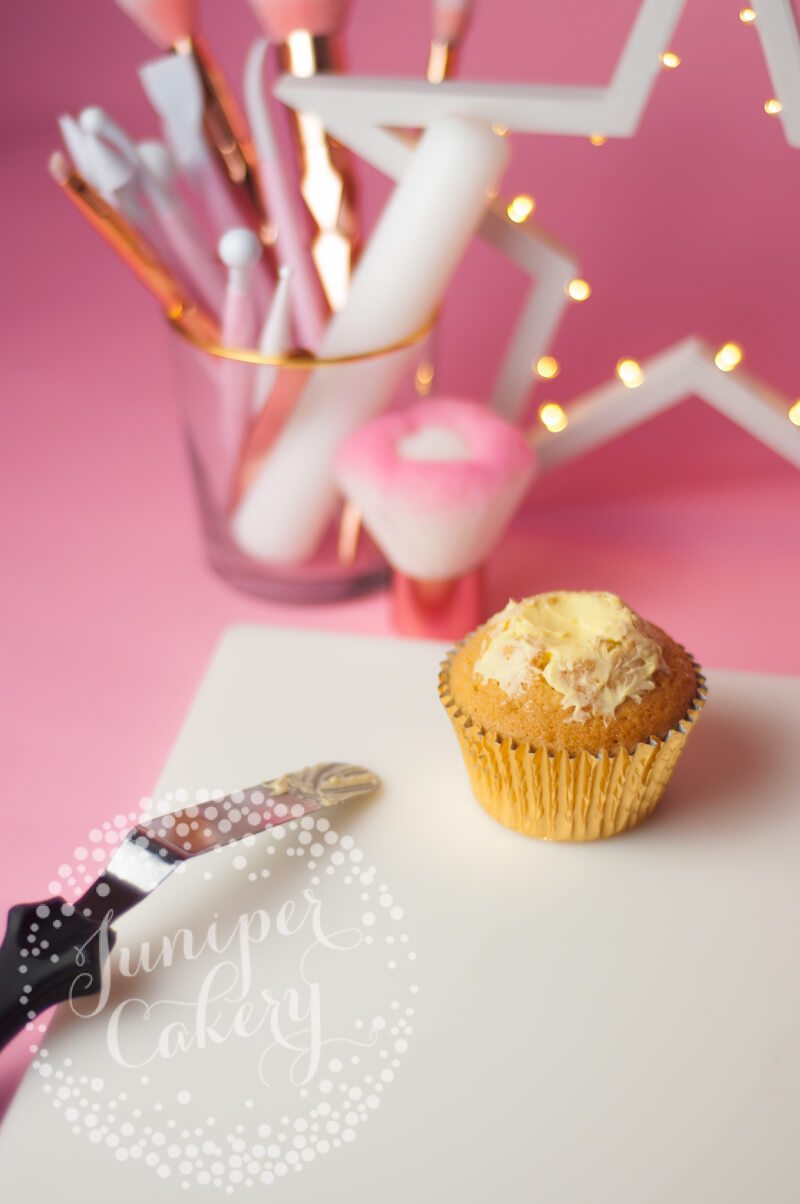
Use a palette knife ot spatula to spread any excess buttercream around the top of your cupcake which will help your sugar paste / fondant to stick to the cupcake’s surface.

Christmas cupcake tutorial with Benefit Cosmetics UK

Step 03:

You don’t need to do this step BUT it is our top tip for making smooth and flawless iced cupcakes! Roll out some white sugar paste / fondant and cut out a circle just a little smaller than your the top of your cupcake. Lay this central on top of your cupcake and smooth down.

As we said you don’t need to double ice your cupcakes and a lot of people aren’t too keen on sugar paste / fondant. However, for a super smooth look this part is pretty important. Cupcakes can bake uneven or bumpy too so this really helps!
 

Christmas cupcake tutorial with Benefit Cosmetics UK and Juniper Cakery

Step 04:

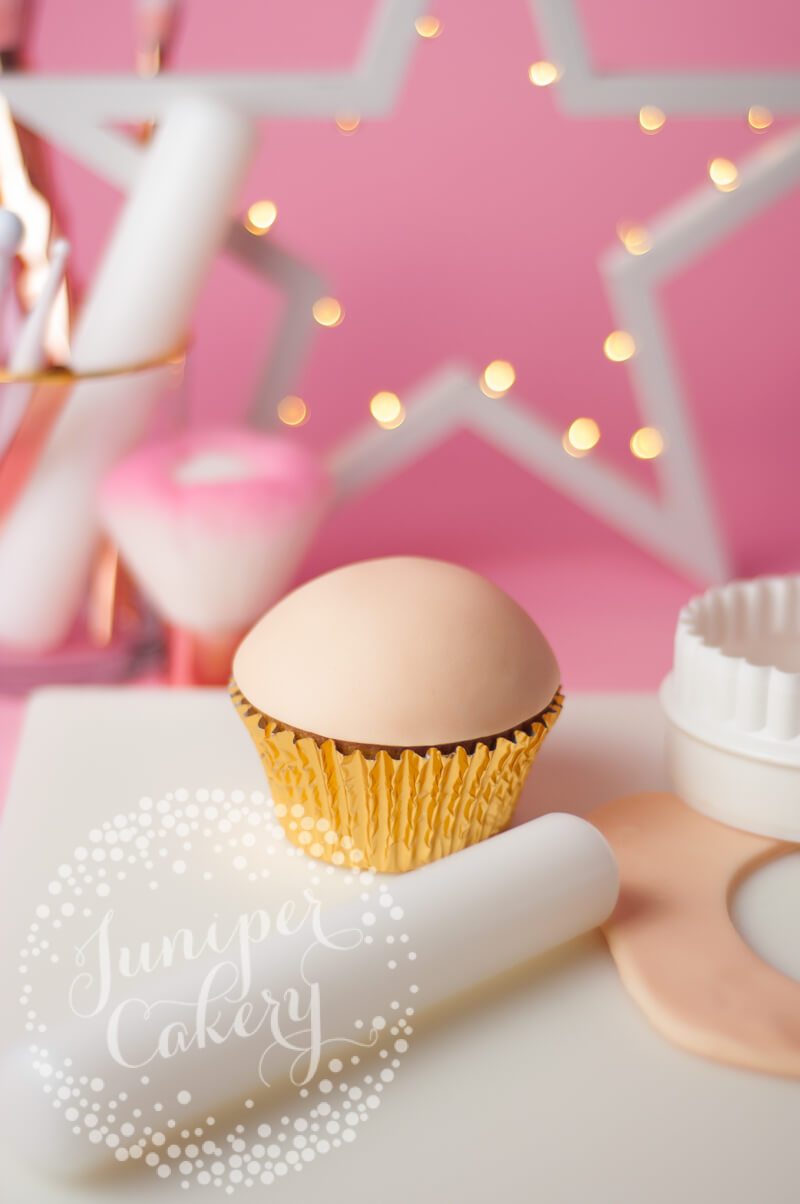
Repeat step 03 but with whatever skin tone coloured fondant you like. Also, make sure to use a circle cutter a little larger than your cupcake this time so that it can accommodate for the curve of your cupcake! Apply and smooth over the top of your cupcake to the edges of the case.

Christmas cupcake tutorial by Juniper Cakery

Step 05:

With your circle cutters cut two smaller circles of white sugar paste / fondant. Then cut away a portion from one circle so that the other can fit inside. These sections are going to be Mrs Claus’ hair which is going to be so cute and on-trend too!

Christmas cupcake tutorial with Juniper Cakery

Step 06:

Attach on top of your cupcake with a little amount of edible glue to create Mrs Claus’ hair! Once this is in place dust with some white lustre dust to add a little glitz for the party season.

You can also use edible white lustre paint if that’s what you have to hand. There’s lots on the market like sparkling dusts, shimmer sprays and glittery paint too so you’re spoiled for choice!

Mrs Claus cupcake tutorial

Step 07:

Now to add a chic top knot! Roll a ball of white fondant and attach on top of your cupcake with some edible glue. Hold in place lightly until stable. Then add a little texture to Mrs Claus’ hair using a thin veining tool. Also, remember to dust her top knot with lustre dust.

Mrs Claus cupcake tutorial for Christmas with Benefit Cosmetics

Step 08:

Using a small ball tool indent where you’d like Mrs Claus’ eyes to be which you can nestle black sugar pearls into later.

Mrs Claus cupcake tutorial for Christmas

Step 09:

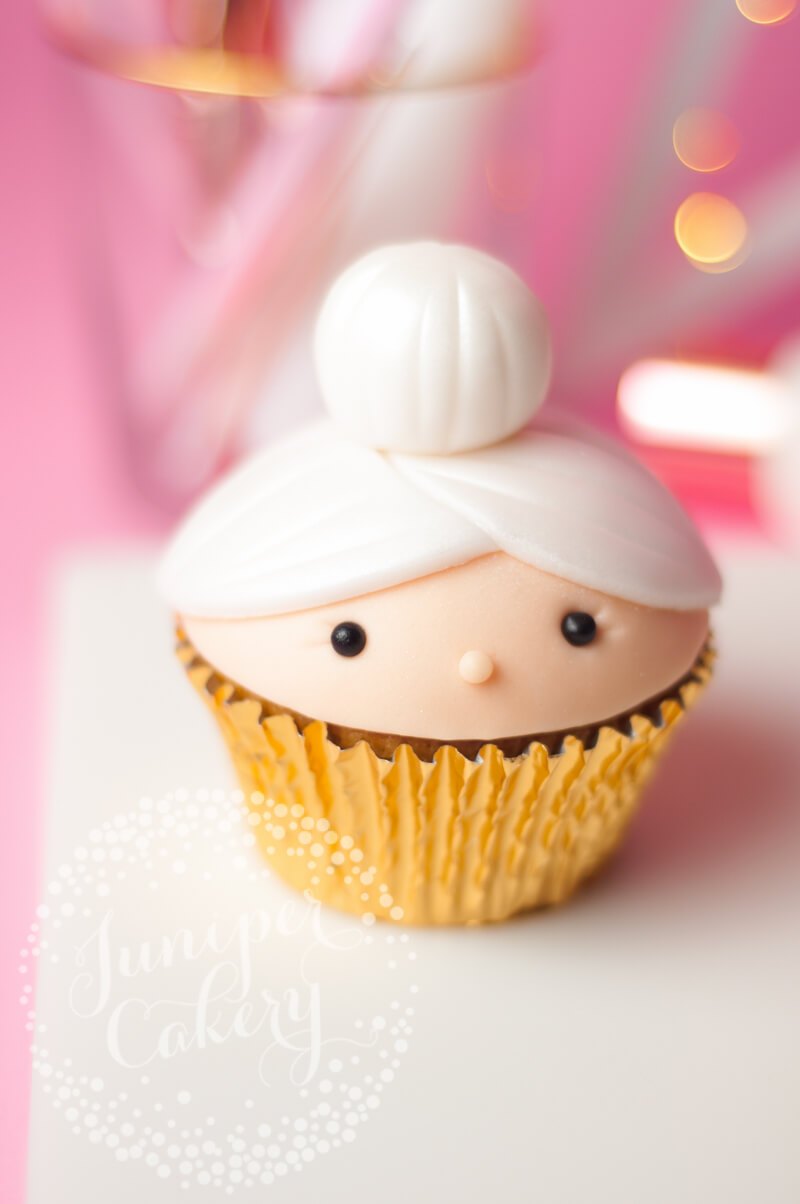
With a thin veining tool indent eyelashes to the sides of her eyes. Three is always a good amount composition-wise, but it’s a lot for a small eye so stick to two ‘lashes’.
Festive Mrs Claus cupcake tutorial

Step 10:

Now add black sugar pearls for the eyes with a tiny amount of edible glue. Try not to add too much glue as it can look messy if it seeps out or ends up making your pieces slide around! Edible glue is pretty slippy so just remember that a little goes a l-o-n-g way!

Step 11:

For her cute button nose roll a tiny amount of fondant in the same colour skin tone you iced your cupcake with. Attach with a small amount of edible glue.

Tip! Working this small can be a little tricky as your hands will warm up the fondant making it squishy. Once you create her nose just set it aside for a few minutes to firm up or cool down. It should be much easier to work with and attach.

Festive Mrs Claus cupcake tutorial for Christmas

Step 12:

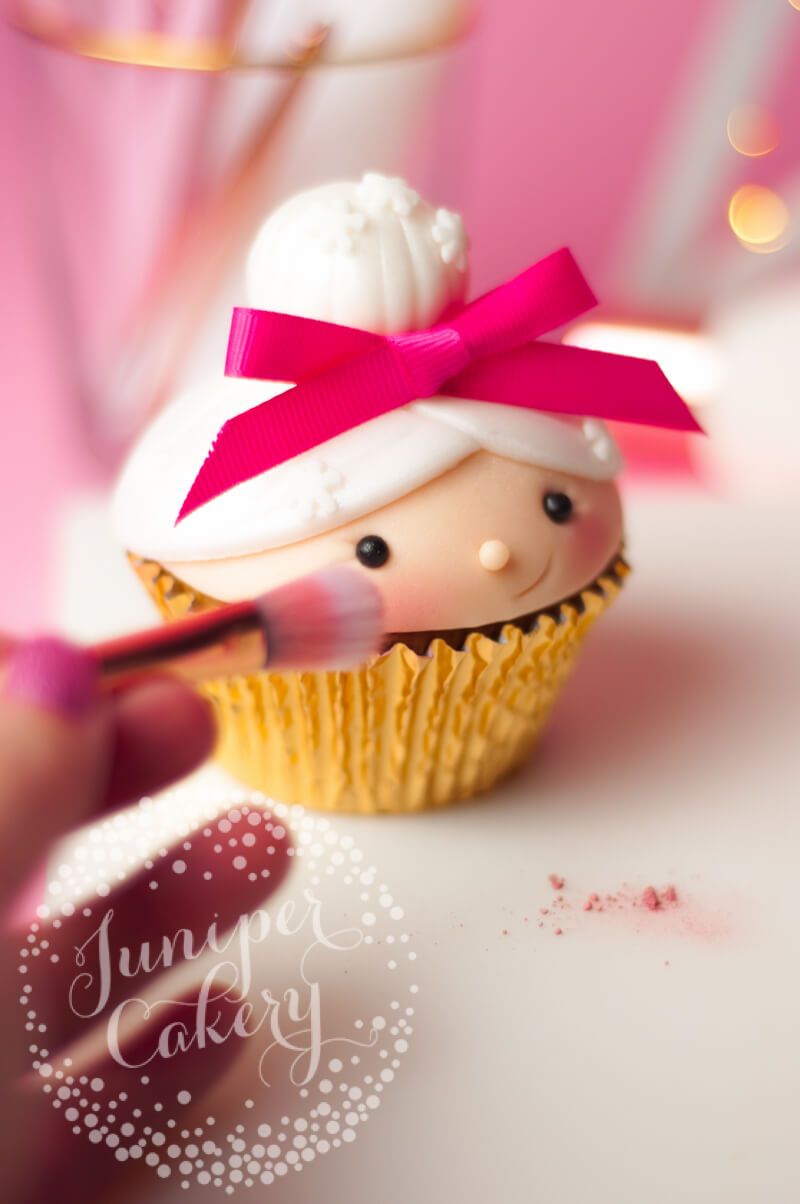
Let’s finish Mrs Claus’ stylish hair! Use edible glue to attach pretty snowflake sprinkles in place. Then with a small amount of melted white chocolate (don’t use milk or dark… it’ll get messy and it’s so much more noticeable) attach a real bow in place!

Tip! White chocolate makes for a pretty sturdy edible glue for harder to attach elements… which is so handy for stubborn pieces. The reason we advise not using milk or dark is that if that drips all over your work it will stain. Not a good look right?

Festive Christmas cupcake tutorial

Step 13:

Add a smile with the bottom of a piping tip. We used the end of a 2.5 by PME Supatube then pressed it into the cupcake at an angle to indent a curve. You can also use the scallop tool in any icing modeling tool kit… which basically looks like a curved line.
Festive Christmas cupcake tutorial with Benefit Cosmetics

Step 14:

Mrs Claus still isn’t ready as, just like anyone would need a touch of Benetint (or Posietint… our fave), she still needs her blush! Use a small fluffy brush to apply a little pink edible dust to her cheeks. Just like Benetint build your colour up so add a little at a time! It’s oh so much easier to just a little more colour each time instead of going overboard and having to start all over again from step 03!

Try this cute Mrs Claus cupcake tutorial Juniper Cakery created for Benefit Cosmetics

Now Mrs Claus is ready to take on the festive season armed with her Benefit-inspired look! She’s the perfect guest at any Christmas dinner party too. A super cute idea would be to create lots of other cupcakes decorated with fondant bows to look like gifts. Arrange these on top of a cupcake tower stand and surround with pretty snowflake confetti for a scene stealing centrepiece!

Planning a fun dinner party with the girls? Why not tweak this Mrs Claus cupcake tutorial and make each match your bestie too! You can change hair colour and style, add edible accessories (try white sugar pearl sprinkles or stars for fabulous earrings), change their skin tone or play with make up styles too (add a little edible glitter eyeshadow or some black eyeliner with a black edible pen)! How much fun does that sound?

Try this cute Mrs Claus cupcake tutorial Juniper Cakery created for Benefit Cosmetics UK

We had SO much fun working alongside Benefit to create this fun and festive Mrs Claus cupcake tutorial. We hope you have an amazing time creating your own at home. Remember… she’s not ready until she’s a #Benebabe!

Mrs Claus Benefit Cosmetics cupcake

20th December 2017 // 0 Comments

Our Gingerbread House Cookie Tutorial via Craftsy.com!

Cute gingerbread house cookie tutorial by Juniper Cakery via Craftsy.com

Gingerbread houses are a definite seasonal favourite BUT they can be tricky to assemble and decorate. Especially for beginners or anyone pressed for time. So… say hello to our flat gingerbread house cookie tutorial. It’s available for free over on the fabulous Craftsy.com blog! We love anything cute, stylish and that makes life a little easier. These 2D cookies are definitely that. Instead of measuring each panel so they fit perfectly together, holding your breath anxiously while assembling and then wondering why your house won’t stand up why not make 2D house cookies. Another major win is that because they sit flat you don’t need to worry about royal icing dripping down your work. So head on over to the Craftsy blog for our full gingerbread house cookie tutorial!

Gingerbread house cookie tutorial from Juniper Cakery

You can add cool texture to your own gingerbread house cookies. We opted for brick work and a rustic wood grain effect using these FMM impression mats! You can try embossing stars or pretty snowflakes onto your designs using small plunger cutters, even texture mats or mini cookie cutters.

Christmas cookie tutorial by Juniper Cakery

You can use lots of different things to help give any Christmas cookie you’re making a winter-y look. We’ve used sugar, sanding sugar, nonpareils, sugar strands, confetti sprinkles, snowflake sprinkles, plunger cut snowflakes and shimmering lustre dust too. It’s festive season so don’t be afraid to even use ALL of them. Stick to white when working with creating an edible snow look and it should just look lovely and textured!

2D Gingerbread House Cookie by Juniper Cakery via Craftsy.com

Give each cookie a little ‘personality’ with individual decorations. We used gold stars, a pretty holly leaf wreath and a snowflake. You can even pipe party guest’s names onto each cookie and use them as cute place settings! If you’re stuck for time how about using some pre-made icing decorations. We love Wilton’s range of gingerbread people, snow characters and Christmas stockings!

Learn to create cute gingerbread house cookies by Juniper Cakery

So for some extra treats this holiday season with a little less stress check out our gingerbread house cookie tutorial on Craftsy.com!

18th December 2017 // 1 Comments

Tutorial: Cute Christmas Pudding Cupcake Tutorial!

Christmas pudding cupcake tutorial by Juniper Cakery

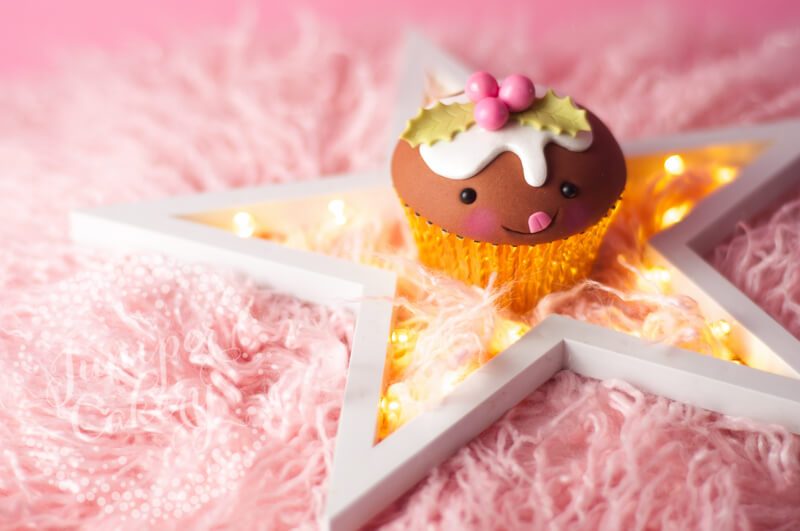
Yay! It’s Christmas week! We’ve been SO insanely busy throughout November and December that we haven’t had much time to work on any tutorials or recipes for our blog. Fear not, however, we’re kick starting this week with this cute how-to… make a Christmas pudding cupcake tutorial! Our gold splattered Christmas pudding cookies were ridiculously popular this year. We created just over 300 of them (and so many other Christmas themed cookie designs too) before we had to stop taking Christmas orders last week. As we sat decorating each one we ended up sketching a quick cupcake idea for a character driven Christmas pudding! Behold our Christmas pudding cupcake tutorial… so tasty that it’s even trying to eat itself.

Christmas pudding cupcake tutorial!

Christmas pudding cupcake tutorial from Juniper Cakery

Materials and tools needed…


Christmas cupcake tutorial

Step 01:

Firstly, core and fill your cupcake with buttercream or whatever filling you like to use. You can even use a small sharp knife to remove a little of the cupcake at the centre before filling. Some tasty filling ideas include salted caramel, marshmallow cream or even cookie butter!

Tip! Don’t go overboard when coring your cupcake. Try not to go all the way to the bottom or else you could pierce the cupcake case, which may mean your filling will seep out completely!

Christmas cupcake tutorial by Juniper Cakery

Step 02:

For a super smooth and flawless look to fondant iced cupcakes we always double ice. This just means smoothing down a small circle of fondant on top of the cupcake before you really start decorating!

Roll out some sugar paste / fondant and cut a circle just a little smaller than your cupcake. Place on top and smooth down.

Christmas cupcake tutorial via Juniper Cakery


Christmas cupcake tutorial from Juniper Cakery

Step 03:

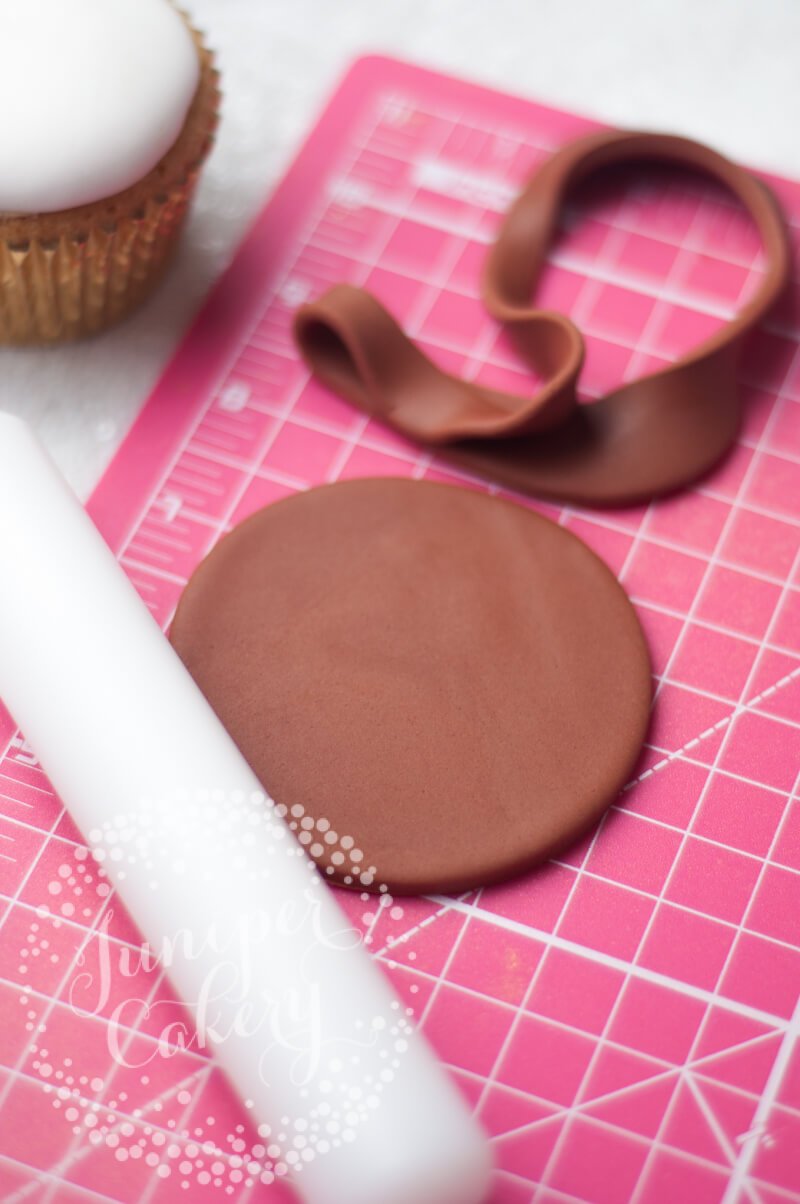
Repeat step 02, but with brown fondant and also use a circle a little larger than your cupcake so that the fondant can cover the entire top of your cupcake! Smooth down so the brown fondant sits along the top of your cupcake case. You may also need to use a little edible glue to stick it in place too.

Cute Christmas cupcake tutorial by Juniper Cakery

Step 04:

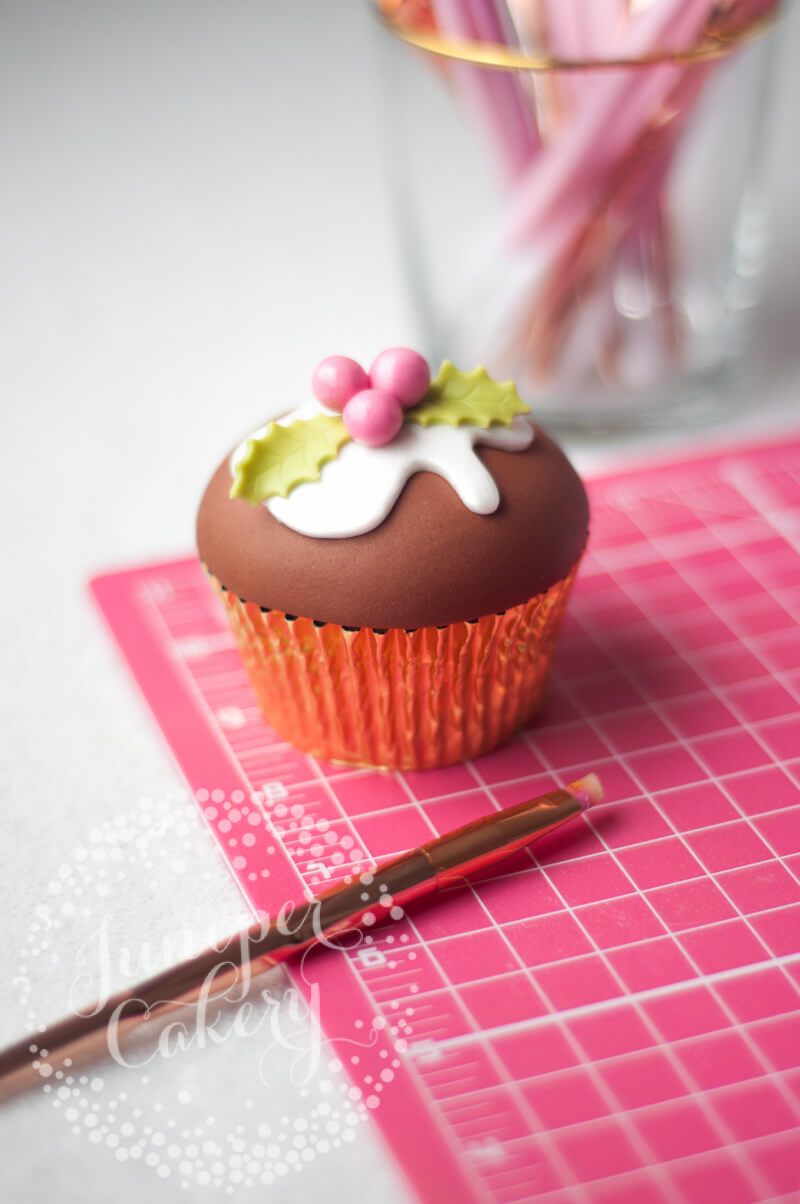
Roll out white fondant and cut a small circle from this. This is going to create the icing on top of your Christmas pudding cupcake!

Fun Christmas cupcake tutorial by Juniper Cakery

Step 05:

With a small sharp knife or a blade tool cut away sections of your white sugar paste / fondant circle until it resembles a ‘wobbly’ shape like the one above. This is going to be the icing that will drip down your little Christmas pudding cupcake.

Festive Christmas pudding cupcake tutorial by Juniper Cakery

Step 06:

Attach the ‘icing’ on top with some edible glue. Then dust or paint the white icing section with some sparkling lustre! This step isn’t absolutely essential, BUT a little glitz this time of year is a win/win!

Cute Christmas pudding cupcake tutorial by Juniper Cakery

Step 07:

Roll some green fondant and then cut and stamp two holly leaves per cupcake. Small plunger cutters are great for this because the plunger section usually features a ‘print’ or texture that you can then transfer onto the cut piece.

Cute and festive Christmas pudding cupcake tutorial by Juniper Cakery

Step 08:

Attach the holly leaves in place on top of your Christmas pudding cupcake with a little edible glue. Edible glue can be a little slippery so don’t use too much and make sure you gently hold your pieces in place until they feel stuck down.

Step 09:

Take some pink (you can use red though if you like) sugar paste / fondant and roll into three small balls per cupcake. Then attach with a dab of edible glue. Afterwards, once these have been attach you’ll need to paint each berry with a little confectioner’s glaze. This helps make the berries shine!

Try this Christmas pudding cupcake tutorial by Juniper Cakery

Step 10:

Using a small ball tool indent where you’d like your cupcake’s eyes to sit. Then with a tiny amount of edible glue attach two black sugar pearls (or you can roll two small balls of black fondant) into the indentations.

Try out this Christmas pudding cupcake tutorial by Juniper Cakery

Step 11:

Use the base of a small piping tip to then indent a cheeky smile underneath the eyes! Or you can also use a scallop tool, which can usually be found in an icing modelling tool set. It looks like a simple curved line.

Super cute Christmas pudding cupcake tutorial from Juniper Cakery

Step 12:

For the tongue roll out a small ball of pink sugar paste / fondant and flatten it into an oval-like shape. Cut the piece in half then indent a line down the middle with a blade tool or small sharp knife. Be careful not to cut the tongue in half!

Step 13:

Next, attach the tongue with a small amount of edible glue as in the image above. Also, try not to add too much as edible glue can seep out or lead to pieces sliding around if too much is applied… which isn’t a good look.

Step 14:

Finally, add blush to your Christmas pudding cupcake with pink edible blossom / petal dust and a fluffy food safe brush. You don’t need to follow this step, however it really ups the cute factor!

Build your colour up a little at a time. It’s easier to add further blush if needed than have to start all over again!

Funny Christmas pudding cupcake tutorial from Juniper Cakery

How cute is this Christmas pudding cupcake tutorial? We (almost) wouldn’t be able to eat it. Traditionally holly berries and leaves are used to decorate a Christmas pudding, but you can personalise yours to fit whatever your festive theme is. So why not opt for plunger cut snowflakes or a cute little edible bow?

Adorable Christmas pudding cupcake tutorial from Juniper Cakery

29th October 2017 // 0 Comments

Halloween Tutorial: Trick or Treat Cupcake!

Halloween cupcake tutorial by Juniper Cakery

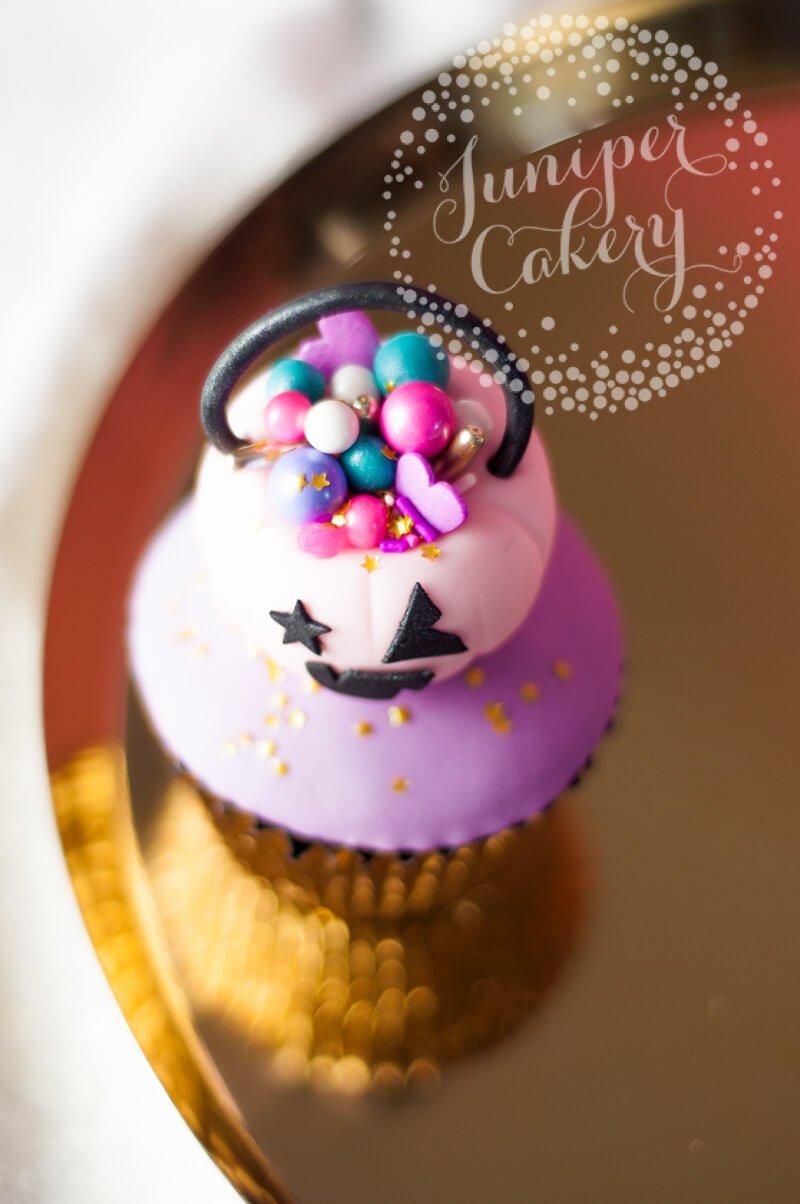
Halloween always kickstarts the party season for us. It’s too exciting! Today we have a super cute tutorial for anyone hoping to make a last minute treat… a sprinkle stuffed (with sprinkles by Fancy Sprinkles of course) pink trick or treat pumpkin (totally inspired by this snap of goodies on the Benefit Cosmetics US instagram). It’s perfect for cupcakes. We added our’s to a purple star-studded fondant iced cupcake, but they’d look amazing nestled into buttercream too! Check out our Halloween cupcake tutorial below!

Halloween cupcake tutorial from Juniper Cakery

Halloween cupcake tutorial!

Materials and tools needed…

Fun Halloween cupcake

Step 01:

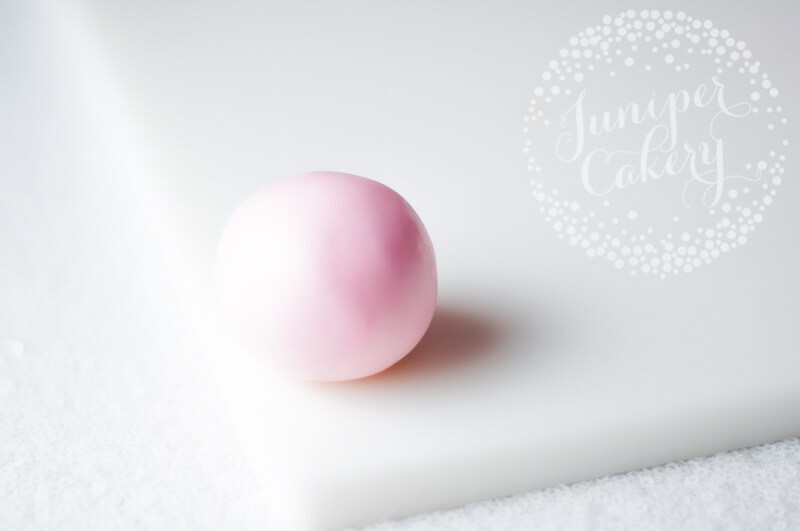
Take your pale pink fondant (or modelling paste) and roll into a smooth medium (approximately the size of a gold ball) ball. Make sure there are no cracks, unmixed colour or dry patches in your ball shape.

Fun Halloween cupcake idea

Step 02:

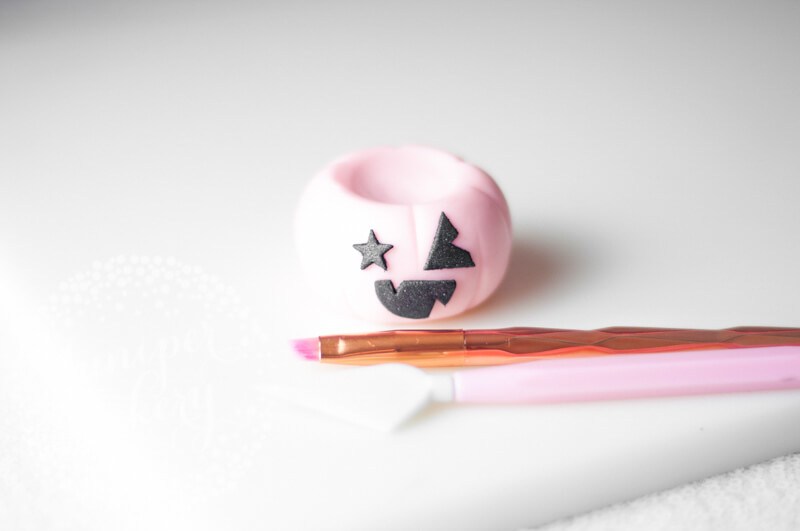
Form into a pumpkin pail shape by flattening the top slightly. Then use your ball tool to create a well where your sprinkles will sit. Remember that you are going to be adding a face to the front of your little pumpkin so leave a couple of gaps. This is so you can stick on the eyes and mouth!

Step 03:

Take your veining tool and gently scour lines along the sides of your pink pumpkin.

How t make a fondant jack o'lantern

Step 04:

The next step in this Halloween cupcake tutorial? Roll out some black fondant. Then using your blade tool cut out some cool facial features. You can also cut out a smile by using the bottom end of a piping tip before cutting the circle in half and cutting away any teeth shapes. We also used a tiny star plunger cutter for one eye (which inadvertently gave our pumpkin a bit of a glam rock look).

Step 05:

Add a little glitz by dusting your pumpkin’s facial features with some black edible lustre using a fluffy food safe brush!

Make this cute Halloween cupcake by Juniper Cakery

Step 06:

Attach your pumpkin’s mouth and eyes using a little edible glue and leave to set. Remember to not add too much glue. You’ll only need a tiny dab. Too much glue will create a bit of a mess and may lead to your fondant piece sliding out of place.

Easy Halloween cupcake tutorial by Juniper Cakery

Step 07:

Now for some extra fun! Add some edible glue to the top of your pink pumpkin. Then you can add some cool sprinkles! we used the ‘Bombshell’ mix from Fancy Sprinkles which are insanely amazing and colourful. We love the golden accents too!

Make this cute Halloween cupcake from Juniper Cakery

Step 08:

Now with your small ball tool indent two holes in either side of your pumpkin. This is for your black fondant handle to sit in.

Make this bright Halloween cupcake from Juniper Cakery

Step 09:

Take a small amount of black fondant or modelling paste and roll into a rope-like shape. Dust with edible black lustre. Modelling paste warms up when it’s worked with so it’s best to leave it for around 10-25 minutes. Then gently attach either end into the indentations made in step 08 with a little edible glue. You can hold it in place lightly while it sets with a little bit of scrunched up kitchen towel.

Pink Halloween cupcake tutorial by Juniper Cakery

Yay! Now you’ve got treats a-plenty ready for an amazing Halloween bash! If you’re feeling a little more adventurers how about using these cupcakes as place names? Just pipe or paint each guest’s name on the fondant iced cupcake! You can also core and stuff each cupcake with sprinkles and candy before decorating for an extra surprise!

28th October 2017 // 1 Comments

Ebay x Juniper Cakery: Cute & Colourful Halloween Cake Tutorial!

eBay #fillyourcartwithcolour Halloween cake by Juniper Cakery

When Autumn swings around we get ridiculously excited about Halloween! It’s the perfect holiday to kickstart party season! Seriously… what’s not to love? Spooky themed candy (our particular favourites are jelly spiders & eyeballs), anything with black cats on them, and absolutely everything pumpkin related! So when eBay (definitely give them a follow over on Instagram) contacted us about creating a Halloween cake tutorial perfect for their #fillyourcartwithcolour we couldn’t wait to start!

#fillyourcartwithcolour!

Cute Halloween cake tutorial with eBay by Juniper Cakery

#fillyourcartwithcolour is a such a vibrant idea for a campaign and we love it! eBay is so convenient. Lots of retailers sell on the auction site now making it even easier to shop online. If we have a project coming up eBay is the first stop. From fondant and food colour via Cake Stuff to Lakeland’s own kitchen gadget range it helps take the stress out of shopping. The way people use eBay is completely different to a few years ago (enter Krystle searching for those beautiful Alexander McQueen bee embroidered slippers) to now (still searching for those mythical shoes as well as sourcing cake supplies and photography backdrops). The #fillyourcartiwthcolour campaign helps highlight how anyone’s passion can be fuelled by just a few clicks on eBay!

Halloween colour palette

We started our collaboration with eBay by thinking about… colour! We wanted something obviously Halloween-esque, but also suitably quirky. At the time we began gathering ideas we’d also just planned a trip to a nearby pumpkin patch! Obviously we wanted to work some gorgeous rustic orange tones in. We then played with different oranges and pinks. It then made sense to add blacks, charcoal tones and different metallics. In the end our eyes kept gravitating towards a bright amber orange paired with a bubblegum pink (we LOVE our pink photography backdrop) with gold leaf accents, crisp white, soft pink and a glittery black!

Find the perfect cake tools on eBay

One of our favourite eBay finds were these rose gold modern unicorn make-up brushes (and those cute pink modelling tools)! They are seriously perfect for cake. We often talk about using food safe brushes when working with cakes and treats. What that means is any non-animal containing brush (no hair or bristles) that has only ever been used on edible items. Brand new make-up brushes and nail art brushes are perfect. Nail art brushes are so tiny they are amazing when it comes to painting intricate details. Make-up brushes are super fluffy so they’re great for dusting and adding sparkle! Obviously another plus is that they look so glam. They’re perfect for photography or to feel a little magical when decorating a treat!

Black cat Halloween cake with eBay by Juniper Cakery

Want to find out how we made this super cute Halloween cake? Check out our Instagram post here! You can also find the tools and materials we used to create our black cat and pumpkin adorned cake via eBay!


SaveSave

SaveSave