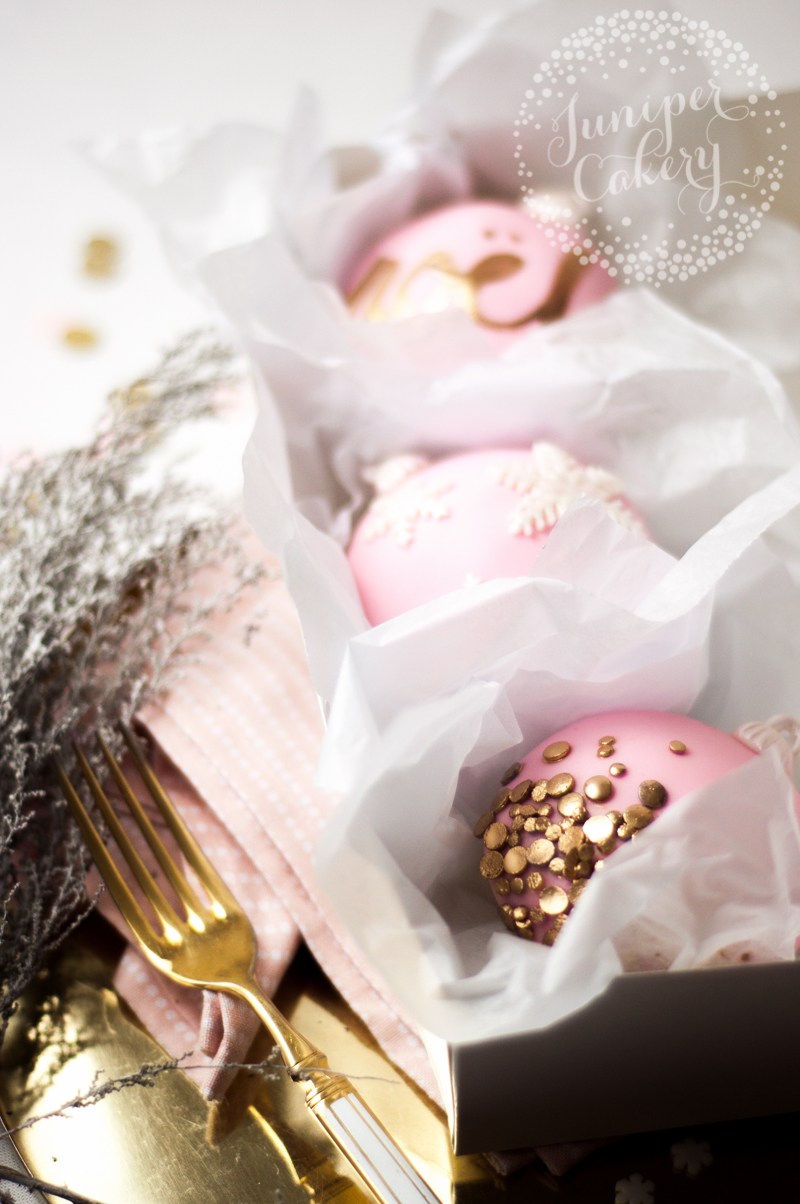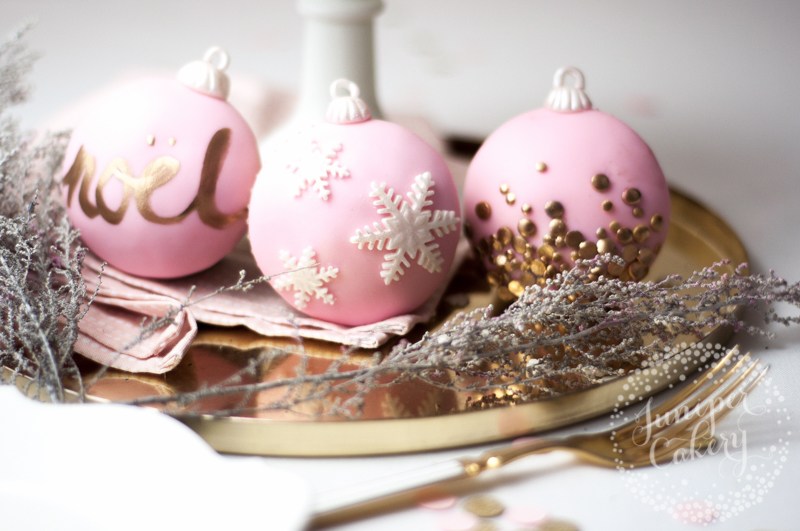
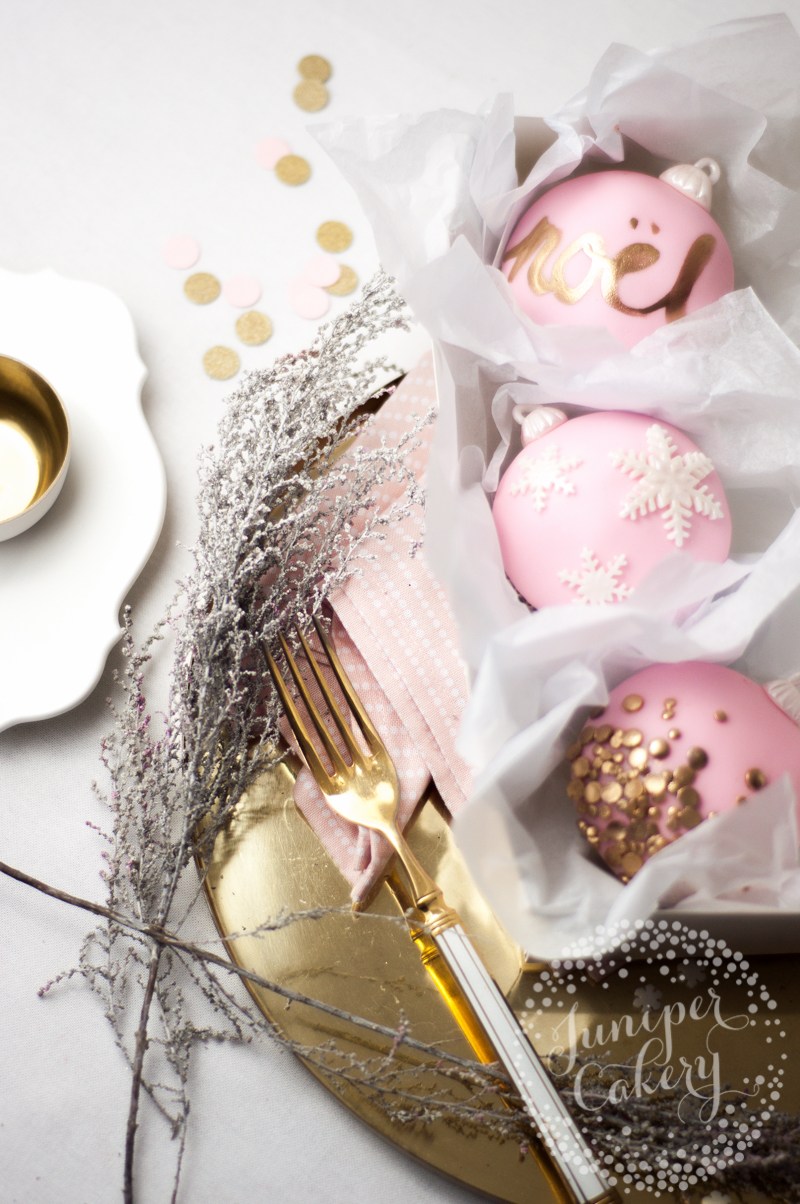
Pinterest is one of those amazing phenomenons that comes along and completely changes everyone’s lives. Suddenly people are more crafty, aspirational Christmas gift wrap ideas turn up under the tree and gold D.I.Y style decorations hit the shops like crazy. That’s what heavily inspired our stylish Christmas cupcake tutorial. Bauble cupcakes aren’t a new fangled thing - they’ve been doing the rounds for years now - BUT these festive bauble cupcakes are surely going to be the most chic and Pinterest inspired yet right? Keep reading to find out how to make them in time for Christmas!
How to make chic Christmas bauble cupcakes!
Materials and tools needed to make Christmas bauble cupcakes
- Freshly baked domed cupcakes
- Buttercream
- White fondant / sugar paste
- Ice pink fondant / sugar paste
- Circle cutter (a little larger than the top of your cupcake)
- Gold edible lustre dust
- Confetti / sequin type sprinkles
- A few drops of vodka or lemon extract
- White edible lustre dust
- Snowflake plunger cutters
- Rolling pin
- Food safe paint brushes
- Blade tool
- Small ball tool
- Cake smoother

01:
Smooth a small amount of buttercream onto the top of your cupcake. If you want more buttercream it’s best to core out your cupcake and fill it instead of adding more on top which will end up squishing out from under the fondant!

02:
To flat ice your domed cupcakes begin by rolling out some fondant / sugar paste.
We worked to a bigger thickness of 5mm so that once placed on top of the cupcake the fondant can then be smoothed out to the edges better.
03:
Using your circle cutter cut out a series of circles in the colours you need and for the amount of cupcakes you want to ice.
It can help to cut a circle out to test and see if it’s wide enough as you’ll need to think about the addition of buttercream as well as the size of the dome on your cupcake!
04:
Now lay your circle of fondant on top and gently pat down before smoothing the edges out to where the cupcake case ends and the top of the cupcake begins. You can use the palm of your hand to smooth the fondant out too, but don’t be too heavy handed or you’ll be left with dents or an uneven surface.

05:
To make the attachment or ‘hook’ part of the bauble take a little white coloured fondant, roll it into a small ball and mould into a ‘drum’ like shape. Add a linear pattern up the sides with a blade tool if you wish.
06:
On the top of the attachment base use a small ball tool to indent two circles on opposite sides.
07:
Attach to the side of your iced cupcake with edible glue, hold until set.

08:
To finish the hanging attachment take a tiny amount of fondant and roll it into a small ‘rope’ before forming into an unfinished loop that fits the indents you made in step 06 and set aside to fully dry.
09:
Attach the loop with edible glue. Hold in place until set.
10:
Once dry carefully dust or paint the hook attachment with lustre.
How to create a gold sequin bauble cupcake

01:
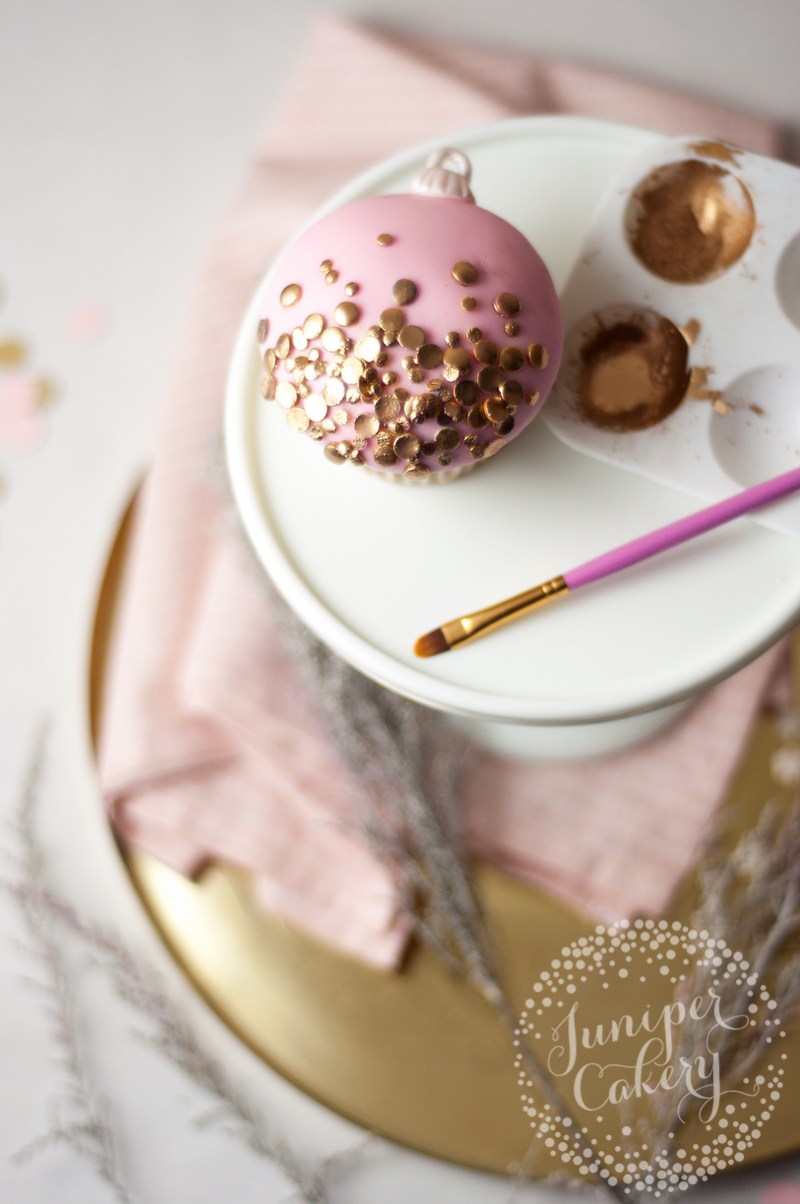
On the frosted gold sequin bauble we added lots of confetti sprinkles to the base of the bauble scattering upwards.
02:
Each multicoloured sprinkle then needs to be hand painted with gold lustre dust mixed with a tiny amount of vodka (the alcohol completely evaporates so they are kid friendly when dry) or lemon extract.
When mixing up your edible lustre paint you want to achieve a runny paste-like consistency. We generally add around a quarter teaspoon of lustre dust to approx. 5-6 droplets of vodka or lemon extract.
How to make a snowflake bauble cupcake

01:
For this cupcake we decided to keep our ‘background’ matt and instead make the snowflakes shimmer! Alternatively, you could add a nice lustre sheen to this by either using a white pearlescent lustre dusted over the surface or a light pink.
02:
Roll out some white fondant / sugar paste to a thickness of around 3mm.
03:
Cut out and texture some snowflakes using snowflake plunger cutters. Tala make a great pack of three in varying sizes which we used on our cupcake.
04:
With some edible glue attach your snowflakes onto your cupcake. You only need a small amount painted onto the back of each flake or else you’ll be left with a mess of glue squishing out from underneath.
05:
Finally, mix a little white lustre dust with a few drops of vodka or lemon extract (approx. a quarter teaspoon of dust to 5-6 droplets of vodka / lemon extract) and paint onto your snowflakes giving them a hint of sparkle!
How to make a typographic Christmas bauble
01:
We made our typographic bauble in a light pink fondant to match the other designs. You can obviously use whatever base colour you like (black would look amazing with gold on it too). Make sure the surface of your iced cupcake is sugar or cornstarch free as this can form into unsightly clumps when painting onto the fondant.
02:
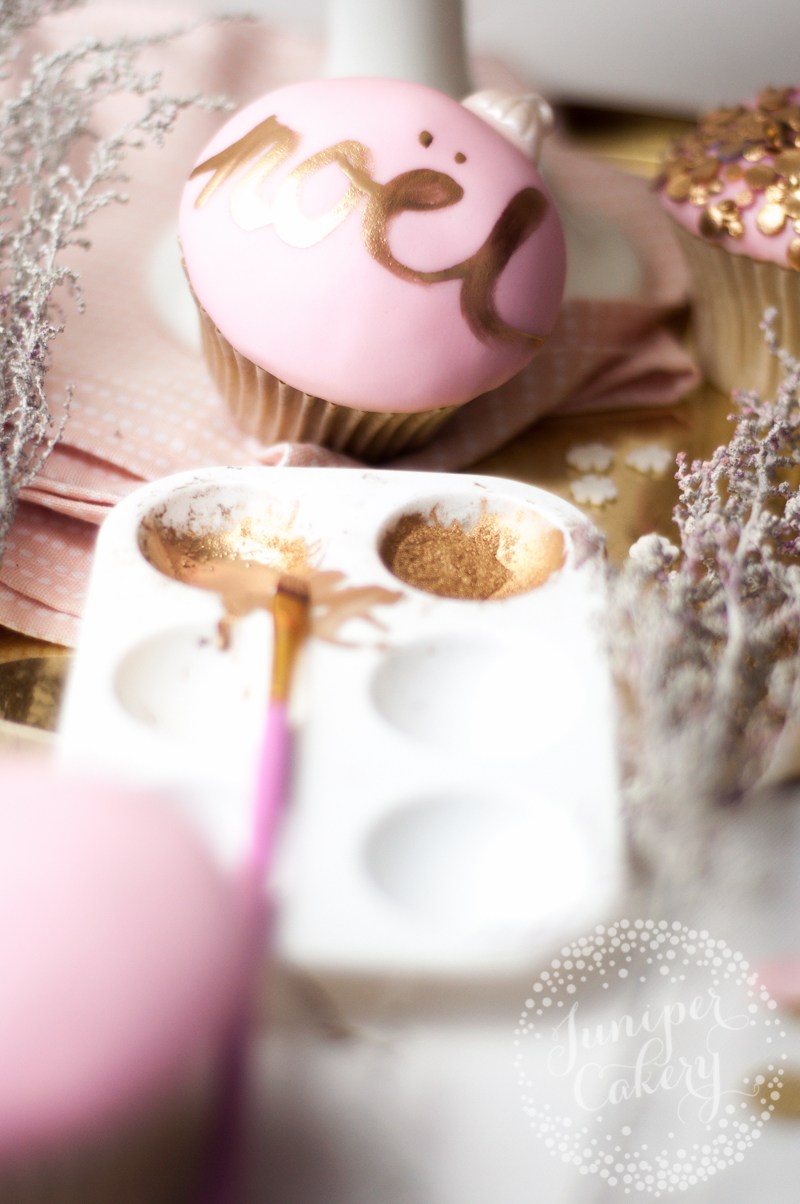
Pick out what font you’d like to use for your cupcake. We looked at lots of beautiful brush type fonts that are insanely popular at the moment before we painted ours during a test run using watercolours. After a bit of practice we were then ready to commit…
03:
Using a good quality food safe brush paint your word across the top of your cupcake. For a brush style font like ours Japanese calligraphy brushes work best. You can also use a medium sized brush with a pointed tip too.

Ta dah! Now you should be left with some exceptionally stylish cupcakes ready for one magical Christmas. If you’re giving these little beauties away as gifts try cupping each cupcake in a small square of ruffled up tissue paper before placing in their box. They’ll end up looking like real ornaments ready for the tree!
