Hoppy Easter Cake Decorating: Quick and Cute Fondant Chick Tutorial!

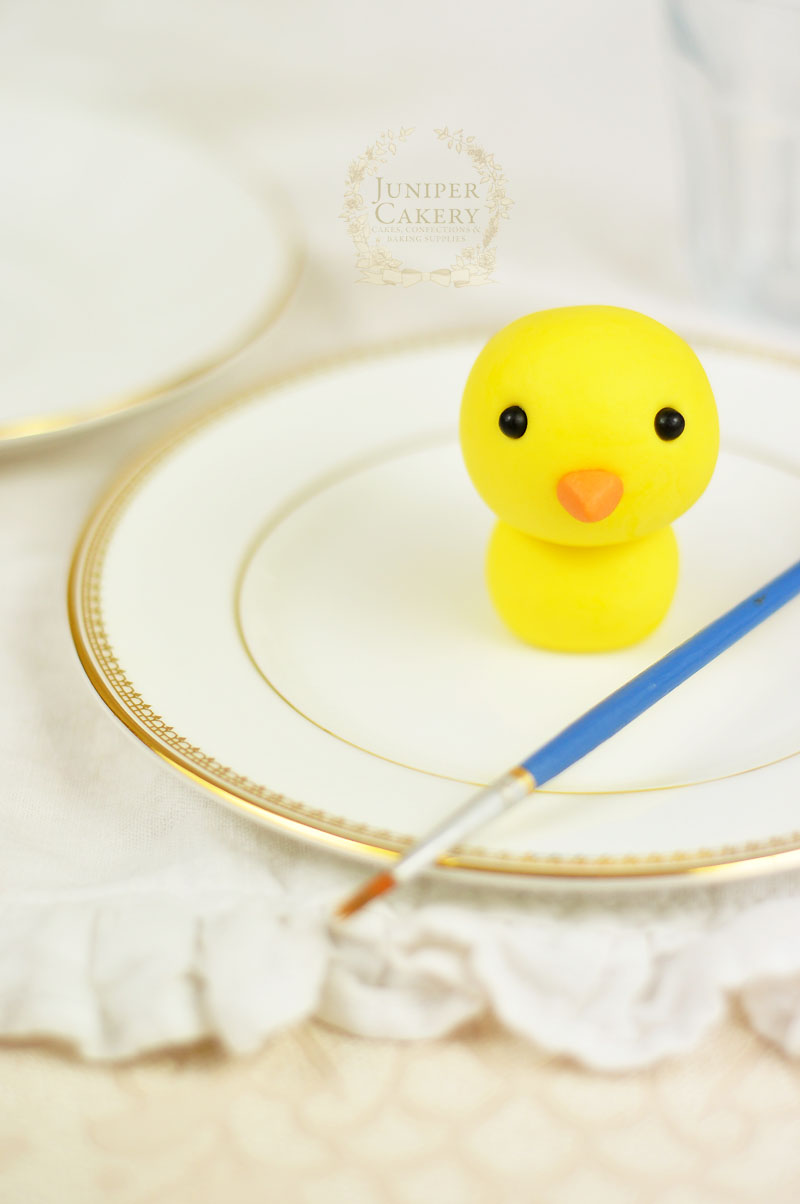
For Easter or general spring-themed treats it’s easy to feel a little overwhelmed, but why not add a little extra sweetness to your cakes with our surprisingly pain-free tutorial for an adorable fondant (or gum paste) chick! This little cutie is perfect for adding a little character to novelty cupcakes or freshly baked cakes so read on for our step-by-step guide on how to make your very own lovable little bird.

Fondant chick tutorial for cakes and cupcakes by Juniper Cakery

How to create a fondant chick tutorial…

Materials needed:

  • Yellow fondant/sugar paste or gum paste/modelling paste
  • Small black fondant balls approx. 4mm in size
  • A little orange fondant
  • Pink petal dust
  • Paintbrush
  • Edible glue
  • Uncooked spaghetti stick
  • Blade tool
  • Small ball tool
  • Small blossom cutter

Step 1:
Make a small ball of yellow fondant approximately the size of a standard marble. This will be your chick’s body.
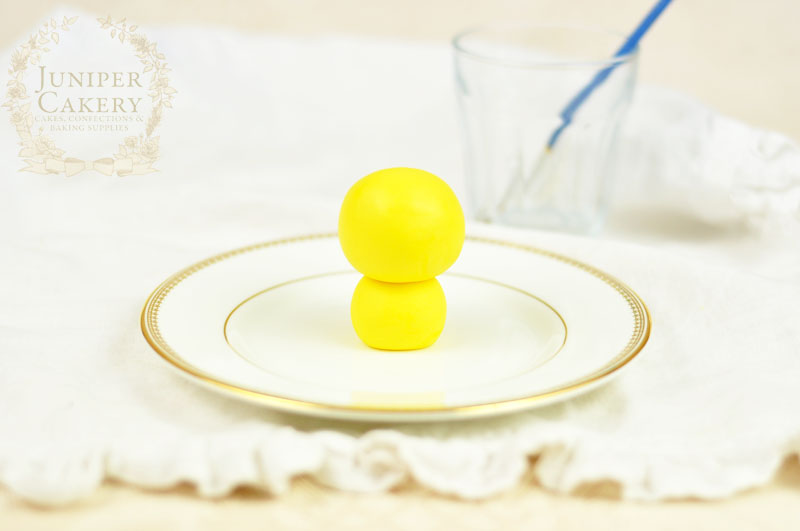
Create a sweet fondant chick with this tutorial by Juniper Cakery

Step 2:
Roll a larger ball of yellow fondant similar in size to a golf or ping pong ball. This will become the head.

Step 3:
Take a piece of spaghetti stick around 1cm longer than the first small ball of fondant you rolled and dip in edible glue before plunging carefully down the centre of your chick’s body (aka the smaller ball you rolled in step 1).

Step 4:
Paint the exposed part of the spaghetti with edible glue and attach the larger ball/ head onto the body.
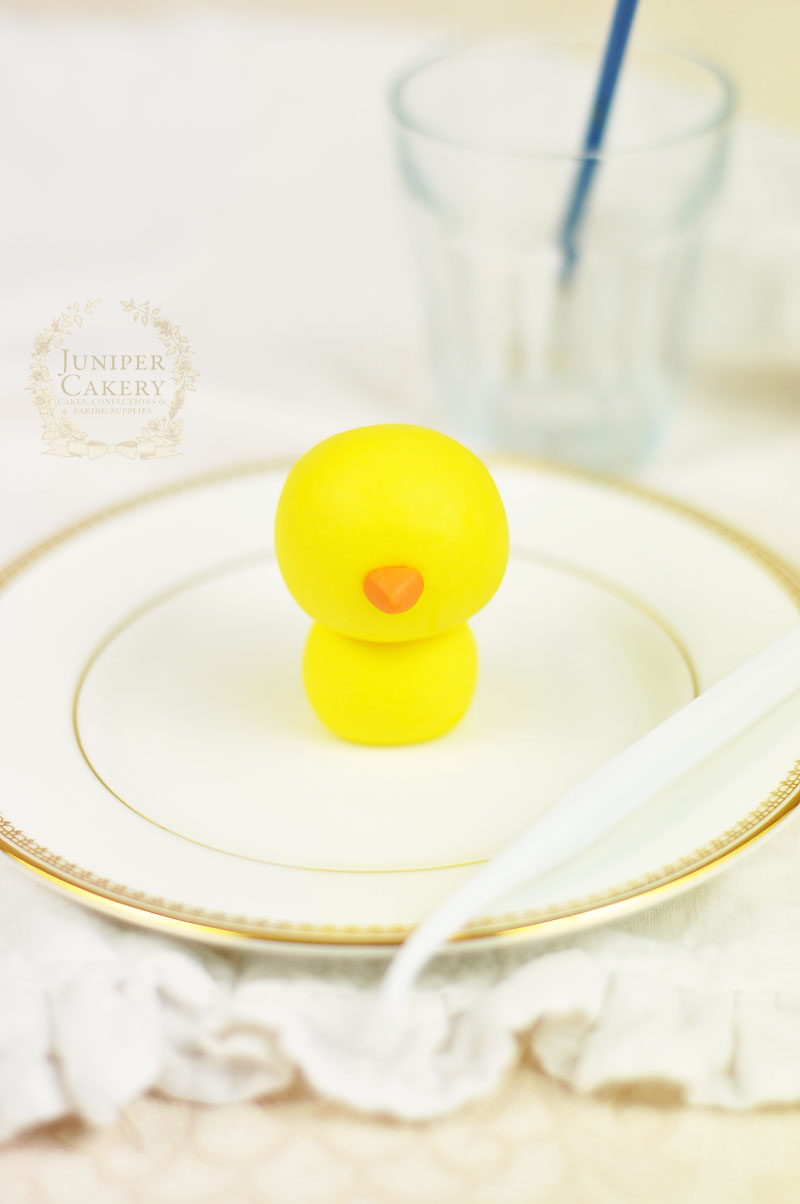
Easter chick tutorial for cakes and cupcakes by Juniper Cakery

Step 5:
For the beak take a small ball of orange fondant and mould into a rounded triangular shape. Attach in the centre with edible glue.
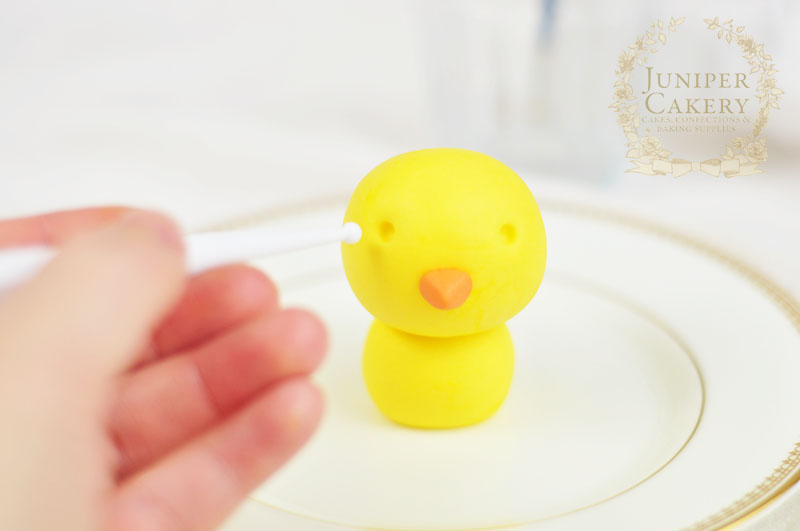
Gum paste chick tutorial by Juniper Cakery

Tutorial for a cute edible chick by Juniper Cakery

Step 6:
Indent two circles onto the head just higher than the middle of the ball to create the eye sockets. Attach the black fondant balls with edible glue.
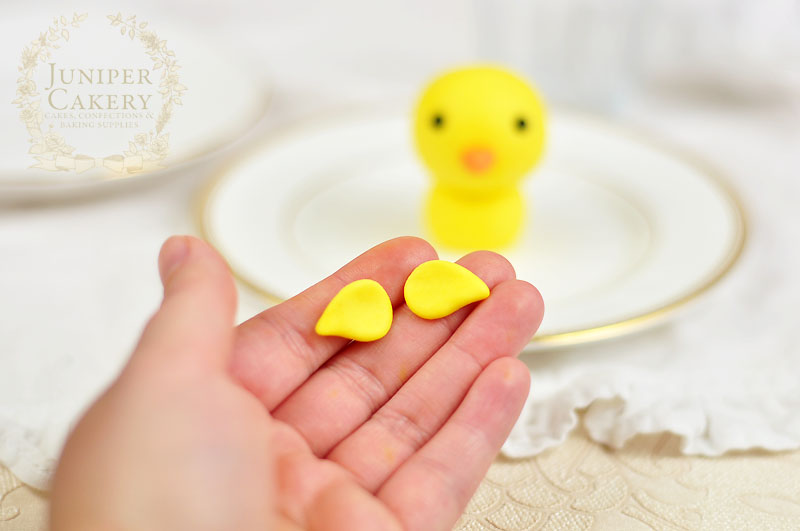
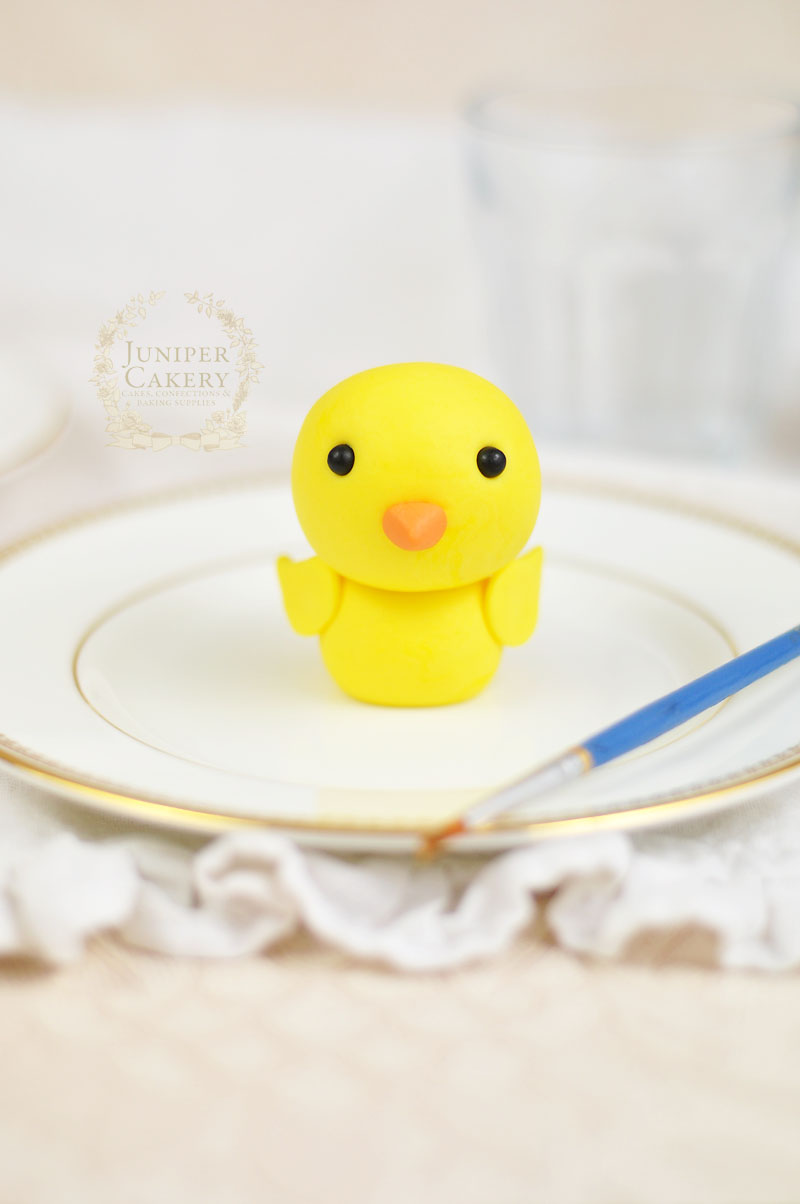
Make a cute chick from fondant with this tutorial by Juniper Cakery

Easter fondant or gum paste chick birt tutorial by Juniper Cakery

Step 7:
To add wings roll two equal sized balls of fondant a quarter of the size of the body. Flatten and smooth a little with your hands before pinching one side of each to form a tapered wing shape. Attach to the sides of the chick’s body with edible glue.
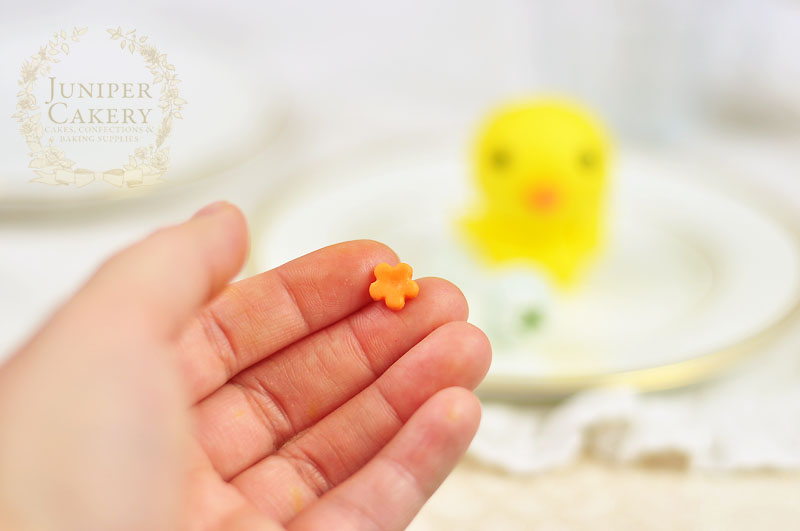
Step by step guide to making a fondant chick for Easter cupcakes by Juniper Cakery

Easter sugar paste chick tutorial by Juniper Cakery

Step 8:
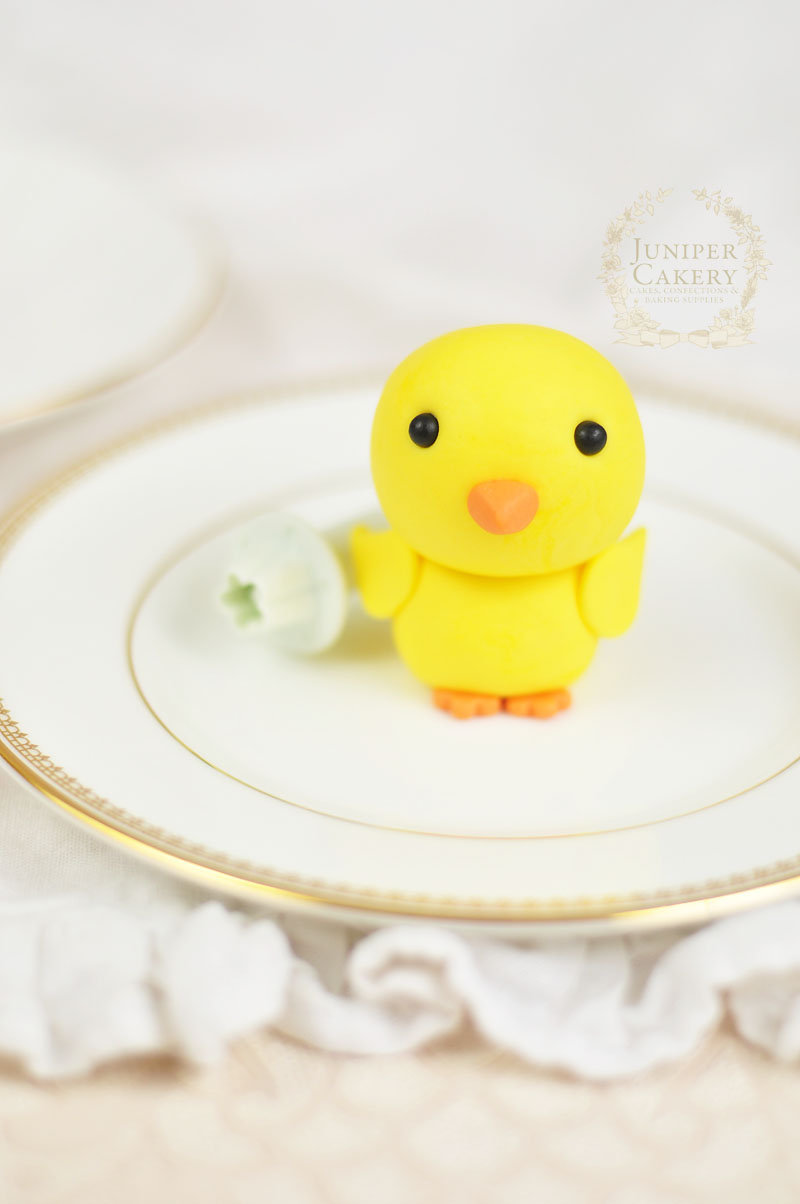
For cute tiny feet roll out some orange fondant to a thickness of around 4mm and cut two blossom shapes with a cutter of each chick. Attach to the bottom of the body with three scallops or petals of the blossom poking out from underneath.
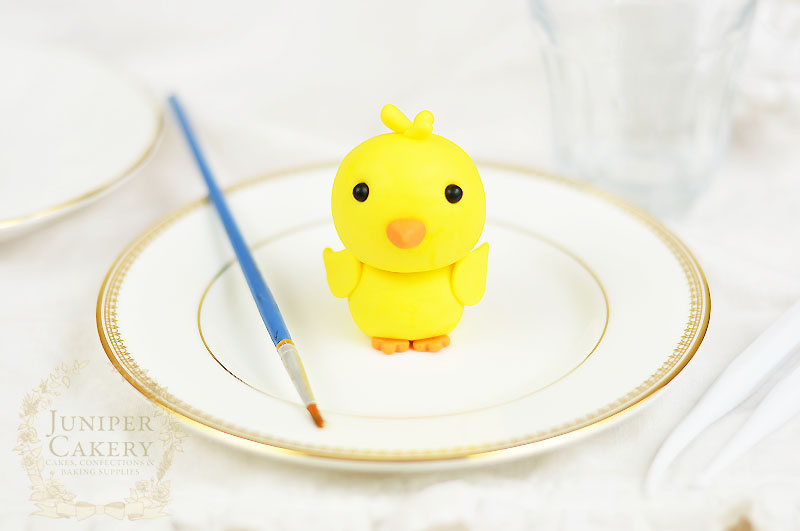
Modelling paste Easter chick tutorial by Juniper Cakery

Step 9:
If you want to add a cute little tuft of feathers on the head create three tiny teardrop shapes of yellow fondant and attach to the top with a dab of edible glue.

Step 10:
Finally add some lovely flushed cheeks with a little pink petal dust!
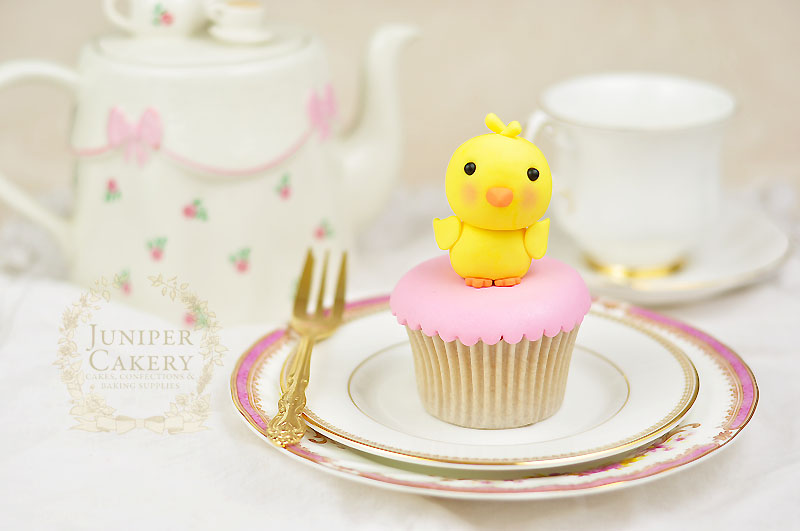
How to create a gum paste chick for Easter cake decorating by Juniper Cakery

Fondant Easter chick tutorial by Juniper Cakery

You can easily customise your fondant chick to suit so many different themed cakes and treats. Add tiny baseball caps or flags for sports themed designs, attach a bold fondant letter to them to personalise a fun party cake for someone special or change the colours (like blue for a Twitter addict)! 


Floral Birdcage Wedding Cake!
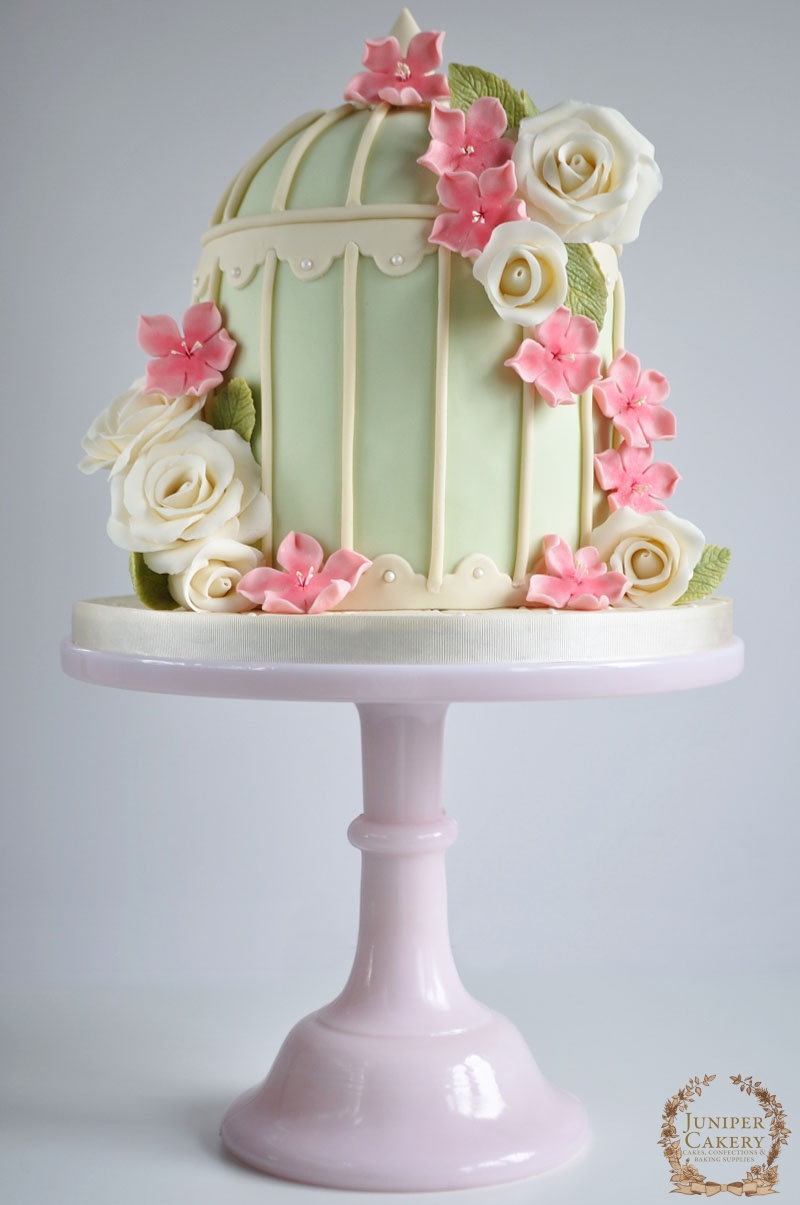
We created this floral / English garden party themed bird cage cake with a Ladurée inspired colour palette. With the spring season fast approaching we thought added roses and cherry blossoms to the design would be perfect. Of course, it may be too early in the year to say, but we think this is one of our favourites of 2014!

Floral Birdcage Cake by Juniper Cakery

Floral Birdcage Cake by Juniper Cakery

The cake itself is a lovely soft lemon madeira cake filled with silky smooth lemon buttercream and covered with a white chocolate ganache. The cake is then iced in hand coloured pale pistachio green fondant before edible details are added.

Floral Birdcage Cake by Juniper Cakery

Cherry Blossoms are one of our favourite florals to re-create in sugar form. They feature such wonderful petal shapes (from pinched, notched and ruffles), soft tones of pink (which add a lovely pop of colour to paler cakes) and look elegant gathered together on a Spring cake!

Floral Birdcage Cake by Juniper Cakery

We hand created ivory sugar roses, rose leaves and delicate pink cherry blossoms as well as the birdcage’s scallop trims, bars and conical-esque handle. Even though this was a relatively small wedding creating it from start to finish took a total of 12 hours including baking time… phew!

Floral Birdcage Cake by Juniper Cakery

Floral Birdcage Cake by Juniper Cakery

Above is a close-up photograph showing the detail on the left hand side of the birdcage cake. We quilted the cake drum, studded it with shimmering ivory sugar pearls and trimmed the board with cream grosgrain ribbon.

Floral Birdcage Cake by Juniper Cakery

Floral Birdcage Cake by Juniper Cakery

From start to finish we loved every single element of this cake. This cake was such a wonderful way to get us in the mood for the new season.


Tutorial Tuesday: How to Make a Sugarpaste Owl!

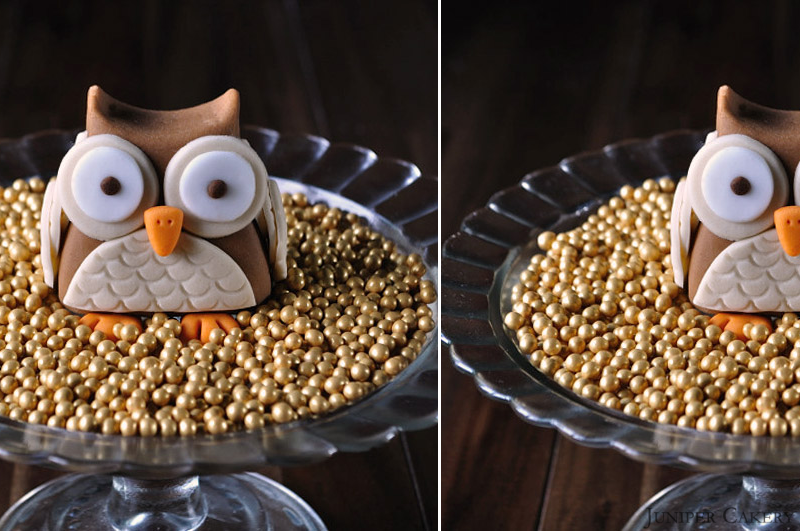
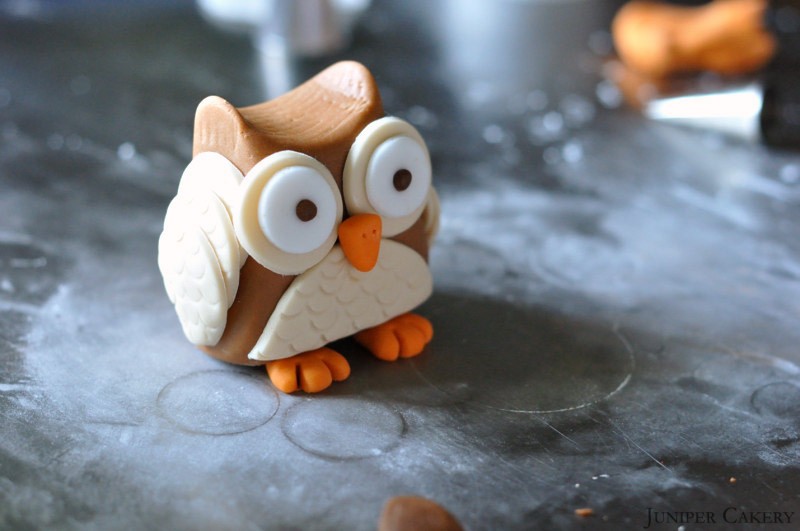
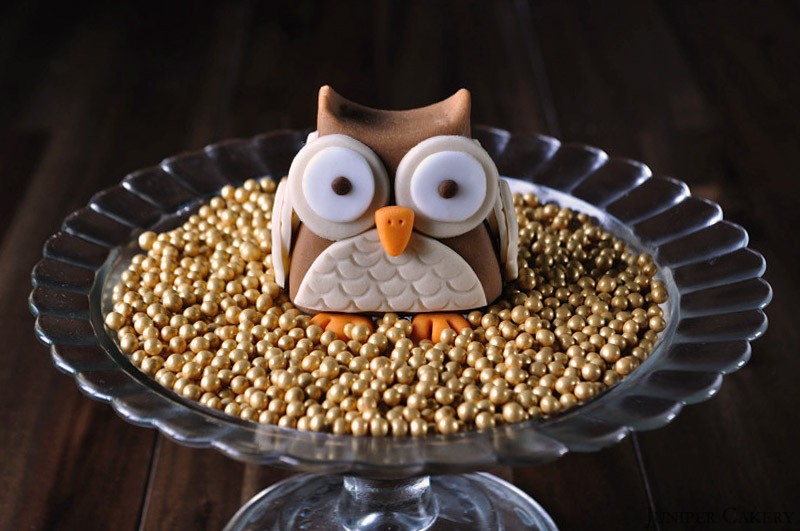
Yay! It’s now September which means that the lovely cosiness of Autumn (or Fall depending on where you are) is just around the corner! Autumn and winter are our favourite seasons here at Juniper Cakery and we get excited when they arrive every year. What’s not to love… lovely vibrant crisp golden leaves, cooler weather, bundling up in mis-matched knitwear, hot cocoa, spiced cakes, Halloween festivities and of course Christmas. With all this in mind this week’s tutorial is an adorable autumnal owl in fetching seasonal shades of browns and rust orange. This little creature will sit perfect on top of cupcakes and forest themed cakes!

How to make a sugarpaste / gumpaste owl

How to make a sugarpaste / gumpaste owl

What you need for this tutorial…

Sugarpaste / fondant in three complimentary colours
Water
Paintbrush
Round piping tip (use the large bottom for cutting)
Blade modelling tool
Ball modelling tool
Scallop and comb modelling tool
Circle cutters

How to make a sugarpaste / gumpaste owl

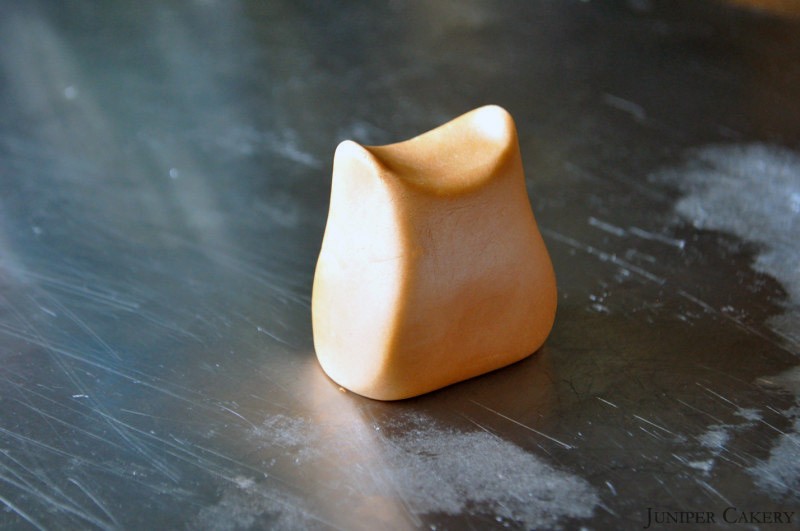
Step one: Use your chosen base colour to mould what we would describe as an upside down tooth shape as pictured above. Use your finger and thumb to pinch two ‘ears’ for your owl and smooth any stretches/cracks with your fingers.

How to make a sugarpaste / gumpaste owl

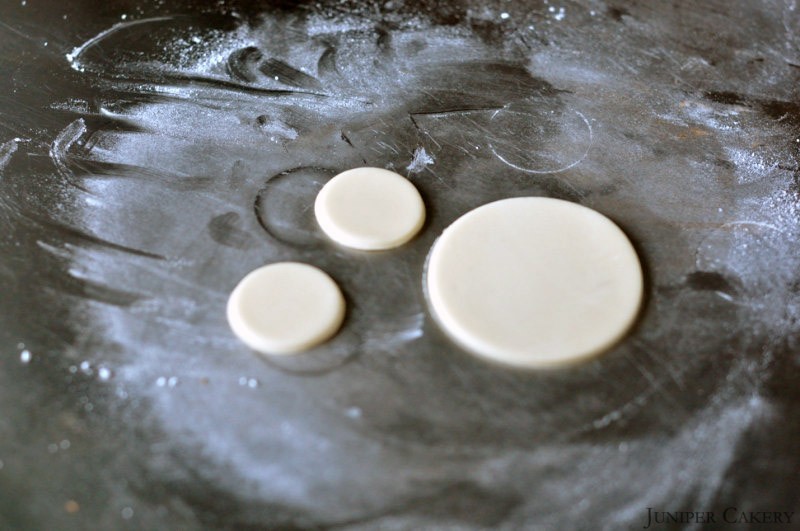
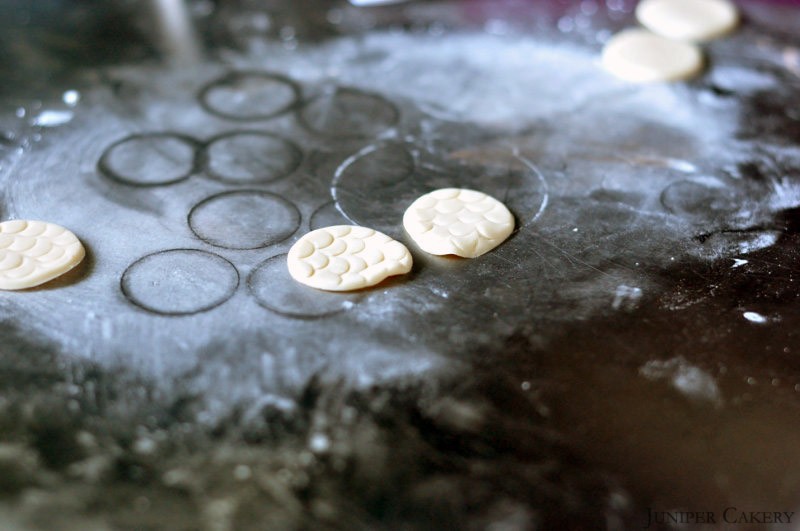
Step two: Using a small circle cutter and the end of a piping tip cut one small and two extra small circles out.

How to make a sugarpaste / gumpaste owl

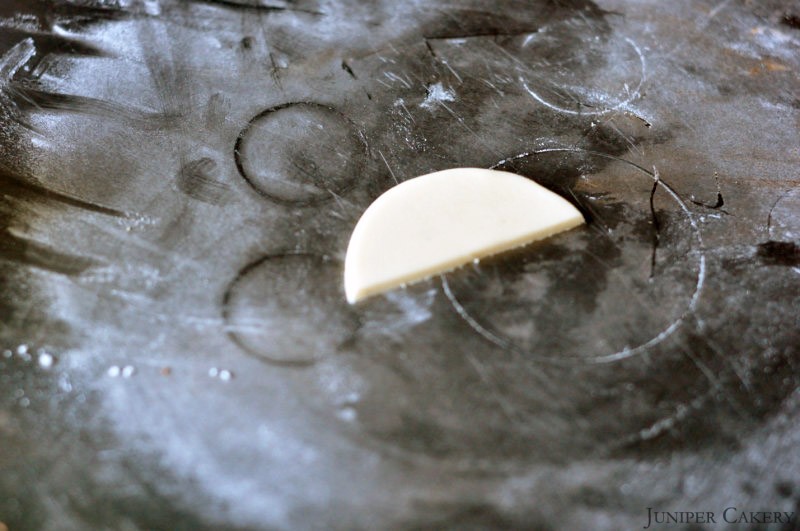
Step three: Slice the small circle into two halves. Into one of the halves create a ‘feathered’ pattern using the scallop and comb tool.

How to make a sugarpaste / gumpaste owl

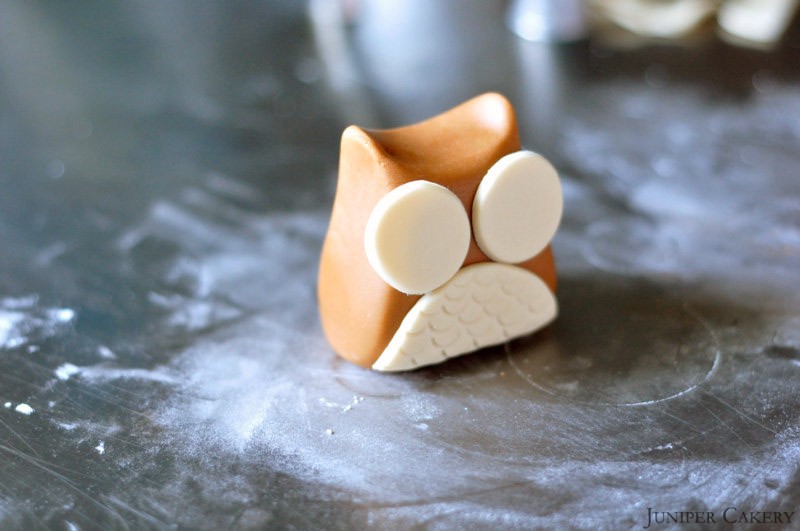
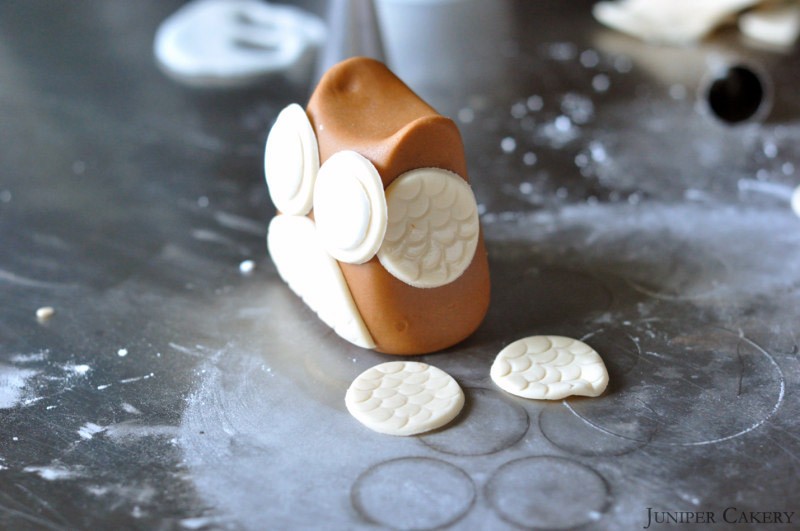
Step four: Now stick the two extra small circles in place as eyes and the half circle in place as a chest. For extra detail why not cut out smaller circles in an opposite colour and place them on top of the extra small circles, this will add extra dimension to your owl’s eyes.

How to make a sugarpaste / gumpaste owl

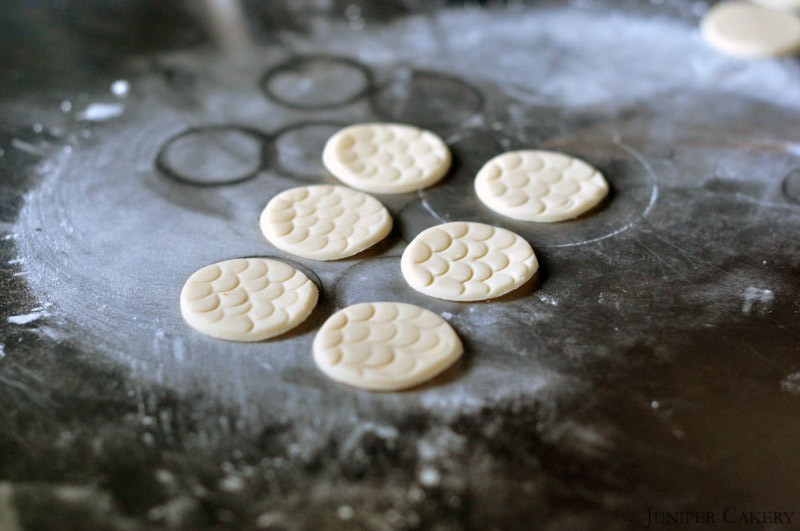
Step five: Using the piping tip again cut out three circles and add feathered detail using the scallop end of the scallop and comb tool.

How to make a sugarpaste / gumpaste owl

Step six: Pinch two of the circles with your finger and thumb to create a tapered ‘wing’.

How to make a sugarpaste / gumpaste owl

Step seven: Begin sticking the circles in place overlapping them as you go. Stick the tapered circle on last as this will finish your owl’s wing off nicely.

How to make a sugarpaste / gumpaste owl

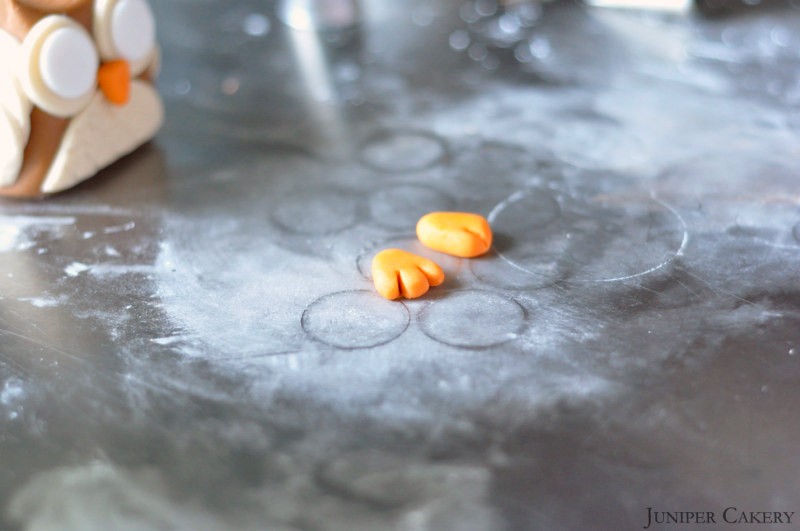
Step eight: Using a contrasting colour to your owl’s body make a chunky teardrop shape. Use the blade tool to make two slits at the non-tapered end, mould with your fingers to get rid of any sharp/rough edges. Repeat this once more and you now have your owl’s feet!

Step nine: Make a similar, but smaller, shape pinching the edges to get a triangle. Stick between the eyes, poke in two small holes and your owl now has a beak!

How to make a sugarpaste / gumpaste owl

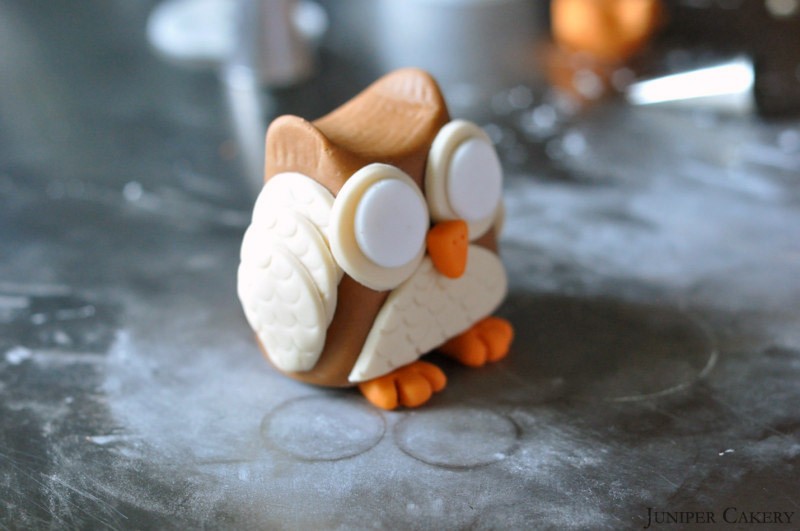
Step ten: Stick in place using edible glue by simply sitting your owl on top of them. The weight will secure them and help the glue set.

How to make a sugarpaste / gumpaste owl

Step eleven: Roll two small balls of fondant, make an indentation in your owl’s eyes, and press in the two small balls for pupils!

How to make a sugarpaste / gumpaste owl

Now you’ve made your very own sugarpaste owl! This can be made in any colour for any occasion and your little owl can be nestled atop a cake and cupcakes!


Bird House Cake

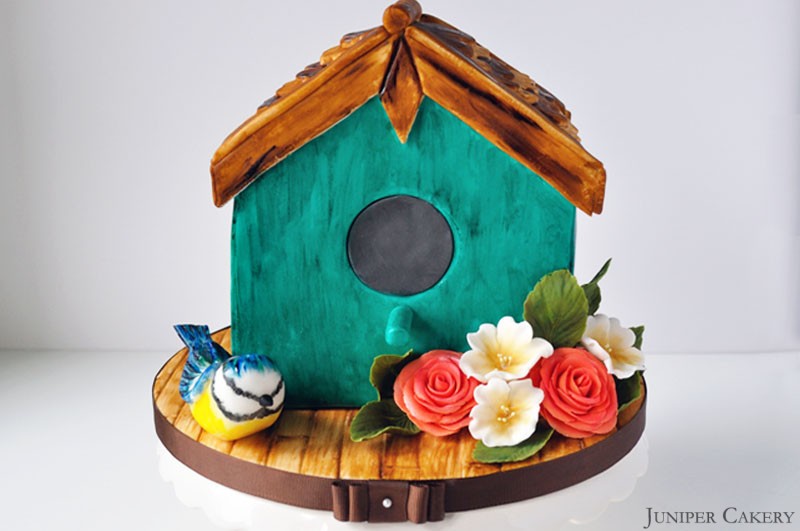
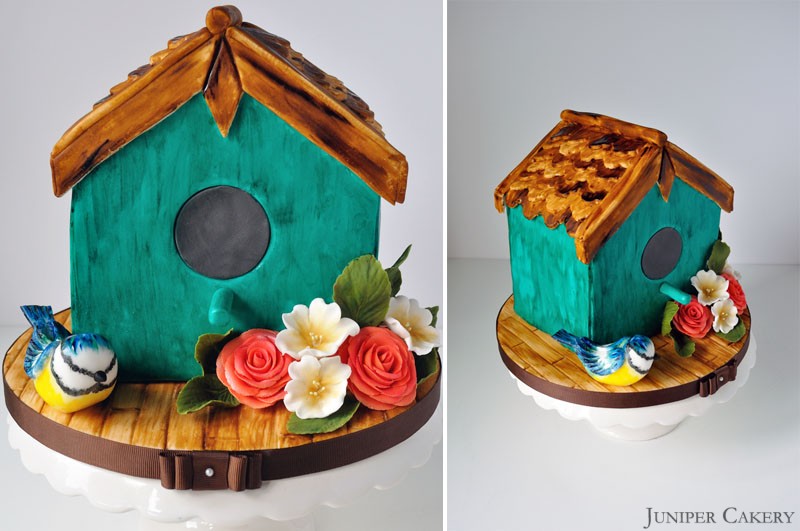
One thing is definite for us at Juniper Cakery; our friends and family get excited every time a special occasion arrives. This weekend we took all of the ‘subtle’ hints from our dads and created two very special cakes for Father’s Day! Yesterday we shared an elegant Wedgwood inspired cake we made for one of our fathers and their love for all things Wedgwood. Today we get to share this lovely bird house cake we created for a keen bird and garden enthusiast.

Bird House Cake

Bird House Cake

Bird House Cake

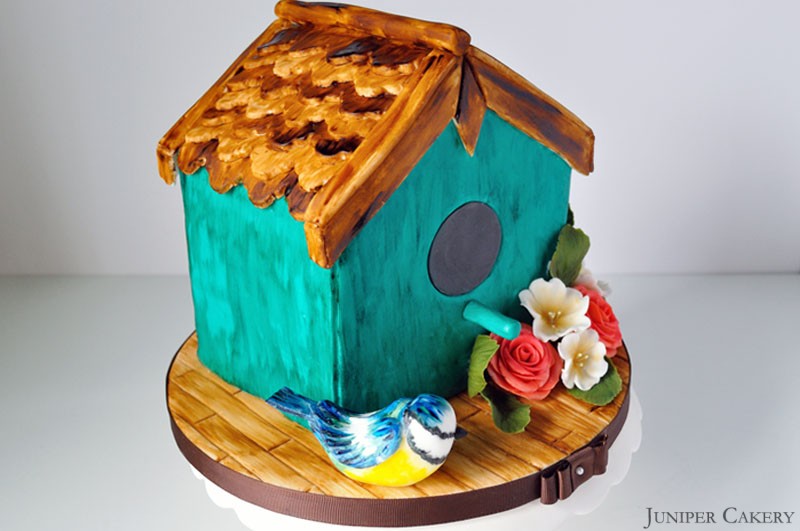
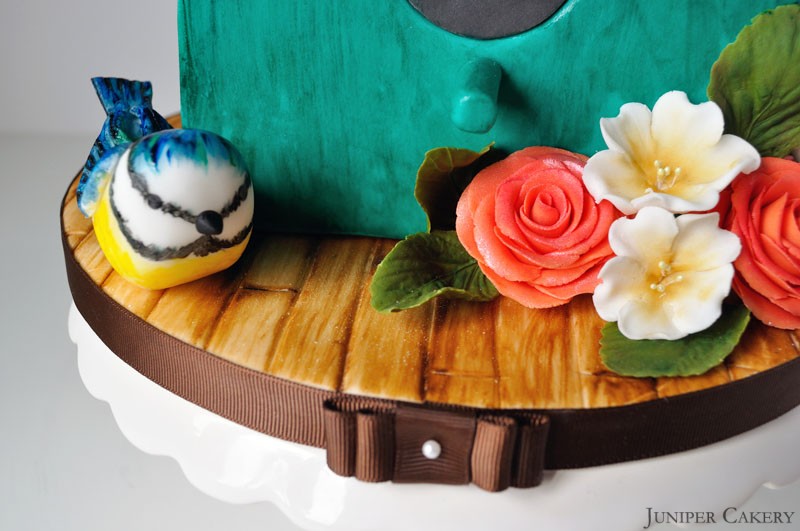
This cake was fun for us to make especially as we had the chance to try out some new techniques. We created a wood grain effect on the drum and roof, painted a rustic yet worn look to the actual house, hand painted a lovely little blue tit bird and hand made some subtle white primroses too.

Bird House Cake

Bird House Cake

To create this cake we stacked our layers, stabilised them all with a dowling rod and then carved the cake to shape before smoothing over with chocolate ganache. We then created templates based on the cake’s dimensions, cut out the bird house panels in fondant and fixed them on before working on the rooftop and adding detail.

Bird House Cake

The cake itself is a super luxurious triple chocolate fudge cake; chocolate cake filled with chocolate buttercream and them smothered with a delicious chocolate ganache! We were, of course, extremely happy to have eaten a slice or three! It was a shame to have to cut it up though.


‘Tutorial Tuesday’ : How to make a sugarpaste/fondant bluebird!

‘Tutorial Tuesday’ : How to make a sugarpaste/fondant bluebird!

'Tutorial Tuesday' : How to make a sugarpaste/fondant bluebird

In this week’s tutorial we will show you how to create your very own little bluebird. This simple sugarpaste model is quick, easy and fun to make and perfect for any occasion. Why not transform your bluebird into a robin, blackbird or sparrow? Simply custom-colour your sugarpaste to create a bird fit for your occasion. This cute, cartoon-like bluebird adds a touch of fun to the current wedding trend.

'Tutorial Tuesday' : How to make a sugarpaste/fondant bluebird

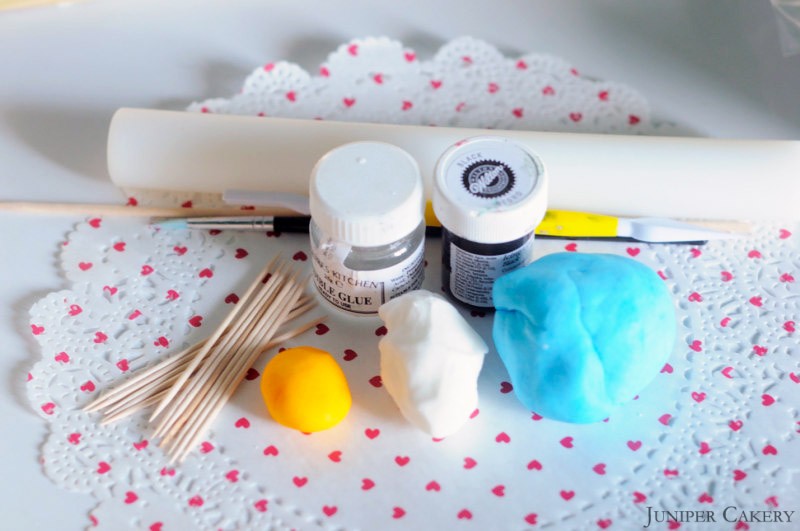
What you need…

Sugarpaste in three colours (we coloured white modelling paste using Wilton sky blue and Wilton golden yellow)
Toothpicks
A Kebab stick
Paintbrush
Edible glue
Wilton black colouring paste
PME blade tool
Fondant rolling pin

'Tutorial Tuesday' : How to make a sugarpaste/fondant bluebird

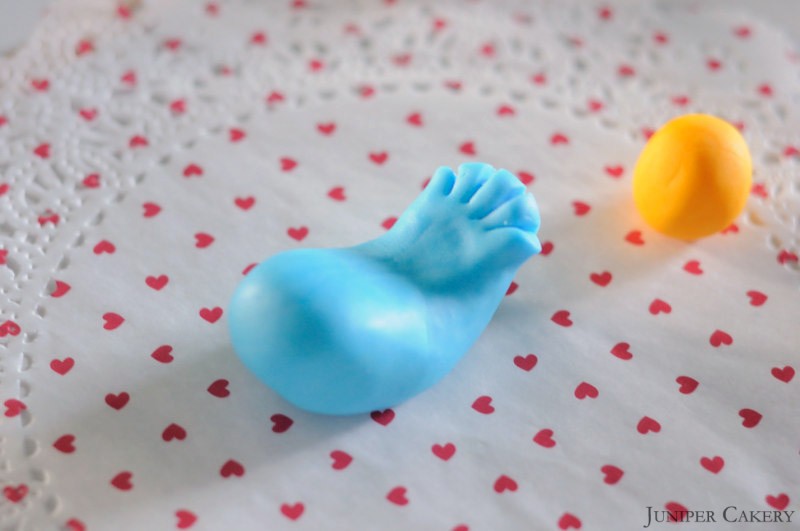
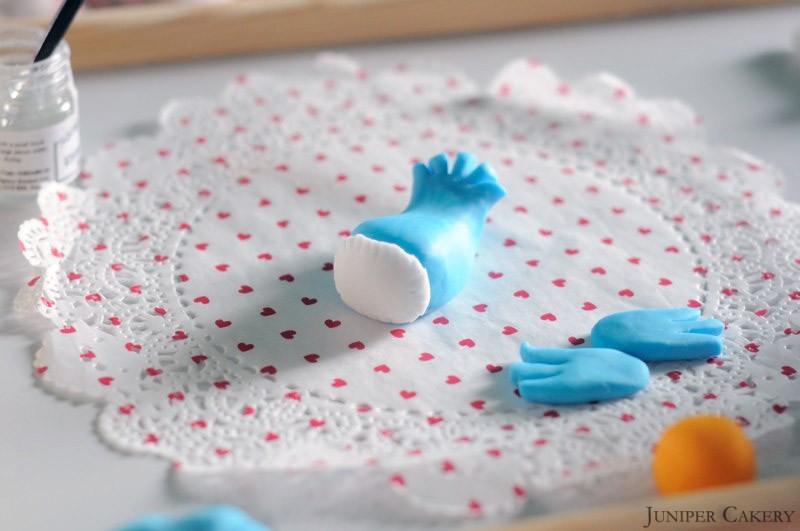
Step one: Take approx half of your sky blue sugarpaste and shape it into a ‘whale’ as seen above. Once happy with your shape take the Blade tool by PME and make four slices; this will create a ‘fan’ look for your bluebird’s tail.

'Tutorial Tuesday' : How to make a sugarpaste/fondant bluebird

Step two: Set your bluebird’s body to one side for the time being. Take a small amount of blue and shape them both into an oval ensuring you taper one end ever so slightly. On the tapered end make two incisions to create the feathers on your bluebird’s wings.

'Tutorial Tuesday' : How to make a sugarpaste/fondant bluebird

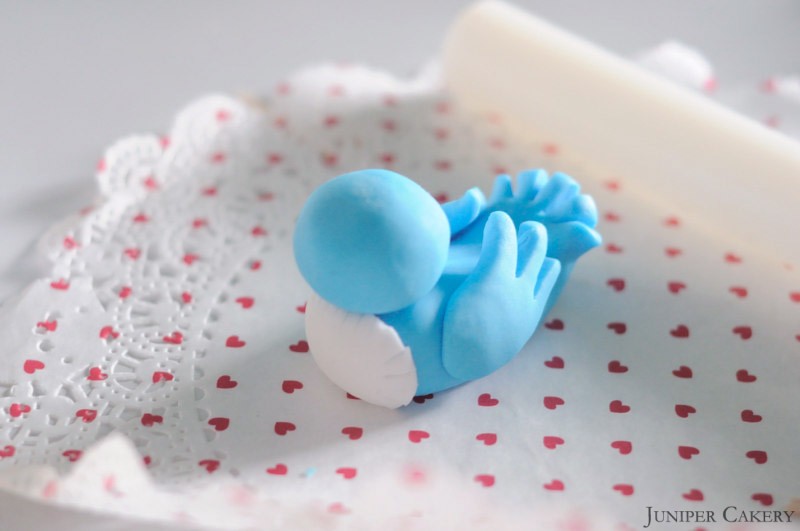
Step three: Take the white sugarpaste and roll it out using the small rolling pin by PME. Using the blade tool by PME cut a rough circle out. Discard the remaining white sugarpaste and begin working around the circle with the blade tool to ‘feather’ the bluebird’s chest. Using the edible glue by Squires Kitchen now attach your bluebird’s chest in place.

'Tutorial Tuesday' : How to make a sugarpaste/fondant bluebird

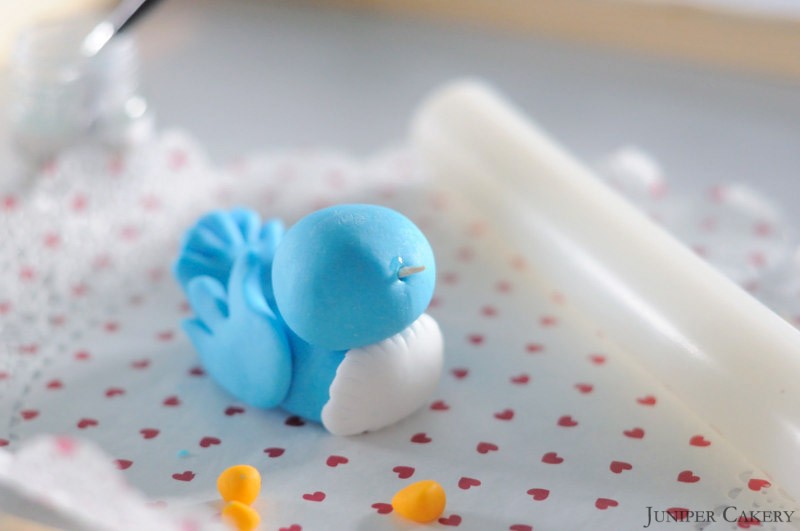
Step four: Using the remaining sky blue sugarpaste roll a ball and set it to one side. Gently push a cocktail stick behind the white chest of your bluebird ensuring you adjust it according to your bluebird’s height. Put a small amount of edible glue by Squires Kitchen around the cocktail stick and gently slide the head in place. Attach the wings using a small amount of edible glue spread evenly with a paintbrush.

'Tutorial Tuesday' : How to make a sugarpaste/fondant bluebird

'Tutorial Tuesday' : How to make a sugarpaste/fondant bluebird

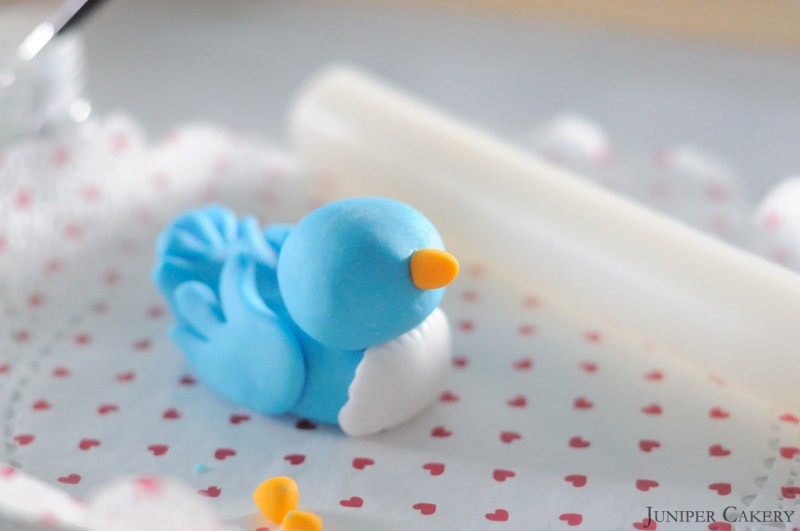
Step five: Break off a small piece of cocktail stick and place it where you would like your bluebird’s beak. Shape a beak using the golden yellow sugarpaste and fix in place.

'Tutorial Tuesday' : How to make a sugarpaste/fondant bluebird

Step six: Using the end of the kebab stick simply dip it into the black colouring by Wilton and dot two eyes in place to complete your bluebird’s lovely little face.

If you have followed this tutorial now you will have your very own little bluebird! We would love to see what variations you can come up with by adjusting colour, shape and size.


‘Re-launch Week Tutorial No. 4′ : How to create a sugarpaste robin!

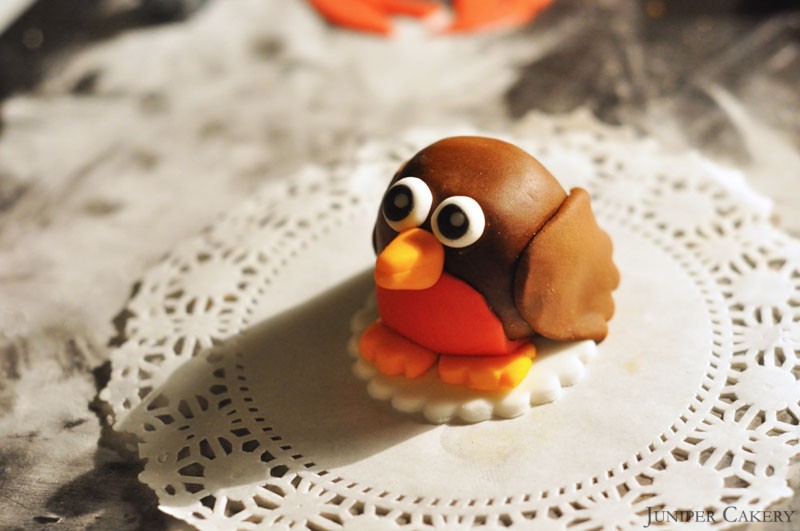
Today’s tutorial shows you how to make your own adorable little sugarpaste robin who can sit perfectly atop your festive cakes and cupcakes! You can also follow this tutorial at other times of the year, but use different colours, to create other types of birds appropriate to the season.

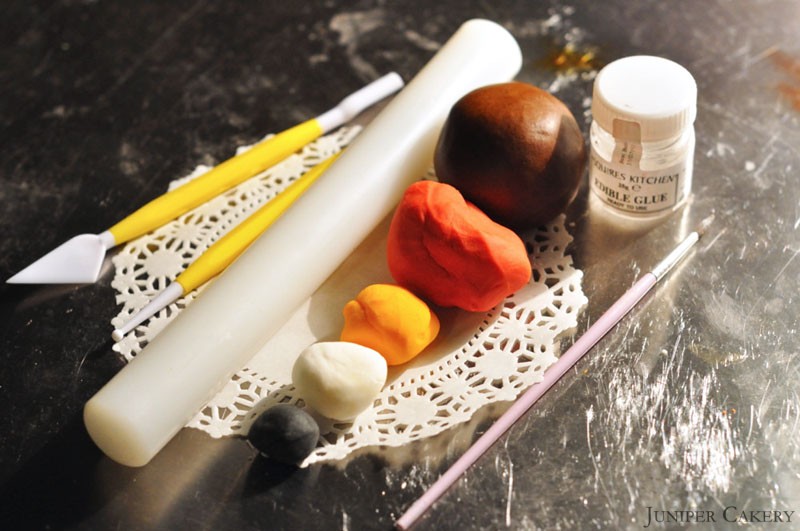
What you need:

PME Blade tool
PME Ball tool
Fondant rolling pin
Renshaw Modelling Paste (coloured by hand in Wilton Paste colours white, black, golden yellow, brown and red)
Paintbrush
Edible glue
Toothpicks
Scalloped pastry/cookie cutters

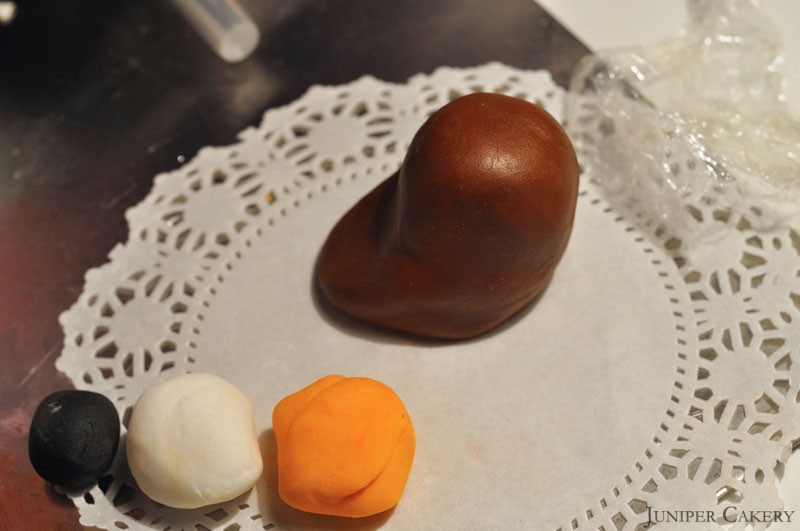
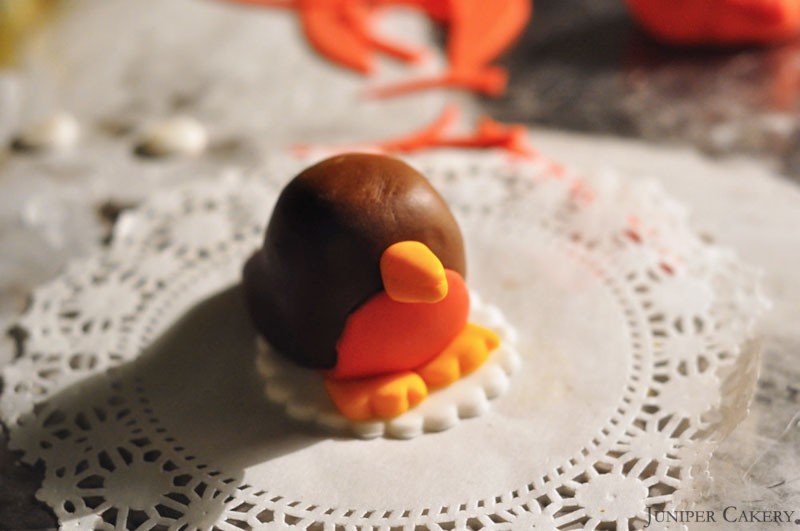
Step one: Take your brown modelling sugarpaste and mould into ‘comma-like’ shape. The base should extend out into your robin’s tail feathers. The top of the ‘comma’ shape should be bulbous as this will be your little robin’s head.

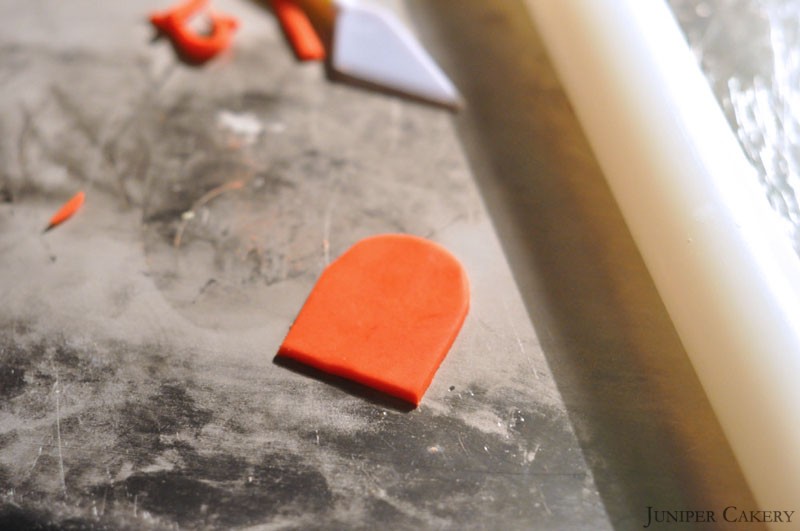
Step two: To make your robin’s red breast roll out your red modelling paste and cut out a rounded rectangular shape as in the above picture.

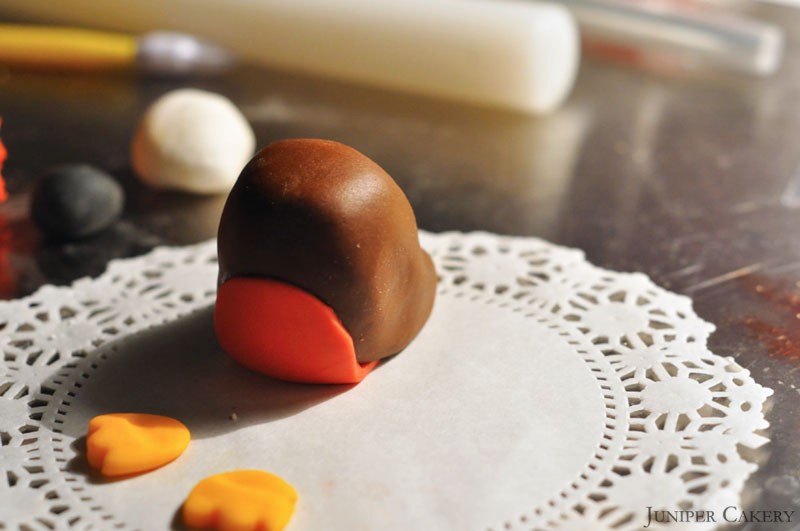
Step three: Take some edible glue and paste the robin’s breast to the front.

Step four: Now to make your little robin’s feet! Take two small balls of the golden yellow paste, roll flat into small oval shapes and use the scalloped edge of your Tala cutter to make the toes. Now indent the ends that will tuck under the robin so they will fit underneath. Use some edible glue to stick the feet to your robin.

Step five: For the beak make a small angular cone of golden yellow colour modelling paste. Use the blade tool to indent the bird’s ‘mouth’ into the beak.

Step six: Now take a toothpick and one third of it. Use this piece to attach the beak. To do this simply press into the robin’s head, paint edible glue to the revealed end and carefully affix the beak.

(We place our little robin on a lovely scalloped sugarpaste ‘doily’. To do this roll our some spare modelling paste and cut out with your Tala cutter.)

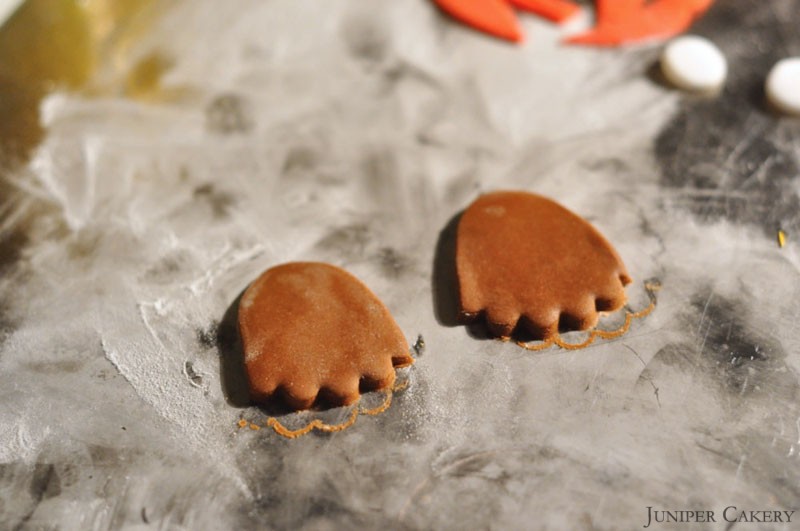
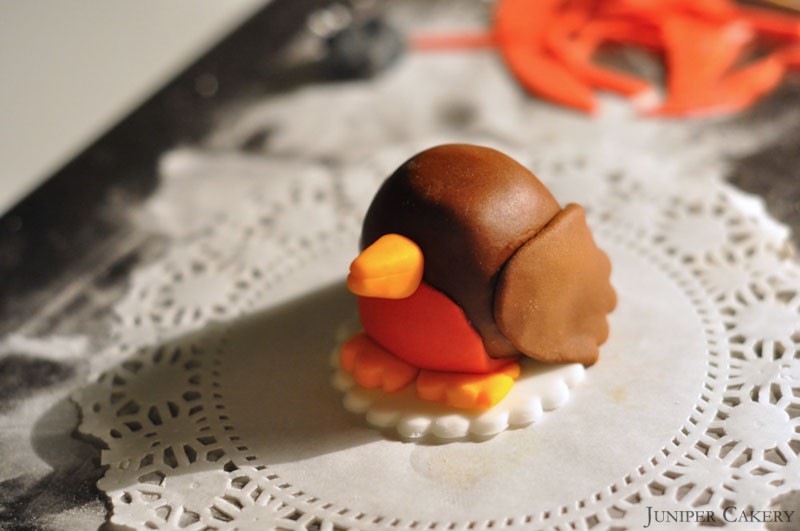
Step Seven : To make your robin’s wings simply roll out two medium ovals of brown modelling paste and cut the ends with your scalloped Tala pastry cutter.

Step eight: Affix the wings to the sides of your robin with a little bit of edible glue.

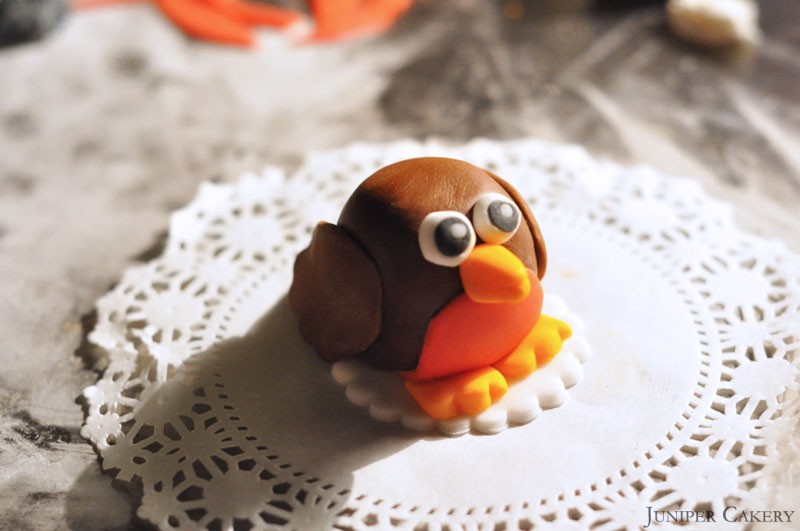
Step seven: Finally, for the eyes shape and roll out two small white circles and two smaller black circles. Glue the black circles atop the larger white ones and then using super tiny pieces of white modelling paste attach these to the black circles (make sure these tiny white pieces point in the same direction).

Voila! Now you have a very sweet sugarpaste robin to nestle atop your beautiful winter-y cakes and cupcakes!

Merry Christmas from Juniper Cakery!


×