Review: Step by Step Cake Decorating by Karen Sullivan

When we were asked to review Step by Step Cake Decorating by Karen Sullivan we jumped at the chance. As professional bakers and cake decorators we have amassed an impressive collection of cooking and baking books.

In order to review Step-by-Step Cake Decorating we decided to be hands on and re-create a playful and seasonal cake from within the book… the fun jack o’ lantern! We put our own spin on this cake and added candy corn (a bit of an addiction in the Juniper Cakery office) which we made using strips of coloured sugarpaste / fondant. We also decorated our cake board with wood effect painted fondant. The pumpkin cake itself was created by following the book’s instructions step by step.
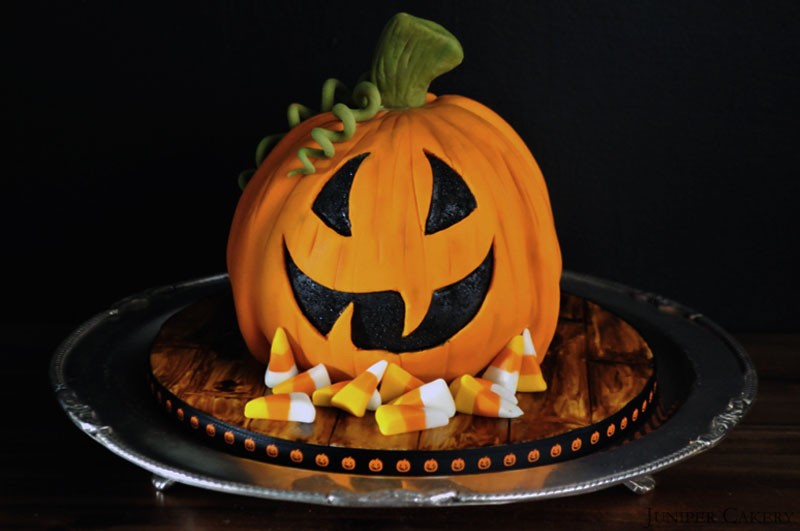
Pumpkin Cake by Juniper Cakery

Step by Step Cake Decorating by Karen Sullivan is a great beginners guide where novices will find an array of cakes to re-create. The instructions for this fun, ‘fangtastic’ cake were clear and concise and prove to be a prime example of how accessible other tutorials are in the book. Whilst the tutorial is simple and straightforward you’ll still be eased into learning some handy terminology throughout. There are a good few pages dedicated to introducing the decorator to a selection of tools and equipment with explanations of use where needed. These tools range from basics such as scrapers and turntables to specialist items such as airbrushing machines and florist tape. The difference between a cake drum and cake board is also discussed as are other basics such as how to fill and cover a layer cake.Step by Step Cake Decorating BookStep-by-Step Cake Decorating by Karen Sullivan, published by DK, £16.99 at dk.com

For advanced cake decorators this will still become a reference book where quick ideas, tips and tricks of the trade are at the ready as we all have our ‘designer’s block’ days. Though the jack o’ lantern cake is one of our personal favourites, and a fitting choice for this time of year, there are still plenty of projects to take you though winter, spring and summer too! There are also great ideas for children’s birthdays including, but certainly not limited to, a pirate ship, dinosaur and a train.
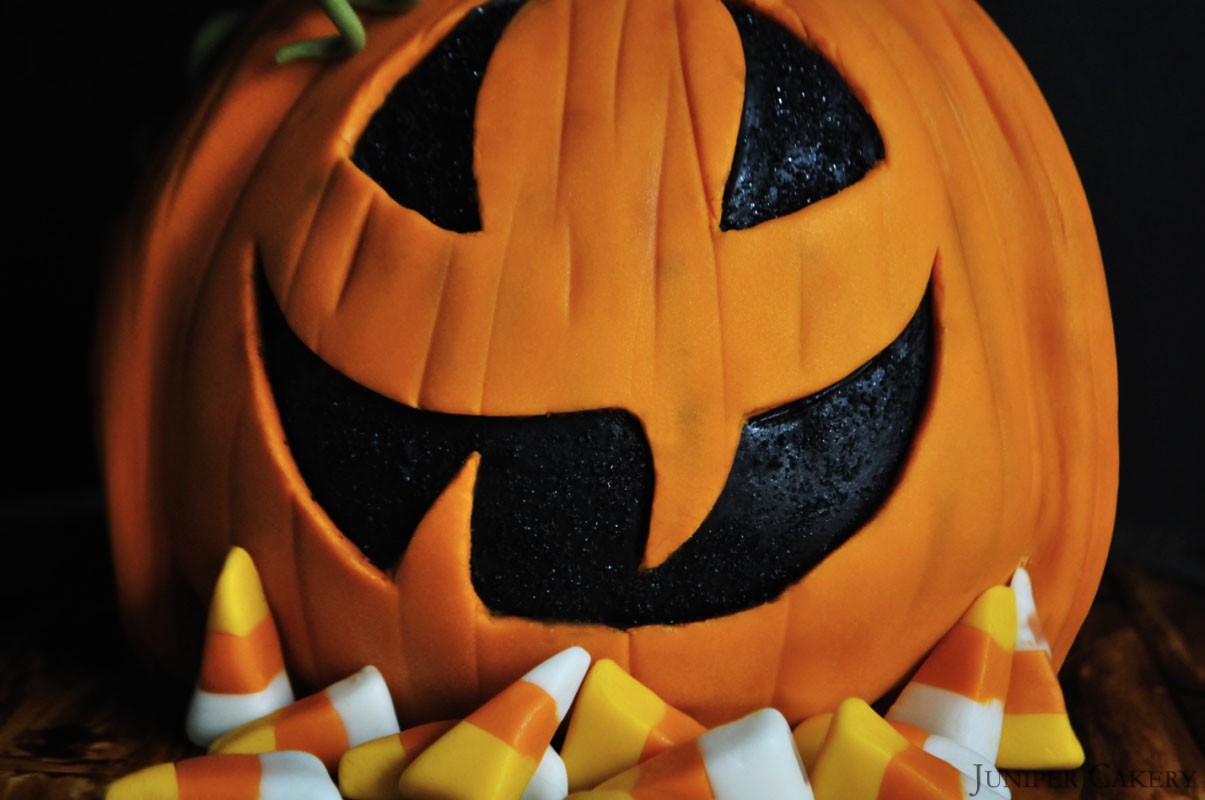
Pumpkin Cake by Juniper Cakery

Step-by-Step Cake Decorating by Karen Sullivan is a book filled with fun and vibrant projects. This book a great introduction to those eager to begin learning the craft and the book even includes and a collection of basic cake, icing and buttercream recipes ready for you to get creating!
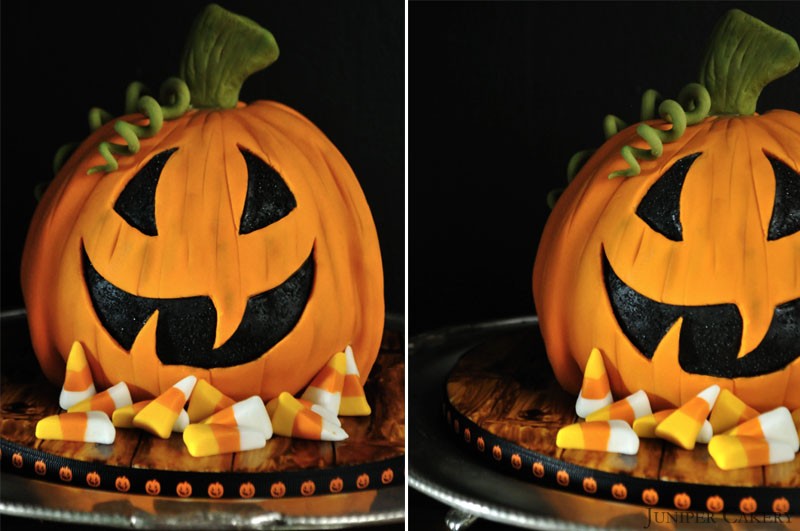
Pumpkin Cake by Juniper Cakery

If you’d love to get your hands on a copy of Step-by-Step Cake Decorating by Karen Sullivan why not try your luck at entering our giveaway! We have two copies ready to send out to two lucky winners. All you need to do is comment on this post! Entrants must reside in the UK and have their comment submitted by November 1st. The two lucky winners will be chosen at random and will be announced via our blog and social channels (Twitter, Facebook, Pinterest & Instagram) on November 4th. Good luck!

blogbookgive


Tutorial Tuesday: How to Make a Sugarpaste Owl!

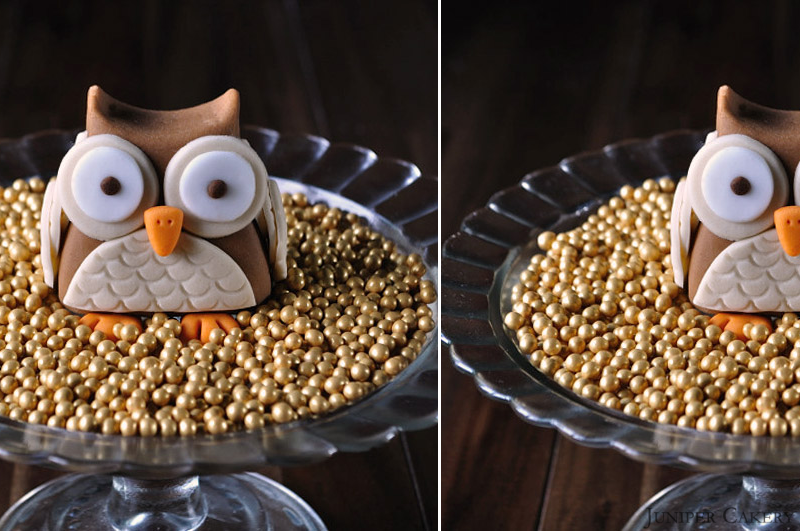
Yay! It’s now September which means that the lovely cosiness of Autumn (or Fall depending on where you are) is just around the corner! Autumn and winter are our favourite seasons here at Juniper Cakery and we get excited when they arrive every year. What’s not to love… lovely vibrant crisp golden leaves, cooler weather, bundling up in mis-matched knitwear, hot cocoa, spiced cakes, Halloween festivities and of course Christmas. With all this in mind this week’s tutorial is an adorable autumnal owl in fetching seasonal shades of browns and rust orange. This little creature will sit perfect on top of cupcakes and forest themed cakes!

How to make a sugarpaste / gumpaste owl

How to make a sugarpaste / gumpaste owl

What you need for this tutorial…

Sugarpaste / fondant in three complimentary colours
Water
Paintbrush
Round piping tip (use the large bottom for cutting)
Blade modelling tool
Ball modelling tool
Scallop and comb modelling tool
Circle cutters

How to make a sugarpaste / gumpaste owl

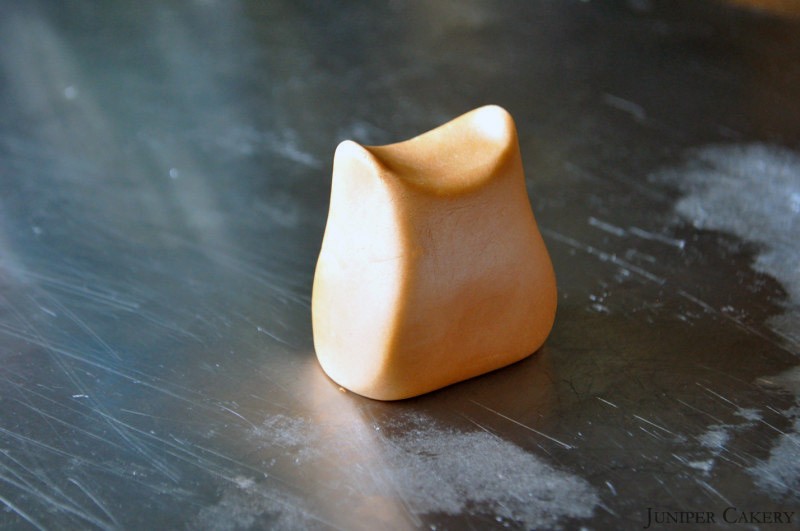
Step one: Use your chosen base colour to mould what we would describe as an upside down tooth shape as pictured above. Use your finger and thumb to pinch two ‘ears’ for your owl and smooth any stretches/cracks with your fingers.

How to make a sugarpaste / gumpaste owl

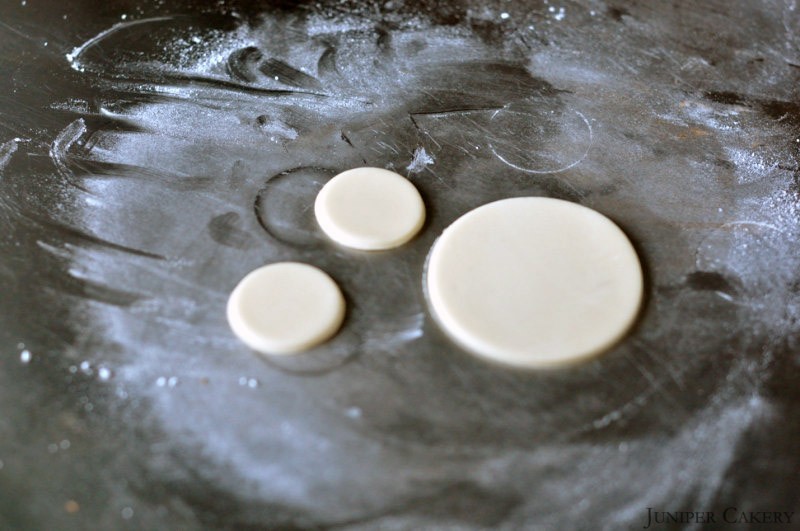
Step two: Using a small circle cutter and the end of a piping tip cut one small and two extra small circles out.

How to make a sugarpaste / gumpaste owl

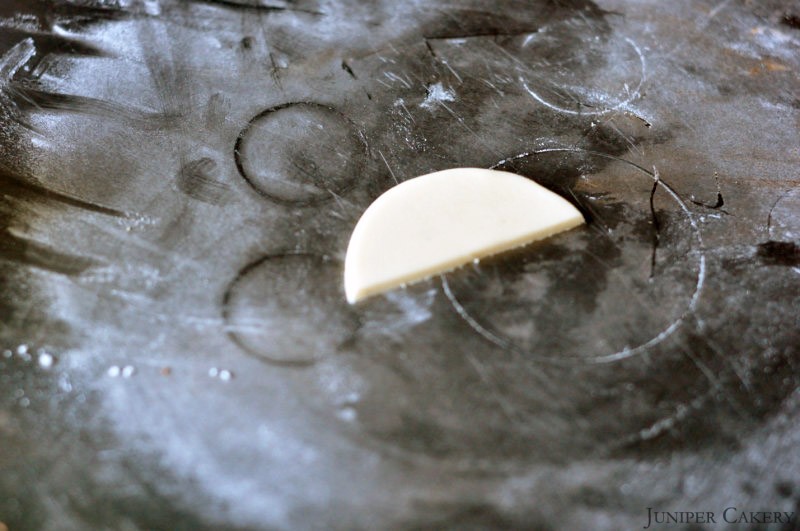
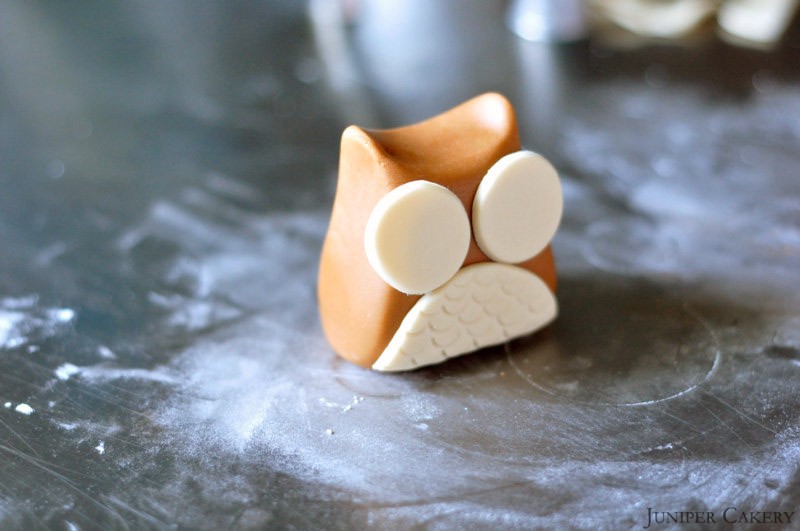
Step three: Slice the small circle into two halves. Into one of the halves create a ‘feathered’ pattern using the scallop and comb tool.

How to make a sugarpaste / gumpaste owl

Step four: Now stick the two extra small circles in place as eyes and the half circle in place as a chest. For extra detail why not cut out smaller circles in an opposite colour and place them on top of the extra small circles, this will add extra dimension to your owl’s eyes.

How to make a sugarpaste / gumpaste owl

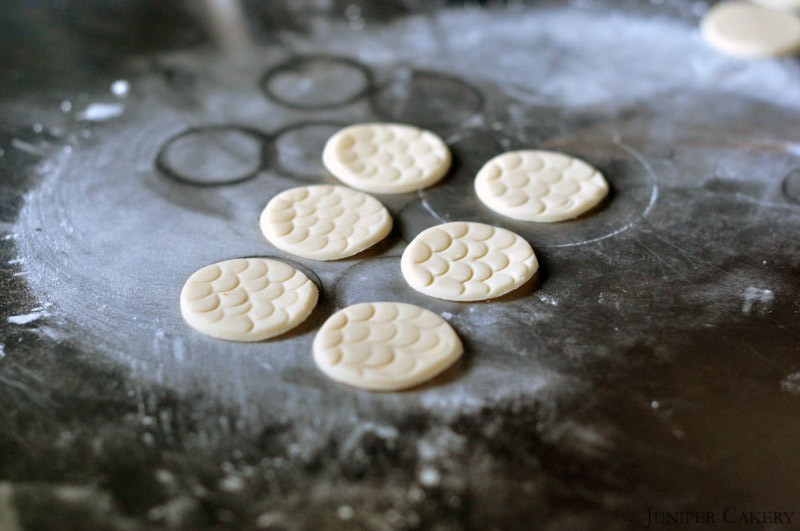
Step five: Using the piping tip again cut out three circles and add feathered detail using the scallop end of the scallop and comb tool.

How to make a sugarpaste / gumpaste owl

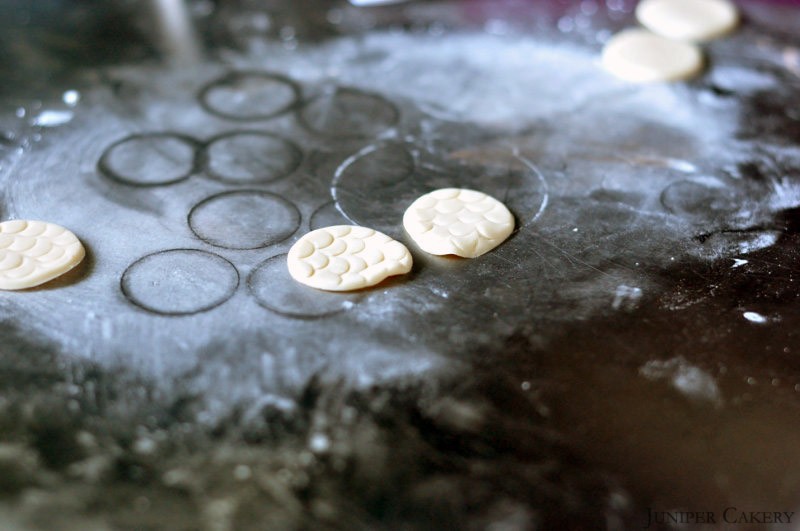
Step six: Pinch two of the circles with your finger and thumb to create a tapered ‘wing’.

How to make a sugarpaste / gumpaste owl

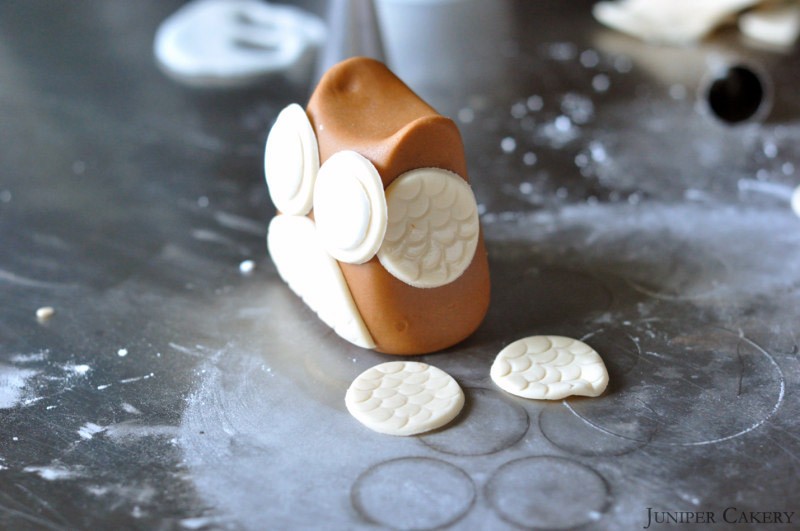
Step seven: Begin sticking the circles in place overlapping them as you go. Stick the tapered circle on last as this will finish your owl’s wing off nicely.

How to make a sugarpaste / gumpaste owl

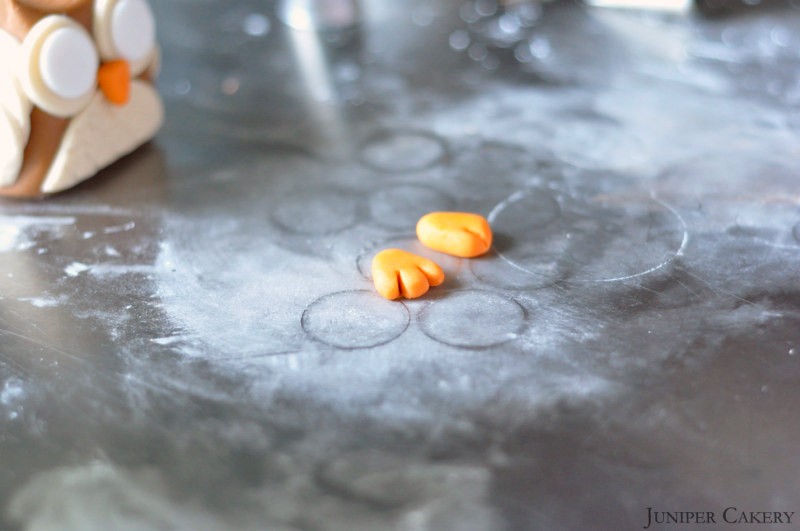
Step eight: Using a contrasting colour to your owl’s body make a chunky teardrop shape. Use the blade tool to make two slits at the non-tapered end, mould with your fingers to get rid of any sharp/rough edges. Repeat this once more and you now have your owl’s feet!

Step nine: Make a similar, but smaller, shape pinching the edges to get a triangle. Stick between the eyes, poke in two small holes and your owl now has a beak!

How to make a sugarpaste / gumpaste owl

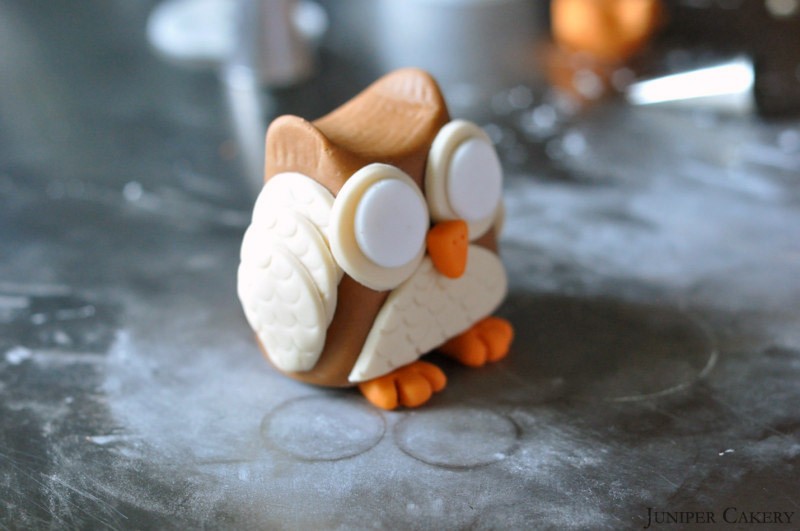
Step ten: Stick in place using edible glue by simply sitting your owl on top of them. The weight will secure them and help the glue set.

How to make a sugarpaste / gumpaste owl

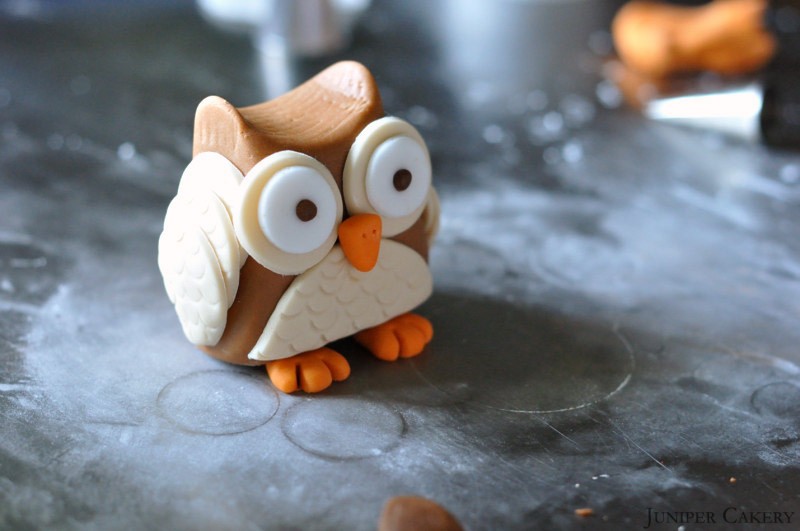
Step eleven: Roll two small balls of fondant, make an indentation in your owl’s eyes, and press in the two small balls for pupils!

How to make a sugarpaste / gumpaste owl

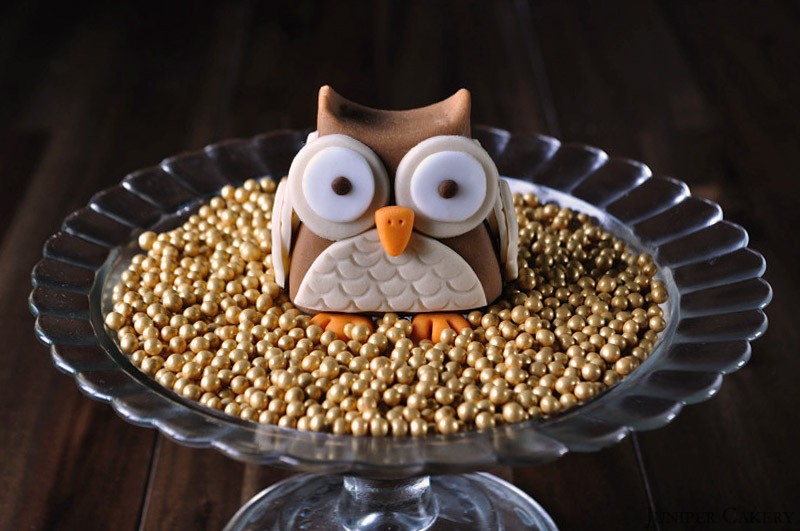
Now you’ve made your very own sugarpaste owl! This can be made in any colour for any occasion and your little owl can be nestled atop a cake and cupcakes!


CAKE101: Chill Your Cakes Beforehand if Blow Torching

Blow torching the sugared toppings of some cupcake flavours creates a delicious crunchy caramelised texture, but the buttercream underneath can be easily melted away by the heat. Our tip is to utilise your fridge or freezer to chill down the frosting.

CAKE101 Chill your cakes before blow torching

“Before caramelising and blow torching the tops or toppings of cupcakes leave your cakes to sit in the fridge until chilled and firm. You don’t want your buttercream to melt so begin with cold frosting.”