Browsing Tag

chocolate cake

30th May 2017 // 2 Comments

Our Brushstroke Cake Tutorial via Craftsy!

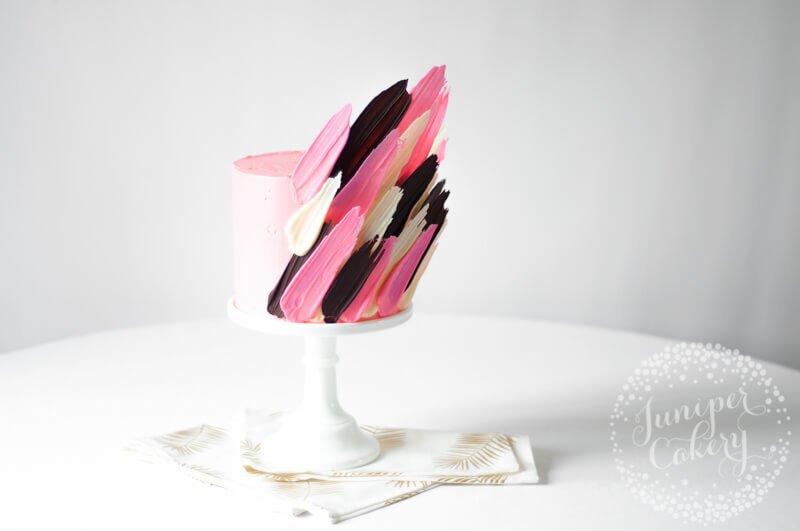
Pink brushstroke cake by Juniper Cakery

We’re huge fans of keeping up to date when it comes to the latest cake trends. We spotted this super cool idea a little while ago and couldn’t wait to give it try! When the fabulous folks over at Craftsy suggested it for a tutorial we jumped at the chance! How amazing are these edible brushstrokes made completely out of chocolate? They look hard to create and incredibly delicate, but they are in fact so easy to make! To find out how to re-create this look head on over to our brushstroke cake tutorial on the Craftsy blog!
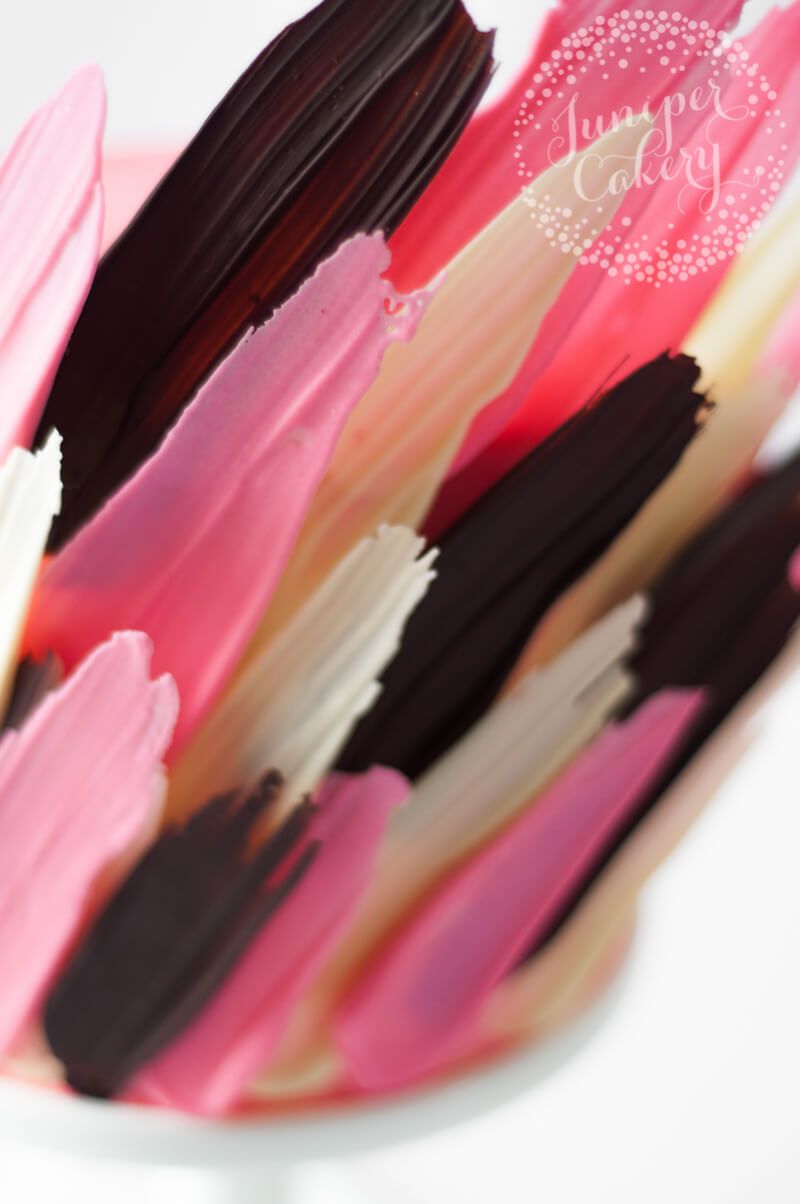
Chocolate brushstroke cake by Juniper Cakery

Layered on top of each other these pretty chocolate brushstrokes resemble feathers! How amazing would these look in various shades of pink on a flamingo themed party cake? Wouldn’t chocolate brushstrokes also look cute on buttercream swirled cupcakes too? Arrange a few in varying sizes on top, add some super fun sprinkles and then gild the brushstroke pieces with edible gold leaf.

The cool thing about making these chocolate brushstrokes is that you can use different coloured candy melts for themed cakes instead of chocolate. Sometimes the idea of tempering chocolate is a little scary so candy melts are a pretty stress-free alternative.


Candy melt brushstroke cake by Juniper Cakery

Chocolate and candy melt brushstroke cake by Juniper Cakery

For an incredibly dramatic cake how about covering three tiers with elegant chocolate or candy melt brushstroke pieces? They’d look pretty striking cascading all the way down one side of the cake! We also think a few painted with edible gold would add to the wow factor! For something modern in feel why not opt for black candy melt brushstrokes with white buttercream and a glam gold splatter?

Bright pink brushstroke cake tutorial by Juniper Cakery

Yay! Check out our ridiculously easy to follow brushstroke cake tutorial over on the Craftsy blog now! You’ll be whipping up gorgeously stunning chocolate or candy melt decorated cakes in no time!


18th September 2012 // 2 Comments

National Cupcake Week tutorial: How to pipe cupcakes!

Pipecakes

To celebrate our launch and National Cupcake Week we decided to feature decorating tutorials from Monday to Friday instead of our usual weekly ‘Tutorial Tuesday’. What better way to begin than with how to pipe cupcakes! We have used dummy cakes in this tutorial to demonstrate which we recommend for practice purposes.

What you need:
A batch of cooled down dummies (or dummy cakes)
Buttercream
A Spatula
Our ‘Cupcake Kit’ OR…
- The following tips bt Ateco 848, 808, 868 and 855
- Disposable piping bags
- Sprinkles or cake glitter

Pipefirstlayer

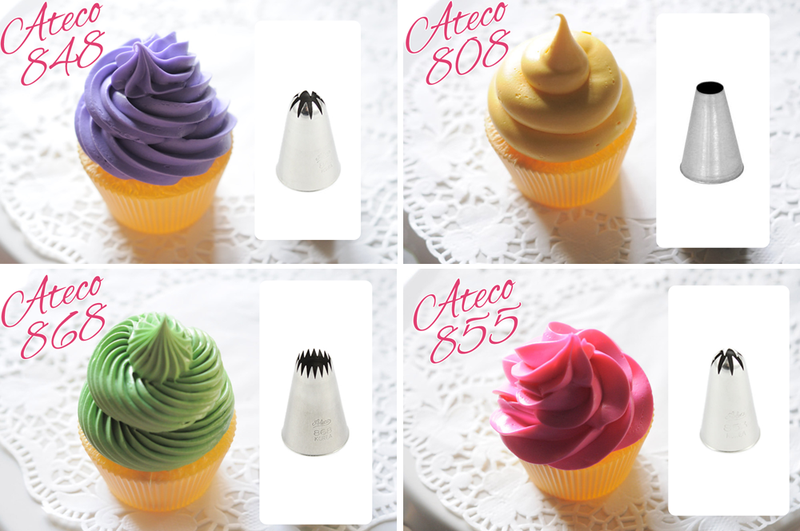
Step one: To pipe a cupcake choose your desired tip (we have featured examples of four classic cupcake swirls below using the Ateco 848, 808, 868 and 855). A technique we continue to find useful is to pipe your cupcake in two seperate steps. The first step of this technique is to swirl a bottom layer directly onto your cupcake to form a base stopping when you have a ‘peak’ in the middle (as shown above).

Alltips

Step two: Using the ‘peak’ you created as a guideline begin to pipe the second layer of your frosting. Reducing the size create a similar swirl atop of the one you did in the first step (as seen in the pictures above). Not only does this add hight, now you have a beautifully decorated cupcake!

Please note: If placing your cupcakes in a box the added hight may need to be considered.

Untitled-1

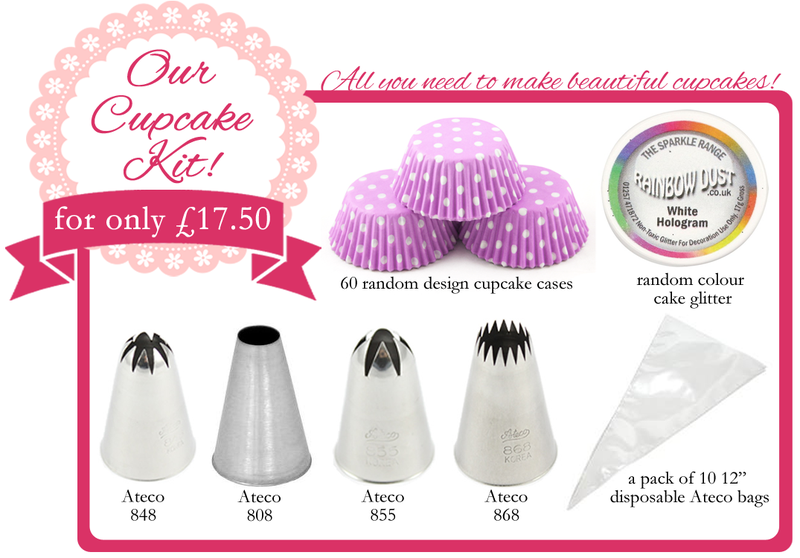
We have compiled a ‘Cupcake Kit’ for anyone interested in cupcake decorating. Featured in our kit is 60 random design cupcake cases, a pot of Rainbow Dust cake glitter chosen at random, the four Ateco tips demonstrated above and a pack of 10 12″ Ateco disposable decorating bags all for only £17.50! This kit is perfect for both beginners and professionals alike and, of course, for those who would like to celebrate National Cupcake Week.

Newcompetitionimg

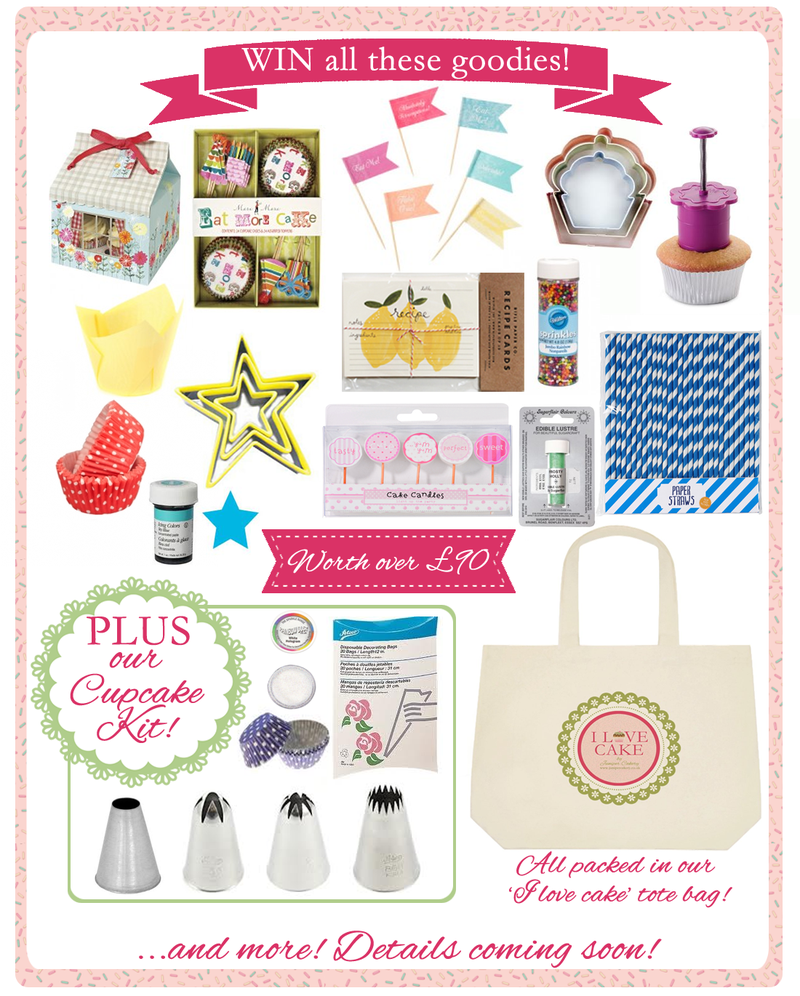
Enter our competition by liking us on Facebook (if you haven’t already) and commenting/sharing

SaveSave

SaveSave