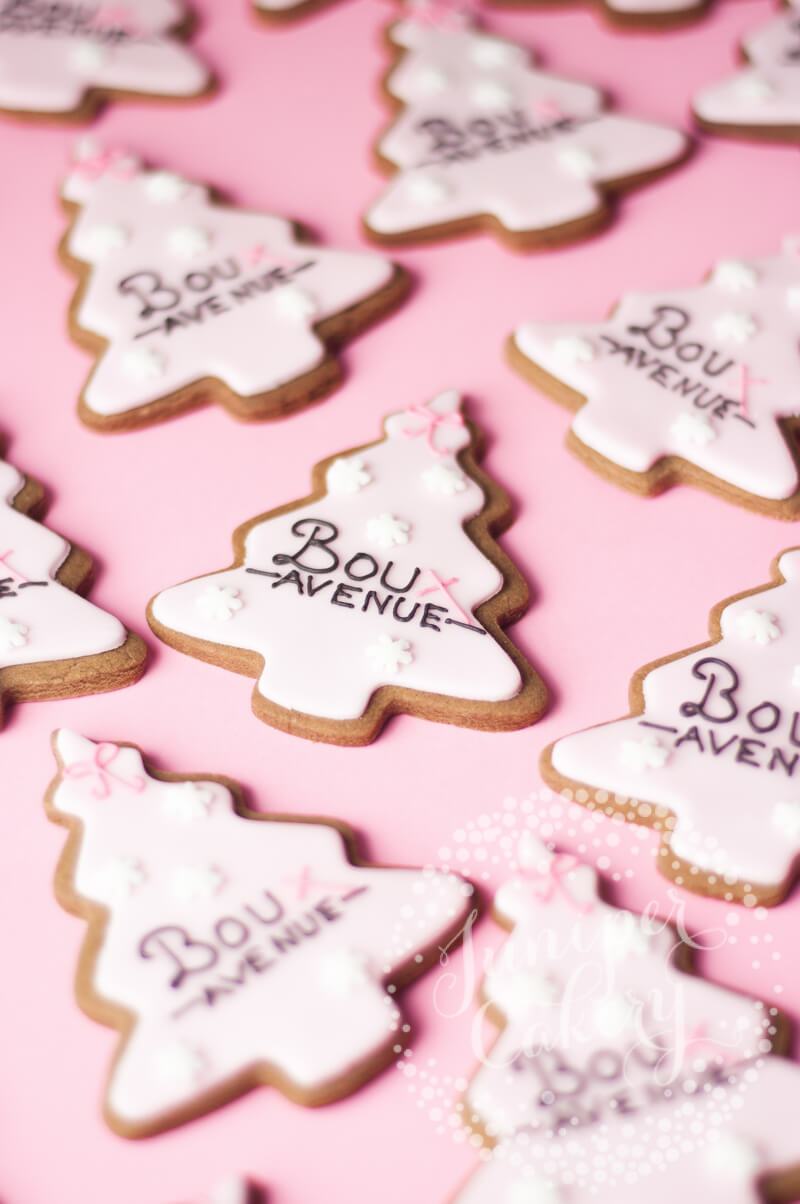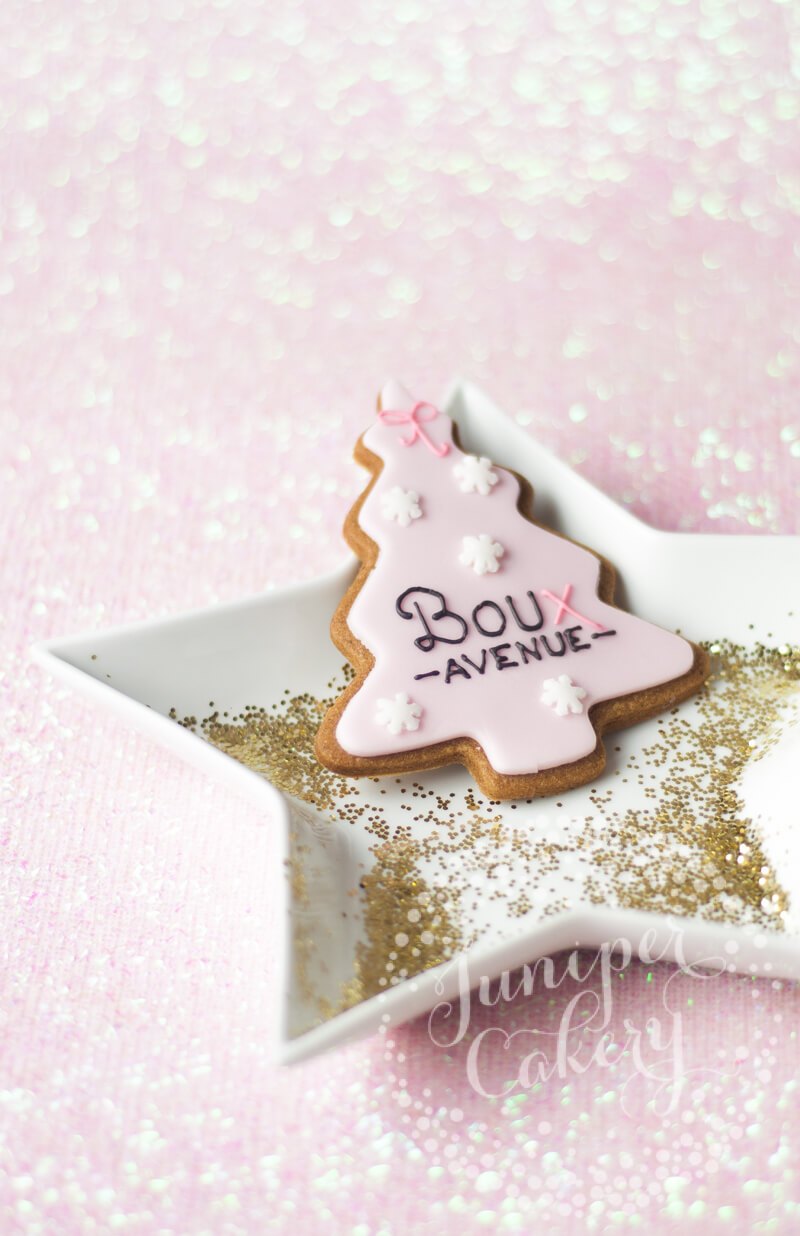
When it comes to companies that we LOVE Benefit Cosmetics are definitely way up on the list. They’re fun, quirky and we love the amount of pink they use! When they contacted us about collaborating together to create some fun (and chic) festive content we were thrilled! Plus we got to create a super exclusive collection of Benefit cookies for one lucky winner (giveaway now ended)! Head on over to Benefit’s Instagram to find our Mrs Claus cupcake tutorial via their story highlights.
Mrs Claus cupcake tutorial for Benefit Cosmetics!

Materials and tools needed…
- Cupcake (if the top is domed and risen… even better)
- Buttercream
- Edible glue
- Cupcake corer
- Palette knife
- White sugar paste / fondant
- Sugar paste / fondant in whatever skin tone you’d like
- Snowflake sprinkles
- Edible lustre dust
- Food safe brushes (either brand new or never used on on-edible items)
- Veining tool
- Small ball tool
- Black edible sugar pearl sprinkles
- Pink edible petal dust
- Small piping tip
- Set of circle pastry cutters
- Small rolling pin
Step 01:
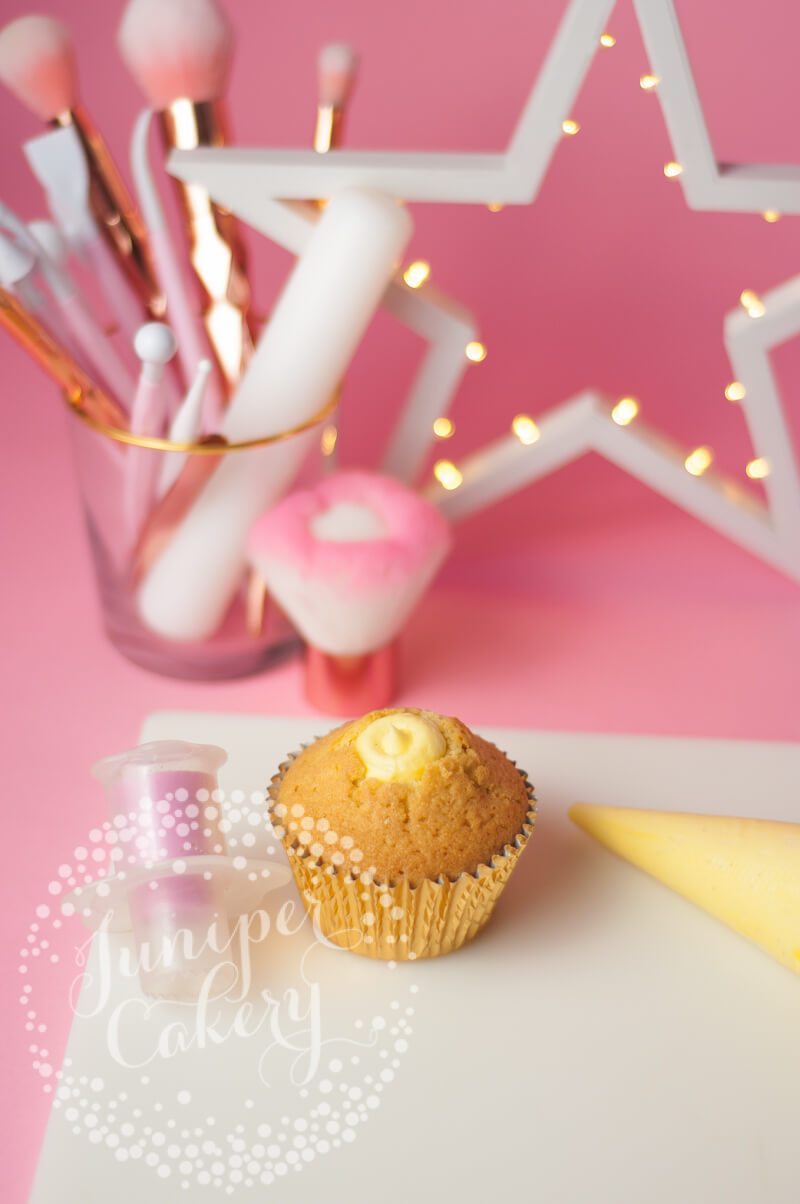
Core and fill your cupcake(s) with frosting. We used a classic Madagascan vanilla buttercream for our cupcake! It’s absolutely fine to fill your cupcakes with other fillings such as salted caramel, cookie butter or fruity jams.
Tip! You don’t need to core your cupcake all the way to the bottom. Halfway down is a great amount of space for enough buttercream. Also, you’ll risk piercing the cupcake case so take it easy.
Step 02:
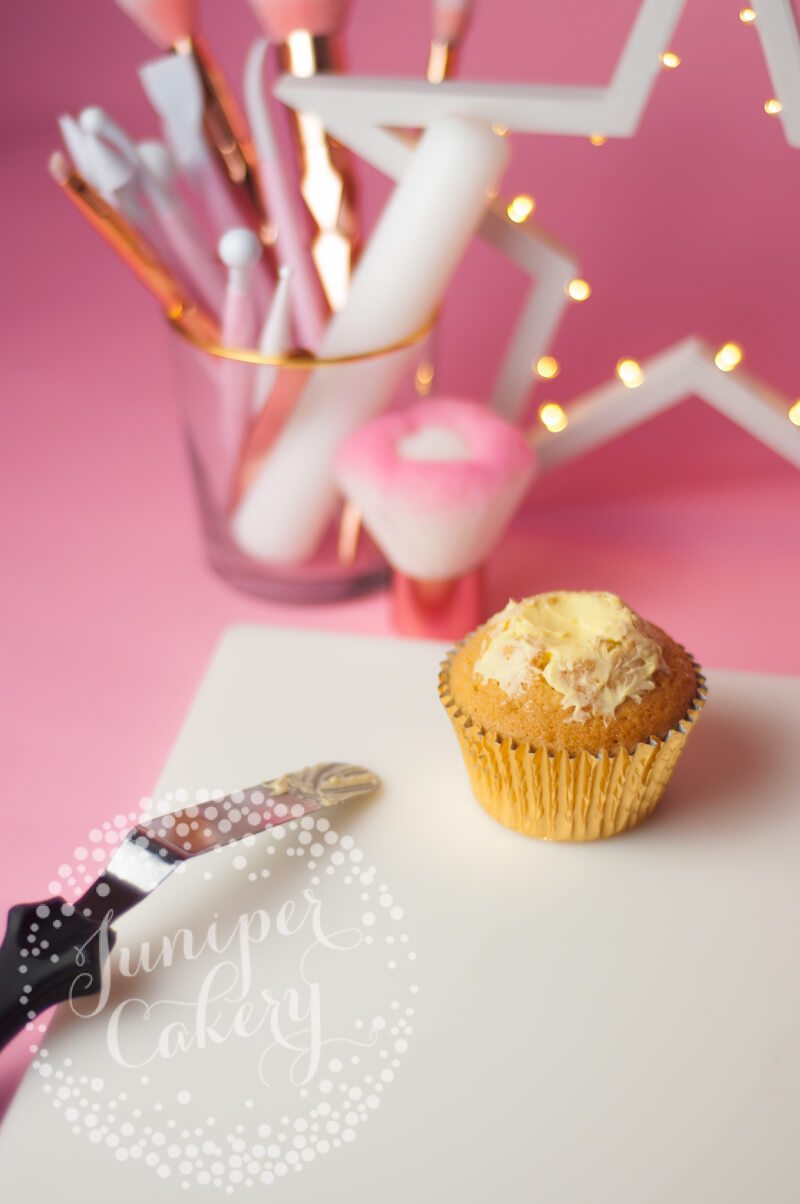
Use a palette knife ot spatula to spread any excess buttercream around the top of your cupcake which will help your sugar paste / fondant to stick to the cupcake’s surface.

Step 03:
You don’t need to do this step BUT it is our top tip for making smooth and flawless iced cupcakes! Roll out some white sugar paste / fondant and cut out a circle just a little smaller than your the top of your cupcake. Lay this central on top of your cupcake and smooth down.
As we said you don’t need to double ice your cupcakes and a lot of people aren’t too keen on sugar paste / fondant. However, for a super smooth look this part is pretty important. Cupcakes can bake uneven or bumpy too so this really helps!
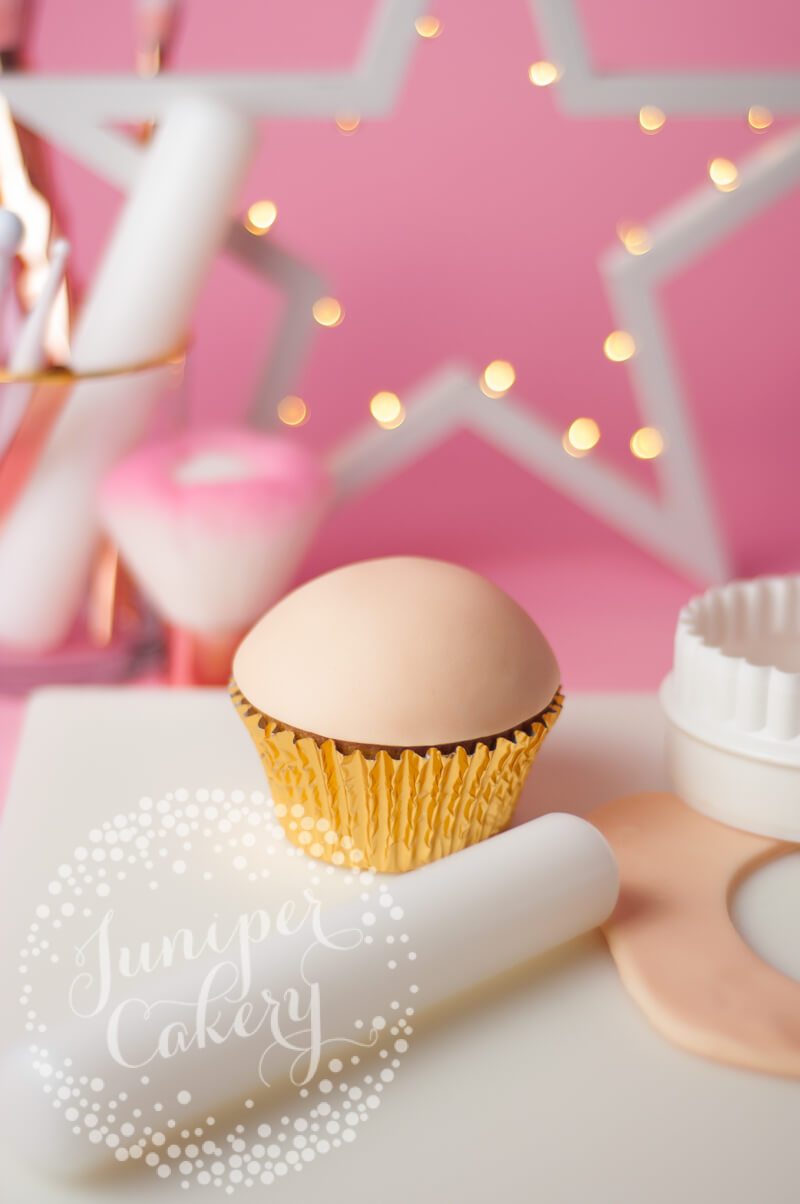
Step 04:
Repeat step 03 but with whatever skin tone coloured fondant you like. Also, make sure to use a circle cutter a little larger than your cupcake this time so that it can accommodate for the curve of your cupcake! Apply and smooth over the top of your cupcake to the edges of the case.

Step 05:
With your circle cutters cut two smaller circles of white sugar paste / fondant. Then cut away a portion from one circle so that the other can fit inside. These sections are going to be Mrs Claus’ hair which is going to be so cute and on-trend too!

Step 06:
Attach on top of your cupcake with a little amount of edible glue to create Mrs Claus’ hair! Once this is in place dust with some white lustre dust to add a little glitz for the party season.
You can also use edible white lustre paint if that’s what you have to hand. There’s lots on the market like sparkling dusts, shimmer sprays and glittery paint too so you’re spoiled for choice!

Step 07:
Now to add a chic top knot! Roll a ball of white fondant and attach on top of your cupcake with some edible glue. Hold in place lightly until stable. Then add a little texture to Mrs Claus’ hair using a thin veining tool. Also, remember to dust her top knot with lustre dust.

Step 08:
Using a small ball tool indent where you’d like Mrs Claus’ eyes to be which you can nestle black sugar pearls into later.

Step 09:
With a thin veining tool indent eyelashes to the sides of her eyes. Three is always a good amount composition-wise, but it’s a lot for a small eye so stick to two ‘lashes’.
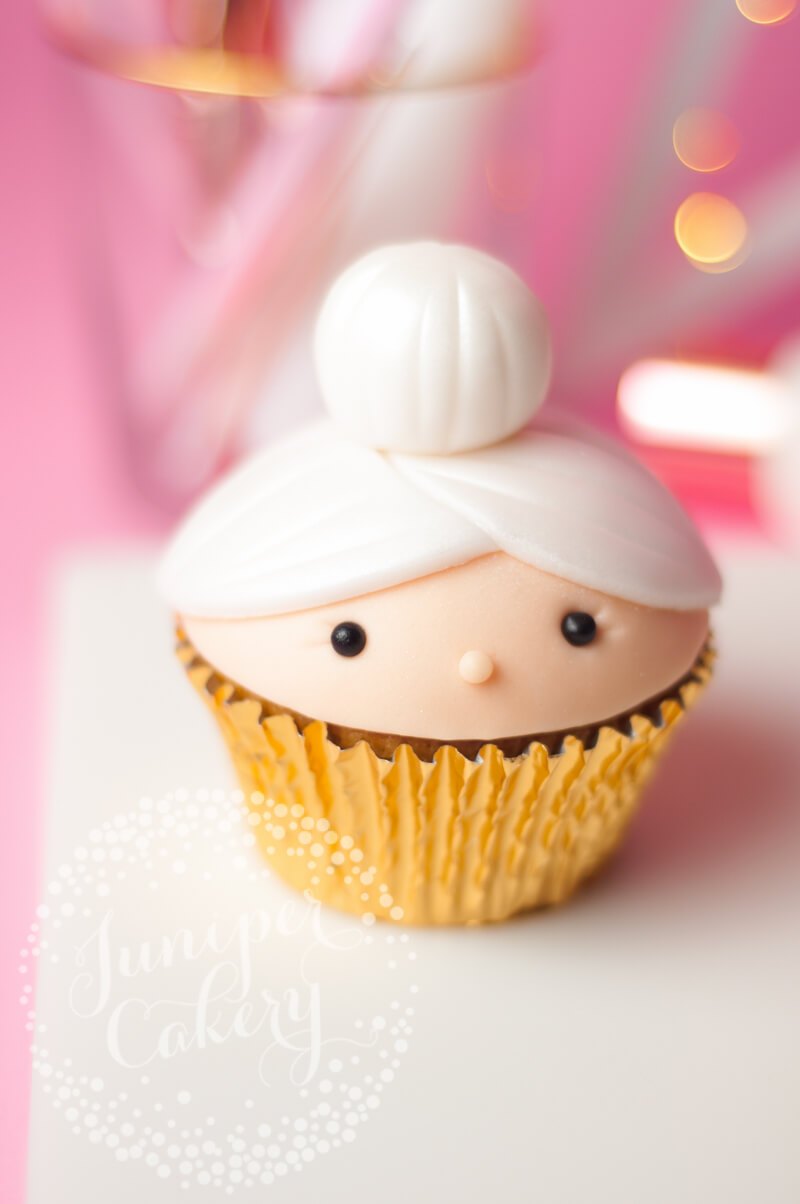
Step 10:
Now add black sugar pearls for the eyes with a tiny amount of edible glue. Try not to add too much glue as it can look messy if it seeps out or ends up making your pieces slide around! Edible glue is pretty slippy so just remember that a little goes a l-o-n-g way!
Step 11:
For her cute button nose roll a tiny amount of fondant in the same colour skin tone you iced your cupcake with. Attach with a small amount of edible glue.
Tip! Working this small can be a little tricky as your hands will warm up the fondant making it squishy. Once you create her nose just set it aside for a few minutes to firm up or cool down. It should be much easier to work with and attach.

Step 12:
Let’s finish Mrs Claus’ stylish hair! Use edible glue to attach pretty snowflake sprinkles in place. Then with a small amount of melted white chocolate (don’t use milk or dark… it’ll get messy and it’s so much more noticeable) attach a real bow in place!
Tip! White chocolate makes for a pretty sturdy edible glue for harder to attach elements… which is so handy for stubborn pieces. The reason we advise not using milk or dark is that if that drips all over your work it will stain. Not a good look right?

Step 13:
Add a smile with the bottom of a piping tip. We used the end of a 2.5 by PME Supatube then pressed it into the cupcake at an angle to indent a curve. You can also use the scallop tool in any icing modeling tool kit… which basically looks like a curved line.
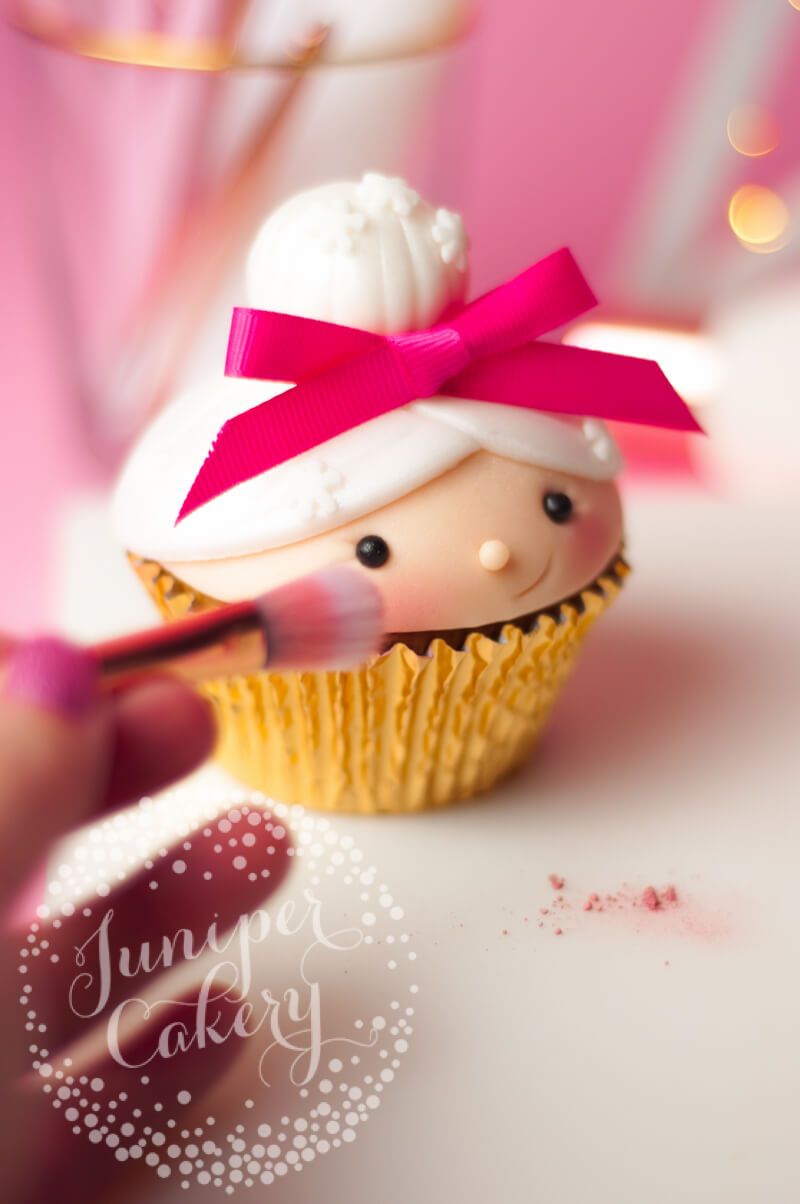
Step 14:
Mrs Claus still isn’t ready as, just like anyone would need a touch of Benetint (or Posietint… our fave), she still needs her blush! Use a small fluffy brush to apply a little pink edible dust to her cheeks. Just like Benetint build your colour up so add a little at a time! It’s oh so much easier to just a little more colour each time instead of going overboard and having to start all over again from step 03!

Now Mrs Claus is ready to take on the festive season armed with her Benefit-inspired look! She’s the perfect guest at any Christmas dinner party too. A super cute idea would be to create lots of other cupcakes decorated with fondant bows to look like gifts. Arrange these on top of a cupcake tower stand and surround with pretty snowflake confetti for a scene stealing centrepiece!
Planning a fun dinner party with the girls? Why not tweak this Mrs Claus cupcake tutorial and make each match your bestie too! You can change hair colour and style, add edible accessories (try white sugar pearl sprinkles or stars for fabulous earrings), change their skin tone or play with make up styles too (add a little edible glitter eyeshadow or some black eyeliner with a black edible pen)! How much fun does that sound?

We had SO much fun working alongside Benefit to create this fun and festive Mrs Claus cupcake tutorial. We hope you have an amazing time creating your own at home. Remember… she’s not ready until she’s a #Benebabe!


