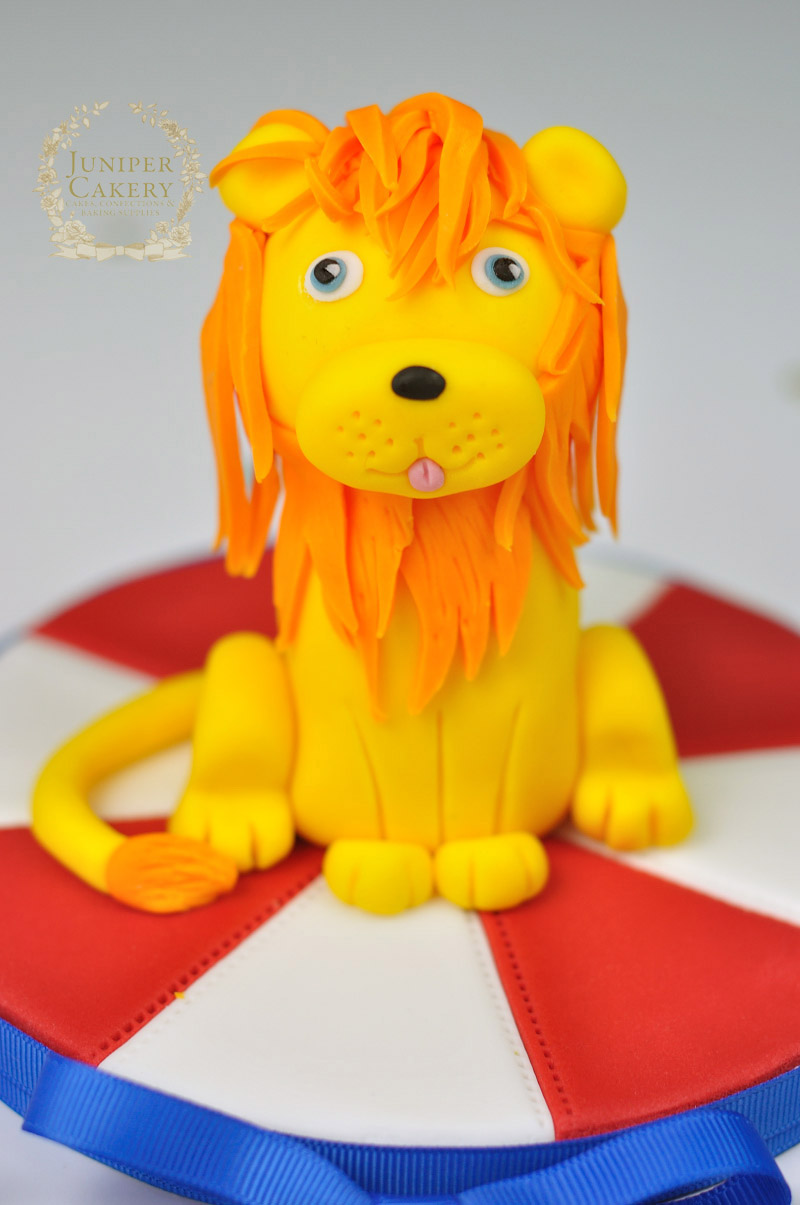
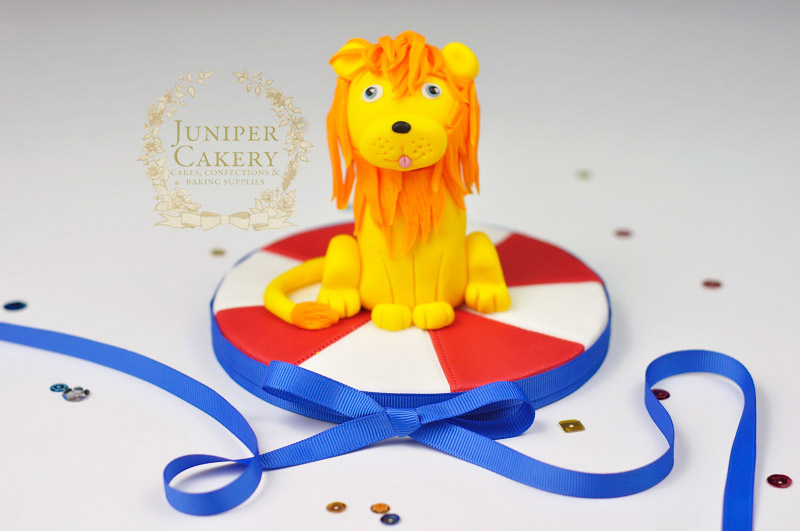
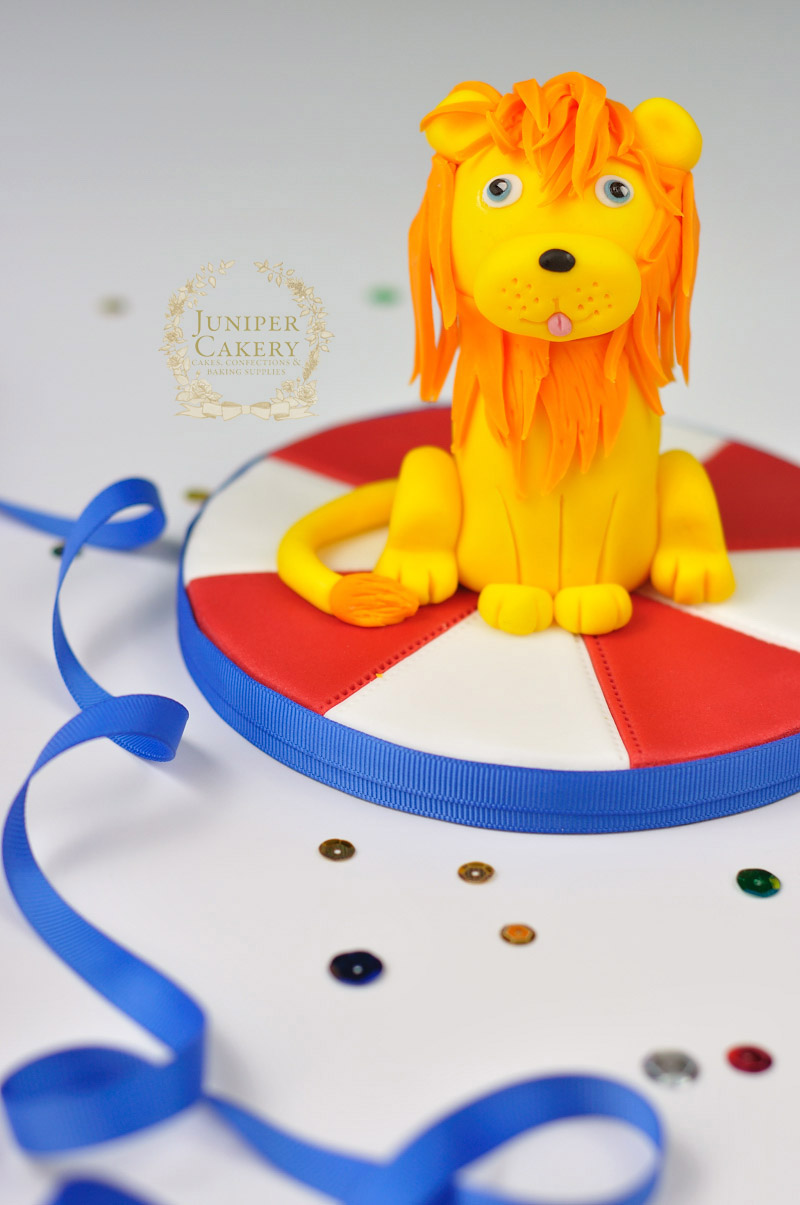
As the days and months get brighter so do our colour palettes! That was our main thought when we began discussing tutorial themes… vibrance. With that in mind, of course, our newest collection of cake and cupcake decorating tutorials look at the bright colours and animal characters from cartoon circuses! This week we show you how to create your own friendly lion; perfect for kids’ party cakes. This character is so easily adaptable to suit other themed cakes and cupcakes too; add a golden crown for a playful royal design or change the colours and create other characters for an amazing selection of Narnia cupcakes!
You’ll need…
- Yellow fondant / sugarpaste
- Orange fondant / sugarpaste
- Black fondant / sugarpaste
- White fondant /sugarpaste
- Pink fondant
- Blue, green or brown fondant / sugarpaste (for the eyes)
- Blade tool
- Ball tool
- Scriber tool
- Scallop tool
- Fondant rolling pin
- Edible glue
- Cocktail stick
- Tylo powder
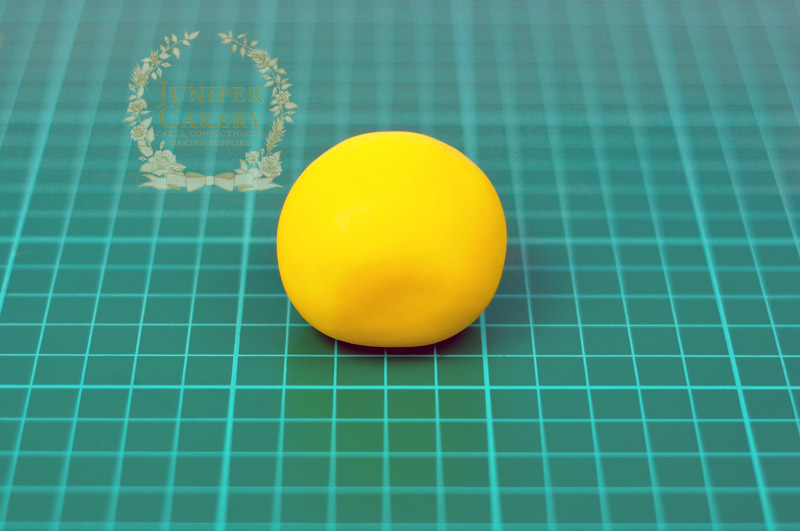
Step 1: Form a ball of yellow fondant / sugarpaste (mixed with a pinch of tylo powder to help make the fondant / sugarpaste harder) approximately the size of a ping pong ball. Slightly flatten the lower part of the front where the muzzle will be attached later.
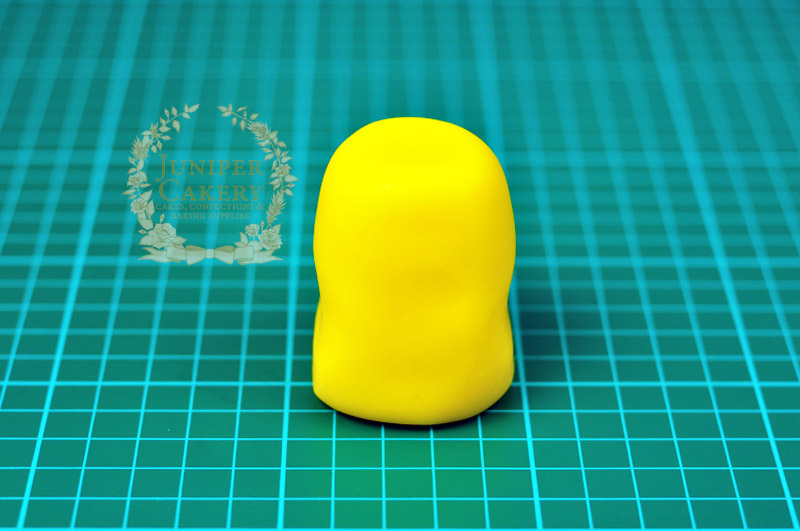
Step 2: With some tylo mixed yellow fondant / sugarpaste form a larger ball (around double the size as the piece in step 1) and mould oblong smoothing the sides inwards to create a slight hourglass shape.
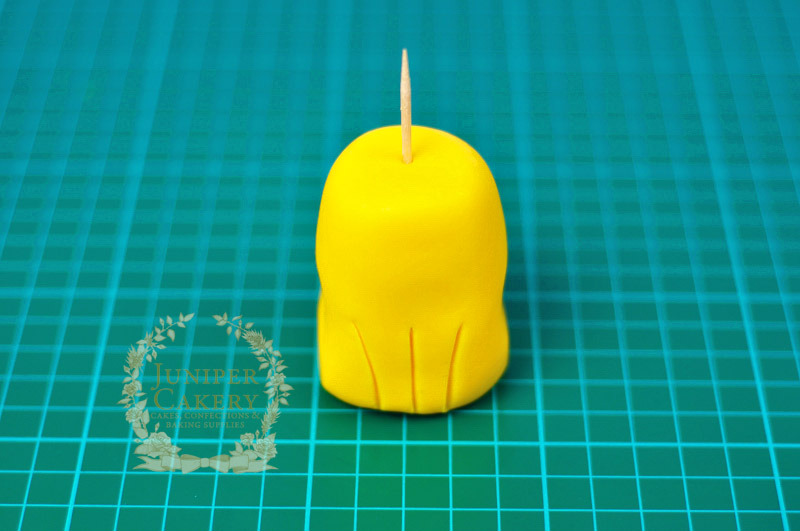
Step 3: With a blade tool etch two front legs and then push a cocktail stick down the centre. The head will attach to this so make sure the stick won’t protrude out of the yellow ball made in step 1.
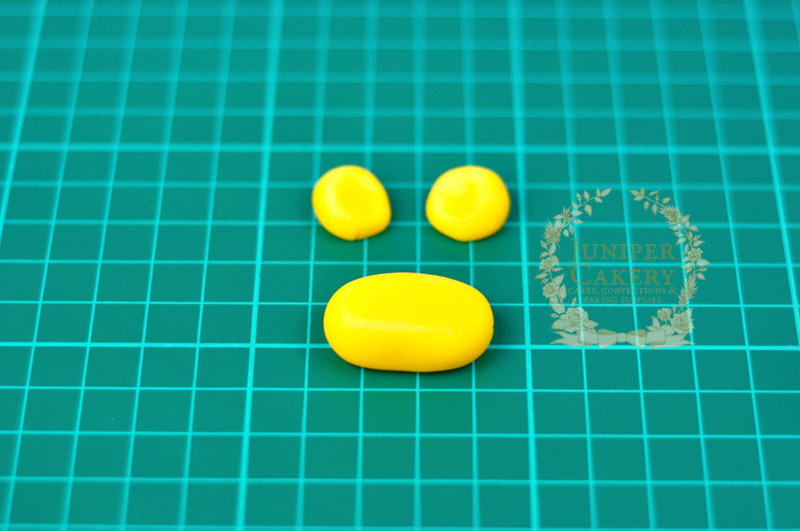
Step 4: For the muzzle make an oblong shape of yellow fondant / sugarpaste. For the ears make two small balls, flatten them slightly and with the ball tool indent where they’ll be place.
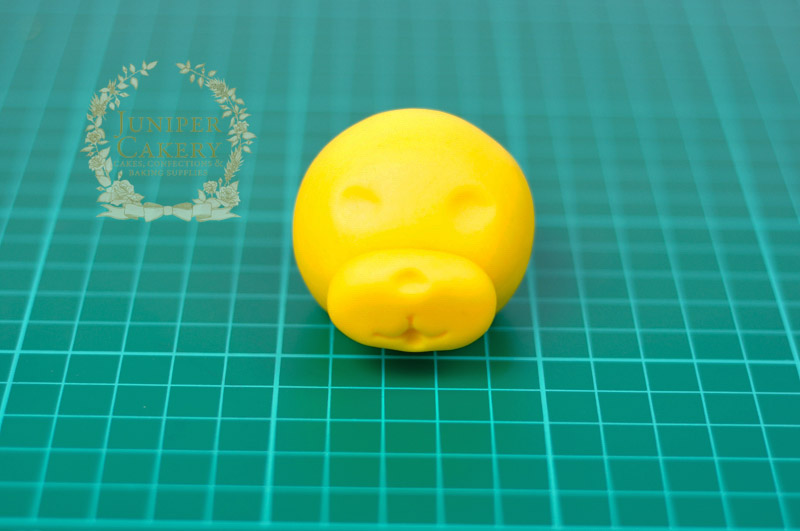
Step 5: To begin creating the face attach the muzzle to the flattened lower front area of the head with some edible glue. Use the scallop tool to create the mouth. With the ball tool indent the eye sockets, nose and a groove for the tongue to fit into.
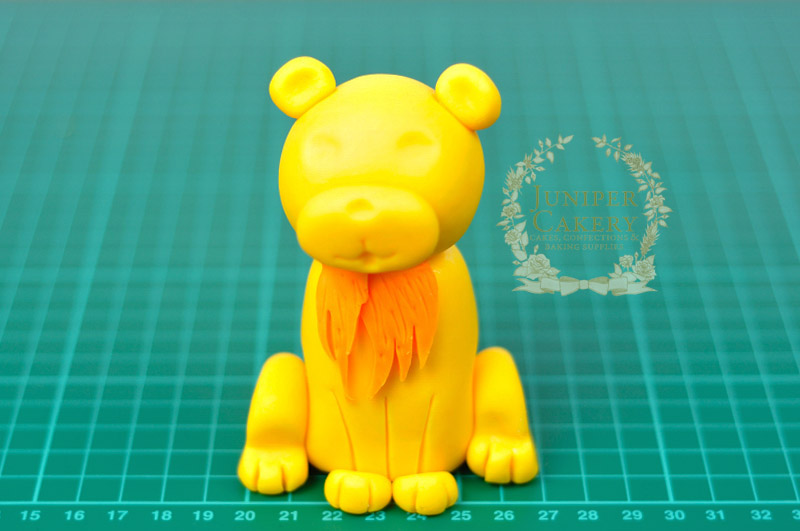
Step 6: Take the head and attach onto the body with a little edible glue on the cocktail stick.
Step 7: Use smaller pieces of a cocktail stick pushed into both sides of the lion’s head and attach the ears with some edible glue.
Step 8: To create the mane roll out some orange fondant / sugarpaste. With the blade tool cut out a series of jagged shapes and draw lines into them lightly with the scriber tool. Attach these around the lion’s head with edible glue.
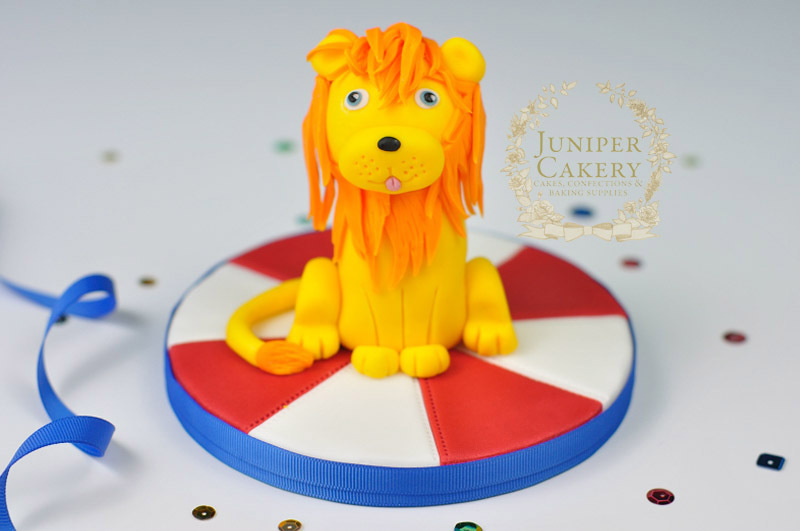
Step 9: For the tail roll out a rope of yellow fondant and finish the end with a tapered piece of orange fondant detailed with lines. Attach to the back with edible glue once the lion is finished and sat on your cake or cupcake!
Step 10: Add the final details such as the tongue, whiskers (you can add white floral wire or just create dots with a scriber tool), the nose and the eyes. For the eyes simply layer colours of fondant / sugarpaste. Begin with the whites, indent with the small end of the ball tool, add the eye colour, indent again, then add a little black and then a tiny amount of white.
