Recipe: Cherry Cola Cupcake

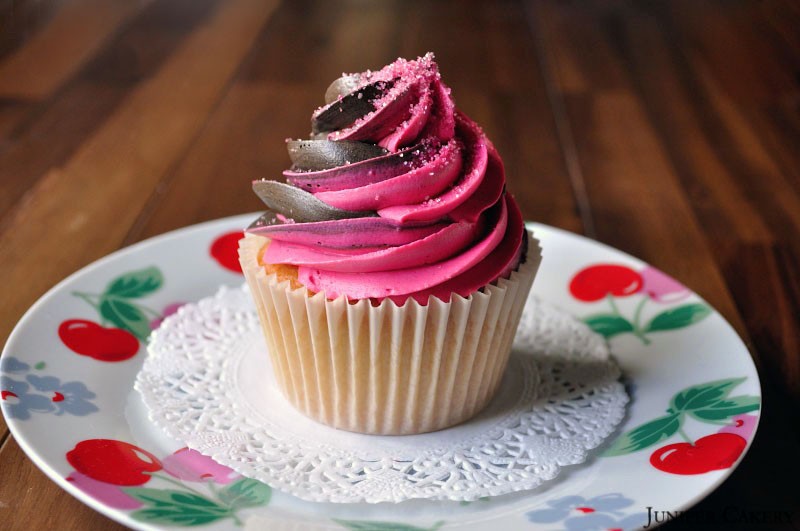
This tasty little cupcake pays homage to one half of Juniper Cakery’s past addiction to cans of cherry cola. Don’t worry, she’s OK now, but those were dark days fuelled by cherry laced soda. These days she is strictly tea-total and we deemed this cupcake a safer way for her to enjoy her favourite fizzy treat! It’s still pretty addictive, so be careful re-creating the recipe below…
Recipe: Cherry Cola Cupcake

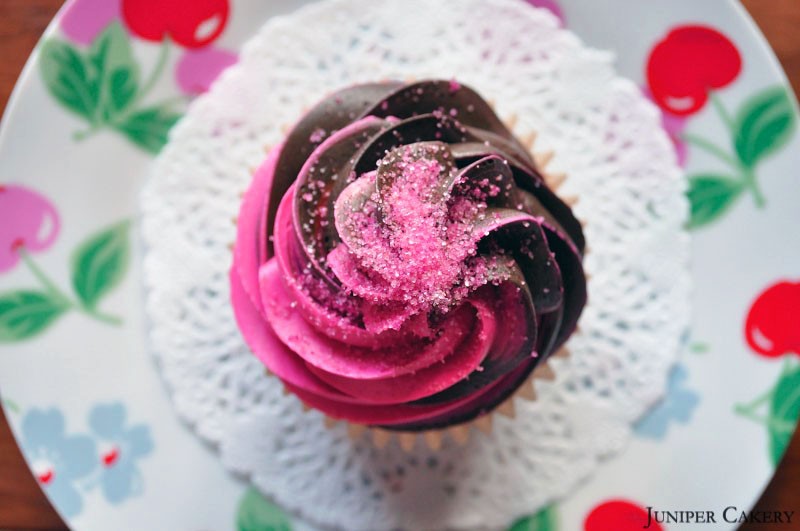
This Cherry Cola cupcake is a subtle cherry flavoured cake swirled with two toned and dual flavoured Cherry and Cola buttercream then finished with bright pink sugar crystals! It’s perfect for the summer; but we think it’d go down a treat at an 80s themed party or shindig! If anyone does this please send us a picture so we can live vicariously through you; we love the idea of a kitsch ‘The Breakfast Club’ themed do!

Makes approximately 12 cupcakes

For the cupcakes…

226g self raising flour
226g butter
226g caster sugar
4 eggs
1 teaspoon Cherry Essence

Step one: Preheat your oven to Gas Mark 3/325F/170C

Step two: Cream the butter with sugar and once well mixed add in the Cherry Essence, flour and then the eggs.

Step three: Set out twelve cupcake cases in your pan and fill each case 2/3 full.

Step four: Bake from around 12-18 minutes or until a golden brown on top and leave to cool on a counter.

For the buttercream…

We make our buttercream using our own intuition. We’ve tried countless recipes; all of which failed to pass our test (and stability) tests. It’s best that you begin to develop and ‘eye’, ‘feel’ and ‘taste’ so that you know when your frosting is perfect for you. For starters though, the recipe below is a rough guide…

250g butter
250-350g icing sugar
Bright pink sugar crystals
2-3 drops of LorAnn Oil Cola Flavouring
1-2 teaspoons of Cherry Essence
Dark Pink Food Gel Colour Paste
Liqourice Black Food Gel Colour Paste
855 piping tip/nozzle
Piping bags

Step one: Cut your butter into small cubes and cream your butter until soft. Gradually add icing sugar until a good consistency.

Step two: Separate your buttercream into two halves. Add some LorAnn Oil Cola Flavouring with Liqourice Black Food Gel Colour Paste to one half. To the other add Cherry Essence with some Dark Pink Food Gel Colour Paste.

Step three: To get a fun two toned/dual flavoured effect scoop your cola buttercream down one half of a piping bag fitted with an 855 piping tip/nozzle (this tip/nozzle creates lovely ruffled buttercream). After doing so the other half of your bag should be free for you to add your cherry buttercream.

Step four: Now you can pipe lots of generous and tasty swirls of buttercream on top of your cupcakes once they have cooled down and sprinkle liberally with sugar crystals.
Recipe: Cherry Cola Cupcake

You should be left with cake stand filled with tempting cherry cola cupcakes! It’s up to you if you want to share them with anyone else… but we wouldn’t blame you if you didn’t!


Cherry Blossom Entwined Birdcage Cake with The Happy Egg Co.

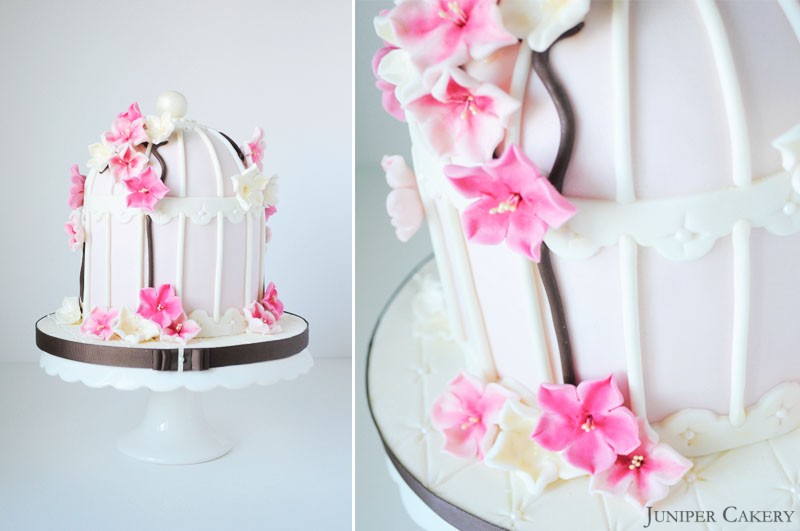
It’s time for our fifth cake, recipe & cake decorating tutorial in partnership with The Happy Egg Co.! This month we took inspiration from the soft and beautiful cherry blossoms that flourished not too long ago. Unfortunately, those flowers never last for long but at least you can enjoy edible blossoms in cake form! As well as picking out cherry blossoms for the design we also looked at fun and summery cherry laced flavours! We soon scaled our recipe ideas down to a simple cherry cola and pistachio cake. Why not have a look at our design and development blog post to see our ideas and research.

Cherry Blossom Birdcage Cake

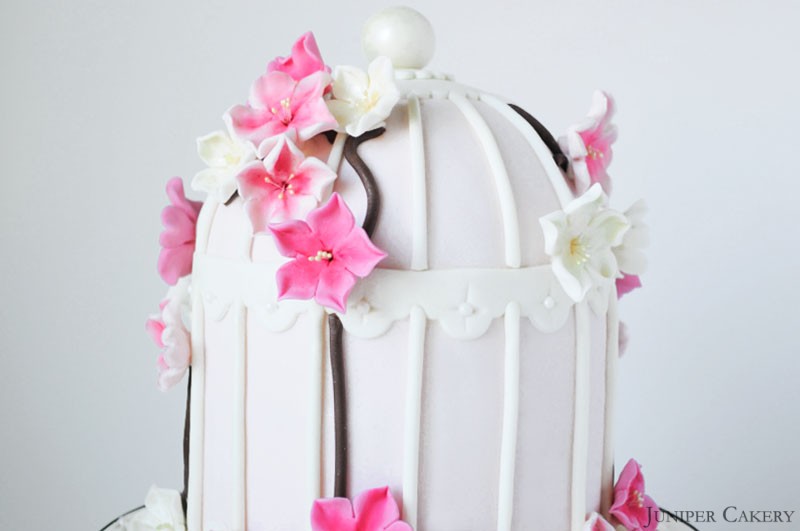
As well as this month’s flavour we thought we’d show you how to create an elegant and simple birdcage cake. These are definitely on trend at the moment due to the summer months, but also with wedding season upon us they’re popping up everywhere! The romantic colour scheme is perfect for afternoon teas, spring and summer birthdays, engagement parties and weddings.

Cherry Blossom Birdcage Cake

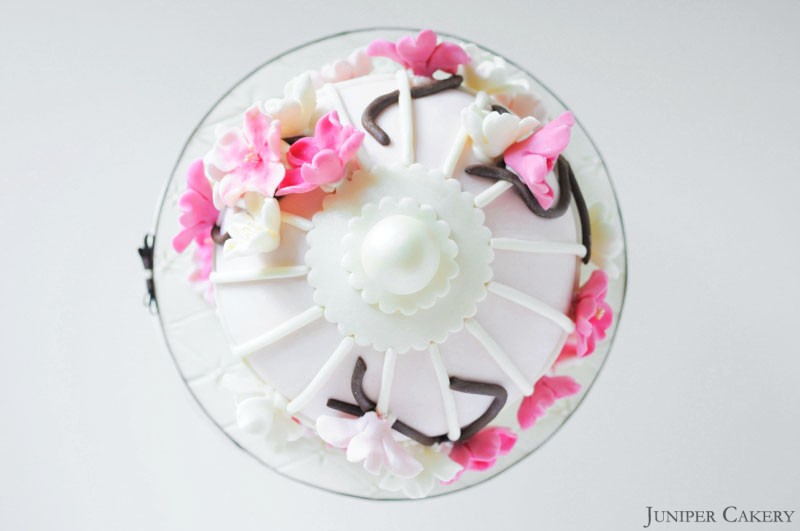
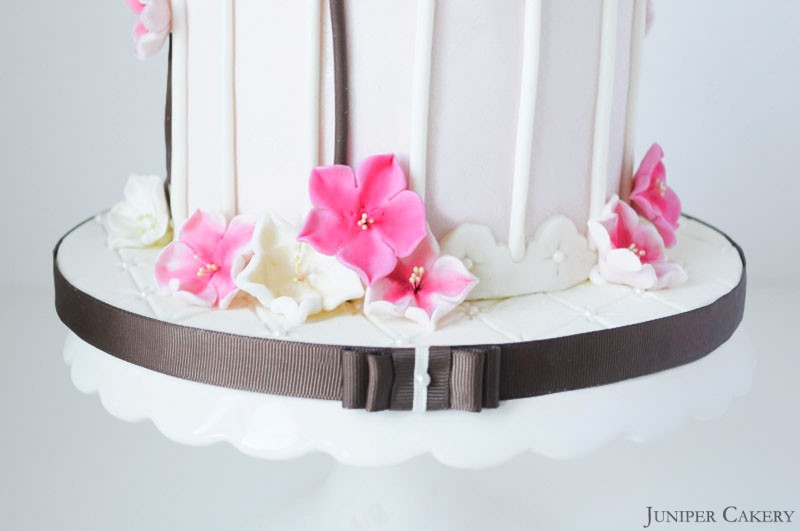
We added further detail by creating a quilted cake board studded with edible sugar pearls that also found themselves nestled into the cage-work of the cake.

Cherry Blossom Birdcage Cake

Cherry Blossom Birdcage Cake

Cake recipe

To create this cake (including the dome layer and 4 circle layers) you will need the following…

7-8 free range eggs by The Happy Egg Co. depending on egg size
453g self raising flour
453g caster sugar
453g butter
6 inch circle cake pan
6 inch ball pan

Cream your butter in a mixer then add the caster sugar. Add in the flour along with half of the happy eggs for around one minute. Once half of the happy eggs are combined add the remaining and mix for about 5 minutes.

Pour into a greased circle cake pan until 2/3 full and place on the top shelf of a pre-heated oven at Gas Mark 3/325F/170C. Bake for around 30 minutes. Repeat this step four times for each circle layer.

For the dome layer pour the remaining batter into one half of your ball pan and bake for 35-45 minutes in an over pre-heated to Gas Mark 3/325F/170C.

Cherry, cola & pistachio buttercream recipe

For the buttercream you will need…

500g butter (don’t use margarine as the water content is higher and not suitable for buttercream)
500g - 600g icing sugar (choose your own consistency and taste)
Cherry essence
Cola flavouring
Pistachio essence
Pink gel paste food colouring
Brown gel paste food colouring
Green gel paste food colouring

Add half of the of butter diced into pieces. Cream the butter in a mixer. Then gradually add icing sugar and the remaining butter (cut into cubes). Once the buttercream is of a smooth consistency separate into three and flavour / colour to taste.

How to assemble your cakes into a birdcage shape!

Cherry Blossom Birdcage Cake

To create a birdcage shape you need to put together a bullet shaped cake using from four to six layers of circle cake (around 3-4cm in height). You then simply create the dome section by using a ball cake pan. For a cake like this which consists of a fair few layers of cake we’d recommend the use of a a good plastic dowling / dowel rod through the centre for stability.

How to make fondant cherry blossoms!

Now let’s show you how to make your own edible cherry blossom flowers from a ball of modelling paste. This is a fun way to create these blossoms without specific petal cutters and it means that you can make them any size you like; from tiny blossoms to extra large flowers!

How to make fondant cherry blossoms

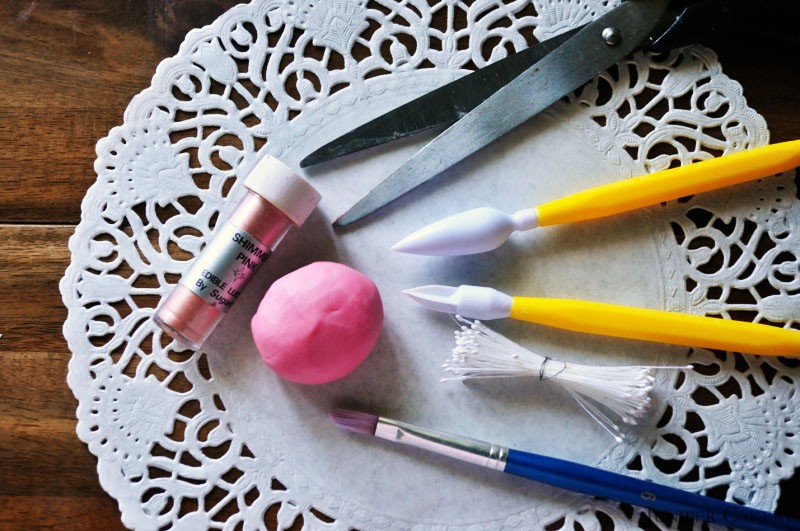
You will need…

Coloured flower / modelling paste
Lustre Dust
Scissors
Cone modelling tool
Tapered star modelling tool (with five points)
Paintbrush
Non-edible flower stamens

Cherry Blossom Birdcage Cake

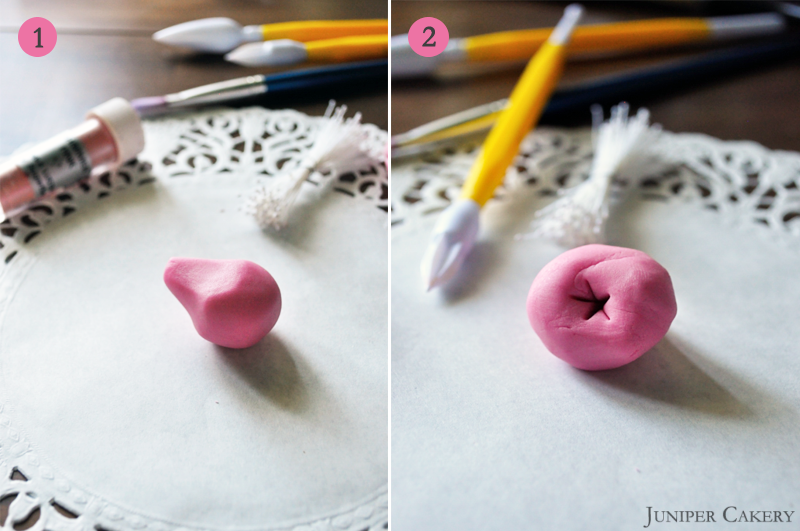
Step one: Form your modelling paste into a cone shape with a ball shape at one end.

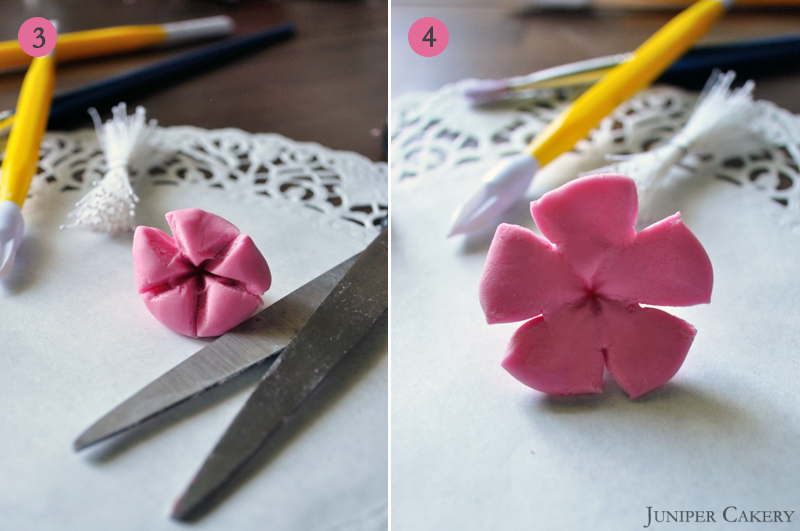
Step two: Using the tapered star tool press a star into the rounded end of your modelling paste cone. This marks where your petals need to be shaped from.

Cherry Blossom Birdcage Cake

Step three: Using some scissors cut into your paste using the points of the ‘star’ as markers.

Step four: Flatten and press the petals out using your fingers. Now you should begin to see your blossom form!

How to make fondant cherry blossoms

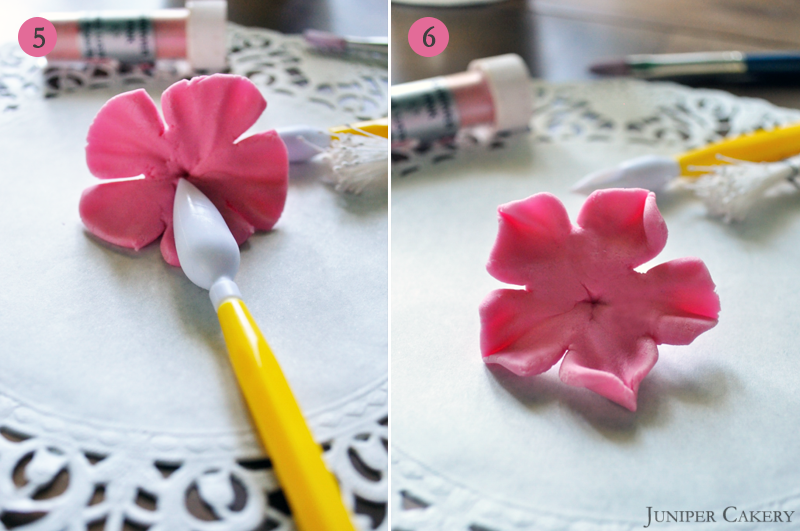
Step five: Using the cone tool press lightly into the petals to ruffle them.

Step six: Now pinch the ends of your blossom’s petals to add shape.

How to make fondant cherry blossoms

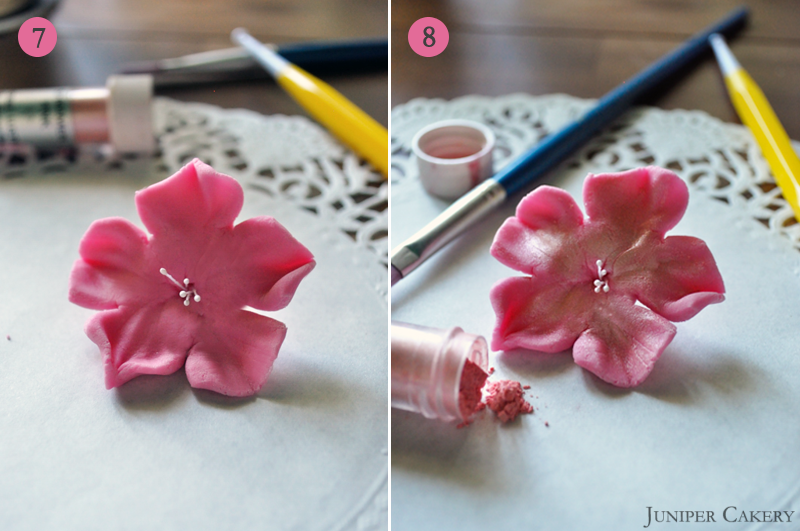
Step seven: Cut some stamens to around 1.5cm in length and push them into the centre of your flower.

Step eight: Now add some shimmer and extra colour to your blossom by dusting on some lustre dust with your paintbrush.

Now you should have a gorgeous cherry blossom perfect for sitting on top of your own homemade birdcage cake! Try creating them in white, ivory or different tones of pink to suit your colour scheme. To secure them in place upon your finished birdcage melt down some white chocolate and hold for a few seconds. Chocolate dries quickly and is a great way for holding heavier objects in place on a cake.

Cherry Blossom Birdcage Cake

We hope you’ve enjoyed this recipe and tutorial on how to create an elegant birdcage cake combined with some fun summer inspired flavours.


The Happy Egg Co. Cake - Cherry Blossoms

One of our favourite times of the year are when cherry blossoms are in full bloom. These gorgeous flowers float through the air in late spring/early summer, but unfortunately never last as long as we’d like. With this in mind we thought we’d base our fifth cake in partnership with The Happy Egg Co. on the soft colours of cherry blossoms; a fun cherry laced flavour and a whimsical late spring inspired design!

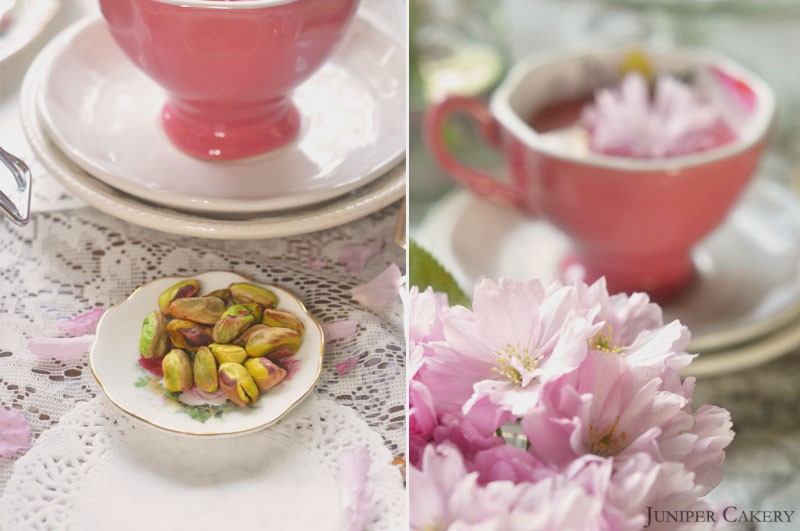
Cherry blossoms, cherry, cola and pistachio

In terms of taste we decided to look at a summery cherry flavour… with a twist or two! We thought of cherry and pistachio, cola or chocolate flavours with hints of lime, vanilla, almond or a cherry liqueur (like the below chocolate ganache and cherry brandy cupcake) as possible flavours.

Cherry blossoms, cherry, cola and pistachio

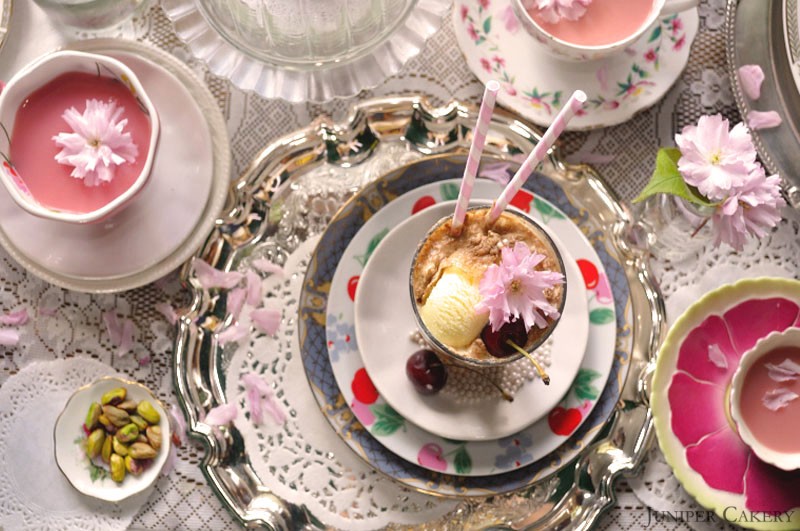
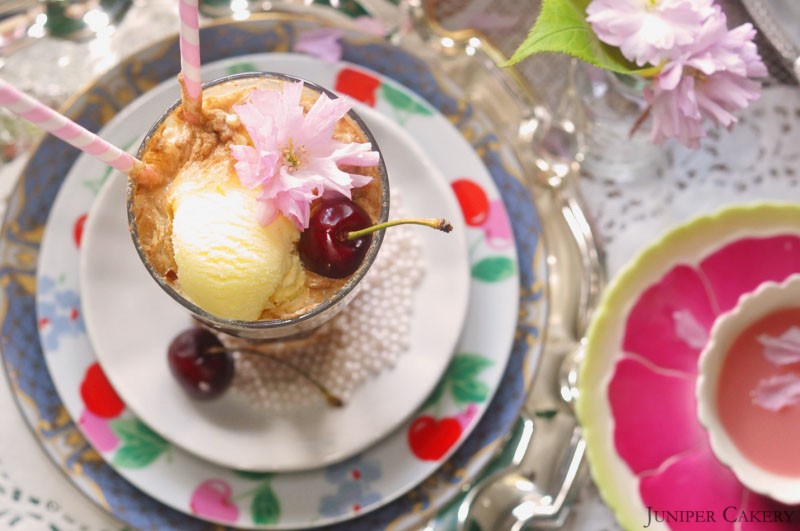
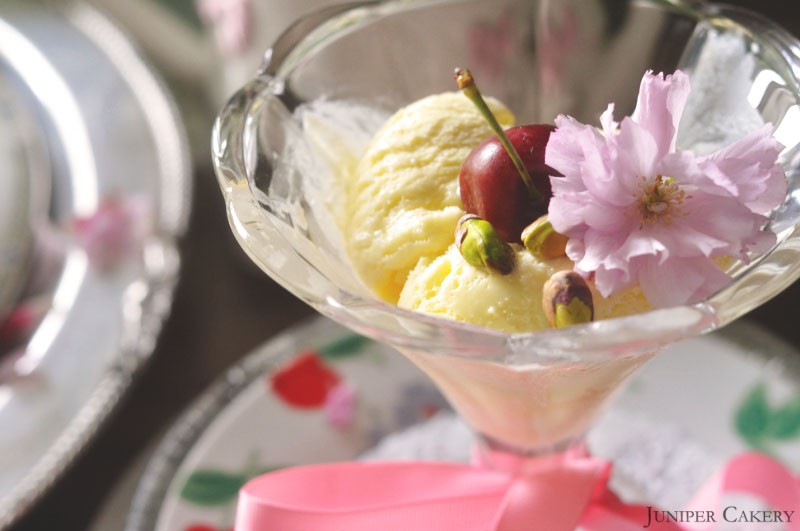
We finally settled on cherry cola and pistachio as our flavour of the month. We loved the idea of a sweet cherry flavour teamed with a peppery cola and a warm pistachio buttercream. This flavour also made us of think of summery cherry cola floats; ice cold cola with added cherry syrup topped with vanilla or pistachio ice cream then loaded with cherries and chopped nuts. Yum!

Cherry blossoms, cherry, cola and pistachio

Cherry blossoms, cherry, cola and pistachio

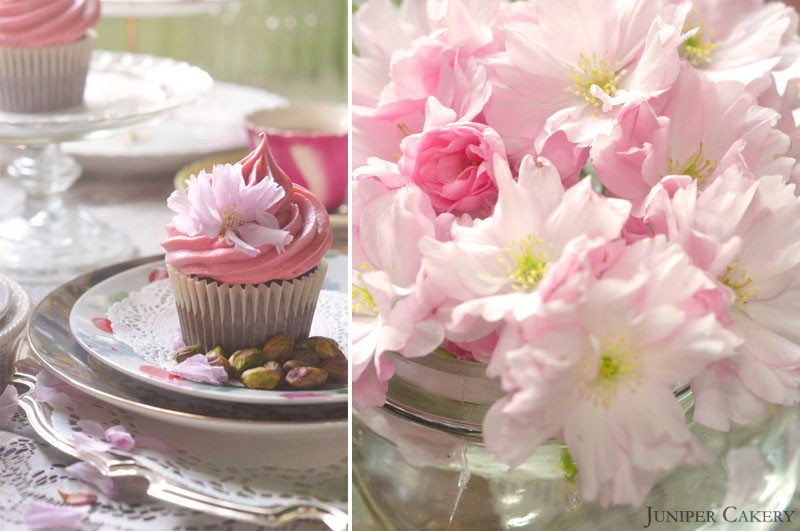
We thought that pistachios would make for a great twist on a cherry cola flavour; not just because of their warm and nutty flavour, but for their gorgeous natural green tones of colour. The green of the pistachios adds a fresh, bright feel to the colour palette.

Cherry blossoms, cherry, cola and pistachio

Cherry blossoms, cherry, cola and pistachio

Cherry blossoms, cherry, cola and pistachio

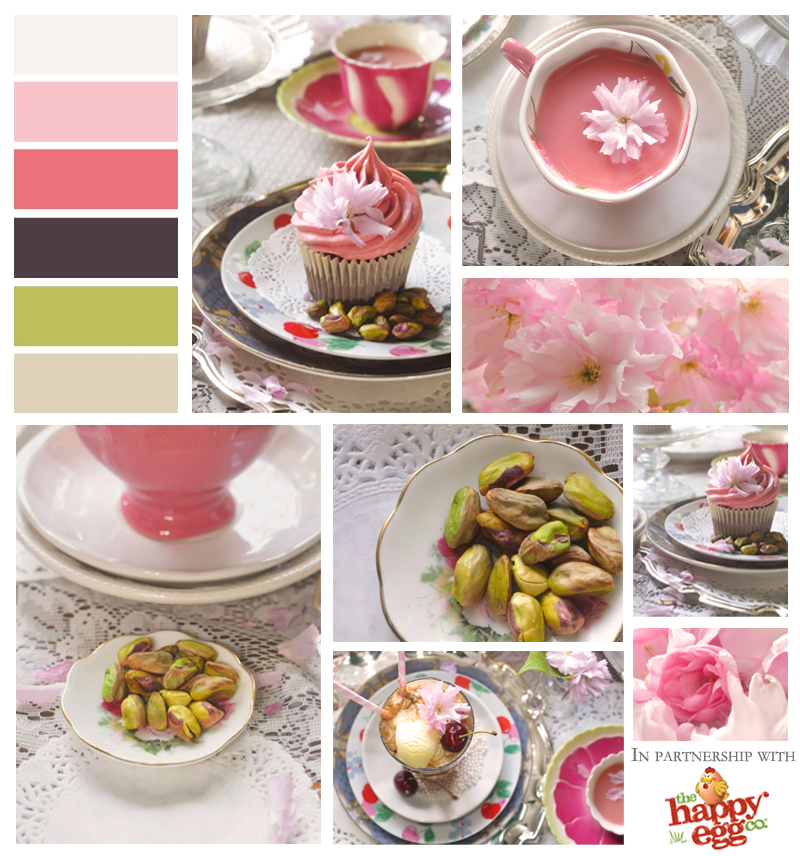
Below is a design board of everything that inspired us for this months cake; vibrant yet soft colours of coral tinted pinks and fresh green, soft textures, fun flavours and spring inspired details!

Cherry blossoms, cherry, cola and pistachio

With all the beautiful colours, textures, details, flavours and ideas for this month’s Happy Egg cake be sure to keep posted to see what we create!


×