Tutorial Tuesday: Simple Spiced Sugar Cookies with Royal Icing Detail!

Every winter time, as soon as the slightest hint of Christmas shows up, we excitedly whip up batches upon batches of our go to ‘gingerbread’ cookies in a variety of fun and festive shapes! Our own recipe is a little different to the traditional gingerbread cookie fare as we prefer thinner cookies with more of a crunch so instead of adding bicarbonate of soda we, over the years, have adapted our standard sugar cookie recipe into the delightfully thin, crisp and light gingerbread variant we create every Christmas! 

Simple gingerbread spiced sugar cookies recipe…
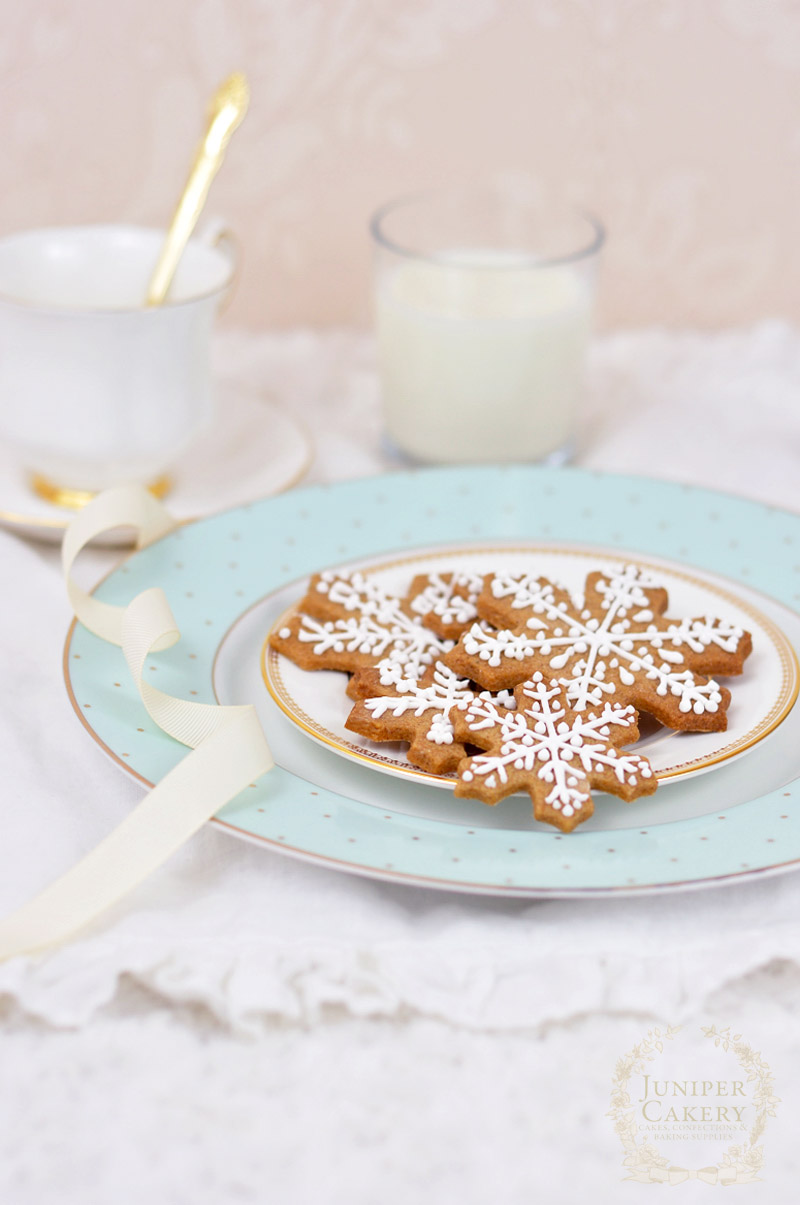
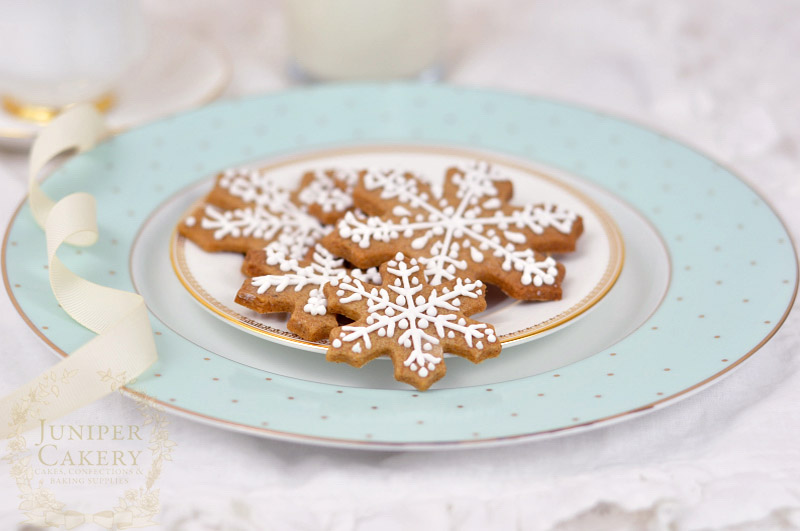
Gingerbread snowflake cookies recipe by Juniper Cakery

Winter snowflake cookies by Juniper Cakery

Ingredients and materials needed to make the cookies… (creates approx. 25-30 cookies depending on size)

  • 200g softened butter
  • 200g caster sugar
  • 4 tablespoons golden syrup
  • 1 tablespoon cinnamon
  • 1 tablespoon allspice
  • 1 tablespoon nutmeg
  • 2 tablespoons ground ginger
  • 400g plain flour (plus extra to dust)
  • 1 lightly beaten egg
  • Snowflake cookie cutters
  • Rolling pin
  • Cookie baking tray
  • Silicone matt or parchment paper
  • angled palette knife

Step 1:

Pre-heat your oven to 180C/350F/Gas mark 4 and prepare a flat baking tray with either a silicone baking mat or parchment paper.
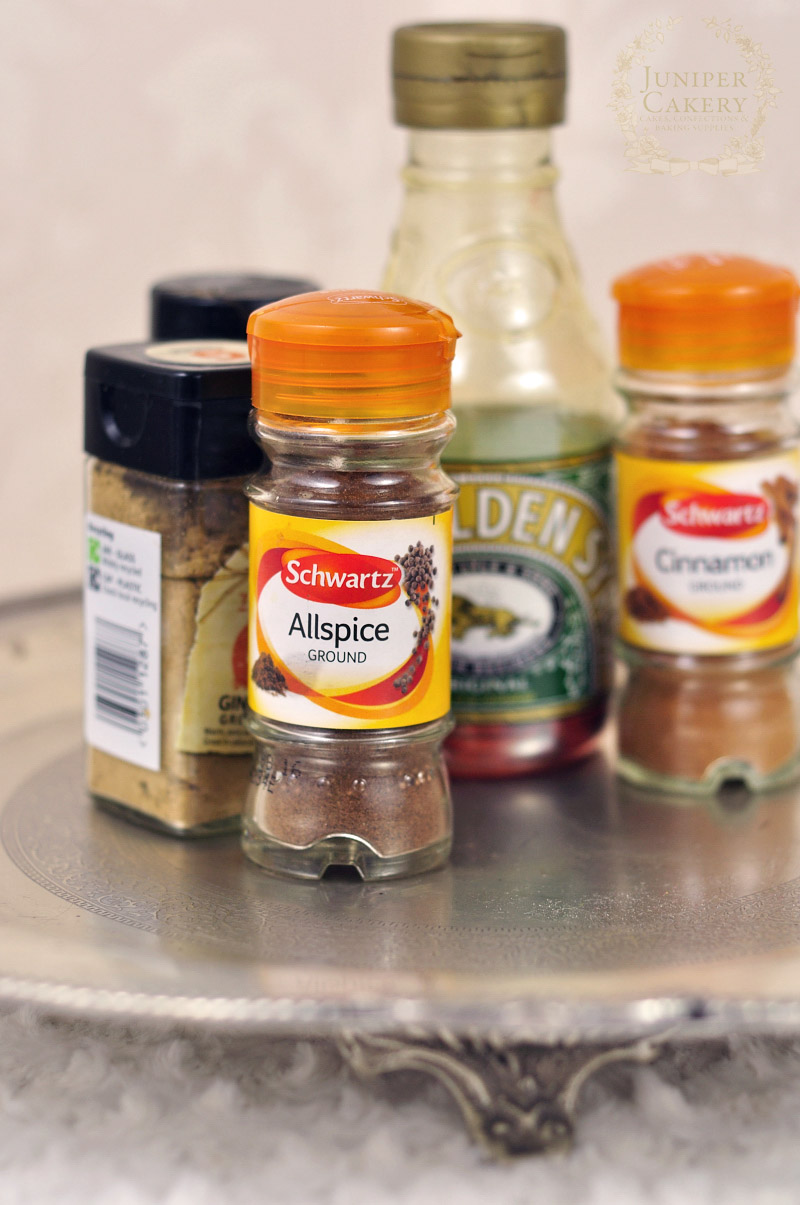
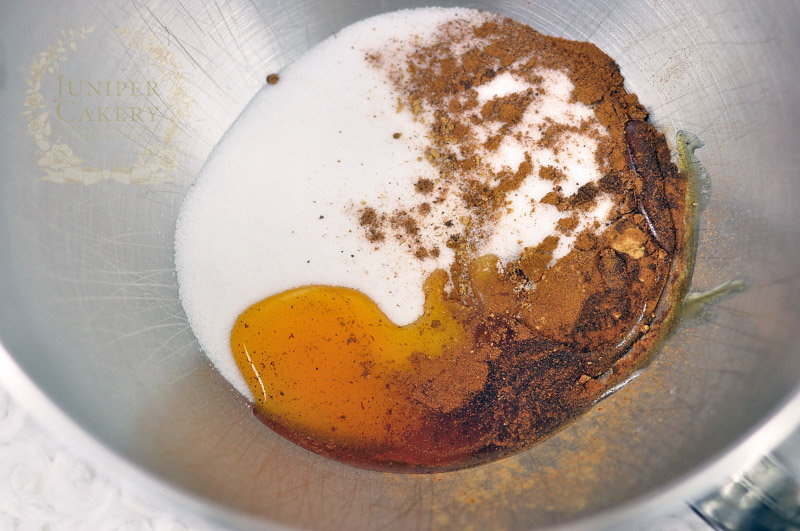
Festive spiced sugar cookies recipe by Juniper Cakery

Gingerbread snowflake cookies ingredients

Step 2:

Add your syrup, spices and sugar together in the bowl of a stand-up mixer. If you like darker and spicer cookies add some more to taste!
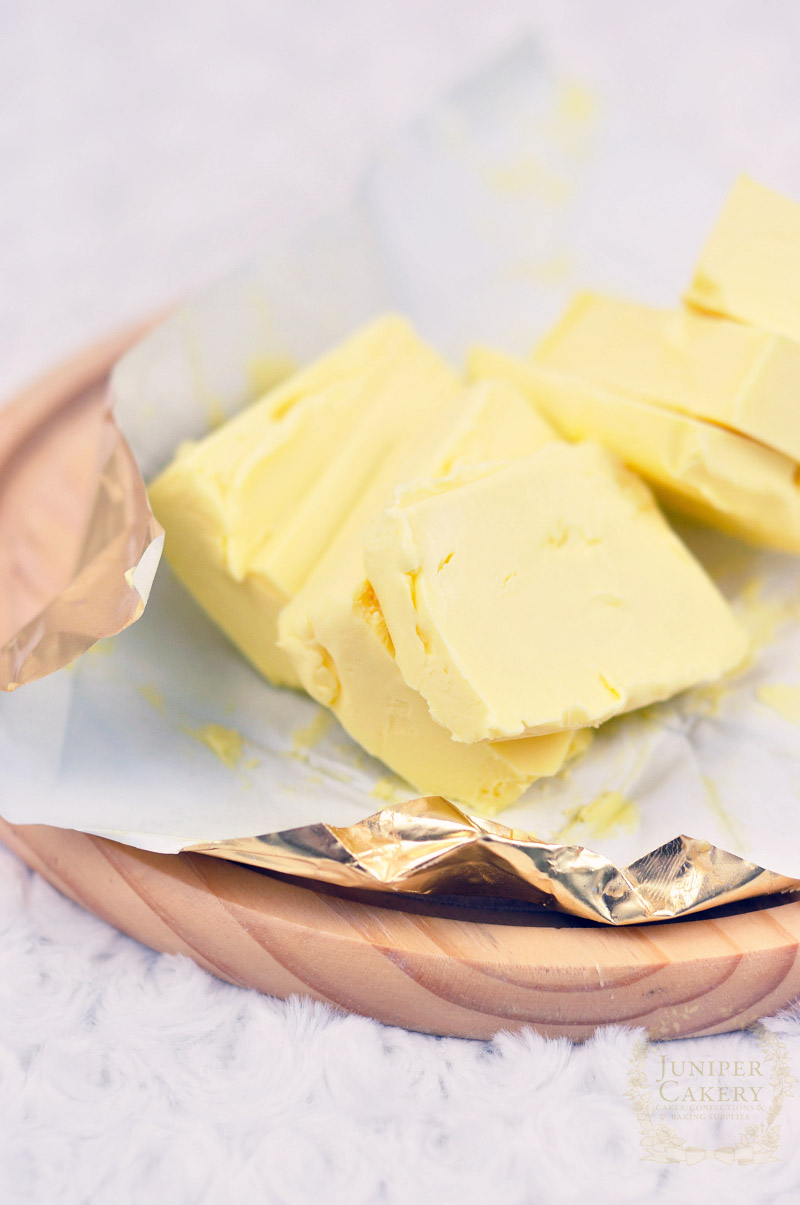
Soft butter used in gingerbread snowflake recipe by Juniper Cakery

Step 3:

Add in the softened butter and cream your ingredients together on medium speed.
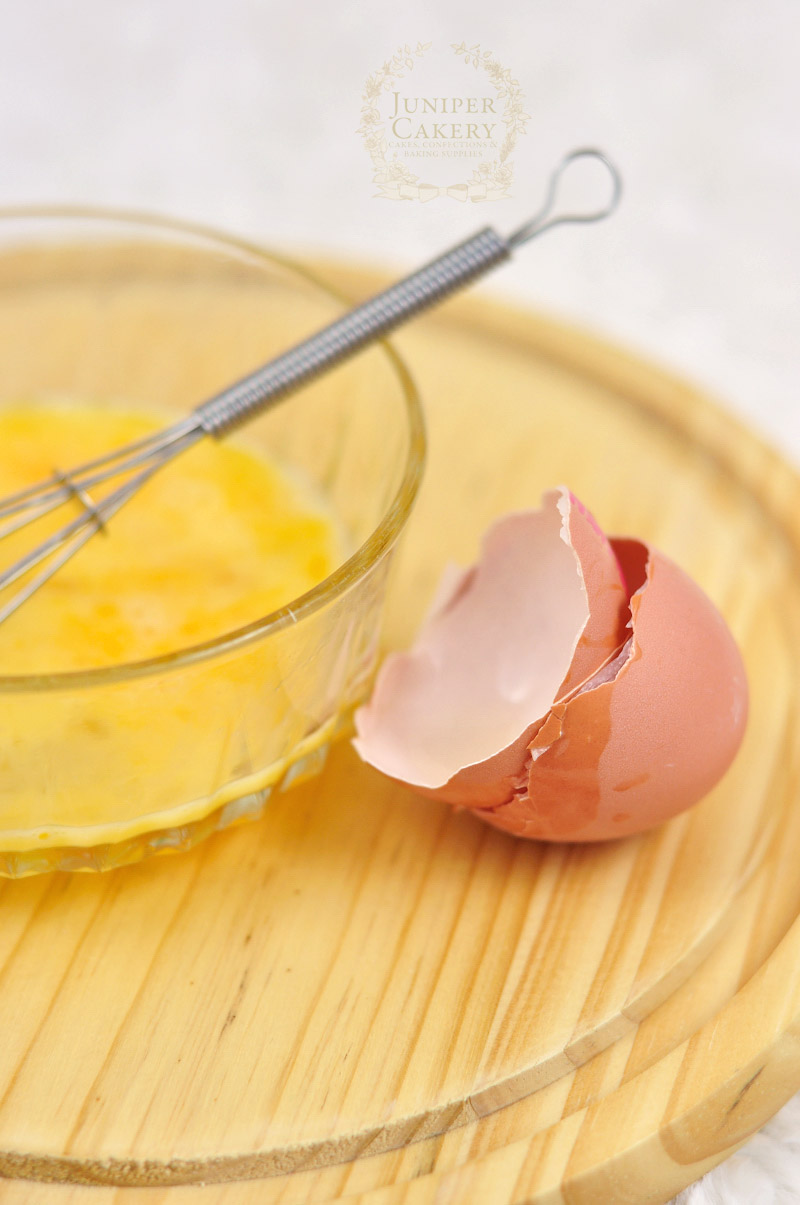
Gingerbread cookies recipe by Juniper Cakery

Step 4:

Once incorporated the lightly beaten egg along with the flour and mix on medium speed once again. Try not to overmix or your cookies will be more likely to spread when baking!
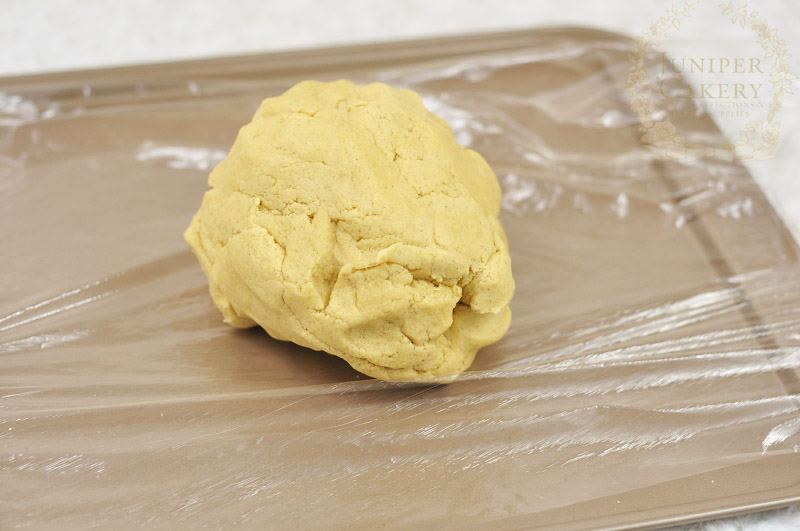
Gingerbread spiced sugar cookies by Juniper Cakery

Step 5:

Quickly mould your dough into a ball, wrap with cling film and leave to chill in a fridge for 1 hour.

Step 6:

When ready knead the dough a little and roll out onto a flour dusted surface before cutting out your cookie shapes!

Step 7: Carefully lift your cut cookies and place onto a baking tray with a palette knife. Set in the fridge for 30 mins.

Step 8: 

When ready pop into your pre-heated oven for approx. 10-15 minutes or until the edges are a golden brown. Remove and leave to cool on a wire rack!
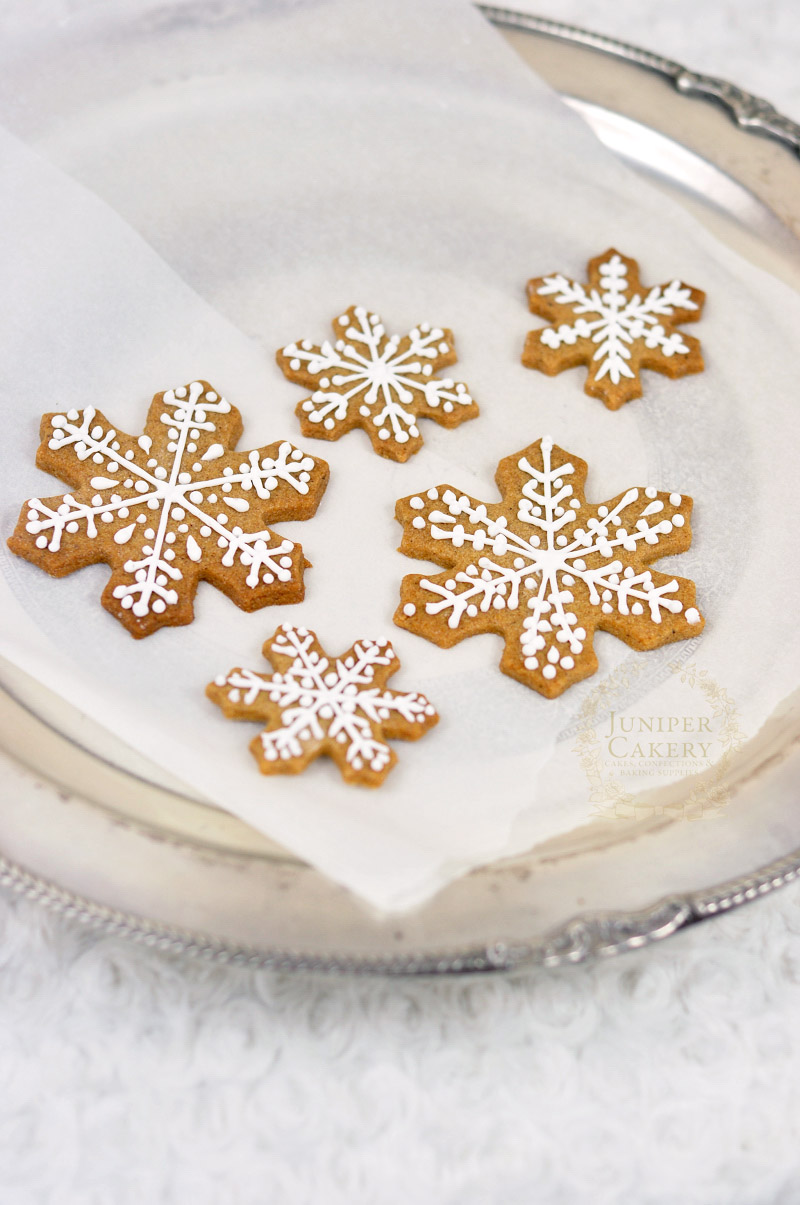
Make some gingerbread snowflake cookies with this recipe by Juniper Cakery

Now it’s time to show you how to pipe out wonderfully sweet (pun fully intended) royal icing patterns onto your freshly baked and cooled snowflake cookies! This take a little practice and should be relatively pain free, however, if you run into a spot of bother working with royal icing you’ll still be left with pretty and tasty cookies if you either leave your cookies plain or simply smothered with royal icing and dotted with fun sprinkles!

Ingredients and materials needed for our quick royal icing recipe… (enough to ice 12-25 cookies depending on how much is used per cookie)

  • Whites from 1 medium egg
  • 188g icing/confectioner’s sugar
  • 1 teaspoon lemon juice (and extra to wipe down your bowl and whisk attachment)
  • Kitchen scales
  • Stand-up mixer with whisk attachment and metal bowl
  • Small round writing piping tip
  • Disposable piping bag

Step 1: 

Wipe down the bowl of your stand up mixer with lemon juice along with your whisk attachment.

Step 2:

Add the whites of 1 medium egg to the bowl and whisk on high speed until white and frothy.

Step 3:

Add in the icing/confectioner’s sugar and mix until incorporated.

Step 4:

Finally add in the lemon juice. You need your royal icing to be the consistency of runny honey so add a little more lemon juice if you find your icing too thick.

To pipe royal icing detail onto your snowflake cookies…

Step 1:

Add your royal icing to a piping bag fitted with a small round piping tip.
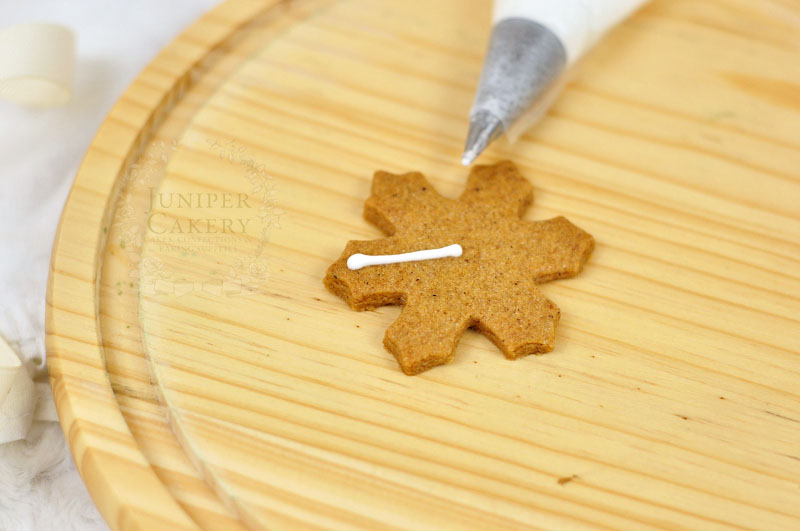
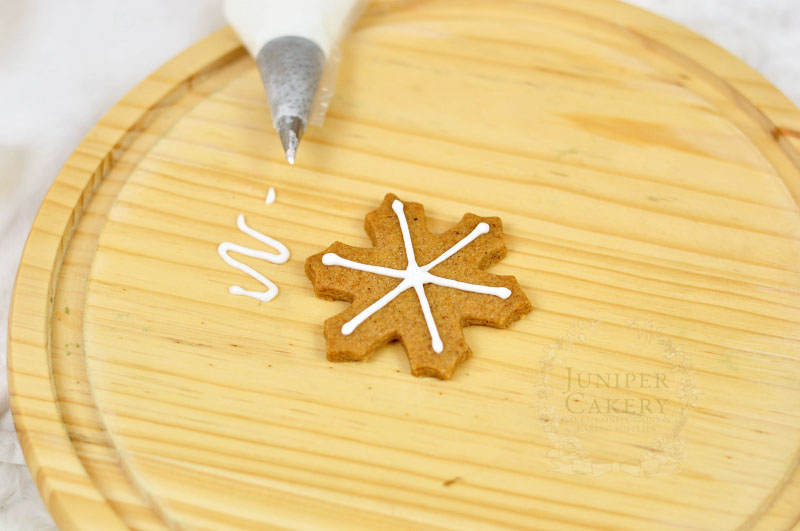
How to pipe snowflake cookies by Juniper Cakery

Tutorial for piping snowflake cookies for Christmas by Juniper Cakery

Step 2:

Beginning in the very centre of your cookie carefully pipe lines out to the tip. Make sure that you don’t touch the cookie with the royal icing the entire time. You want to start by touching the cookie and lightly piping out a little icing before lifting the royal icing and bag off the cookie. Keep pressingly and piping icing out but move above the cookie so that the icing falls tidily onto the surface!
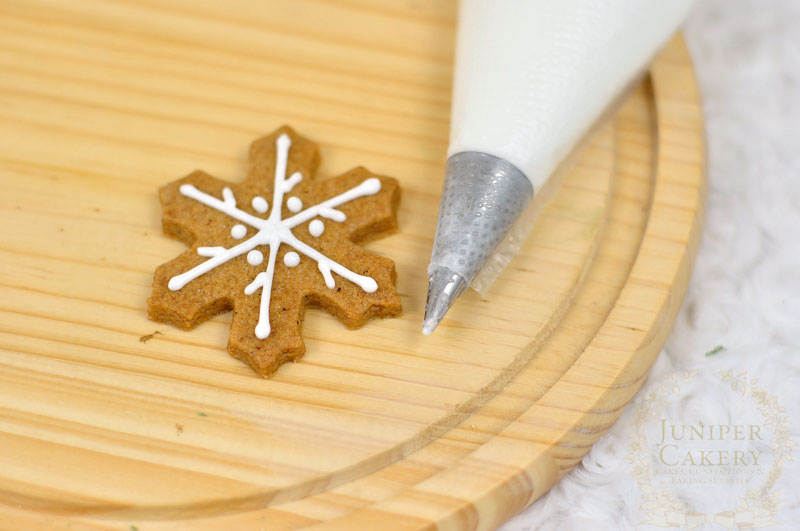
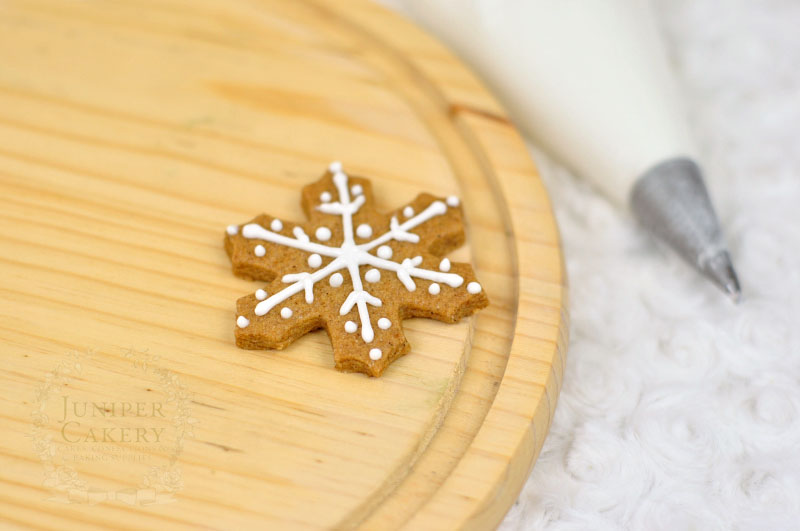
Piping snowflake cookies by Juniper Cakery

How to decorate snowflake cookies by Juniper Cakery

Step 3:

Add smaller details in by lightly piping out small dots, lines and teardrops around the edges of the snowflake!

Step 4: 

To add a little sparkle sprinkle granulated sugar over the still wet royal icing. If you’d like a more shimmery look wait until your icing is full dry (this make take from 4-6 hours) and carefully dust the icing with white lustre dust.
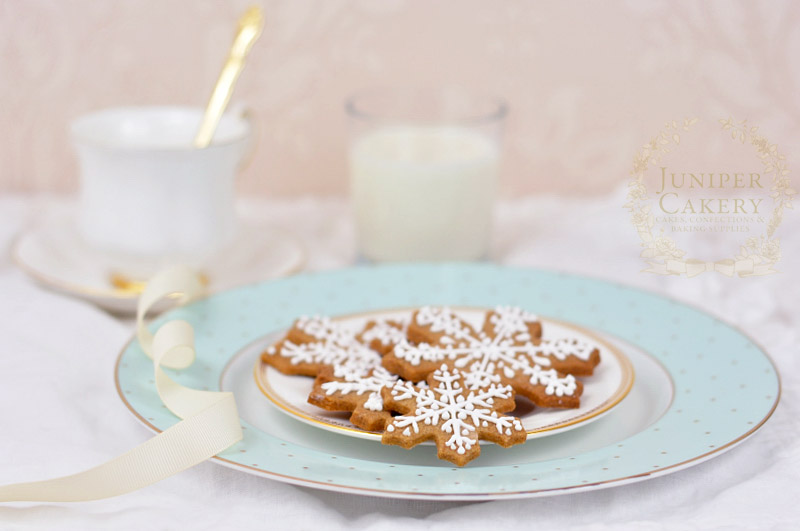
Recipe for festive gingerbread snowflake cookies by Juniper Cakery

You should now be left with a plate full of incredibly cosy and festive looking snowflake cookies (that’s if you’ve not eaten them all…). We’ve bagged up ours to give away as extra little gifts this Christmas (sugar cookies generally last around 4-6 weeks depending on humidity) with gold ribbon and pretty gift tags! We’ve even baked extra spiced sugar cookies featuring small ribbon holes punched into the tops so that we can add then to the Christmas tree later on!


All photographs, designs (including all baked and decorated goods), tutorials and written content belong to and are copyright to Juniper Cakery unless otherwise stated. Please do not copy! Copying and re-publishing our work without our permission or claiming it as your own work could lead to legal action from us. If you wish to feature our work do contact us for permission.

Chocolate Cookies and Cream Cake!

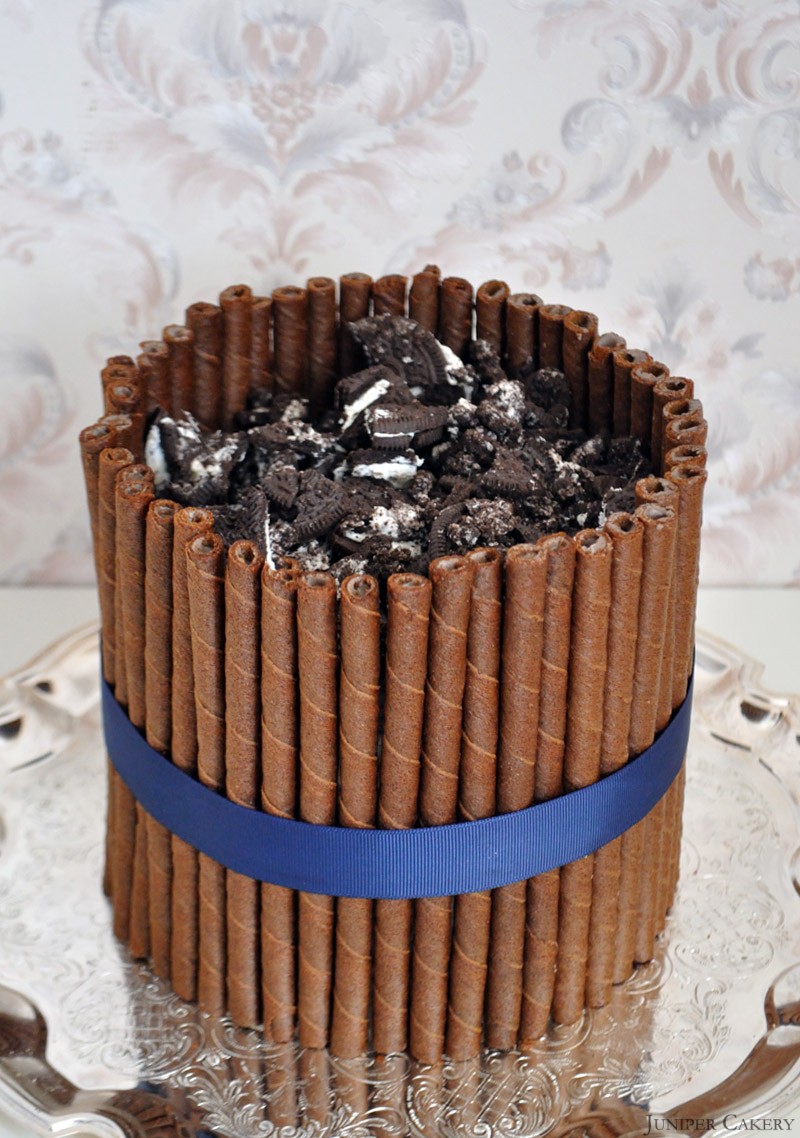
We love Cookies ‘N’ Cream! It’s got everything your taste buds need for a fun filled party… chocolate… cookie crumble… whipped buttercream… and the finest vanilla pod seeds! This weekend we created a lovely Cookies ‘N’ Cream cake. It went down a treat to say the least. Why not give our recipe below a try for a delicious delight fit for any party?

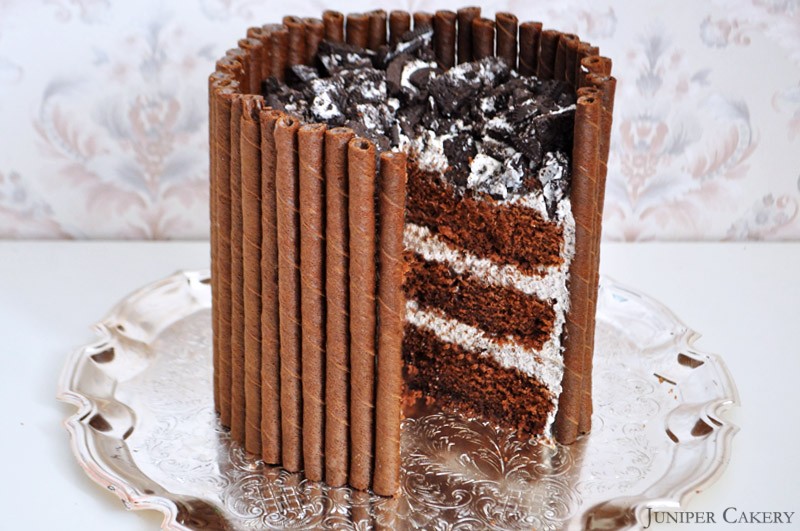
Chocolate Cookies and Cream Cake

Chocolate Cookies and Cream Cake

Chocolate Cookies and Cream Cake

Basic Chocolate Cake Recipe (makes approx. 3 x 9″ layers)

453g self-raising flour
453g butter
453g caster sugar
8-10 heaped tablespoons of cocoa powder (depending on brand)
10 eggs
vanilla bourbon pod

Step one: Preheat your oven to Gas Mark 3/325F/170C

Step two: Cream the butter with sugar and once well mixed add in the flour, vanilla bourbon pod seeds, cocoa powder and then the eggs.

Step three: Fill your 9″ cake pans 1/4 full.

Step four: Bake for around 30-45 minutes or until done.

Chocolate Cookies and Cream Cake

Cookies ‘n’ Cream Buttercream

750g butter
800-950g icing sugar
vanilla bourbon pods
Cookies ‘n’ Cream Crunch Sprinkles by Wilton
Chocolate cigarillos
Large broken cookie pieces

Step one: Cut your butter into small cubes and cream your butter until soft.

Step two: Gradually add icing sugar until a good consistency.

Step three: Add the seeds from your 3 vanilla bourbon pods along with around 3 heaped teaspoons of Cookies ‘n’ Cream Crunch Sprinkles by Wilton. Mix well. TIP: Add your Cookies ‘n’ Cream Crunch Sprinkles by Wilton at the last possible moment to avoid getting a grey buttercream. You want lovely flecks of cookie in your frosting!

Step four: Put together your layers by filled with your delicious cookies and cream buttercream.

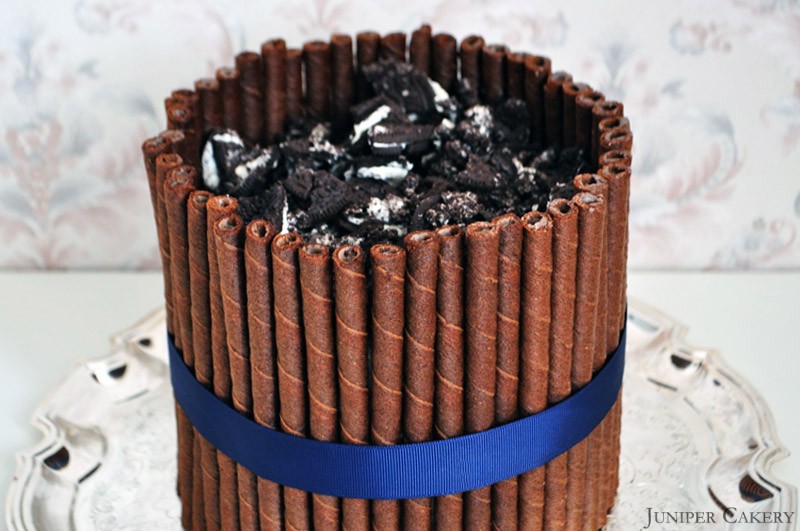
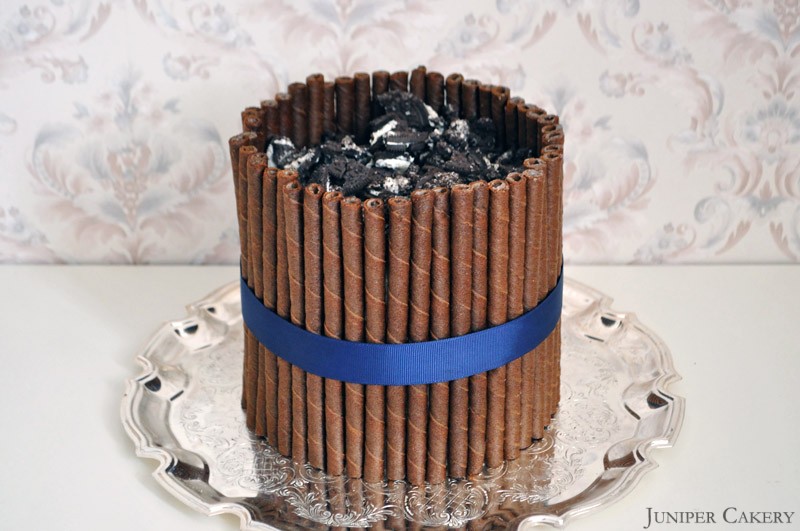
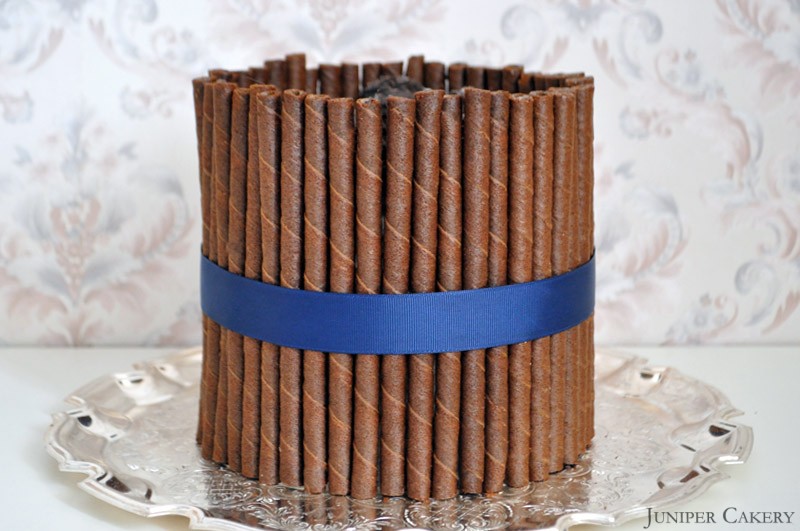
Step five: Smother your sandwiched chocolate cake with the remaining cookies and cream buttercream and decorate with your chocolate cigarillos.

Step six: To finish topple lots of broken cookie pieces on top of your cake and… enjoy!

Chocolate Cookies and Cream Cake


All photographs, designs (including all baked and decorated goods), tutorials and written content belong to and are copyright to Juniper Cakery unless otherwise stated. Please do not copy! Copying and re-publishing our work without our permission or claiming it as your own work could lead to legal action from us. If you wish to feature our work do contact us for permission.
Recipe: Cookies ‘n’ Cream Cupcakes!

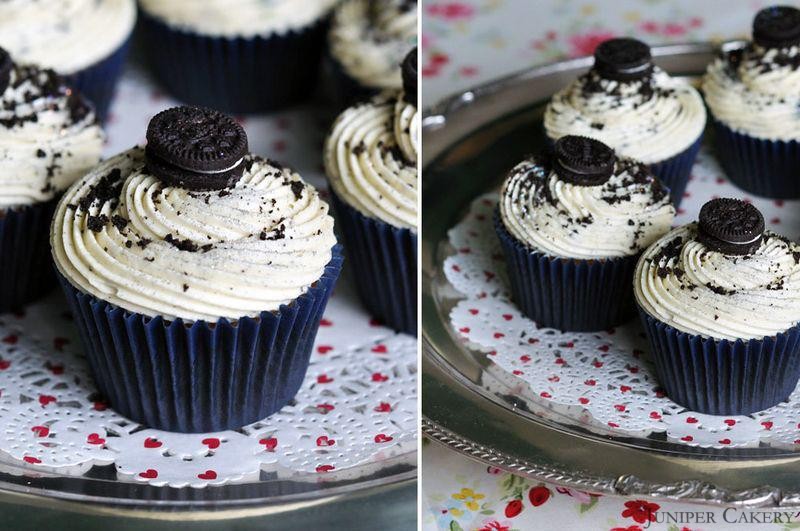
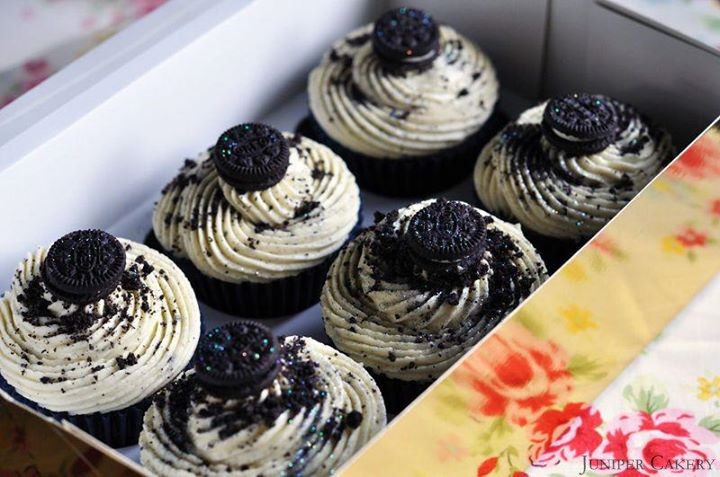
Cookies ‘N’ Cream is our favourite flavour! It’s a soft chocolate cake swirled with a cookie and bourbon vanilla pod infused buttercream then finished with more crunchy cookie crumbles! Sound good? If so then why not give our recipe below a try and enjoy them yourself!

Recipe: Cookies and Cream Cupcakes

Basic Chocolate Cupcake Recipe (makes approx. 12)

226g self-raising flour
226g butter
226g caster sugar
4-5 heaped tablespoons of cocoa powder (depending on brand)
4-5 eggs
60ml canola or rapeseed oil
1 vanilla bourbon pod
Cupcake cases

Step one: Preheat your oven to Gas Mark 3/325F/170C

Step two: Cream the butter with sugar and once well mixed add in the flour, vanilla bourbon pod seeds, cocoa powder, oil and then the eggs.

Step three: Set out your cupcake cases in your pan and fill each case 2/3 full.

Step four: Bake from around 12-18 minutes then leave to cool on a counter. Remember to try not to eat them!

Recipe: Cookies and Cream Cupcakes

Cookies ‘n’ Cream Buttercream

250g butter
250-350g icing sugar
vanilla bourbon pods
Piping bags
868 piping tip 
Cookies ‘n’ Cream Crunch Sprinkles by Wilton

Step one: Cut your butter into small cubes and cream your butter until soft.

Step two: Gradually add icing sugar until a good consistency.

Step three: Add the seeds from your 3 vanilla bourbon pods along with around 3 heaped teaspoons of Cookies ‘n’ Cream Crunch Sprinkles by Wilton. Mix well. TIP: Add your Cookies ‘n’ Cream Crunch Sprinkles by Wilton at the last possible moment to avoid getting a grey buttercream. You want lovely flecks of cookie in your frosting!

Step four: Scoop your delicious buttercream into a piping bag fitted with an 868 piping tip (if you’d like to create the linear swirl we’ve piped). Pipe a generous swirl of frosting atop your cupcakes and sprinkle with Cookies ‘n’ Cream Crunch Sprinkles by Wilton!

Recipe: Cookies and Cream Cupcakes

These cupcakes are an instant crowd pleaser. By adding real and good quality vanilla bourbon pods to your cookies ‘n’ cream buttercream you get a gorgeous ice cream-like flavour to your frosting. Once these cupcakes are ready to eat save yourself a few because they will suddenly disappear!


All photographs, designs (including all baked and decorated goods), tutorials and written content belong to and are copyright to Juniper Cakery unless otherwise stated. Please do not copy! Copying and re-publishing our work without our permission or claiming it as your own work could lead to legal action from us. If you wish to feature our work do contact us for permission.
National Cupcake Week tutorial: How to pipe cupcakes!

Pipecakes

To celebrate our launch and National Cupcake Week we decided to feature decorating tutorials from Monday to Friday instead of our usual weekly ‘Tutorial Tuesday’. What better way to begin than with how to pipe cupcakes! We have used dummy cakes in this tutorial to demonstrate which we recommend for practice purposes.

What you need:
A batch of cooled down dummies (or dummy cakes)
Buttercream
A Spatula
Our ‘Cupcake Kit’ OR…
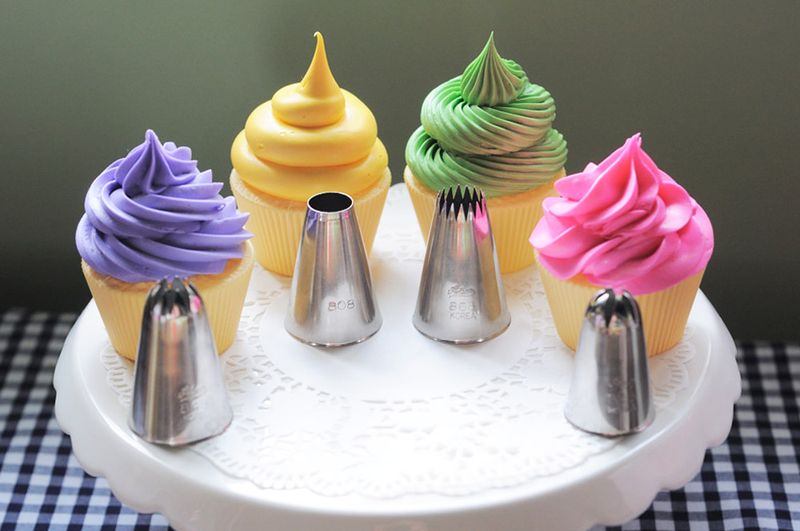
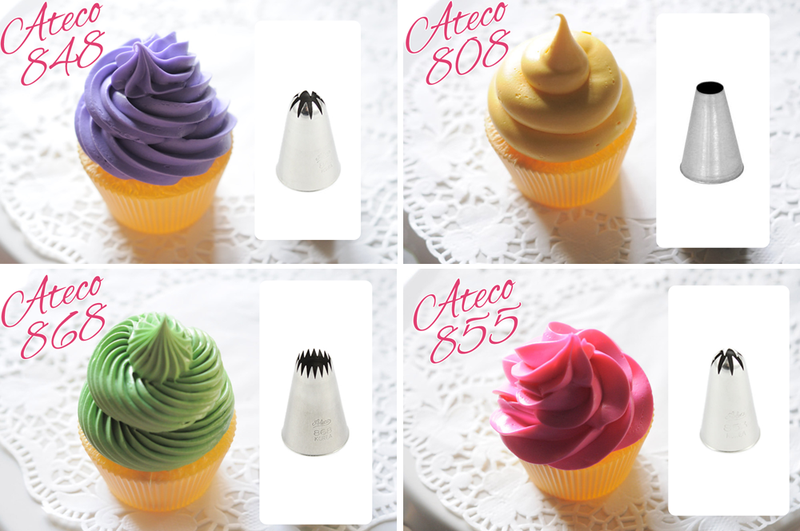
- The following tips bt Ateco 848, 808, 868 and 855
- Disposable piping bags
- Sprinkles or cake glitter

Pipefirstlayer

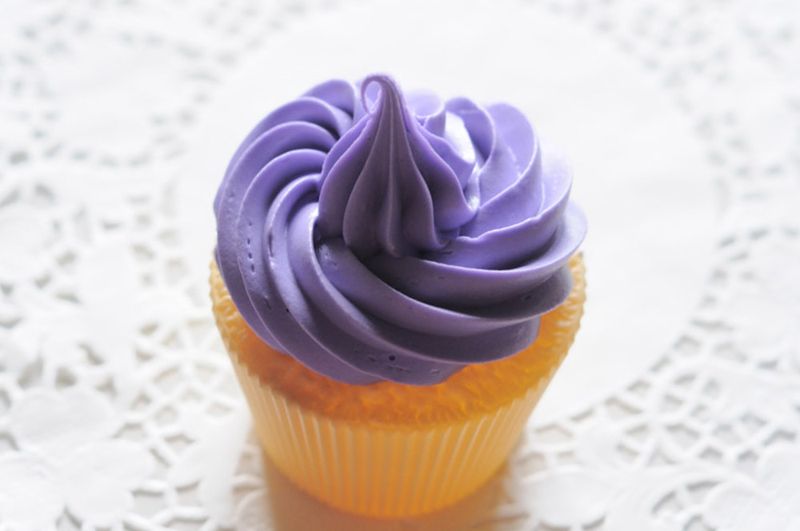
Step one: To pipe a cupcake choose your desired tip (we have featured examples of four classic cupcake swirls below using the Ateco 848, 808, 868 and 855). A technique we continue to find useful is to pipe your cupcake in two seperate steps. The first step of this technique is to swirl a bottom layer directly onto your cupcake to form a base stopping when you have a ‘peak’ in the middle (as shown above).

Alltips

Step two: Using the ‘peak’ you created as a guideline begin to pipe the second layer of your frosting. Reducing the size create a similar swirl atop of the one you did in the first step (as seen in the pictures above). Not only does this add hight, now you have a beautifully decorated cupcake!

Please note: If placing your cupcakes in a box the added hight may need to be considered.

Untitled-1

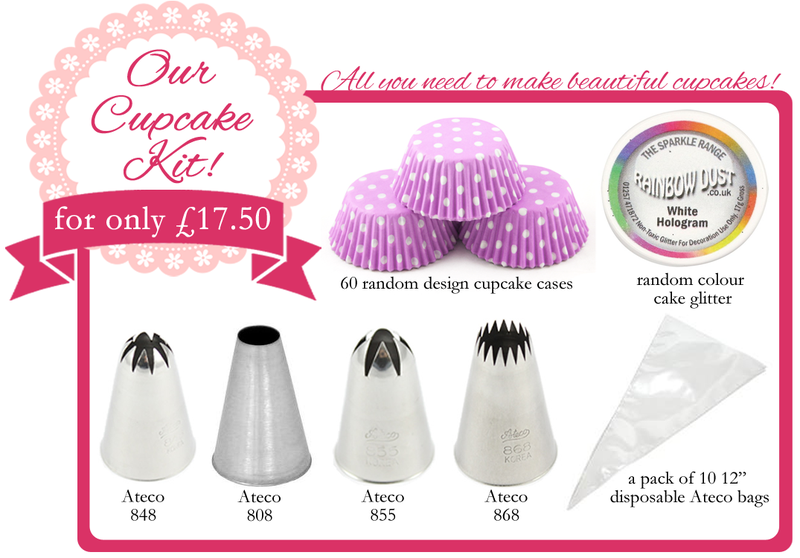
We have compiled a ‘Cupcake Kit’ for anyone interested in cupcake decorating. Featured in our kit is 60 random design cupcake cases, a pot of Rainbow Dust cake glitter chosen at random, the four Ateco tips demonstrated above and a pack of 10 12″ Ateco disposable decorating bags all for only £17.50! This kit is perfect for both beginners and professionals alike and, of course, for those who would like to celebrate National Cupcake Week.

Newcompetitionimg

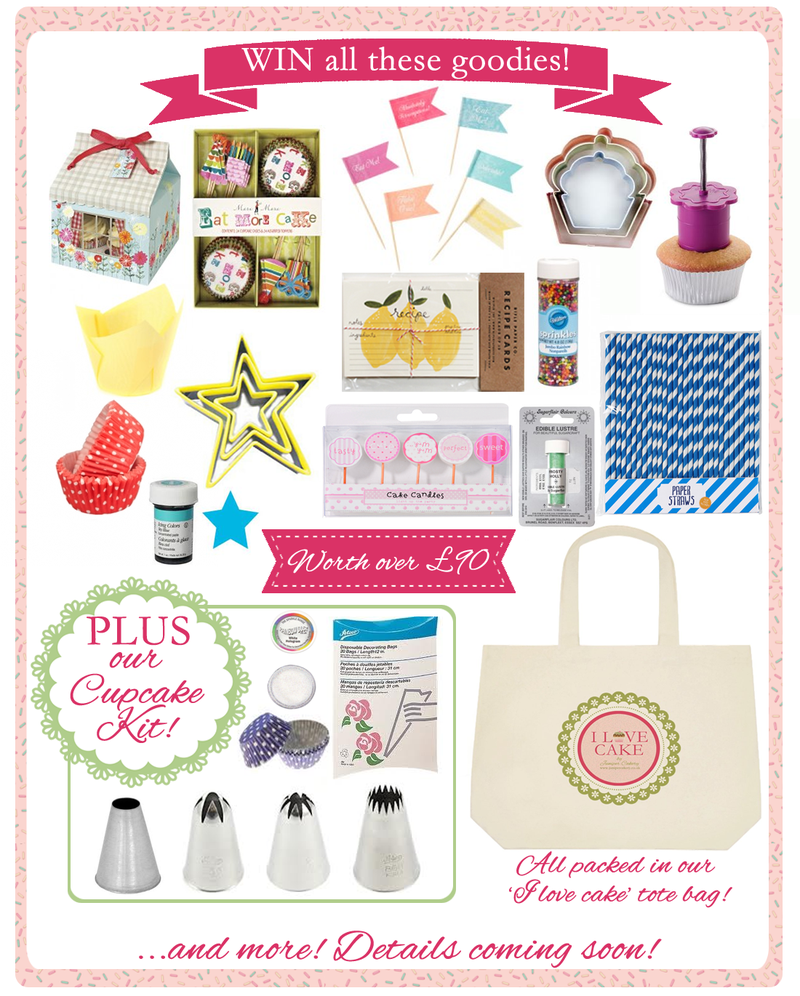
Enter our competition by liking us on Facebook (if you haven’t already) and commenting/sharing


All photographs, designs (including all baked and decorated goods), tutorials and written content belong to and are copyright to Juniper Cakery unless otherwise stated. Please do not copy! Copying and re-publishing our work without our permission or claiming it as your own work could lead to legal action from us. If you wish to feature our work do contact us for permission.
‘Tutorial Tuesday': How to make your own sprinkles!

What you will need:

256g of icing/confectioner's sugar
1 egg white
1 tablespoon of room temperature water
colourings and flavourings (We recommend flavourings by Foodie Flavours and colourings by Americolor or Squires Kitchen)
Parchment paper
Piping bags fitted with small writing tips (We recommend Wilton round tips 3-6

Step one: Combine all of the ingredients (except the colourings and flavourings) together in a large bowl. The mixture will become thick and sticky so be prepared for a little work.

Step two: Now you can add whatever colour or flavour you wish to the mixture.

Step three: If you require multiple colours divide the mixture into separate bowls.

Step four: Fill your piping bag(s) with your sprinkle mixture and pipe long lines or dots onto a flat surface with parchment paper. Note: If you make dots they will end up having the shape of chocolate chips.

Step five: Leave to dry out for 24 hours (This is essential!) and then you can chop them up using a spatula. 

Step six: Now sprinkle onto your baked goods and enjoy!


All photographs, designs (including all baked and decorated goods), tutorials and written content belong to and are copyright to Juniper Cakery unless otherwise stated. Please do not copy! Copying and re-publishing our work without our permission or claiming it as your own work could lead to legal action from us. If you wish to feature our work do contact us for permission.