The 3 Bunnies of Easter Cupcakes!

Easter is finally here and for a little bit of fun (yes, on a holiday AND on our time off) we decided to put together some rather fun little cupcakes that suit the occasion particularly well we think. Our design ideas for these furry nice bunnies was the process throughout the Easter holidays (or any holiday season for that matter). Our hot cross bun baking bunny begins the holiday season with the best of intentions; full of festive spirit and raring to whip up everything from scratch! The second bunny is overwhelmed with Easter and buried underneath a myriad of carrots. Finally, our third bunny rabbit has just given in to the gluttony of modern day Easter celebrations; chocolate, chocolate and more chocolate!

Funny Easter Bunny Cupcake Toppers by Juniper Cakery

Each cupcake is flavoured to match its decoration. The hot cross bun baking bunny is a delicious apple and sultana cupcake, the carrot overload bunny is a spiced carrot and orange cupcake and the chocolate chomping bunny rabbit features a vanilla cupcake with chocolate chips and a chocolate ganache filling. All are then topped with vanilla buttercream and fondant icing. Just because we’re ever so generous we’ve included our recipe for each flavour with this post!
Cute Easter Bunny Cupcake Toppers by Juniper Cakery

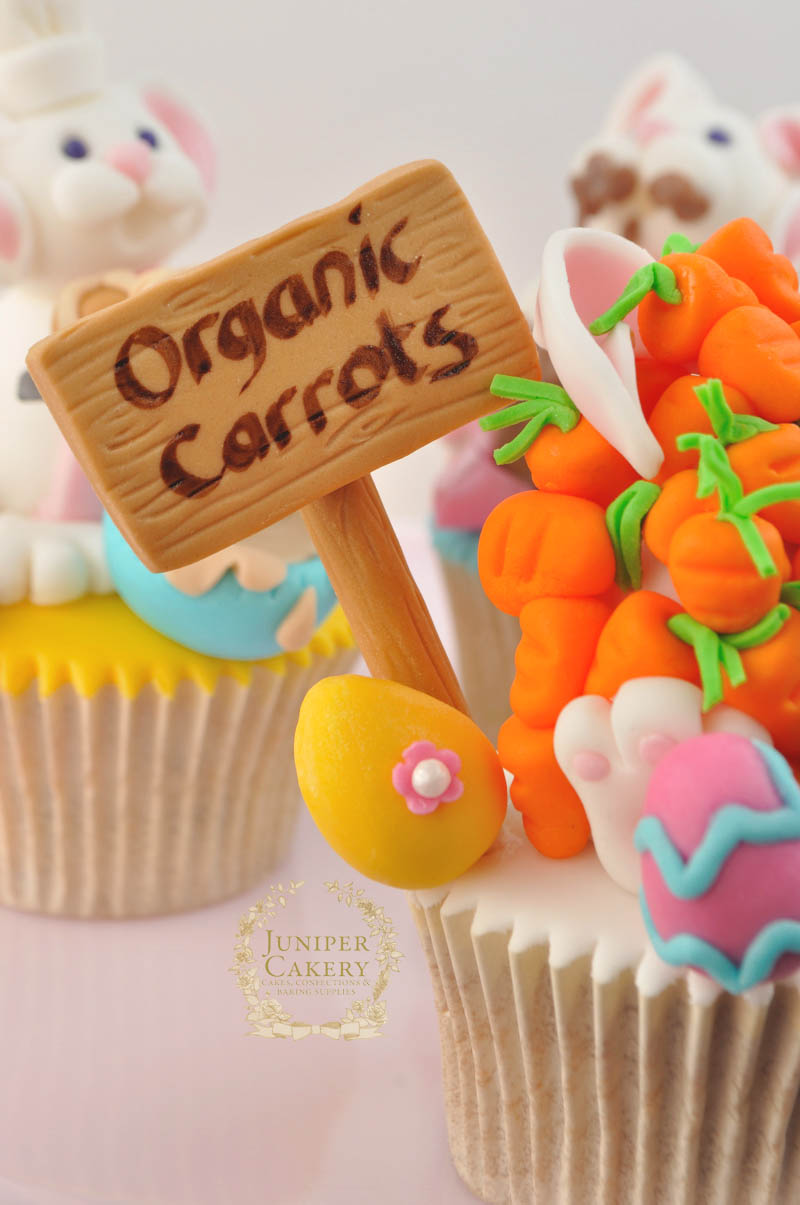
We added a fun ‘organic carrots’ signpost to our ‘overwhelmed’ bunny cupcake along with lots of bright Easter eggs!
Adorable Easter Bunny Cupcakes and Toppers by Juniper Cakery

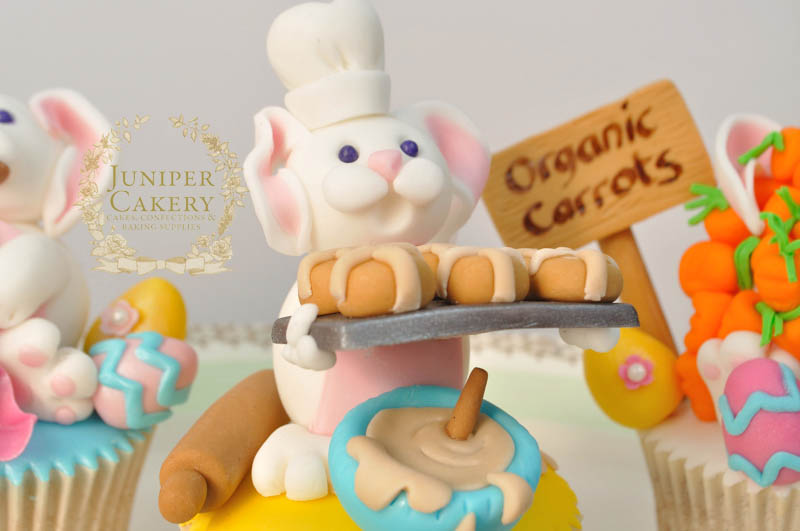
Our adorable little chef bunny was certainly busy in the kitchen with its rolling pin, batter splattered floor, mixing bowl and tray full of freshly baked hot cross buns.
Easter bunny and carrots cupcake by Juniper Cakery

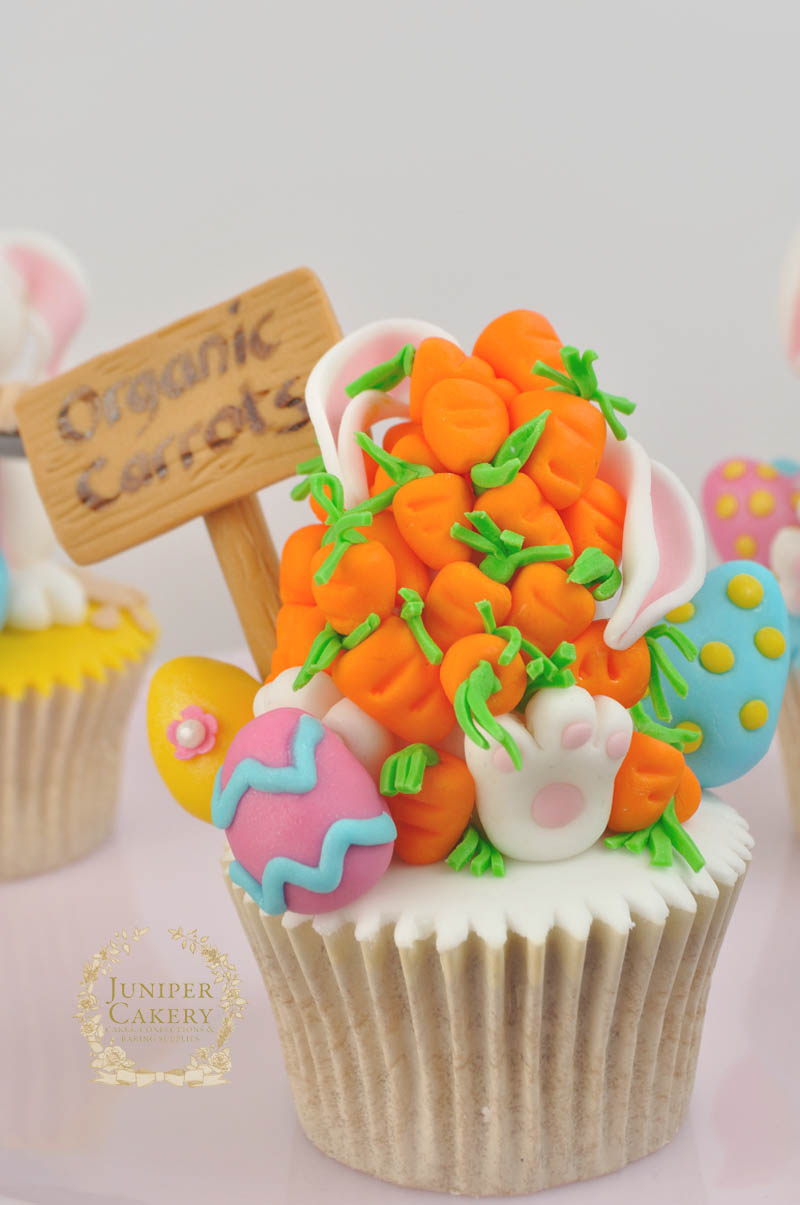
Here’s our overwhelmed bunny cupcake.We often feel like the above bunny rabbit most of the time. The cupcake itself is a delicious spiced carrot and orange cake.
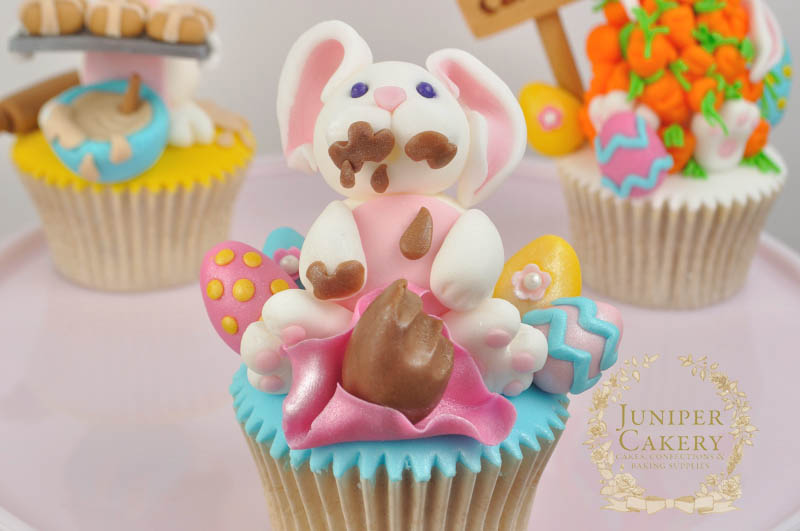
Cute Easter Bunny with Chocolate Eggs Cupcake by Juniper Cakery

Here’s our chocolate overload bunny who has found themselves amidst a plethora of tasty chocolate Easter eggs! We added a little lustre dust to the eggs and wrapper to create a shimmery metallic look. The cupcake flavour for this was vanilla with chocolate chips with a lovely chocolate ganache filling.
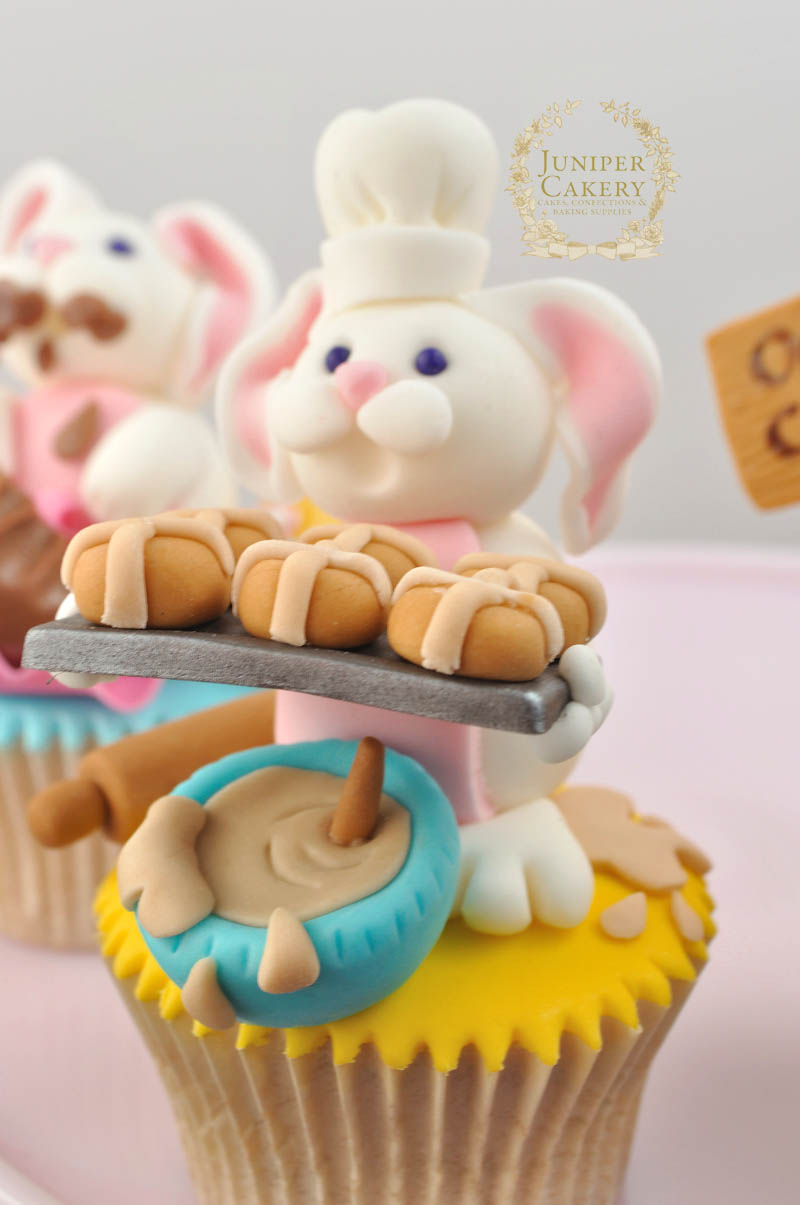
Easter Hot Cross Bunny Cupcake by Juniper Cakery

Mmm… hot cross buns. For this cupcake we mimicked our favourite hot cross bun flavour and created an apple and sultana cupcake with a hint of nutmeg and cinnamon!

We’ve also submitted all three of these funny Easter bunny cupcakes to The Pink Whisk’s Easter Makes & Bakes Competition and placed second!

”Prize


Fun Easter Bunny Cupcakes by Juniper Cakery

We hope you all enjoy a fun-filled Easter weekend and that you find yourself more like the baking or chocolate bunnies we created rather than the poor stressed-out little carrot buried rabbit! Hoppy Easter!



Need to Know How to Achieve a Gorgeous Vintage Colour Palette?

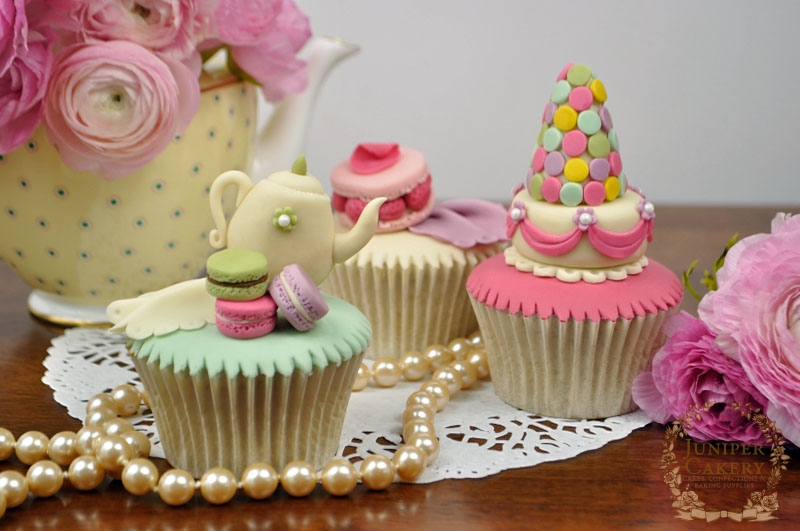
We’ve some exciting news to share! We’re now writing over at Craftsy’s blog as well as here at our humble online abode. We’ll be talking about cakes (of course) and sharing lots of fun cake decorating tricks and tutorials! For our second Craftsy blog post we’re offering up some handy tips on tinting fondant and how to create a beautiful vintage colour palette. We even created the Parisan Macarons / Salon de Thé cupcakes below to help illustrate just how lovely a vintage colour scheme can be!

So, if you’ve a burning need to know how to achieve a gorgeous vintage colour palette then head on over to Craftsy to see our post!

Paris themed cupcake toppers by Juniper Cakery


National Cupcake Week tutorial: How to make sugarpaste doilies and roses!


You will need:

Pink sugarpaste
Cream or white sugarpaste
Green sugarpaste
A small or medium PME leaf plunger cutter
A toothpick
A rolling pin
Some styrofoam 
Edible glue
Some paintbrushes
Ivory or White lustre dust or cake glitter
A crinkle cookie or scone cutter (We recommend Tala's scalloped scone cutter set)


National Cupcake Week tutorial: How to make cupcake toppers!

What you need:

Cocktail sticks/tooth picks
Card (two contrasting patterns/colours)
A button
Ribbon
glue
Tape 
Hole punch 
Scissors 

Step one: Cut the card into two circles ensuring one is larger than the other. Using the glue stick the smaller circle in the centre of the larger circle. 

Step two: Pierce two holes in the middle of the small circle once it is securly glued to the larger of the two using the hole punch. Once the hole is made use a needle or a cocktail stick to push the ribbon through both circles, from the back. Once both ends of the ribbon have been pushed through the holes made with the hole punch thread the ribbon through the button, one hole at a time. 

Note: If this becomes tricky try cutting your ribbon so it tapers at each end thus making it easier to thread.


Step three: Once the ribbon is in place secure it by tying a bow in the centre of the button and cupcake topper.

Step four: Now flip your cupcake topper over. On the back will be a 'loop' where the ribbon was pushed through. Carefully slot one end of the cocktail stick through that loop and apply a small amount of tape over it to secure it futher.

Now you have a very simple but elegant cupcake topper to adorn your baked goods!


×