Browsing Tag

cupcake

29th October 2017 // 0 Comments

Halloween Tutorial: Trick or Treat Cupcake!

Halloween cupcake tutorial by Juniper Cakery

Halloween always kickstarts the party season for us. It’s too exciting! Today we have a super cute tutorial for anyone hoping to make a last minute treat… a sprinkle stuffed (with sprinkles by Fancy Sprinkles of course) pink trick or treat pumpkin (totally inspired by this snap of goodies on the Benefit Cosmetics US instagram). It’s perfect for cupcakes. We added our’s to a purple star-studded fondant iced cupcake, but they’d look amazing nestled into buttercream too! Check out our Halloween cupcake tutorial below!

Halloween cupcake tutorial from Juniper Cakery

Halloween cupcake tutorial!

Materials and tools needed…

Fun Halloween cupcake

Step 01:

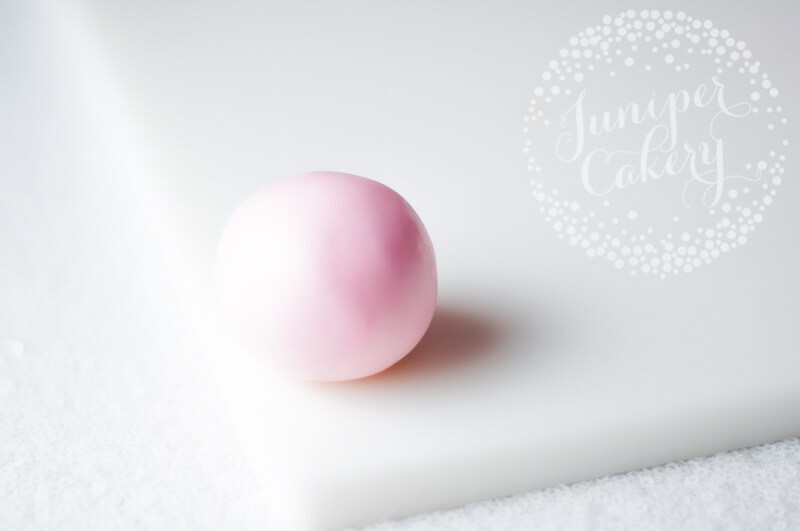
Take your pale pink fondant (or modelling paste) and roll into a smooth medium (approximately the size of a gold ball) ball. Make sure there are no cracks, unmixed colour or dry patches in your ball shape.

Fun Halloween cupcake idea

Step 02:

Form into a pumpkin pail shape by flattening the top slightly. Then use your ball tool to create a well where your sprinkles will sit. Remember that you are going to be adding a face to the front of your little pumpkin so leave a couple of gaps. This is so you can stick on the eyes and mouth!

Step 03:

Take your veining tool and gently scour lines along the sides of your pink pumpkin.

How t make a fondant jack o'lantern

Step 04:

The next step in this Halloween cupcake tutorial? Roll out some black fondant. Then using your blade tool cut out some cool facial features. You can also cut out a smile by using the bottom end of a piping tip before cutting the circle in half and cutting away any teeth shapes. We also used a tiny star plunger cutter for one eye (which inadvertently gave our pumpkin a bit of a glam rock look).

Step 05:

Add a little glitz by dusting your pumpkin’s facial features with some black edible lustre using a fluffy food safe brush!
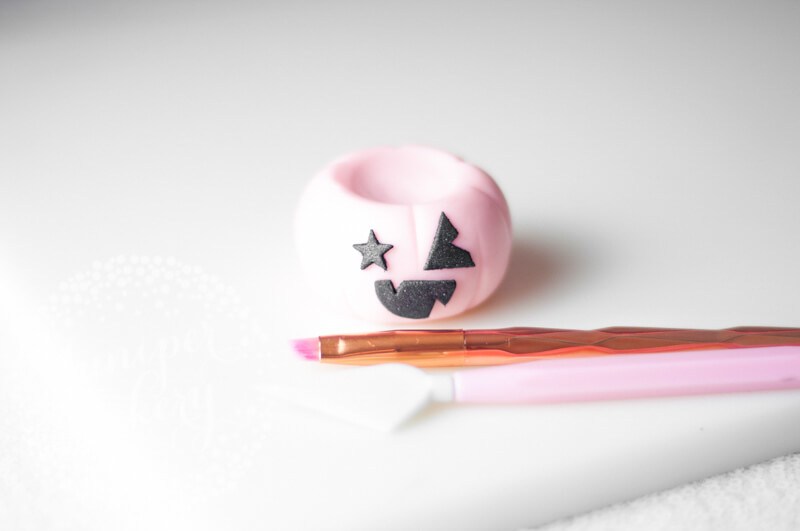
Make this cute Halloween cupcake by Juniper Cakery

Step 06:

Attach your pumpkin’s mouth and eyes using a little edible glue and leave to set. Remember to not add too much glue. You’ll only need a tiny dab. Too much glue will create a bit of a mess and may lead to your fondant piece sliding out of place.

Easy Halloween cupcake tutorial by Juniper Cakery

Step 07:

Now for some extra fun! Add some edible glue to the top of your pink pumpkin. Then you can add some cool sprinkles! we used the ‘Bombshell’ mix from Fancy Sprinkles which are insanely amazing and colourful. We love the golden accents too!

Make this cute Halloween cupcake from Juniper Cakery

Step 08:

Now with your small ball tool indent two holes in either side of your pumpkin. This is for your black fondant handle to sit in.
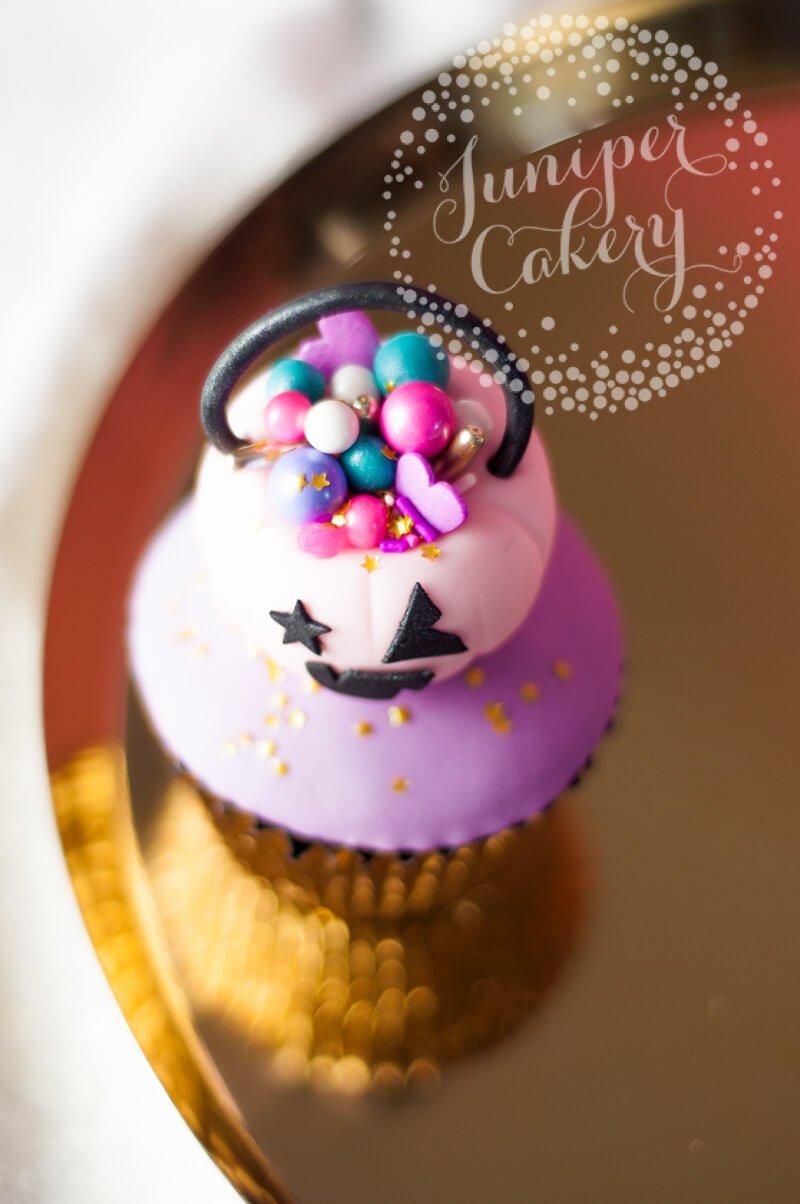
Make this bright Halloween cupcake from Juniper Cakery

Step 09:

Take a small amount of black fondant or modelling paste and roll into a rope-like shape. Dust with edible black lustre. Modelling paste warms up when it’s worked with so it’s best to leave it for around 10-25 minutes. Then gently attach either end into the indentations made in step 08 with a little edible glue. You can hold it in place lightly while it sets with a little bit of scrunched up kitchen towel.

Pink Halloween cupcake tutorial by Juniper Cakery

Yay! Now you’ve got treats a-plenty ready for an amazing Halloween bash! If you’re feeling a little more adventurers how about using these cupcakes as place names? Just pipe or paint each guest’s name on the fondant iced cupcake! You can also core and stuff each cupcake with sprinkles and candy before decorating for an extra surprise!

13th December 2016 // 0 Comments

Tutorial: Stylish Christmas Tree Cupcake!

Easy Christmas tree cupcake idea y Juniper Cakery


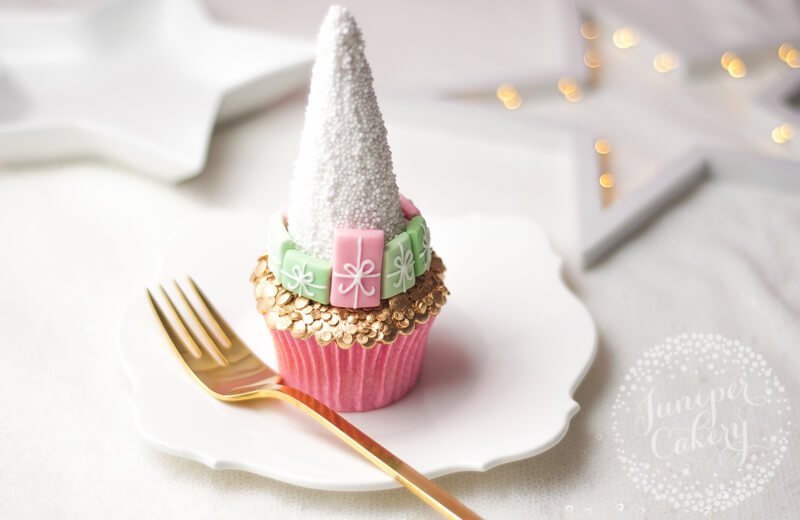
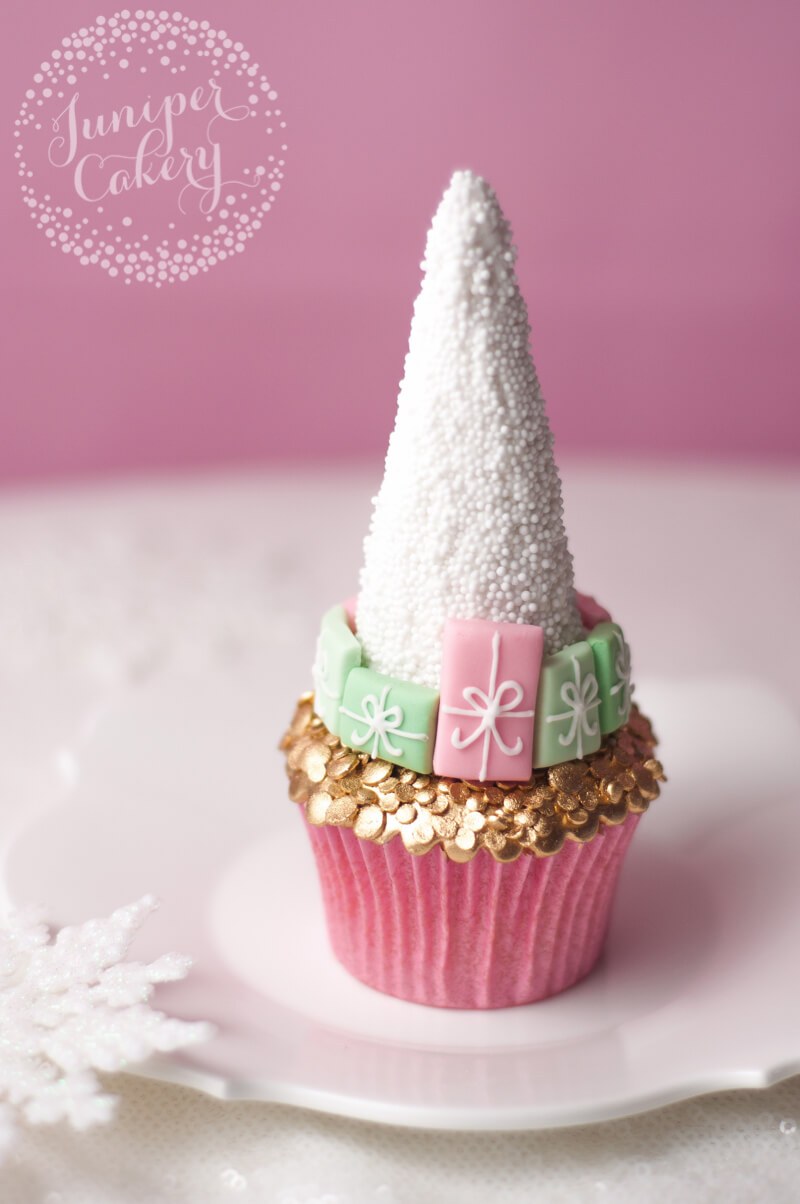
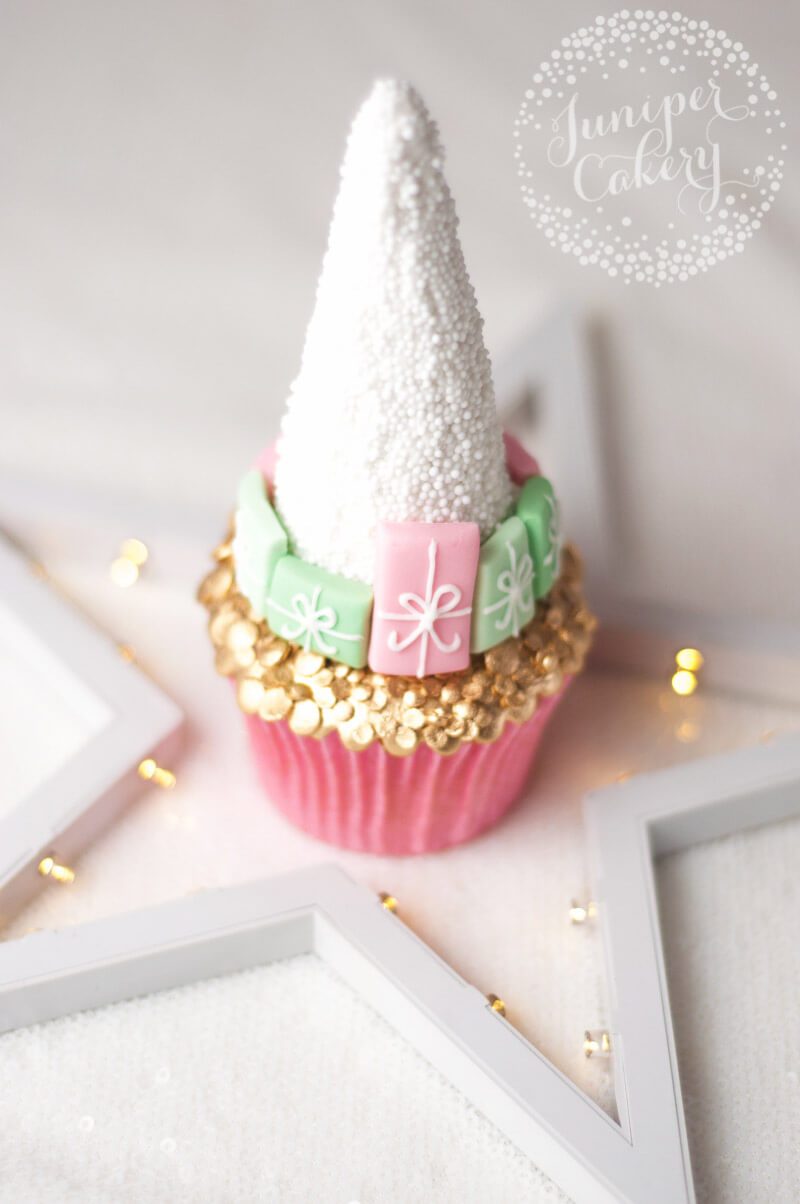
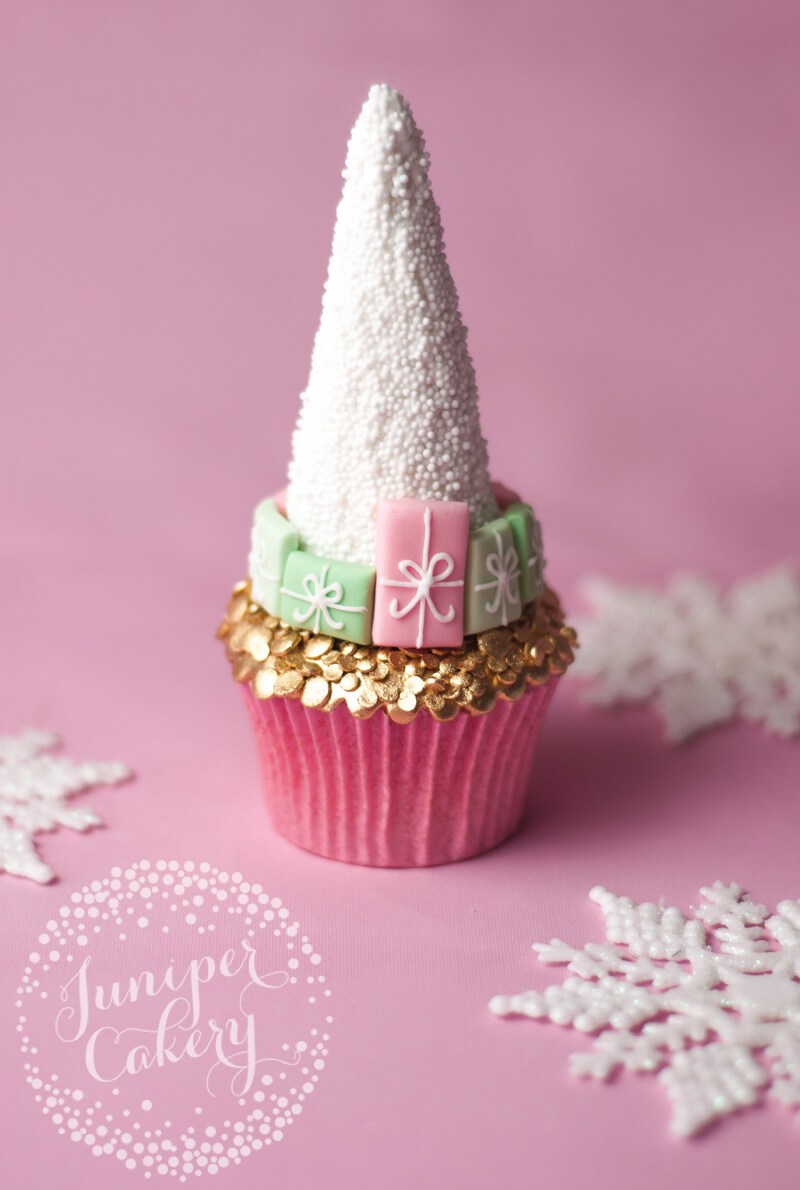
OK so most people already have their Christmas tree up if they’re celebrating, but now it’s time to put some Christmas trees on your freshly baked cupcakes! Last year we created a rustic and more simplified version of this tutorial for the lovely people at Craftsy. This year we’re going glam, gorgeous and loaded with gifts! Who wouldn’t want this chic little cupcake? Keep reading for our stylish Christmas tree cupcake tutorial!

Chic Christmas tree cupcake tutorial by Juniper Cakery

Chic Christmas tree cupcake tutorial from Juniper Cakery

Stylish Christmas tree cupcakes tutorial!

Materials and tools needed…

01: One of the very first things you need to do for this Christmas tree cupcakes tutorial is what we call ‘flat icing’. This just involves covering the tops of your cupcake with a little buttercream and then with some circles of fondant. To do this core your cupcakes and fill them up with fruity preserve or buttercream. Then smooth a little buttercream around the top.

Tip!

We get a lot of comments on how smooth our flat iced cupcakes are. There’s two things we always do to achieve this look. One, we use Satin Ice fondant. Two, we double ice!

Roll out some white fondant or sugar paste to a thickness of around 3mm and cut out a plain circle. Lay this central on top of your cupcake and gently smooth the edges down and around the top.

Now roll out some more fondant and cut a larger scalloped edged circle. Lay this on top of the first layer of fondant and smooth carefully down and over the edge of the cupcake cases.

How to make a Christmas tree cupcake

Christmas cupcake tutorial!

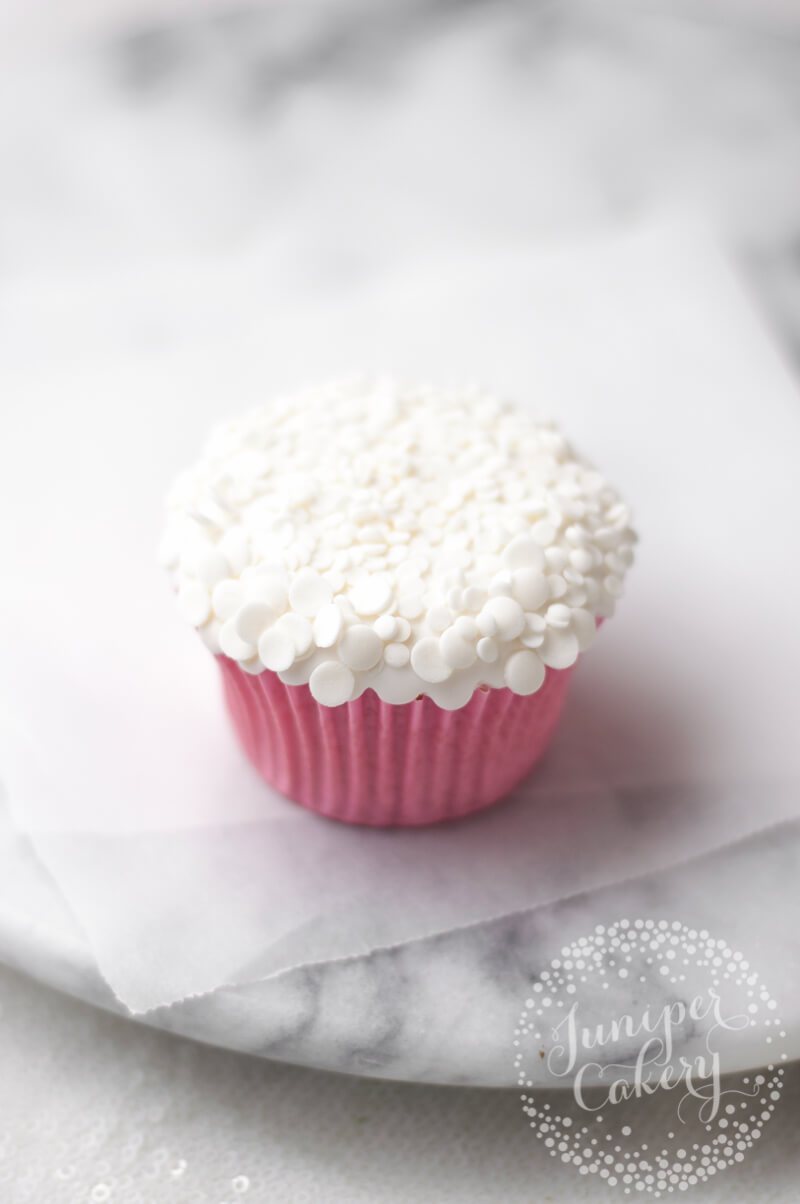
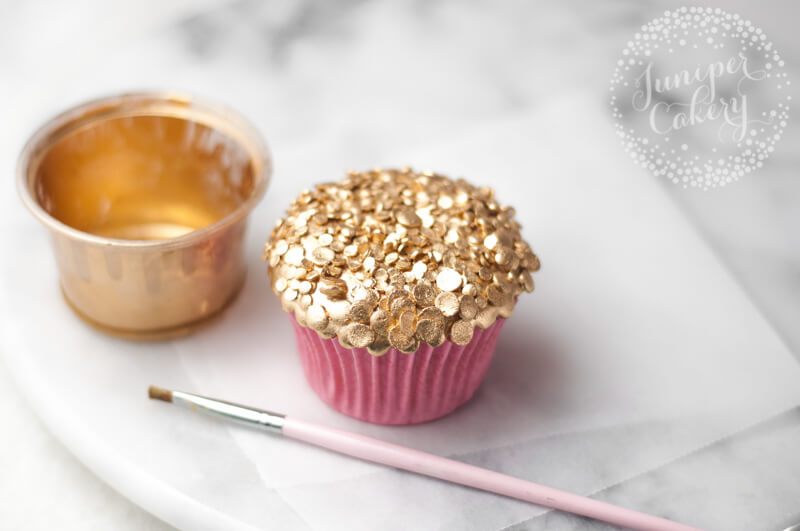
02: For the glam sequin look you need to add confetti sugar sprinkles on top of your iced cupcake. You can attached each individually, but that takes a heck of a lot of time. Instead, spread some edible glue on top of your fondant / sugar paste icing and then dip your cupcake into a bowl or plate full of round flat sprinkles. We like to use a mixture of two different sizes (4mm and 6mm).

How to make a Christmas tree cupcake by Juniper Cakery

03: One of the fun parts is painting the sequins gold. Simply use edible gold paint for this step. You can also leave your sequins as they are if you’ve used white (they’ll look like snow) or you can even paint a subtle white pearl shimmer onto them!

How to make a Christmas tree cupcake from Juniper Cakery


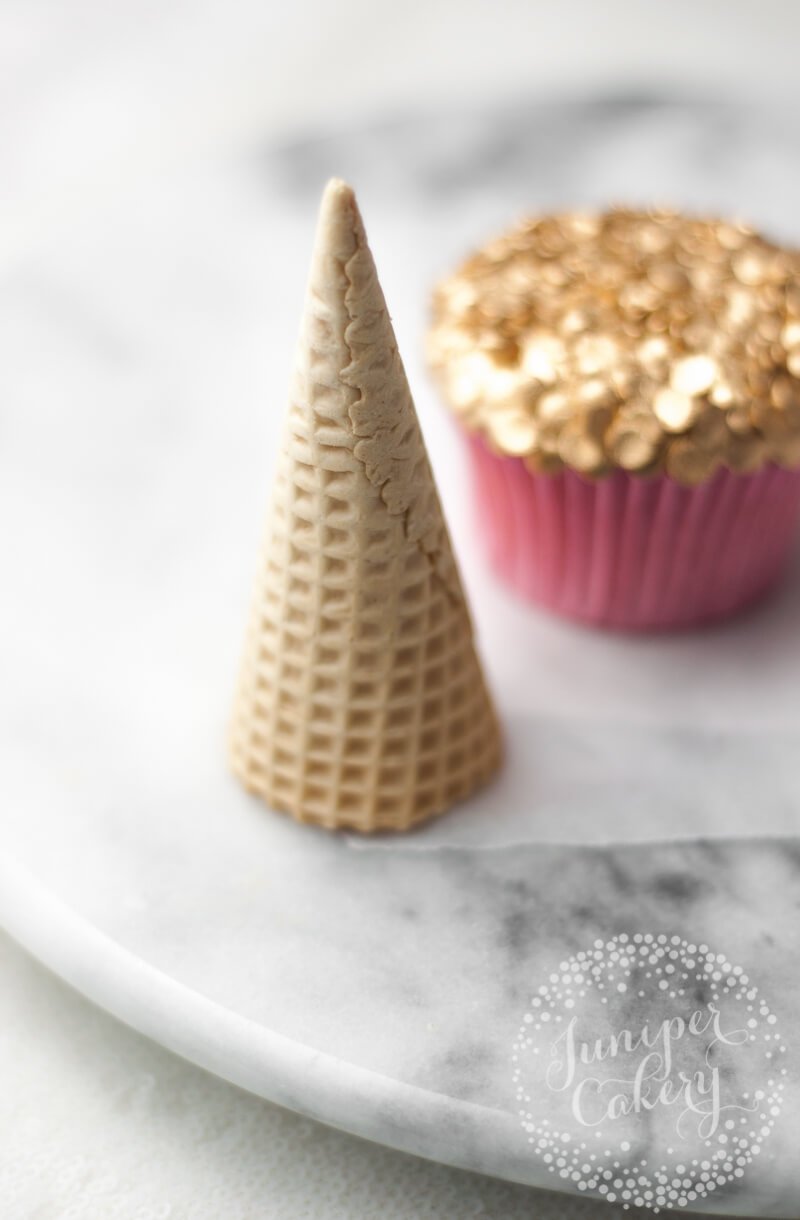
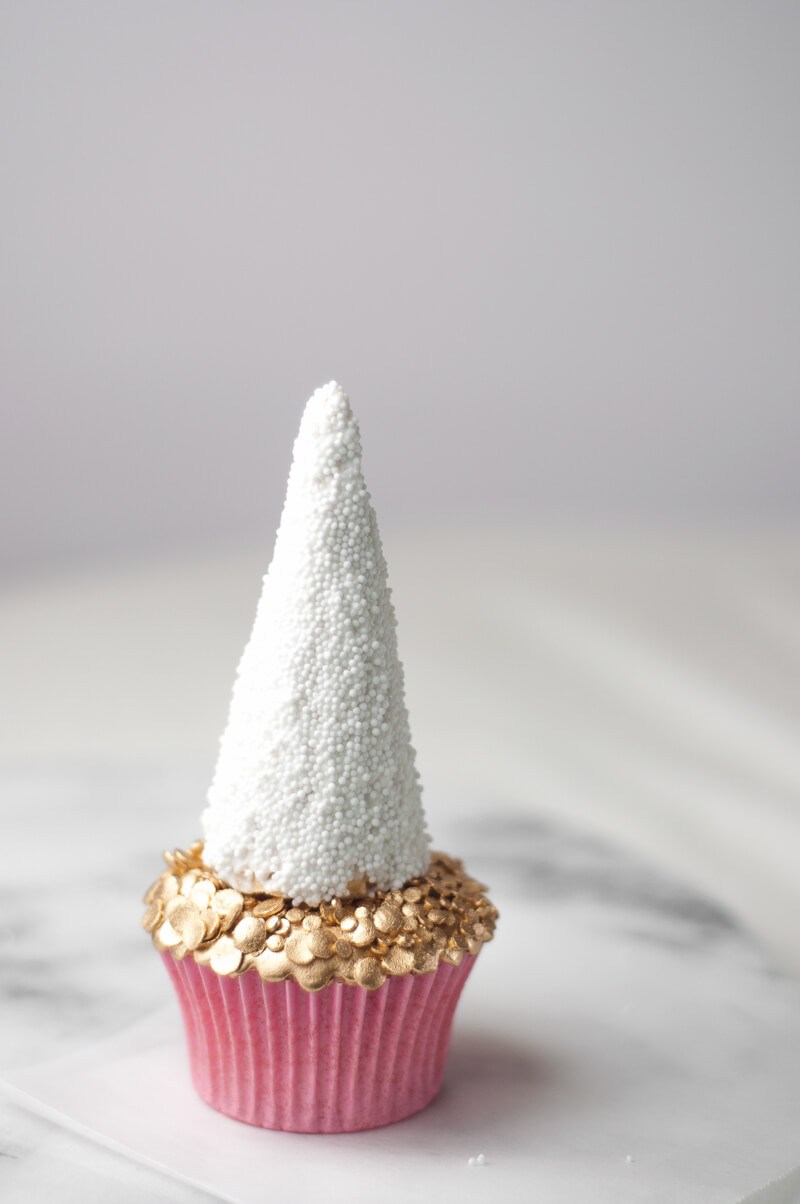
04: Next create your stylish Christmas tree by carefully cutting down a waffle ice cream cone. They can crumble so be gentle.

How to make a stylish Christmas tree cupcake by Juniper Cakery

Make a stylish Christmas tree cupcake by Juniper Cakery

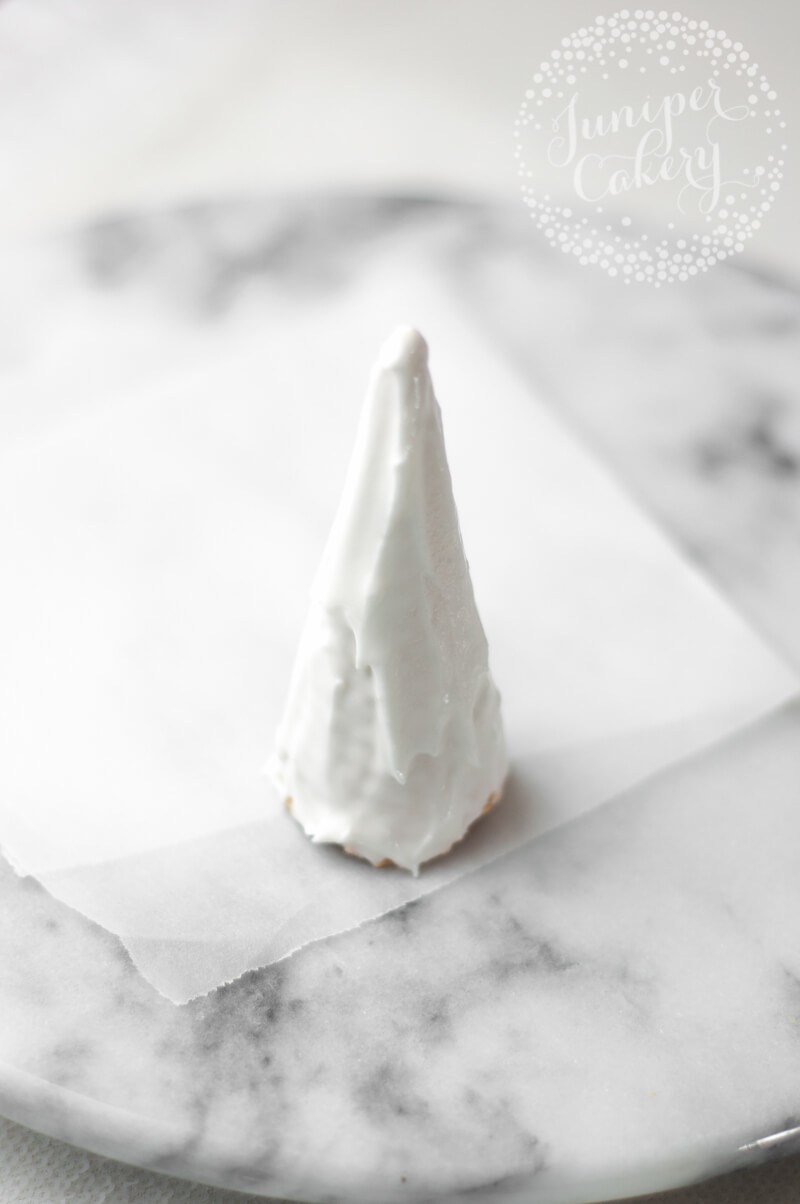
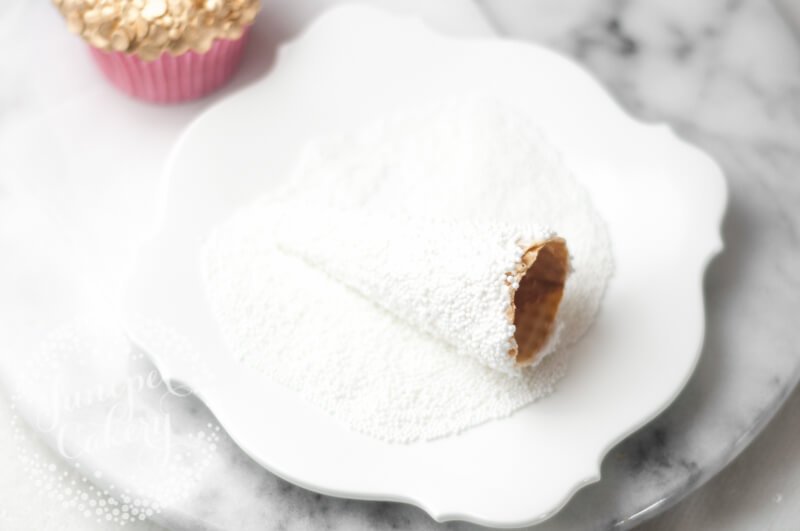
05: Decorate your tree by covering it in either stiff consistency royal icing or white frosting. Then roll it lightly in sprinkles or desiccated coconut for a textured frosty look.

Make a cute Christmas tree cupcake by Juniper Cakery

06: Pipe a little royal icing onto the bottom edge of the cone and attach to your cupcake.

Make a super stylish Christmas tree cupcake by Juniper Cakery


Christmas cupcake decorating!

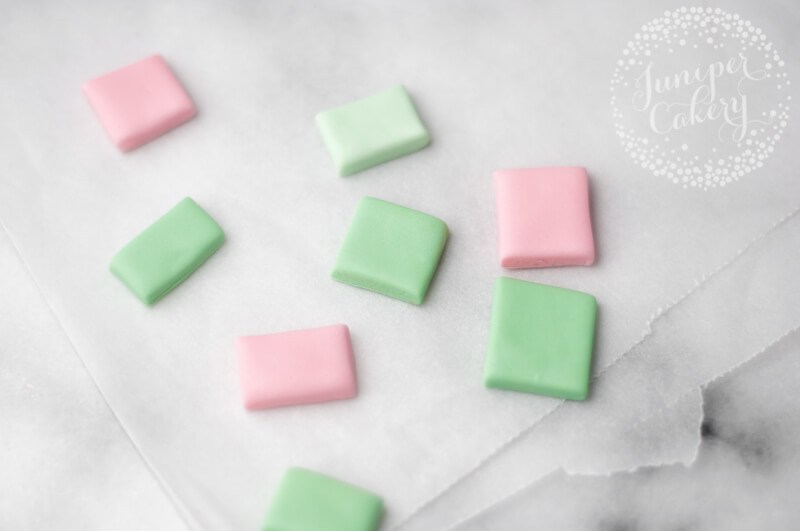
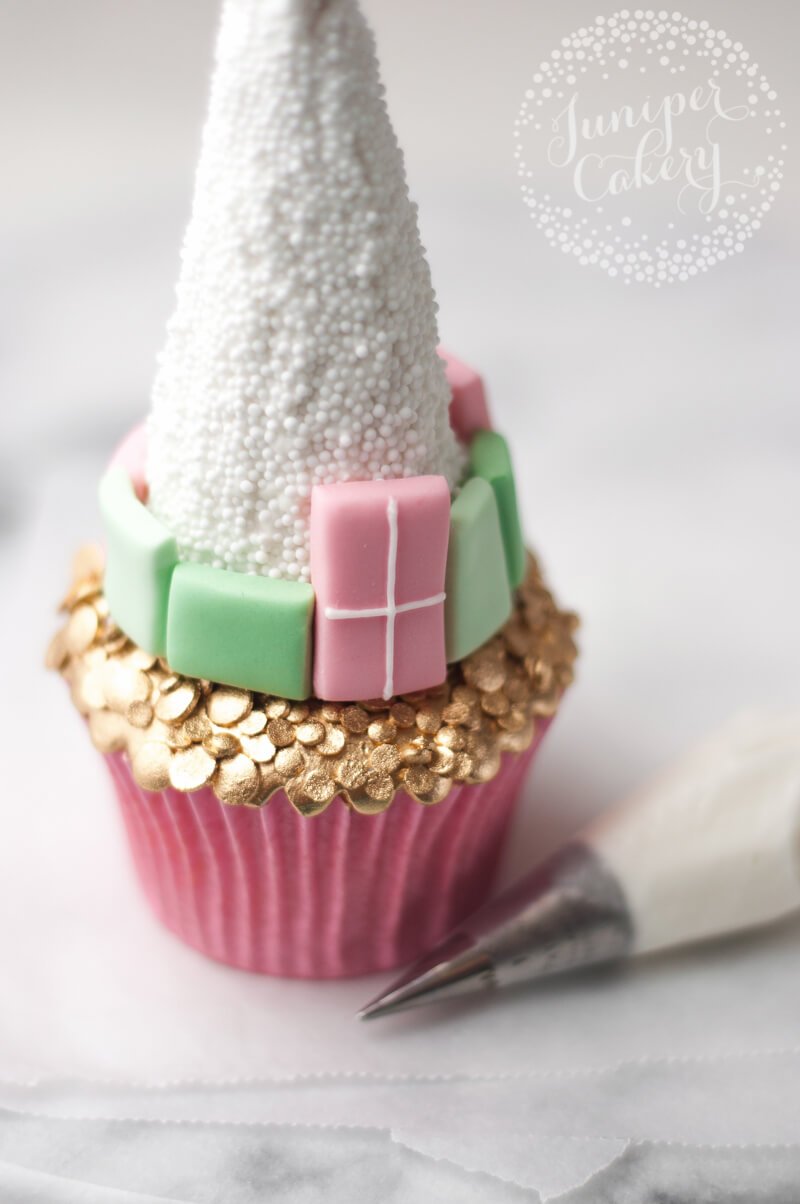
07: For the cute little Christmas gifts and parcels roll out pink and mint green fondant to a fat thickness (7mm is a good depth) before using a small sharp knife to cut out a variety of square and rectangle shapes of different sizes. Check to see if these fit around the base of your Christmas tree to make sure you make enough! To attach them use a little dot of royal icing.

Make a super stylish Christmas tree cupcake from Juniper Cakery

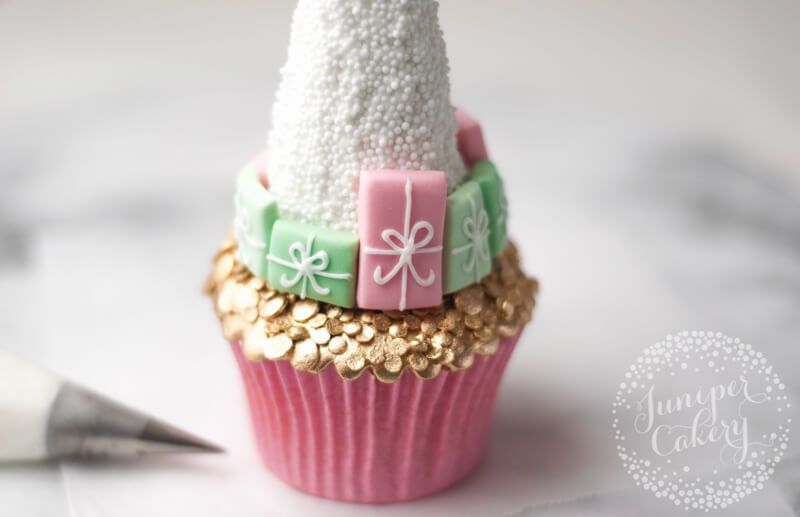
08: Add detail to your little fondant presents by piping ribbon and bows onto each. We used a disposable piping bag fitted with a PME Supatube tip in size 1.5 filled with stiff consistency royal icing.

Make a super chic Christmas tree cupcake from Juniper Cakery

To create the ribbon and bow details pipe a central line from top to bottom. Then pipe a line through the middle from left to right before finishing with two loops and two tails in the centre where both lines meet.

Make a super stylish Christmas tree cupcake from Juniper Cakery Cute Christmas cupcake tutorial by Juniper Cakery

Yay! You should now be left with one incredibly chic festive treat thanks to your Christmas tree cupcake tutorial. You can also adapt this step-by-step guide to make your cupcake(s) fit in with your party. Go traditional with reds and greens with green tinted trees and bright crimson parcels. Decorate your tree with adorable themed sprinkles like candy canes or bright lights. Or why not add tiny gingerbread people cookies to the side?

Pretty Christmas cupcake tutorial by Juniper Cakery


6th December 2016 // 1 Comments

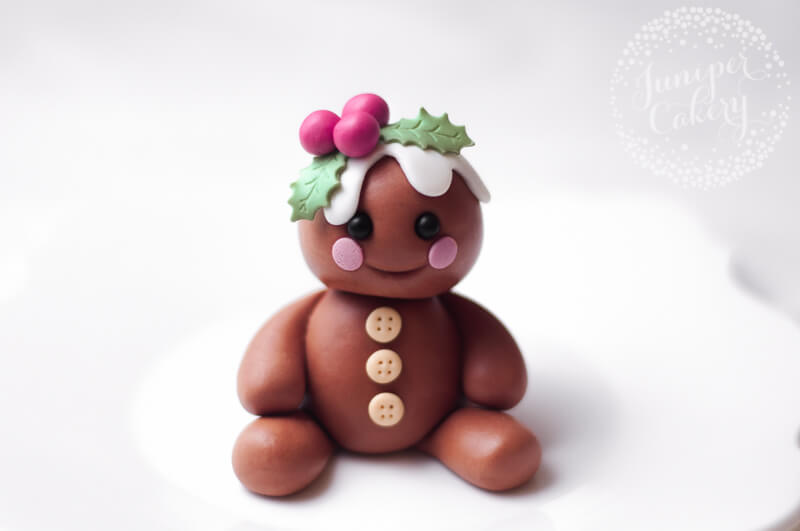
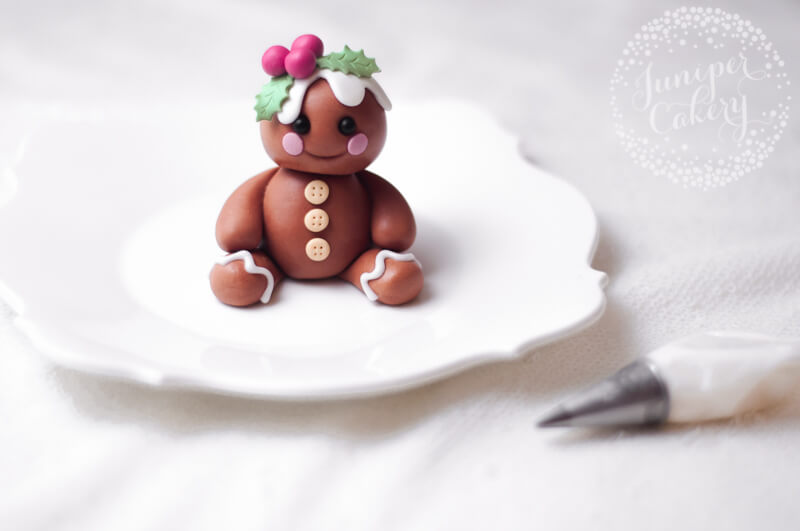
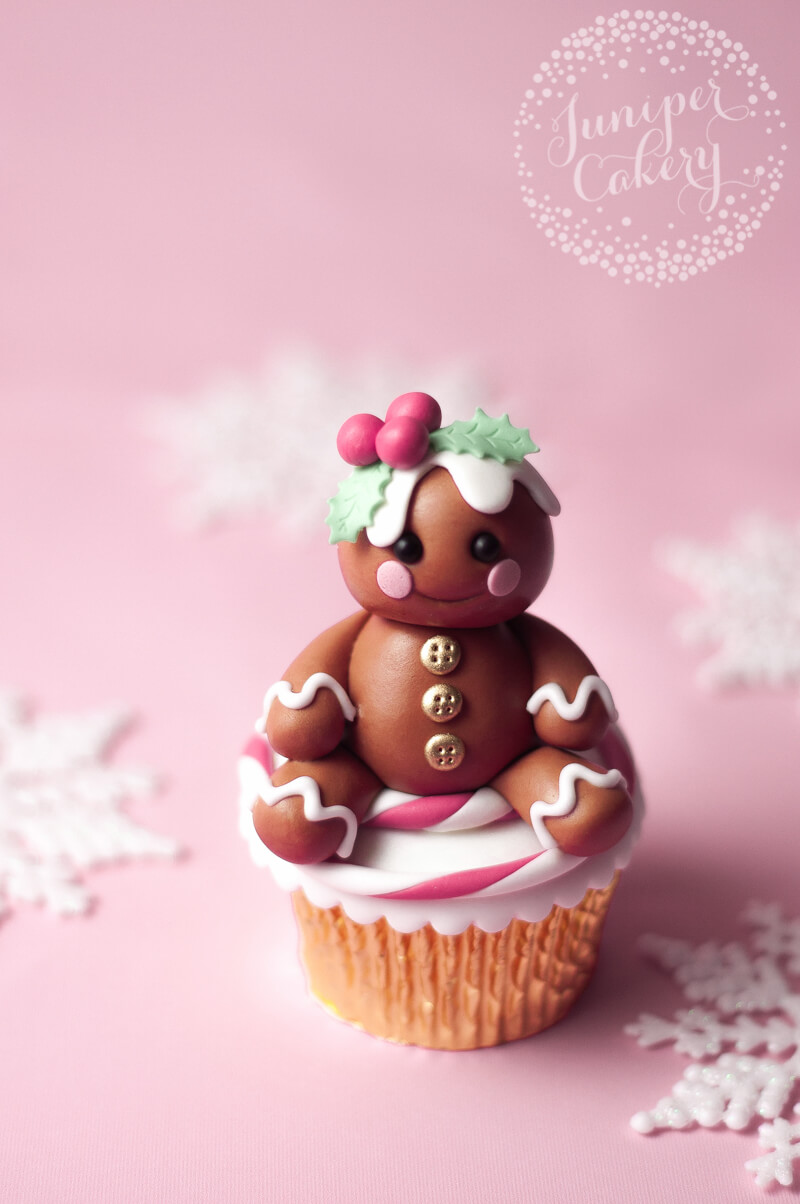
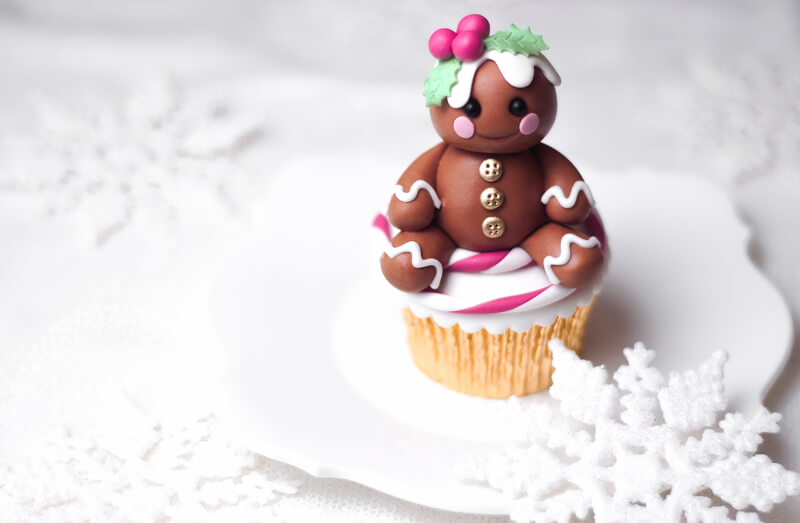
Tutorial: Cute Fondant Gingerbread Character!

Adorable gingerbread topper tutorial


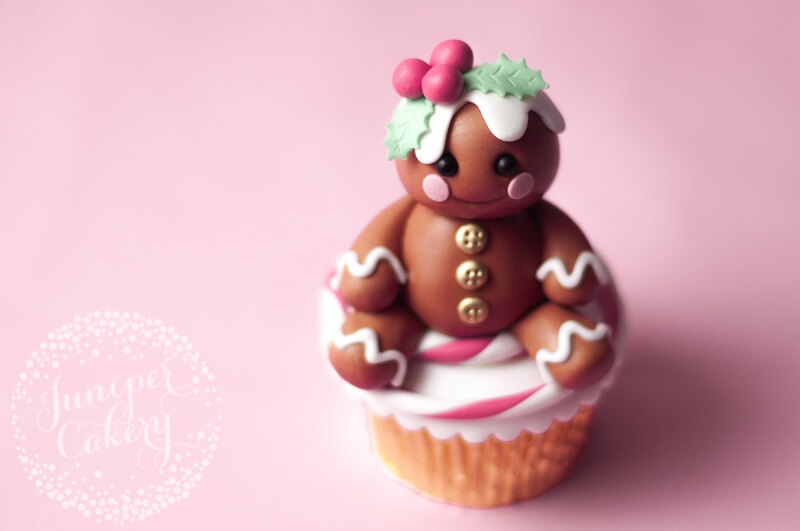
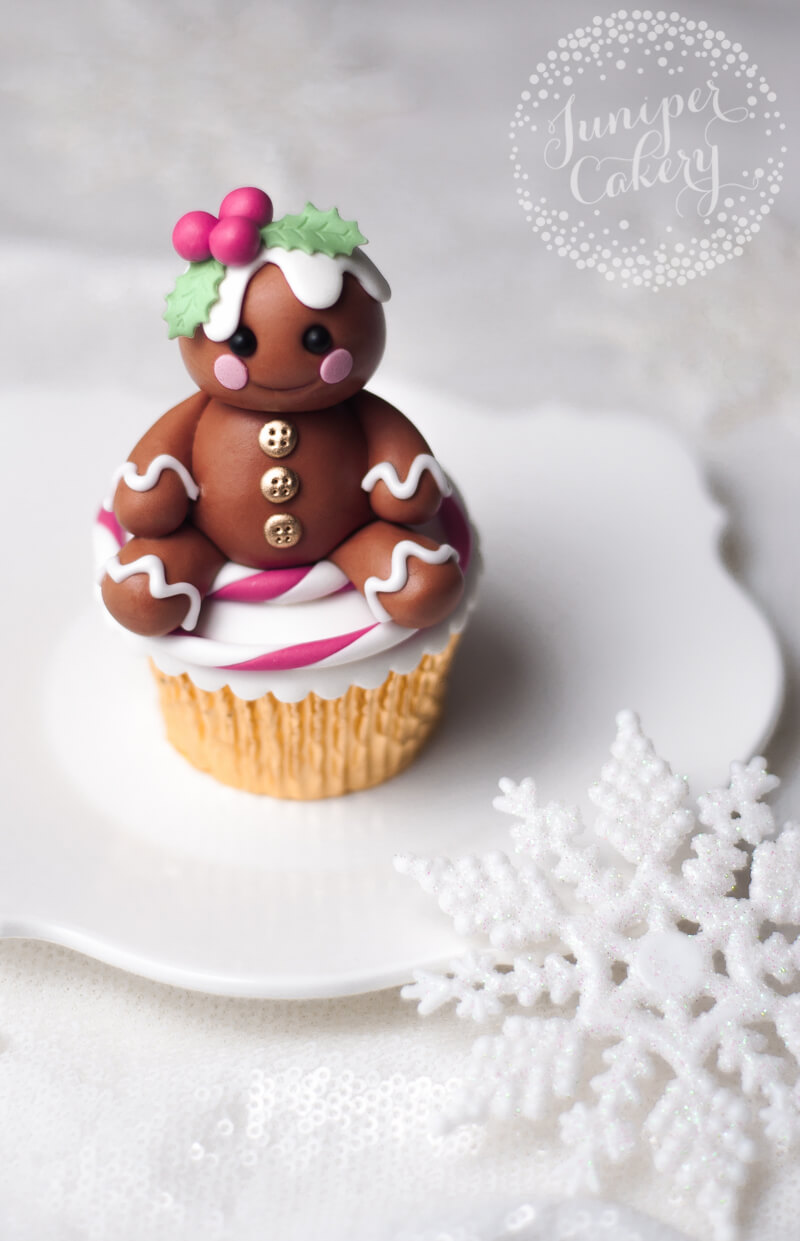
Last week we were ridiculously busy with festive orders (we’ve lost track how many of our cookies, cakes, macarons and cupcakes left us in the past 7 days) so we sadly couldn’t finish up our Christmas themed tutorial. This week, however, we have one and it’s insanely cute! Say hello to Ginger. We whipped up gingerbread people macarons and cookies recently so it was obvious that we had to complete the collection and make a little gingerbread character perfect for cakes and cupcakes! Keep on reading this post to find out how to make one of your very own!

Fondant gingerbread character tutorial!

Materials and tools needed…

Fondant gingerbread person tutorial by Juniper Cakery

Christmas cake topper tutorial

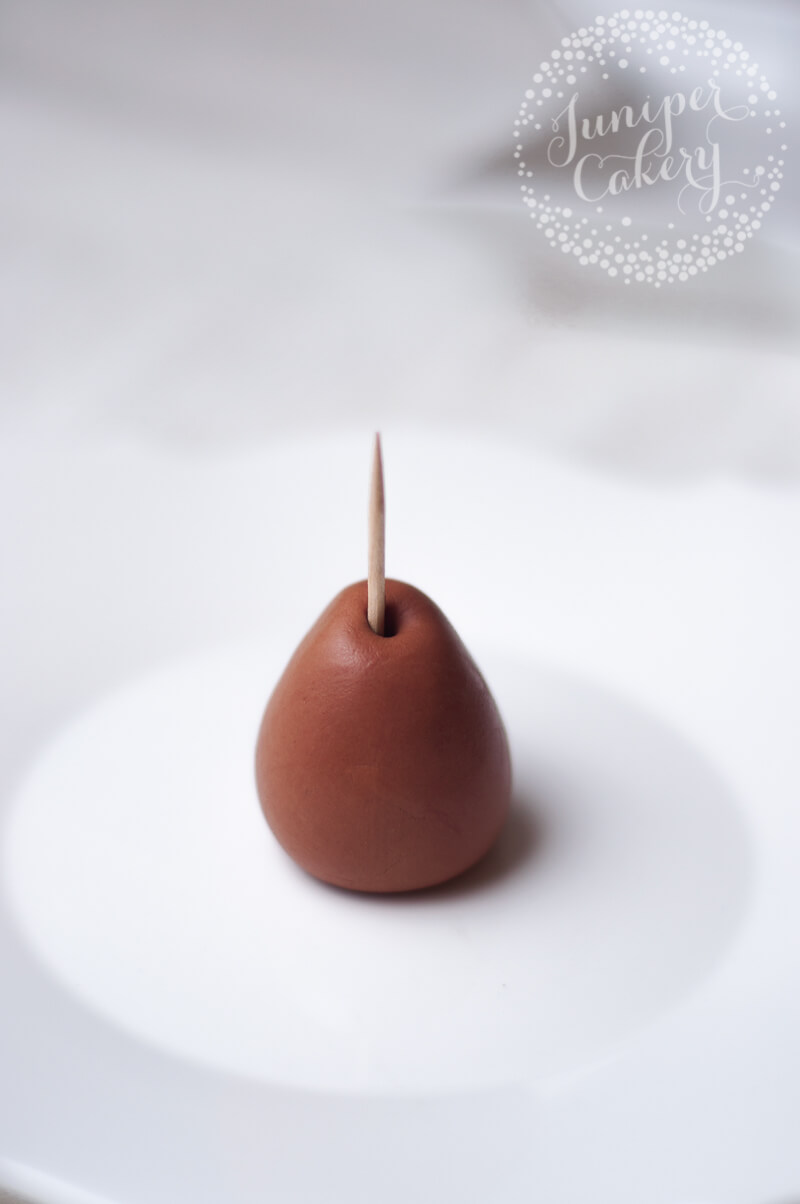
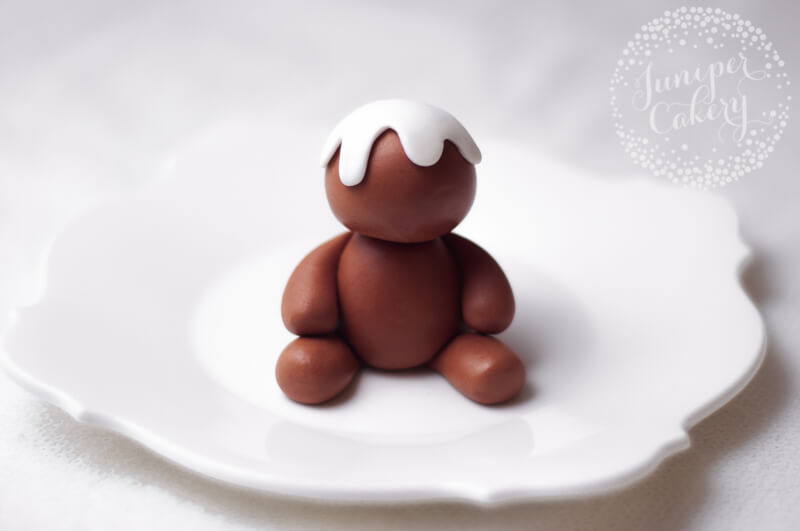
01: Begin with the body. Roll some brown fondant (you can use gum paste or modelling paste too) and mould into a rounded teardrop shape. Skewer down it’s centre with a cocktail stick or a piece of uncooked spaghetti.

Festive gingerbread cake topper tutorial

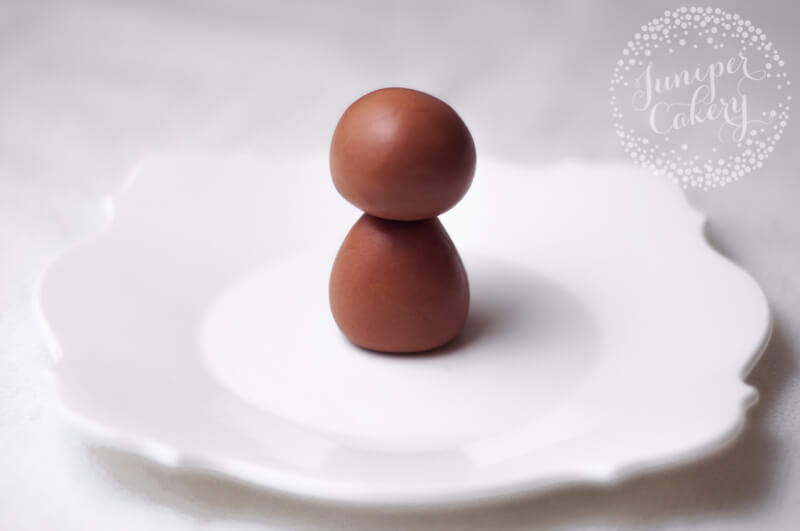
02: For the head roll a smooth ball of brown fondant and attach on top of your body via the cocktail stick or uncooked spaghetti. Make sure that this is fitted on nice and central. If not your little gingerbread person could lean, tilt oddly or just plain fall over.

Festive gingerbread cake topper tutorial by Juniper Cakery

Christmas cupcake tutorial!

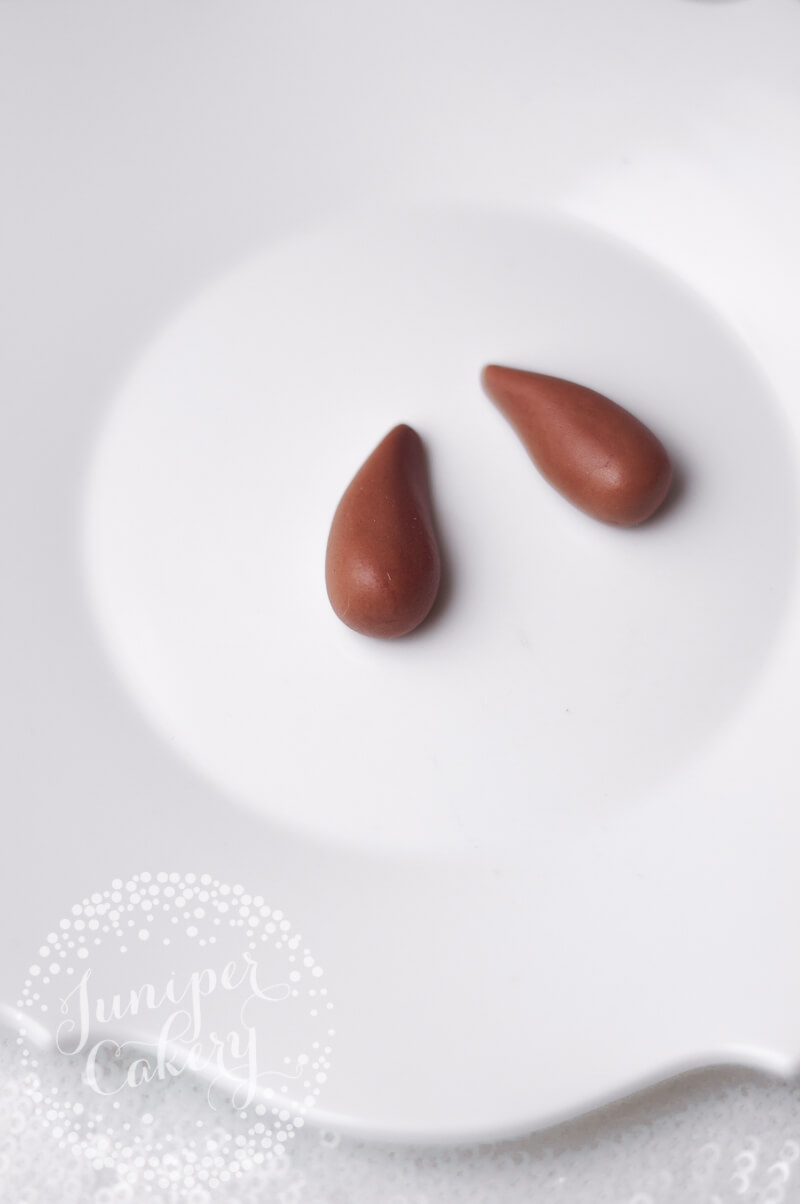
03: Take 2 smaller pieces of brown fondant / sugar paste and mould into chubby teardrop shapes, repeat this for another 2 pieces making 4 in total. These are going to be the arms and legs!

How to create a fondant gingerbread character

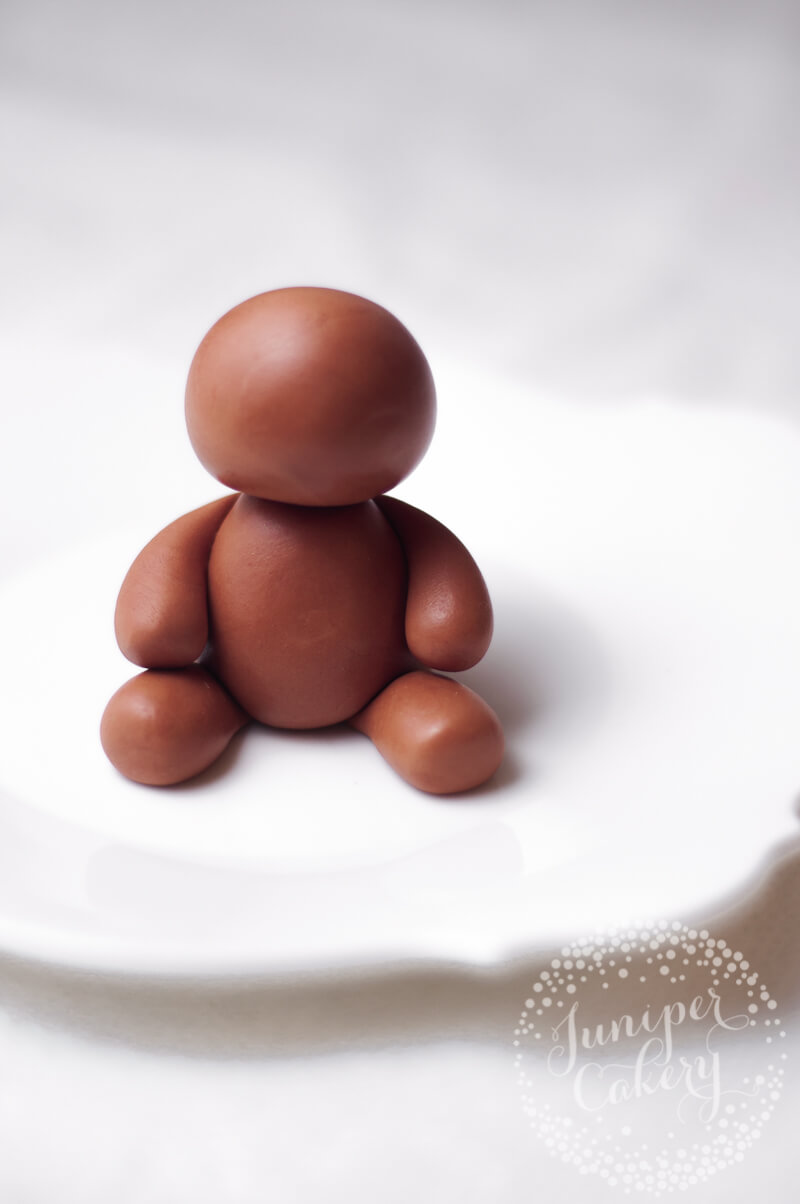
04: With some edible glue arrange and attach the limbs in place. You may need to hold the arms lightly until they’re secure.

Festive gingerbread cake topper tutorial from Juniper Cakery

05: To add the icing on top roll out a small circle of white fondant / sugar paste and with a small sharp knife cut a wavy shape from it. Smooth any rough edges and with some edible glue attach on top of the head before patting it down gently.

Gingerbread cake topper tutorial from Juniper Cakery

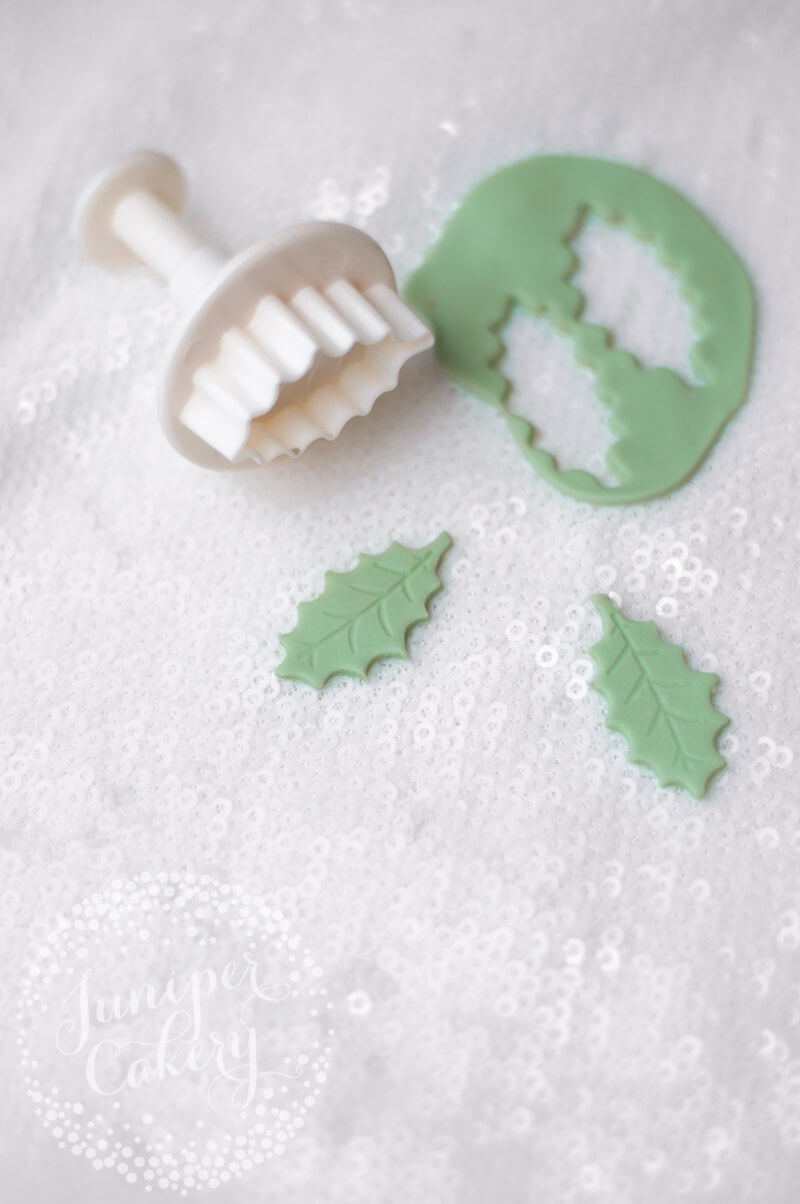
06: Roll out some green fondant / sugar paste and use your holly leaf plunger cutter to cut out some festive foliage! If you want the leaves to set a little curved then leave them to dry on a flower former or even some scrunched up cling film.

Fondant gingerbread cake topper tutorial from Juniper Cakery

Gingerbread character tutorial!

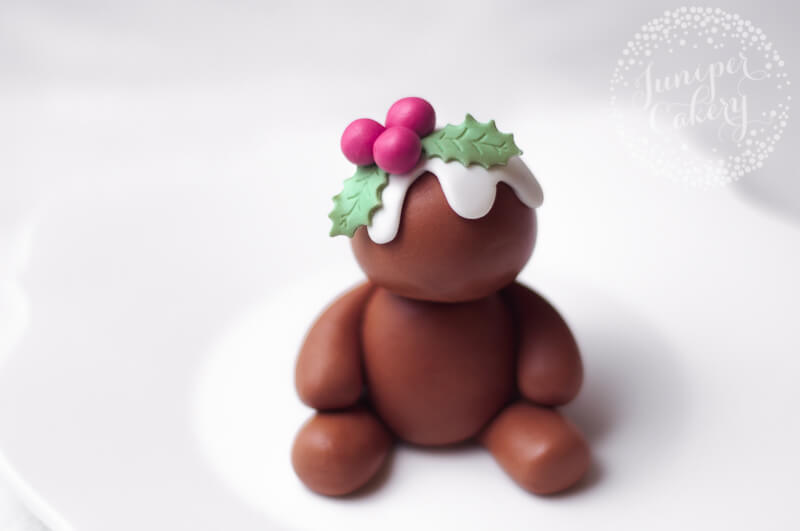
07: When your holly leaves are ready attach with a dab of edible glue on top of your fondant gingerbread character.

08: Take some pink fondant and roll out three balls. Add these on top and in the centre of your holly leaves.

Fondant gingerbread topper tutorial from Juniper Cakery

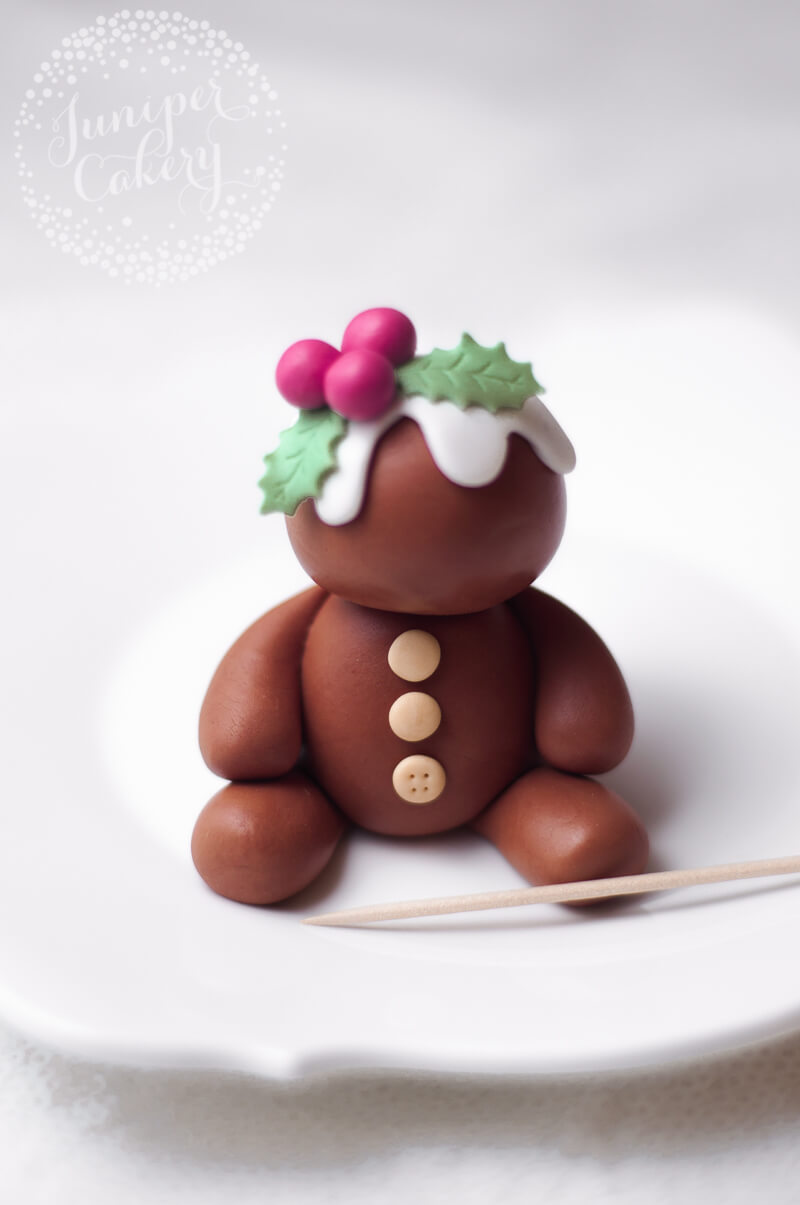
09: One of our favourite things about this little cutie is the tiny little buttons! These are super easy to make too. Make three tiny balls of caramel tinted fondant and stick to the front of your figure with edible glue. For the button detailing simply use the sharp end of a cocktail stick to poke 4 holes. You can paint these buttons now or when you’re completely finished. We generally wait until everything is done to add any painted elements.

Fondant gingerbread topper tutorial for Christmas

10: For the face indent two eye sockets using a small ball tool and attach the black edible sugar pearls. Then using the bottom end of a piping tip create it’s smile before finished each end with pink confetti sprinkles for some sweet rosy cheeks!

Fondant gingerbread character tutorial for Christmas

11: Add the cute cookie-inspired detailing to it’s arms and legs with either some royal icing (we just piped wavy lines in place) or thinly rolled out white fondant!

Learn how to make a gingerbread character form fondant

Now you can add your adorable little fondant gingerbread character to festive cakes and cupcakes! How amazing would this little beauty be on sweet treats at a Candyland themed Christmas party? Pair it with swirly lollipops, candy cane decorated cakes and gum drop studded cookies for an impressive dessert table!

Fondant gingerbread person tutorial guide by Juniper Cakery