Hoppy Easter Cake Decorating: Quick and Cute Fondant Chick Tutorial!

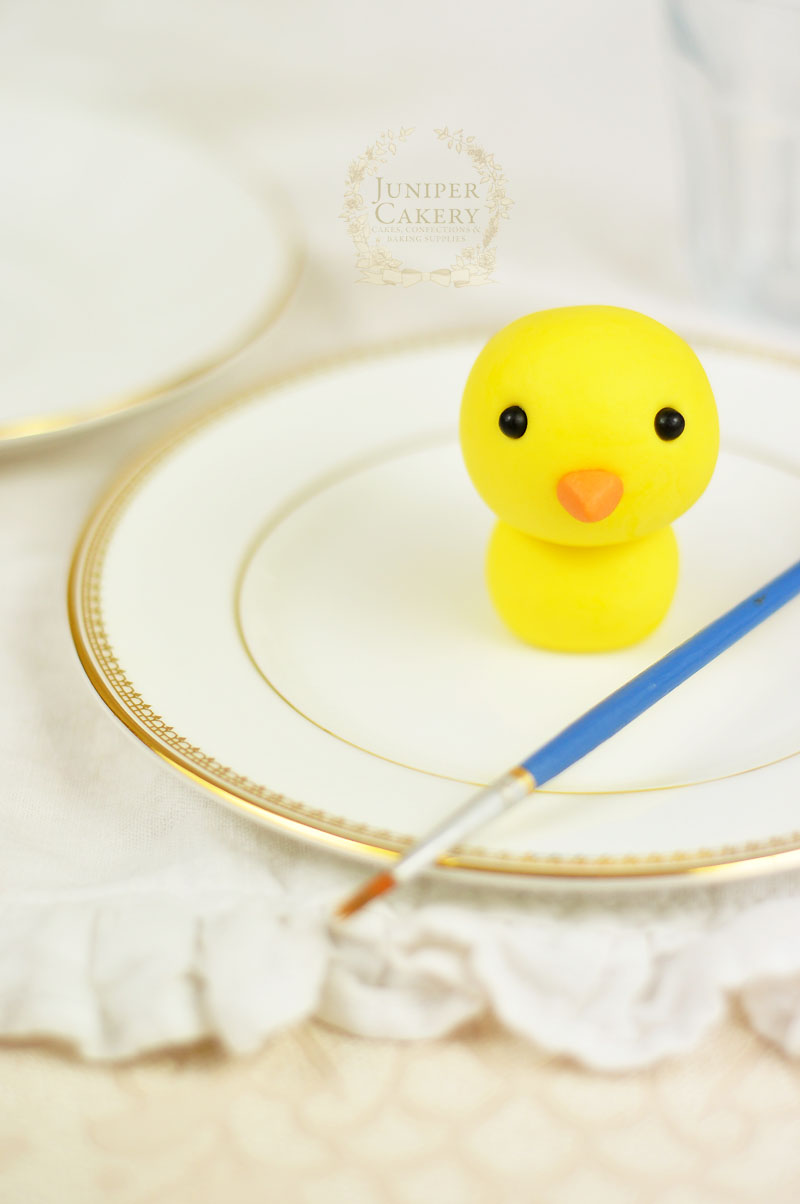
For Easter or general spring-themed treats it’s easy to feel a little overwhelmed, but why not add a little extra sweetness to your cakes with our surprisingly pain-free tutorial for an adorable fondant (or gum paste) chick! This little cutie is perfect for adding a little character to novelty cupcakes or freshly baked cakes so read on for our step-by-step guide on how to make your very own lovable little bird.

Fondant chick tutorial for cakes and cupcakes by Juniper Cakery

How to create a fondant chick tutorial…

Materials needed:

  • Yellow fondant/sugar paste or gum paste/modelling paste
  • Small black fondant balls approx. 4mm in size
  • A little orange fondant
  • Pink petal dust
  • Paintbrush
  • Edible glue
  • Uncooked spaghetti stick
  • Blade tool
  • Small ball tool
  • Small blossom cutter

Step 1:
Make a small ball of yellow fondant approximately the size of a standard marble. This will be your chick’s body.
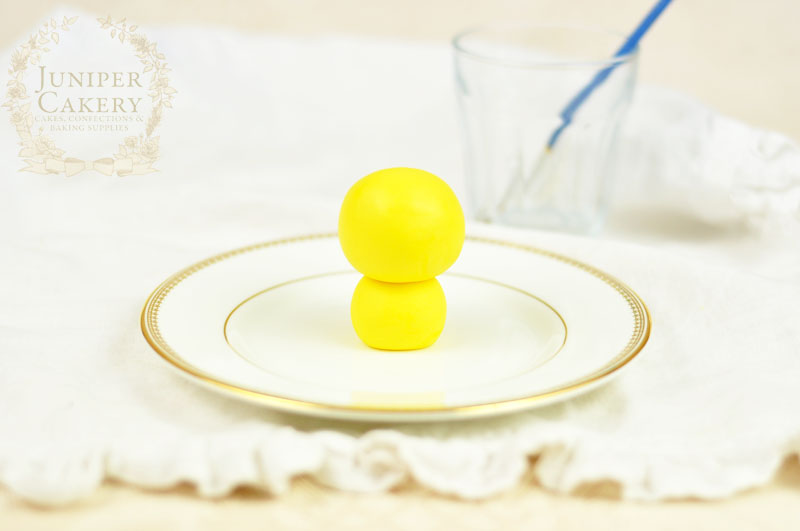
Create a sweet fondant chick with this tutorial by Juniper Cakery

Step 2:
Roll a larger ball of yellow fondant similar in size to a golf or ping pong ball. This will become the head.

Step 3:
Take a piece of spaghetti stick around 1cm longer than the first small ball of fondant you rolled and dip in edible glue before plunging carefully down the centre of your chick’s body (aka the smaller ball you rolled in step 1).

Step 4:
Paint the exposed part of the spaghetti with edible glue and attach the larger ball/ head onto the body.
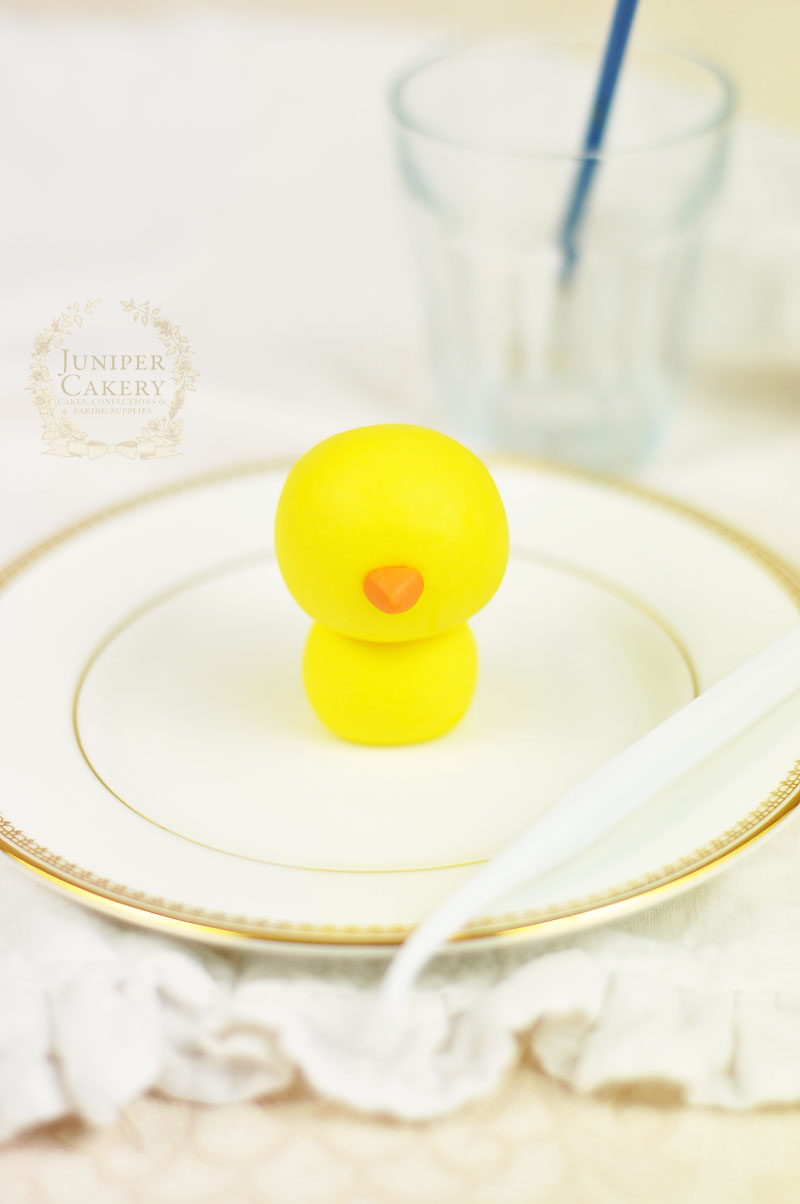
Easter chick tutorial for cakes and cupcakes by Juniper Cakery

Step 5:
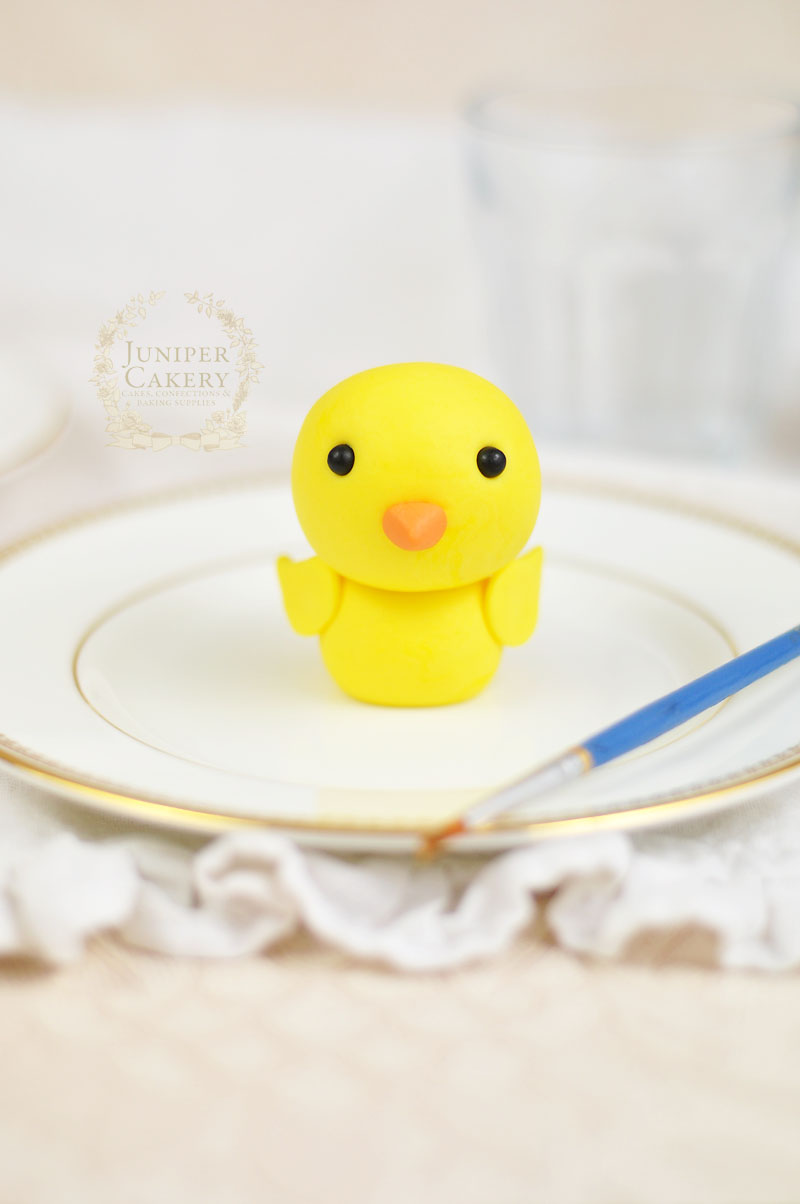
For the beak take a small ball of orange fondant and mould into a rounded triangular shape. Attach in the centre with edible glue.
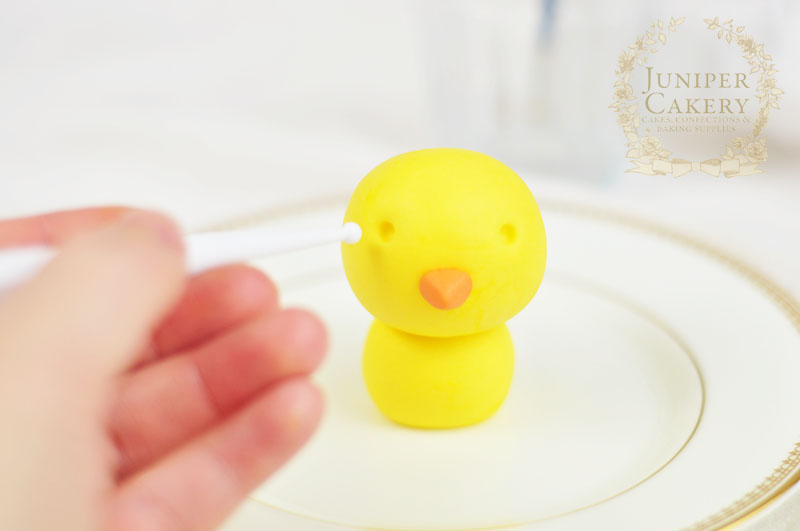
Gum paste chick tutorial by Juniper Cakery

Tutorial for a cute edible chick by Juniper Cakery

Step 6:
Indent two circles onto the head just higher than the middle of the ball to create the eye sockets. Attach the black fondant balls with edible glue.
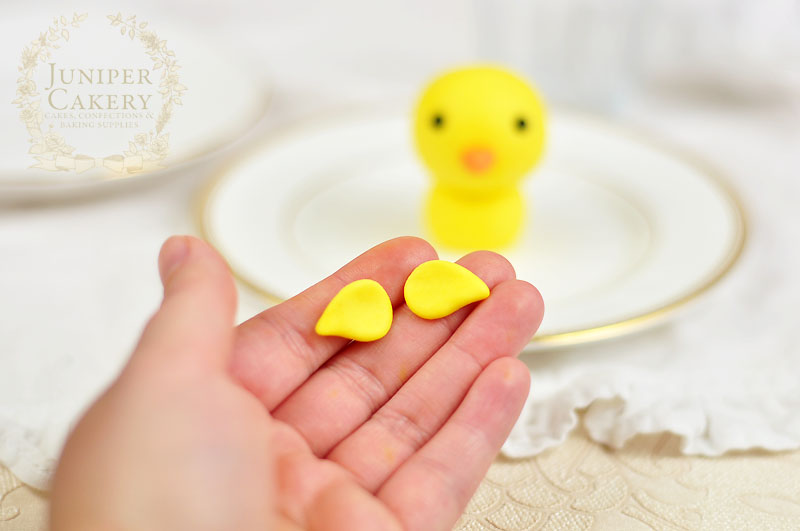
Make a cute chick from fondant with this tutorial by Juniper Cakery

Easter fondant or gum paste chick birt tutorial by Juniper Cakery

Step 7:
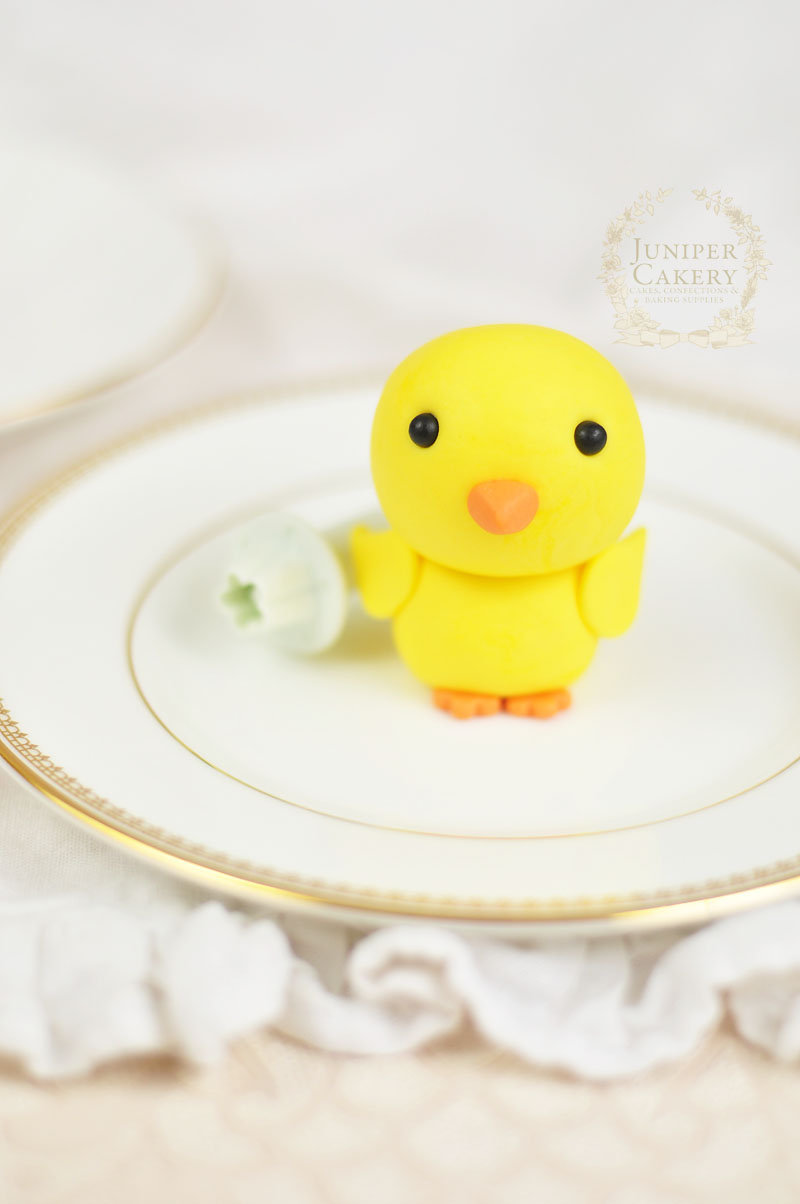
To add wings roll two equal sized balls of fondant a quarter of the size of the body. Flatten and smooth a little with your hands before pinching one side of each to form a tapered wing shape. Attach to the sides of the chick’s body with edible glue.
Step by step guide to making a fondant chick for Easter cupcakes by Juniper Cakery

Easter sugar paste chick tutorial by Juniper Cakery

Step 8:
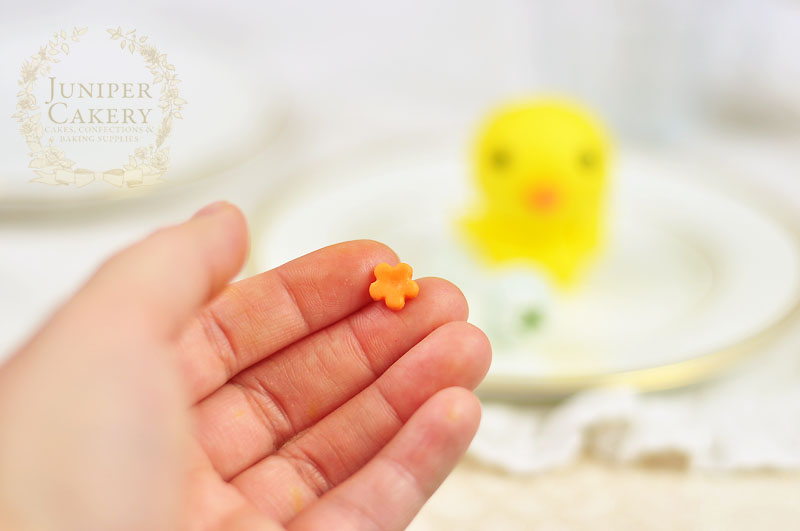
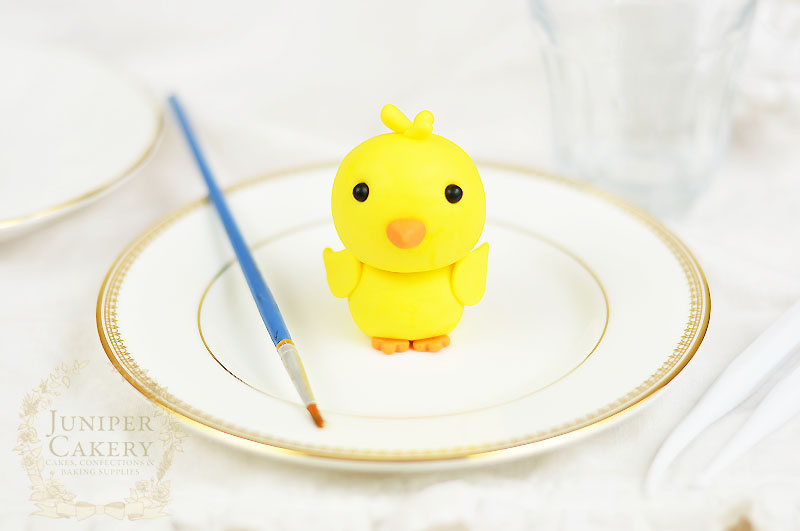
For cute tiny feet roll out some orange fondant to a thickness of around 4mm and cut two blossom shapes with a cutter of each chick. Attach to the bottom of the body with three scallops or petals of the blossom poking out from underneath.
Modelling paste Easter chick tutorial by Juniper Cakery

Step 9:
If you want to add a cute little tuft of feathers on the head create three tiny teardrop shapes of yellow fondant and attach to the top with a dab of edible glue.

Step 10:
Finally add some lovely flushed cheeks with a little pink petal dust!
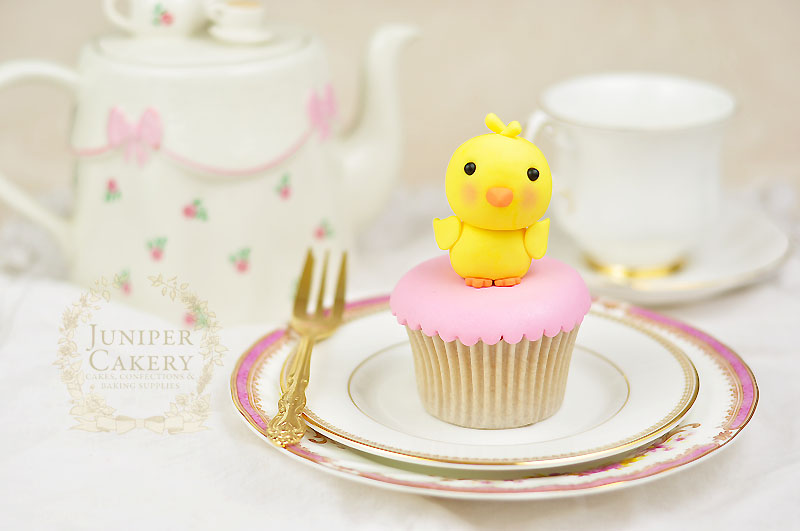
How to create a gum paste chick for Easter cake decorating by Juniper Cakery

Fondant Easter chick tutorial by Juniper Cakery

You can easily customise your fondant chick to suit so many different themed cakes and treats. Add tiny baseball caps or flags for sports themed designs, attach a bold fondant letter to them to personalise a fun party cake for someone special or change the colours (like blue for a Twitter addict)! 


Tutorial Tuesday: How to make a superhero raccoon!

With warm summer air blowing in through the windows here at Juniper Cakery HQ it’s hard not to be inspired by what’s outdoors. The likely hood of a raccoon strolling through our gardens may be about as high as a raccoon donning a cape and mask but that’s what we love about cake decorating…you can be as insane as you like! Our crazy critter tutorials show you how to customise a cake in a fun, novelty way. This superhero raccoon would be a fantastic addition to any comic book fan’s cake and by following this tutorial you have all the superpowers you need to create one of your very own!

Tutorial Tuesday: How to make a sugarpaste raccoon

What you will need:
White sugarpaste/modelling paste
Black & green food colour paste by Wilton
Modelling tool set Fondant roller
Paint brush
Edible glue
Cocktail Sticks

Tutorial Tuesday: How to make a superhero raccoon!

Tutorial Tuesday: How to  make a sugarpaste racoon

Step one: Once you’ve custom coloured your sugarpaste (we chose a black, grey and green colour theme but don’t be afraid to choose your own, or the recipients, favourite colours) take a fair amount of your base colour (we’ll refer to this as grey) and begin rolling it in your hands. Make sure it’s crack free and begin moulding it into a ‘pear’ shape to form your raccoon’s head.

Tutorial Tuesday: How to  make a sugarpaste racoon

Step two: To make your raccoon’s eyes use a piping tip to cut out to circles in a contrasting colour (we chose a deeper grey) and shape them a little so they’re not perfectly round. Roll two very small balls out of white sugarpaste, flatten them with your fingers and place them on top of the deeper grey sugarpaste with edible glue. Paint in some pupils with black food colour paste and a paintbrush to finish your raccoon’s eyes!

Tutorial Tuesday: How to  make a sugarpaste racoon

Step three: Give your raccoon a little nose by rolling a small amount of deeper grey sugarpaste between your finger and thumb and stick in place using edible glue.

Step four: To give your little raccoon ears take to small pieces of your deeper grey sugarpaste and mould two triangle shapes between your fingers. Use the non-bulbous end of the bulbous cone tool to mark where your raccoon’s ears will be placed and glue them on with edible glue.

Step five: To give your raccoon a mouth push the non-bulbous end of the bulbous cone tool into the sugarpaste and paint black.

Step six: With your grey sugarpaste begin moulding a similar ‘pear’ shape roughly the same size as your raccoon’s head to form the body.

Tutorial Tuesday: How to  make a sugarpaste racoon

Step seven: Place a cocktail stick through your raccoon’s body, add a little edible glue and gently slide your raccoon’s head into place.

Tutorial Tuesday: How to  make a sugarpaste racoon

Step eight: For the raccoon’s legs and arms roll out four ‘sausages’, making two slightly smaller than the other, and taper them ever so slightly at one end. Make three marks on each tapered end using your blade tool to add detail to your raccoon’s paw. Fix in place with edible glue.

Tutorial Tuesday: How to  make a sugarpaste racoon

Step nine: Now it’s time to create your raccoon’s little bushy tail! Roll out the remainder of your grey sugarpaste in to a ‘sausage’ and taper at one end. Place a small piece of cocktail where your would like your raccoon’s tail to be placed and surround it with edible glue and fix into place. Add stripes using black food colour paste and a pint brush.

How to Make the Mask

Step one: Using the fondant roller roll out your green sugarpaste (or whichever colour you chose) and cut an eye mask shape out of it using your blade tool. Lay the mask over your raccoon’s eyes to see approximately how far they are apart and when you’re sure place the mask back onto a flat surface and begin to cut the eye holes out.

Tip: If you’re find that cutting the small eye sockets out freehand isn’t working try using the smaller end of a piping tip.

Step two: With your left over green sugarpaste after cutting out the mask cut a long strip of sugarpaste approximately 4 mm thick. Place it around your raccoon’s head to measure and once you have it at the right size stick it into place with edible glue. Cut two small ‘leaves’ out of the green sugarpaste and roll a small ball between your fingers and fix them at one side of your raccoon’s head to create a knot! Now your raccoon is masked!

How to Make the Cape

Step one: Work the left over green sugarpaste in your hands and roll it out once again. Using the blade tool cut out an oblong making one end wavy, two ‘leaves’, two ‘blades of grass’ and roll one small ball.

Step two: Glue your cape into place making sure the wavy end is near your raccoon’s tail and gently work it to make it look as though there is wind blowing through and allow to set. Glue the thicker end of your ‘blades of grass’ to where the cape ends and allow them to meet under your raccoon’s chin. Where they meet glue your two ‘leaves’ and ball into place to cover up the seam and create a knot!

Step three: To create a superhero logo cut a hexagon from white sugarpaste using your blade tool, fix into place with edible glue and paint your chosen logo on with food colour paste.

By following this tutorial you now have your very own superhero raccoon! Why not turn your little critter into your own or your loved one’s favourite superhero? Add a Catwoman or Batman mask over your raccoon’s face (it already has the ears!), work in red and gold to create an Iron-raccoon or add a red, white and blue cape for Wonder Woman!

Tutorial Tuesday: How to make a sugarpaste raccoon


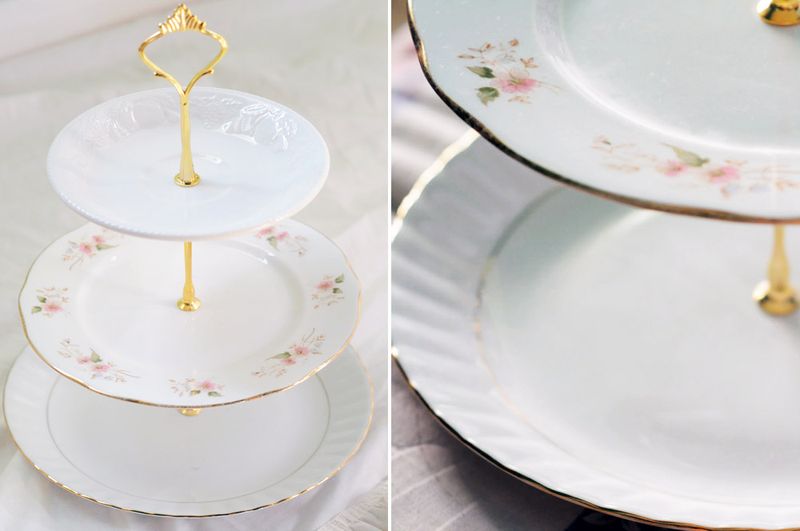
‘Tutorial Tuesday': How to create your own afternoon tea stand!

DSC_0009 (15)
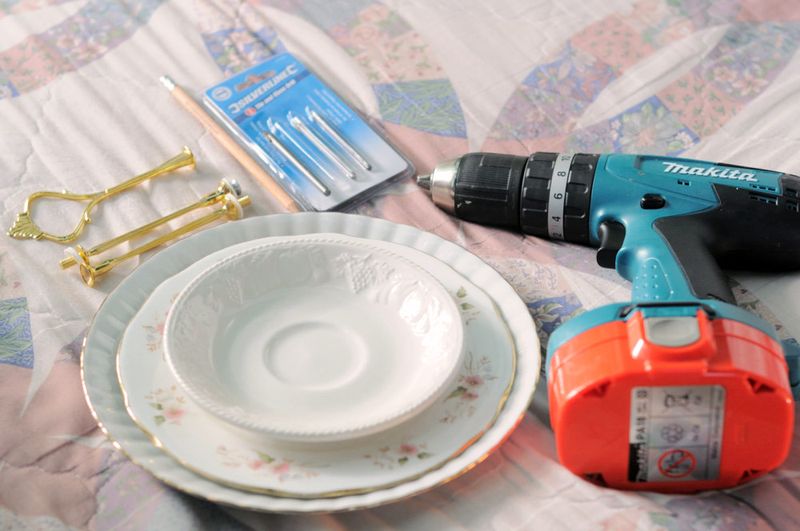
First of all you will need…

Three plates of ascending sizes (one large plate, one medium side or cake plate, and one tea saucer)
A pencil
Three tier cake fittings (You can find these for around £5-8 on Amazon for a pack of five)
Ceramic drill bits (Again, you can find these on Amazon for about £3-5… you’ll need around an 8mm bit)
A good hand-drill
A tape measure or ruler
Some thick books

DSC_0008 (13)

Step one: Make sure your hand-drill is fit with the appropriate drill bit. Measure the part of the cake stand fitting (it looks like a screw) which should slot into the finished holes to determine which drill bit will be the right size.

DSC_0012 (12)

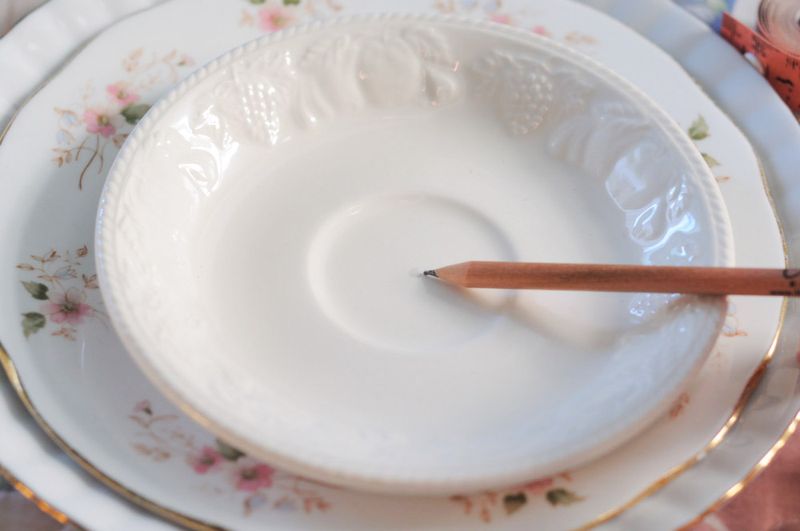
Step two: Mark the middle of your plate with a pencil. To find the middle you could simply flip the plate over and feel for a small bump in the centre (usually where the stamp or logo is) then flip the plate back over and draw a dot. Alternatively you could measure the plate to determine where the centre is.

DSC_0037 (3)

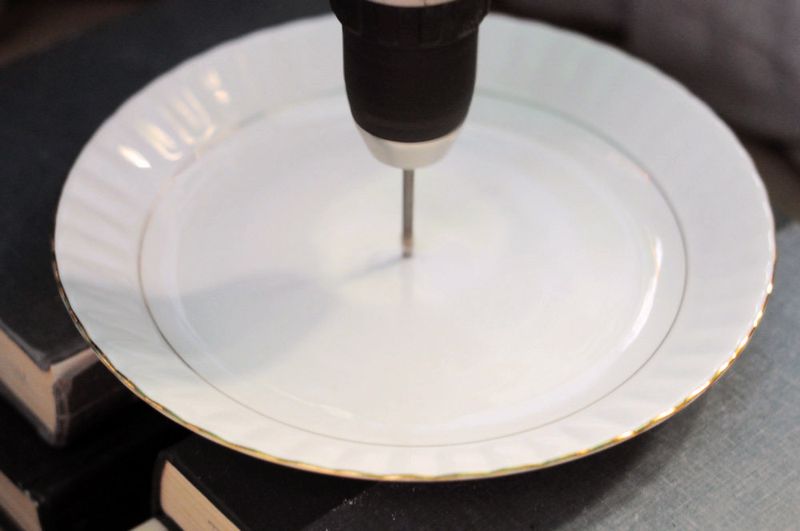
Step three: Set some thick books down on a flat surface with a two inch gap between them for you to drill into. Place your plate on top of the books and make sure that the space you are drilling sits over the gap between the books. Now start drilling some holes into all the plates.

Note: It takes some time to drill through so some patience may be needed.

DSC_0022 (11)

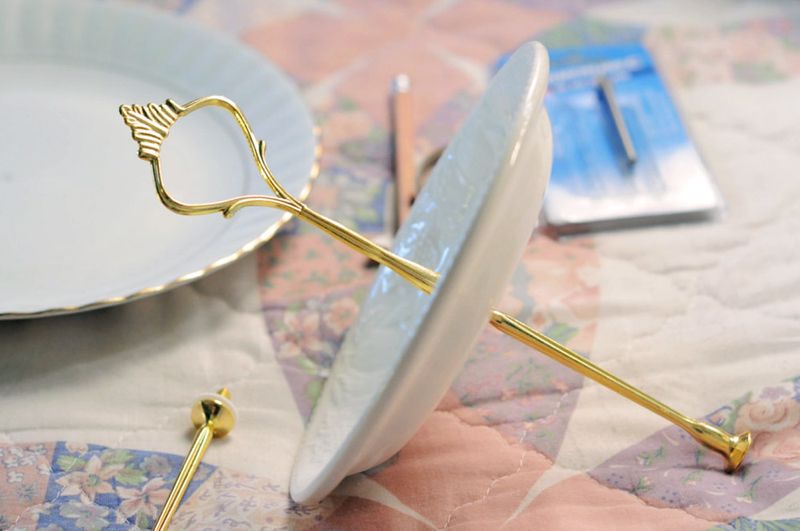
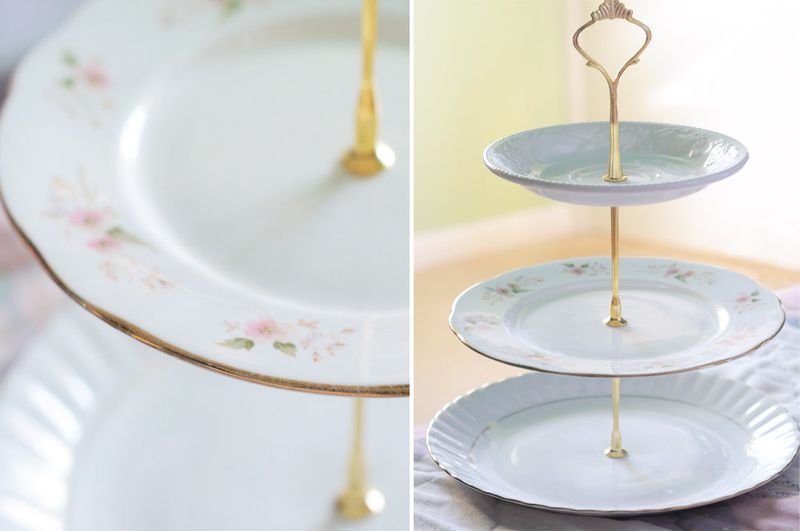
Step four: When the holes are drilled you can start fixing the cake stand fittings into place. Now you should have a lovely homemade three tier cake stand to enjoy an elegant afternoon tea whenever you like!

DSC_0010 (19)


Welcome to ‘Tutorial Tuesday': Swiss Meringue Buttercream

As promised here is our first ‘Tutorial Tuesday’! This week we will show you how to make the smooth and luxurious Swiss Meringue Buttercream. When we first tried to create this buttercream we used a low fat spread suitable for baking…WRONG! As Chef Didier said in Last Holiday “you and I know the secret to life; it’s butter” and it’s true. For this recipe use ONLY chilled butter; no substitutes or room temprature butter.

Here is what you will need…

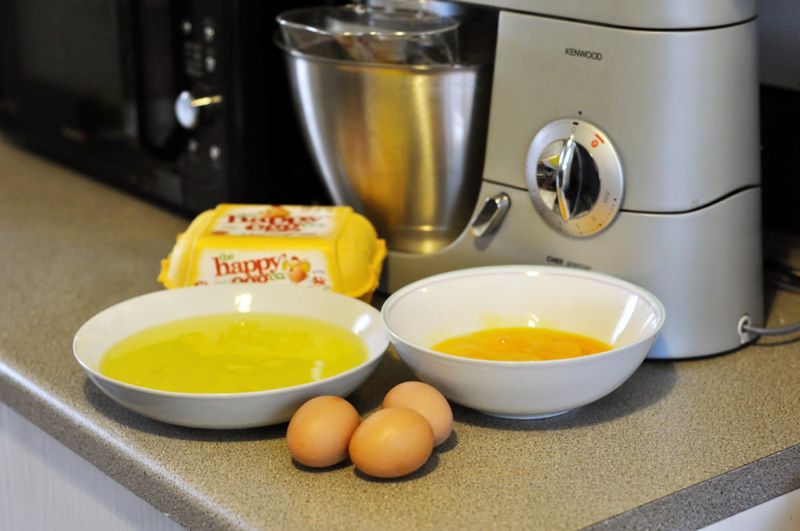
4 oz (1/2 cup) egg whites
8 oz (1 cup) granulated sugar (no other type of sugar)
12 oz (3 sticks) unsalted butter, cut into cubes
pinch of salt
any colourings and flavourings you wish to add

Smb001

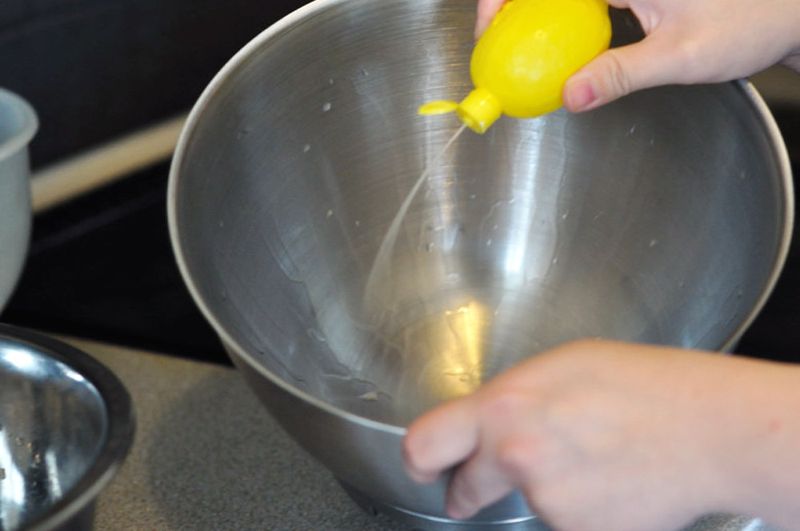
Step one: Make sure your bowls, paddles, whisks and utensils are cleaned with lemon or lime juice to stop your egg whites from going flat.

Smb0002

Second step: Seperate your egg whites and place them in a large bowl, then set them aside and prepare a sauce pan of boiling water on your stove, now whisk your egg whites in a bowl over the stove and gradually add in the sugar. Keep whisking until the sugar is fully dissolved (you can test this by rubbing the egg mixture between your fingers and if you feel no grains of sugar it is done) and until your mix is pale and fluffy.

Smb002

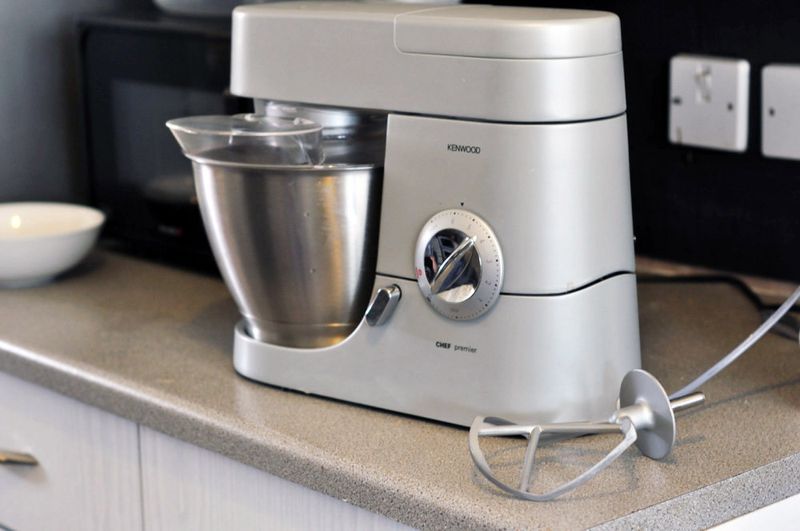
Note: This recipe does require stand alone electric mixer with a whisk and paddle attachment.

Step three: Make sure the whisk component is attached. Now add the egg mixture to your mixing bowl and set to the highest speed for 5 minutes. When this step is done your egg whites will be white, very sticky and have a sheen to them. Make sure the egg mixture is no longer warm (you can do this by feeling the temprature of the bowl, if it is cool to touch you are good to go)

Smb003

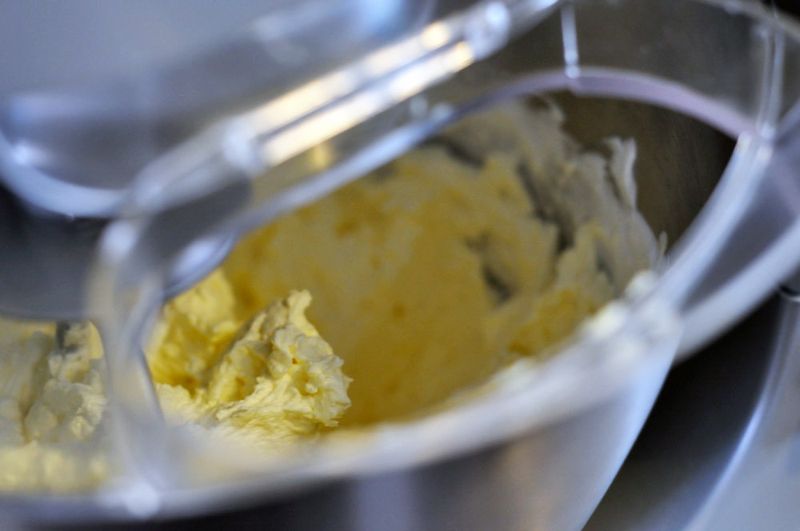
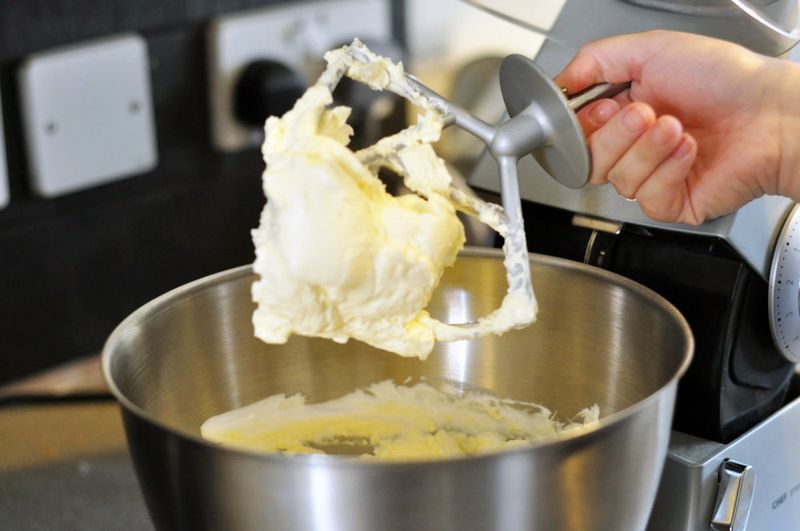
Step four: Switch to the paddle attachment and on medium speed add the chilled butter a cube at a time. At some point your buttercream mixture will look as though it has curdled but this is normal just keep mixing and it will become smooth.

Note: If you wish to add colourings and flavourings then do so at this point (though this can always be done later)

Smb004

Step five: Your Swiss Meringue Buttercream should be ready! It should feel and taste creamy, light and smooth.


×