Browsing Tag

easter

6th April 2017 // 0 Comments

Recipe: Lemon Funfetti Marshmallows!

Lemon confetti marshmallows recipe via Juniper Cakery

Easter is around the corner and that also means cute treats, fun flavours and sprinkles here there and everywhere! To get into the celebratory spirit we thought we’d share our Lemon Funfetti marshmallows recipe! Yay! This sweet is a great alternative for anyone who isn’t into chocolate too. Check out our recipe below to re-create these marshmallows at home.

Easter lemon confetti marshmallows by Juniper Cakery

Lemon Funfetti marshmallows recipe!

Serves approximately 12 - 20 depending on how generous (or not) you slice these babies.

Materials and tools needed…9 gelatine sheets

Marshmallow recipe by Juniper Cakery

01:

To start you need to thinly coat your cake pan with vegetable oil before dusting with a sieved mixture of icing sugar and cornstarch. Cover the corners and inner edges well to stop your marshmallow from sticking!

02:

This Lemon Funfetti marshmallows recipe uses gelatine sheets instead of powder. Take 9 sheets of gelatine and leave them to soak in a large shallow dish full of 140ml of warm to hot water. They should begin to soften and turn into jellied sheets that disintegrate in around 7 minutes. When ready pour the entire contents (gelatine and water) into the bowl of a stand-up mixer.

03:

Add the granulated sugar, water and tablespoon of corn syrup together in a medium saucepan. Boil until 115 degrees Celsius (or 238 degrees Fahrenheit) on high heat. This took approximately 10 minutes for us. You’ll need your candy thermometer for this step… a lot of people are put off of working with these as it feels like an extra step (and extra cleaning), but it’s pretty easy! All you need to do is place it in the pan with your ingredients and keep an eye on the temperature! Make sure that you use a candy or jam thermometer though!

04:

Once your hot sugar syrup is ready switch on your stand-up mixer to a slow speed. Carefully (it’s hot) pour the syrup into the bowl. After a minute switch up the speed to medium (don’t turn up your mixer too high as the ingredients will be very hot which may splash around and out of the bowl on a higher speed), add in your lemon extract, yellow food colouring and rainbow sprinkles (as many as you like). Mix for around 12 minutes until you’re left with soft clouds of marshmallow!

Note: Once you switch off your mixer the marshmallow mixture begins to set so keep this in mind!

05:

Pour the marshmallow mixture into your coated and oiled square cake pan. Smooth over with an angled palette knife. You can lightly oil the spatula or palette knife as this can help stop the marshmallow mix sticking to it.

Note: For some extra rainbow try layering your marshmallow mix. Smooth a shallow layer into your cake pan and add rainbow sprinkles then repeat until you think it’s ready!
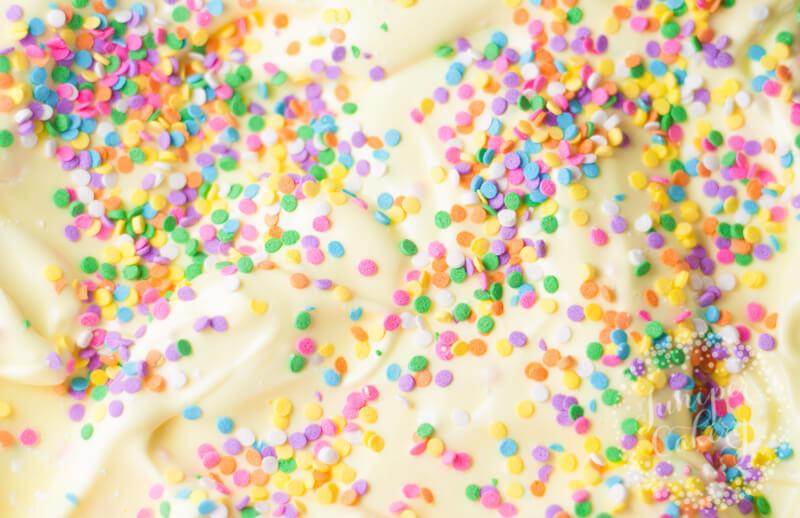
Bright Lemon Funfetti marshmallows recipe by Juniper Cakery

06:

Sprinkle the top of your marshmallow with rainbow sprinkles.

06:

Leave the marshmallow mix to set for around 3 hours whilst uncovered. We left ours in a cool and dark room undisturbed.

07:

After 3 hours the marshmallow mixture should be perfect and ready. Test it by lightly poking it with a clean finger. The marshmallow should spring back into shape and feel bouncy and a little fluffy too.

08:

With a sharp knife cut your set marshmallow block into squares before tossing them in the sieved mix of cornstarch (cornflour in the UK) and icing sugar. Tap any excess off before either bagging them into gift packs or storing them away into airtight containers. This super soft Lemon Funfetti marshmallows recipe should last several weeks if stored well (cool, dark and dry places and in airtight containers) so you’ll get to enjoy them for some time after making them (unless everyone else eats them)!

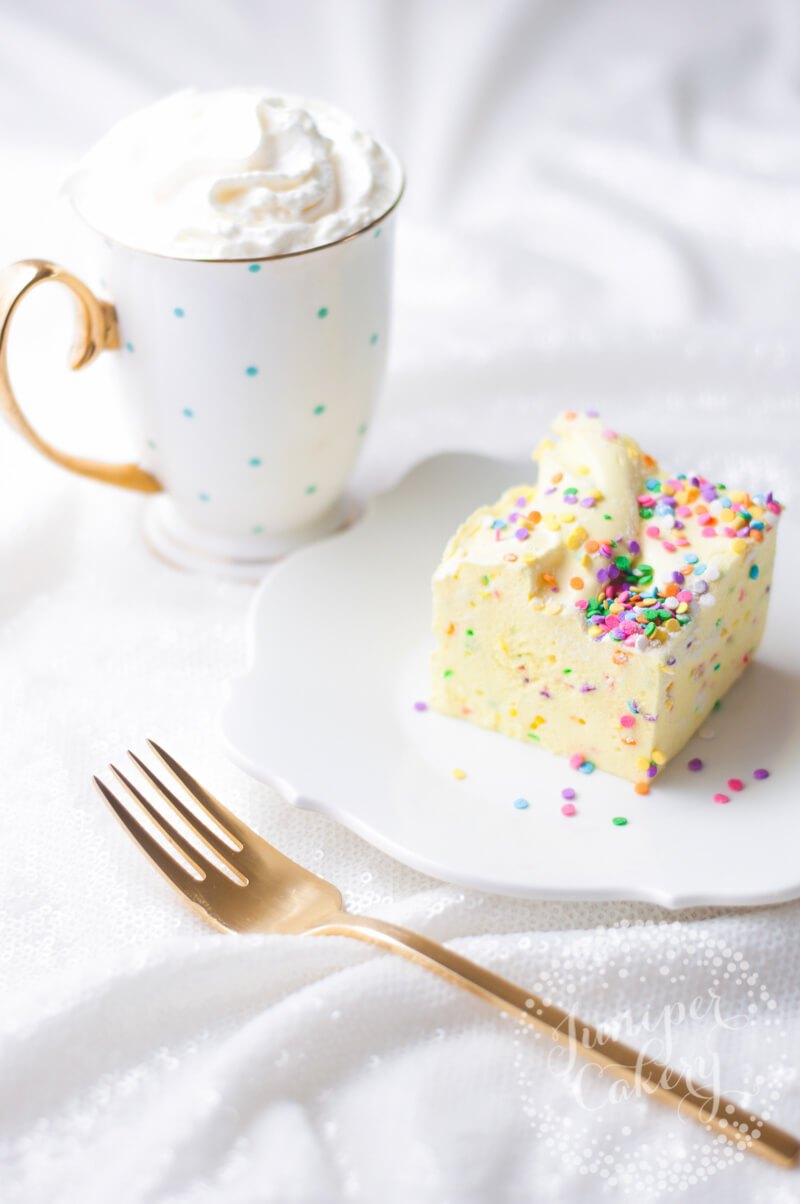
Bright lemon confetti marshmallows recipe from Juniper Cakery

Make lemon funfetti marshmallows

Yay! Now sit back and enjoy your homemade marshmallows! Cut them up into small squares or use cookie cutters (remember to dust them with the cornstarch / cornflour and icing sugar mix) for cool shapes and add on top of milkshakes. You can even top freshly iced cupcakes with them. Or you could individually bag up your marshmallow squares to make sweet Easter gifts!
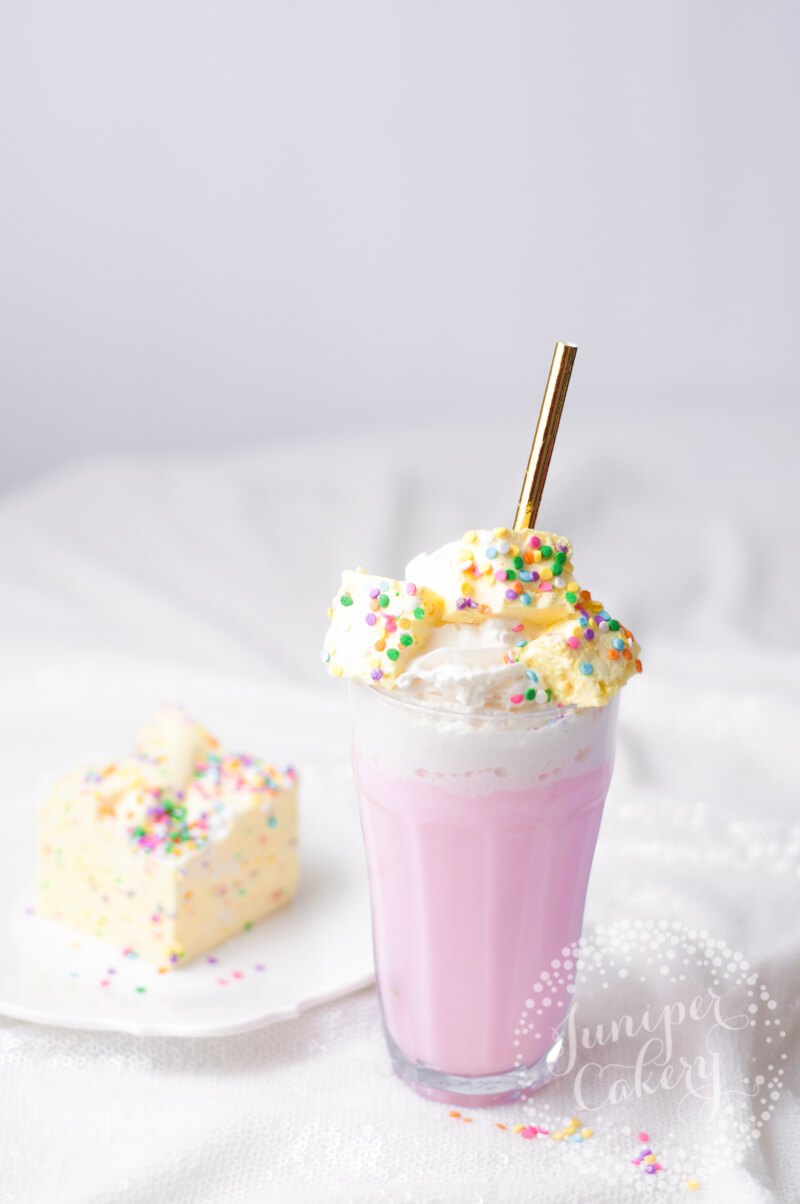
Bright lemon confetti marshmallows by Juniper Cakery

15th March 2016 // 0 Comments

Easter Rabbit and Daffodil Cake via the Tala blog!

Rabbit and daffodil cake by Juniper Cakery

We’re ready for Easter this year with one super cute little cake tutorial that we whipped up exclusively for the lovely folks at Tala! Lovely fresh colours, an adorable bunny rabbit and some pretty florals help make this petite design the perfect Spring cake for Easter lunch (or even an Easter birthday). If you’re ready to start re-creating our bunny and daffodil cake then head over to the Tala blog for our step-by-step guide!

As an established British company since 1899 Tala create fabulous vintage-inspired beware from flour sifters to cookie baking kits. We use their modelling tools and rolling pins regularly when we work so making this pretty little cake was super easy. Their stylish white modelling tools are also absolutely perfect for us photograph in our tutorial and recipe posts… you can probably spot them dotted around our blog!

Rabbit and daffodil party cake by Juniper Cakery

Bunny Rabbit and daffodil cake by Juniper Cakery

Easter bunny rabbit and daffodil cake!

Inspired by a lovely large bundles of pastels that adorn the shop fronts of florists during the run up to Easter our tutorial via the Tala blog will show you how to create quick soft golden and white daffodil blooms, a cheeky little bunny rabbit (that peers over the florals) and the floral stem effect that wraps around the sides of the cake. Broken down into more digestible steps this tutorial should be great for anyone with a bit of cake crafting experience!

Our top tip alert for anyone about to start a cake decorating project is to prepare yourself and also give yourself some good time! Cake decorating is never as straight forward or easy as it may seem unless you know what you’re doing so plan everything and don’t rush.

Daffodil and rabbit Easter cake tutorial by Juniper Cakery

One of the best things about a little cake like this is that it’s super easy to adapt for different occasions. Swap the daffodils for deep red roses for Valentine’s Day or daisies and peonies for a Mother’s Day treat. You can even use a darker green fondant for the ‘stems’ and top with sugar poinsettias for a festive winter design.

Easter Daffodil and rabbit cake by Juniper Cakery

26th March 2015 // 1 Comments

Hoppy Easter Cake Decorating: Quick and Cute Fondant Chick Tutorial!

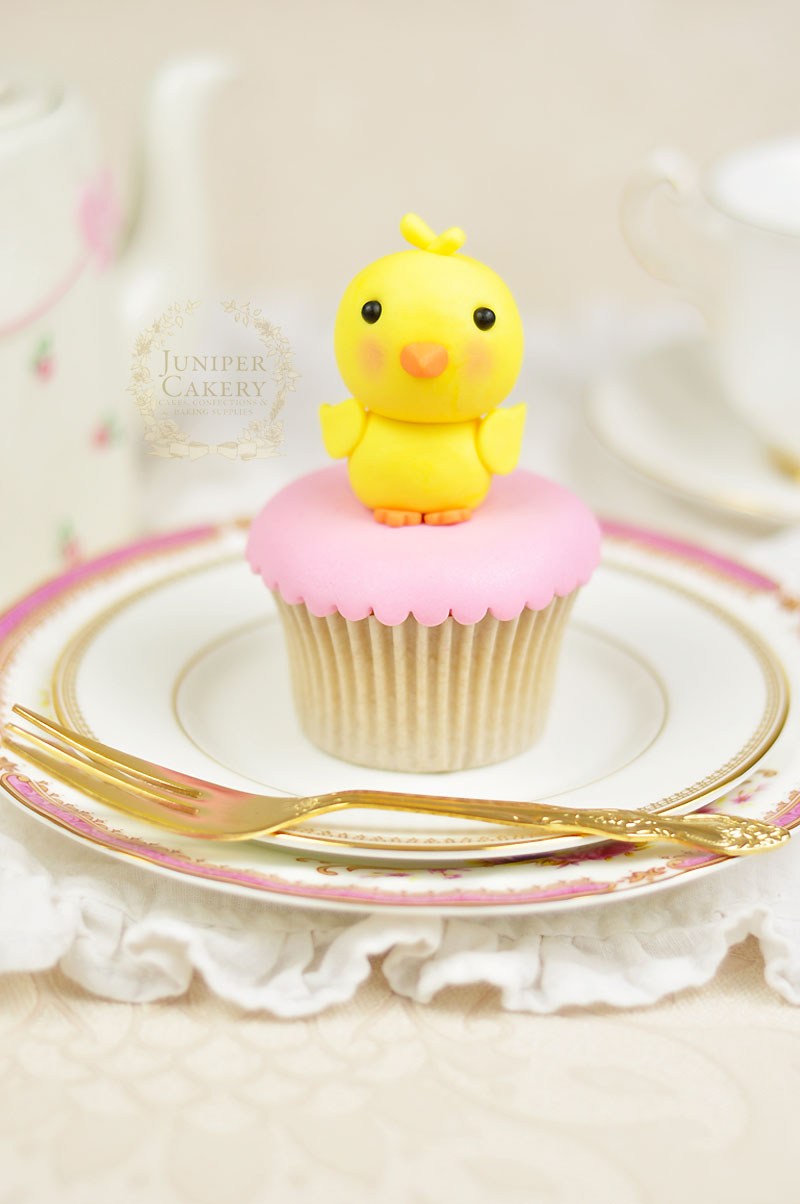
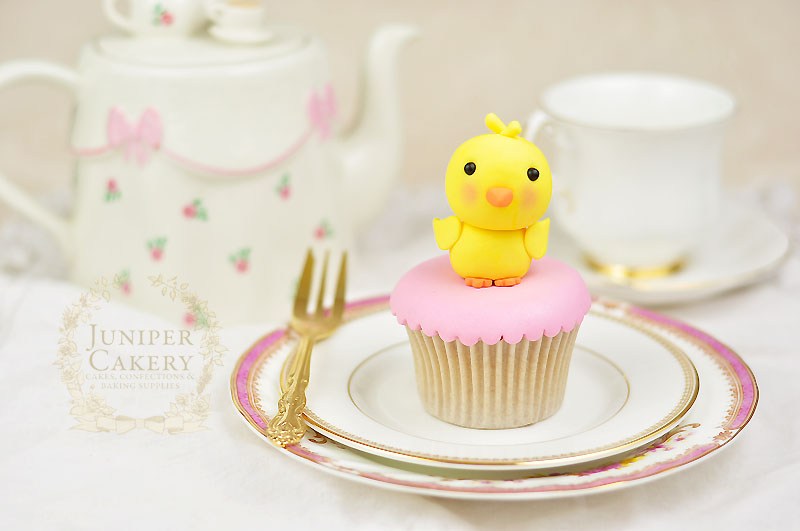
For Easter or general spring-themed treats it’s easy to feel a little overwhelmed, but why not add a little extra sweetness to your cakes with our surprisingly pain-free tutorial for an adorable fondant (or gum paste) chick! This little cutie is perfect for adding a little character to novelty cupcakes or freshly baked cakes so read on for our step-by-step guide on how to make your very own lovable little bird.

Fondant chick tutorial for cakes and cupcakes by Juniper Cakery

How to create a fondant chick tutorial…

Materials needed:

  • Yellow fondant/sugar paste or gum paste/modelling paste
  • Small black fondant balls approx. 4mm in size
  • A little orange fondant
  • Pink petal dust
  • Paintbrush
  • Edible glue
  • Uncooked spaghetti stick
  • Blade tool
  • Small ball tool
  • Small blossom cutter

Step 1:
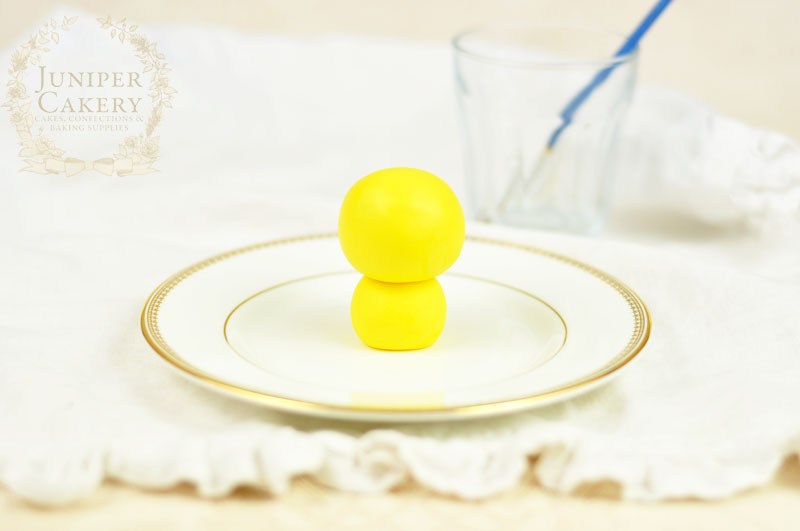
Make a small ball of yellow fondant approximately the size of a standard marble. This will be your chick’s body.

Create a sweet fondant chick with this tutorial by Juniper Cakery

Step 2:
Roll a larger ball of yellow fondant similar in size to a golf or ping pong ball. This will become the head.

Step 3:
Take a piece of spaghetti stick around 1cm longer than the first small ball of fondant you rolled and dip in edible glue before plunging carefully down the centre of your chick’s body (aka the smaller ball you rolled in step 1).

Step 4:
Paint the exposed part of the spaghetti with edible glue and attach the larger ball/ head onto the body.

Step 5:
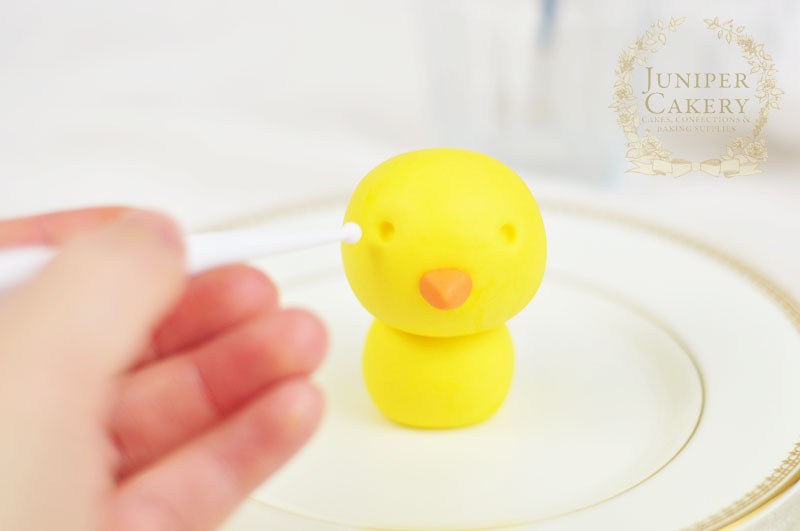
For the beak take a small ball of orange fondant and mould into a rounded triangular shape. Attach in the centre with edible glue.

Gum paste chick tutorial by Juniper Cakery

Tutorial for a cute edible chick by Juniper Cakery

Step 6:
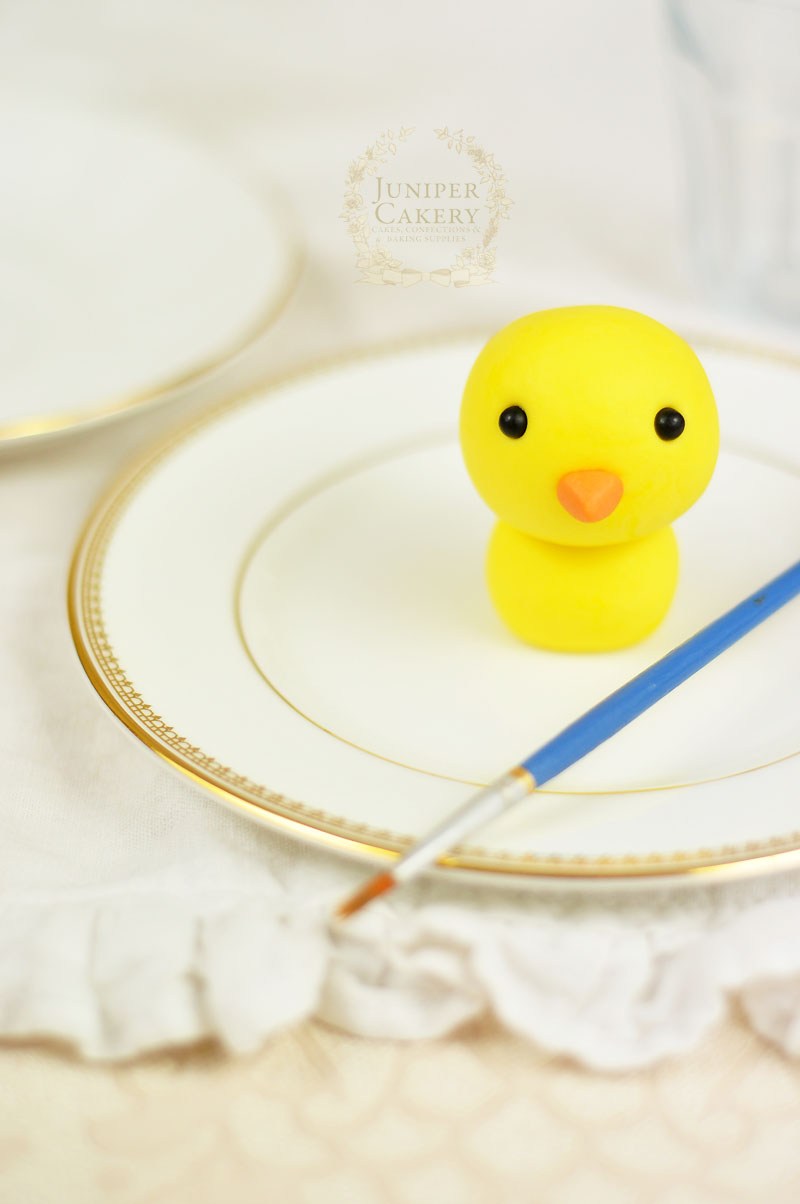
Indent two circles onto the head just higher than the middle of the ball to create the eye sockets. Attach the black fondant balls with edible glue.

Make a cute chick from fondant with this tutorial by Juniper Cakery

Easter fondant or gum paste chick birt tutorial by Juniper Cakery

Step 7:
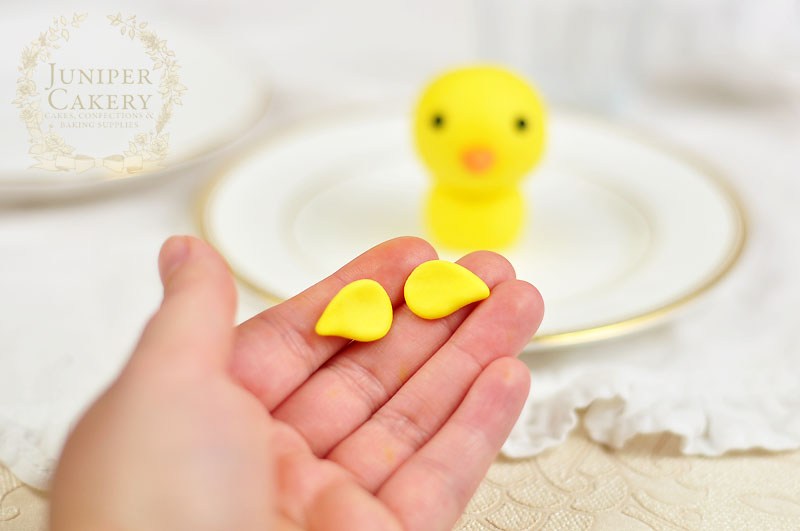
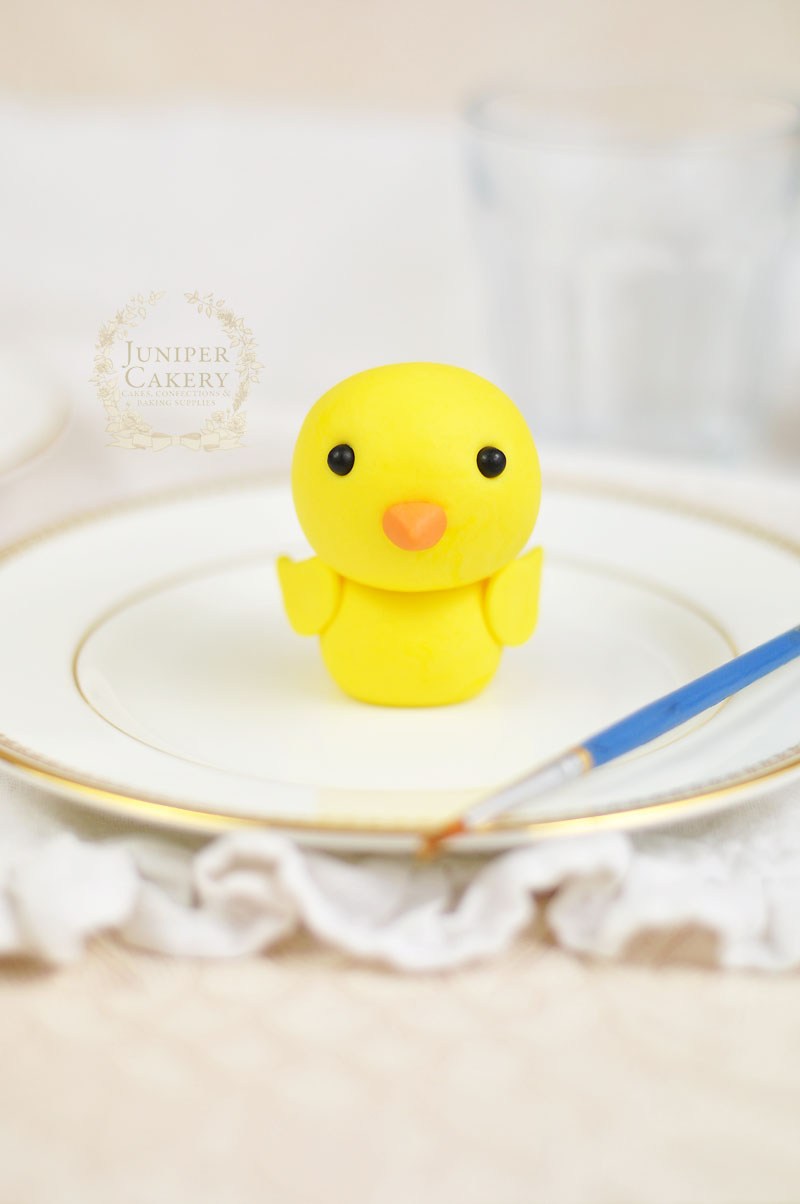
To add wings roll two equal sized balls of fondant a quarter of the size of the body. Flatten and smooth a little with your hands before pinching one side of each to form a tapered wing shape. Attach to the sides of the chick’s body with edible glue.

Step 8:
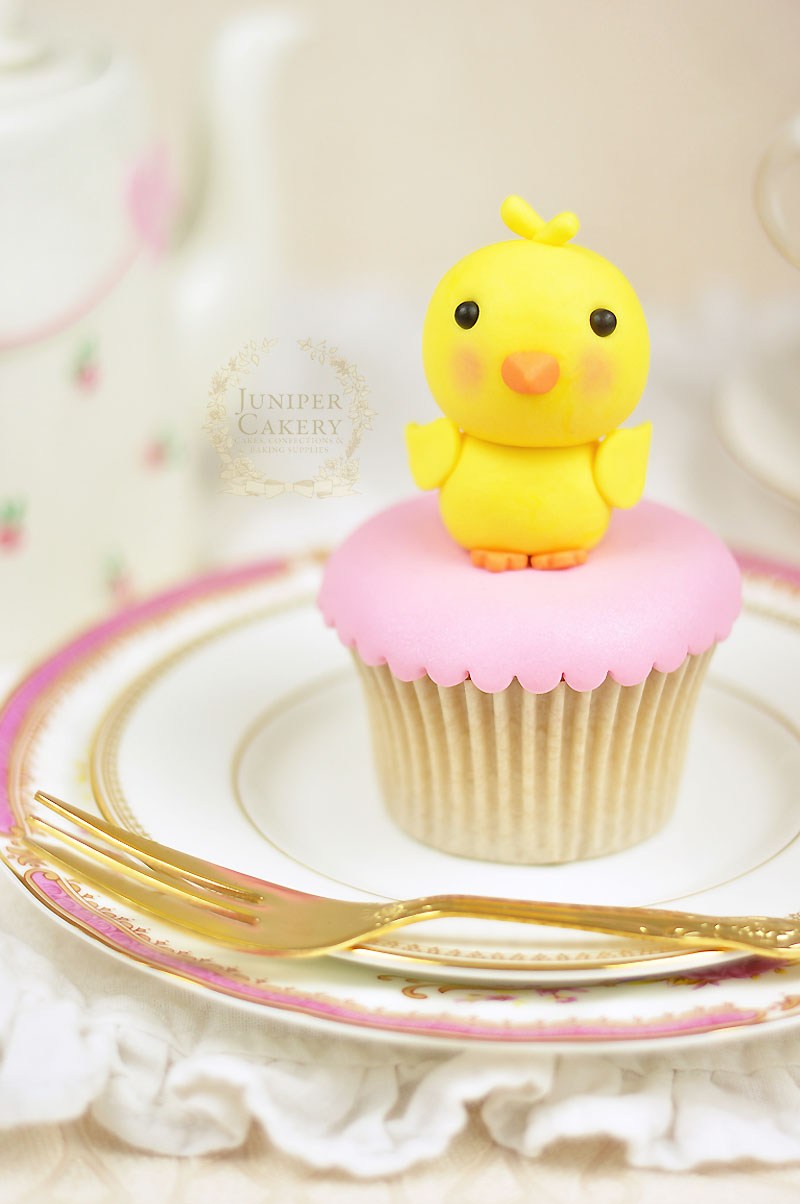
For cute tiny feet roll out some orange fondant to a thickness of around 4mm and cut two blossom shapes with a cutter of each chick. Attach to the bottom of the body with three scallops or petals of the blossom poking out from underneath.

Step 9:
If you want to add a cute little tuft of feathers on the head create three tiny teardrop shapes of yellow fondant and attach to the top with a dab of edible glue.

Step 10:
Finally add some lovely flushed cheeks with a little pink petal dust!

How to create a gum paste chick for Easter cake decorating by Juniper Cakery

Fondant Easter chick tutorial by Juniper Cakery

You can easily customise your fondant chick to suit so many different themed cakes and treats. Add tiny baseball caps or flags for sports themed designs, attach a bold fondant letter to them to personalise a fun party cake for someone special or change the colours (like blue for a Twitter addict)! 

25th March 2015 // 2 Comments

Hoppy Easter Cake Decorating: Chocolate Easter Egg Bark!

Decorating cakes doesn’t have to be hard. Sometimes simplicity and fun really helps (as well as knowing your limits). Our fabulously fuss-free chocolate Easter egg-inspired ‘bark’ is perfect for breaking up and using as gourmet style cupcake decorations and even better for adding a wonderfully dramatic effect to freshly buttercreamed cakes.

Inspired by tempting hand-crafted Easter eggs that have been somewhat of a trend in the UK for a past few years our quick chocolate bark can be adjusted to suit any recipe or theme. We create bark for an array of bakery-style cakes we make such as peanut butter (with crushed Nutter Butter cookies and a dark chocolate drizzle) to lemon and white chocolate (with yellow tinted white chocolate drizzles and bright rainbow sprinkles) because it’s tasty, quick and eye-catching! Follow our tutorial below to make this impressive and edible cake and cupcake decor!

How to make easy chocolate Easter egg bark!

Materials and ingredients needed:

Step 1:
In a microwave use a glass microwavable jug to melt your chocolate buttons or chips. Heat them for around a minute BUT keep checking them every 10-15 seconds or so giving them a good stir with a metal palette knife each time until all buttons are melted.

Step 2:
Line a flat baking tray with greaseproof paper and spread your melted chocolate thickly on top using the small angled palette knife.

Step 3:
Now for the super fun part! Add sprinkles, crushed candies, cookie crumbs, tasty chocolate chips etc on top. To help seal these delicious toppings in use melted chocolate drizzles on top.

Step 4:
Take your tray of tempting chocolate bark and place in the freezer for up to 30 mins to set fully. You can set your bark aside at room temperature for a few hours, but utilising a freezer helps speed up the wait a little.

Step 5:
Remove from the freezer and use your hands to break the slab of chocolate into large shards (to decorate smaller items such as slices of opera cake, buttercream piped cupcakes etc break into smaller pieces).

Step 6:
Now you can use the colourful pieces to adorn your freshly buttercreamed cakes and cupcakes!

Easy right? We bet you’re looking at one deliciously gorgeous cake right now. The best thing about creating chocolate bark and decorating with it is its adaptability. Its amazing to adjust and try out new sprinkles, sweets and chocolates for different occasions. We just can’t wait to make rocky road bark for chocolate fudge cakes or tasty s’mores inspired shards (mini marshmallows, chocolate pieces, graham crackers etc) for a toasted marshmallow and chocolate bakery cake!

24th March 2015 // 12 Comments

Hoppy Easter Cake Decorating: How To Make a Simple Yet Sweet Bunny Rabbit!

Yes, it’s that time again and with spring paving the way for all the wonderful pastel Easter festivities it’s time for us to unveil the very first of our Easter cake decorating tutorials; how to make a simple yet sweet bunny rabbit! This adorable edible bunny would be the perfect finish to any delicious cake or cupcake so read on for our step-by-step guide!

How to create a cute and easy fondant bunny…

Materials needed:

Step 1:
Take a small ball of fondant around the size of a standard marble and roll into a ball before tapering slightly into a rounded teardrop shape.

Step 2:
Paint a broken spaghetti stick around 1cm longer than the body you created in step 1 with edible glue. Insert into the centre of the fondant bunny’s body. Above is a photo of the fondant or gum paste ball before and then with the spaghetti stick inserted.

Step 3:
Roll a larger ball of fondant approximately the size of a golf ball. 

Step 4:
Add edible glue to the exposed half of the spaghetti stick and attach the larger ball of fondant on top. This will be the head of your rabbit.

Step 5:
Create two tiny balls of fondant and attach midway up the head to create the muzzle. 

Step 6:
Using a small ball tool indent two eye sockets and attach your black fondant balls into these with a dab of edible glue.

Step 7:
Add a tiny pink button nose with a small triangular shaped piece of pink fondant and some edible glue.

Step 8: 
Add detail to the muzzle with a scriber tool or even the pointed end of a cocktail stick!

Step 9:
To add ears roll out two equal sized balls of fondant around the size of a small to medium bean before rolling lengthways to form long rounded teardrop shapes. 

Step 10:
Insert two lengths of spaghetti sticks where you’d like the ears to sit. Make sure that each is the same length as the fondant ears. Paint these with a little edible glue.

Step 11:
Carefully push each fondant ear onto the spaghetti and flatten slightly.

Step 12:
To create a cute bunny-like stance attach two small balls of fondant underneath it’s head. These will be adorable little paws perched just under the bunny’s face!

Step 13:
Add some flushed cheeks to your bunny with some edible petal dust.

If you’ve followed our tutorial step by step then you should now be faced with one wonderfully sweet little bunny ready to nestle into a freshly buttercream cupcake or attach on top of an iced cake; ready just in time for a fun Easter party!


SaveSave

SaveSave