Make Our Melting Snowman Cake via Craftsy.com!

Winter is almost in full swing and with the icy and blustery weather making it’s way around us in the UK at moment we’ve got quite the cake for you to re-create at home! Our fun and festive Melting Snowman Cake is not only quick and painless to make, but it can even be adapted so that you can decorate it with the kids over the holidays! You can even set out lots of different sweets and candies and just leave them to let their creativity do all the work. Why not head on over to our FREE tutorial via the Craftsy.com blog for more!
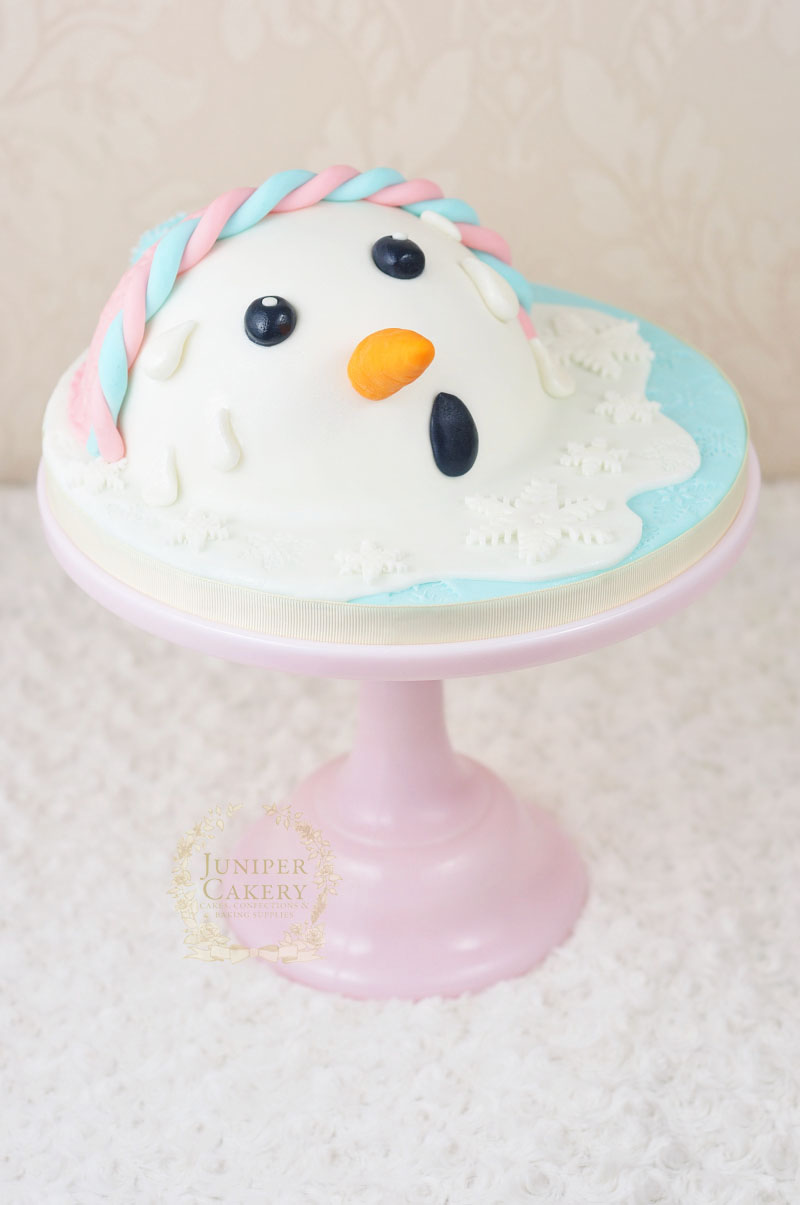
Make a melted snowman cake tutorial by Juniper Cakery

Decoration-wise we love the idea of little fondant ear-muffs nestled onto the head in place of a knitted bobble hat. Some other adorably festive ideas would be to use chocolate coated pretzel sticks for twig arms, add a fondant robin perched on top of the head, wrap a sugar paste / fondant scarf around your snowman’s face or add some extra customisation with different colors.

Just in case you need some extra tips or ideas why not read our posts on repairing fondant, how to make the perfect cake paint (if you need to add some lovely painted elements this is perfect for you!) or if you’re going to carve a ball shaped cake rather than use a hemisphere/dome tin then our tips and handy tools for sculpting cake may help!
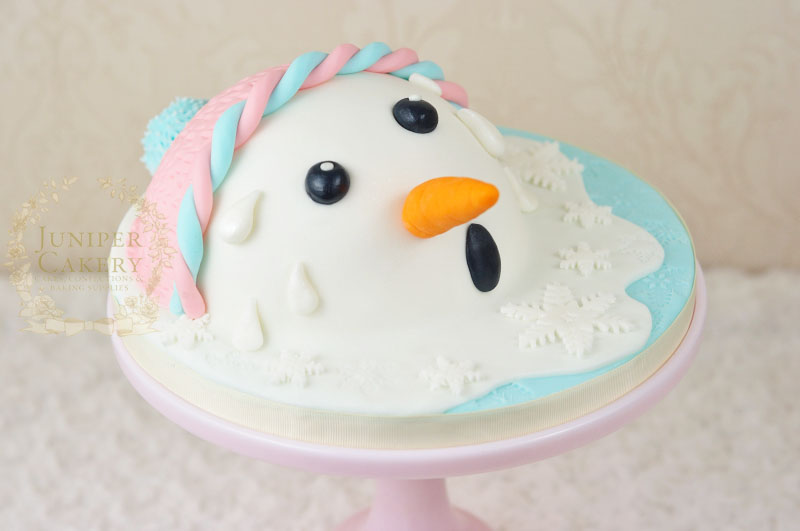
Juniper Cakery's snowman cake tutorial for Craftsy

For a festive cake decorating party fit for children (and big kids aka grown-ups) why not pre-ice your snowman with the board, melted snow and hat before supplying lots of mini cookies and candies with some royal icing and to the table for guests to decorate with! 
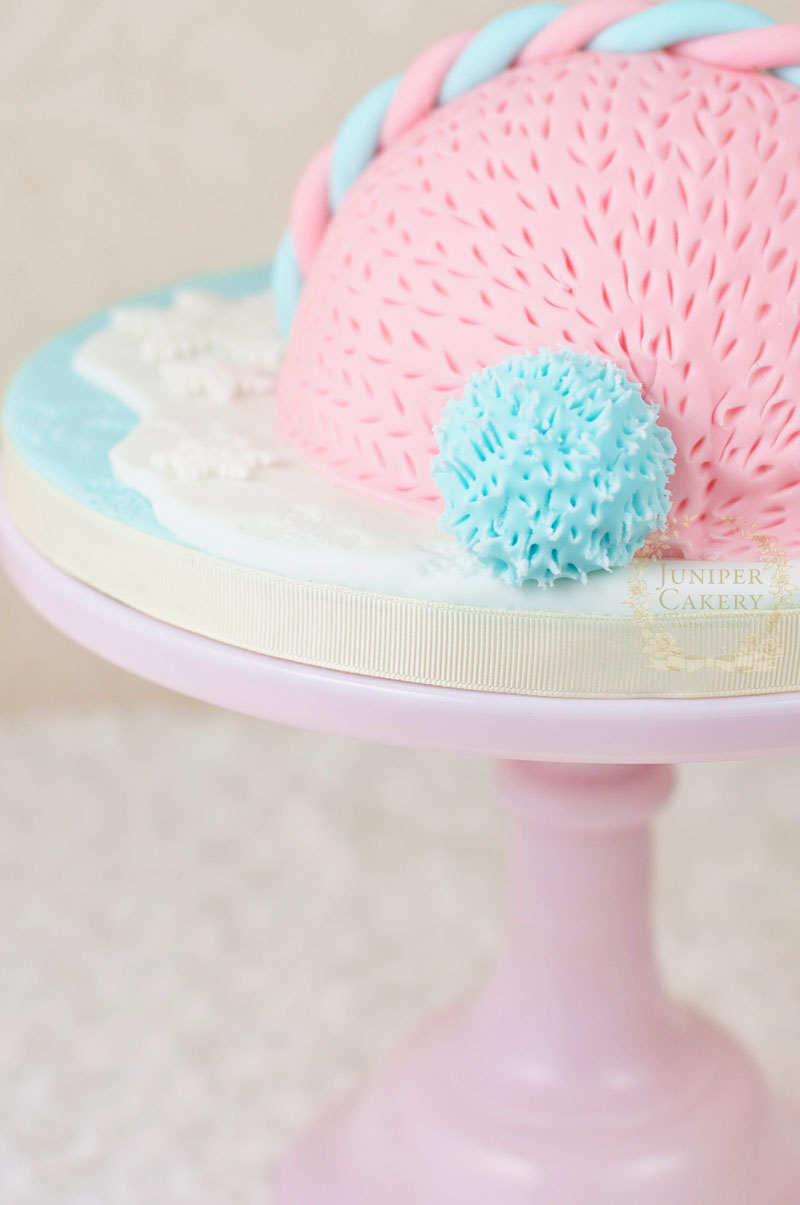
Learn how to make a festive and fun snowman can via Craftsy with Juniper Cakery

Adding a knitted look to winter inspired cakes needn’t be a chore full of silicone moulds and matching up sections of sugar paste / fondant. In our Melting Snowman Cake tutorial we share a quick and easy technique that helps mimic the look of cosily knitted items!

If you’re looking for lots of cake decorating inspiration for the frosty season why not check out our latest posts via our blog and our contributions via Craftsy.com! From inspirational winter wedding designs to making lots of Christmas themed treats you’re bound to get some merry and bright ideas!


Tutorial Tuesday: Easy Meringue Christmas Trees!

Hurrah! Christmas is coming! Whilst this is ever so exciting we understand that whipping up (pun fully intended due to the nature of this blog post) festive treats for the holiday season need to be both striking yet stress-free. That’s why for our collection of Christmas cake, cupcake and cookie decorating tutorials and recipes we’ve tried our best to keep them simple. This week we begin our festive series with some delightfully easy Meringue Christmas Trees!

How to whip up easy Meringue Christmas Trees…

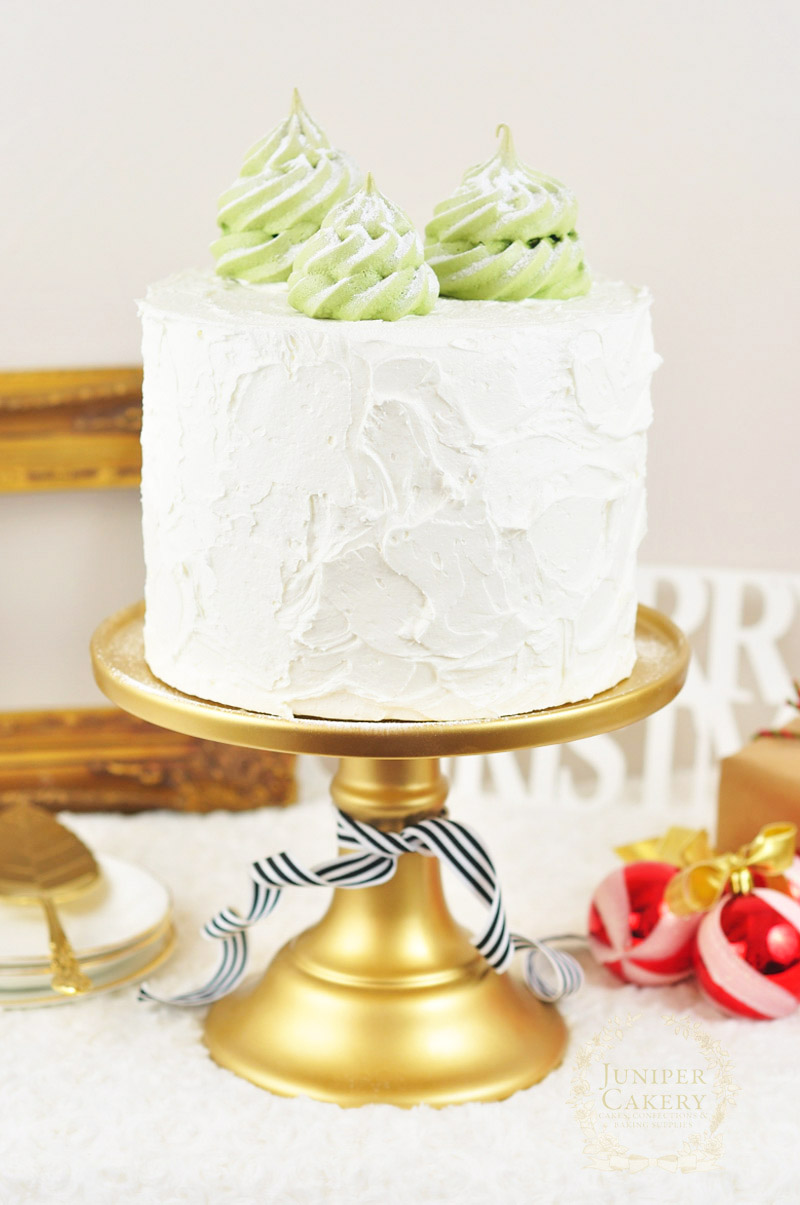
Easy meringue Christmas trees recipe and tutorial

Meringue Christmas Trees

Ingredients needed

  • 60g egg whites (room temperature works best)
  • 120g caster sugar (this needs to be caster sugar as it dissolves perfectly in a meringue)
  • Green gel or paste food colour

Note: As a general rule you need double the amount of caster sugar to egg whites so if you need to make a large bowl of meringue keep this in mind!

Materials needed

  • Piping bag
  • 828 Ateco piping tip
  • Cookie sheet/tray or any flat baking tray
  • Parchment paper or silicone baking mat
  • Clean kitchen paper towels
  • Lemon juice

Meringue recipe

Step 1:

Pre-heat your oven to gas mark 2/300F/170C and line a flat baking try with either parchment paper or a silicone mat.

Step 2:

In the lemon juice wiped (this rids any fat residue with can make a meringue seriously fail) bowl on a stand-up mixer add your room temperature egg whites and whisk on high speed for a few minutes or until lovely stiff peaks are formed! 

Step 3:

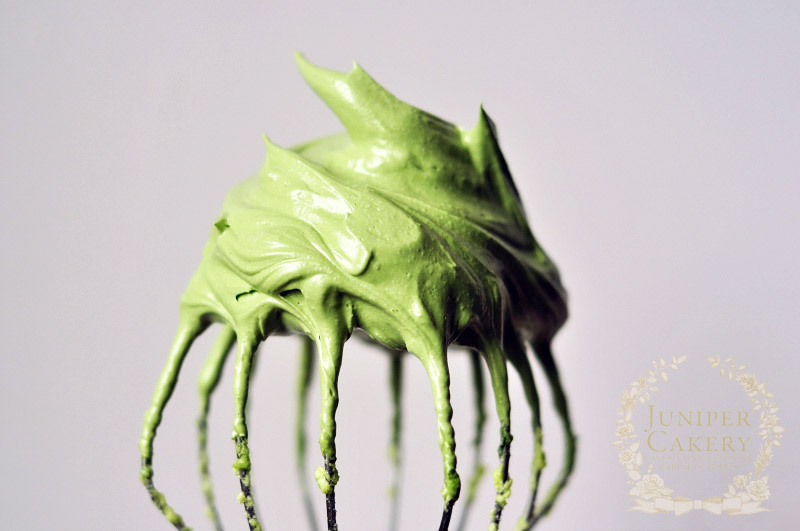
Add in your food coloring and mix for around 20 seconds or until fully incorporated. Don’t worry if your egg whites begin to look a little ‘clumpy’ or if they all seem to congregate inside your whisk. Adding the sugar next ‘loosens’ them.

Step 4:

Gradually add in your caster sugar a tablespoon at a time as you whisk on high until glossy, stiff peaks form.

Pipes meringue Christmas trees

Step 5:

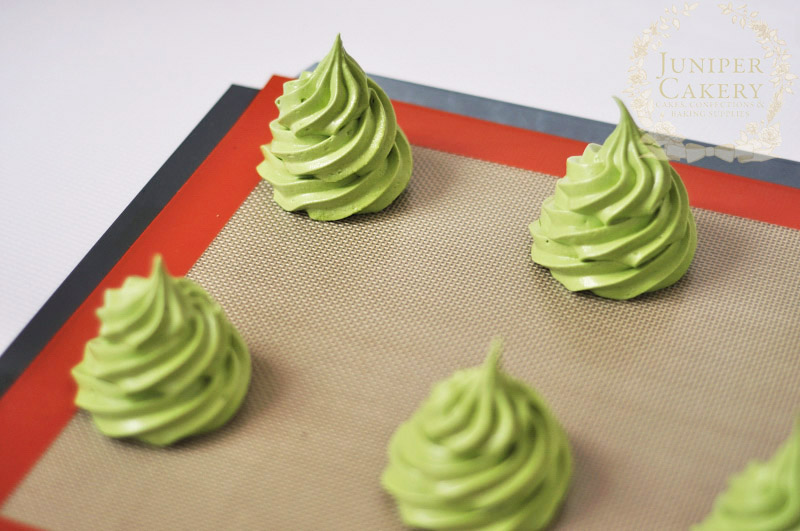
Fill a piping bag fitted with a 828 piping tip with your green meringue mix and shake the bag down to rid yourself of any unwanted air bubbles.

Step 6:

Pipe a row of Christmas trees at least 2 inches apart on your tray. To do this simply pip as your would with  cupcake buttercream/frosting yet a little taller.

Step 7: 

Place in the oven on the lowest rack for around 1 hour. To prevent the tops from browning add a thin sheet of foil to the top tray of your oven and increase your baking time to 1 hour and 30 minutes.

Step 8:

When baked remove and set aside to cool. You can then work on some decorations like fondant/sugar paste stars using rolled out fondant or sugar paste icing, some star shaped cutters and a little pearlescent, gold or silver lustre dust! Attach any extra decorations on with a tiny dab of melted white chocolate and you should be left with a miniature forest of festive trees.

Recipe for meringue Christmas tree cake toppers

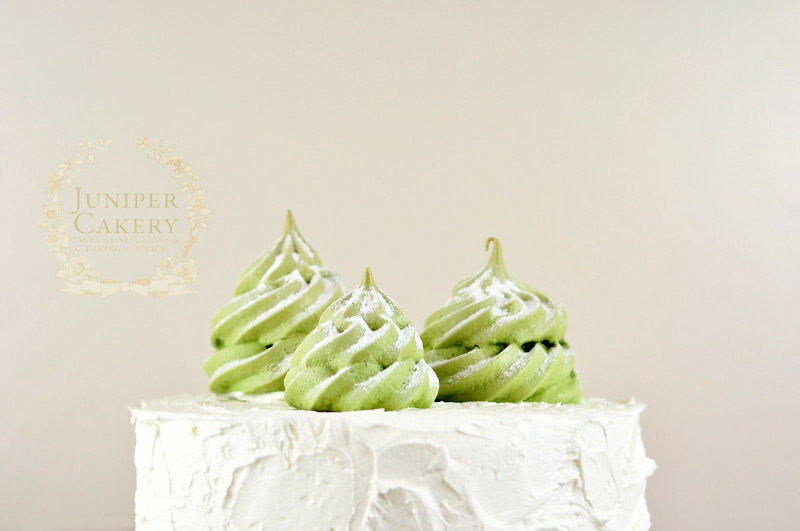
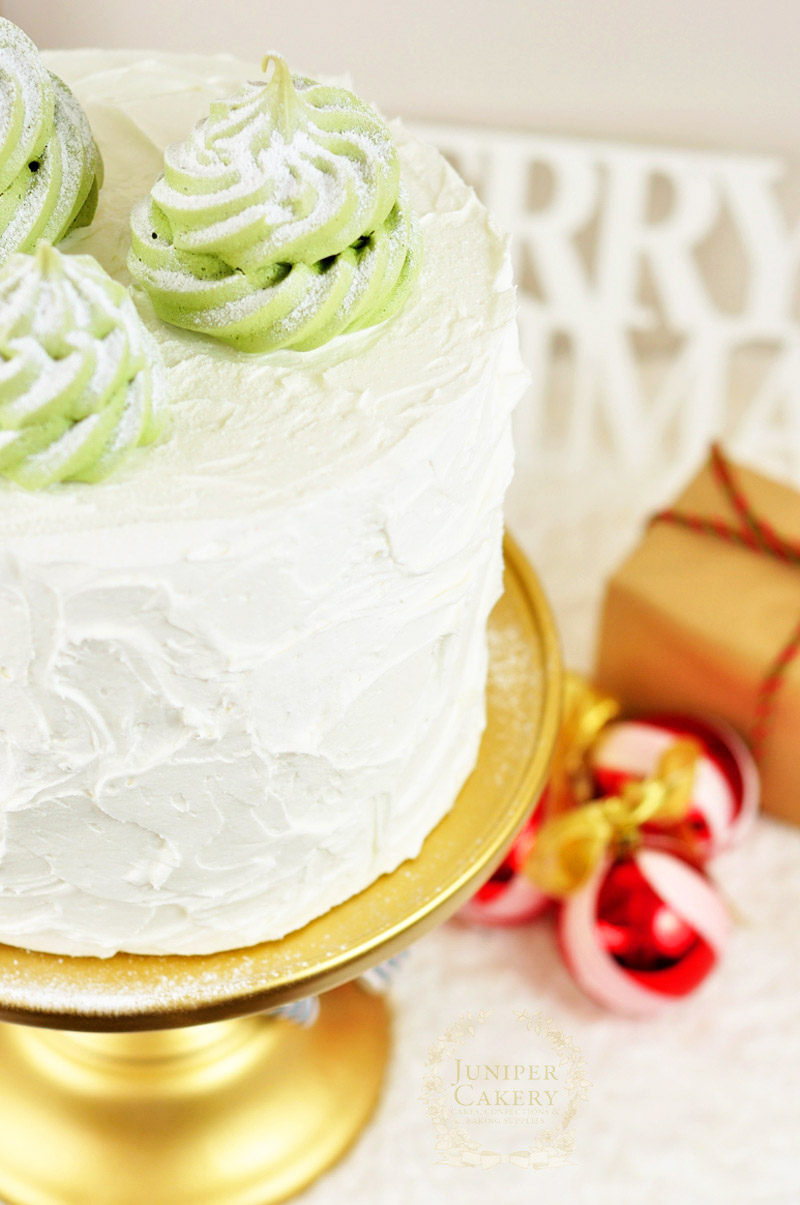
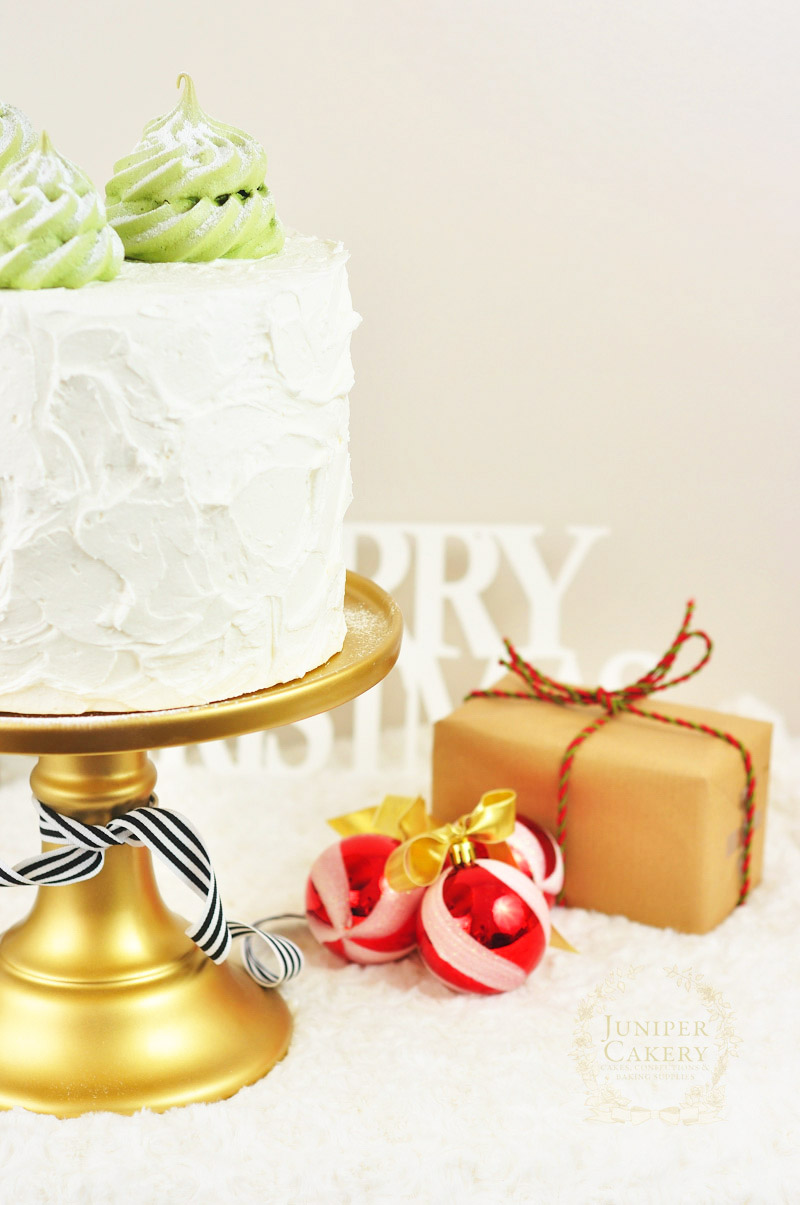
There are lots of fabulous ways you can use these adorable edible Christmas trees for holiday treats. We added ours on top of a red velvet cake smothered with rustic and white cream cheese buttercream before dusting them lightly with a little icing sugar to create a quaint snowy scene. 

Simple meringue Christmas tree desserts

Some great ideas on how you could decorate cakes and cupcakes with your easy Meringue Christmas Trees are to nestle them on top of tasty cupcakes, add them around the edges of a freshly baked and iced cake, or your could even serve them up on a silver platter just as they are!


Brandy Alexander Cupcake Recipe for The Devilled Egg

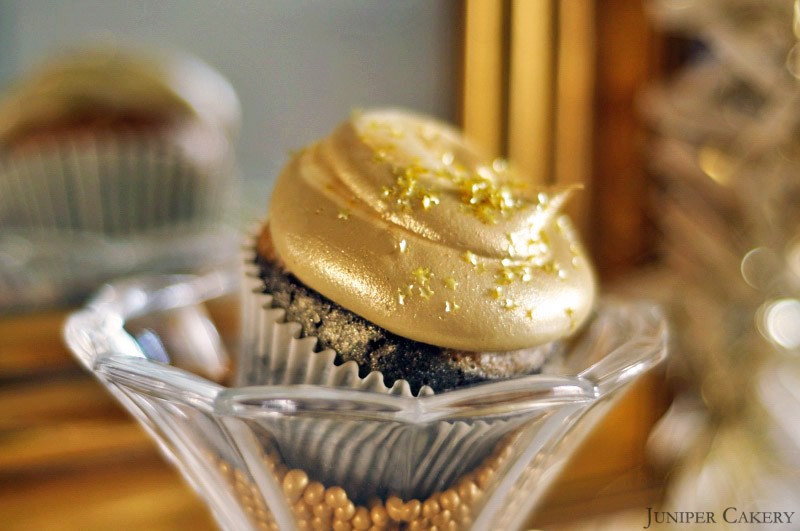
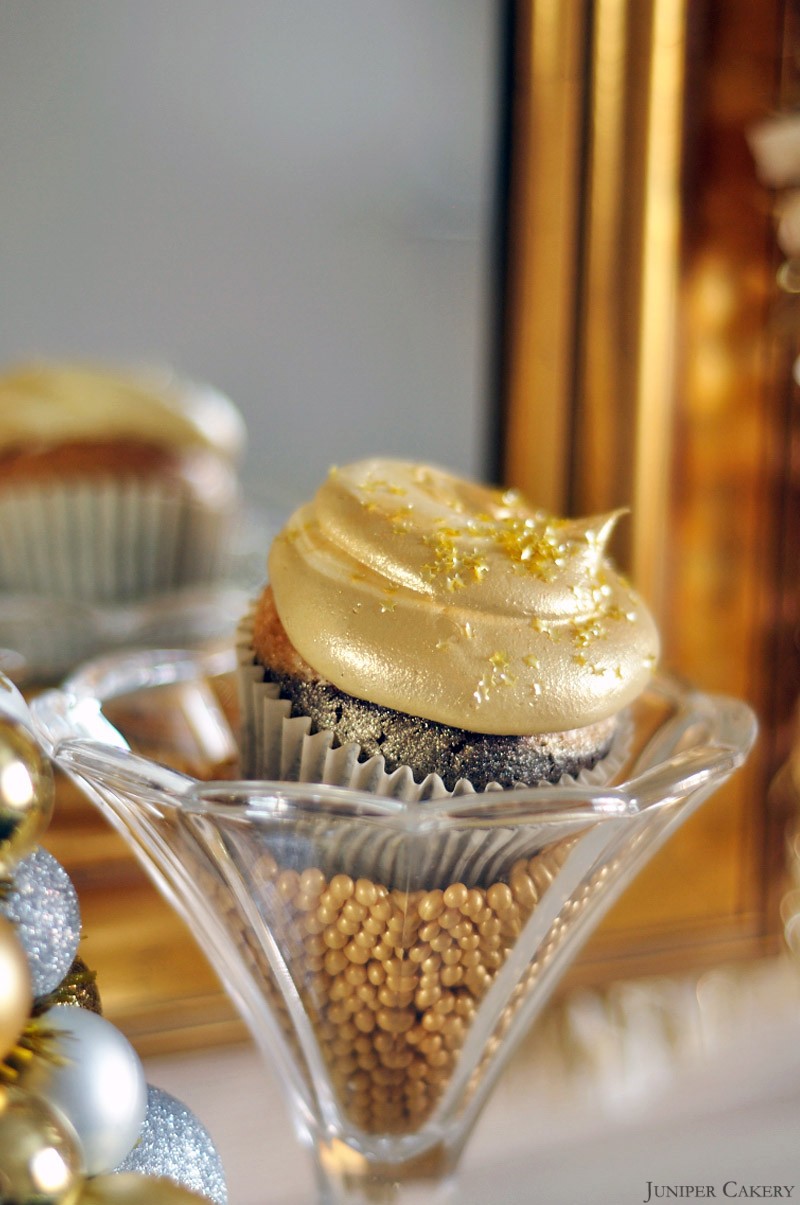
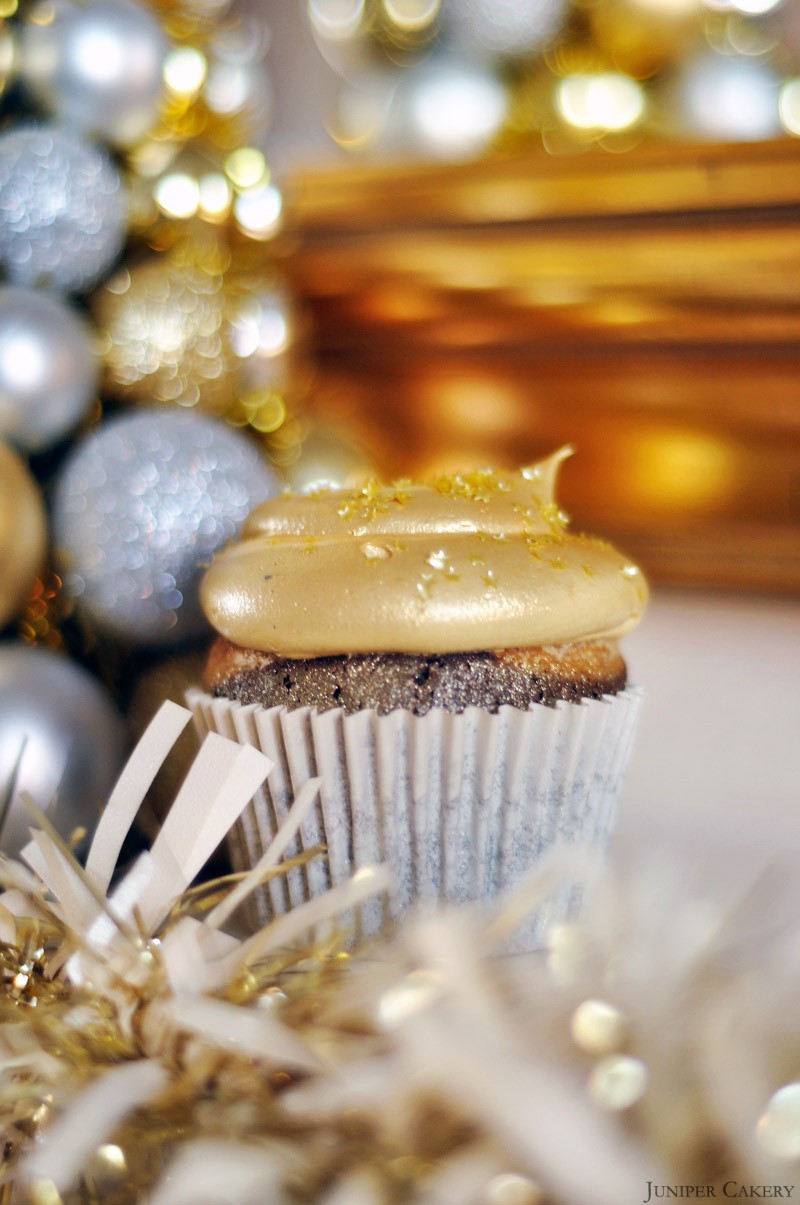
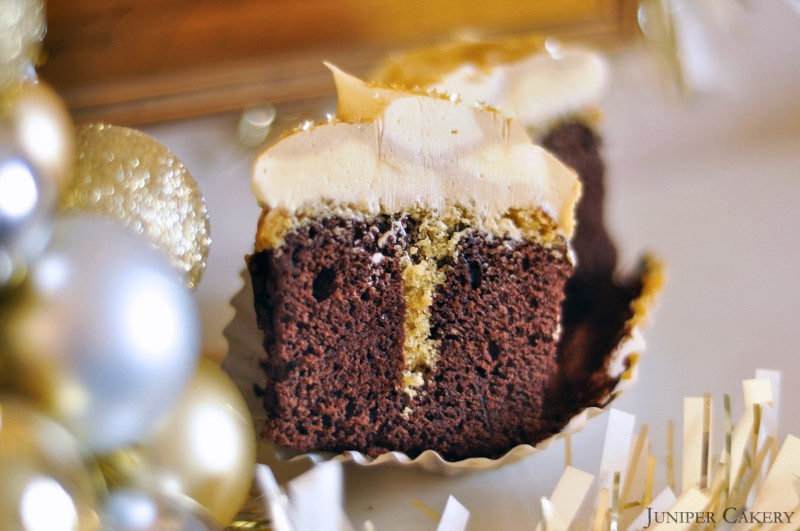
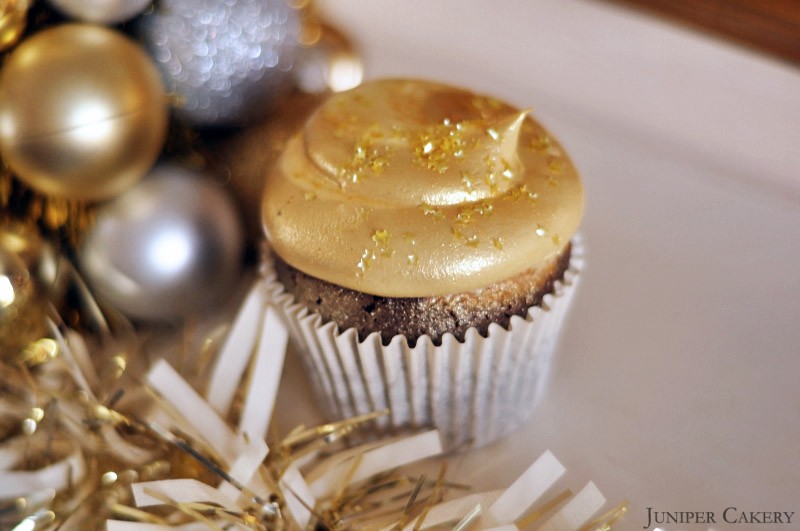
The Christmas period has always been synonymous with liqueur fueled festivities. Combine this with a little bit (or a lot) of indulgence at the dinner table and you should be left with a flurry of luxurious booze-y desserts! With this in mind we’ve whipped up a tempting Brandy Alexander cupcake; a creme de cacao with dark chocolate and brandy cake swirled with silky brandy buttercream, dusted with gold and finished with twinkling edible star sequins for culinary school, The Devilled Egg. This decadent cocktail inspired cupcake will no doubt have all of the grown ups at the party rushing to your dessert tables and cake stands for a sample or several. Head on over to The Devilled Egg Kitchen Academy’s blog for our full recipe!

Brandy Alexander Cupcake by Juniper Cakery

Brandy Alexander Cupcake by Juniper Cakery

Brandy Alexander Cupcake by Juniper Cakery

Brandy Alexander Cupcake by Juniper Cakery

Brandy Alexander Cupcake by Juniper Cakery


‘Re-launch Week Tutorial No. 1′: How to make an easy Rudolf the Red Nose Reindeer cupcake

This is a really quick and easy tutorial to make your cupcakes festive and fun in the winter months! What makes the Rudolf the Red Nose Reindeer cupcake even better is that anyone can try it! If you’ve limited cake decorating experience, want quick cupcakes to wow your family and friends with or you need a tasty project to do with the kids in the holiday season then this may be the perfect tutorial for you!

What you will need:

A cupcake
Buttercream (your prefered flavour, we used butterscotch)
Pretzels
M&Ms or Cinnamon Drop sprinkles by Wilton
808 tip by Ateco
White Candy Melts by Wilton
Jet black edible ink pen by Rainbow Dust
Disposable piping bag by Ateco
Fully edible glitter by Twinkle Baker Decor

Step one: Take your filled disposable piping bag by Ateco and pipe a generous swirl atop of your cupcake. Sprinkle with some fully edible glitter to finish!

Step two: Set your cupcake aside and take two white candy melts by Wilton. Using the jet black edible ink pen by Rainbow Dust draw pupils in the centre of the candy melts; now you have your reindeer eyes.

Step three: Now push your reindeer’s eyes into the buttercream at the top and then nestle an M&M below at the centre for Rudolf’s nose.

Step Four: Take your pretzels and push them into the top of the buttercream behind the eyes.

Now you have created your very own Rudolf the Red Nose Reindeer cupcake to enjoy during the holidays! Keep checking back to find out how to whip up the other cupcakes below!

Merry Christmas from Juniper Cakery


‘Tutorial Tuesday': How to make a sugarpaste witches’ hat and broom for Halloween!

With autumn underway and Halloween just around the corner we’re celebrating the upcoming festivities by bringing you autumn and Halloween themed tutorials from now ultil the end of October!

What you will need:

Edible glue
Hologram Graphite cake glitter by Rainbow Dust
Lush Lime cake glitter by Rainbow Dust
White Lustre Dust by Sugarflair
Custom coloured fondant
Blade and Shell tool by Tala
Paint brushes
Non-stick rolling pin by Tala
Circular cookie cutter by Tala

Step one: Roll out the black coloured fondant and cut a circle out using the cookie cutter. This will form the base of the witches’ hat

Step two: Using the left over black icing form a ball ensuring it begins to taper at one end. This should look like an oversized ‘raindrop’.

Step three: Once rolled out use the blade tool to create a ghoulishly green band.

Step four: Paint the base of the hat and the larger end of the ‘raindrop’ with edible glue and esemble them as shown above.

Step five: Using a small amount of the grey coloured fondant form the shape of a buckle. To give the buckle a metallic sheen brush with a little lustre dust. Before attaching use the tip of the blade tool to create ‘buckle holes’.

Step six: Using the Lush Lime and Hologram Graphite Rainbow Dust add a finishing sparkle to the witches’ hat. Gently paint with edible glue before applying the glitter if it does not stick.

Step seven: To make the witches’ broom roll the dark brown fondant until it resembles a broom handle. Roll the light brown icing and use the blade tool cut out a ‘fan’ shape’. Continue to use the blade tool to create a bristle effect.

Step eight: Glue both pieces together and add extra detail by applying small amounts of grey fondant to secure the broom end to the broom handle.

Now you have two spooktacular sugarpaste creations to decorate your Halloween themed cupcakes!


×