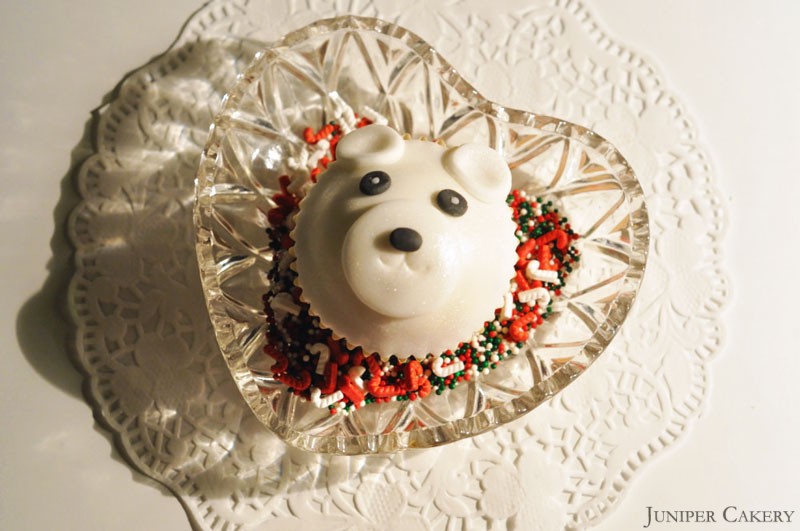
‘Re-launch Week Tutorial No. 5′ : How to make a polar bear cupcake!

In today’s tutorial we show you how to decorate a cupcake to create an lovely polar bear perfect for the holiday season! This tutorial is fun for adults and kids to both make and gobble up! You can also easily adapt the steps in this tutorial to make other adorable animals; such as making triangular ears, larger eyes and adding whiskers to whip up a little cat.

How to make a polar bear cupcake

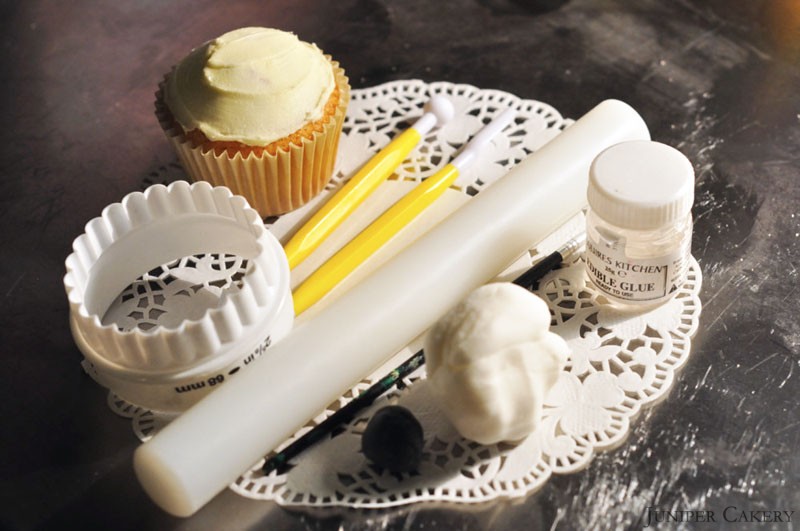
What you need…

A cupcake smoothed with buttercream
White modelling paste
Black modelling paste (or white paste hand coloured with black colouring)
Edible glue
Paintbrush
Fondant rolling pin
Circle pastry cutter set by Tala
PME ball tool
PME scallop and comb tool

How to make a polar bear cupcake

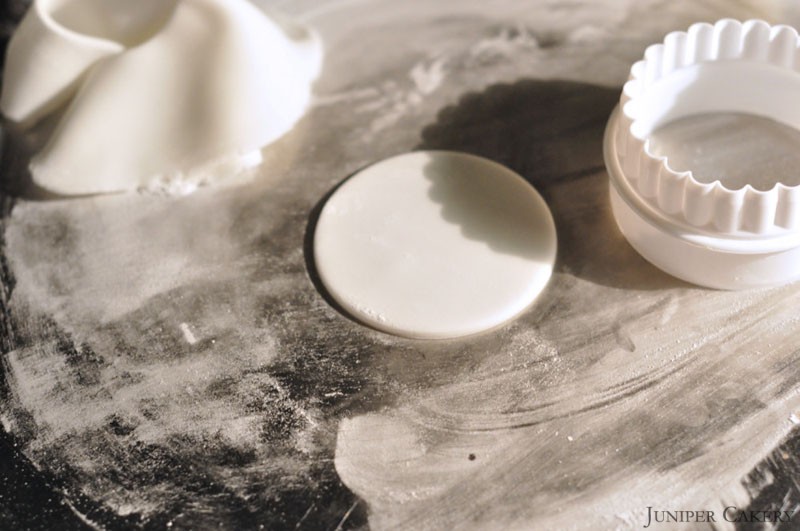
Step one: Roll out some white sugarpaste and cut out a circle with your 68mm cutter.

How to make a polar bear cupcake

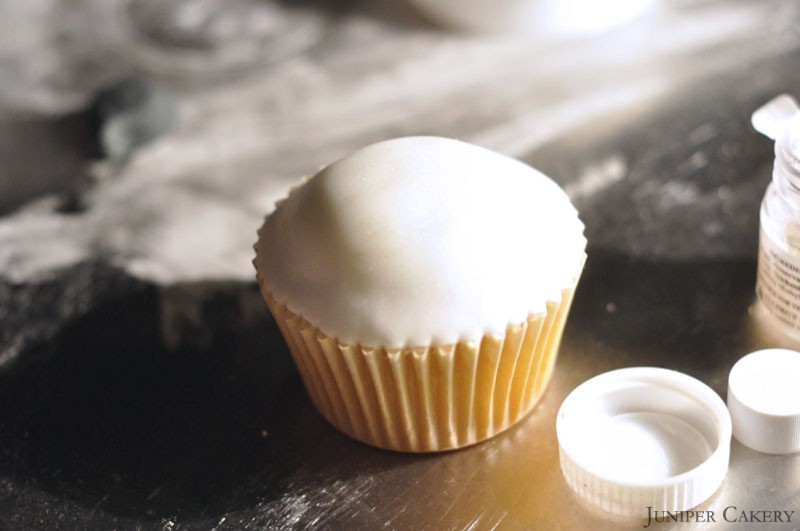
Step two: Take your cupcake smothered with buttercream and smooth your sugarpaste circle atop. Press lightly at the edges until the icing meets the edge. Dust with lustre dust if you would like some festive sparkle.

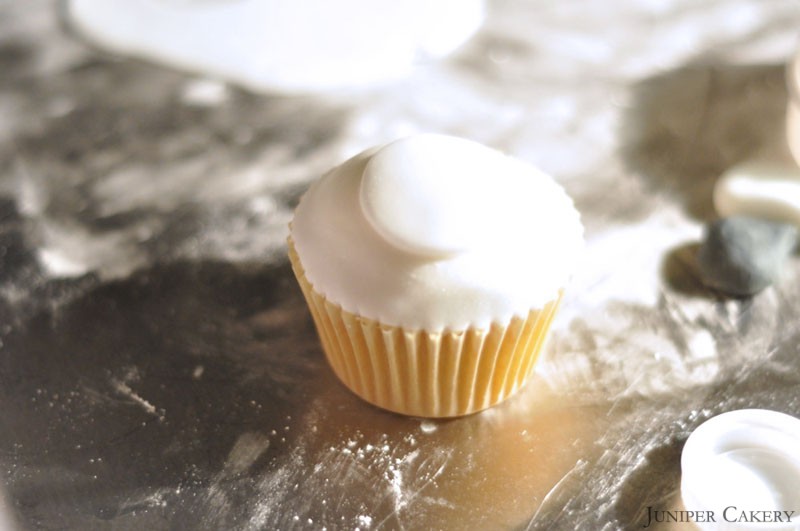
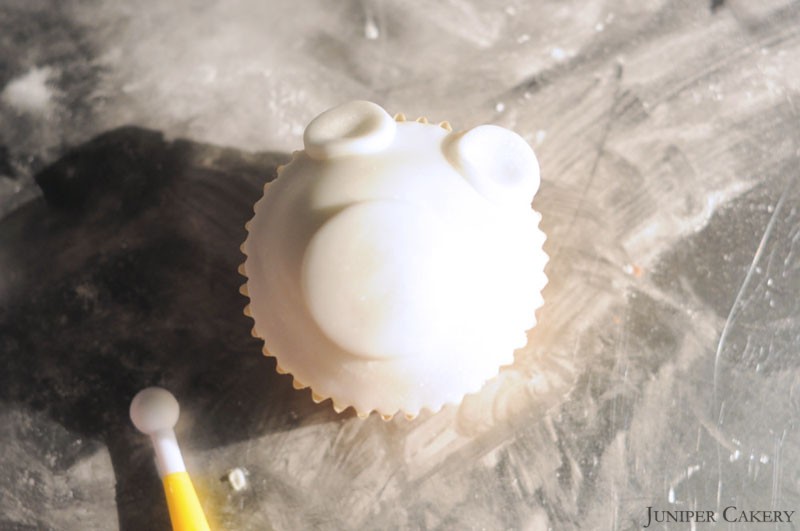
Step three: Cut out a small circle of sugarpaste using a small circle cutter. Using your edible glue attach this just low to the centre of your cupcake. Dust with lustre dust if you wish.

How to make a polar bear cupcake

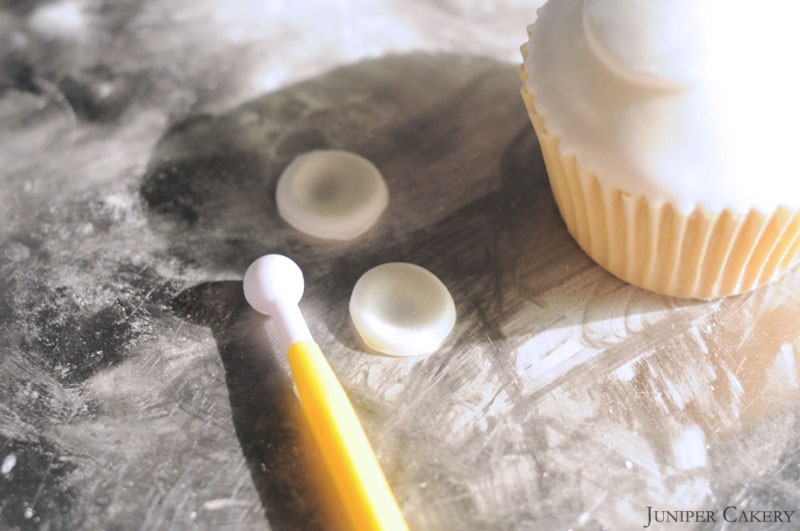
Step four: Cut out two circles from your rolled out white sugarpaste and indent them with your ball tool to make your bear’s ears. Dust with lustre dust.

How to make a polar bear cupcake

Step five: To affix the ears dab some edible glue atop your cupcake on either side then lightly press the ears on top.

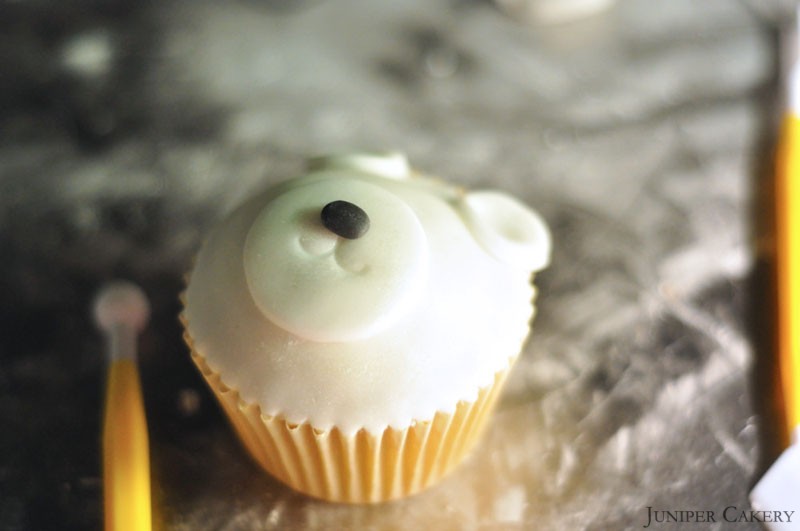
Step six: To make your polar bear smile use the scallop tool to indent both sides of the mouth into the muzzle.

Step seven: Create a tiny nose from some black sugarpaste and glue this above the mouth.

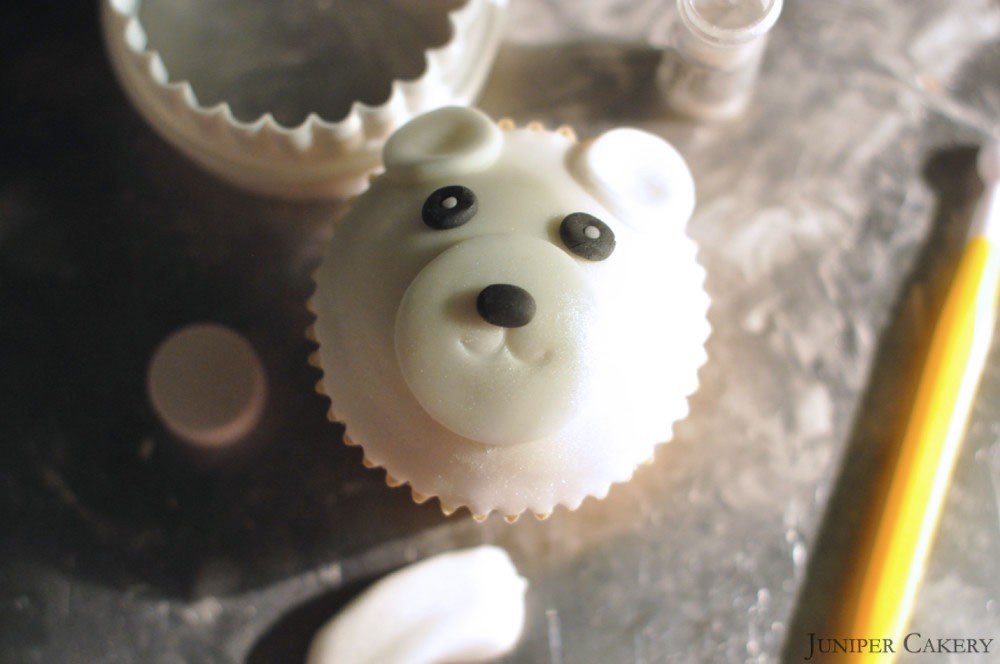
Step eight: Finally to make the eyes make two small black balls and lightly flatten. Glue these above the polar bear’s muzzle. Then create two tiny white balls, indent the blacks with the end of your paintbrush and glue the tiny white balls in.

Hurrah! You now have a lovely little polar bear cupcake to enjoy in the holiday season. Merry Christmas and happy baking from Juniper Cakery!

 

‘Re-launch Week Tutorial No. 2′: How to flat fondant ice a cupcake!

What you will need:

A cupcake
White fondant icing
Green fondant icing
Red fondant icing
Small amount of buttercream
Holly plunger cutter by PME
Edible glue by Squires Kitchen
Paintbrush
White lustre dust by Sugarflair
Round cookie cutter set by Tala (if you do not have one of these an appropriate sized glass/cup would suffice)
Fondant roller
Spatula

Step one: Roll out your white icing on a smooth non-stick (or icing sugar coated surface) until it becomes 1 or 2 mm thick.

Step two: Select the appropriately sized cookie cutter from the Tala set (or a glass/cup from the cupboard). This design will translate well on any cupcake and the size depends on persoanl preference.

Step three: Now you have your icing circle discard the remaining white icing placing your icing circle safely to one side. Take your spatula and spread your buttercream atop of the cupcake making it as smooth as possible. (If your cupcake is flat use the buttercream to create a ‘dome’ shape). You can be as generous as you like when applying the buttercream so long as your icing circle can still reach the sides of the cupcake case.

Step four: Take your icing circle and lay it atop the cupcake to nestle in to the buttercream. Gently spread the icing circle down toward the sides of the cupcake case ensuring it meets; smooth the icing down from the middle until it looks like the above picture.

Step five: Set your iced cupcake aside and roll out the green fondant icing. Once this is 1mm thick use the holly plunger cutter by PME to cut out your decoration.

Step six: Lay the holly aside and take the red fondant icing. Take very small, berry-sized, pieces of the red icing and roll it between your index finger and your thumb. Repeat this three times and you will have your holly berries!

Step seven: With a clean paintbrush smooth the lustre dust by Sugarflair around the whites of your cupcake to give it a frosty shimmer.

Step seven: Using a small amount of edible glue by Squires Kitchen and the paintbrush wet the surfact of your cupcake and place the holly leaves and berries atop.

Now you have your festive fondant/flat iced cupcake! Merry Christmas from Juniper Cakery


×