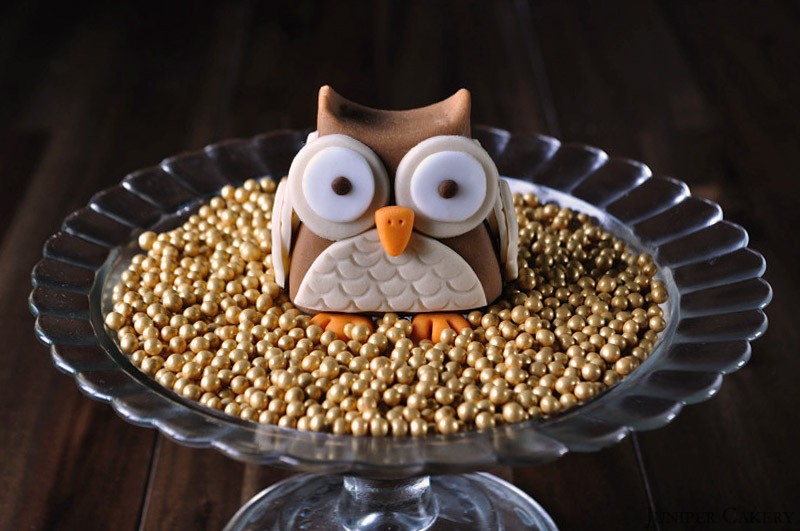
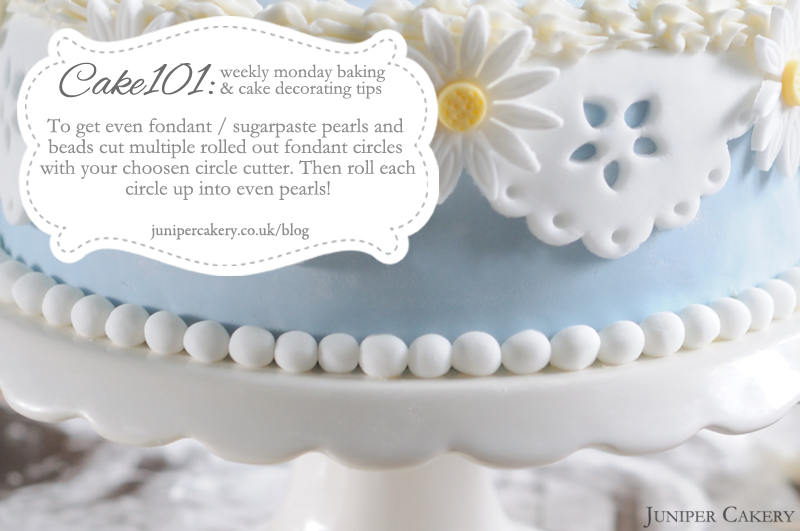
Hoppy Easter Cake Decorating: Quick and Cute Fondant Chick Tutorial!

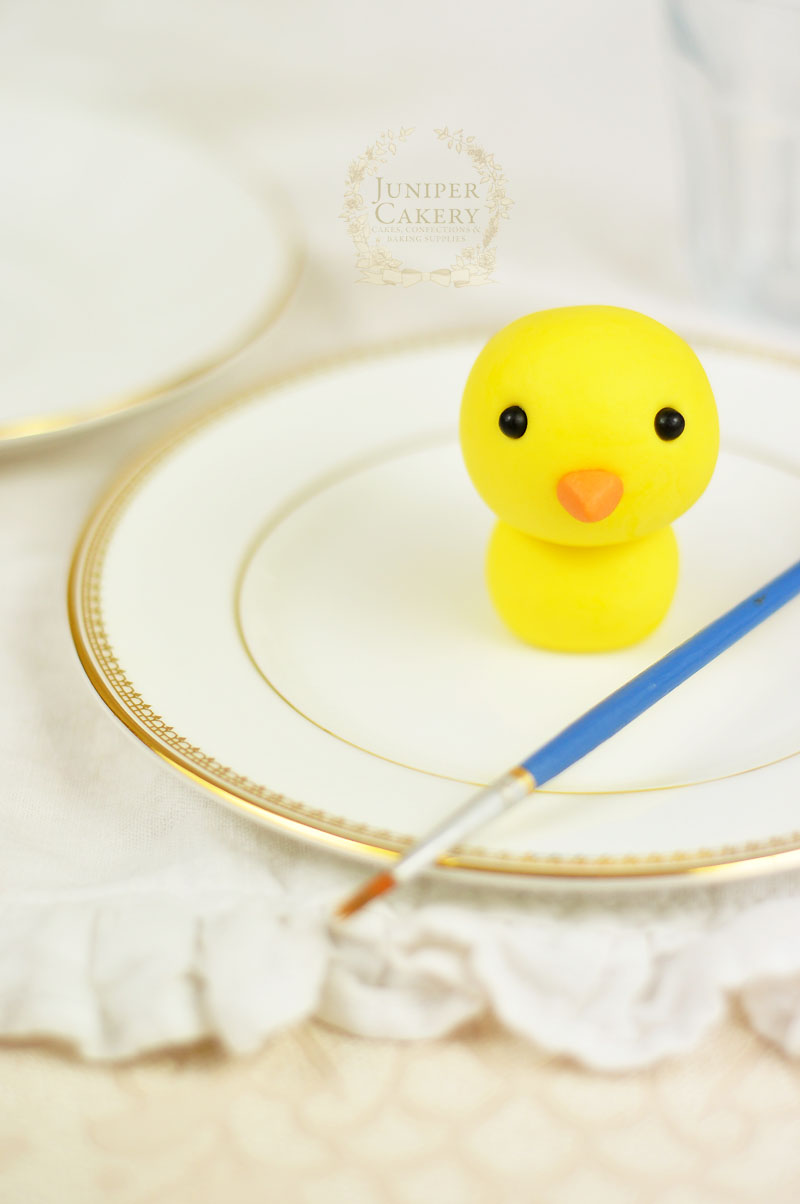
For Easter or general spring-themed treats it’s easy to feel a little overwhelmed, but why not add a little extra sweetness to your cakes with our surprisingly pain-free tutorial for an adorable fondant (or gum paste) chick! This little cutie is perfect for adding a little character to novelty cupcakes or freshly baked cakes so read on for our step-by-step guide on how to make your very own lovable little bird.

Fondant chick tutorial for cakes and cupcakes by Juniper Cakery

How to create a fondant chick tutorial…

Materials needed:

  • Yellow fondant/sugar paste or gum paste/modelling paste
  • Small black fondant balls approx. 4mm in size
  • A little orange fondant
  • Pink petal dust
  • Paintbrush
  • Edible glue
  • Uncooked spaghetti stick
  • Blade tool
  • Small ball tool
  • Small blossom cutter

Step 1:
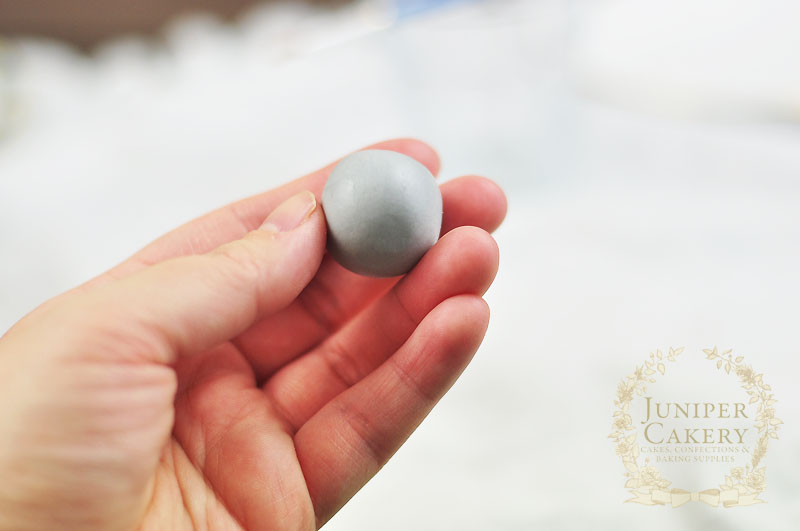
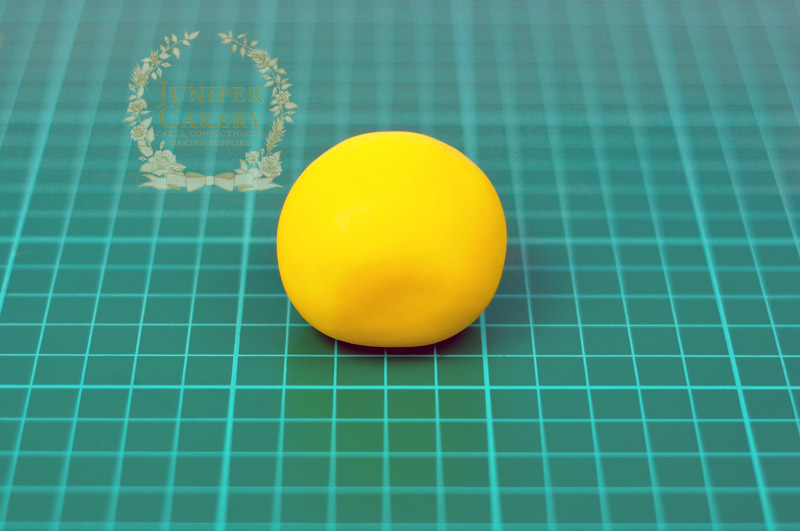
Make a small ball of yellow fondant approximately the size of a standard marble. This will be your chick’s body.
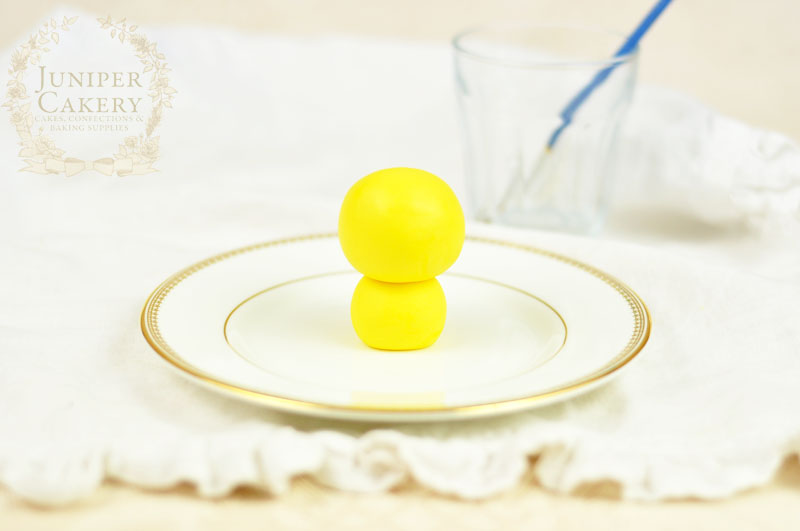
Create a sweet fondant chick with this tutorial by Juniper Cakery

Step 2:
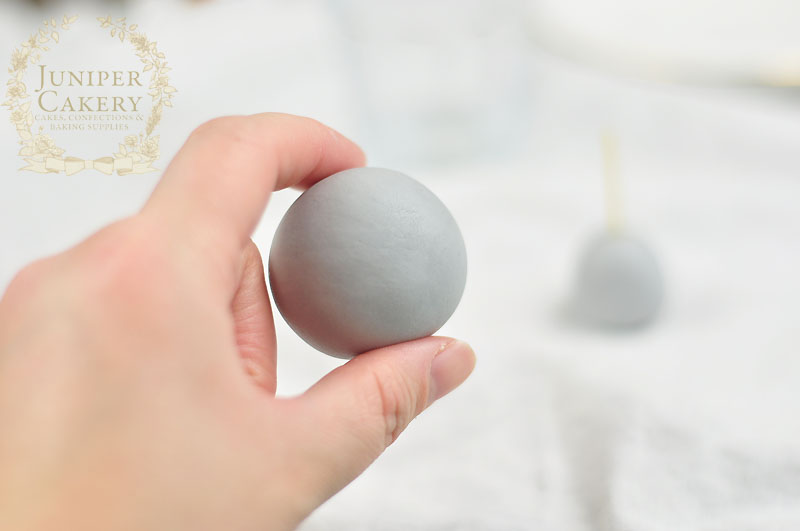
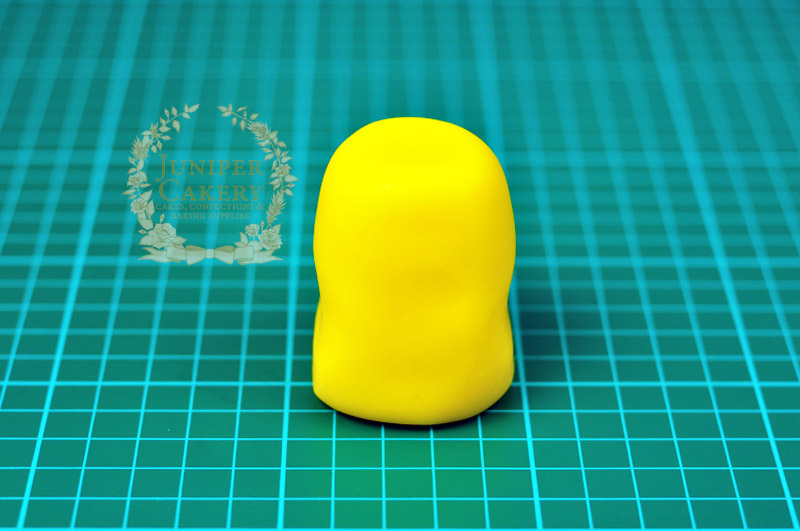
Roll a larger ball of yellow fondant similar in size to a golf or ping pong ball. This will become the head.

Step 3:
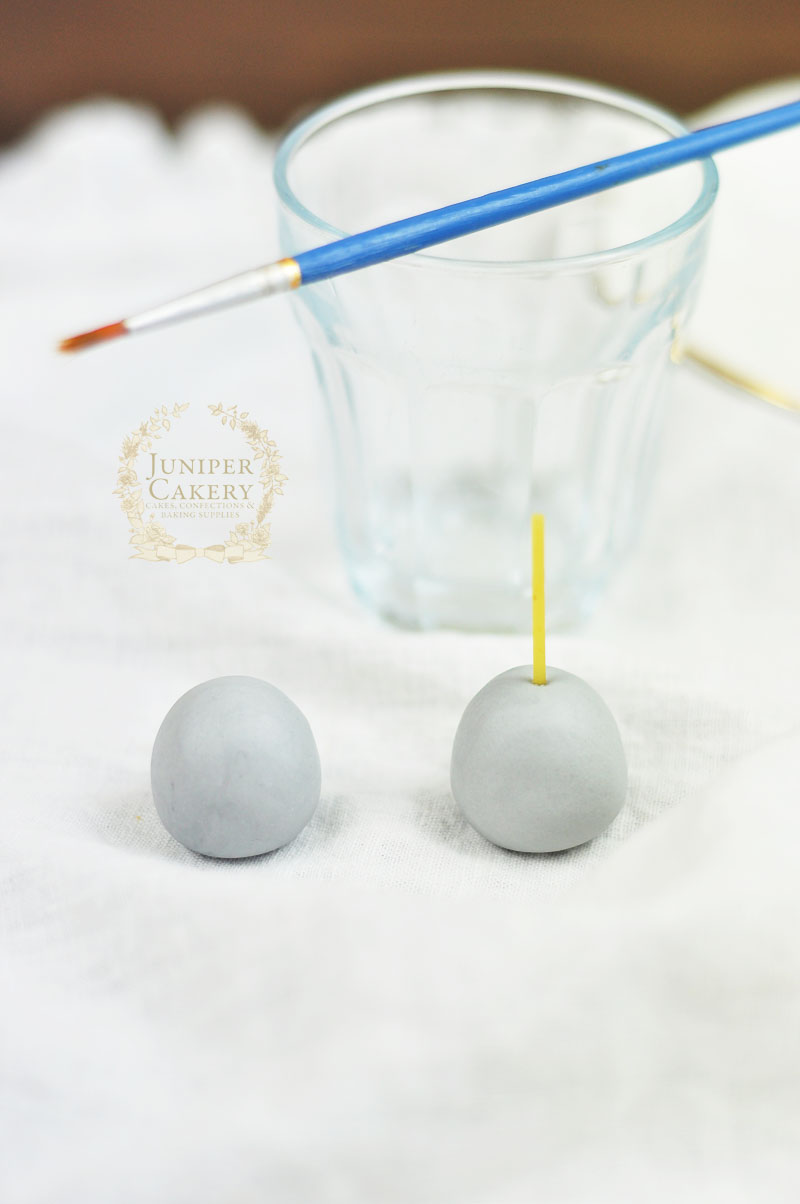
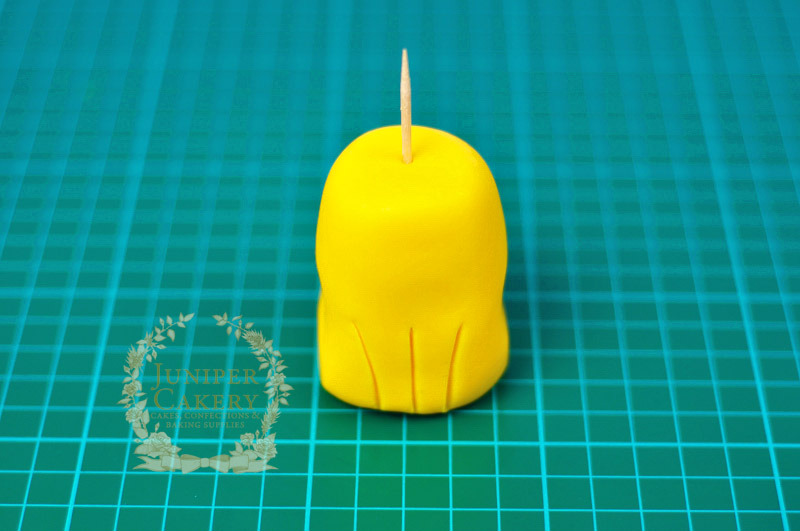
Take a piece of spaghetti stick around 1cm longer than the first small ball of fondant you rolled and dip in edible glue before plunging carefully down the centre of your chick’s body (aka the smaller ball you rolled in step 1).

Step 4:
Paint the exposed part of the spaghetti with edible glue and attach the larger ball/ head onto the body.
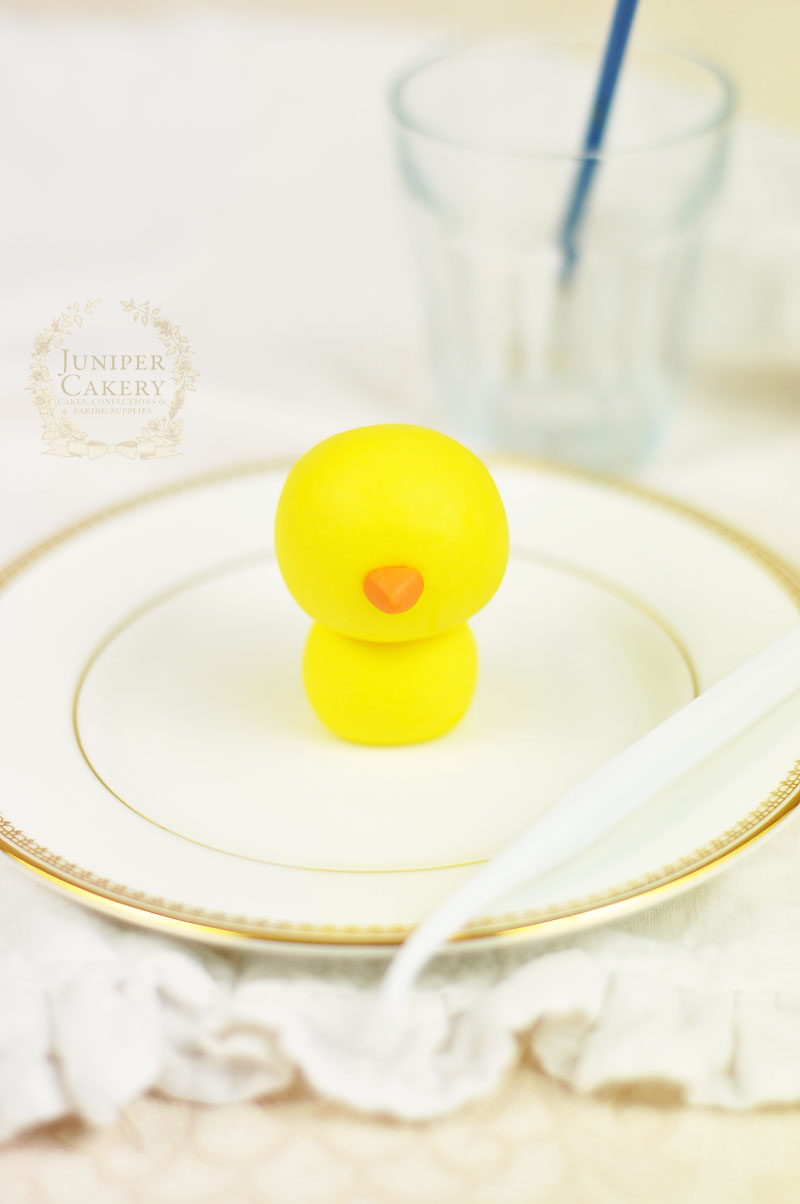
Easter chick tutorial for cakes and cupcakes by Juniper Cakery

Step 5:
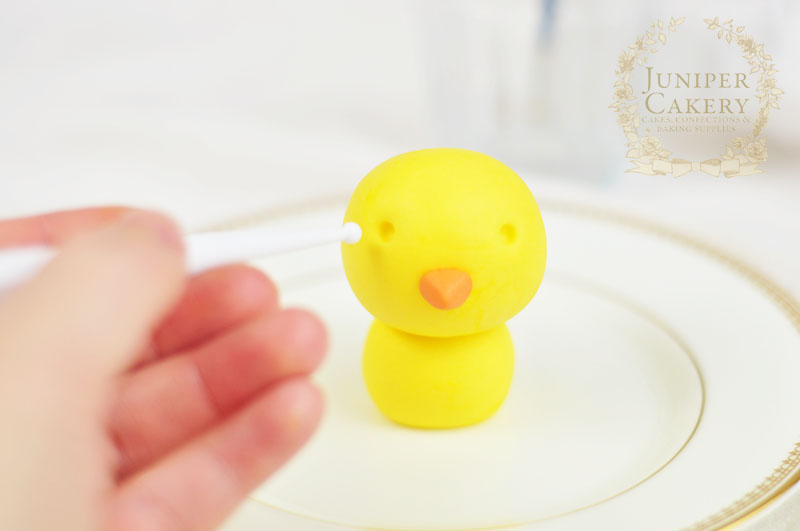
For the beak take a small ball of orange fondant and mould into a rounded triangular shape. Attach in the centre with edible glue.
Gum paste chick tutorial by Juniper Cakery

Tutorial for a cute edible chick by Juniper Cakery

Step 6:
Indent two circles onto the head just higher than the middle of the ball to create the eye sockets. Attach the black fondant balls with edible glue.
Make a cute chick from fondant with this tutorial by Juniper Cakery

Easter fondant or gum paste chick birt tutorial by Juniper Cakery

Step 7:
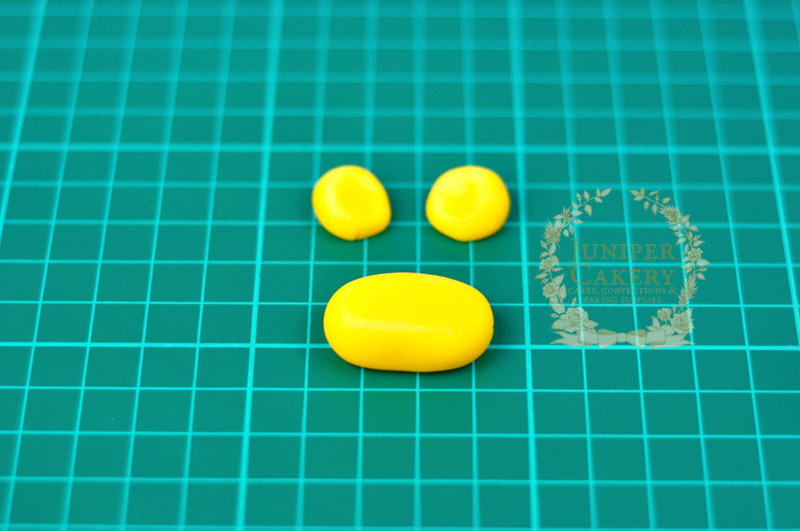
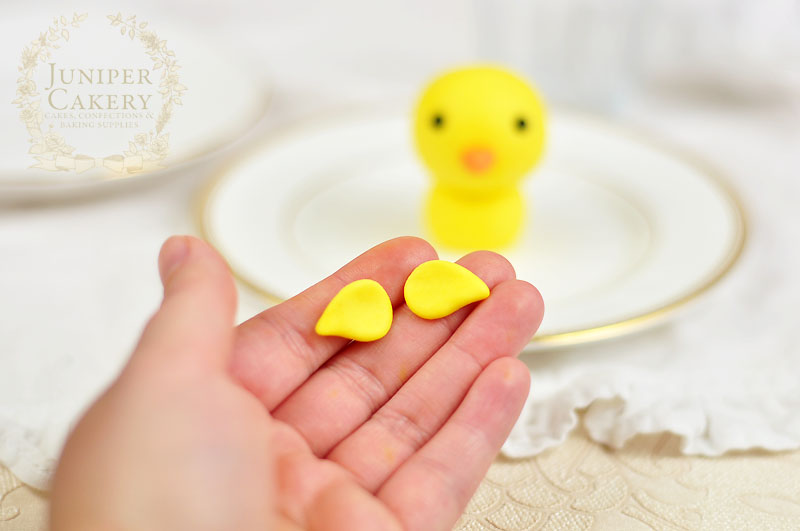
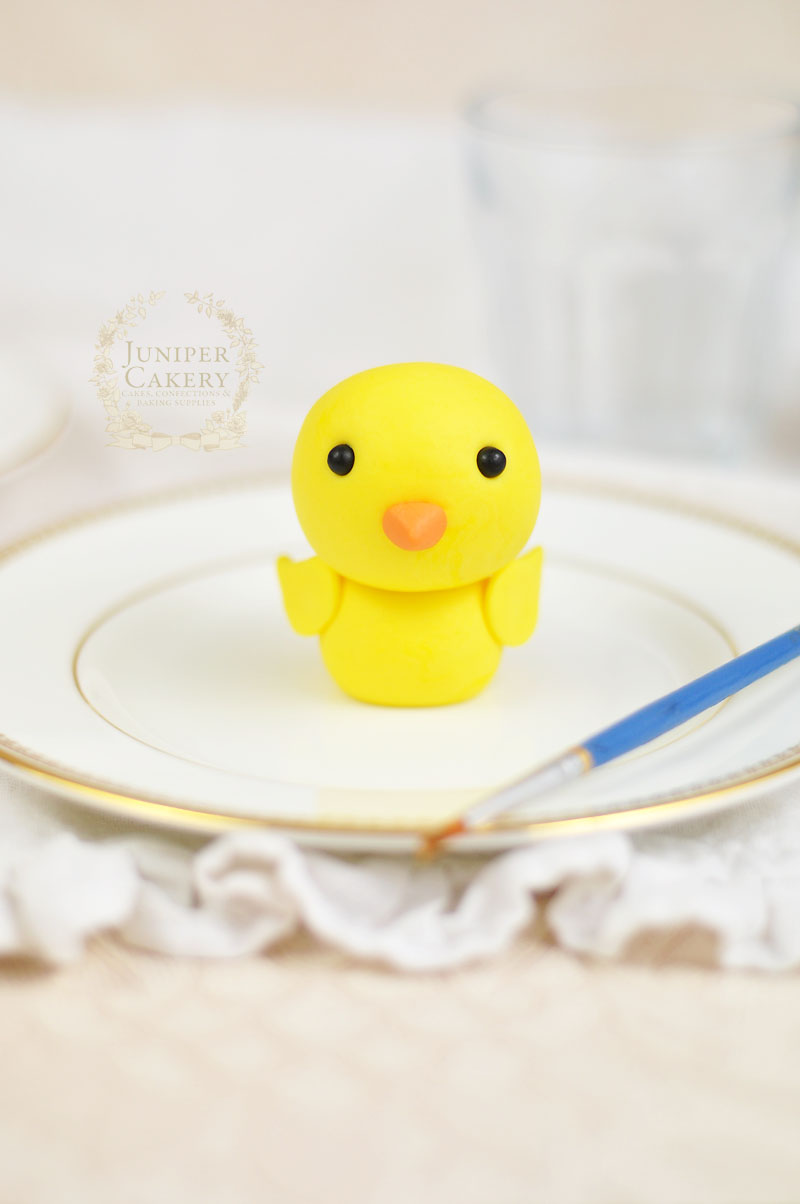
To add wings roll two equal sized balls of fondant a quarter of the size of the body. Flatten and smooth a little with your hands before pinching one side of each to form a tapered wing shape. Attach to the sides of the chick’s body with edible glue.
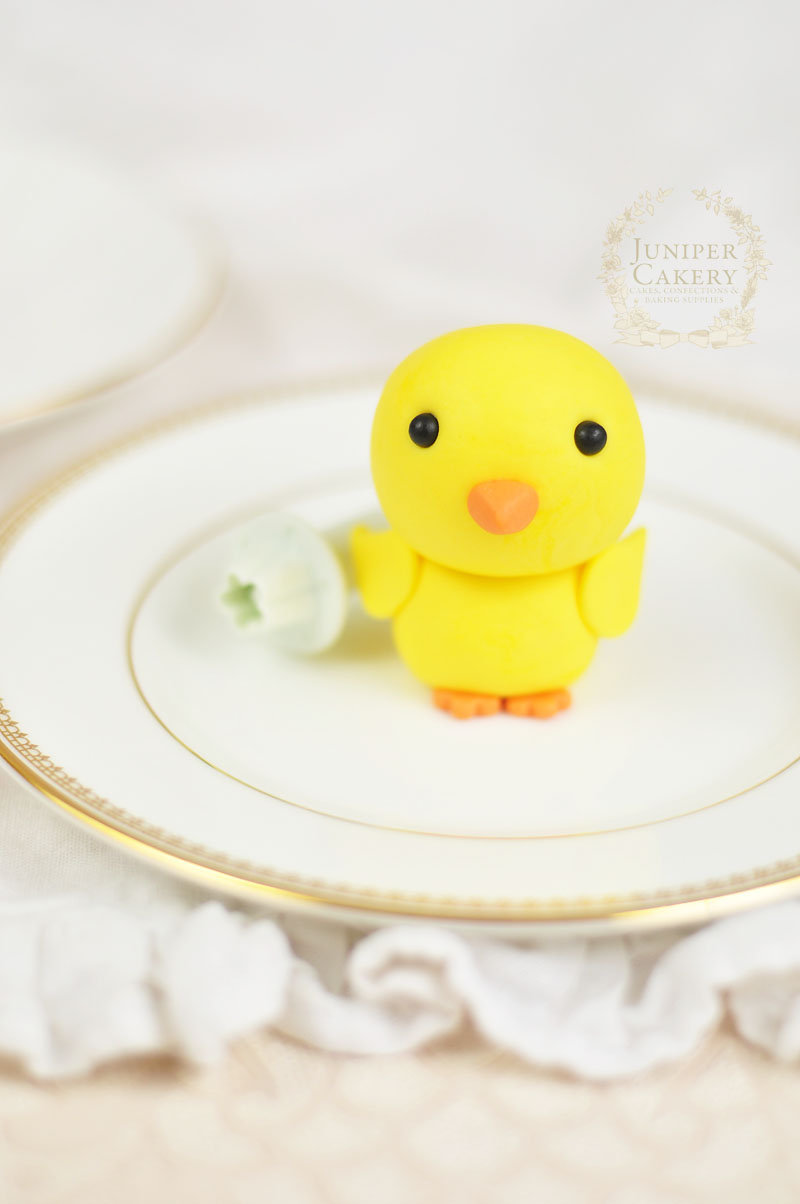
Step by step guide to making a fondant chick for Easter cupcakes by Juniper Cakery

Easter sugar paste chick tutorial by Juniper Cakery

Step 8:
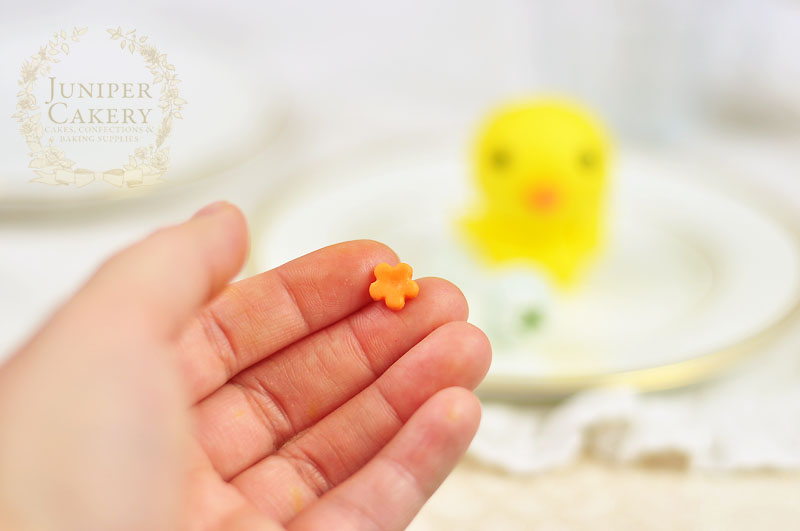
For cute tiny feet roll out some orange fondant to a thickness of around 4mm and cut two blossom shapes with a cutter of each chick. Attach to the bottom of the body with three scallops or petals of the blossom poking out from underneath.
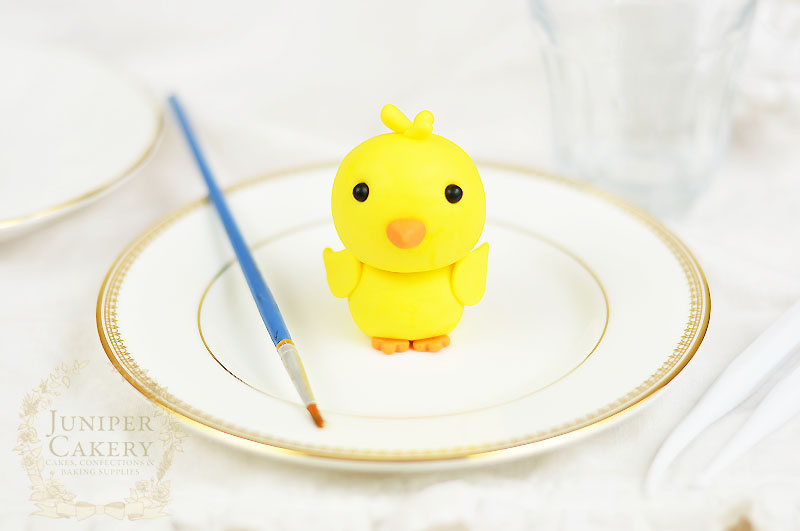
Modelling paste Easter chick tutorial by Juniper Cakery

Step 9:
If you want to add a cute little tuft of feathers on the head create three tiny teardrop shapes of yellow fondant and attach to the top with a dab of edible glue.

Step 10:
Finally add some lovely flushed cheeks with a little pink petal dust!
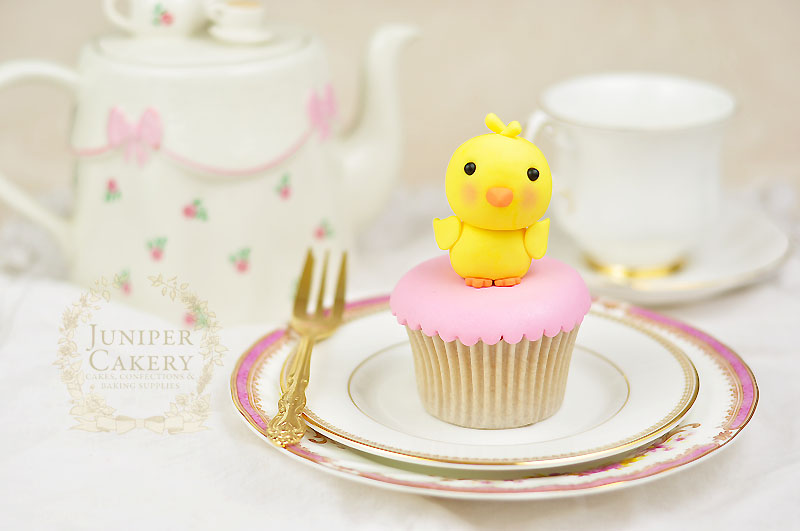
How to create a gum paste chick for Easter cake decorating by Juniper Cakery

Fondant Easter chick tutorial by Juniper Cakery

You can easily customise your fondant chick to suit so many different themed cakes and treats. Add tiny baseball caps or flags for sports themed designs, attach a bold fondant letter to them to personalise a fun party cake for someone special or change the colours (like blue for a Twitter addict)! 


Hoppy Easter Cake Decorating: How To Make a Simple Yet Sweet Bunny Rabbit!
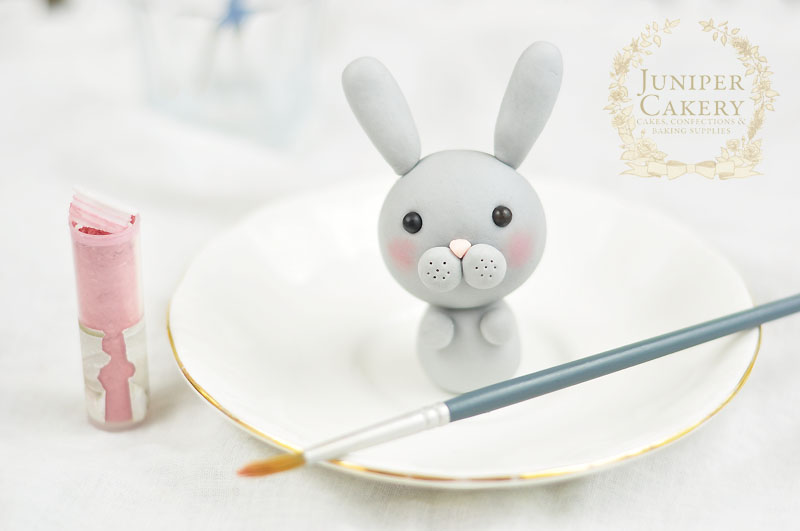
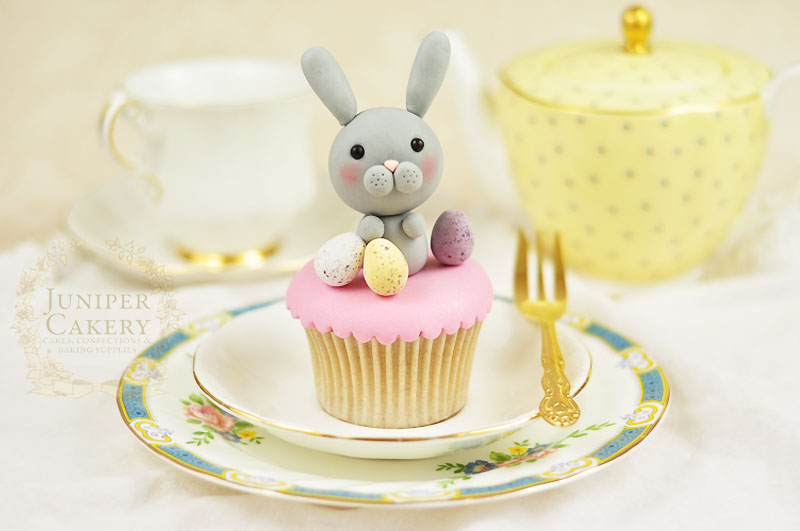
Yes, it’s that time again and with spring paving the way for all the wonderful pastel Easter festivities it’s time for us to unveil the very first of our Easter cake decorating tutorials; how to make a simple yet sweet bunny rabbit! This adorable edible bunny would be the perfect finish to any delicious cake or cupcake so read on for our step-by-step guide!

How to create a cute and easy fondant bunny…

How to make a cute and simple fondant bunny by Juniper Cakery

Step-by-step tutorial for a fondant rabbit by Juniper Cakery

Materials needed:

How to assemble and make an edible bunny cupcake topper by Juniper Cakery

Step 1:
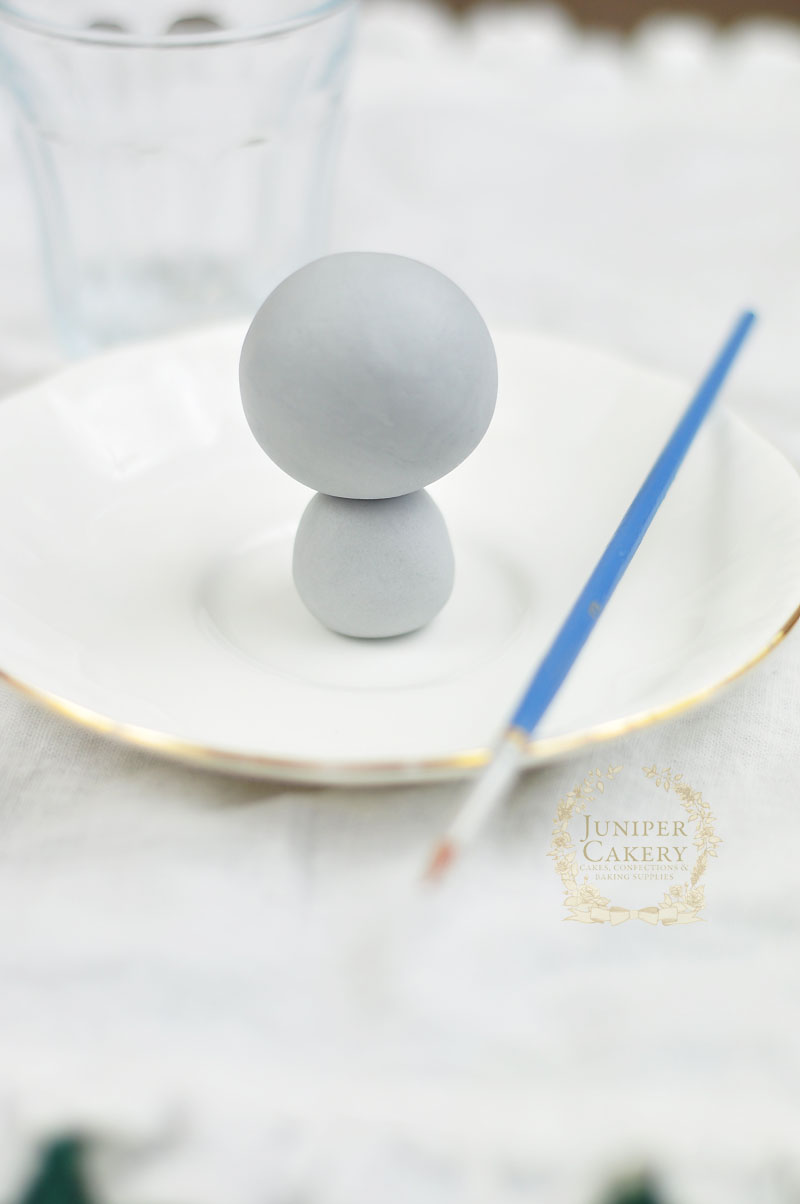
Take a small ball of fondant around the size of a standard marble and roll into a ball before tapering slightly into a rounded teardrop shape.

Step by step tutorial for a fondant bunny by Juniper Cakery

Step 2:
Paint a broken spaghetti stick around 1cm longer than the body you created in step 1 with edible glue. Insert into the centre of the fondant bunny’s body. Above is a photo of the fondant or gum paste ball before and then with the spaghetti stick inserted.

Make a sweet gum paste rabbit with this tutorial from Juniper Cakery

Step 3:
Roll a larger ball of fondant approximately the size of a golf ball. 

Learn how to make a gum paste bunny rabbit with this tutorial by Juniper Cakery

Step 4:
Add edible glue to the exposed half of the spaghetti stick and attach the larger ball of fondant on top. This will be the head of your rabbit.

Create a cute sugarpaste bunny for Easter bakes with this tutorial from Juniper Cakery

Step 5:
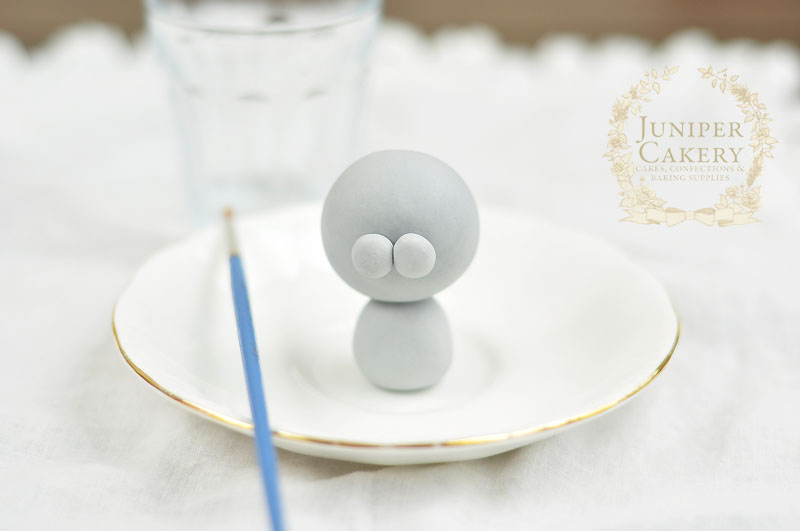
Create two tiny balls of fondant and attach midway up the head to create the muzzle. 

Easy tutorial for  bunny rabbit cupcake topper from Juniper Cakery

Edible gum paste rabbit tutorial by Juniper Cakery

Step 6:
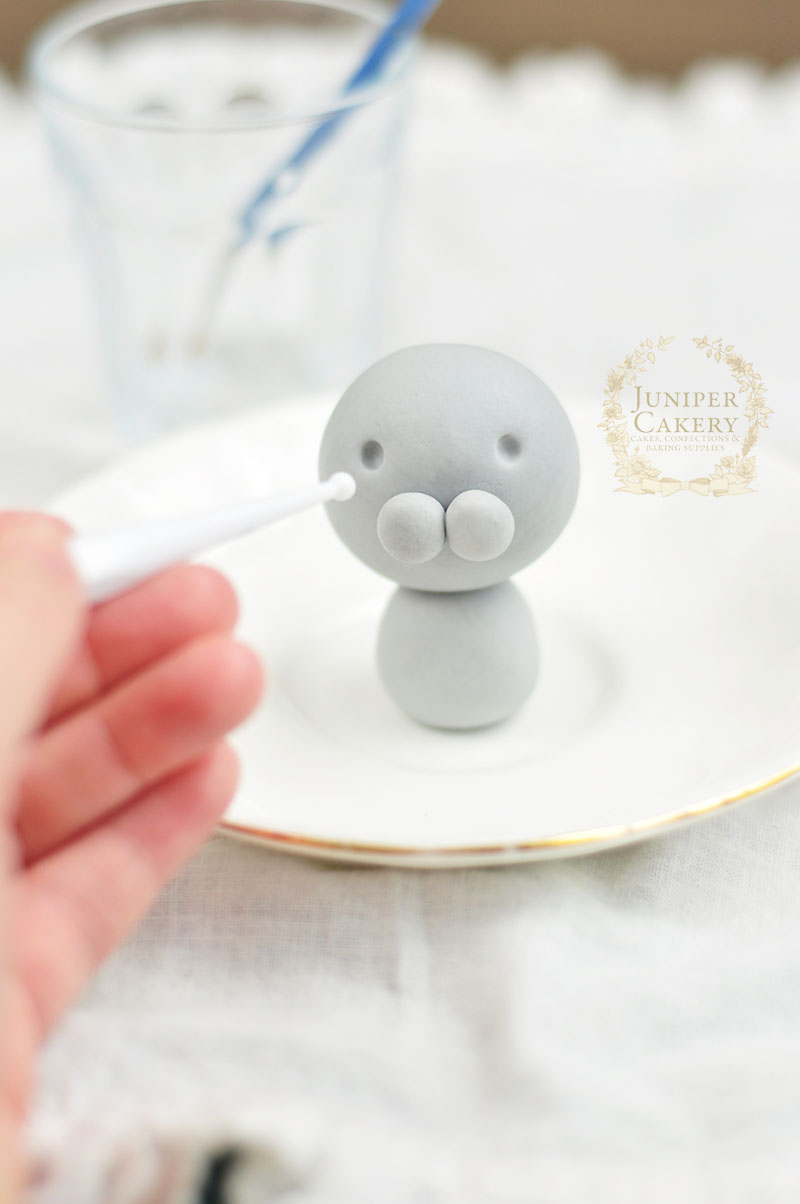
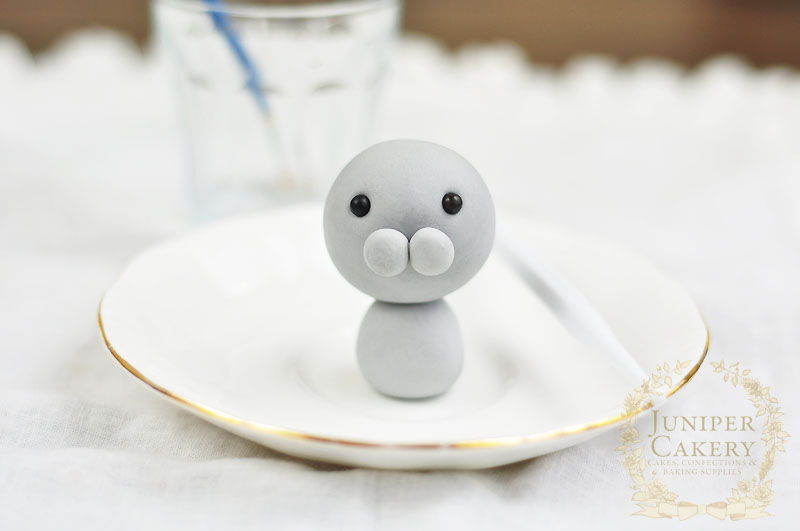
Using a small ball tool indent two eye sockets and attach your black fondant balls into these with a dab of edible glue.

How to make a lovely Easter bunny rabbit

Step 7:
Add a tiny pink button nose with a small triangular shaped piece of pink fondant and some edible glue.

For Easter try this sweet tutorial for an edible bunny from Juniper Cakery

Step 8: 
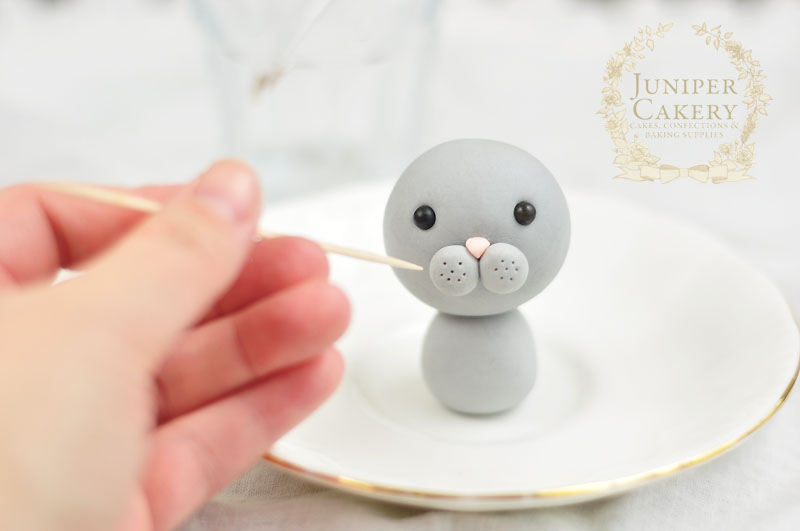
Add detail to the muzzle with a scriber tool or even the pointed end of a cocktail stick!
Fondant or gum paste rabbit tutorial from Juniper Cakery

Step 9:
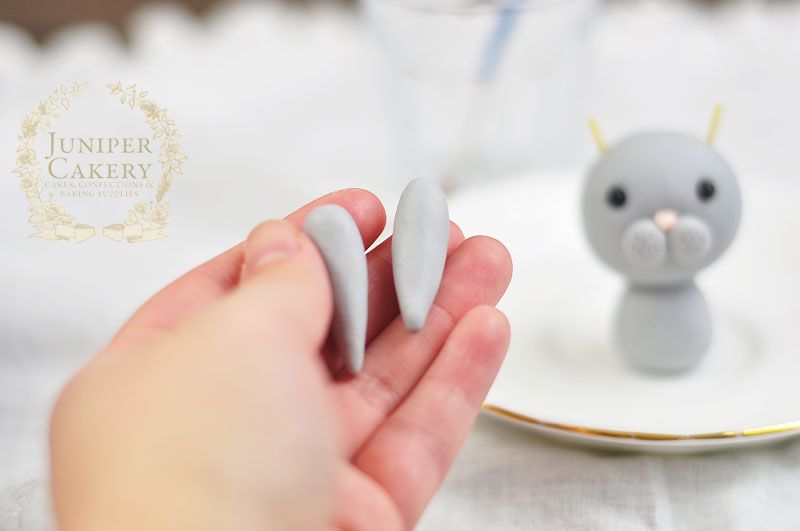
To add ears roll out two equal sized balls of fondant around the size of a small to medium bean before rolling lengthways to form long rounded teardrop shapes. 

How to make a bunny for cakes and cupcakes by Juniper Cakery

Step 10:
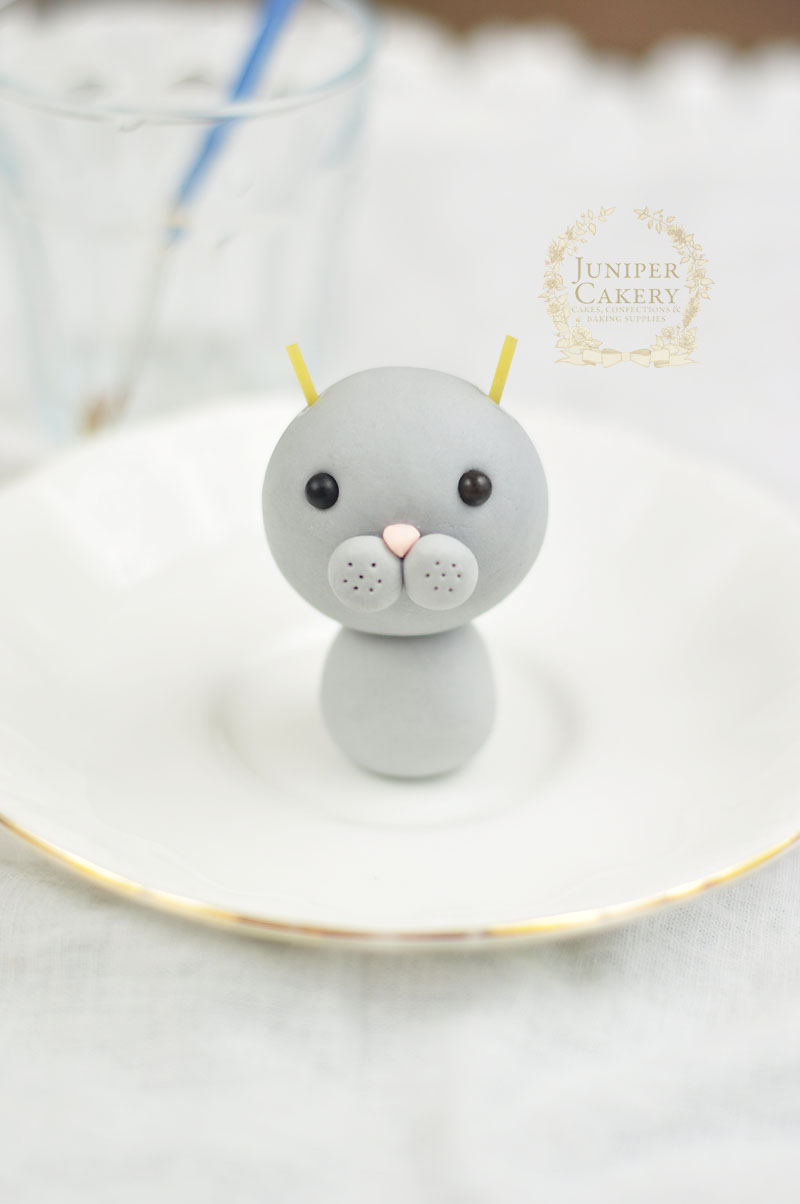
Insert two lengths of spaghetti sticks where you’d like the ears to sit. Make sure that each is the same length as the fondant ears. Paint these with a little edible glue.

Fondant bunny rabbit tutorial by Juniper Cakery

Step 11:
Carefully push each fondant ear onto the spaghetti and flatten slightly.

Adorable edible rabbit tutorial by Juniper Cakery

Step 12:
To create a cute bunny-like stance attach two small balls of fondant underneath it’s head. These will be adorable little paws perched just under the bunny’s face!

Made super cute bunny rabbits for Easter cakes with this tutorial from Juniper Cakery

Step 13:
Add some flushed cheeks to your bunny with some edible petal dust.

Adorable fondant bunny cupcake by Juniper Cakery

Create a cute gum paste edible Easter bunny with this tutorial from Juniper Cakery

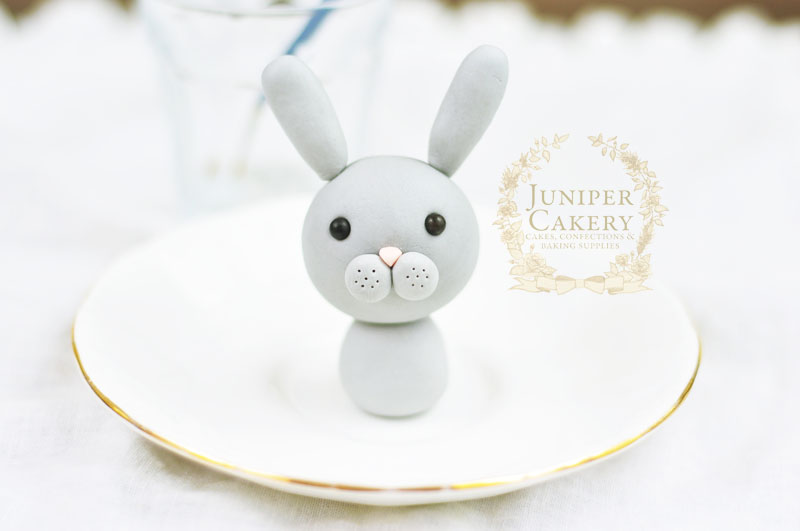
If you’ve followed our tutorial step by step then you should now be faced with one wonderfully sweet little bunny ready to nestle into a freshly buttercream cupcake or attach on top of an iced cake; ready just in time for a fun Easter party!


Vintage Hat Box Cake with Hand-Painted Violets and Peonies!

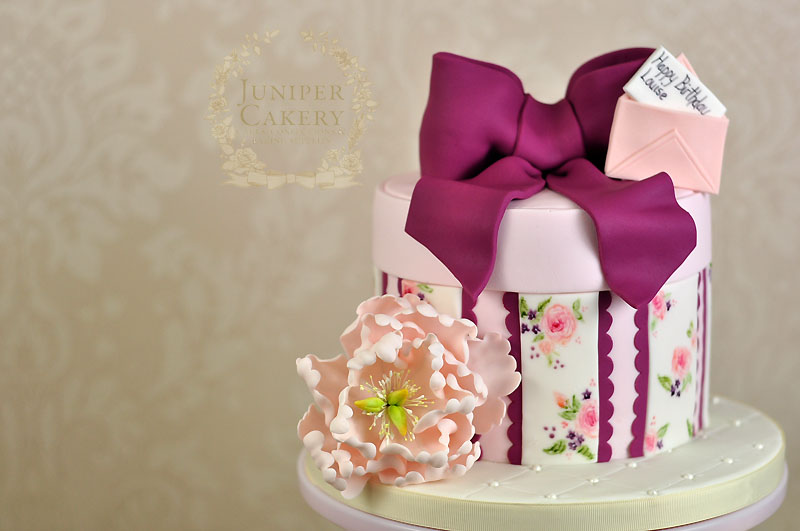
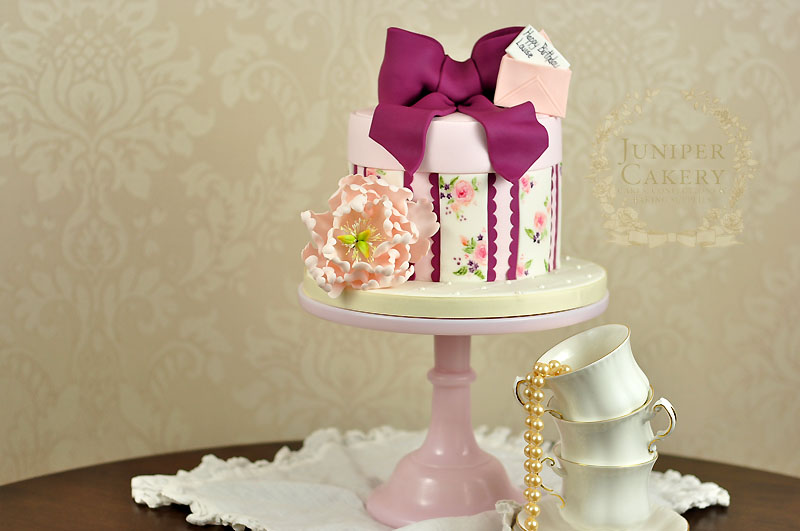
Lovely hat box cakes are always popular requests for us around this time of year. They’re vintage styling and softer colours seem synonymous with the light-hearted spring season. Earlier this week we created this wonderful peony and violet themed hat box cake for a 40th birthday! It features dainty hand-painted florals and a sweet plum, peach, juniper green, ivory and blush pink palette.

Pretty hand-painted peony and violet hat box cake by Juniper Cakery

The cake itself was a classic Madagascan vanilla cake sandwiched with fresh Madagascan vanilla buttercream and home-made raspberry preserve which was then iced with fragrant marshmallow fondant tinted in a lovely blush pink colour. 

We created the large voluminous bow and open peony flower a few days in advance so that each could set into fluid shapes and ruffles before being handled and placed on the finished design.

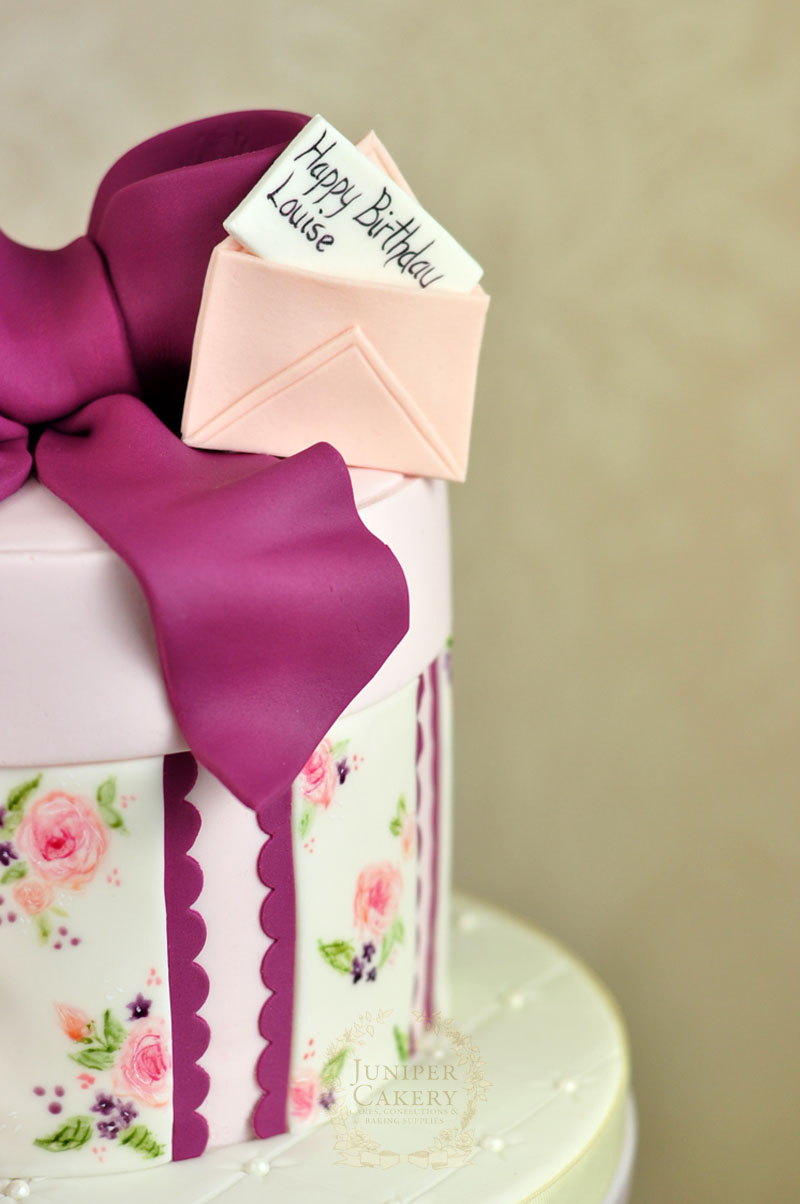
Each white stripe and plum coloured scallop edging was measured and spaced accordingly before we began hand painting small peony blooms, violets, leaves and tiny berries onto each. We planned out a pattern that alternates around the cake with one stripe featuring peonies centered and in each corner and another stripe with bundles of florals placed at the top and bottom.

Hand-painted floral hat box cake by Juniper Cakery

To balance out the peach of the sugar peony flower we decided to create an edible gift card and envelope out of white and peach gum paste which was then placed at the top opposite side of the flower. The message was completely hand-painted and left to dry before we carefully nestled it inside our little envelope!

Purple, peach and blush vintage hat box cake by Juniper Cakery

We hope this vintage delight was enjoyed by the lucky birthday girl! The very last thing we heard about this cake was that no one wanted to cut it at all. 

Vintage hat box birthday cake by Juniper Cakery


Tutorial Tuesday: How To Make a Fondant Ruffled Heart Pick For Cakes and Cupcakes!

Finding quick and fuss-free ways to decorate a seasonal cake can be a stressful task in itself, but with our fabulous tutorial on how to create your own fondant ruffled heart pick you’ll be ready for your next cake project in no time! The wonderful thing about creating fondant ruffles is that they can be fairly forgiving. Randomly placed curls and frills only add to their textural allure so why not read on for our handy how-to…

Fondant ruffled heart cake pick tutorial!

how to make a Valentine ruffled heart cake by Juniper Cakery

Materials needed:

Juniper Cakery's tutorial for a fondant ruffle heart

Step 1:

Roll our some fondant or gum paste to a thickness of around 6mm-8mm. Be sure to check that the thickness of the fondant is wider than your wooden skewer or cake pop stick.

Create pink fondant ruffle hearts for cakes and cupcakes by Juniper Cakery

Step 2:

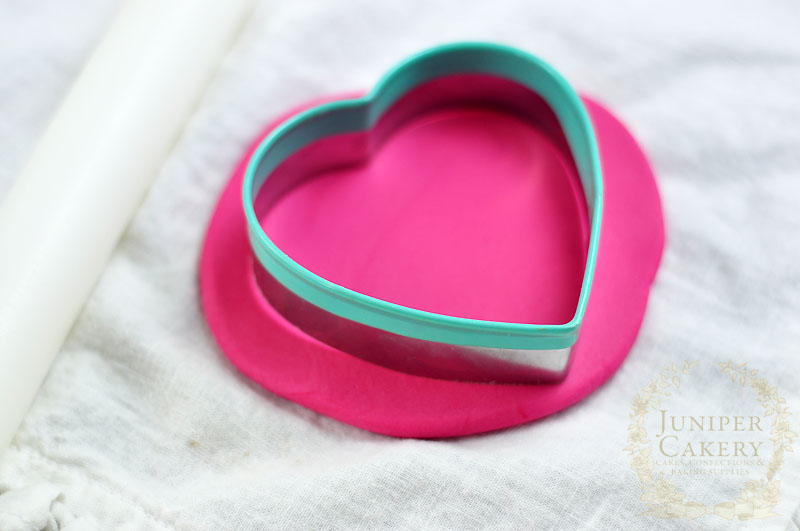
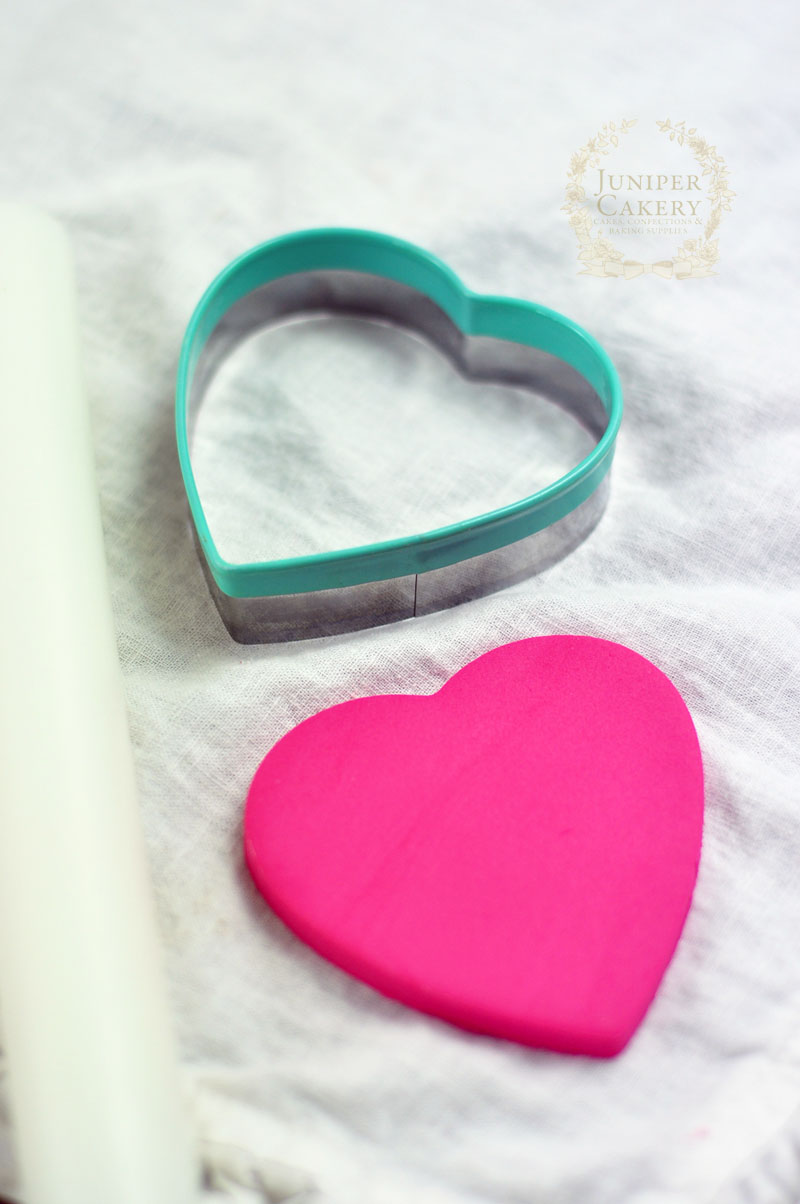
Using your heart cutter cut out a nice clean heart shaped piece of fondant.

Of course, for different themed cakes you can utilise different shapes. Plain circles are wonderful for adding edible sugar pearls or fondant cameos in the centre for a luxurious jewelled brooch look. 

How to make a sugar paste ruffled heart for cakes by Juniper Cakery

Step 3:

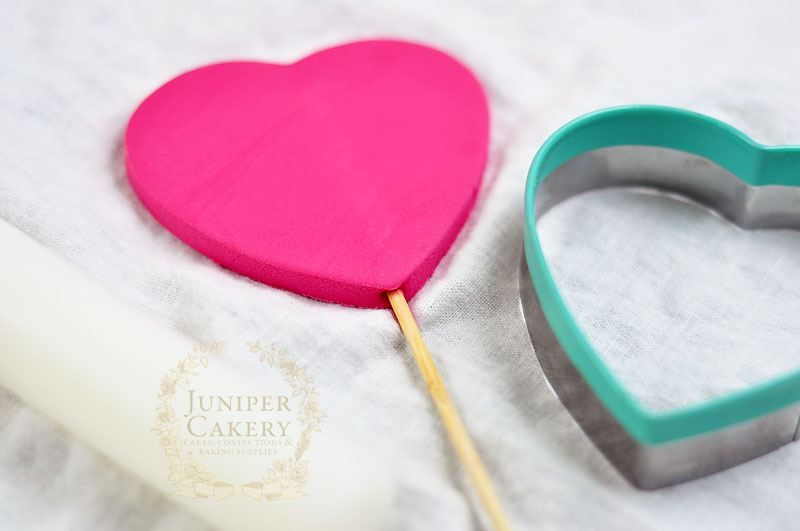
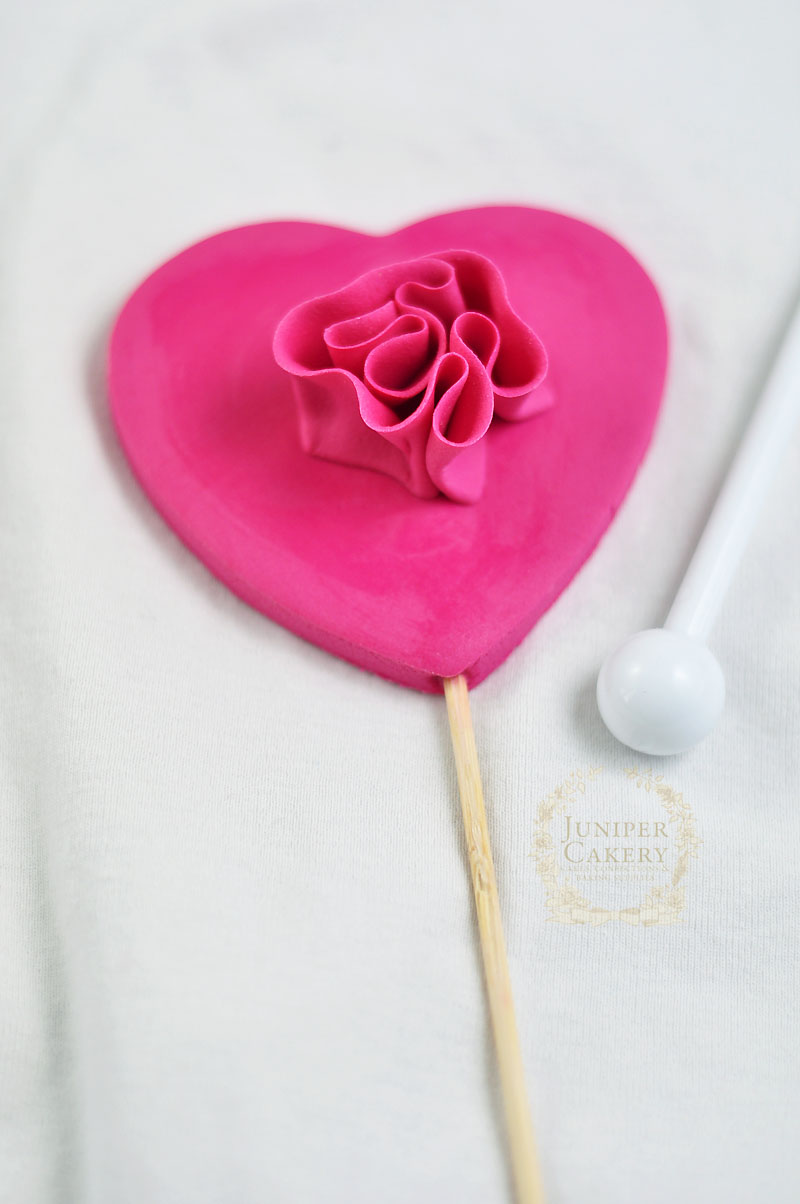
Take your cake pop stick or wooden skewer and paint with a little edible glue before carefully inserting into the base of your heart halfway. Leave to set.

Make pretty frilled hearts for cakes with this tutorial by Juniper Cakery

Step 4:

Roll out some thin fondant and cut into strips around 1 1/2cm in height. Too short and you’ll lose the lovely textural look like the ruffles create when then curl and fan out randomly. Too long and you’ll risk finding each strip harder to handle.

Step 5:

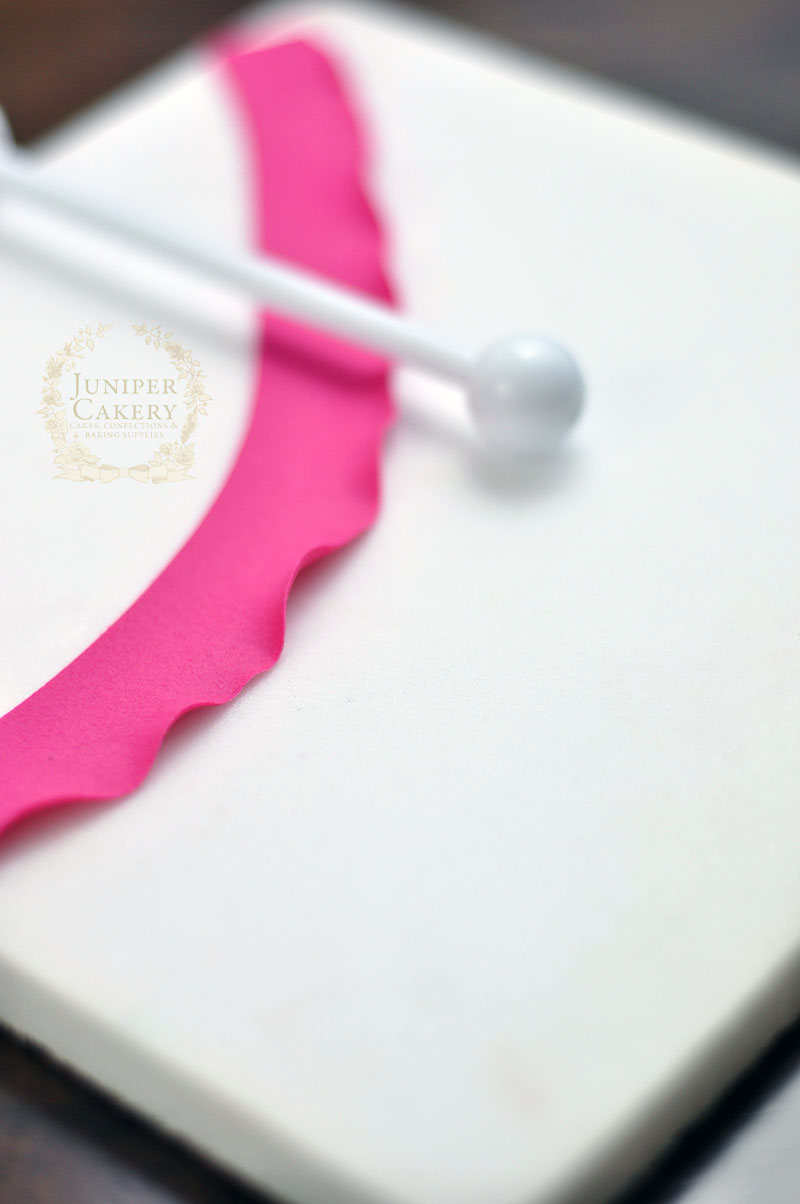
Using a ball tool thin and ruffle the edges of each strip. To do this take your ball tool and press down moving along the long edge of each strip. You should find that the edge has little ruffled waves!

Ruffled fondant heart tutorial from Juniper Cakery

Step 6:

Paint edible glue onto the surface of your heart and arrange your ruffled strips of fondant from the centre to the outer edges of the shape! To help attach the strips down press lightly on the base. It’s ok if they spread or fold a little as your apply pressure.

 Tutorial on how to decorate a ruffle heart cake for Valentine's Day by Juniper Cakery

Step 7:

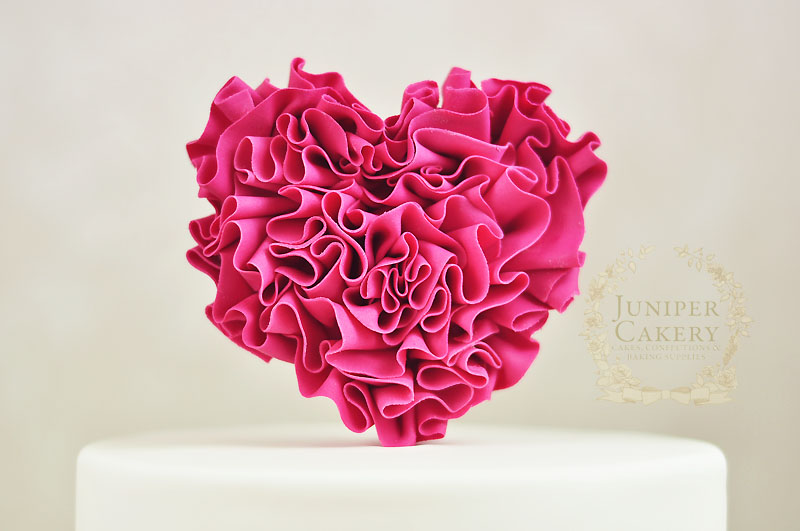
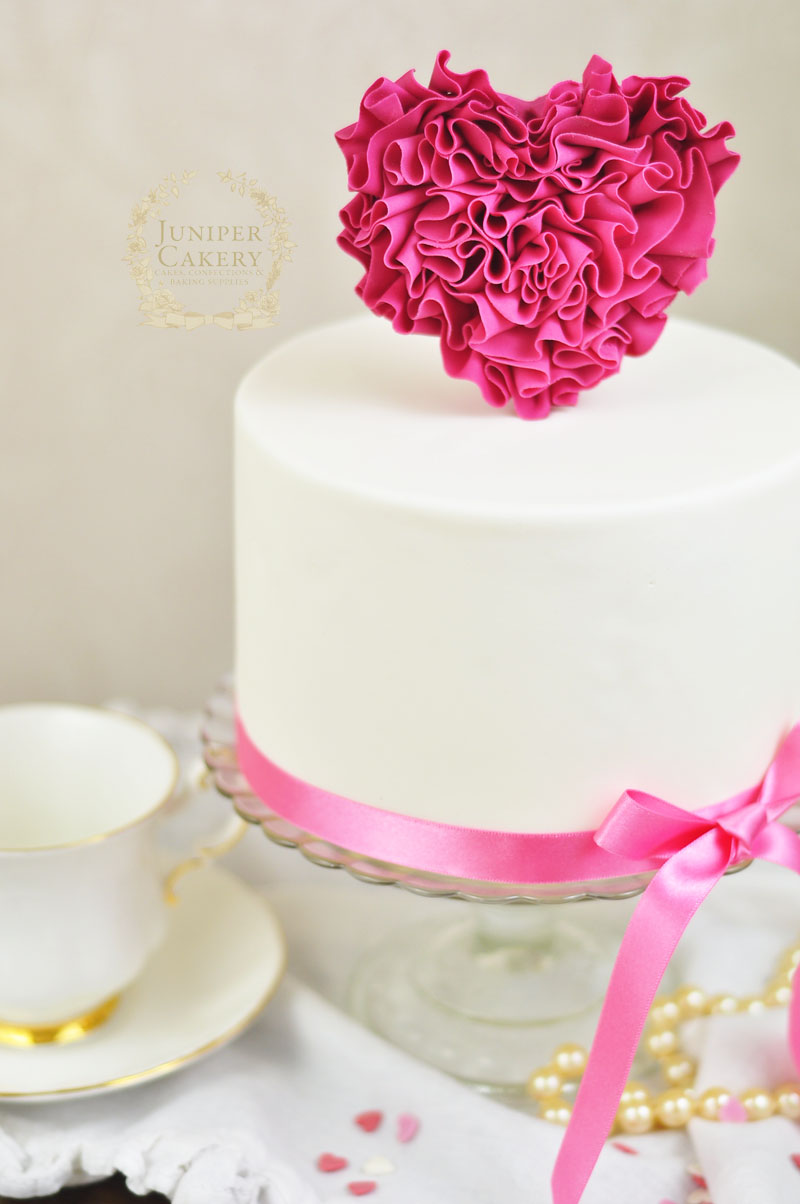
Once set and hardened it’s time to see your work finished! Gently insert your ruffled fondant heart cake pick into your cake or cupcake.

Tutorial on how to decorate a ruffle heart cake for Valentine's Day by Juniper Cakery

We absolutely love things that can be tweaked slightly or given a new slant to be useful for other designs and these ruffled heart picks are no exception! For baby showers stick to soft pastel colours. Why not even create lots of different sized vintage coloured hearts to adorn a simple first birthday cake? 

For bridal showers or weddings miniaturise your pick for lots of sweet and tempting cupcakes and perhaps dust or paint the edges with edible gold paint for a decadent feel. You can even omit the cake pop sticks or wooden skewers for lovely cupcake toppers that will sit flat atop of your miniature treats.

how to make a Valentine ruffled heart cake by Juniper Cakery


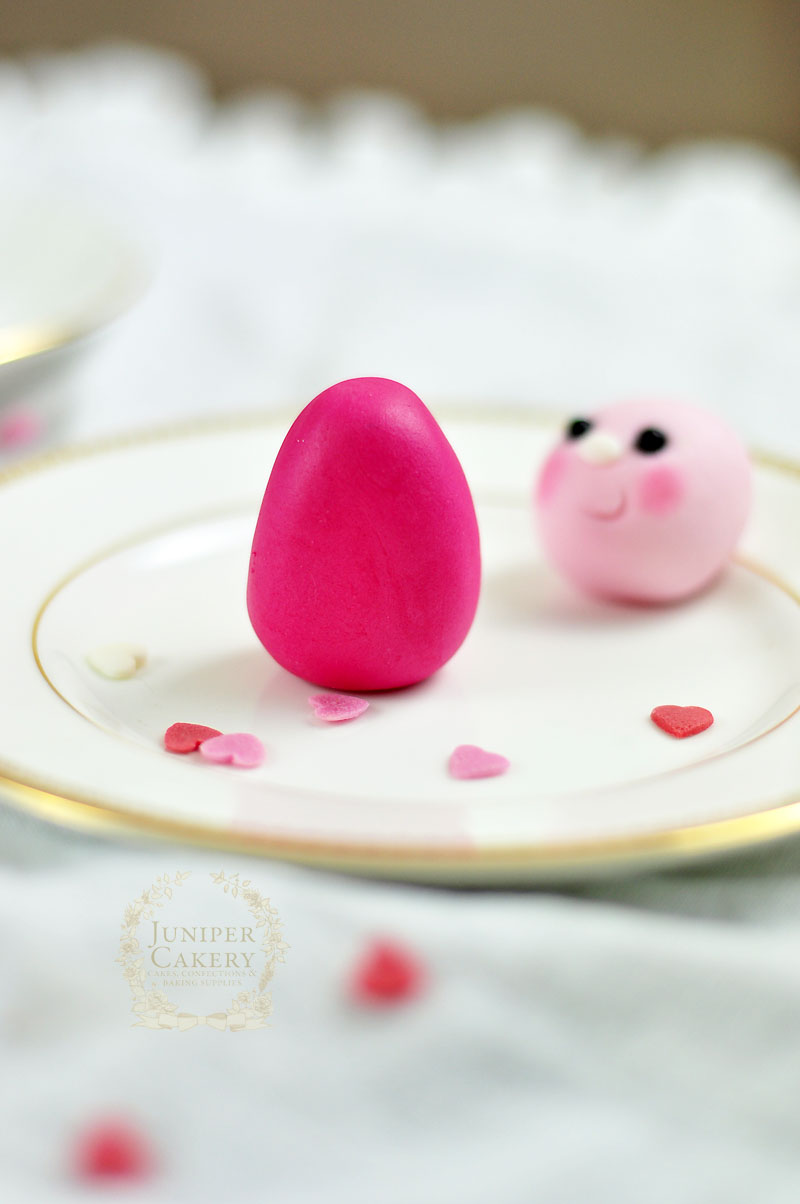
Tutorial Tuesday: How To Make a Fondant Love Bug!

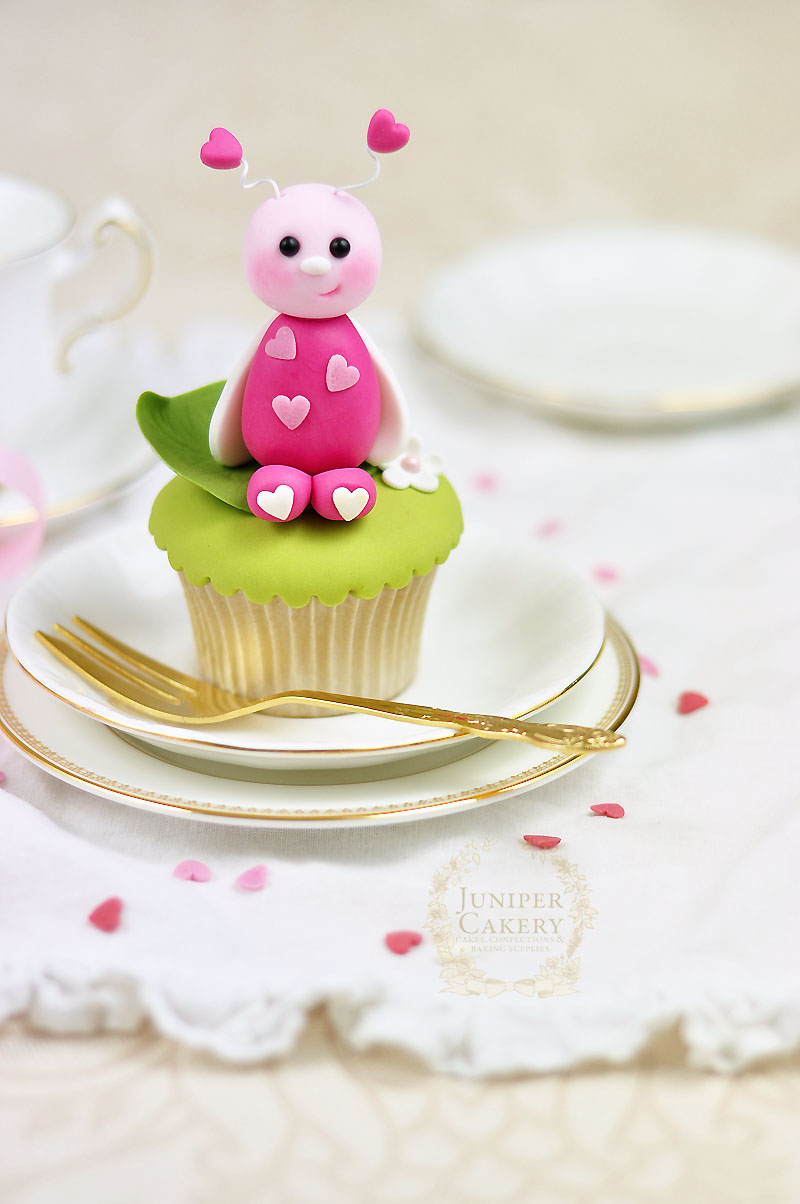
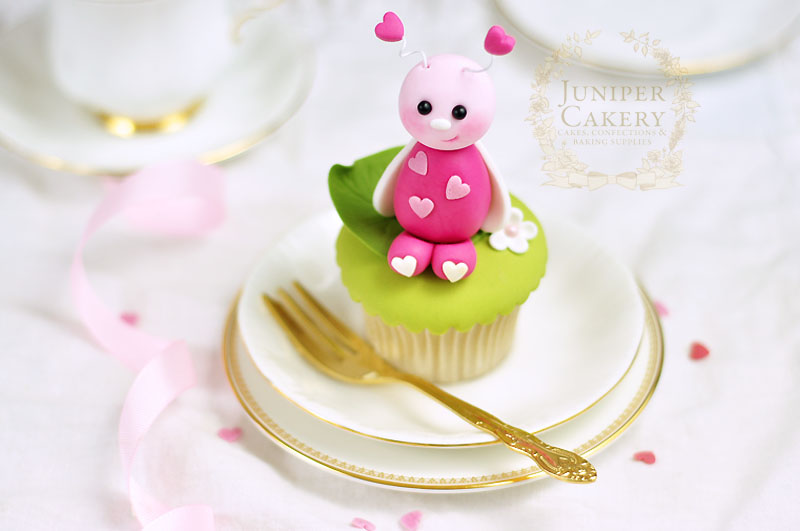
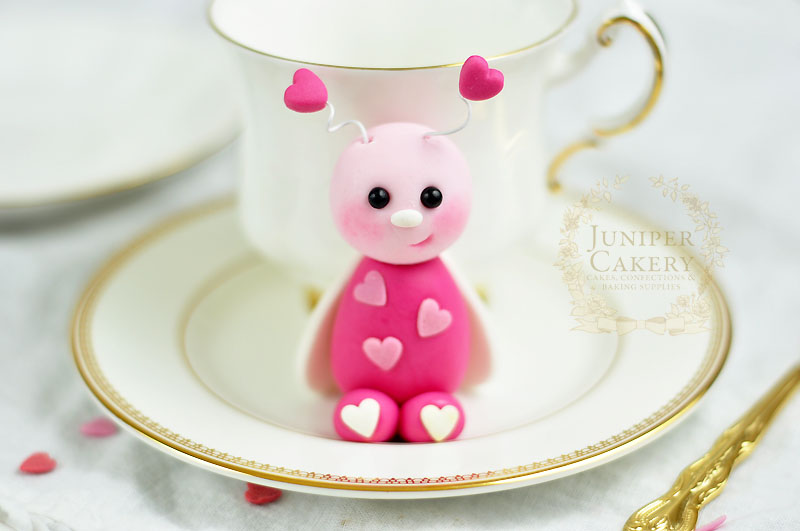
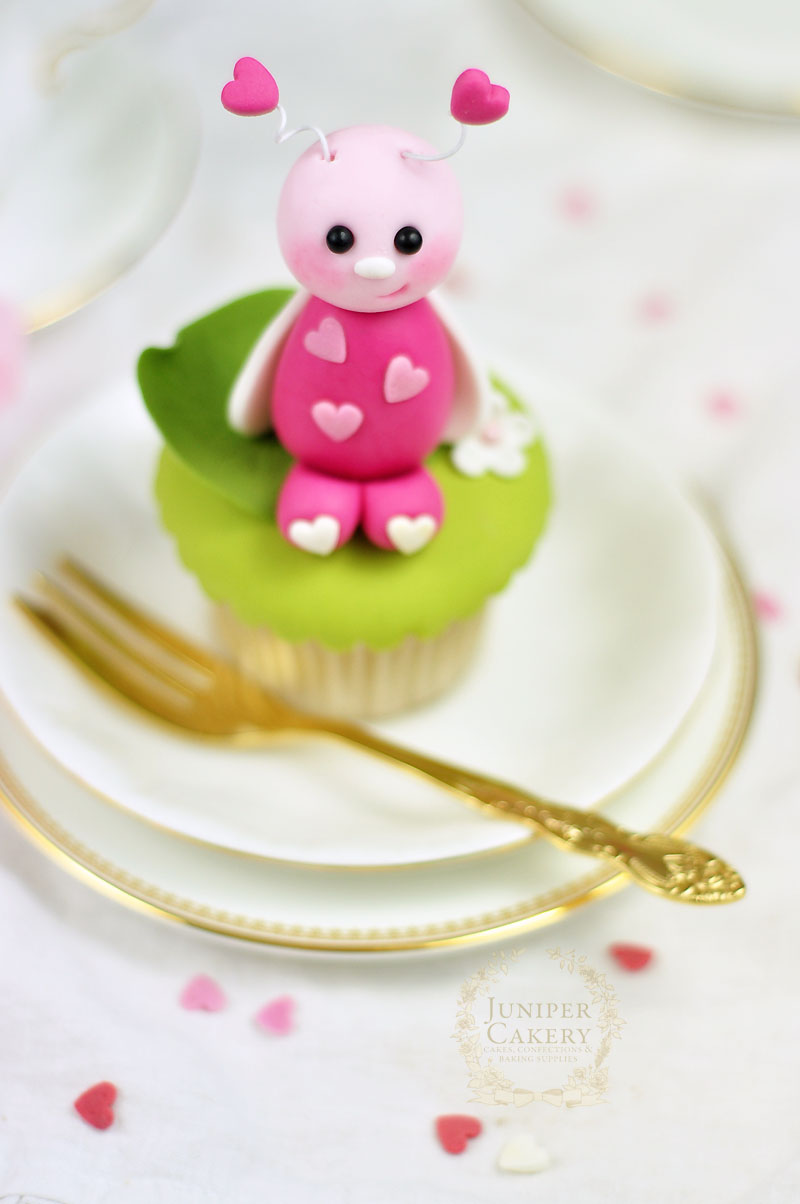
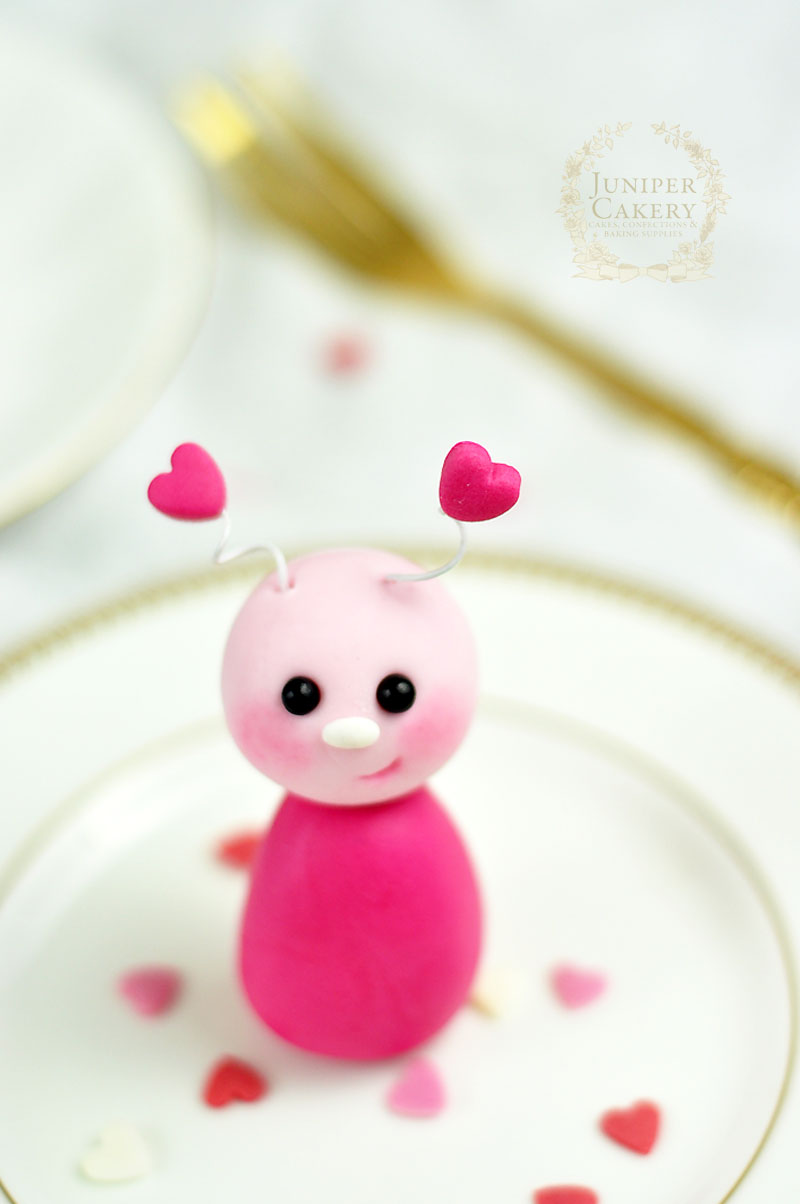
It’s Valentine’s Day around the corner and love certainly is in the air for our adorable little love bug! This fun and wonderfully cute tutorial is surprisingly pain-free so why not follow our step by step guide and create a heart-warming collection of Valentine cupcakes for your sweetheart?

Fondant love bug tutorial to fall head over heels for!

Valentine's Day cupcake decorating tutorial on how to make a cute edible love bug from Juniper Cakery

Valentine Love Bug cupcake tutorial by Juniper Cakery

Materials needed:

How to make a fondant love bug for Valentine's Day by Juniper Cakery

Step 1:

Make a medium size ball of soft pink fondant / sugar paste with a small amount of tylo powder added… 1 teaspoon per 250g of paste).

Step 2:

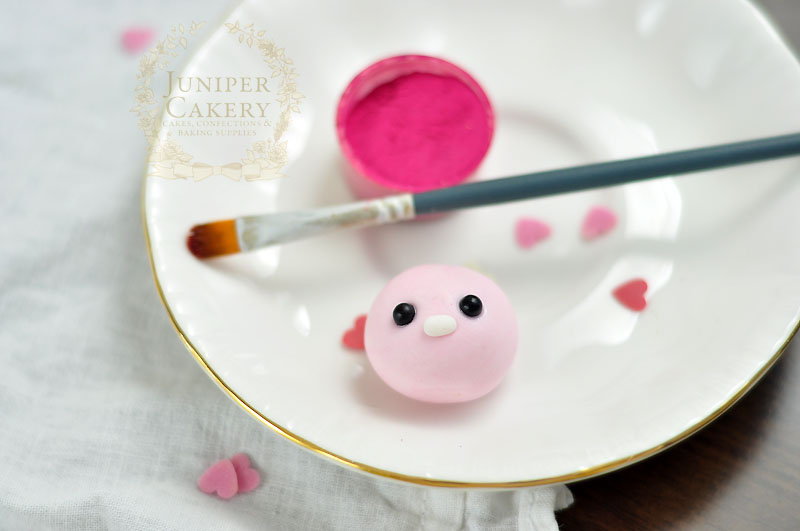
Roll two tiny balls of black fondant. Indent where you want to place the eyes with the small ball tool and with a little edible glue attach the black fondant balls in place.

Step 3:

For the nose shape a tiny piece of white fondant into an oval shape and attach with edible glue.

Make a cute little edible love bug cupcake topper with this tutorial by Juniper Cakery

Step 4: 

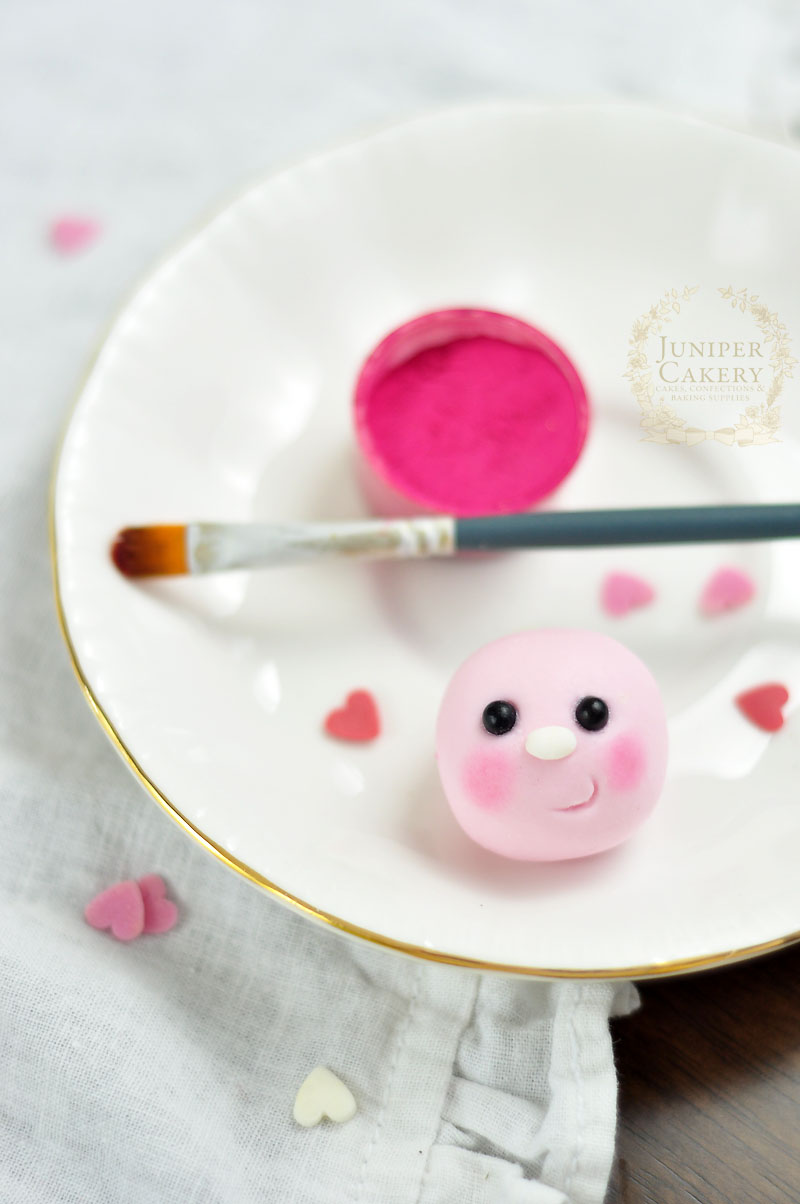
For the mouth take a round piping tip and carefully press half of it into the face. Accentuate the smile with a little pink petal dust.

Step 5:

To add some rosy cheeks dust a little pink petal dust at a time underneath and opposite the nose.

Pink love bug cupcake topper tutorial from Juniper Cakery

Step 6:

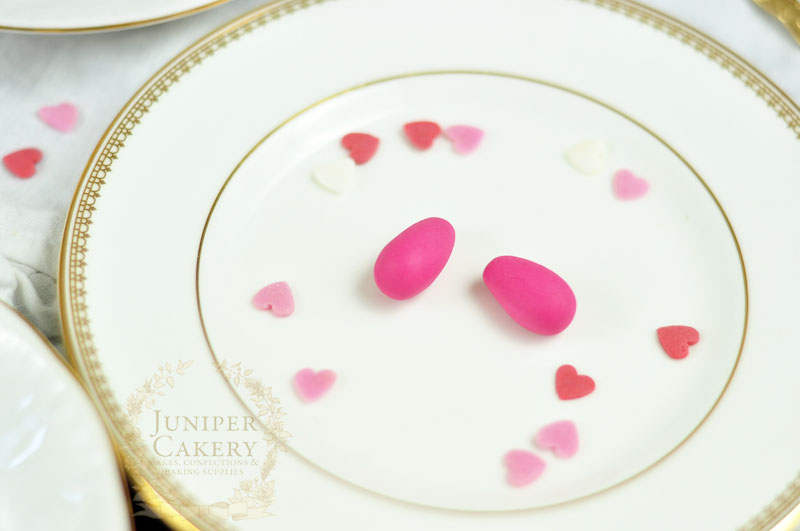
To create the body take some hot pink fondant mixed with some tylo powder and form into a teardrop shape. 

Step 7:

Take a stick of uncooked spaghetti and push into it’s centre leaving some protruding to hold the head of the bug on. Attach with some edible glue and by carefully pressing the head onto the body through the spaghetti.

Create a sugar paste love bug for your Valentine's cupcakes with this how-to from Juniper Cakery

Step 8:

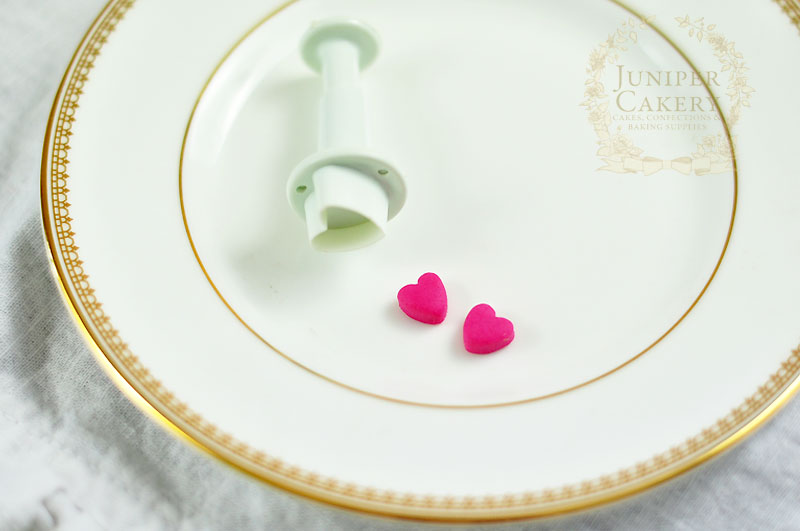
Now it’s time to make your little love bug’s antennae! Roll out some hot pink fondant to a thickness of around 5mm and with a small heart shaped plunger cutter cut out two hearts.

Sweet little fondant love bug tutorial by Juniper Cakery

Step 9:

Cut two pieces of floral wire around 2 inches long and curl around a thin paintbrush before sliding off and snipping down to around 1 inch in length.

Step 10:

Carefully straighten out a little bit at the end and with each tip dipped in some edible glue insert into the plunger cut hearts half way.

Step 11:

Carefully insert each antenna into the top of your bug’s head.

Edible fondant lovebug tutorial from Juniper Cakery

Step 12:

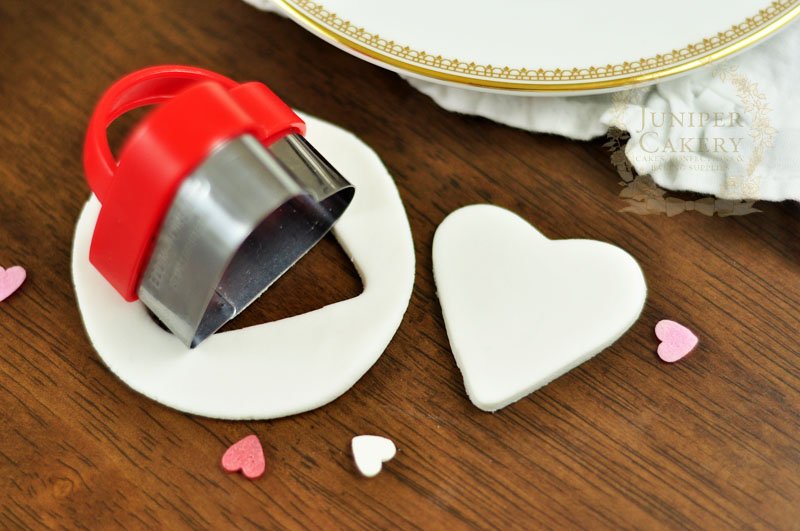
For the wings roll out some white fondant and cut out a medium sized heart using a cookie or pastry cutter.

Step 13:

With a small sharp knife slice the heart into half lengthwise and attach to the back of your bug with edible glue.

How to make a fondant love bug Valentine cupcake figure by Juniper Cakery

Step 14:

To add legs create two small rounded teardrop shapes from some hot pink fondant. Pinch and flatten the tapered ends together slightly. Attach and place your bug on top of the legs with a little edible glue.

Adorable fondant love bug for cupcakes by Juniper Cakery

Step 15:

Add some lovely heart details to your love bug with some heart shaped sprinkles!

This fondant love bug tutorial by Juniper Cakery is perfect for Valentine's Day cupcakes!

We like to think that a cutie like this would indeed look rather fetching perched on top of cakes as well as cupcakes so have fun making a little fondant love bug for large or small treats! For gorgeous baby shower cakes a sweet little heart themed bug like this would be positively show stealing. We love the idea of a pastel hued love bug sat atop of fondant ABC building blooks as part of a fun cake design!


Hello Kitty Birthday Cake!

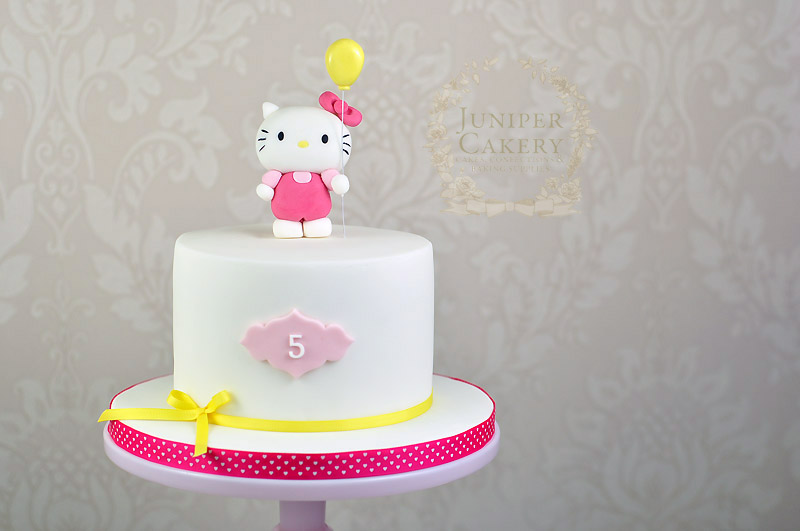
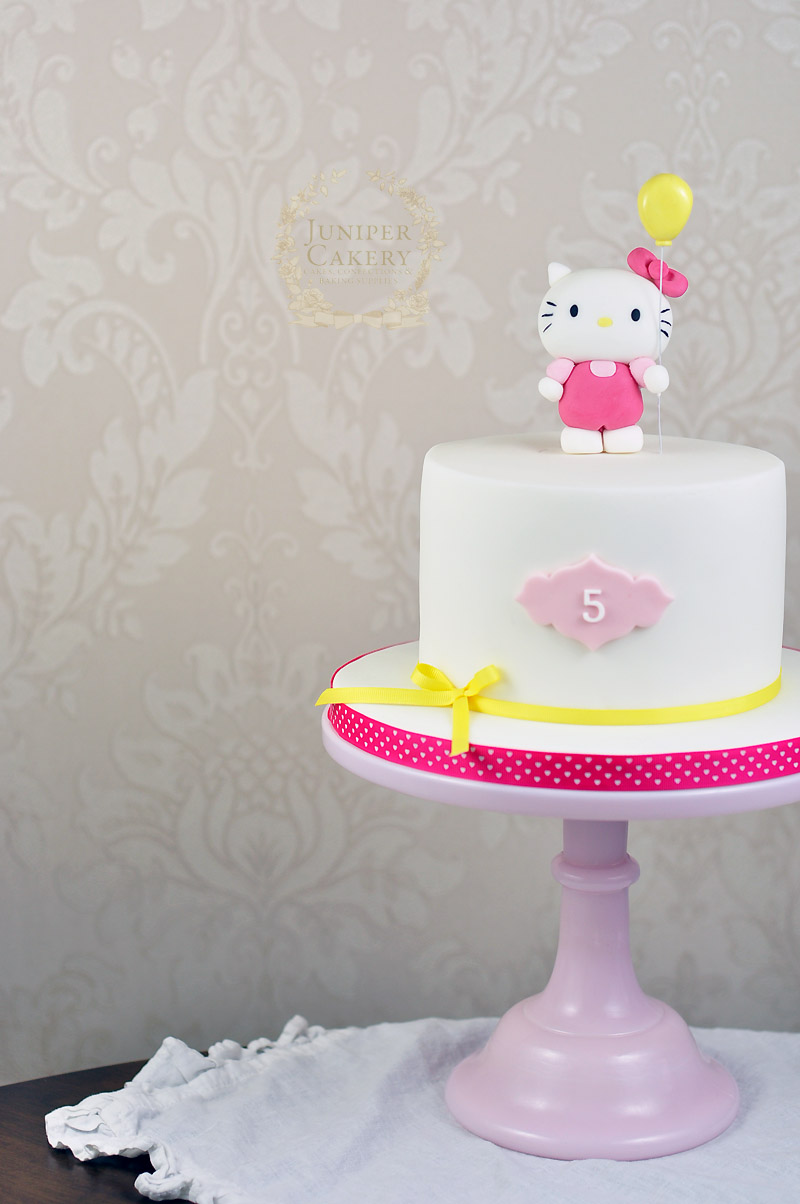
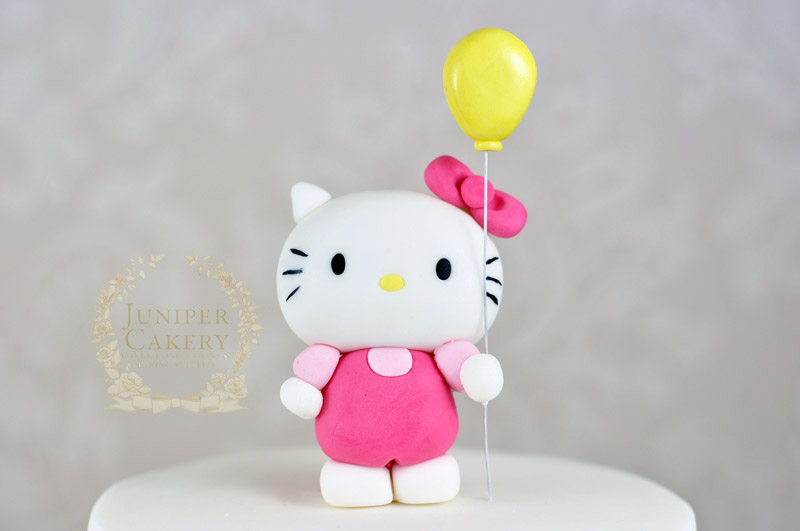
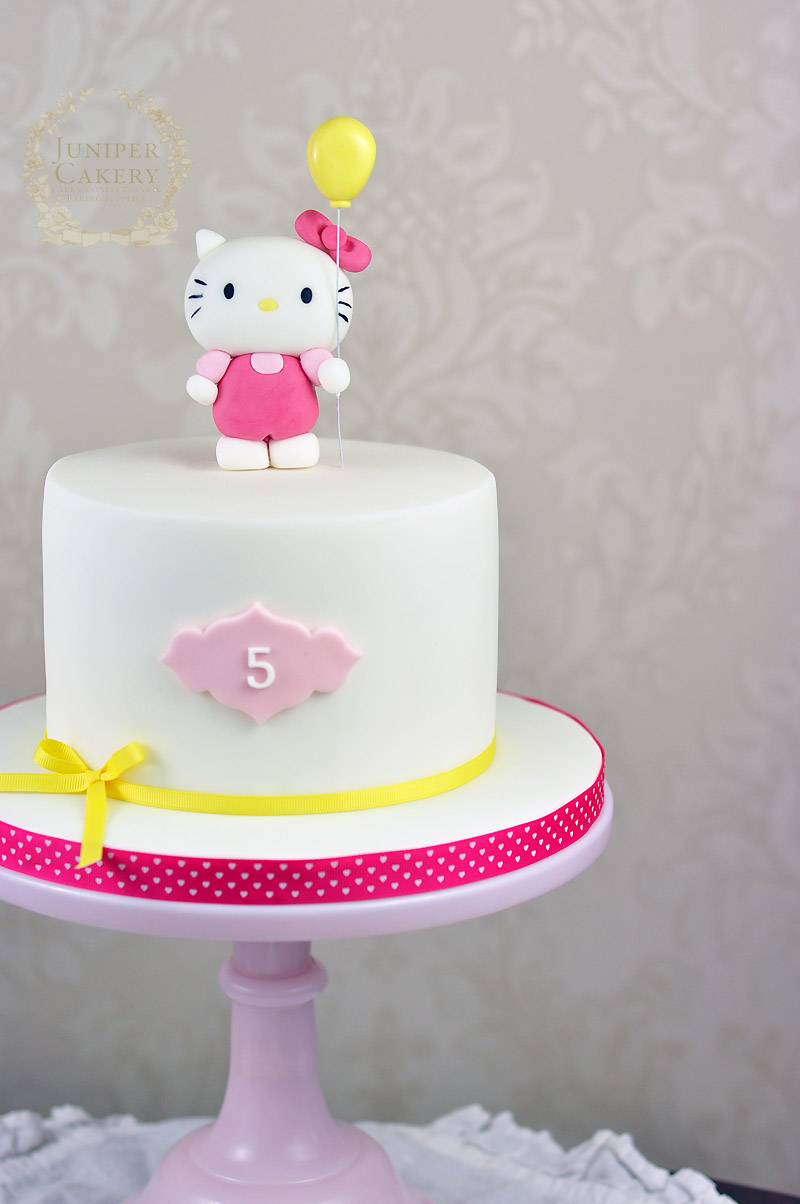
Sometimes the most fun cakes are the most straight forward to design and construct. Here’s a bright and simple birthday party cake that we created featuring a hand-made and edible Hello Kitty perched on top! We loved creating this sweet design plus the fairly plain cake left us with a great canvas to work on an adorable gum paste / modelling paste Hello Kitty character happily clutching a fondant / sugar paste balloon; perfect for a lively get-together!

Hello Kitty birthday cake by Juniper Cakery

Our design requests for this treat included an edible Hello Kitty figure, a white iced vanilla and strawberry cake with a white chocolate ganache, the colours pink and yellow and generally a need for an un-fussy but fun look. 

We added the cute little balloon to add a sweet playful look and feel to the cake. This was definitely one of our favourite things about the whole design, but we do love that the edible confectioner’s glaze painted onto the surface created a realistic shine!

Hello Kitty with balloon party cake by Juniper Cakery

Cute Hello Kitty cake by Juniper Cakery

Our little Hello Kitty was created using custom coloured gum paste / modelling paste and by carefully studying lots of images from official merchandise. It’s important when re-creating well known characters to pay close attention to the positioning of eyes, noses etc (an art school essential is being told that the ’empty’ space is an equally important part of the work). If it helps sketch out a character on grid paper while studying the subject and mapping out the distances between facial features.

Pink and yellow Hello Kitty cake by Juniper Cakery

To re-create this cake with a different spin some fabulous ideas would be to add white on white swiss dots around the sides with royal icing, make tiny fondant gifts to sit around the character’s feet or to create a large bundle of bright balloons to nestle into Hello Kitty’s paw!


Circus Cake & Cupcake Topper Tutorial: Lion

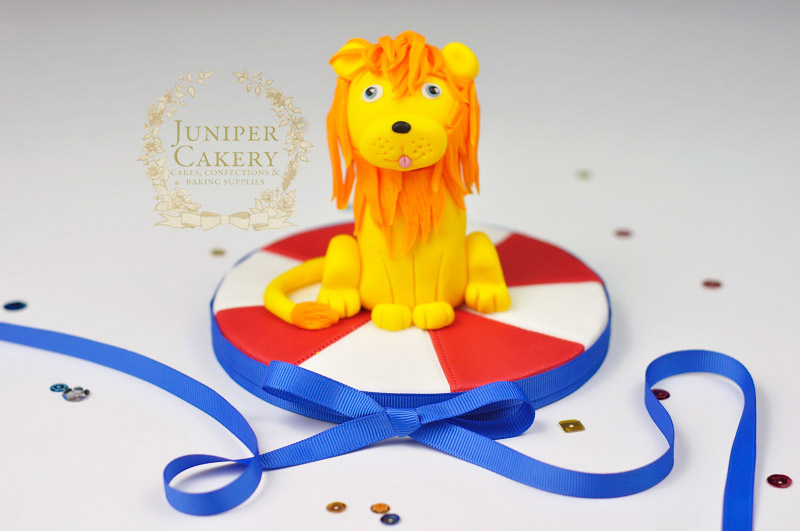
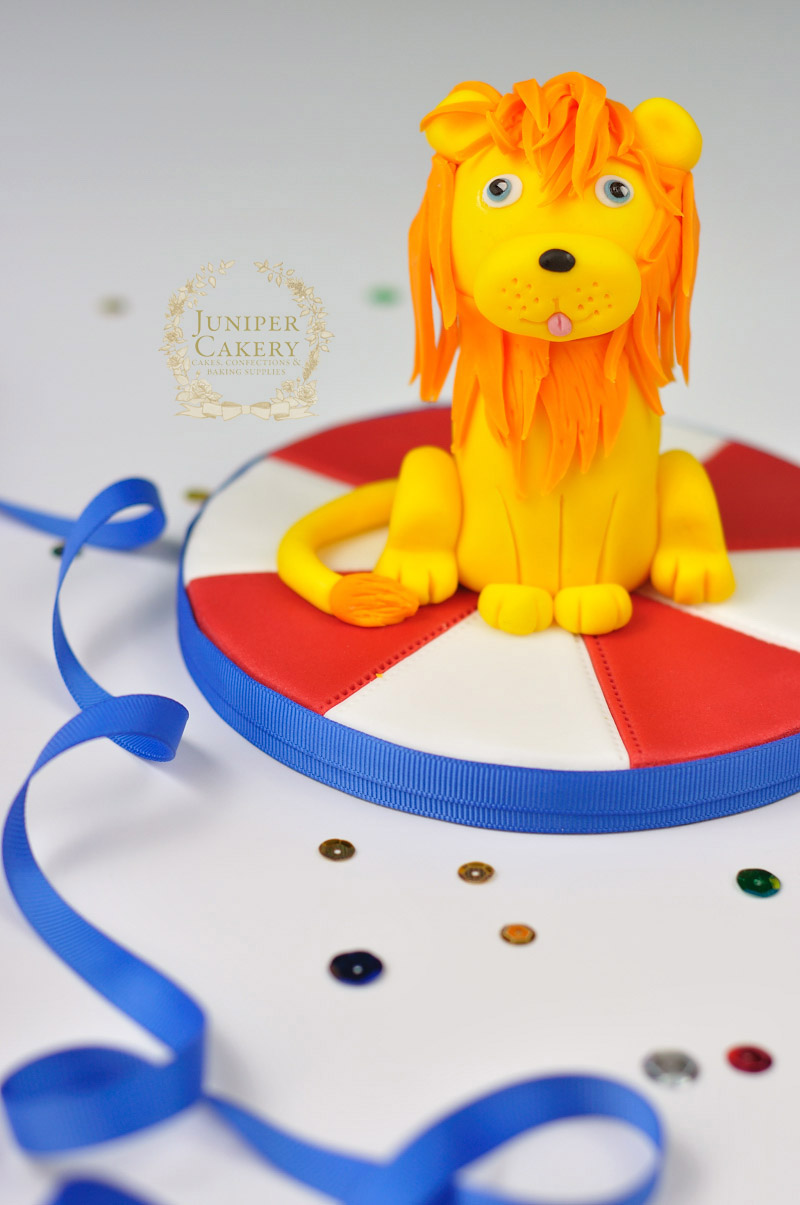
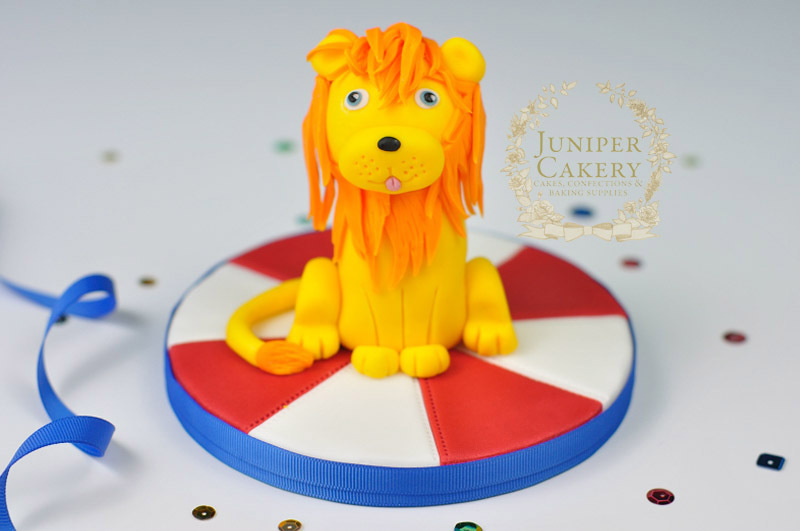
As the days and months get brighter so do our colour palettes! That was our main thought when we began discussing tutorial themes… vibrance. With that in mind, of course, our newest collection of cake and cupcake decorating tutorials look at the bright colours and animal characters from cartoon circuses! This week we show you how to create your own friendly lion; perfect for kids’ party cakes. This character is so easily adaptable to suit other themed cakes and cupcakes too; add a golden crown for a playful royal design or change the colours and create other characters for an amazing selection of Narnia cupcakes!

Fondant lion cake topper tutorial

How to make a circus lion cake topper by Juniper Cakery

You’ll need…

Learn how to make a sugar paste lion

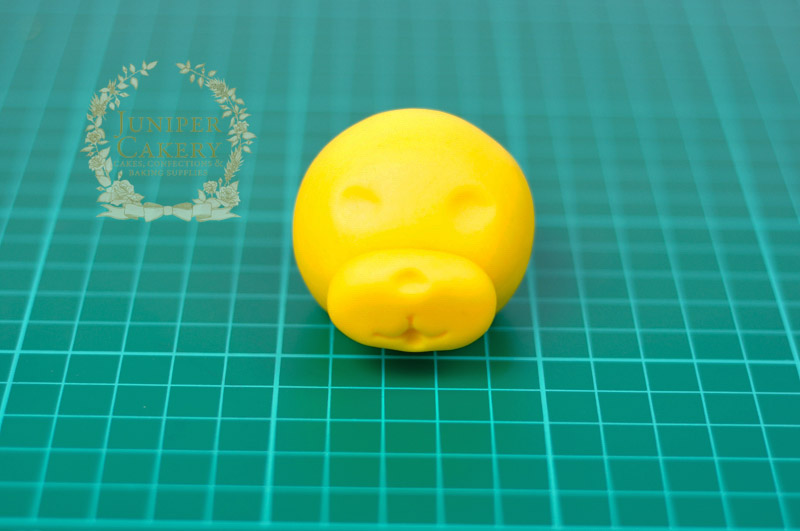
Step 1: Form a ball of yellow fondant / sugarpaste (mixed with a pinch of tylo powder to help make the fondant / sugarpaste harder) approximately the size of a ping pong ball. Slightly flatten the lower part of the front where the muzzle will be attached later.

Circus lion cupcake topper tutorial

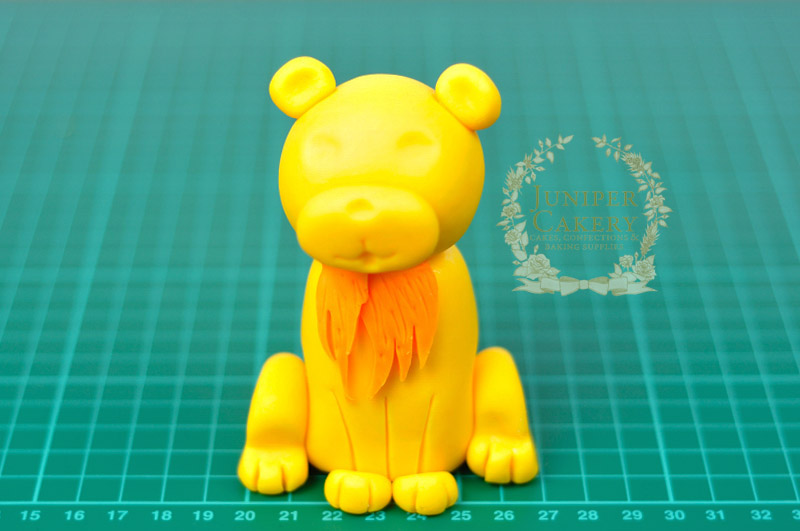
Step 2: With some tylo mixed yellow fondant / sugarpaste form a larger ball (around double the size as the piece in step 1) and mould oblong smoothing the sides inwards to create a slight hourglass shape.

Lion cupcake topper how to

Step 3: With a blade tool etch two front legs and then push a cocktail stick down the centre. The head will attach to this so make sure the stick won’t protrude out of the yellow ball made in step 1.

Tutorial for a sugar paste lion figure

Step 4: For the muzzle make an oblong shape of yellow fondant / sugarpaste. For the ears make two small balls, flatten them slightly and with the ball tool indent where they’ll be place.

Circus lion cupcake topper

Step 5: To begin creating the face attach the muzzle to the flattened lower front area of the head with some edible glue. Use the scallop tool to create the mouth. With the ball tool indent the eye sockets, nose and a groove for the tongue to fit into.

How to make a cute lion topper

Step 6: Take the head and attach onto the body with a little edible glue on the cocktail stick.

Step 7: Use smaller pieces of a cocktail stick pushed into both sides of the lion’s head and attach the ears with some edible glue.

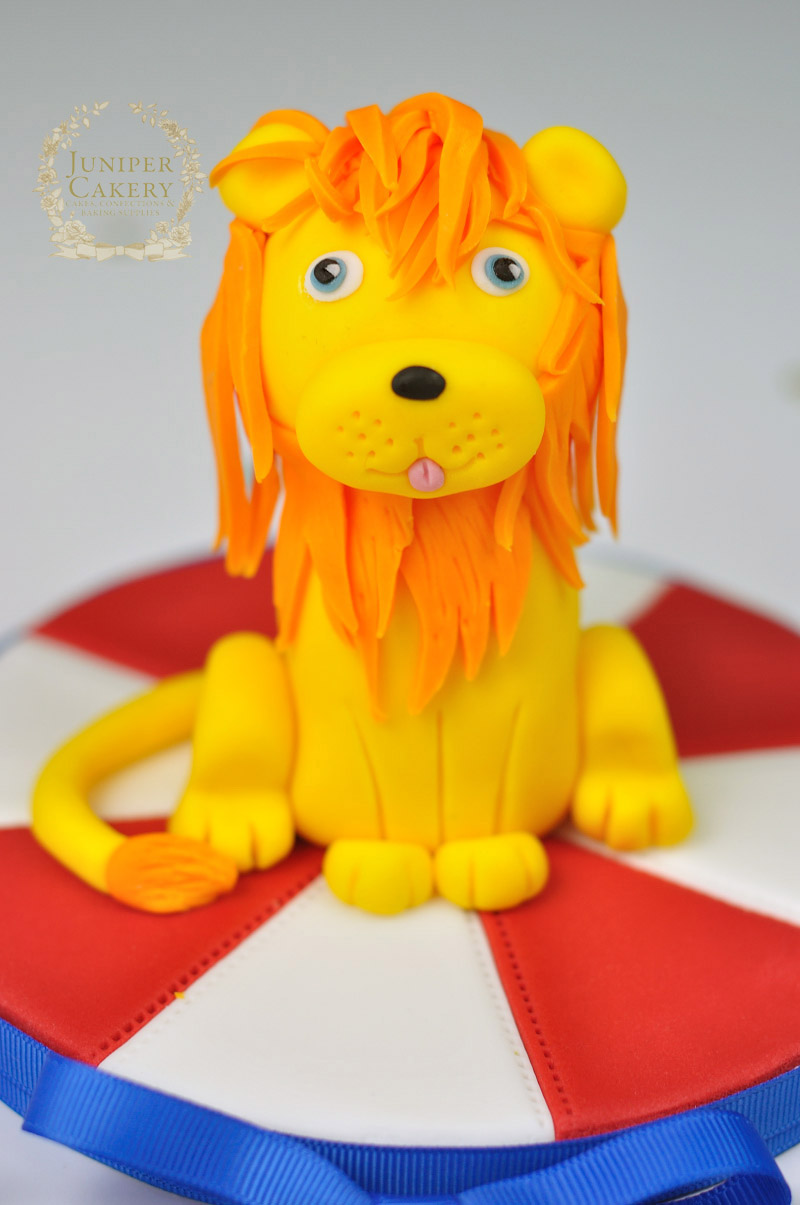
Step 8: To create the mane roll out some orange fondant / sugarpaste. With the blade tool cut out a series of jagged shapes and draw lines into them lightly with the scriber tool. Attach these around the lion’s head with edible glue.

Circus lion cake and cupcake topper tutorial by Juniper Cakery

Step 9: For the tail roll out a rope of yellow fondant and finish the end with a tapered piece of orange fondant detailed with lines. Attach to the back with edible glue once the lion is finished and sat on your cake or cupcake!

Step 10: Add the final details such as the tongue, whiskers (you can add white floral wire or just create dots with a scriber tool), the nose and the eyes. For the eyes simply layer colours of fondant / sugarpaste. Begin with the whites, indent with the small end of the ball tool, add the eye colour, indent again, then add a little black and then a tiny amount of white.

Fun sugar paste lion tutorial


The 3 Bunnies of Easter Cupcakes!

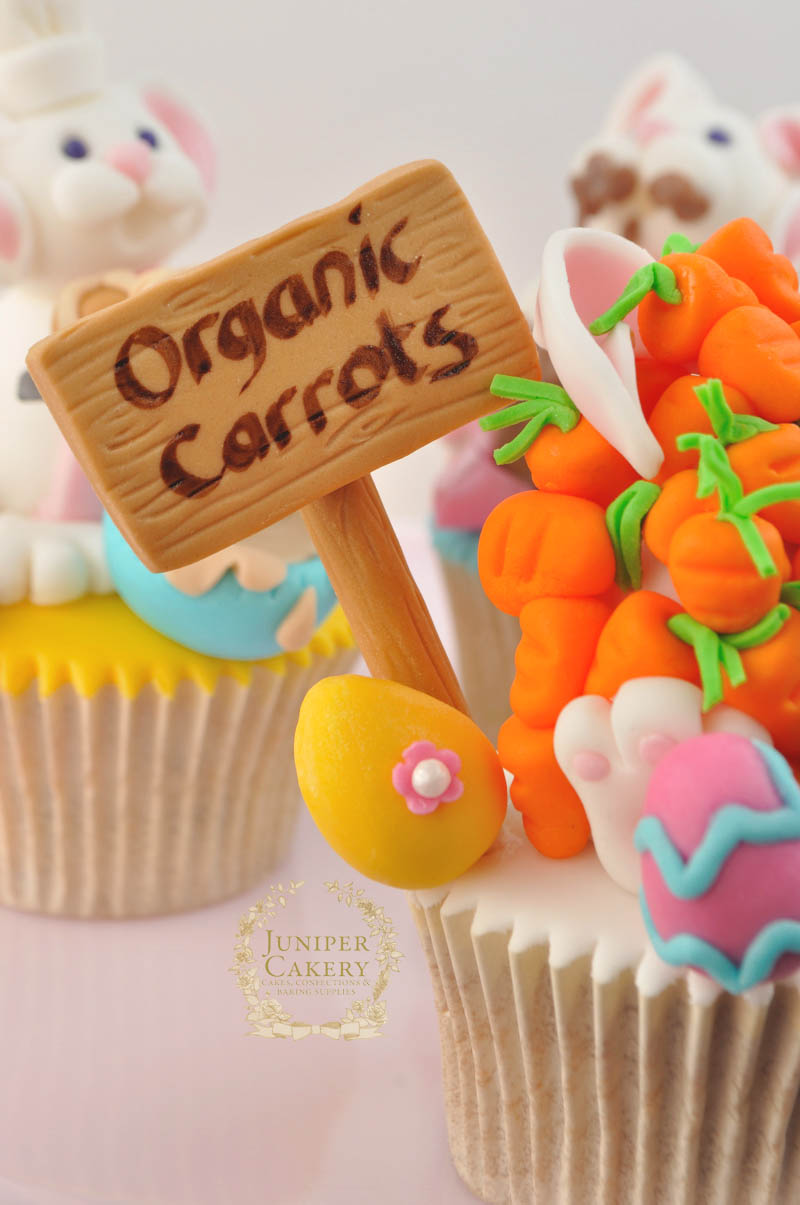
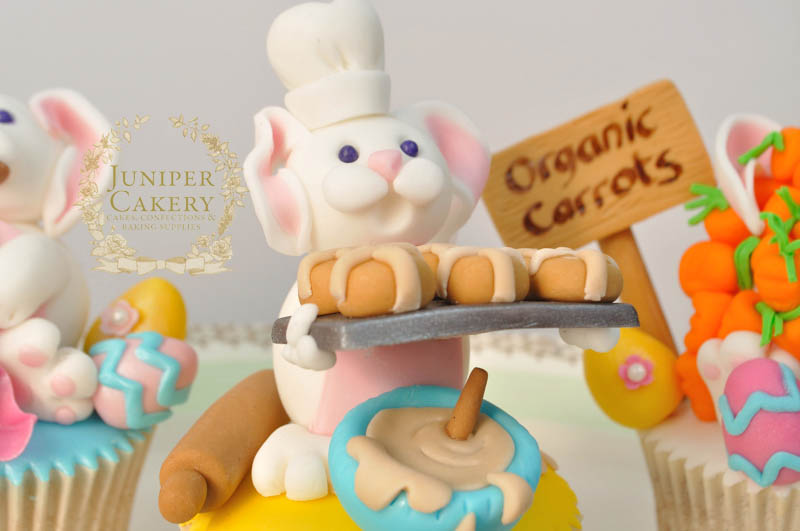
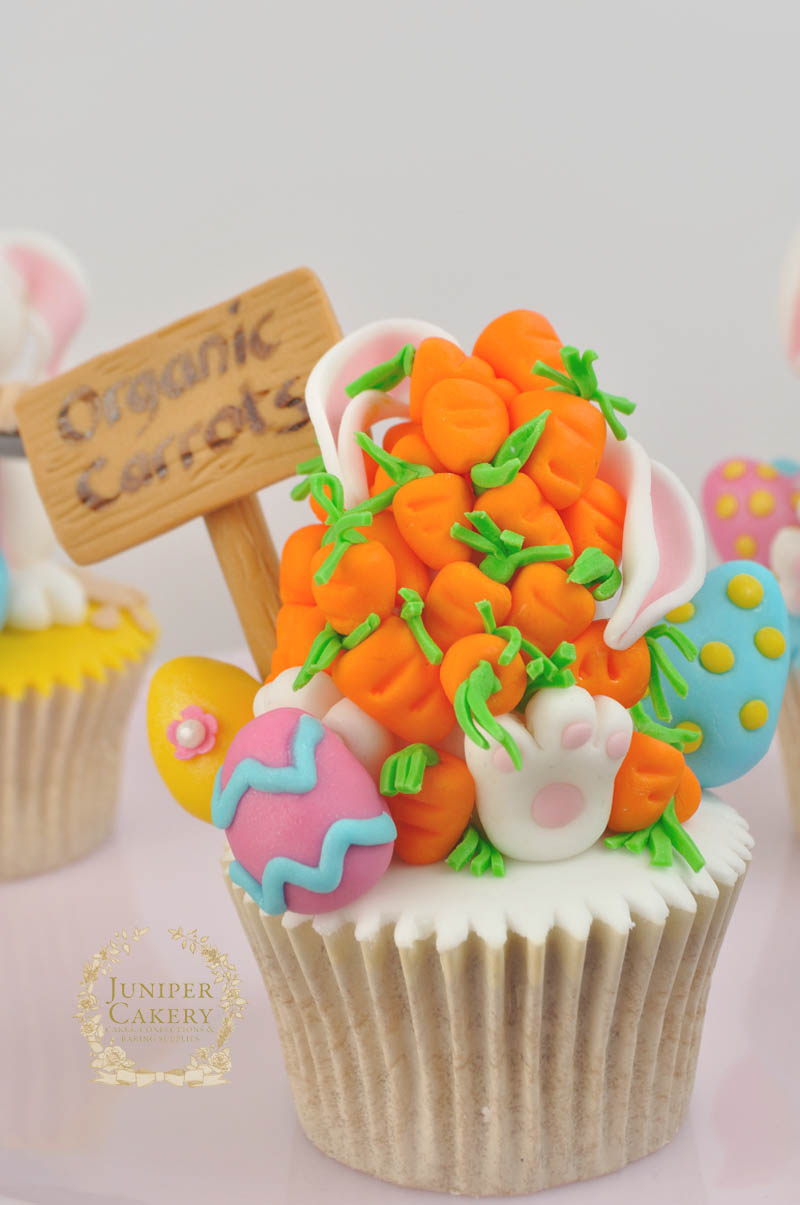
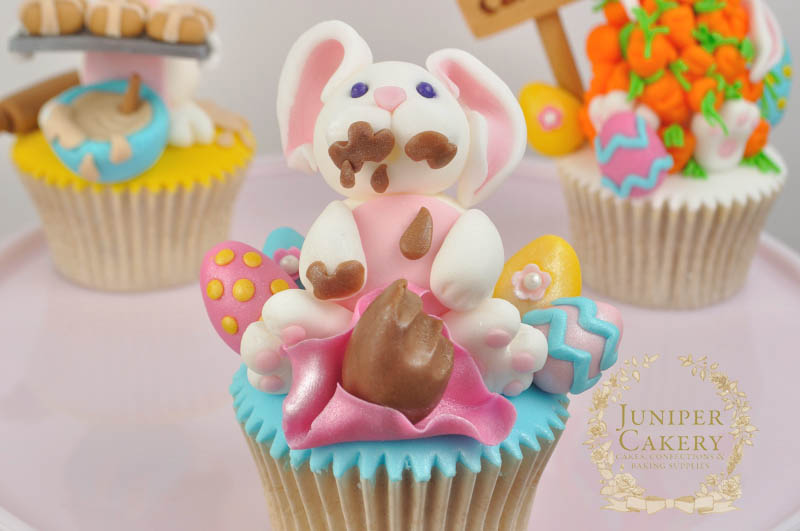
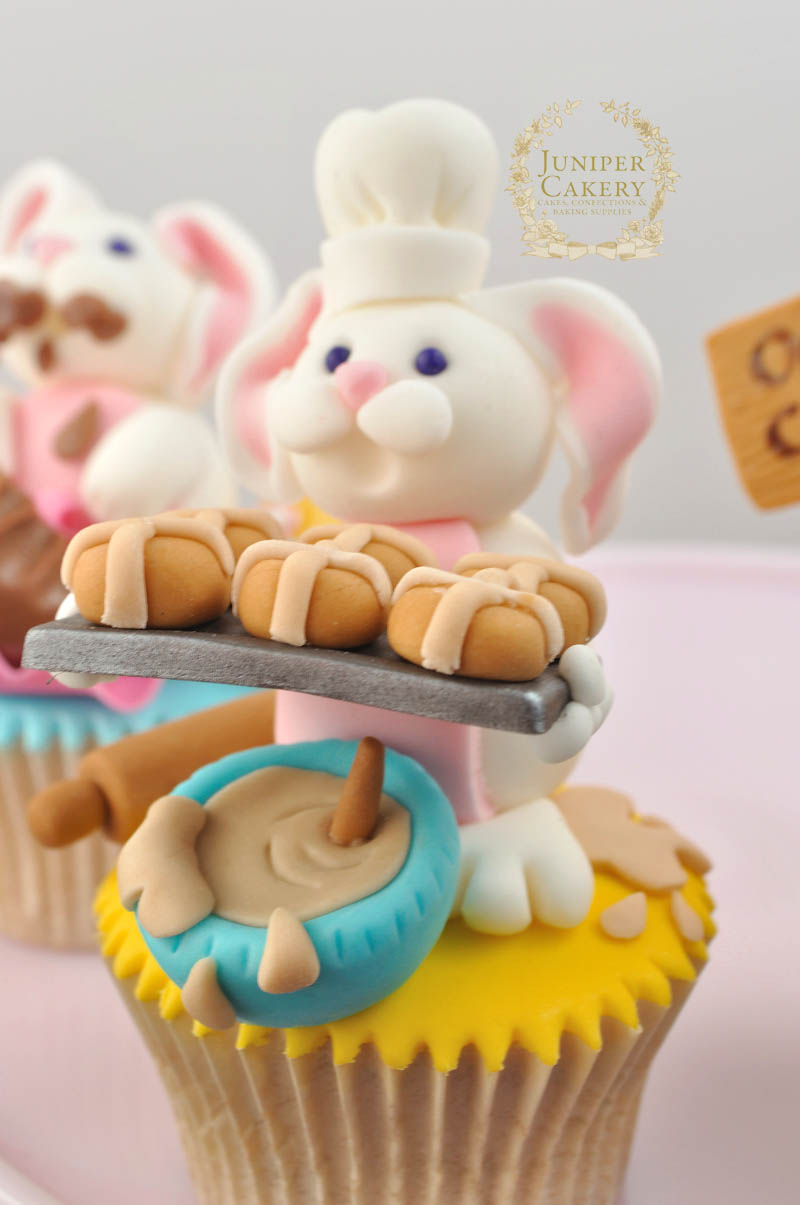
Easter is finally here and for a little bit of fun (yes, on a holiday AND on our time off) we decided to put together some rather fun little cupcakes that suit the occasion particularly well we think. Our design ideas for these furry nice bunnies was the process throughout the Easter holidays (or any holiday season for that matter). Our hot cross bun baking bunny begins the holiday season with the best of intentions; full of festive spirit and raring to whip up everything from scratch! The second bunny is overwhelmed with Easter and buried underneath a myriad of carrots. Finally, our third bunny rabbit has just given in to the gluttony of modern day Easter celebrations; chocolate, chocolate and more chocolate!

Funny Easter Bunny Cupcake Toppers by Juniper Cakery

Each cupcake is flavoured to match its decoration. The hot cross bun baking bunny is a delicious apple and sultana cupcake, the carrot overload bunny is a spiced carrot and orange cupcake and the chocolate chomping bunny rabbit features a vanilla cupcake with chocolate chips and a chocolate ganache filling. All are then topped with vanilla buttercream and fondant icing. Just because we’re ever so generous we’ve included our recipe for each flavour with this post!

Cute Easter Bunny Cupcake Toppers by Juniper Cakery

We added a fun ‘organic carrots’ signpost to our ‘overwhelmed’ bunny cupcake along with lots of bright Easter eggs!

Adorable Easter Bunny Cupcakes and Toppers by Juniper Cakery

Our adorable little chef bunny was certainly busy in the kitchen with its rolling pin, batter splattered floor, mixing bowl and tray full of freshly baked hot cross buns.

Easter bunny and carrots cupcake by Juniper Cakery

Here’s our overwhelmed bunny cupcake.We often feel like the above bunny rabbit most of the time. The cupcake itself is a delicious spiced carrot and orange cake.

Cute Easter Bunny with Chocolate Eggs Cupcake by Juniper Cakery

Here’s our chocolate overload bunny who has found themselves amidst a plethora of tasty chocolate Easter eggs! We added a little lustre dust to the eggs and wrapper to create a shimmery metallic look. The cupcake flavour for this was vanilla with chocolate chips with a lovely chocolate ganache filling.

Easter Hot Cross Bunny Cupcake by Juniper Cakery

Mmm… hot cross buns. For this cupcake we mimicked our favourite hot cross bun flavour and created an apple and sultana cupcake with a hint of nutmeg and cinnamon!

We’ve also submitted all three of these funny Easter bunny cupcakes to The Pink Whisk’s Easter Makes & Bakes Competition and placed second!

”Prize


Fun Easter Bunny Cupcakes by Juniper Cakery

We hope you all enjoy a fun-filled Easter weekend and that you find yourself more like the baking or chocolate bunnies we created rather than the poor stressed-out little carrot buried rabbit! Hoppy Easter!


Tutorial Tuesday: How to Make a Sugarpaste Owl!

Yay! It’s now September which means that the lovely cosiness of Autumn (or Fall depending on where you are) is just around the corner! Autumn and winter are our favourite seasons here at Juniper Cakery and we get excited when they arrive every year. What’s not to love… lovely vibrant crisp golden leaves, cooler weather, bundling up in mis-matched knitwear, hot cocoa, spiced cakes, Halloween festivities and of course Christmas. With all this in mind this week’s tutorial is an adorable autumnal owl in fetching seasonal shades of browns and rust orange. This little creature will sit perfect on top of cupcakes and forest themed cakes!

How to make a sugarpaste / gumpaste owl

How to make a sugarpaste / gumpaste owl

What you need for this tutorial…

Sugarpaste / fondant in three complimentary colours
Water
Paintbrush
Round piping tip (use the large bottom for cutting)
Blade modelling tool
Ball modelling tool
Scallop and comb modelling tool
Circle cutters

How to make a sugarpaste / gumpaste owl

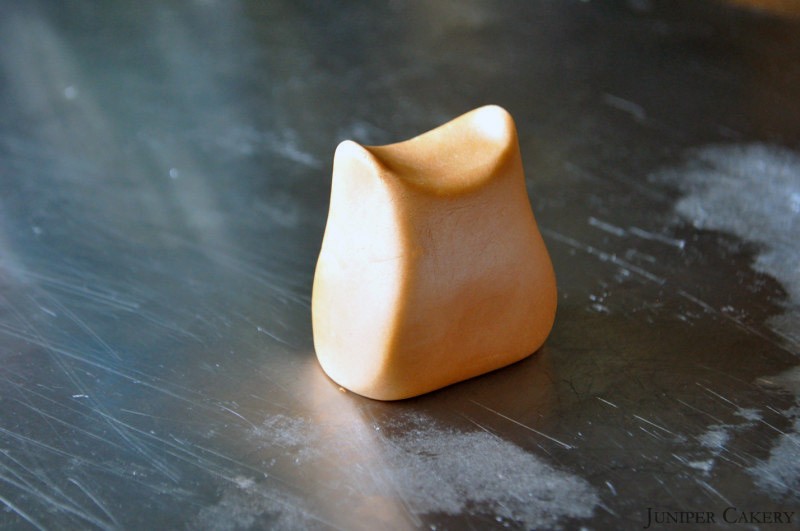
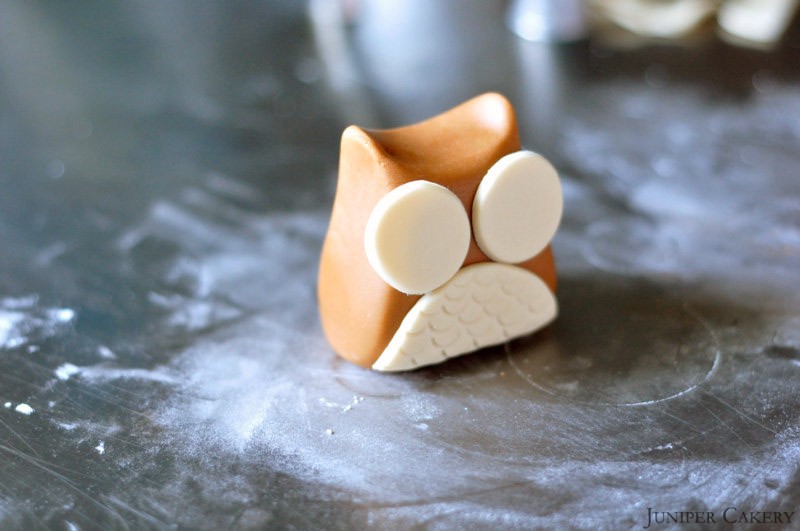
Step one: Use your chosen base colour to mould what we would describe as an upside down tooth shape as pictured above. Use your finger and thumb to pinch two ‘ears’ for your owl and smooth any stretches/cracks with your fingers.

How to make a sugarpaste / gumpaste owl

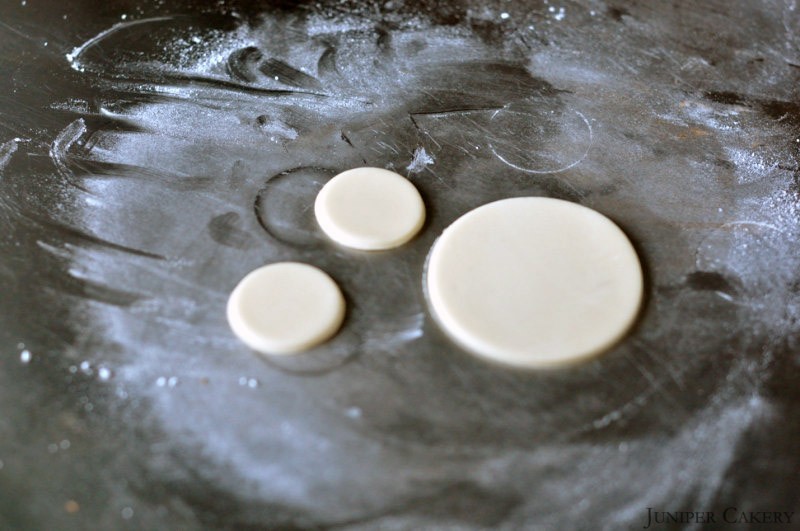
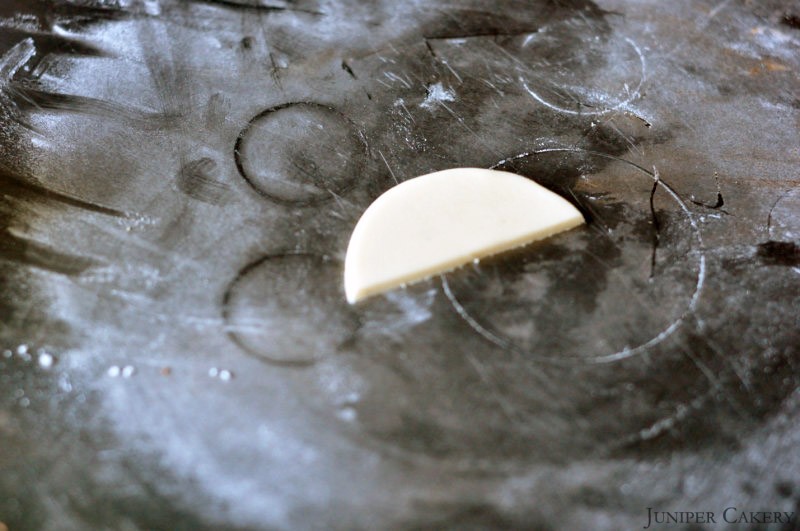
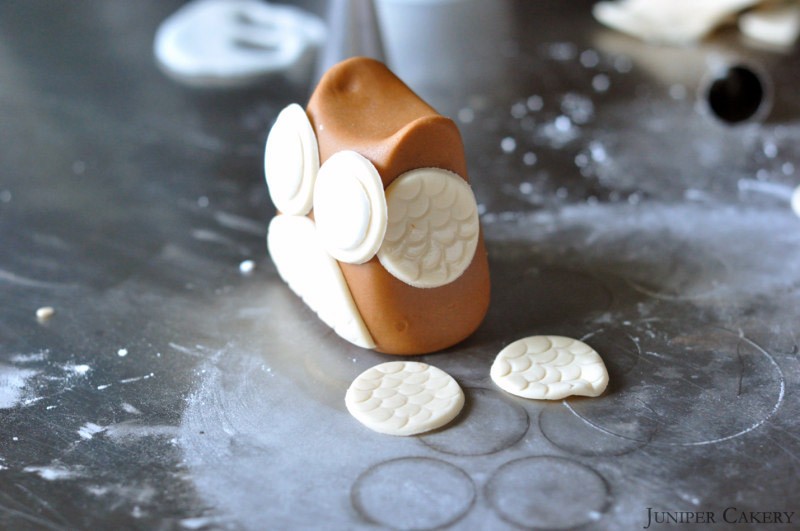
Step two: Using a small circle cutter and the end of a piping tip cut one small and two extra small circles out.

How to make a sugarpaste / gumpaste owl

Step three: Slice the small circle into two halves. Into one of the halves create a ‘feathered’ pattern using the scallop and comb tool.

How to make a sugarpaste / gumpaste owl

Step four: Now stick the two extra small circles in place as eyes and the half circle in place as a chest. For extra detail why not cut out smaller circles in an opposite colour and place them on top of the extra small circles, this will add extra dimension to your owl’s eyes.

How to make a sugarpaste / gumpaste owl

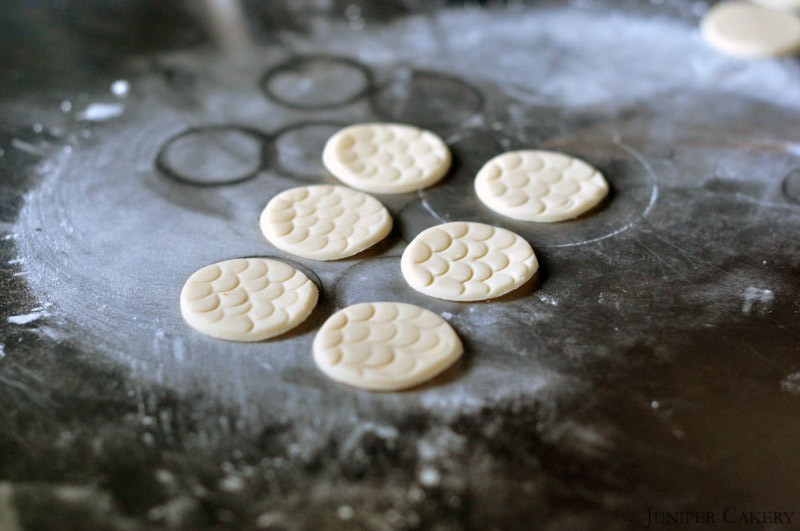
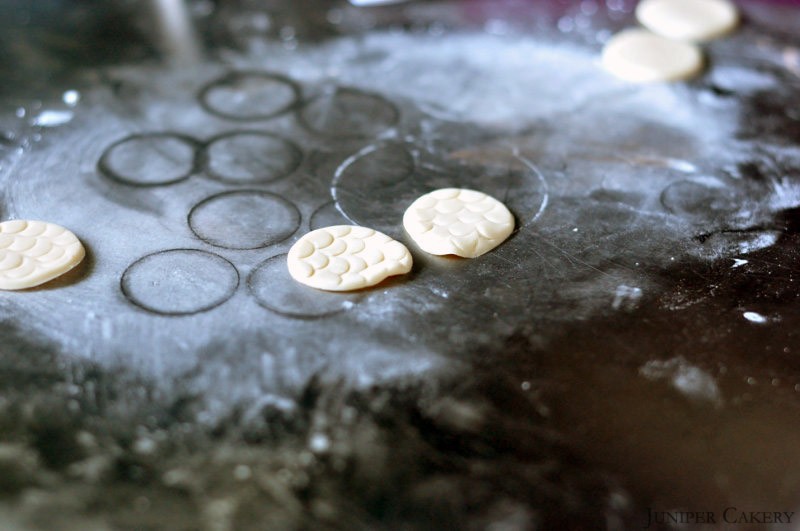
Step five: Using the piping tip again cut out three circles and add feathered detail using the scallop end of the scallop and comb tool.

How to make a sugarpaste / gumpaste owl

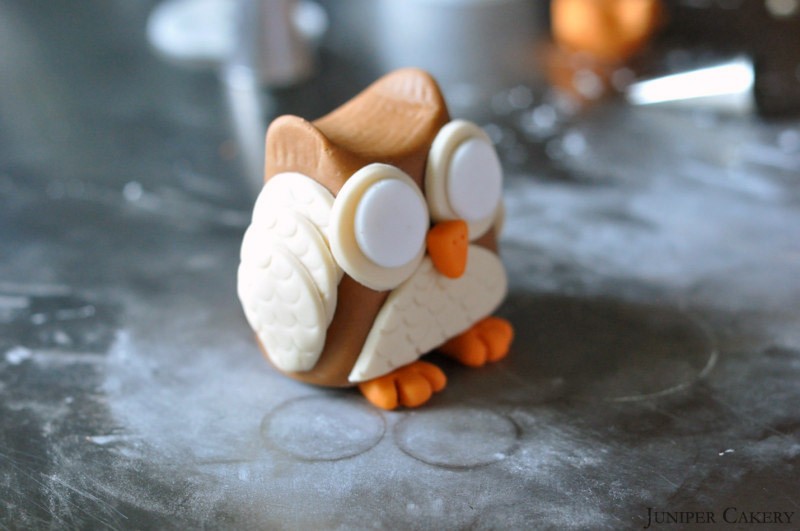
Step six: Pinch two of the circles with your finger and thumb to create a tapered ‘wing’.

How to make a sugarpaste / gumpaste owl

Step seven: Begin sticking the circles in place overlapping them as you go. Stick the tapered circle on last as this will finish your owl’s wing off nicely.

How to make a sugarpaste / gumpaste owl

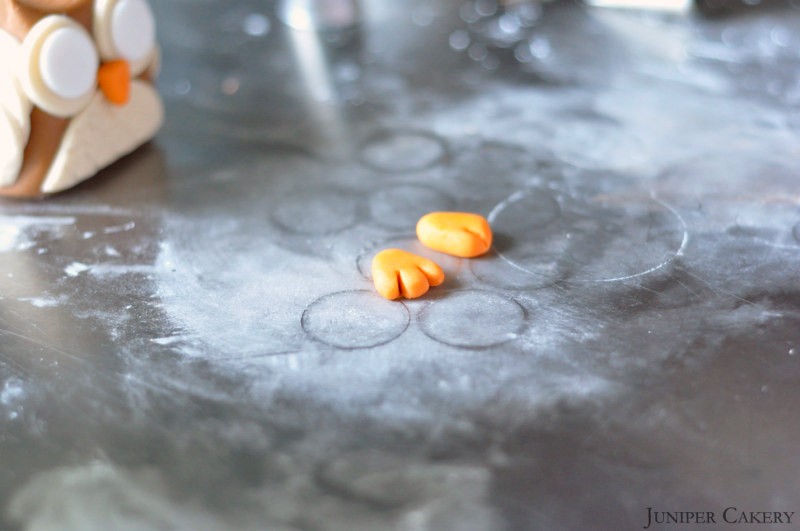
Step eight: Using a contrasting colour to your owl’s body make a chunky teardrop shape. Use the blade tool to make two slits at the non-tapered end, mould with your fingers to get rid of any sharp/rough edges. Repeat this once more and you now have your owl’s feet!

Step nine: Make a similar, but smaller, shape pinching the edges to get a triangle. Stick between the eyes, poke in two small holes and your owl now has a beak!

How to make a sugarpaste / gumpaste owl

Step ten: Stick in place using edible glue by simply sitting your owl on top of them. The weight will secure them and help the glue set.

How to make a sugarpaste / gumpaste owl

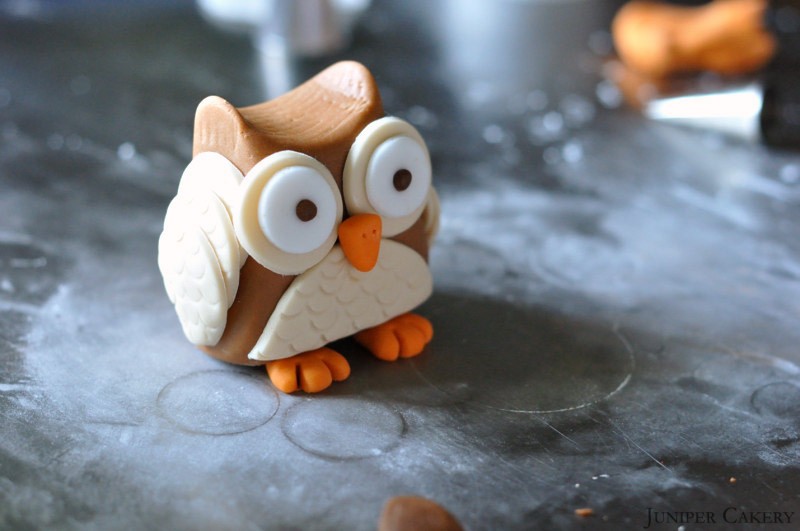
Step eleven: Roll two small balls of fondant, make an indentation in your owl’s eyes, and press in the two small balls for pupils!

How to make a sugarpaste / gumpaste owl

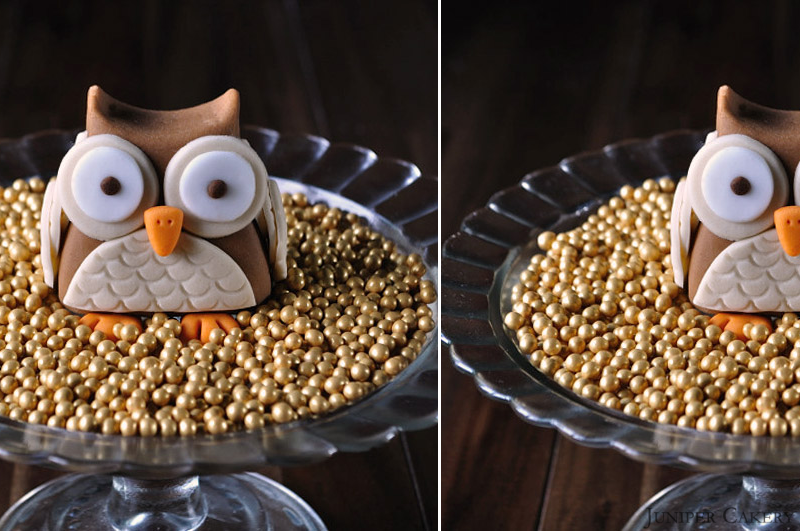
Now you’ve made your very own sugarpaste owl! This can be made in any colour for any occasion and your little owl can be nestled atop a cake and cupcakes!


CAKE101: How to get evenly sized fondant pearls!

Fondant / sugarpaste pearls and beads are a simple way to add a border to cakes, but if you make all your pearls individually by hand getting them even can be a long and exhausting job. This weeks CAKE101 decorating / baking tip gives you a good way to ensure that every bead is as evenly sized as possible!
CAKE101: How to get evenly sized pearls

“To get even fondant / sugarpaste pearls and beads cut multiple rolled out fondant circles with your choosen circle cutter. Then roll each circle up into even pearls!”


×