Blueberry, Lavender and White Chocolate Cake with The Happy Egg Co.

Fresh blueberries and fragrant lavender are two of the best things about summer, plus they are wonderful flavours to add to various cake recipes too. With that in mind we whipped up a delicious Blueberry, Lavender and White Chocolate cake using eggs from The Happy Egg Co. This cake is perfect for a fruity summertime treat; why not try out our recipe for barbecues, garden parties or afternoon tea.

Blueberry, Lavender and White Chocolate Cake

Blueberry, Lavender and White Chocolate Cake Recipe

(makes three 8″ layers)

7-8 eggs by The Happy Egg Co.
453g self-raising flour
453g butter
453g caster sugar
1 heaped teaspoon of edible lavender florets

Cream your butter in a mixer then add the caster sugar. Add in the flour along with half of the happy eggs for around one minute. Once half of the happy eggs are combined add the remaining and mix for about 5 minutes. Add 1 heaped teaspoon of edible lavender florets and mix.

Pour into a greased circle cake pan until 2/3 full and place on the top shelf of a pre-heated oven at Gas Mark 3/325F/170C. Bake for around 30 minutes. Repeat this step three times for each circle layer.

DSC_0002

Blueberry, Lavender and White Chocolate Cake

Blueberry and Lavender Preserve Recipe

200g of blueberries
2 tablespoons of edible lavender florets
2 tablespoons of lemon juice
250g jam sugar
6 tablespoons of room temperature water

Add all ingredients into a saucepan on medium to high heat. Bring to boil whilst stirring constantly. 

Leave to simmer and keep stirring. When the liquid has reduced to 50% less check if the preserve is ready. To do this turn off the heat and scoop out a tablespoon’s worth before leaving in the sample in a refrigerator for 2 minutes. Test when ready by pushing the jam with your finger. Is the jam moves and forms a wrinkled skin along the top then it is ready. Otherwise, turn on the heat and leave the preserve to simmer a little longer.

Once ready pour into clean jars to cool before using.

White Chocolate Buttercream

150g white chocolate buttons
350g butter
250-350g icing sugar

Step one: Cut up your butter into small cubes. We use a serrated knife to do this as the serrated edge causes less suction than a straight edge one. This means you shouldn’t be fighting desperately with getting the butter off your knife; a hazardous thing to do at best!

Step two: In a stand up mixer cream your butter using the flat beater on medium speed.

Step three: As the butter is creaming add in the icing sugar a bit at a time.

Step four: In a glass bowl melt up your chocolate callets in either a bain marie (the bowl in a saucepan of hot water) or a microwave (check and stir every 30 seconds to avoid burning).

Step five: Remove from heat once melted and stir until the chocolate has half cooled. Pour your melted chocolate into your mixer bowl with the buttercream and mix.

Step six: Mix your frosting at full speed at 30 second intervals; checking each time.

Blueberry, Lavender and White Chocolate Cake

Decorating this cake is relatively easy. You just need all your ingredients, some time, patience, extra blueberries, extra edible lavender florets, a good turntable and a small spatula.

Sandwich your layers with your fruity blueberry buttercream on your turntable before covering your cake with your white chocolate frosting. Using a small spatula add the white chocolate buttercream onto your cake until it is completely covered and smoothed.

To create the linear texture in the buttercream that we created begin from the bottom of your cake and angle the tip of your spatula into the frosting slightly. As you turn your turntable keep your spatula steady and move slightly up the cake so you are left with a linear spiral working it’s way up through the buttercream!

Finally, sprinkle with edible lavender florets and topple generously with fresh blueberries! Now your Blueberry, Lavender and White Chocolate cake is ready to be enjoyed!


Tutorial Tuesday: How to Make Perfect Chocolate Buttercream

As a follow up from our popular How to Make Simple Buttercream tutorial / recipe we thought we’d offer up our tips on whipping up an amazingly decadent chocolate buttercream! This frosting is perfect for mouth watering dark truffle cakes and milk chocolate fudge cakes. You can even use our tips to make an amazingly smooth white chocolate buttercream; perfect with delicious fruity fillings and preserves inside layer cakes.

How to make perfect chocolate buttercream

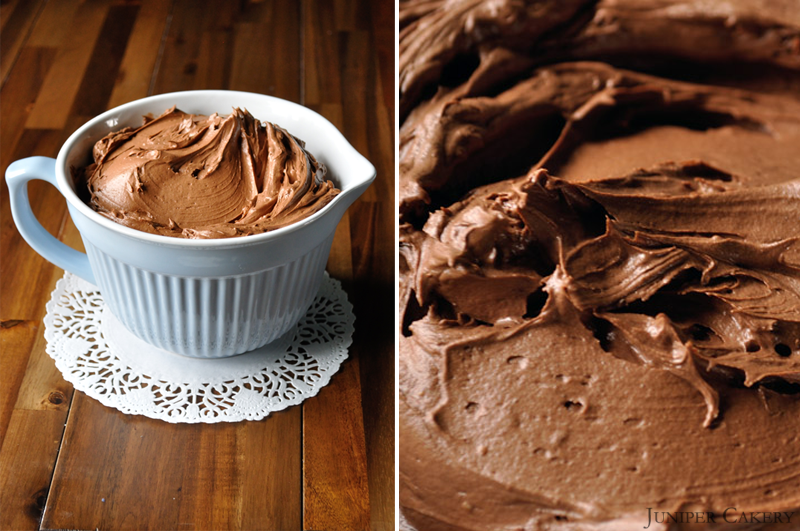
Our first tip for creating super smooth chocolate frosting is… add melted chocolate! The best thing about adding melted chocolate is that it really helps minimise air bubbles. The second is that by mixing a simple buttercream recipe / method with tempered chocolate is that it becomes a sort of hybrid buttercream-ganache; or ‘butternache’. This makes it perfect for crumb coating cakes.

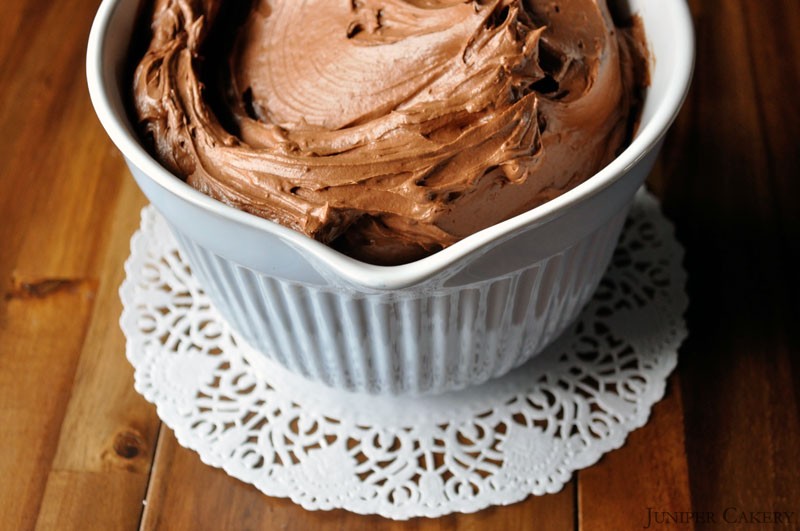
Perfect Chocolate ButtercreamPerfect Chocolate Buttercream

Perfect chocolate buttercream recipe!

To make enough to fill and ganache/buttercream a 10″ cake of three layers and a 6″ cake of three layers you’d need around 900g of our super smooth chocolate buttercream. This equates to… (NOTE: To make enough to generously frost around 24 cupcakes you’d need around two thirds of the recipe below. Simply multiply the amount per ingredient below by 2 and then divide by 3 e.g. 750g butter x 2 = 1500 / 3 = 500g)

As we stated in our Simple Buttercream tutorial use this recipe as a jumping off point to help whip up frosting perfect for you and how you work. If you haven’t read our initial tutorial about whipping up buttercream you probably should!

750g butter
400g chocolate callets / buttons (the best are by Callebaut)
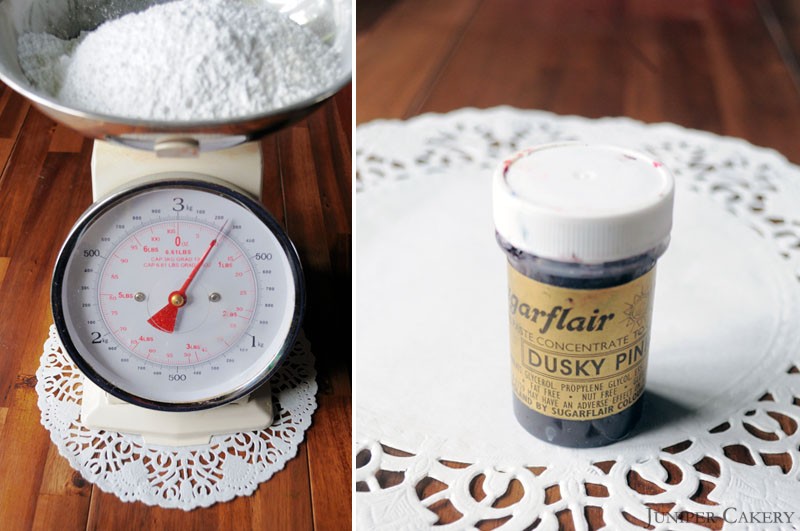
400g icing / confectioner’s sugar
12 tablespoons of cocoa powder

Perfect Chocolate Buttercream

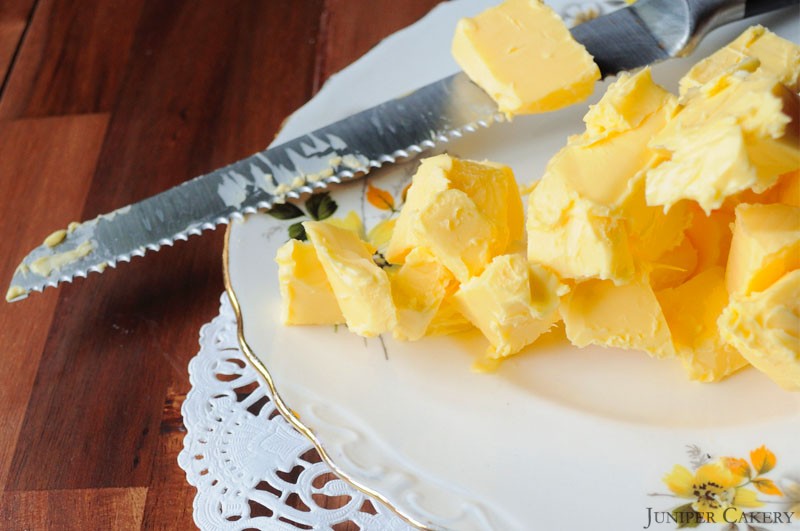
Step one: Cut up your butter into small cubes. We use a serrated knife to do this as the serrated edge causes less suction than a straight edge one. This means you shouldn’t be fighting desperately with getting the butter off your knife; a hazardous thing to do at best!

Step two: In a stand up mixer (we recommend a KitchenAid Artisan 4.8 Litre / 5 Quart Mixer) cream your butter using the flat beater on medium speed.

Step three: As the butter is creaming add in the icing sugar a bit at a time.

Step four: In a glass bowl melt up your chocolate callets in either a bain marie (the bowl in a saucepan of hot water) or a microwave (check and stir every 30 seconds to avoid burning).

Step five: Remove from heat once melted and stir until the chocolate has half cooled. Pour your melted chocolate into your mixer bowl with the buttercream and mix.

Step six: Add in the tablespoons of cocoa powder four at a time. Mix. Test your frosting once every 4 tablespoons has been incorporated.

Step four: Mix your frosting at full speed at 30 second intervals; checking each time.

Perfect Chocolate Buttercream

Remember to test, taste and analyse your buttercream as you make it and change the recipe slightly if need be. You need to develop a sort of sixth sense or intuition when it comes to whipping up things like buttercreams and fillings. With our recipe and the advice we offered on our initial How to Make Simple Buttercream post you should be on your way to making perfect and delicious frosting! Buttercream can be a trial and error thing, but with experience you’ll end up with wonderful frosting every time!


Tutorial Tuesday: How To Make Simple Buttercream!

We’ve had lots of requests for a tutorial / recipe on how to whip up basic buttercream over the past few months. It would seem that the frosting referred to as simple, basic and even as American buttercream can be somewhat elusive, annoying and tricky. Don’t worry; we’ve found this to be the case too!

How to Make Simple Buttercream

Over the years we’ve tried lots of different recipes and we’ve learnt two important things…

1 - Find ingredients you trust

Your basic buttercream recipe is relatively simple. You mix together butter, icing / confectioner’s sugar and a tiny bit of water (or milk, but this means your frosting doesn’t last as long) before adding some flavouring or colour. Sounds simple… but then there are annoying little things that can mess this recipe up like what brand or type of butter you use, how fine or course your icing sugar is and even how much flavouring you add or if you use a liquid food colourant!

The best thing to do is to find or create your own set recipe. Make a few batches using different brands of butter until you’ve found one you enjoy working with (some butters can be hard to mix and will leave you with lots of small clumps in your otherwise smooth buttercream). Use gel paste colours to change the colour of your buttercream as liquid colourings can make your buttercream sloppy. Use a very high quality extracts or essences when adding flavour to your buttercream. Store bought tends to be very watery whereas a good extract/essence is highly concentrated allowing you to only add a small amount for maximum flavour. We’ve tried and tested all sorts of flavourings and once we found these all natural extracts and essences we haven’t used any other; we highly recommend them!

2 - Develop your buttercream intuition

Use the below recipe as a guide but don’t be afraid to play around with ratio! This will help you develop your intuition when it comes to baking and decorating. Don’t just follow a recipe… utilise it! Everything in a recipe is there for a specific reason beyond taste… e.g, the butter in buttercream is a binder and the icing sugar is essentially the stabilising ingredient; without each other or if you have too much of either one you have a mess on your hands.

How to Make Simple Buttercream

Consistency-wise you want frosting that feels and looks between a mousse and peanut butter. It needs to be at the same time soft and creamy and stable at room temperature. You should be able to pipe without the buttercream running out or refusing to be piped out.

When it comes to taste you want to be able to taste both main ingredients equally before you add flavouring. Always test your buttercream before you flavour. The sugar should never over power the butter and vice versa.

How to Make Simple Buttercream

The recipe below makes enough buttercream to pipe six cupcakes. Use this recipe as a jumping off point to help whip up frosting perfect for you and how you work.

What you need…

250g room temperature butter (try to only use butter or spreads with a fat content similar to butter… low fat spreads have a higher ratio of water which messes with consistency & stability)
250g icing / confectioner’s sugar (you can sift if you like, but a good mixer should whip out the lumps)
1 teaspoon room temperature water or flavouring / extract / essence to ‘loosen’ the frosting
Optional: Gel paste food colour (gels work best as they won’t change the consistency of your frosting)

Step one: Cut up your butter into small cubes. We use a serrated knife to do this as the serrated edge causes less suction than a straight edge one. This means you shouldn’t be fighting desperately with getting the butter off your knife; a hazardous thing to do at best!

Step two: In a stand up mixer (we recommend a KitchenAid Artisan 4.8 Litre / 5 Quart Mixer) cream your butter using the flat beater on medium speed.

buttercreaming

Step three: As the butter is creaming add in the icing sugar a bit at a time. Also, add the teaspoon of water or flavouring.

Step four: Mix your frosting at full speed at 30 second intervals; checking each time. Once lovely and creamy add in your food colouring and mix until fully incorporated!

You should now be on your way to buttercream nirvana. After a while of making batches of buttercream and really interacting with it (always tasting and analysing the consistency) you will earn your buttercream intuition badge!


‘Tutorial Tuesday': How to make marshmallow cream or ‘Fluff’!

What you need:

3 egg whites at room temperature
256g icing sugar
256g light corn syrup (easily found on Amazon or online American food stores)
1/2 tea spoon of salt 
Natural vanilla essence 

Step one: Weigh the icing sugar and corn syrup in preperation and leave them to one side. Seperate three egg whites into a bowl.

Step two: Place the egg whites, corn syrup and salt into your mixer and leave on high speed for 5 minutes. This will be done when it turns white in colour.

Step three: Now add the icing sugar little by little as you continue to mix your ingredients on a low speed. Once the icing sugar has been intregrated it is time to pour in your chosen flavouring (this can be adjusted acording to taste). Once your 'Fluff' has gained volume it is done.

Now you are ready to adorn your cakes with your homemade marshmallow cream or 'Fluff'!


×