Happy St. Patrick’s Day: Black Velvet Cupcake Recipe!

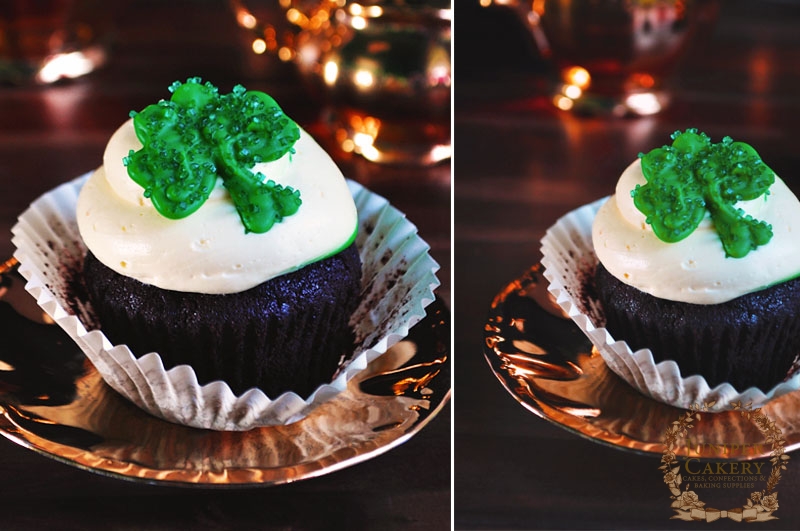
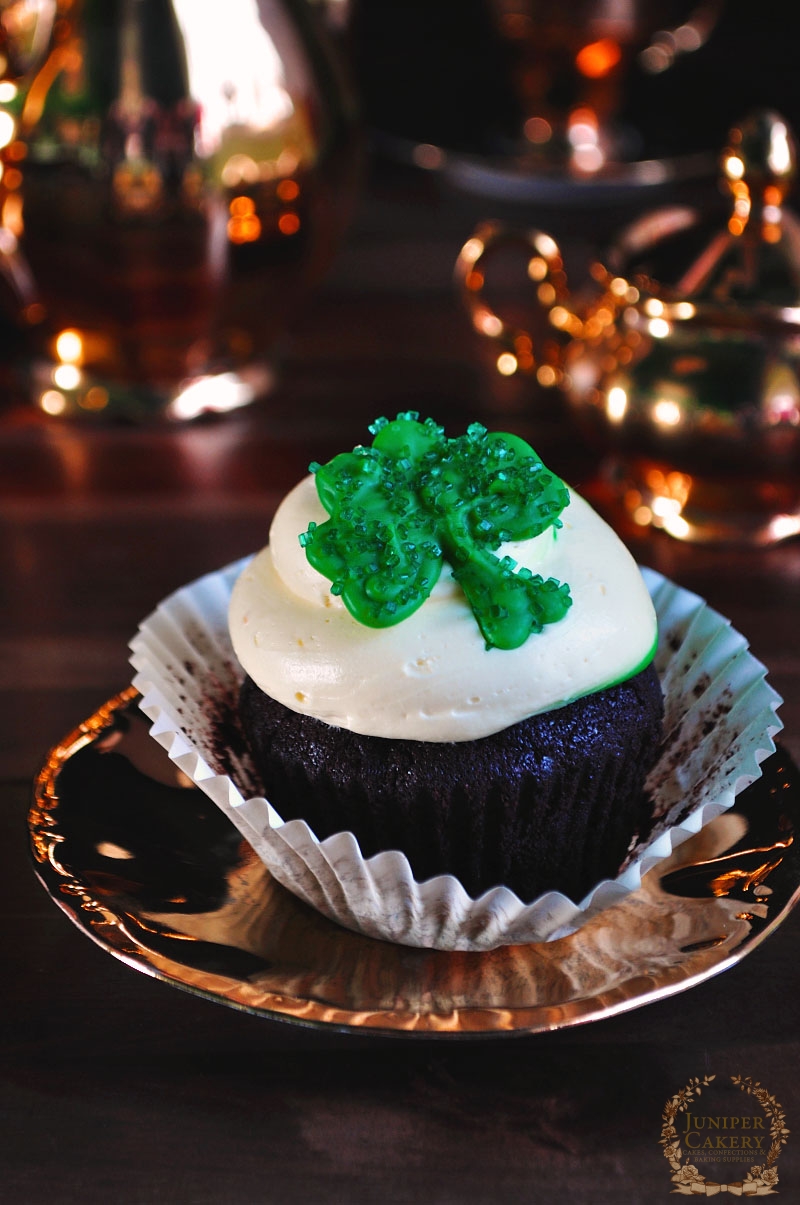
On St. Patrick’s Day it’s tradition to knock back a bit of a tipple (or hundred) and who are we to break with tradition. To celebrate we decided to share our recipe for our lovely Black Velvet Cupcake; a baked treat that takes it’s name and flavour from the Guinness based cocktail! It was invented in London in 1861, but it utilises that deliciously famous Irish stout from the Emerald Isle so we thought this would be a recipe befitting any St. Patrick’s Day shindig. Our infamous Black Velvet Cupcake is a lovely dark chocolate cake infused with Guinness before being swirled with a creamy champagne buttercream; two boozy elements in one recipe!

St. Patrick's Day Guinness and Dark Chocolate Cupcake Recipe by Juniper Cakery

St. Patrick's Day Guinness and Dark Chocolate Cupcake Recipe by Juniper Cakery

St. Patrick's Day Guinness and Dark Chocolate Cupcake Recipe by Juniper Cakery

For some handy and lovely champagne essence visit our e-store to pick up a bottle! It’s a great thing to have when whipping up small batches of champagne infused treats.

We adorned our Black Velvet Cupcakes with emerald coloured white chocolate piped into sugar sand sprinkled shamrocks. Why not topple gold wrapped chocolate coins on top, swirl a little green buttercream atop or simply dust with cocoa for a wonderful treat. 

Whatever you plan on doing for St. Patrick’s Day (whether celebrating or not) we hope you enjoy a wonderful time!


The Happy Egg Co. Cake - After Dinner Mint

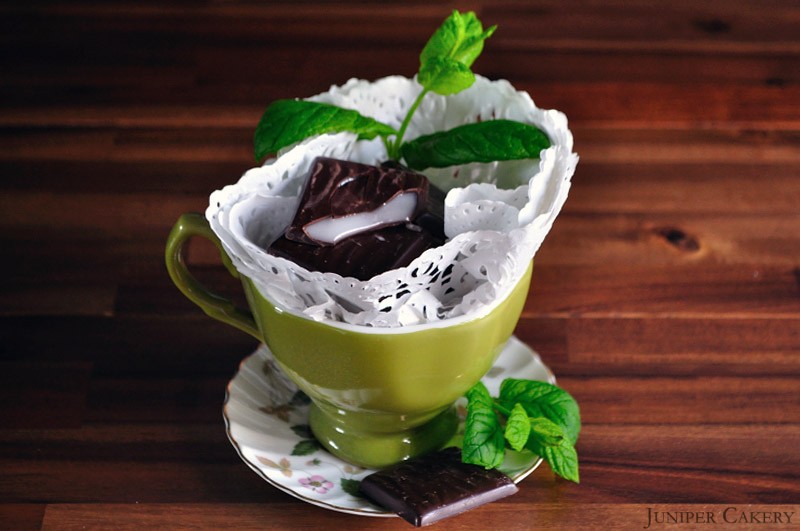
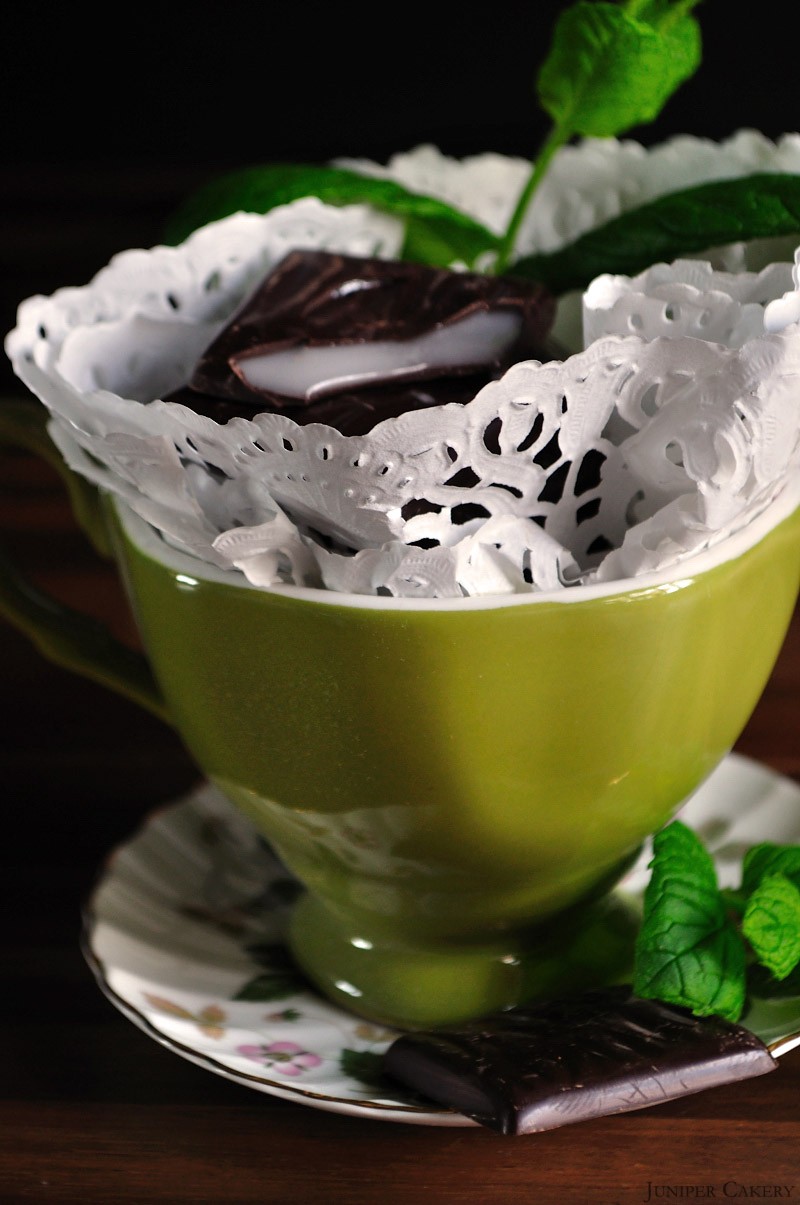
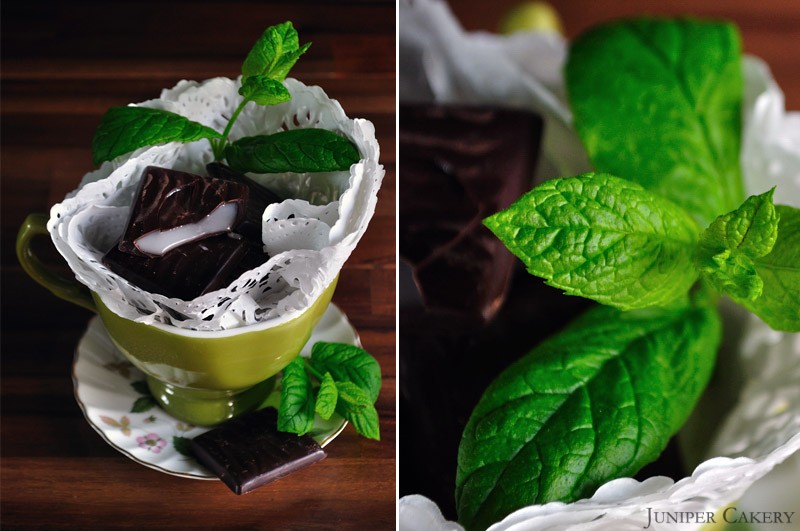
The festive season is just around the corner and of course we are incredibly excited! We love everything about this time of year; woolly jumpers, blustery weather, houses adorned with tinkling lights and the abundance of fantastic flavours on offer! With all this in mind an obvious flavour choice for our next cake with The Happy Egg Co. jumped out at us; after dinner mint! The luxurious combination of dark chocolate and smooth mint cream is a seasonal classic around the Christmas dinner table, and one to share with family and friends while watching winter TV specials! We loved the idea of a decadent cake incorporating the fresh sweet taste of peppermint and the bitter creaminess of dark chocolate. Why not finish a festive dinner with an after dinner mint cake instead? We certainly will; we’re salivating at the thought!

mint1

mint2

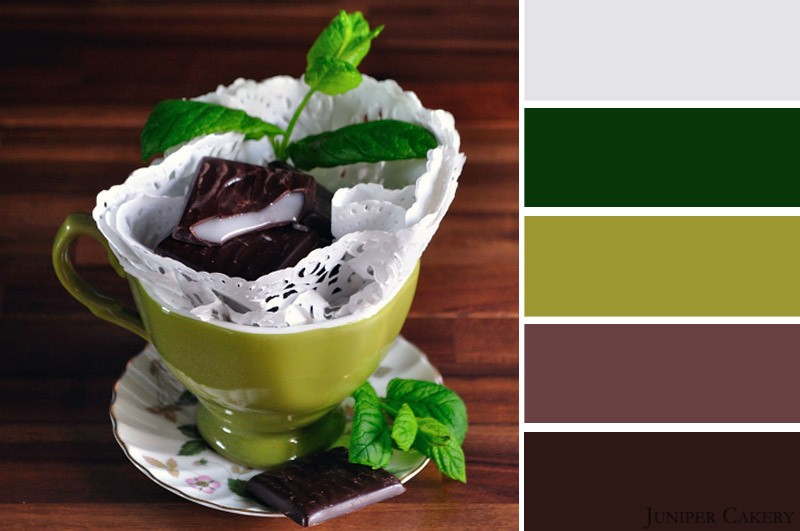
Another thing we adore about combining peppermint with dark cocoa is the vibrancy of natural greens contrasted perfectly next to warm browns and crisp grey whites. They do say that you eat with your eyes first so festive greens and natural browns will help tempt everyone!

mintpalette

mintduo

You don’t even have to wait until after your evening meal to enjoy such a cake flavour. It’s winter in less than a month so why not indulge and warm up your tummy with a generous slice and a piping hot mug of peppermint hot cocoa! Excited? Watch this space for our truly tempting and taste bud tingling recipe!


The bicycle cake!

Here’s a really playful bicycle themed cake we created! It’s a classic Victoria Sponge cake with the large boulder as a second tier. The cake is covered with custom coloured icing and decorated with various edible sugarpaste modellings. We had lots of fun making this cake!


‘Tutorial Tuesday': How to make a sugarpaste witches’ hat and broom for Halloween!

With autumn underway and Halloween just around the corner we’re celebrating the upcoming festivities by bringing you autumn and Halloween themed tutorials from now ultil the end of October!

What you will need:

Edible glue
Hologram Graphite cake glitter by Rainbow Dust
Lush Lime cake glitter by Rainbow Dust
White Lustre Dust by Sugarflair
Custom coloured fondant
Blade and Shell tool by Tala
Paint brushes
Non-stick rolling pin by Tala
Circular cookie cutter by Tala

Step one: Roll out the black coloured fondant and cut a circle out using the cookie cutter. This will form the base of the witches’ hat

Step two: Using the left over black icing form a ball ensuring it begins to taper at one end. This should look like an oversized ‘raindrop’.

Step three: Once rolled out use the blade tool to create a ghoulishly green band.

Step four: Paint the base of the hat and the larger end of the ‘raindrop’ with edible glue and esemble them as shown above.

Step five: Using a small amount of the grey coloured fondant form the shape of a buckle. To give the buckle a metallic sheen brush with a little lustre dust. Before attaching use the tip of the blade tool to create ‘buckle holes’.

Step six: Using the Lush Lime and Hologram Graphite Rainbow Dust add a finishing sparkle to the witches’ hat. Gently paint with edible glue before applying the glitter if it does not stick.

Step seven: To make the witches’ broom roll the dark brown fondant until it resembles a broom handle. Roll the light brown icing and use the blade tool cut out a ‘fan’ shape’. Continue to use the blade tool to create a bristle effect.

Step eight: Glue both pieces together and add extra detail by applying small amounts of grey fondant to secure the broom end to the broom handle.

Now you have two spooktacular sugarpaste creations to decorate your Halloween themed cupcakes!


National Cupcake Week tutorial: How to make sugarpaste doilies and roses!


You will need:

Pink sugarpaste
Cream or white sugarpaste
Green sugarpaste
A small or medium PME leaf plunger cutter
A toothpick
A rolling pin
Some styrofoam 
Edible glue
Some paintbrushes
Ivory or White lustre dust or cake glitter
A crinkle cookie or scone cutter (We recommend Tala's scalloped scone cutter set)


National Cupcake Week tutorial: How to make cupcake toppers!

What you need:

Cocktail sticks/tooth picks
Card (two contrasting patterns/colours)
A button
Ribbon
glue
Tape 
Hole punch 
Scissors 

Step one: Cut the card into two circles ensuring one is larger than the other. Using the glue stick the smaller circle in the centre of the larger circle. 

Step two: Pierce two holes in the middle of the small circle once it is securly glued to the larger of the two using the hole punch. Once the hole is made use a needle or a cocktail stick to push the ribbon through both circles, from the back. Once both ends of the ribbon have been pushed through the holes made with the hole punch thread the ribbon through the button, one hole at a time. 

Note: If this becomes tricky try cutting your ribbon so it tapers at each end thus making it easier to thread.


Step three: Once the ribbon is in place secure it by tying a bow in the centre of the button and cupcake topper.

Step four: Now flip your cupcake topper over. On the back will be a 'loop' where the ribbon was pushed through. Carefully slot one end of the cocktail stick through that loop and apply a small amount of tape over it to secure it futher.

Now you have a very simple but elegant cupcake topper to adorn your baked goods!


National Cupcake Week: How to make a sugarpaste pumpkin!

What you will need:

Tala’s straight edged tool
Tala’s star modelling tool
Orange sugrpaste
Brown sugarpaste
Green sugarpaste
A kebob stick (you can also use a lollipop stick or a paintbrush to wind the tendrils)
Edible glue

Step one: Mould the orange sugarpaste into a ball and shape. Once you have your desired pumpkin figure use your flower leaf modelling tool to score grooves into the ball. In the centre of your pumpkin use the star modelling tool to indent a space for a stalk and tendril.

Step two: Now it is time to make your pumpkin tendrils! Using the green sugarpaste roll it out with your hand until you get a thin ‘sausage’ shape. Take your kebob stick and gently wind the tendril around to form a spiral. Once you are happy with the tendril’s form carefully slide it off the kebob stick.

Step three: To make the pumpkin stalk take small amounts of brown sugarpaste and mould until you gain the appropriate shape (the tapered end should neatly slot into the indentation you made earlier)

Step four: To secure the tendril use a small amount of edible glue. Also, paint the stalk with edible glue and sit it atop of the pumpkin tendril.

Now you have your edible sugarpaste pumpkin!


National Cupcake Week tutorial: How to pipe cupcakes!

Pipecakes

To celebrate our launch and National Cupcake Week we decided to feature decorating tutorials from Monday to Friday instead of our usual weekly ‘Tutorial Tuesday’. What better way to begin than with how to pipe cupcakes! We have used dummy cakes in this tutorial to demonstrate which we recommend for practice purposes.

What you need:
A batch of cooled down dummies (or dummy cakes)
Buttercream
A Spatula
Our ‘Cupcake Kit’ OR…
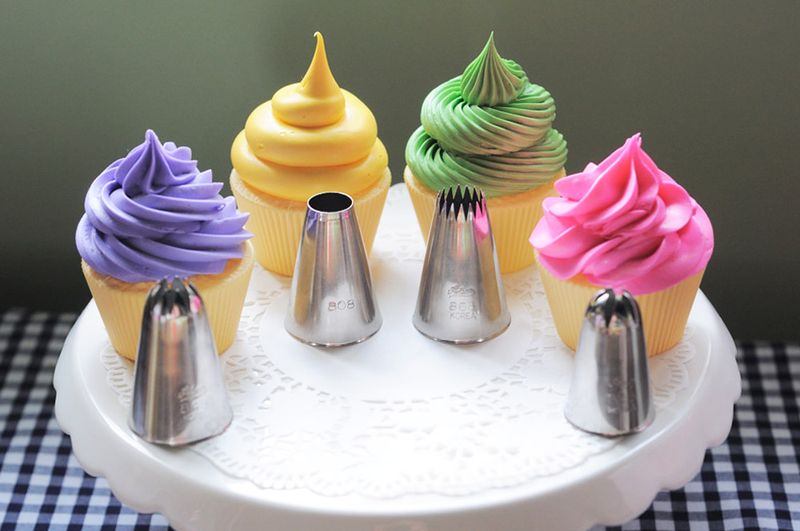
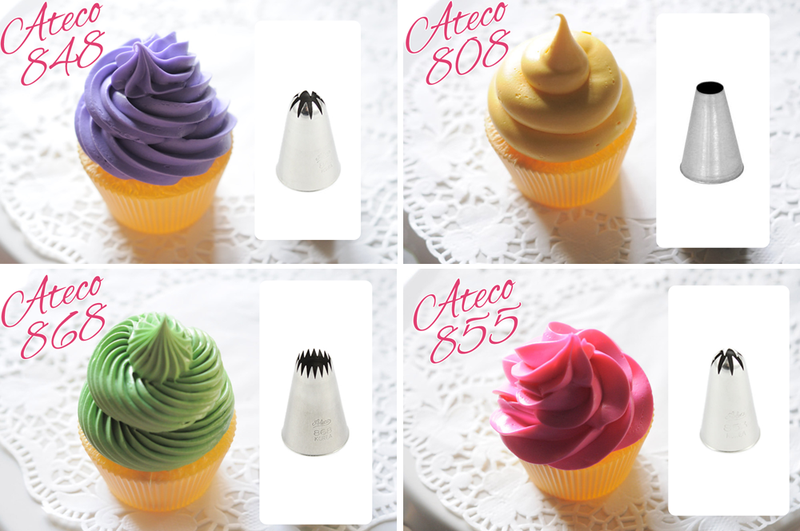
- The following tips bt Ateco 848, 808, 868 and 855
- Disposable piping bags
- Sprinkles or cake glitter

Pipefirstlayer

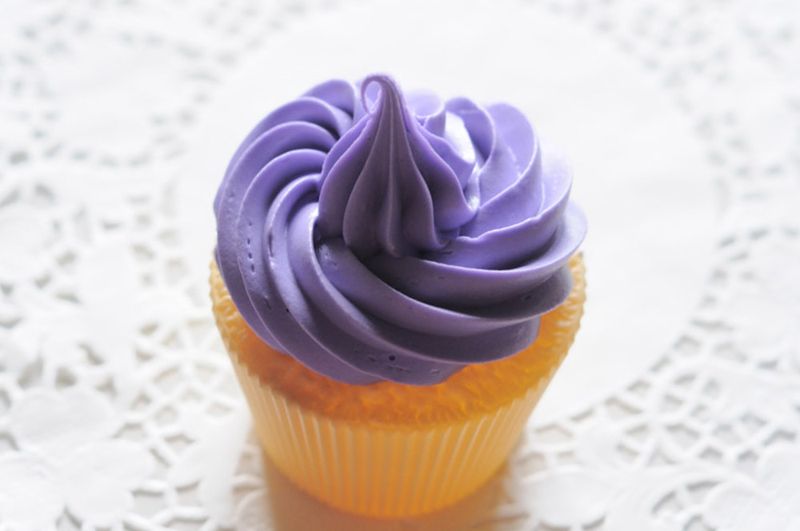
Step one: To pipe a cupcake choose your desired tip (we have featured examples of four classic cupcake swirls below using the Ateco 848, 808, 868 and 855). A technique we continue to find useful is to pipe your cupcake in two seperate steps. The first step of this technique is to swirl a bottom layer directly onto your cupcake to form a base stopping when you have a ‘peak’ in the middle (as shown above).

Alltips

Step two: Using the ‘peak’ you created as a guideline begin to pipe the second layer of your frosting. Reducing the size create a similar swirl atop of the one you did in the first step (as seen in the pictures above). Not only does this add hight, now you have a beautifully decorated cupcake!

Please note: If placing your cupcakes in a box the added hight may need to be considered.

Untitled-1

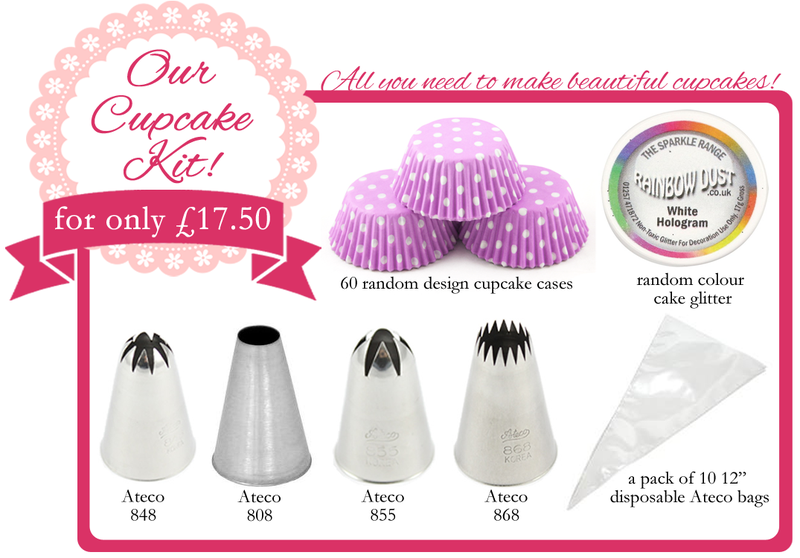
We have compiled a ‘Cupcake Kit’ for anyone interested in cupcake decorating. Featured in our kit is 60 random design cupcake cases, a pot of Rainbow Dust cake glitter chosen at random, the four Ateco tips demonstrated above and a pack of 10 12″ Ateco disposable decorating bags all for only £17.50! This kit is perfect for both beginners and professionals alike and, of course, for those who would like to celebrate National Cupcake Week.

Newcompetitionimg

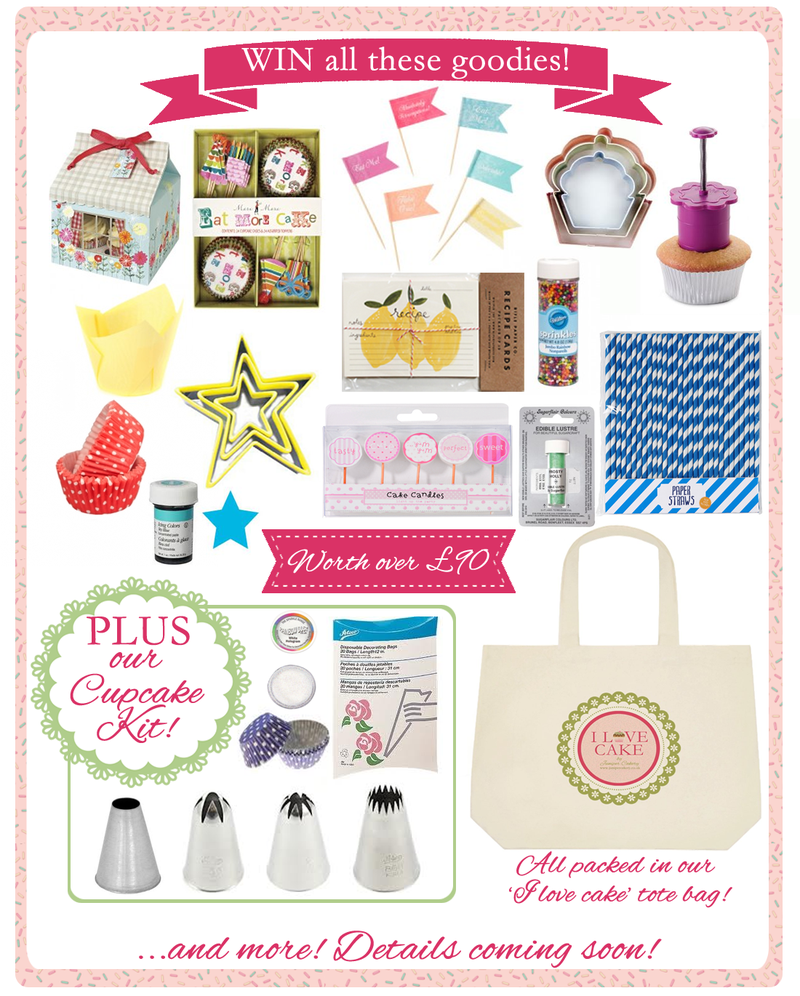
Enter our competition by liking us on Facebook (if you haven’t already) and commenting/sharing


National Cupcake Week tutorial: How to use silicone moulds with sugarpaste or fondant!


What you will need:

Sugarpaste
Paint brush
A mould (The Cake Decorating Co. have some beautiful moulds including cameos, teacups, lace etc)
Blade and shell modelling tool (we used a Tala tool)
Sugarflair Lustre Dust or icing sugar

Step one: Use your paint brush to dust the mould with Sugarflair Lustre Dust or icing sugar. The lustre dust will supply a sheen to your embossment; furthermore it will prevent the sugarpaste sticking to the mould.


Step two: Prepare your sugarpaste by rolling it in a ball. You should aim to use slightly more than is needed as this will enable you to remove the sugarpaste from the mould without smudging the design. The excess can be carefully removed at a later stage using the blade end of the blade and shell modelling tool.

Step three: Caerfully pull the sugarpaste from the silicone mould. If you are finding it hard to remove the sugarpaste from the mould then pop the entire thing in the freezer for 30mins and then try to carefully remove your new design!
Silicone moulds are an amazing way to add detail to cakes. If you have beautiful jewellery you'd love to adorn your baked creations with we'd suggest investing in a Silicone Putty Kit! You simply mix the silicone, imprint your brooch or earrings into the putty, leave to dry and then you can create some lovely edible pieces with sugarpaste or chocolate!


‘Tutorial Tuesday': How to make marshmallow cream or ‘Fluff’!

What you need:

3 egg whites at room temperature
256g icing sugar
256g light corn syrup (easily found on Amazon or online American food stores)
1/2 tea spoon of salt 
Natural vanilla essence 

Step one: Weigh the icing sugar and corn syrup in preperation and leave them to one side. Seperate three egg whites into a bowl.

Step two: Place the egg whites, corn syrup and salt into your mixer and leave on high speed for 5 minutes. This will be done when it turns white in colour.

Step three: Now add the icing sugar little by little as you continue to mix your ingredients on a low speed. Once the icing sugar has been intregrated it is time to pour in your chosen flavouring (this can be adjusted acording to taste). Once your 'Fluff' has gained volume it is done.

Now you are ready to adorn your cakes with your homemade marshmallow cream or 'Fluff'!


×