Browsing Tag

halloween

31st October 2017 // 0 Comments

Recipe: Eyeball Socket Bellini with Bottega Gold Prosecco

Halloween cocktail recipe by juniper Cakery

Party season means cocktails-a-plenty (for grown-ups at least). This year we thought we’d put together a recipe for our famous Eyeball Socket Bellini teamed with our favourite prosecco by Bottega Gold. We’re so excited to be collaborating with them for the holiday season. We’re not big drinkers, but Bottega Gold is fruity, fresh and fabulous! Perfect for a fun Halloween cocktail recipe!

Anyway this drink ended up being a little fail/win situation when we first ever created it. The raspberries were supposed to float on top with the juice dripping down inside the prosecco to look like blood. Instead they were too pulp-like (not enough juice), BUT looked utterly gruesome! We improvised with a few eyeball candies and they looked like mushy eye sockets. Perfect! Every Halloween we re-create this terror-ific drink and it never fails to impress… or scare.

Halloween cocktail recipe with Bottega Gold prosecco!

Ingredients and tools needed…

(makes approx. 4 drinks)

Eyeball Socket cocktail recipe

Step 01:

Add a large handful of crushed ice per glass. It’s hard to really provide a recipe for a drink as it does depend on what glassware is being used. Our champagne coupes are fairly large so we added nearly 2 handfuls of crush ice per glass. Just keep in mind sizing and if it looks like it needs more or less just adjust it!

Halloween prosecco cocktail by Juniper Cakery

Step 02:

Now add in your Bottega Gold prosecco to each glass. Make sure they’re around 2/3 full!

Note: If you’re not a drinker or you want to make this kid-friendly then add ice cold lemonade or limeade instead!

Eyeballini cocktail recipe by Juniper Cakery

Step 03:

Now pour in a little clementine juice. The amount depends on how much fruity flavour you’d like. As a guide we’d say around 80ml per glass, which is what we added.

Halloween cocktail recipe by Juniper Cakery

Halloween eyeball cocktail

Step 04:

Now add around 3-4 tablespoons of your mashed up raspberries to the centre of each glass.

Note: The reason these need to be mashed via hand using a fork or even potato masher is because blending or using a food processor will make them more watery. Then they’ll mix in with the drink and have less of a pulverised flesh look.

Gruesome eyeball cocktail by Juniper Cakery

Gruesome eyeball cocktail from Juniper Cakery

Step 05:

Now add your jelly eyeball into the centre of your drink!

Note: Jelly candy is the best type to use as it will resist disintegrating into the drink. Keep this in mind when candy shopping! You can add some extra gore with jelly worms too.

Bloody eyeball cocktail by Juniper Cakery

Now you’re ready to enjoy a terror-ific Halloween! The spooky cocktails are perfect for any gruesome party. Remember you can swap the prosecco for lemonade or limeade for a non-alcoholic version. Cherryade would even be a cool and bloody idea too. Another great idea would be to add strawberry laces tangled up on top before adding the eyeballs. They’d look like veins!

Eyeball Socket cocktail for Halloween

Happy Halloween everyone! Remember kids… drink sensibly and have fun!

29th October 2017 // 0 Comments

Halloween Tutorial: Trick or Treat Cupcake!

Halloween cupcake tutorial by Juniper Cakery

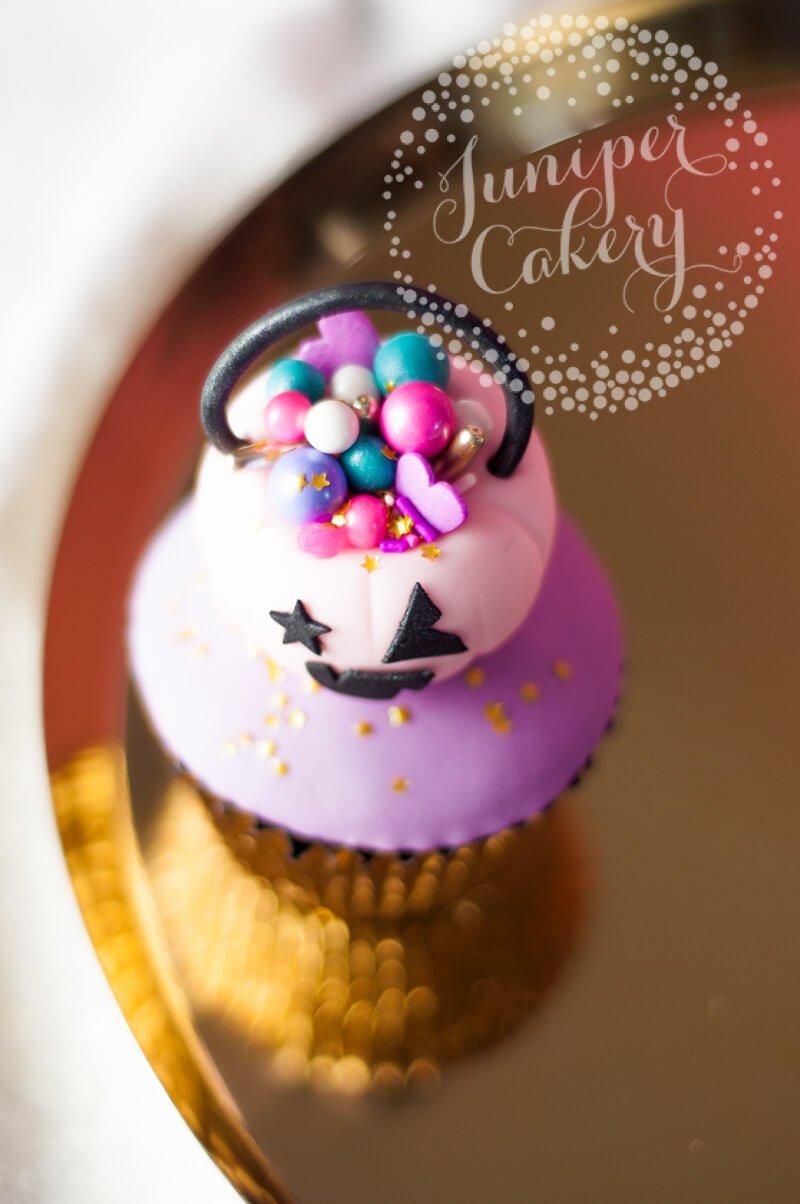
Halloween always kickstarts the party season for us. It’s too exciting! Today we have a super cute tutorial for anyone hoping to make a last minute treat… a sprinkle stuffed (with sprinkles by Fancy Sprinkles of course) pink trick or treat pumpkin (totally inspired by this snap of goodies on the Benefit Cosmetics US instagram). It’s perfect for cupcakes. We added our’s to a purple star-studded fondant iced cupcake, but they’d look amazing nestled into buttercream too! Check out our Halloween cupcake tutorial below!

Halloween cupcake tutorial from Juniper Cakery

Halloween cupcake tutorial!

Materials and tools needed…

Fun Halloween cupcake

Step 01:

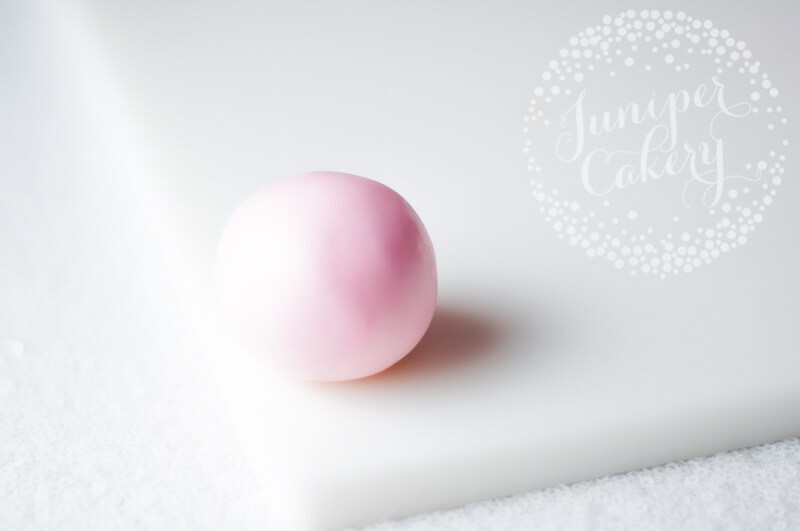
Take your pale pink fondant (or modelling paste) and roll into a smooth medium (approximately the size of a gold ball) ball. Make sure there are no cracks, unmixed colour or dry patches in your ball shape.

Fun Halloween cupcake idea

Step 02:

Form into a pumpkin pail shape by flattening the top slightly. Then use your ball tool to create a well where your sprinkles will sit. Remember that you are going to be adding a face to the front of your little pumpkin so leave a couple of gaps. This is so you can stick on the eyes and mouth!

Step 03:

Take your veining tool and gently scour lines along the sides of your pink pumpkin.

How t make a fondant jack o'lantern

Step 04:

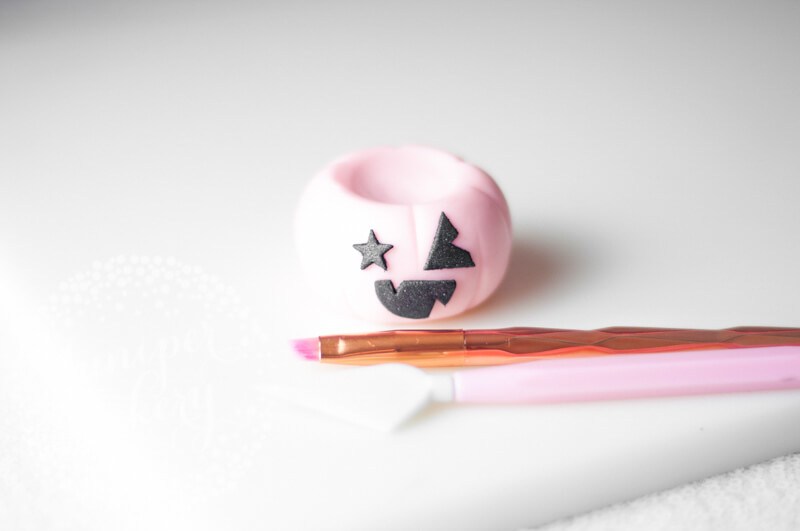
The next step in this Halloween cupcake tutorial? Roll out some black fondant. Then using your blade tool cut out some cool facial features. You can also cut out a smile by using the bottom end of a piping tip before cutting the circle in half and cutting away any teeth shapes. We also used a tiny star plunger cutter for one eye (which inadvertently gave our pumpkin a bit of a glam rock look).

Step 05:

Add a little glitz by dusting your pumpkin’s facial features with some black edible lustre using a fluffy food safe brush!

Make this cute Halloween cupcake by Juniper Cakery

Step 06:

Attach your pumpkin’s mouth and eyes using a little edible glue and leave to set. Remember to not add too much glue. You’ll only need a tiny dab. Too much glue will create a bit of a mess and may lead to your fondant piece sliding out of place.

Easy Halloween cupcake tutorial by Juniper Cakery

Step 07:

Now for some extra fun! Add some edible glue to the top of your pink pumpkin. Then you can add some cool sprinkles! we used the ‘Bombshell’ mix from Fancy Sprinkles which are insanely amazing and colourful. We love the golden accents too!

Make this cute Halloween cupcake from Juniper Cakery

Step 08:

Now with your small ball tool indent two holes in either side of your pumpkin. This is for your black fondant handle to sit in.

Make this bright Halloween cupcake from Juniper Cakery

Step 09:

Take a small amount of black fondant or modelling paste and roll into a rope-like shape. Dust with edible black lustre. Modelling paste warms up when it’s worked with so it’s best to leave it for around 10-25 minutes. Then gently attach either end into the indentations made in step 08 with a little edible glue. You can hold it in place lightly while it sets with a little bit of scrunched up kitchen towel.

Pink Halloween cupcake tutorial by Juniper Cakery

Yay! Now you’ve got treats a-plenty ready for an amazing Halloween bash! If you’re feeling a little more adventurers how about using these cupcakes as place names? Just pipe or paint each guest’s name on the fondant iced cupcake! You can also core and stuff each cupcake with sprinkles and candy before decorating for an extra surprise!

28th October 2017 // 1 Comments

Ebay x Juniper Cakery: Cute & Colourful Halloween Cake Tutorial!

eBay #fillyourcartwithcolour Halloween cake by Juniper Cakery

When Autumn swings around we get ridiculously excited about Halloween! It’s the perfect holiday to kickstart party season! Seriously… what’s not to love? Spooky themed candy (our particular favourites are jelly spiders & eyeballs), anything with black cats on them, and absolutely everything pumpkin related! So when eBay (definitely give them a follow over on Instagram) contacted us about creating a Halloween cake tutorial perfect for their #fillyourcartwithcolour we couldn’t wait to start!

#fillyourcartwithcolour!

Cute Halloween cake tutorial with eBay by Juniper Cakery

#fillyourcartwithcolour is a such a vibrant idea for a campaign and we love it! eBay is so convenient. Lots of retailers sell on the auction site now making it even easier to shop online. If we have a project coming up eBay is the first stop. From fondant and food colour via Cake Stuff to Lakeland’s own kitchen gadget range it helps take the stress out of shopping. The way people use eBay is completely different to a few years ago (enter Krystle searching for those beautiful Alexander McQueen bee embroidered slippers) to now (still searching for those mythical shoes as well as sourcing cake supplies and photography backdrops). The #fillyourcartiwthcolour campaign helps highlight how anyone’s passion can be fuelled by just a few clicks on eBay!

Halloween colour palette

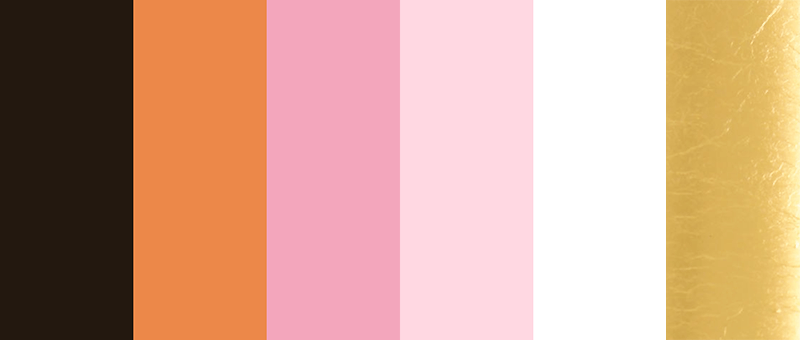
We started our collaboration with eBay by thinking about… colour! We wanted something obviously Halloween-esque, but also suitably quirky. At the time we began gathering ideas we’d also just planned a trip to a nearby pumpkin patch! Obviously we wanted to work some gorgeous rustic orange tones in. We then played with different oranges and pinks. It then made sense to add blacks, charcoal tones and different metallics. In the end our eyes kept gravitating towards a bright amber orange paired with a bubblegum pink (we LOVE our pink photography backdrop) with gold leaf accents, crisp white, soft pink and a glittery black!

Find the perfect cake tools on eBay

One of our favourite eBay finds were these rose gold modern unicorn make-up brushes (and those cute pink modelling tools)! They are seriously perfect for cake. We often talk about using food safe brushes when working with cakes and treats. What that means is any non-animal containing brush (no hair or bristles) that has only ever been used on edible items. Brand new make-up brushes and nail art brushes are perfect. Nail art brushes are so tiny they are amazing when it comes to painting intricate details. Make-up brushes are super fluffy so they’re great for dusting and adding sparkle! Obviously another plus is that they look so glam. They’re perfect for photography or to feel a little magical when decorating a treat!

Black cat Halloween cake with eBay by Juniper Cakery

Want to find out how we made this super cute Halloween cake? Check out our Instagram post here! You can also find the tools and materials we used to create our black cat and pumpkin adorned cake via eBay!