Browsing Tag

halloween

25th October 2017 // 1 Comments

Tutorial: DIY Candy Eye Sprinkles for Halloween Treats!

DIY candy eye sprinkles tutorial for Halloween

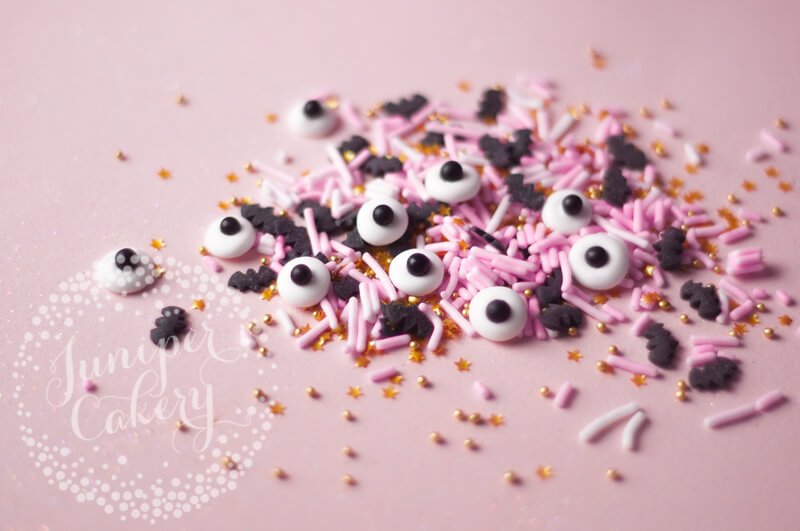
Here’s a super quick and easy tutorial that we use every year to make our creepy candy eyes. They are so much fun to use once they’ve dried. We add them onto cupcakes, cookies, cakes and even macarons for some Halloween (black) magic! Another spook-facular idea is to mix them in with Halloween colour themed sprinkles for an extra ghoulish look. Check out our easy to follow DIY candy eye sprinkles tutorial!

DIY candy eye sprinkles tutorial!

Spooky candy eye tutorial for Halloween

DIY candy eyes tutorial for Halloween baking

Materials and tools needed…

Tutorial for fun Halloween candy eye sprinkles

Step 01:

Lay out a sheet of parchment paper or your silicone mat onto a flat surface. If you’re going to need to move your candy eyes out of the way to dry it’s a good idea to use a baking tray underneath.

Make sure to tape down your parchment paper or else it’ll lift or wiggle around as you pipe. You can also hold down your parchment paper with a blob of royal icing at each corner.

Tip! Be sure to use good quality parchment paper. Cheaper brands tend to tear or stick way too hard to whatever you’re working with.

Meringue kisses recipe by Juniper Cakery

Step 02:

Fit your disposable piping bag with the piping tip and fill with royal icing. Your royal icing should be a nice soft yet stiff consistency that forms peaks with a little droop or curl at the tip!

We added a shot above that illustrates what you should be looking for in terms of softness and stiffness. The icing should hold itself, but look soft right at the tips.

Step 03:

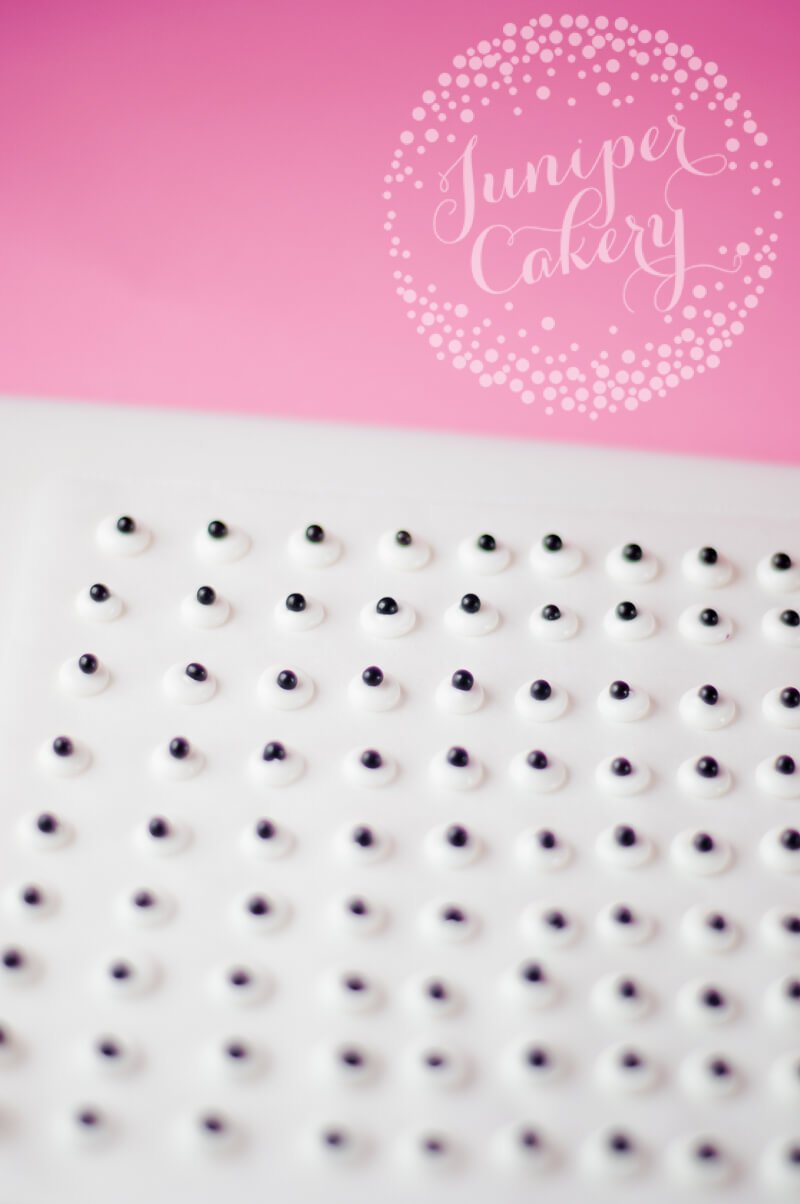
Now pipe out a row of white royal icing ’rounds’ onto your parchment paper or silicone mat. You can pipe these to whatever size you want. Our’s measured at 7mm.

Tip! Work one row at a time so that the icing doesn’t crust over before adding

Cool DIY for candy eyes sprinkles

How to make sugar eyes fir cakes and cupcakes at Halloween

Step 04:

Now add your black sugar pearls to your royal icing eyes. You can keep them in the middle or go crazy and add them off to the sides too!

When done leave your candy eyes to set for around 6-12 hours. In some humid countries drying times can take as long as 24 hours so keep this in mind. When ready they should just peel off!

Tutorial for fun Halloween candy eyes

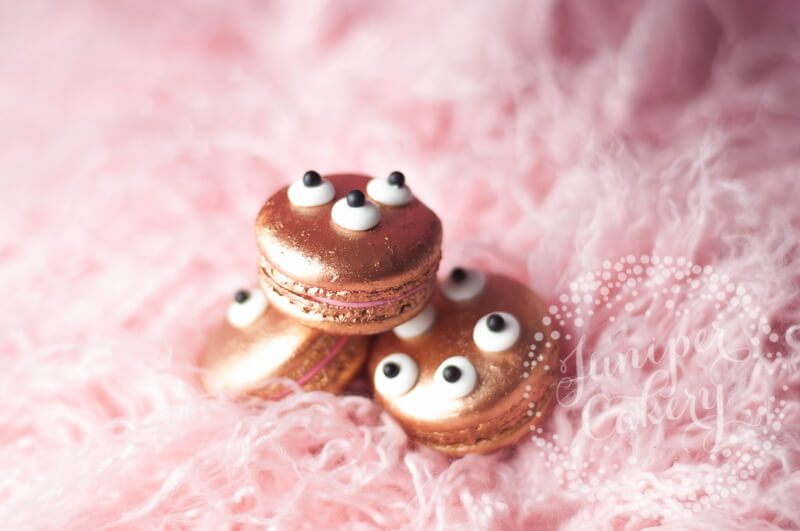
We added our DIY candy eyes to our Bubblegum Monster macarons this Halloween. They helped add a creepy yet fun seasonal look to glistening copper painted treats! To attach we used a little royal icing piped onto the back of each eye. You can also use a tiny amount of melted white chocolate if you like.
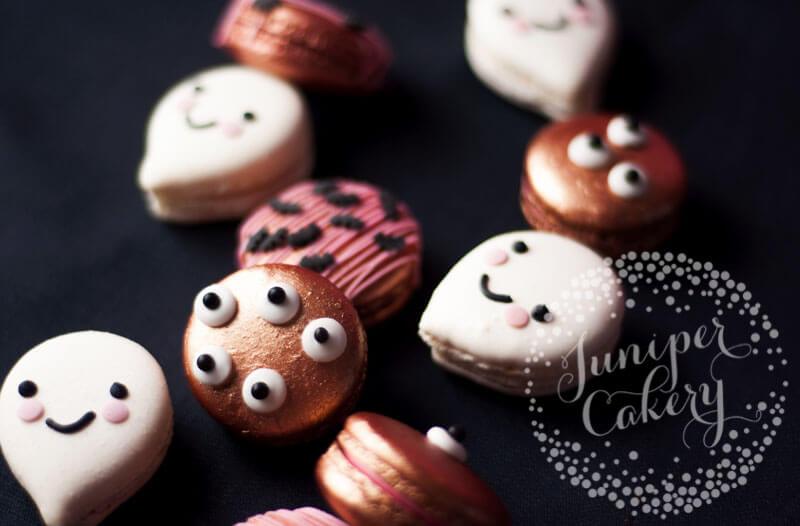
DIY candy eyes for Halloween cupcakes, cookies and treats

DIY candy eyes tutorial for Halloween fun

27th October 2016 // 0 Comments

Halloween Tutorial: Easy Peasy Monster Cookies!

Easy monster cookies tutorial by Juniper Cakery

Whilst it’s always fun to have a bigger and more time consuming project on the go for the holiday season sometimes a quick tutorial is all you need for some instantly fun sweets! This is where our easy peasy monster cookies tutorial comes in. Seriously, all you need are circle cookies and some royal icing. In fact you can make this even more ridiculously simple and decorate with fondant and pre-made candy eyes by Wilton instead. Check out our step-by-step guide below for some sugar cookies that are scarily simple to make!

How to make easy monster cookies

Easy peasy monster cookies tutorial!

Royal icing consistencies explained…

15 second royal icing - This kind of icing has a good fluidity to it, but it’s still nice and stable. It’s perfect for piping outlines AND flooding which cuts down on icing time, materials and mess. All you need to do is to test your royal icing and adjust it. When you drag a butter knife through a bowl of royal icing it should take just 15 seconds for the icing to pool back together. If it’s taking too long add a few drops of water at a time, mix in and test. To quick? Add a teaspoon of sifted icing sugar, mix and test.

Piping consistency royal icing - Piping consistency is a little stiffer than 15 second. We aim for a consistency close to that of toothpaste. It’s also a great consistency for any 3d type detail work… just like the whites of the eyes on these cool cookies! This kind of icing shouldn’t pool or spread. It should hold it’s shape well. If it’s too stiff add a couple drops of water, mix together and test it. Too sloppy… then add a teaspoon of sifted icing sugar, mix and test.

Materials and tools needed…

How to make easy Halloween sugar cookies

01: Fit a disposable bag with some bright coloured royal icing and pipe an outline around the perimeter of your circle cookie. Remember to work one cookie at a time.

How to make easy sugar cookies for Halloween

02: As soon as you’ve piped the outline with the same bag, tip and icing flood in the centre of your cookie.

03: Now use a cocktail stick in circular motions to ease any royal icing out to the outline. You’ll also need to get a good even level of royal icing so moving it around with your cocktail stick will help this happen.

Tip!

You can also get pesky air-bubbles appearing as your work. To get rid of these just use your cocktail stick to burst them. They can be obvious bubbles on top of your icing or they can appear as small dark circular shadows in or underneath the icing.

How to make monster cookies for Halloween

04: Leave your iced sugar cookies to set for a little bit If you pipe your eyeballs onto the still wet icing you will get a bit of a molten looking mess. By piping onto icing that has already set a bit you’ll get a great 3D effect!

05: Take your stiffer white royal icing and pipe small-medium sized rounds all over the surface of your iced cookie. You can add as many eyes as you like too.

Tip!

If your white stiff icing forms a bit of a peak at the tips you can flatten or smooth these over with a lightly dampened paint brush. Always use paint brushes, however, that are only ever used on food items.

06: Finally add black sugar pearls to the whites of your monster cookies whilst the white royal icing is still wet to finish each eyeball!

Easy monster cookie tutorial

Tip!

You can pipe little black dots of stiff royal icing instead, but utilising things such as sprinkles of edible pearls are a great and quick way to add detail. We use them all the time. If you want to add cute rosy cheeks (wow that’d make one terrifying monster right?) to your cookies you can even add 2 large pink confetti sprinkles.

Monster cookies tutorial for Halloween

Simple monster cookies tutorial for Halloween parties

One of the things we love about these cookies is that they are amazing to customise! Add rainbow confetti sprinkles to make monstrous dots on it’s skin, pipe a curved line of upside down royal icing teardrops for a gruesome grin, or attach jelly candy fangs on top for a devilish smile!

26th October 2016 // 0 Comments

Halloween Tutorial: Adorable Chocolate Spider Cake Pops!

Chocolate spider cake pops tutorial by Juniper Cakery

It’s the turn of the cake pops today in our series of utterly adorable Halloween tutorials. These chocolate spider cake pops are less creepy crawly and more fantastically friendly! Cute desserts or cake decorations aren’t just for kids. When the holiday season comes around each year we often find the biggest kids of all are anyone over 25! So why not dress up your spooktacular Halloween party with these chocolate spider cake pops? Psst… they’re also perfect for goody bags too!

How to decorate cute chocolate spider cake pops for Halloween!

Materials and tools needed…

01: In a bowl crumble up as much chocolate as you think you’ll need into a fine crumb. Try not to leave larger lumps in this mix or you’ll end up with lumpy and bumpy cake pops. Not a good look!

02: Add in a little of your chocolate buttercream at a time. Never add great big dollops in. You want your cake and buttercream mixture to be sturdy, but moist enough to hold together. Adding too much buttercream makes them unstable and sloppy. Adding too little buttercream will make them crumbly and a nightmare to work with.

Tip!

Your cake pop mix is ready and perfect when you can push a cake pop stick into a formed cake ball and no cracks appear! If it cracks or if it begins to crumble add a little more buttercream. If your cake pop doesn’t crack, but instead looks misshapen or even flat then it’s likely to be sloppy. Add a bit more cake crumble!

Cake pops tutorial for Halloween

Halloween cake pop tutorial

03: Now roll portions of your cake pop mix into smooth balls. Make sure that these are all even and equal in size.

Tip!

To get equal sized cake pops we weigh our cake pop mix to make sure that each ball weighs exactly 25g. You can make your’s larger if you like, but remember that the larger or heavier the pop the less stable it will be on your cake pop stick! Once you’ve added the coating and any decorations too it adds a little weight and makes your cake pop bigger in size!

Cake pop tutorial

04: Dip a cake pop stand in a little candy melt and push into the top centres of your cake balls to make them pops! Try to push the stick around 2/3rds into the ball. Push too far and it will drive through to the other end. Too shallow and your cake pop will risk falling off! Once all your pops are on their sticks you can place them in the fridge for around 30mins to 1 hour!

If you want your spider cake pops to set in nice round balls that sit at the top of your sticks you’ll need to chill them in the fridge on a cake pop stand. Otherwise, you can leave your pops to sit cake pop down with the stick upwards. You’ll get flat bottoms if you do this, but that’s fine. It’s just a case of how you want them to look in the end!

05: Prep your candy melts by microwaving them in a microwave safe bowl or jug at 30 second intervals until fully melted! An average 397g bag of candy melts tends to be OK for around 20-25 cake pops. You should get your melts ready to dip your cake pops around 5 minutes before removing your pops from the fridge.

Tip!

Be aware though that you need a a good amount of candy melts to make the dipping process stress free! Too little or too shallow and you’ll have to keep dipping and swirling your pop. This could make it break or even lead to an uneven coating.

How to make chocolate cake pops

06: Once chilled (they should feel firm and secure) you can coat your cake pops! Take your bowl or jug and tilt the melts to one side. Take your cake pop and carefully dip it in until fully submerged, to where the top of the pop meets the stick.

Once you’ve got a good coating (you may need to tilt the bowl or jug around the pop) gently tap it on the side (with the stick) to shake off any excess candy melt.

Cute spider cake pop tutorial for Halloween parties

07: Set your cake pop down (either stuck into a cake pop stand or stood up) and snip your candy laces down to a good size (approx. 1 inch is good). You’ll need 8 pieces per cake pop. Whilst your candy coating is still wet carefully push the candy laces in. These are your spider’s legs so you’ll need to add 4 on each side along the bottom.

How to decorate spider cake pops

08: Whilst your cake pop coating is still wet add two pink confetti sprinkles to the sides of it’s face to create lovely rosy cheeks. Set aside your spider cake pops to fully set.

Halloween spider cake pop tutorial by Juniper Cakery

09: Once your cake pops have set roll two small balls of white fondant / sugar paste to create the eyes and attach with a dab of edible glue to the front of your spider. Take two black edible sugar pearls and attach with edible glue for pupils.

10: Add a cheeky little smile to your spider’s face if you like! We rolled out white fondant / sugar paste with a small rollin pin, cut out a series of circles with a small round piping tip and cut each circle in half for a toothy grin!

Cool spider cake pop tutorial