Tutorial Tuesday: How To Make a Fondant Ruffled Heart Pick For Cakes and Cupcakes!

Finding quick and fuss-free ways to decorate a seasonal cake can be a stressful task in itself, but with our fabulous tutorial on how to create your own fondant ruffled heart pick you’ll be ready for your next cake project in no time! The wonderful thing about creating fondant ruffles is that they can be fairly forgiving. Randomly placed curls and frills only add to their textural allure so why not read on for our handy how-to…

Fondant ruffled heart cake pick tutorial!

how to make a Valentine ruffled heart cake by Juniper Cakery

Materials needed:

Juniper Cakery's tutorial for a fondant ruffle heart

Step 1:

Roll our some fondant or gum paste to a thickness of around 6mm-8mm. Be sure to check that the thickness of the fondant is wider than your wooden skewer or cake pop stick.
Create pink fondant ruffle hearts for cakes and cupcakes by Juniper Cakery

Step 2:

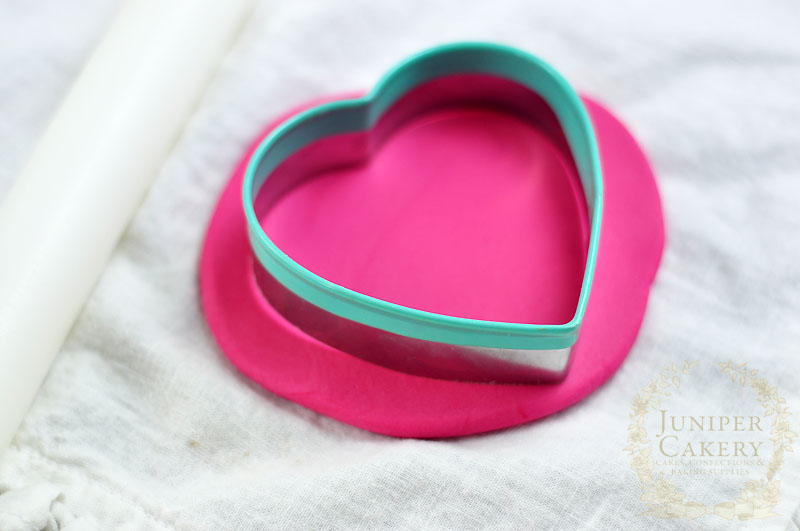
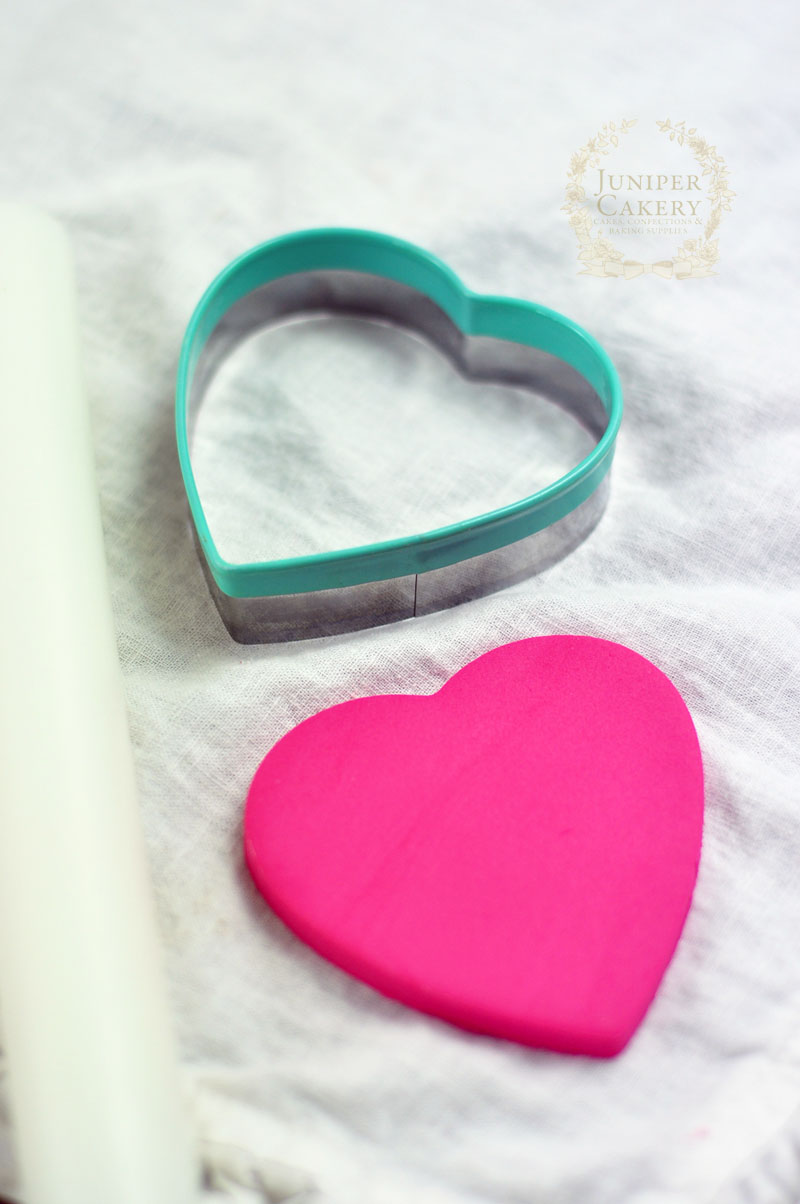
Using your heart cutter cut out a nice clean heart shaped piece of fondant.

Of course, for different themed cakes you can utilise different shapes. Plain circles are wonderful for adding edible sugar pearls or fondant cameos in the centre for a luxurious jewelled brooch look. 
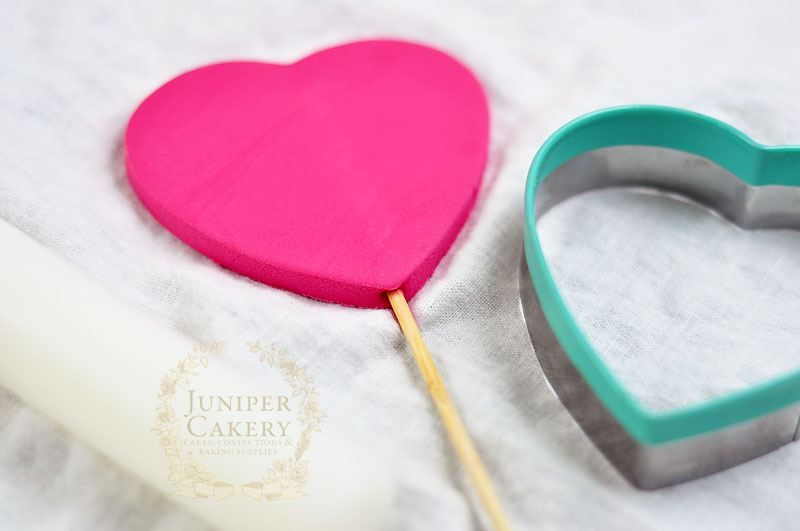
How to make a sugar paste ruffled heart for cakes by Juniper Cakery

Step 3:

Take your cake pop stick or wooden skewer and paint with a little edible glue before carefully inserting into the base of your heart halfway. Leave to set.
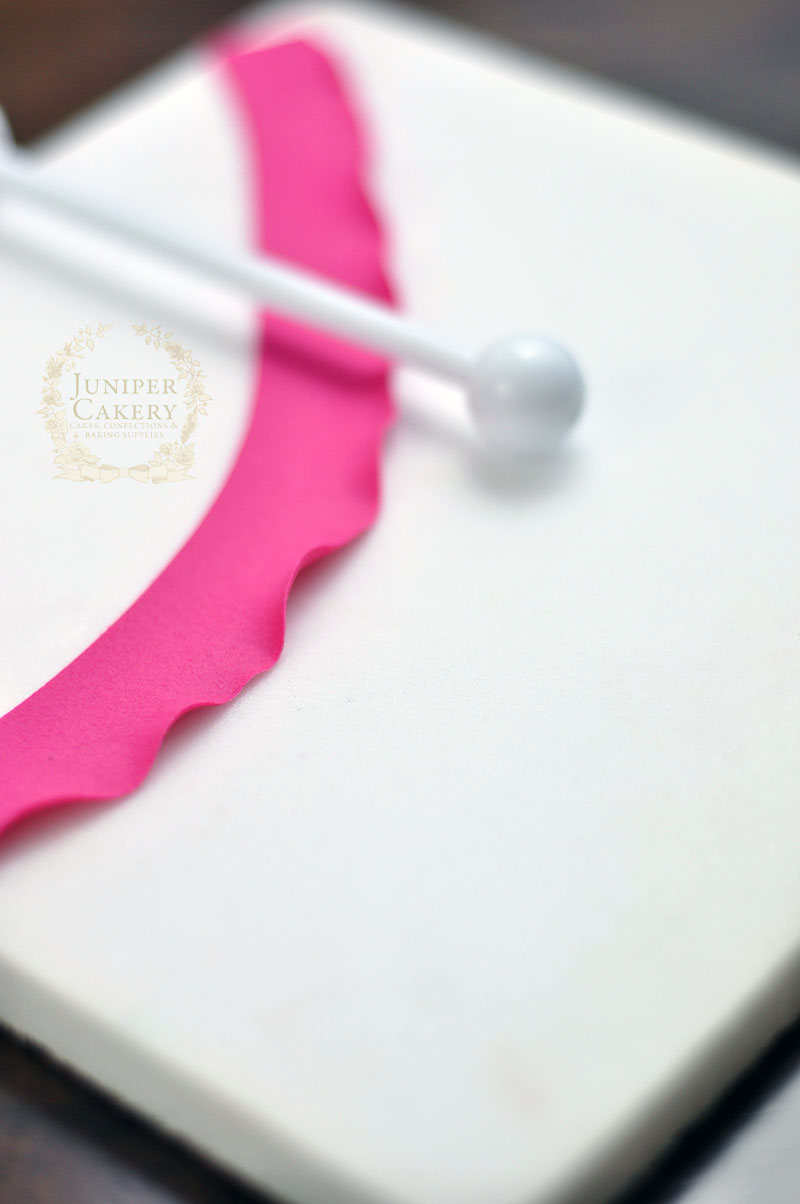
Make pretty frilled hearts for cakes with this tutorial by Juniper Cakery

Step 4:

Roll out some thin fondant and cut into strips around 1 1/2cm in height. Too short and you’ll lose the lovely textural look like the ruffles create when then curl and fan out randomly. Too long and you’ll risk finding each strip harder to handle.

Step 5:

Using a ball tool thin and ruffle the edges of each strip. To do this take your ball tool and press down moving along the long edge of each strip. You should find that the edge has little ruffled waves!
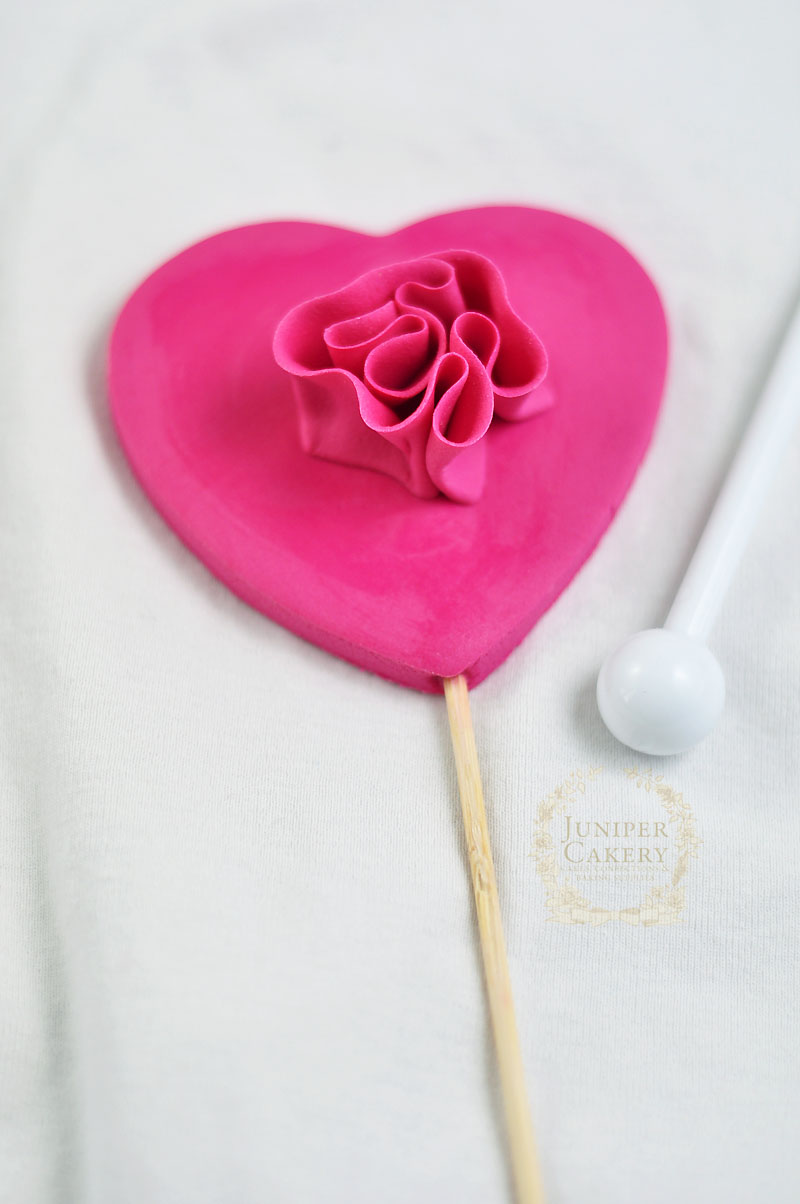
Ruffled fondant heart tutorial from Juniper Cakery

Step 6:

Paint edible glue onto the surface of your heart and arrange your ruffled strips of fondant from the centre to the outer edges of the shape! To help attach the strips down press lightly on the base. It’s ok if they spread or fold a little as your apply pressure.
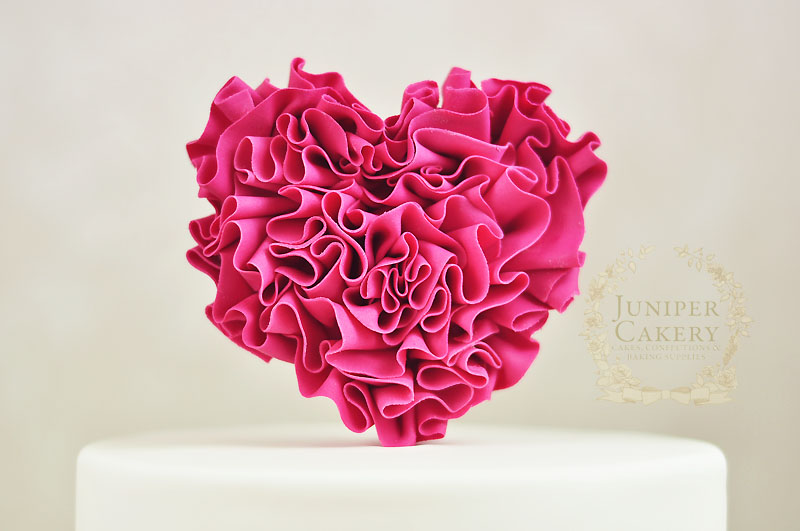
 Tutorial on how to decorate a ruffle heart cake for Valentine's Day by Juniper Cakery

Step 7:

Once set and hardened it’s time to see your work finished! Gently insert your ruffled fondant heart cake pick into your cake or cupcake.
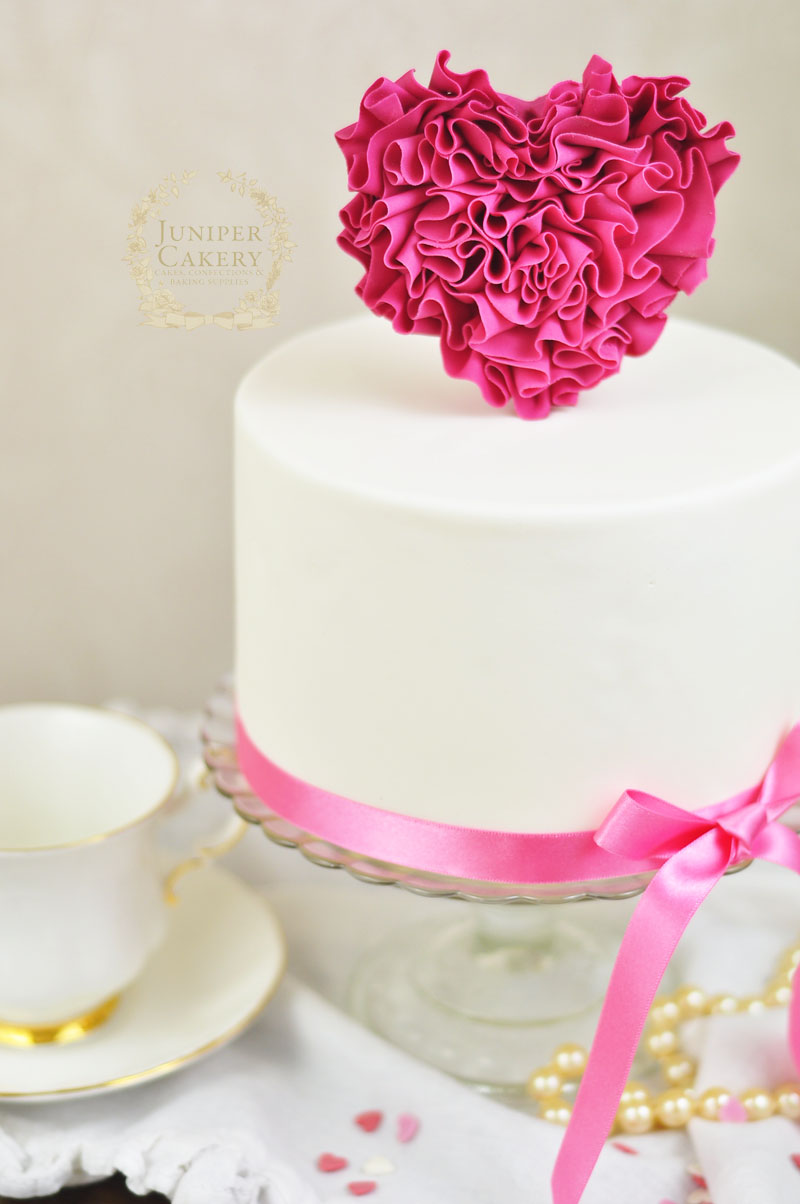
Tutorial on how to decorate a ruffle heart cake for Valentine's Day by Juniper Cakery

We absolutely love things that can be tweaked slightly or given a new slant to be useful for other designs and these ruffled heart picks are no exception! For baby showers stick to soft pastel colours. Why not even create lots of different sized vintage coloured hearts to adorn a simple first birthday cake? 

For bridal showers or weddings miniaturise your pick for lots of sweet and tempting cupcakes and perhaps dust or paint the edges with edible gold paint for a decadent feel. You can even omit the cake pop sticks or wooden skewers for lovely cupcake toppers that will sit flat atop of your miniature treats.

how to make a Valentine ruffled heart cake by Juniper Cakery


Tuesday Tutorial and Recipe: Shot Through The Heart Brownie Cupcakes!

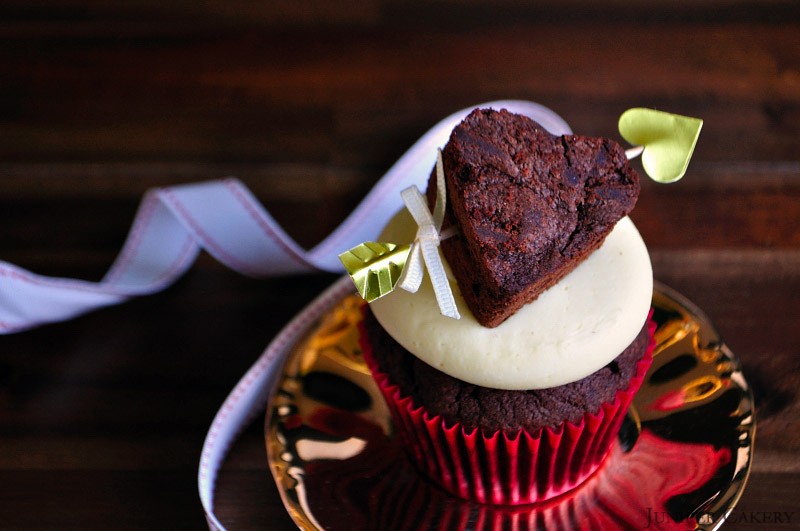
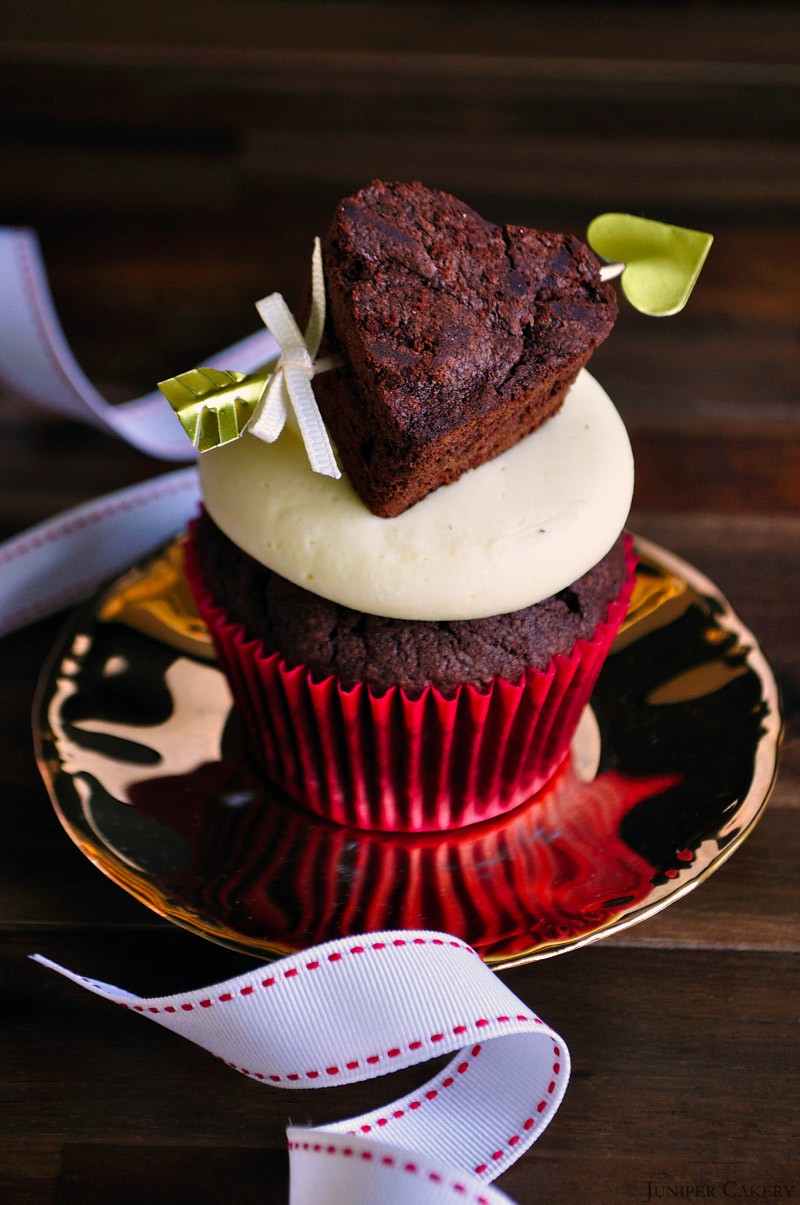
Valentine’s Day is right around the corner so what better way to treat your sweetheart than to some lovingly home made sweets! We’ll be offering up some recipes and tutorials that show you how you can create some delicious treats to impress your Valentine with. This week’s Shot Through The Heart Brownie Cupcakes are the perfect treats to present to your loved one. They are chocolate crammed brownie cupcakes swirled with silky smooth chocolate buttercream and finished with adorable and fun brownie hearts shot with mini arrows! Nestle these into a cupcake gift box with a little message and you will definitely sweeten someone’s day!

browniefull1

Brownie Cupcakes (Makes approx. 12 cupcakes)

226g self raising flour
226g caster sugar
226g butter
4 medium eggs
2/3 tablespoons cocoa powder
100g melted dark chocolate callets, baking chips
12 baking cases
1 cupcake or muffin pan
2 tablespoons hot water
1 teaspoon baking powder

Pre-heat your oven to Gas Mark 3 / 160C / 325F and line a cupcake pan with cupcake cases.

Cream your butter and sugar first. When creamy add your eggs and combine together with the flour and baking powder. Mix well until silky and pour in the melted chocolate and make a paste with the cocoa powder and water then add, mix again and fill your cases with the batter.

Bake for around 20 minutes to 30 minutes or until a cake tester comes out clean when tested.

Chocolate Buttercream

250g butter
250-300g icing sugar (keep testing when adding to make sure it is the consistency and sweetness you are comfortable with)
100g melted dark chocolate callets, buttons or chips
1-2 tablespoons of cocoa powder
808 or 809 plain round piping tip
Disposable piping bag

Dice the butter and add to your mixer to cream. Then gradually add icing sugar and the remaining butter (cut into cubes) until you get a smooth, creamy texture. Add the cocoa powder and melted chocolate.

For more hints and tips see our tutorial on how to make buttercream here.

Mini Chocolate Brownie Hearts

200g chopped milk chocolate
175g self raising flour
100g butter
100g caster sugar
3 eggs

Melt the chocolate and butter together by setting a bowl in a saucepan of hot water. Keep stirring until both the butter and the chocolate are mixed and then remove the pan from the heat.

In a separate bowl mix the eggs and the sugar together until they form a creamy yellow colour.

Combine the chocolate and butter mix with the eggs and sugar and stir until fully mix.

Add the flour to the mix and stir. Mix until smooth until you get a thick and sticky texture (if you would like any chocolate chips or chunks in your brownies now is the perfect time to add them)

Pour the batter into a greased pan and bake for around 30 minutes (depending on oven) on gas mark 4 (conversions are available on Google) Leave to cool.

Once cooled cut out some hearts using a good heart shaped cutter. Remember to use a small cutter if using these to top your cupcakes with!

Cupid’s Arrows

12 toothpicks
Thick paper or card (this can be coloured or plain) or heart stickers
Scissors
Double sided tape (omit this if you are using stickers)

Cut matching triangles from some paper (around 24 for the backs and fronts). Stick small patches of double sided tape to the backs of them. To attach peel the tape backing off and press onto one end of a toothpick. Repeat this process until done.

Shot Through The Heart Brownie Cupcake

Once the arrowheads have been created and fixed on push the toothpick carefully through your mini brownie hearts at an angle. Then you can finished them!

Shot Through The Heart Brownie Cupcake

For the ‘feather’ ends of the arrows cut 24 rectangles out of paper or card. Snip the sides of them so that they are angled. Attached them to the toothpicks with double sided tape. Finally, carefully snip the sides to create ‘feather-like’ edging! We also added a little ribbon bow to our arrow.

Now to assemble your cupcakes generously pipe them with buttercream and adorn the tops with your brownie hearts and cupid’s arrows! You should finally be left with a batch of delicious and heart warming cupcakes ready to be admired for Valentine’s Day!

Shot Through The Heart Brownie Cupcake


×