Browsing Tag

Hull

19th November 2015 // 0 Comments

Recipe: Chewy Gingerbread Cookies!

Recipe for soft and chewy gingerbread cookies - perfect for Christmas

One of THE best things about Christmas being just around the corner (Less than 6 weeks away… eek) is the smell of gingerbread filling every room. It’s so comforting and warming when the weather gets frosty. Sometimes, however, gingerbread cookies can be a little time consuming when it comes to getting those shapes cut just right or the royal icing work perfect. Take the stress out of festive cookie baking with our simple chewy gingerbread cookie recipe! There’s no need to decorate them and their perfect for guests where prefer a softer crunch. We LOVE them. Whilst creating this recipe and post we admit we ate our fair share… especially with ice cold milk and frothy coffee!

Soft and Chewy Gingerbread Cookies!
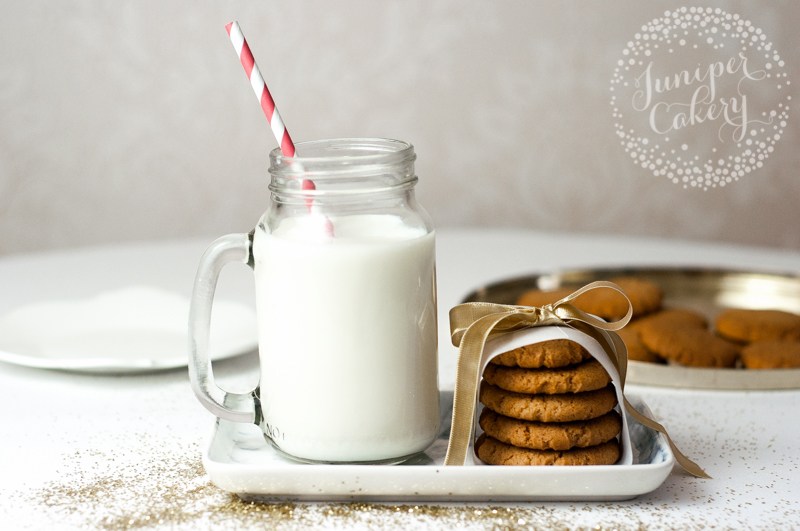
Christmas chewy gingerbread cookie recipe

Ingredients needed to make chewy gingerbread cookies

  • 340g plain flour
  • 225g soft brown sugar or brown caster sugar
  • 1 teaspoon bicarbonate of soda
  • 115g of butter
  • 3 tablespoons of gold syrup
  • 1 lightly beaten egg
  • 1 teaspoon allspice
  • 1 teaspoon ground ginger
  • 1 teaspoon cinnamon
  • 1 teaspoon nutmeg

01:
Pre-heat you oven to 180 degrees C, 350 degrees F or Gas Mark 4.
02:
Mix all dry ingredients together in a large clean bowl. You can put them straight into a stand up mixer bowl if you like, but they’re not too much mixing with this dough so can easily work it by hand and save the extra effort of washing paddle/mixer attachments etc.
03:
Melt down your butter along with the tablespoons of gold syrup. You can also use runny honey or even maple syrup instead which will yield slightly different flavours (be still tasty ones).
Amazing soft gingerbread cooke recipe
04:
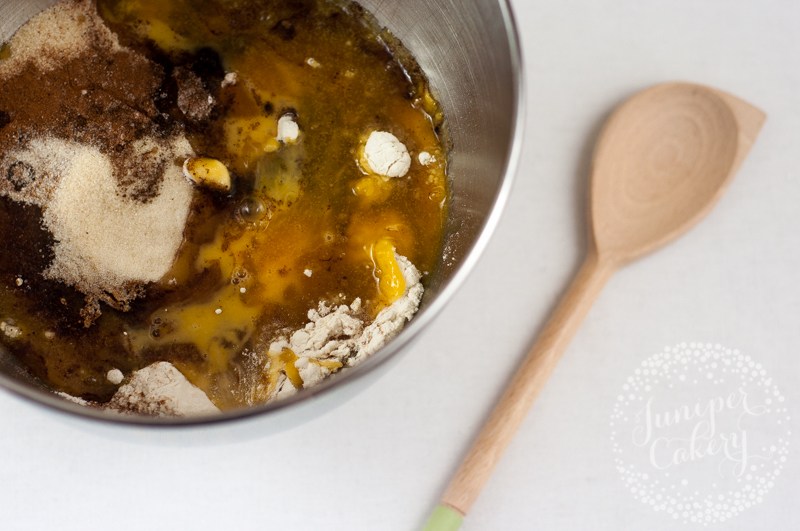
When your butter has melted and mixed in with the syrup add this to the dry ingredient mix with the egg and mix.
Spiced and soft gingerbread cookie recipe
05:
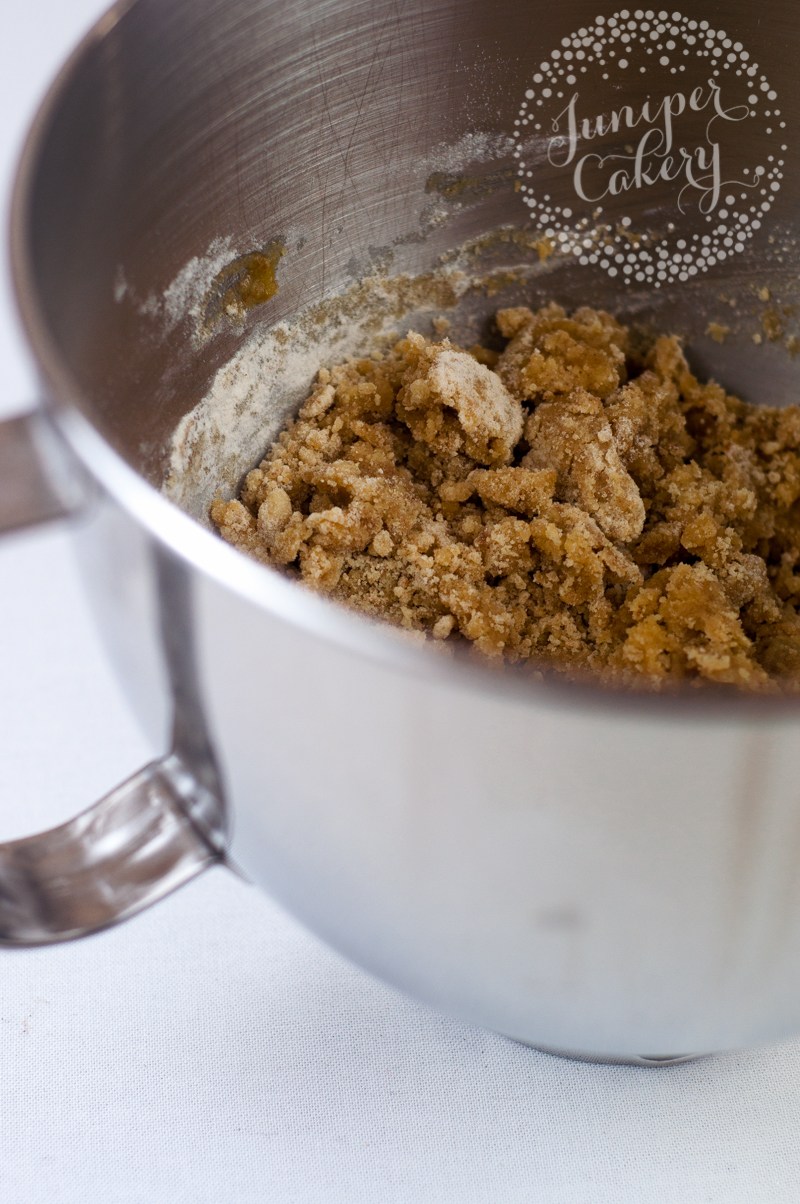
You cookie mix should look like the above. When it does tip it out onto a clean and dry surface to lightly work together. If you’re mix is a little dry and doesn’t bind just add a little extra gold syrup and work the dough.

Chewy and soft gingerbread cookies by Juniper Cakery

Recipe for yummy soft gingerbread cookies by Juniper Cakery
06:
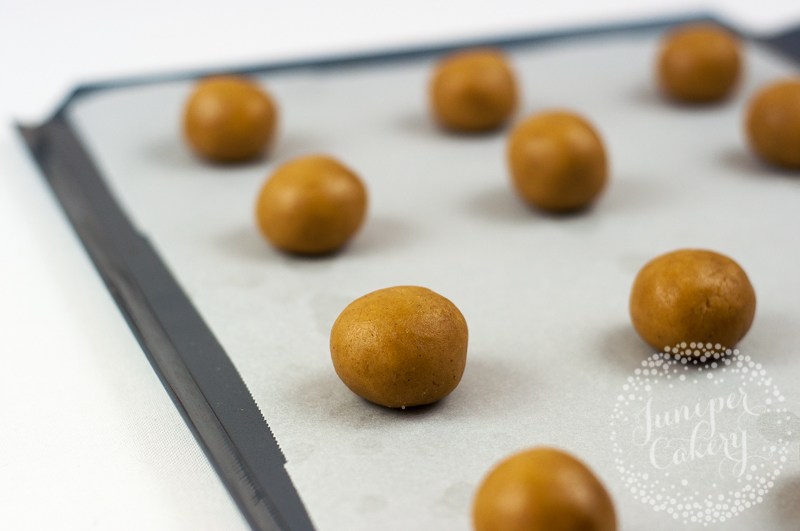
Separate your dough into balls. For small to medium cookies aim for them to be the size of a ping pong ball. For larger cookies roll out balls a little larger than a golf ball. Arrange these on a greaseproof lined baking tray approx. 2 inches apart from each other.
Addictive soft gingerbread cookie recipe
07:
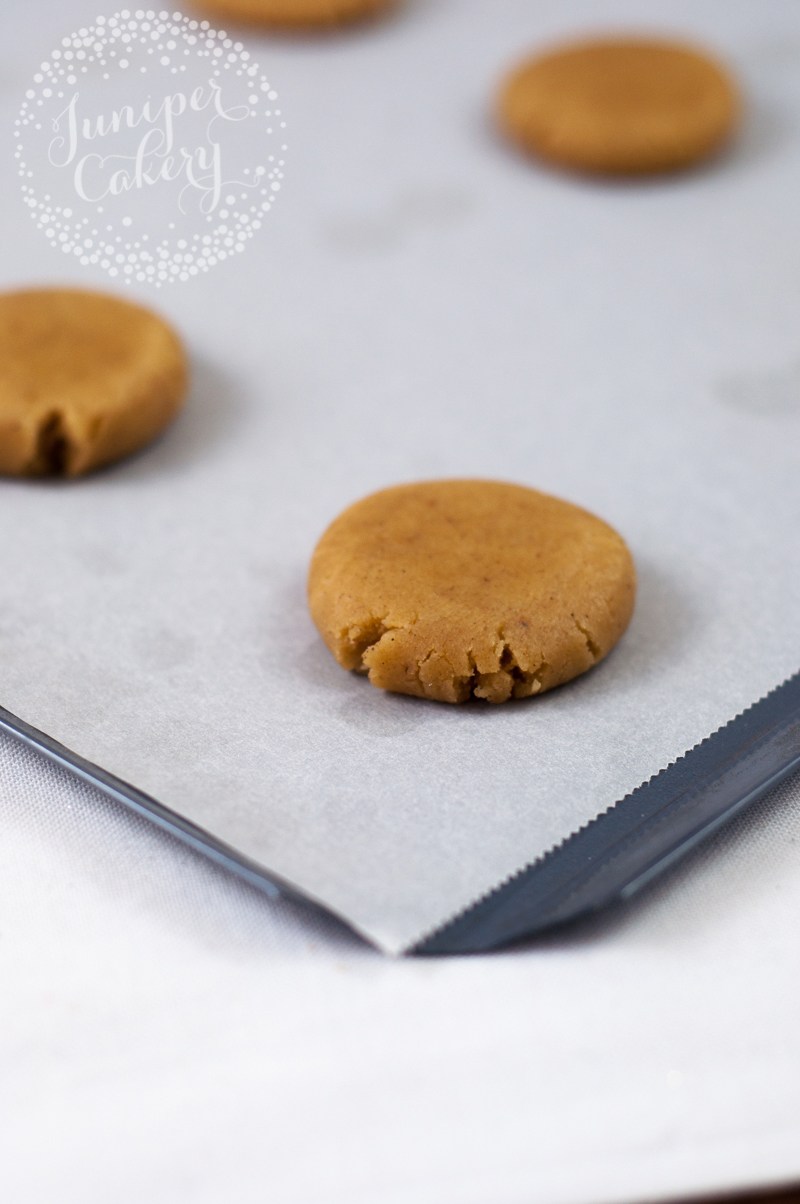
Flatten each ball slightly. The flat base of a clean glass or tumbler works really well for this, but it’s ok to press on the cookie with just your fingers. You can even use a rolling pin if you like!

Recipe for soft gingerbread cookies by Juniper Cakey
08:
Place on the top shelf of your oven for 12 minutes. Make sure to turn the tray at the 6 minute mark so that the sides can bake evenly! If you’d like a little more crunchy then leave them in for an extra 2 minutes.
09:
When done remove and leave them to cool down before eating all of them uhh… giving them to friends and family!

How to bake chewy gingerbread cookies by Juniper Cakery

If you want to make these tasty treats extra festive then try dipping them in white chocolate and adding cute snowflake sprinkles on top? They’re perfect on their own, but they definitely wouldn’t be crazy topped with fun sprinkles and chocolate drizzles!

Lovely recipe for soft and chewy gingerbread cookies

Deliciously soft gingerbread cookie recipe for Christmas

You may also like

17th November 2015 // 1 Comments

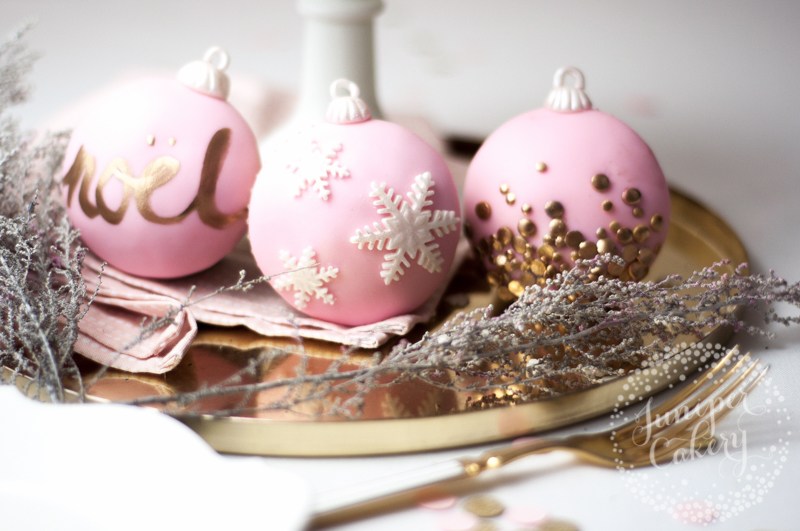
Tutorial: Chic Christmas Bauble Cupcakes

Chic and stylish Christmas bauble cupcake tutorial

Stylish Christmas bauble cupcake tutorial

Pinterest is one of those amazing phenomenons that comes along and completely changes everyone’s lives. Suddenly people are more crafty, aspirational Christmas gift wrap ideas turn up under the tree and gold D.I.Y style decorations hit the shops like crazy. That’s what heavily inspired our stylish Christmas cupcake tutorial. Bauble cupcakes aren’t a new fangled thing - they’ve been doing the rounds for years now - BUT these festive bauble cupcakes are surely going to be the most chic and Pinterest inspired yet right? Keep reading to find out how to make them in time for Christmas!

How to make chic Christmas bauble cupcakes!

Materials and tools needed to make Christmas bauble cupcakes

  • Freshly baked domed cupcakes
  • Buttercream
  • White fondant / sugar paste
  • Ice pink fondant / sugar paste
  • Circle cutter (a little larger than the top of your cupcake)
  • Gold edible lustre dust
  • Confetti / sequin type sprinkles
  • A few drops of vodka or lemon extract
  • White edible lustre dust
  • Snowflake plunger cutters
  • Rolling pin
  • Food safe paint brushes
  • Blade tool
  • Small ball tool
  • Cake smoother

How to decorate cupcakes for Christmas
01:
Smooth a small amount of buttercream onto the top of your cupcake. If you want more buttercream it’s best to core out your cupcake and fill it instead of adding more on top which will end up squishing out from under the fondant!

Make this pretty and chic bauble cupcakes for Christmas
02:
To flat ice your domed cupcakes begin by rolling out some fondant / sugar paste.

We worked to a bigger thickness of 5mm so that once placed on top of the cupcake the fondant can then be smoothed out to the edges better.
03:
Using your circle cutter cut out a series of circles in the colours you need and for the amount of cupcakes you want to ice.

It can help to cut a circle out to test and see if it’s wide enough as you’ll need to think about the addition of buttercream as well as the size of the dome on your cupcake!
04:
Now lay your circle of fondant on top and gently pat down before smoothing the edges out to where the cupcake case ends and the top of the cupcake begins. You can use the palm of your hand to smooth the fondant out too, but don’t be too heavy handed or you’ll be left with dents or an uneven surface.

Tutorial for Christmas bauble cupcakes
05:
To make the attachment or ‘hook’ part of the bauble take a little white coloured fondant, roll it into a small ball and mould into a ‘drum’ like shape. Add a linear pattern up the sides with a blade tool if you wish.
06:
On the top of the attachment base use a small ball tool to indent two circles on opposite sides.
07:
Attach to the side of your iced cupcake with edible glue, hold until set.

Stylish Christmas ornament cupcake tutorial
08:
To finish the hanging attachment take a tiny amount of fondant and roll it into a small ‘rope’ before forming into an unfinished loop that fits the indents you made in step 06 and set aside to fully dry.
09:
Attach the loop with edible glue. Hold in place until set.
10:
Once dry carefully dust or paint the hook attachment with lustre.

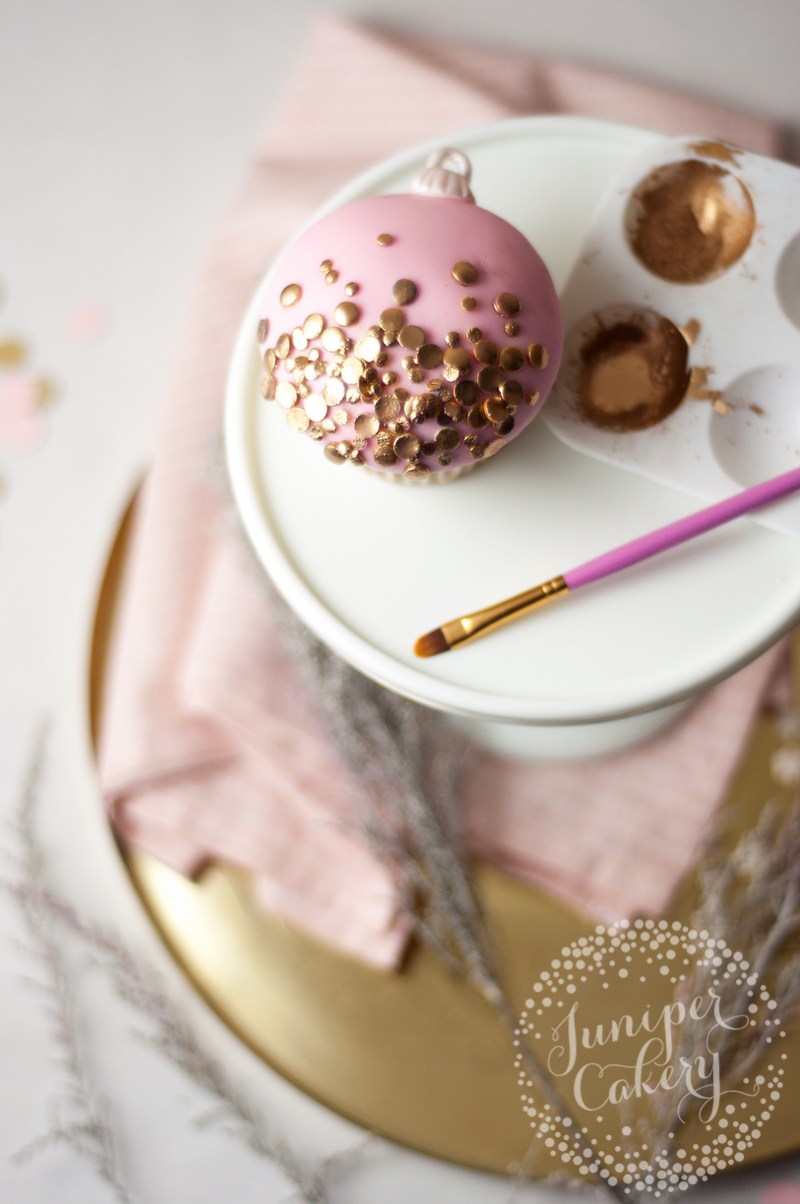
How to create a gold sequin bauble cupcake

How to add a gold sequin look to cupcakes
01:
On the frosted gold sequin bauble we added lots of confetti sprinkles to the base of the bauble scattering upwards.

Gold sequin cupcake
02:
Each multicoloured sprinkle then needs to be hand painted with gold lustre dust mixed with a tiny amount of vodka (the alcohol completely evaporates so they are kid friendly when dry) or lemon extract.

When mixing up your edible lustre paint you want to achieve a runny paste-like consistency. We generally add around a quarter teaspoon of lustre dust to approx. 5-6 droplets of vodka or lemon extract.

How to make a snowflake bauble cupcake

Christmas cupcake decorating tutorial
01:
For this cupcake we decided to keep our ‘background’ matt and instead make the snowflakes shimmer! Alternatively, you could add a nice lustre sheen to this by either using a white pearlescent lustre dusted over the surface or a light pink.
02:
Roll out some white fondant / sugar paste to a thickness of around 3mm.
03:
Cut out and texture some snowflakes using snowflake plunger cutters. Tala make a great pack of three in varying sizes which we used on our cupcake.
04:
With some edible glue attach your snowflakes onto your cupcake. You only need a small amount painted onto the back of each flake or else you’ll be left with a mess of glue squishing out from underneath.
05:
Finally, mix a little white lustre dust with a few drops of vodka or lemon extract (approx. a quarter teaspoon of dust to 5-6 droplets of vodka / lemon extract) and paint onto your snowflakes giving them a hint of sparkle!

How to make a typographic Christmas bauble

01:
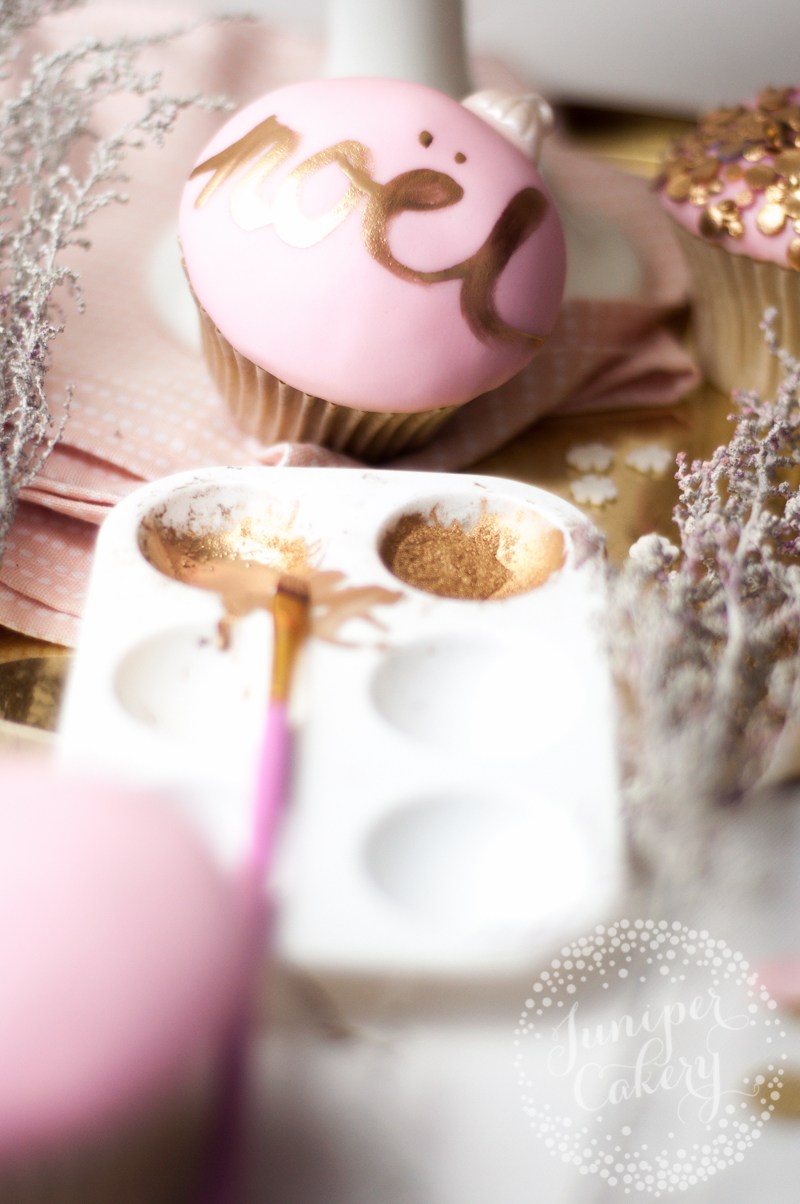
We made our typographic bauble in a light pink fondant to match the other designs. You can obviously use whatever base colour you like (black would look amazing with gold on it too). Make sure the surface of your iced cupcake is sugar or cornstarch free as this can form into unsightly clumps when painting onto the fondant.
02:
Pick out what font you’d like to use for your cupcake. We looked at lots of beautiful brush type fonts that are insanely popular at the moment before we painted ours during a test run using watercolours. After a bit of practice we were then ready to commit…

Pretty Christmas cupcake decorating tutorial
03:
Using a good quality food safe brush paint your word across the top of your cupcake. For a brush style font like ours Japanese calligraphy brushes work best. You can also use a medium sized brush with a pointed tip too.

Tutorial for stylish Christmas bauble cupcakes from Juniper Cakery

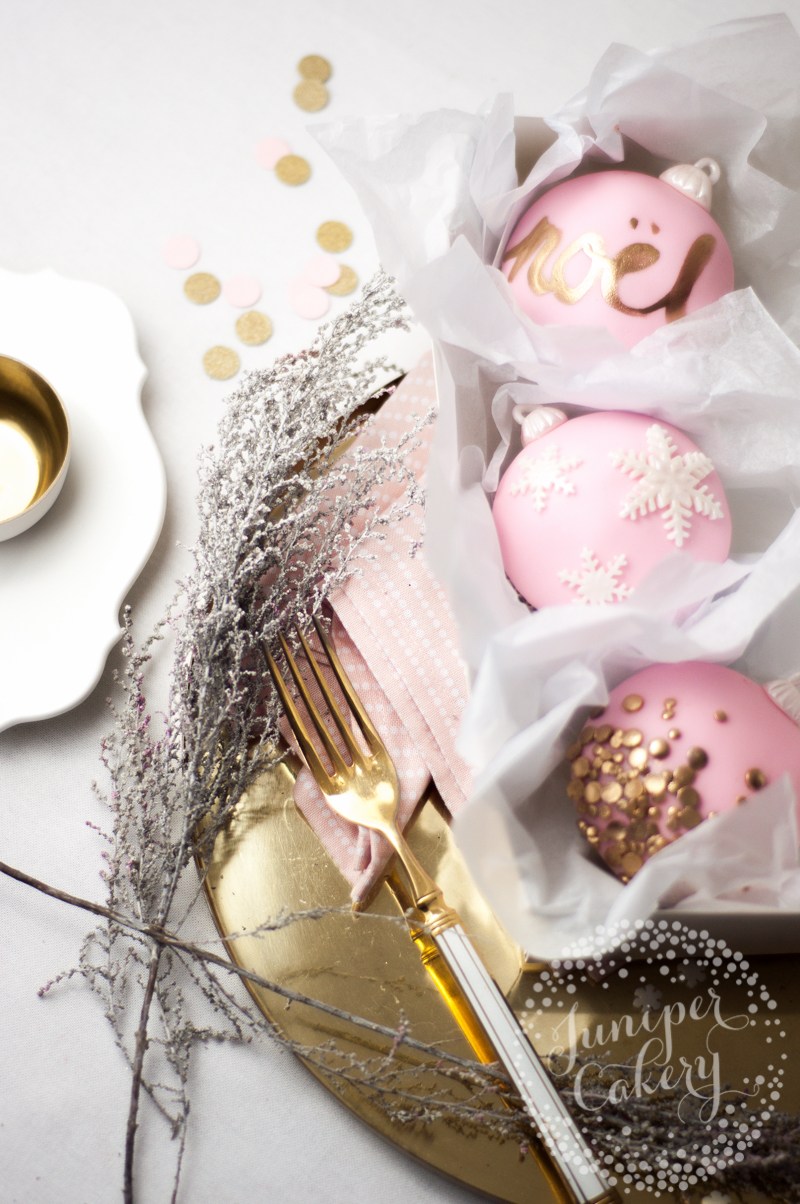
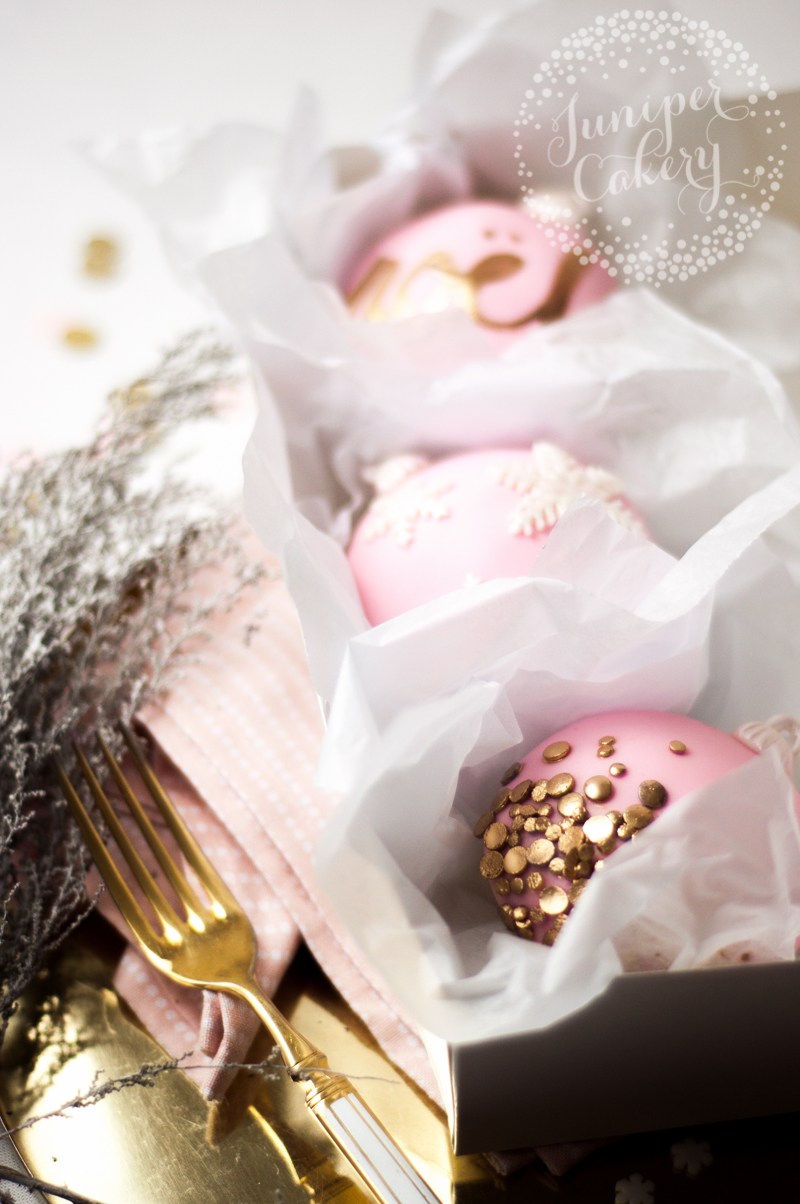
Ta dah! Now you should be left with some exceptionally stylish cupcakes ready for one magical Christmas. If you’re giving these little beauties away as gifts try cupping each cupcake in a small square of ruffled up tissue paper before placing in their box. They’ll end up looking like real ornaments ready for the tree!

These pink and gold Christ,as bauble cupcakes are perfect for the party season!

You may also like

10th August 2015 // 0 Comments

Black Forest Gateau Naked Cake!

Tempting naked cakes seem to be quite the popular trend at the moment! We’ve been gathering an impressive amount of requests for them in a fun variety of forms from macaron toppled birthday treats to towering rustic wedding designs. This super bright Black Forest Gateau inspired naked cake is definitely one of our favourite cakes we’ve made this year. It’s also the pinkest cake we’ve seen let alone created! Read on for more about how we made this cherry macaron adorned delight…

Back when we held the consultation for the couple who requested this cake we were left with a few definite cake must-haves… a pink colour palette, Black Forest Gateau flavour, macarons, roses… and for the end cake to be an absolute surprise! They wanted a naked cake a little different to the usual, but wanted their wedding cake to be top secret until the big day. In other words we got full creative control!

One of the first things we established were the flavours. Obsessed with cherry flavours the couple were pretty certain what tastes they wanted, but we added in our Cherry Ripple and Sour Cherry macarons as well as splashes of German Kirsch, fresh Picota cherries and liberal servings of Morello cherry preserve inside the cake. Perfect for making chocolate cake a little more exotic!

Pssst… inside of our macarons are home made Morello cherry confiture, Madagascan vanilla bean and white chocolate ganache with Kirsch buttercream and tangy cherry sherbet crystals! Kirsch is an amazing ingredient- it’s like Chambord in that it seems to pump up the fruit flavour a little more. Adding a matching fruit liqueur into buttercream or preserves gives it another level of taste - great for parties or receptions without kids!

To make this naked wedding cake a little more different we planned on scraping bright cherry Swiss Meringue Buttercream outside of each tier, much like a crumb coat, before arranging the flowers, macarons, foliage and cherries in a sweet garland formation around the top of the bottom tier and then as a ball on top of the cake to add a little bit of extra height and drama.

We’re both huge fans of wild arrangements and bouquets so we tend to include lots of berries, textural herbs and pretty foliage in our florals (sugar and real). A fabulous herb to use is Rosemary as the sprigs look somewhat like plumes of feathers; with these we added in stripped rose leaves too.

NOTE:

If you’re planning on using Rosemary sprigs to add detail to a naked cake or buttercream cake don’t go overboard and pair your flavours well. It can be quite fragrant and also has a distinct taste. Our tip is to combine it with strong fruit flavours such as lemon, cherry, or raspberry - perhaps with lighter notes of white chocolate and vanilla.

As with every cake we’re always sad to see it leave, but we’re happy to say that the surprise cake design went down a treat with the couple! Some very eagerly received slices were even saved just for us - they didn’t last long though…


You may also like


SaveSave