New Year parties always leave behind a bar full of cocktail left overs that either get saved for next year’s festivities or pushed to the back of the cupboard to gather dust. With this in mind we thought we’d offer up a splendid yet economical epicurean delight that will help put those booze-y left overs to good use! This week’s recipe and tutorial comes in the form of those delicate French confections; les macarons. This recipe utilises Creme de Menthe liqueur which is often a favourite boozy flavour during holiday parties. If you don’t have this lurking in your cabinets sheepishly you can always use some Creme de Menthe flavouring or crush up candy canes to add not only the sweet peppermint flavour to your buttercream filling, but a nice bit of crunch too. You can also swap the Creme de Menthe liqueur for any other type of tipple from brandy to whisky.
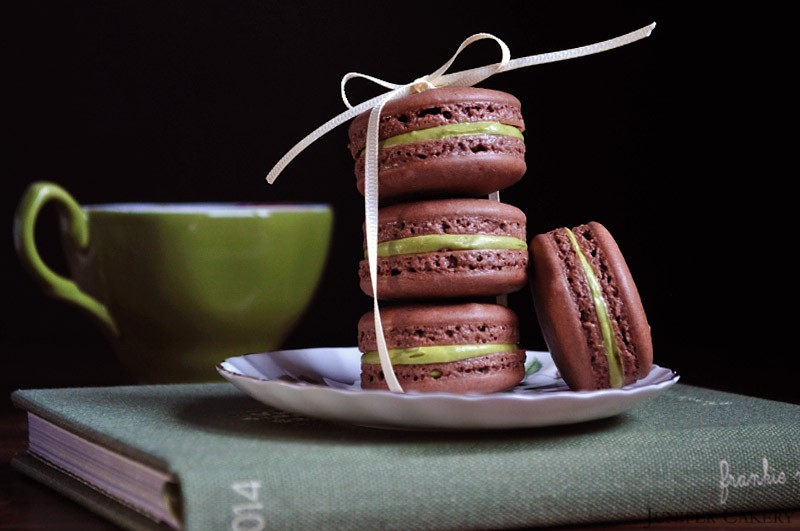
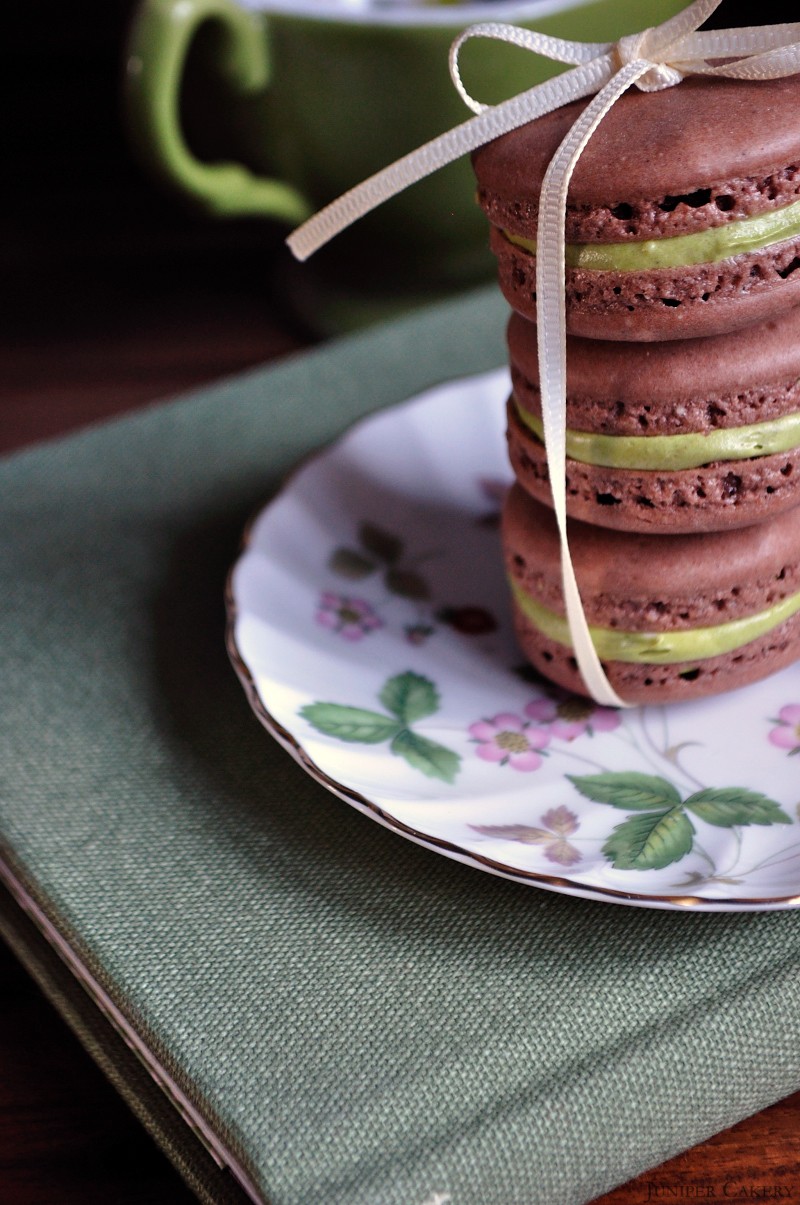
Basic Chocolate Macaron Recipe (yields approximately 40 macarons)
115g ground almond flour
230g icing sugar
72g caster sugar
144g egg whites
2g kosher salt
15g cocoa powder
1 lemon
Disposable piping bags
808 piping tip
Good quality thick baking not parchment paper (don’t scrimp on this as cheap paper buckles and will ruin the shape of your macarons) Pastry/piping bag holder
Step one: Your almond flour needs to be as fine as possible so if you can grind it further before using. When ready mix the almond flour together with the icing sugar by sifting two to three times. You may have granules of almond flour left in your sieve. If this happens it would be perfectly fine to discard this if it is around one levelled teaspoon’s worth. If you have more try grinding the remaining or using the back of a spoon against your sieve to break it down enough to pass through. At this stage add in the cocoa powder. To add flavour to the shells try as best as you can to only use dry ingredients (e.g. for lavender grind down edible lavender florets or sprinkle the flowers on top before putting in the oven).
Step two: Wipe down a clean metal or glass (never plastic as plastic soaks in fats which can ruin your meringue) mixing bowl and whisk with lemon juice. The lemon makes sure that any fat and grease disappears. Dry down with a clean cloth.
Step three: Add your egg whites into the mixing bowl and mix on high speed until white and frothy. With the mixer still on sprinkle in the salt and caster sugar. These stabilise the egg whites so they whip up lovely and firm. Mix until stiff peaks are formed. If colouring your macarons add the gel paste (never liquid) colour in now and mix until incorporated but never overmix your meringue! You can test if your egg whites are ready by the traditional method of hold the bowl upside down over your head! If the mix stays put then it’s ready. Macarons can be temperamental so it may take a few practises to get them just right.
Step four: Fold half of your dry mix into your meringue mix gently until the dry ingredients are almost fully incorporated. Once this is done fold the mixed ingredients into the rest of the dry mixture that is left.
Step five: With your pastry/piping bag holder get a disposable piping bag ready and fitted with a plain round tip. The mix at this stage can be fairly runny so you would need to fold the lower/tip section of the bag over to block any mix from running out. Pour the macaron mix into the piping bag.
Step six: Prepare a cookie or sheet baking tray with good quality baking paper (don’t use cheap paper and remember to use baking paper not parchment). Step seven: Now is the time to pre-heat your oven to Gas Mark 3 / 325 Fahrenheit / 170 Celsius.
Step eight: Carefully pipe your ‘coins’ of macarons approximately the 3.75cm in diameter and around 2cm apart. Get rid of any air bubbles inside your macarons by smacking the tray down on a flat surface around 3-4 times. You should see some holes appear on the tops of some of them; don’t worry about these.
Step nine: We leave our piped macarons to rest before we even think of letting them near an oven. We’ve seen recipes that don’t call for this, but not leaving them for a while has never worked for us at Juniper Cakery. What you need is for your macaron to develop a ‘skin’. We leave ours to sit for 1 hour to 1 hour 30 minutes. We’ve experimented and left them for shorter and longer periods of time, both yielded some not very elegant results. You’ll know that your macarons have a good skin and are ready to pop into the oven when you touch the top lightly and the batter does not stick to your finger. You should feel and see a ‘skin’ has developed.
Step ten: Put your macarons on the middle level of the oven. It is ever so tempting to get as many trays in as you can, but we wouldn’t suggest this unless you’re lucky enough to have a confectioner’s oven. Macarons on the lowest shelf won’t bake as well and macarons placed on the highest will overcook and also discolour.
Step eleven: Bake for 20 minutes turning the tray around halfway.
Step twelve: Your macarons should be ready and have ruffled ‘feet’ on the bases of them. Remove the macarons carefully from the paper. Once cooled down these are ready to be filled!
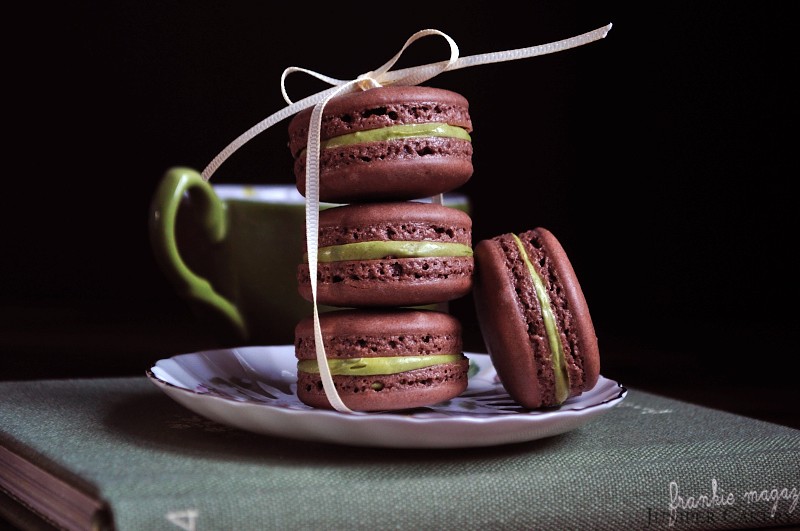
Creme de Menthe Buttercream
250g butter
300g icing sugar
15-30ml creme de menthe liquer OR a few drops of Creme de Menthe flavouring OR 2 crushed candy canes
15ml water (around 1 tablespoon)
Green or red/pink food colour (depending on whether you’ve used creme de menthe or candy canes)
Disposable piping bags
808 piping tip
Dice the butter into pieces and add half to your mixer. Once the butter is smooth gradually add icing sugar and the remaining butter (also diced into cubes) until you get a smooth, creamy texture. Add the flavour to taste. For more hints and tips see our tutorial on how to make buttercream here. Using a piping bag fitted with a plain round tip and filled with your delicious buttercream pipe half your macaron shells and sandwich together with the other half. For the best macaron experience leave these to sit in an airtight container for around 24 hours. Then after a gruelling wait of 24 hours you can now enjoy them and serve them to your loved ones or perhaps keep them all to yourself.
Here are some quick tips to help you get closer to making perfect macarons…
- Remember to smack your freshly piped macarons at least three times on a flat counter before leaving to rest. This gets rid of any air inside the mix.
- Leaving your piped macarons to rest for at least one hour helps your macarons establish a good ski. This keeps your macarons in a good shape, can eliminate air bubbles and can help create the lovely famous ruffled ‘feet’ on their bottoms.
- Good macarons have flat and ‘solid’ bottoms with not holes, air pockets, sticky residue (leave in the over for an extra minute or two if this happens), or concave features.
- Work quickly when piping as the mixture will be runny. We prefer to pipe from above, but lots of others pipe from the side.
- Adding in any dry flavour and/or colour gel paste once the meringue is ready reduces the risk of over mixing.
- Your meringue mix should be stiff, but if you scoop some up in a spoon and throw it back in it should blend back in and not sit on top. If it does sit then mix again on high speed for around 1 minute and repeat until a scooped portion blends. If your mix loses it’s stiff peaks and looks running then it has been over mixed and you need to begin again with fresh eggs.
- If you get even the tiniest amount of egg yolk in your separated egg whites before whisking them into a meringue you need to begin again.
- Don’t worry if you get a little bit of the egg’s chalaza in your mix. The chalaza is a thicker part of the egg white that helps hold the egg yolk in the middle. It can look a little more opaque too.
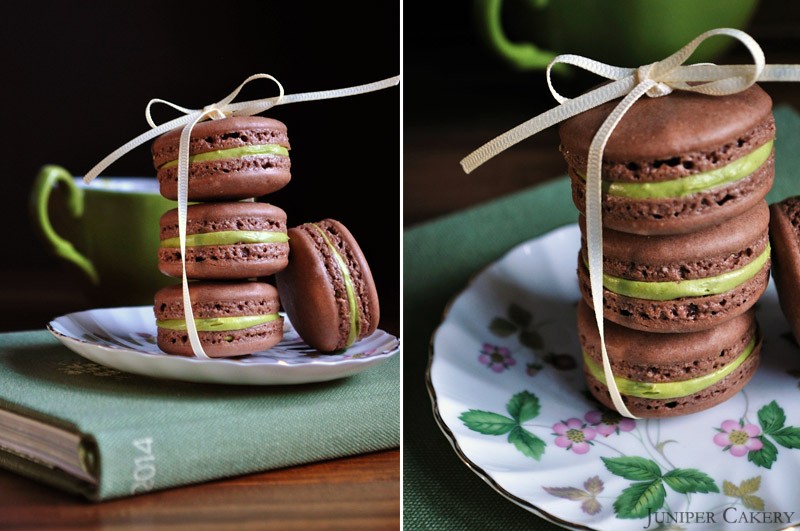
Once your macarons are ready to enjoy why not wrap them in tissue paper and ribbon for loved ones or enjoy them a lovely hot cup of coffee yourself!


