Browsing Tag

meringue

19th January 2017 // 0 Comments

Recipe: Strawberry and Chantilly Cream Rosette Pavolvas!

Valentine's Day strawberry pavlova recipe by Juniper Cakery

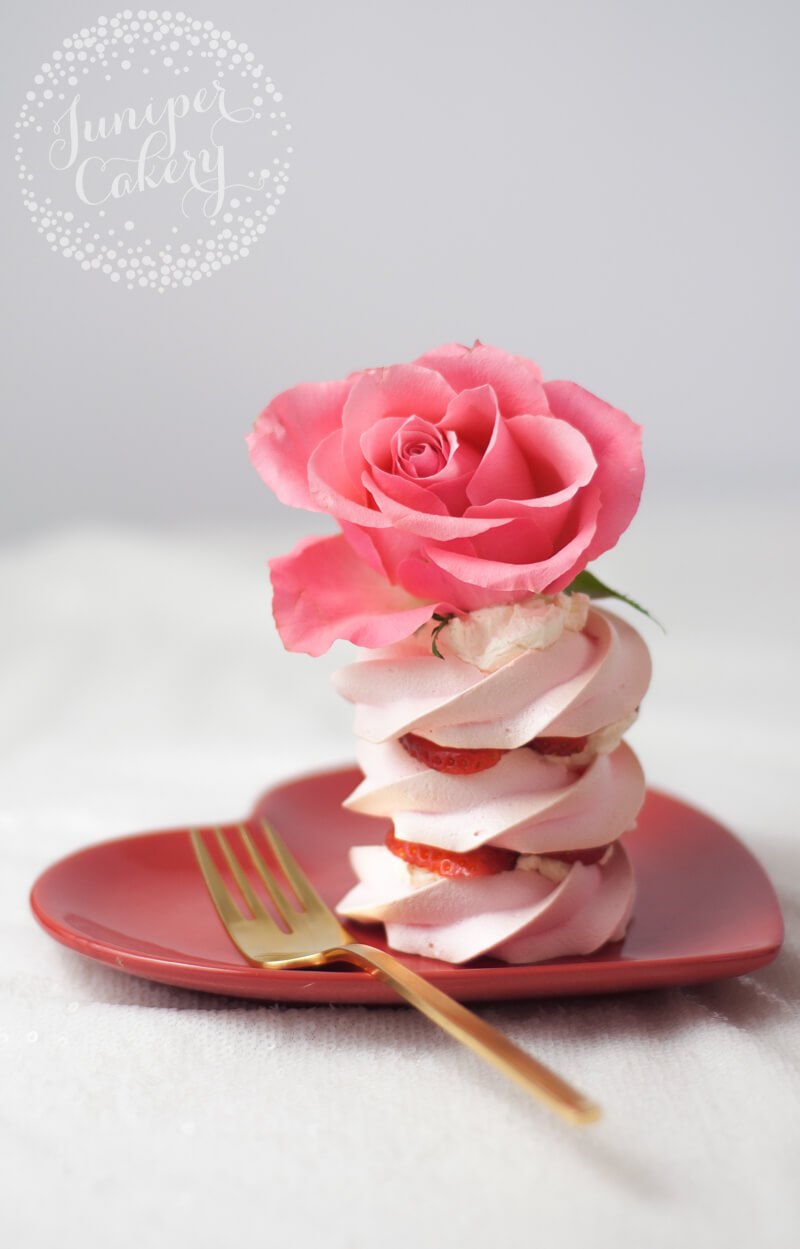
February 14th is coming and you may be wondering what sweet treat you can whip up! Whether it’s for you and your Valentine, a room full of your best friends or just for yourself our recipe for mini strawberry and Chantilly Cream pavlovas is a must. Perfectly pink meringue rosettes layered with vanilla infused whipped cream and fresh strawberry filling!
Valentine pavlova recipe by Juniper Cakery

Strawberry and Chantilly cream pavlovas recipe!

Ingredients and tools needed for the meringue rosettes… (makes approx. 10-12 meringue roses)

For the Chantilly cream…

You’ll also need…

  • Fresh strawberries
  • Candy, roses, meringues etc (to decorate)

How to whip up and bake your meringue rosettes…

01: First let’s start by making the meringue roses for your strawberry and Chantilly cream pavlovas! Pre-heat your oven to 160 degrees C (fan) / 180 degrees C (non-fan) / 325 degrees F / gas mark 4.

Easy Valentine pavlova recipe by Juniper Cakery

How to bake pavlova meringues by Juniper Cakery

02: Pour out your caster sugar onto a baking tray and place in your pre-heated oven for 5 minutes. This step really helps all that sugar dissolve better and quicker into the whipped egg whites which means wonderfully smooth meringues!

How to make pavlova by Juniper Cakery

Easy meringue recipe by Juniper Cakery

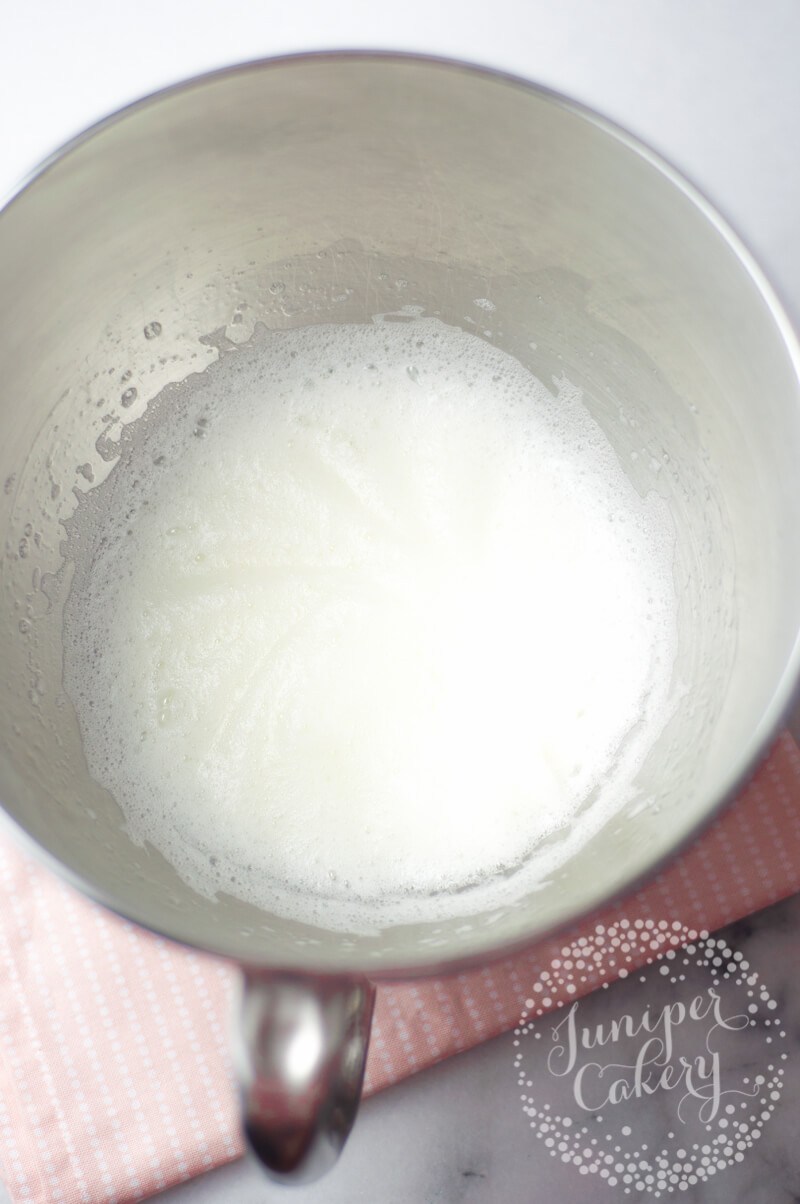
03: While your caster sugar is in the oven add egg whites to the metal bowl of a stand-up mixer. Mix on high with the whisk attachment until frothy (basically… a little like cappuccino foam). When the eggs are ready add in the cream of tartar and mix until combined.

Tip! Any grease left over from cake batter or buttercreams etc can ruin your egg whites. Make sure that you clean up any mixing bowls properly, give them a quick wipe down with lemon juice if you’re unsure, and try to always use metal bowls (plastic or wood can hold in fat and grease).

Meringue recipe by Juniper Cakery

04: Slow down your mixer to a medium speed and spoon in your heated sugar mix a tablespoon at a time. Your meringue should begin to look glossy and it should begin to stiffen up too.
How to make strawberry meringues by Juniper Cakery

05: Now it’s time to add in your colour and flavour. When it comes to adding in any colouring or extracts you should always start small and build it up to the tint or flavour strength you like. It is so much easier to add than to remove! We wanted a pale pink for our meringue rosettes so we added approximately 1 drop of Rainbow Dust’s Strawberry colour from their Pro Gel range.

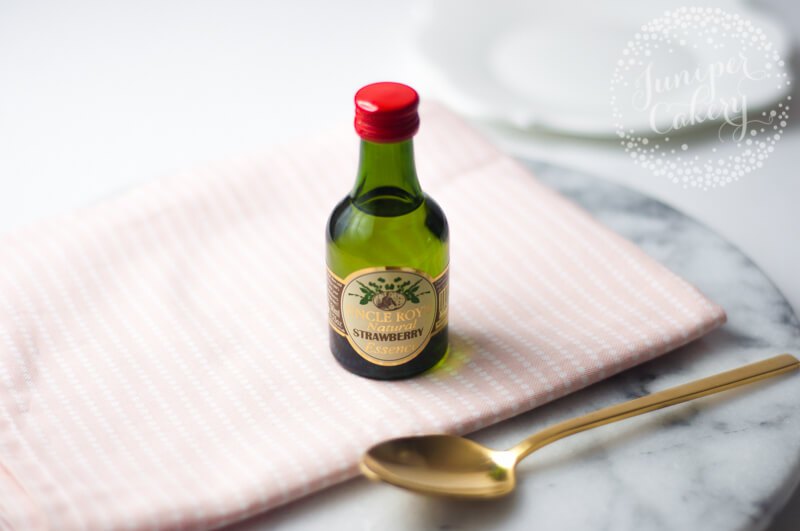
For extracts one of our favourite brands is Uncle Roy’s. We used up to 6-8 drops of their fruity strawberry essence. Try not to add too much as this can mess around with the consistency of your meringue.

Quick meringue recipe by Juniper Cakery

Easy and quick meringue recipe by Juniper Cakery

Once you’ve added in your colouring and/or flavouring whip until lovely stiff peaks form. Your meringue should hold its shape well and any peaks should not droop or flop over.

How to pipe meringue rosettes by Juniper Cakery

06: Add your meringue mixture to a piping bag fitted with a closed star tip (we love the 855 by Ateco and 2D by Wilton for roses).

How to make meringue rosettes by Juniper Cakery

07: To pipe begin where the centre of your rose will be, pipe a little out and then pipe slightly overlapping the center and around it. Two or even 3 ’rounds’ encircling the centre is a good amount. When you’re finished simply stop applying pressure to your bag and flick the end of your rose and meringue mixture.

08: Place your meringue rosettes in the oven to bake for around 25 – 35 minutes. We use a convection oven (which is basically a fan assisted oven) so it took only 25 minutes for our kisses to be done.

How to make meringue roses by Juniper Cakery

09: Remove from the oven once they’re ready and set them aside to cool down.

How to make Chantilly cream!

How to make Chantilly cream by juniper Cakery

01: Whilst waiting for your meringues to cool create your tasty Chantilly cream! Add your double (also called heavy or even whipping) cream to a clean stand-up mixer bowl along with a tablespoon of good quality vanilla bean paste. Whip until soft silky clouds of whipped cream forms.

Tip! If you’ve over whipped your cream and it begins to look grainy or lumpy you can save it so don’t worry! If you have any unwhipped cream left over add around 1-2 tablespoons into your whipped cream and very quickly mix it together with your stand-up mixer. No left over cream? Just add the same amount of full fat milk and whip!


How to assemble your mini strawberry and Chantilly cream pavlovas!

Fun Valentine's Day pavlova recipe by Juniper Cakery

01: Start by laying one of your pretty meringue rosettes down. It’s best to build up your pavlovas onto whatever you’re going to be serving them on… plates, mini cake stands or even small cake boards!

Pink Valentine pavlova recipe by Juniper Cakery

02: With a tablespoon scoop a dollop of your Chantilly cream and drop it onto your first meringue rosette.

How to assemble a pavlova by Juniper Cakery

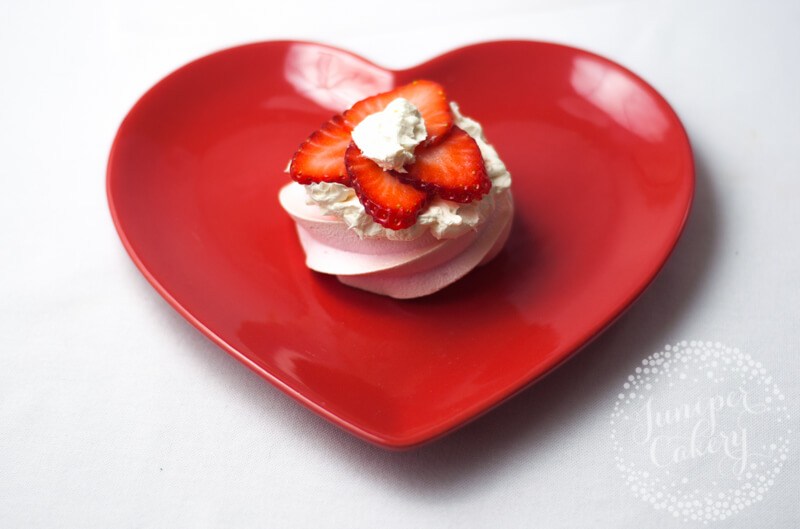
03: Slice up slim slivers of strawberries and layer on top of the cream.
Assemble a Valentine pavlova by Juniper Cakery

04: Add a smaller dollop of cream on top of the strawberries. This will help your next meringue rosette stay in place.

Strawberries and cream pavlova recipe by Juniper Cakery

05: Take your next meringue rosette and gently place this on top sandwiching the strawberry filling and cream between both meringues.

06: Repeat steps 02-04 for the final layers. We stacked out pavlovas with three layers of pink meringue roses, but you can have them as tall or short as you like!

Strawberries and Chantilly cream pavlova recipe by Juniper Cakery

07: Now for the super fun part… decorating them! Add a dollop of Chantilly cream on top and get creative!

To decorate ours we kept it simple and opted for large bloom pink roses. You can use whatever you like. Some sweet ideas include… edible petals, candy, mini donuts or fancy chocolate truffles!

You can easily swap the flavours over to something else if you like. Instead of strawberries try sugared raspberries, or even brandy laced cherries with roughly chopped pistachios!

Pink Strawberries and Chantilly cream pavlova recipe by Juniper Cakery

22nd September 2016 // 0 Comments

Recipe: Chocolate Dipped Mocha Meringue Kisses

Mocha meringue kisses recipe for Autumn treats

It’s September and the mornings are getting wonderfully crisp right now. We absolutely love this time of year. Maybe we’re strange, but we love to start work even earlier in the morning. Hello there 6am meetings with giant mugs of hot coffee and freshly baked croissants (yes, we bake croissants for power/work breakfasts when we feel so inclined). Whilst sipping on a morning latte and biting into mini pain au chocolates just out of the oven we thought of putting together a quick how-to for some tiny sugary bites… a meringue kisses recipe. This is a version of our go-to meringue recipe that is perfect for Autumn mornings; studded with bursts of coffee and dipped in creamy Belgian chocolate of course!

Dark chocolate dipped meringue kisses

Belgian chocolate dipped mocha meringue kisses recipe!

Ingredients needed…

  • 35g egg whites
  • 70g caster sugar
  • 1/2 teaspoon cream of tartar
  • 2 teaspoons instant coffee granules
  • 2 teaspoons sieved cocoa powder (optional)
  • A handful of dark Belgian chocolate chips, buttons or callets

How to make coffee meringues with chocolate

01: Pre-heat your oven to 160 degrees C (fan) / 180 degrees C (non-fan) / 325 degrees F / gas mark 4.

How to make meringue kisses

How to bake meringue kisses

02: One of the first things you need to do for this meringue kisses recipe is heat up that sugar. This helps it to dissolve better and quicker into the whipped egg whites which means lovely smooth and non-grainy meringues! Yay! Pour the sugar onto a baking tray and place in your pre-heated oven for 5 minutes.

Recipe for meringue kisses with coffee

Mocha meringue recipe

How to create mocha meringues

03: Add your egg whites to the bowl of a stand-up mixer and mix on high with the whisk attachment until they start to look like the lovely frothy eggs above. When ready add in the cream of tartar and mix until combined.

Meringue kisses recipe

The perfect meringue

04: Whilst on medium speed spoon in your heated sugar mix. Your meringue should begin to look gorgeously glossy and it should also begin to stiffen up.

Coffee meringue kisses recipe

05: Grind your coffee granules down roughly and mix in the cocoa powder (the cocoa is optional, however, as it depends on how chocolate-y you’d love your meringues). We left the cocoa powder out of ours to get a stronger hit of coffee for each kiss. Remember not to completely grind down all your coffee.

How to bake coffee meringues

Coffee meringue

06: Add the coffee mix to your meringue and whip until incorporated. Ours looked like this, but if you’ve added cocoa powder then you should be left with a light chocolate looking meringue.

Coffee meringue kisses with chocolate

06: Spoon the meringue into a disposable piping bag fitted with a medium plain round piping tip and on a lined baking tray pipe rows of meringue drops. Make sure to space these out at around 2cm.

Recipe for tasty mocha meringue kisses

Mocha Meringue Kisses Recipe

07: Now place them in the oven and leave them to bake for around 25 - 35 minutes. We use a convection oven (which is basically a fan assisted oven) so it took only 25 minutes for our kisses to be done.

08: Remove your tray of meringue kisses from the oven once they’re ready and set them aside to cool. We always recommend investing in a marble pastry slab as leaving your bakes to cool on marble means they’re ready in half the time!

Chocolate Dipped Mocha Meringue Kisses Recipe

09: Once ready and cooled down you can start melting down your chocolate. Add the chips or buttons to a microwave safe jug/bowl and heat at 30 second intervals gently stirring the chocolate at each check point until ready. Pour or dollop your melted down chocolate onto a plate so that you can dip your meringues.

Chocolate Dipped Mocha Meringue Kisses

10: Meringues are delicate so it’s important that you’re gentle when picking them up and dipping them into the melted chocolate. Don’t grab the very tips of them. Instead pick them up lower down close to the middles. Carefully dip them into the melted chocolate and place them on a tray lined with greaseproof paper to set.

Chocolate and Coffee Meringue Recipe

11: Setting time can vary depending on the weather, but they should be ready when the chocolate no longer looks wet. If you live in a warm and humid climate you could be waiting for your kisses to dry for around an hour.

If you want to check your local levels of humidity (essential for anything involving sugar) then try out a handy app in the iStore or via android!

Homemade meringue kisses recipe

Now you can enjoy your homemade chocolate dipped mocha meringue kisses with a hot cup or coffee (or tea… or even hot chocolate loaded with whipped cream and marshmallows). These little gems are hygroscopic (they soak in moisture from the atmosphere around them) so as soon as they’re done store them in an airtight container and keep in a cool dry place. They should last for a good 2 weeks so they’re great to keep for a succession of mid-afternoon pick-me-ups!

Coffee and chocolate meringue recipe

Easy meringue kisses recipe

One of the best things about this meringue kisses recipe is that you can add or leave out whatever amount of coffee you like. Add in an extra teaspoon of coffee to your mix for more of an espresso hit. Up the chocolate, add a dash of vanilla bean paste and sift cocoa powder on top for more of a chocolate-y mocha taste.

If you’re feeling super adventurous you can try adding a small amount of chilli flakes into your melted chocolate before dipping, add sprinkles of brown sugar on top of each before lightly blow torching for a coffee creme brûlée effect or even adding finely chopped toffee into the meringue before piping for a caramel latte flavour!

Tasty coffee meringue recipe

18th November 2014 // 0 Comments

Easy Meringue Christmas Trees Tutorial!

Hurrah! Christmas is coming! Whilst this is ever so exciting we understand that whipping up (pun fully intended due to the nature of this blog post) festive treats for the holiday season need to be both striking yet stress-free. That’s why for our collection of Christmas cake, cupcake and cookie decorating tutorials and recipes we’ve tried our best to keep them simple. This week we begin our festive series with some delightfully easy Meringue Christmas Trees!

How to whip up easy Meringue Christmas Trees…

Ingredients needed…

  • 60g egg whites (room temperature works best)
  • 120g caster sugar (this needs to be caster sugar as it dissolves perfectly in a meringue)
  • Green gel or paste food colour

Note: As a general rule you need double the amount of caster sugar to egg whites so if you need to make a large bowl of meringue keep this in mind!

Materials needed…

How to pipe meringue Christmas trees!

1: Pre-heat your oven to gas mark 2/300F/170C and line a flat baking try with either parchment paper or a silicone mat.

2: In the lemon juice wiped (this rids any fat residue with can make a meringue seriously fail) bowl on a stand-up mixer add your room temperature egg whites and whisk on high speed for a few minutes or until lovely stiff peaks are formed!

3: Add in your food coloring and mix for around 20 seconds or until fully incorporated. Don’t worry if your egg whites begin to look a little ‘clumpy’ or if they all seem to congregate inside your whisk. Adding the sugar next ‘loosens’ them.

4: Gradually add in your caster sugar a tablespoon at a time as you whisk on high until glossy, stiff peaks form.

5: Fill a piping bag fitted with a 828 piping tip with your green meringue mix and shake the bag down to rid yourself of any unwanted air bubbles.

6: Pipe a row of Christmas trees at least 2 inches apart on your tray. To do this simply pip as your would with cupcake buttercream/frosting yet a little taller.

7: Place in the oven on the lowest rack for around 1 hour. To prevent the tops from browning add a thin sheet of foil to the top tray of your oven and increase your baking time to 1 hour and 30 minutes.

8: Finally, when baked remove and set aside to cool. You can then work on some decorations like fondant/sugar paste stars using rolled out fondant or sugar paste icing. Use star shape cutters and gold or silver lustre dust too! Attach any extra decorations on with a tiny dab of melted white chocolate.

Decorate with festive meringues!

There are lots of fabulous ways you can use these adorable edible Christmas trees for holiday treats. We added ours on top of a red velvet cake smothered with rustic and white cream cheese buttercream before dusting them lightly with a little icing sugar to create a quaint snowy scene.

Want some great ideas on how you could decorate cakes and cupcakes with these Meringue Christmas Trees? Why not to nestle them on top of tasty cupcakes. Add them around the edges of a freshly baked and iced cake. Or you could even serve them up on a silver platter just as they are!