Evil Purple Minion Cake!

Of all the novelty cakes we create our favourite to make are minion cakes! Who doesn’t love those insane, fruit obsessed, nonsensical and cute little hench-people in the Despicable Me movies? This week we had lots of fun creating a cake version of the ‘evil’ purple minion of Despicable Me 2 for a birthday party. We loved this little misfit so much we just had to post some photos of it on the blog!

Evil Minion birthday cake by Juniper Cakery

We used a small 6″ hemisphere cake pan to bake the domed head and the rest of the body was made from 1 inch thick layers of three 6 inch circle cakes; all vanilla flavour. Each layer was sandwiched with our lovely and silky vanilla pod infused buttercream. We crumb coated the stacked layers and iced with custom coloured fondant / sugarpaste before transferring to a ‘metal sheet’ decorated cake drum.

Fun purple minion birthday cake by Juniper Cakery

Our favourite parts of the minion included creating the fun hair, ‘knobbly’ teeth, stitched pocket and rather nonchalant eyeball! Of course, we enjoyed every other aspect of this cake; from the silver lustre dust painted board and dungaree buttons to the stretched, floppy arms.

Awesome evil purple minion cake by Juniper Cakery

When it comes to minion cakes we love how customisable they are. We love the idea of adding towers of baked treats next to an especially gluttonous little minion or adding some fun personalised costumes for them to wear! If we had to create a pair of minions to represent the both of us they’d be balancing cake orders in fetching yet impracticable tweed ensembles. What would your minion version look like?


40th Birthday Star Wars Cake!

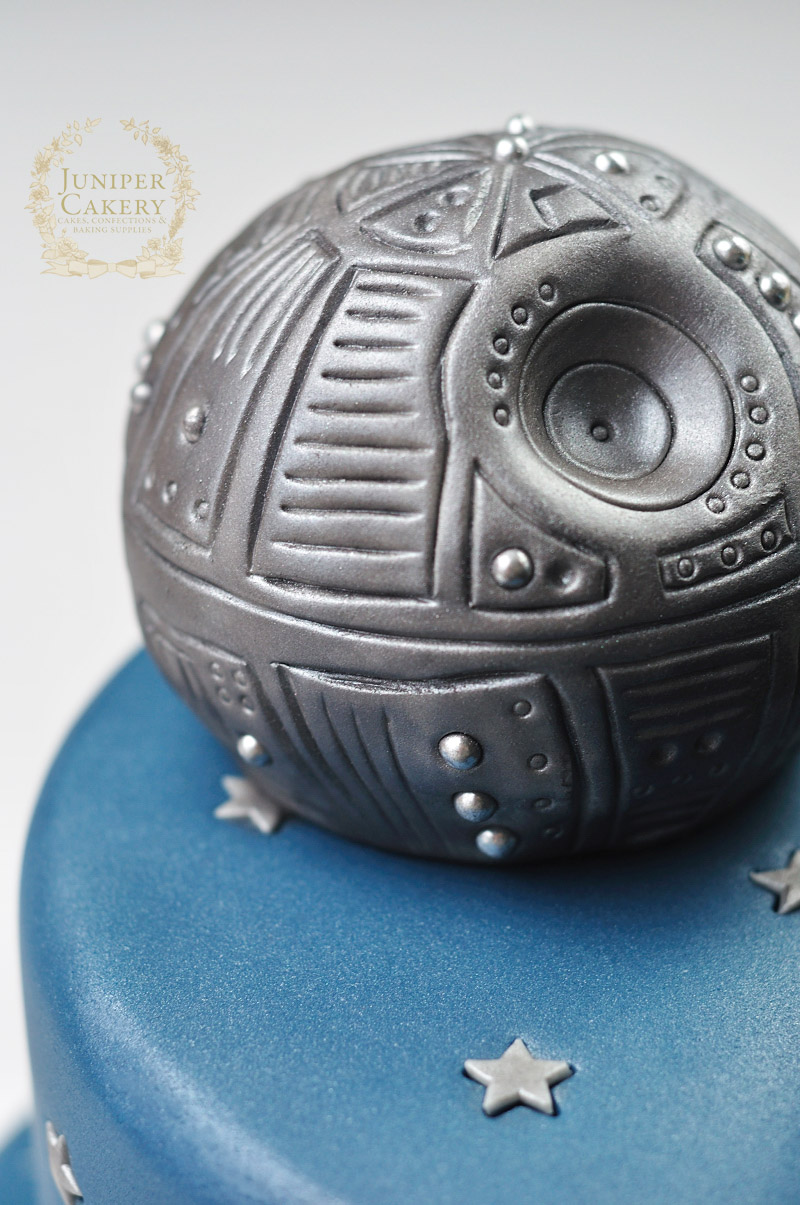
Here’s a super fun Star Wars themed birthday cake we created this week! We had such fun making this. Everything is edible from the rice krispy treat moulded Death Star to the modelling chocolate Chewbacca!

Star Wars cake by Juniper Cakery

The cake itself consists of two layers of vanilla with a blue velvet layer in the middle. All layers are sandwich with Bailey’s irish cream infused buttercream… yum!

Death Star on Star Wars cake by Juniper Cakery

To make the Death Star we moulded the shape from rice krispy treats, iced it, added the details with modelling tools and silver dragées, then covered it with dark silver lustre dust.

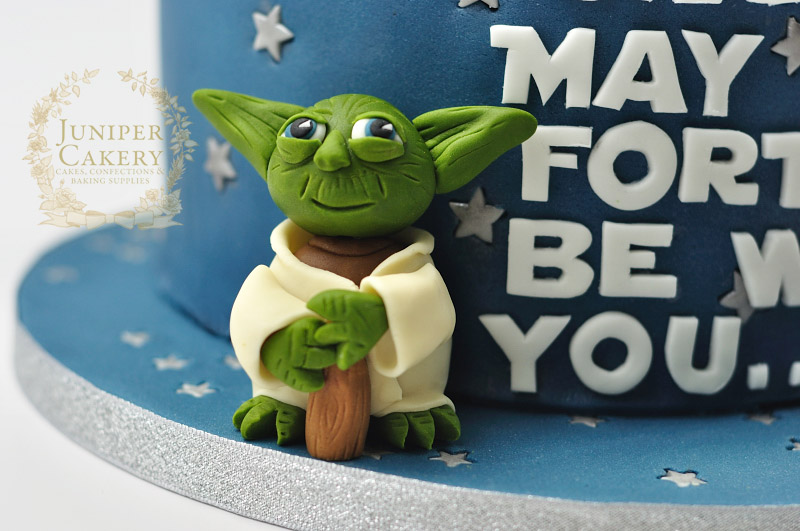
Star Wars cake with Yoda figure by Juniper Cakery

Here’s our cartoon style Yoda figure which was created out of both modelling chocolate and reinforced fondant /gumpaste.

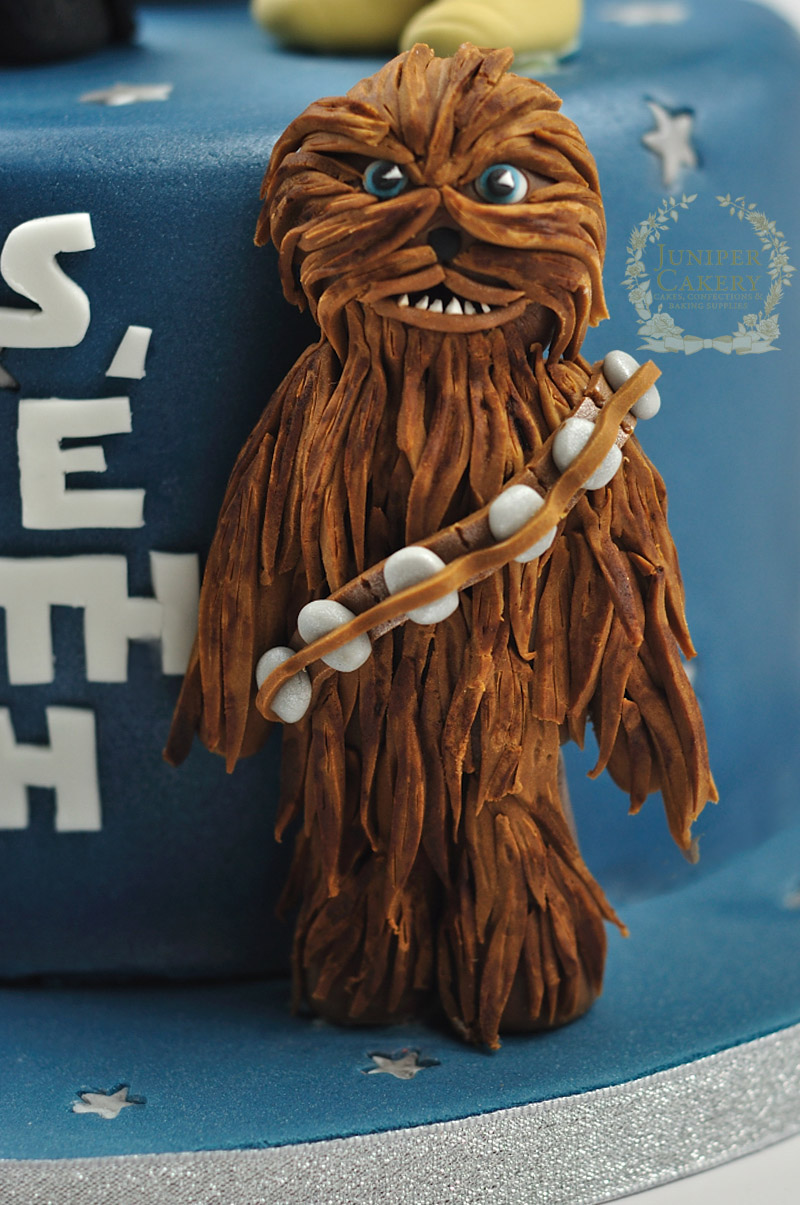
Star Wars cake with modeling chocolate Chewbacca figure by Juniper Cakery

Chewbacca stands just over 4 1/2 inches tall and is made entirely out of a modelling chocolate and fondant / sugarpaste mix. To finish we hand painted Chewy’s fur with a darker brown food colour to add a little depth.

Fun Star Wars cake for a 40th birthday by Juniper Cakery

Finally, the text was (painstakingly) cut out by hand. We created a stencil of the required phrase printed out in the Star Wars font before cutting each piece out of reinforced fondant / gumpaste.


‘Re-launch Week Tutorial No. 5′ : How to make a polar bear cupcake!

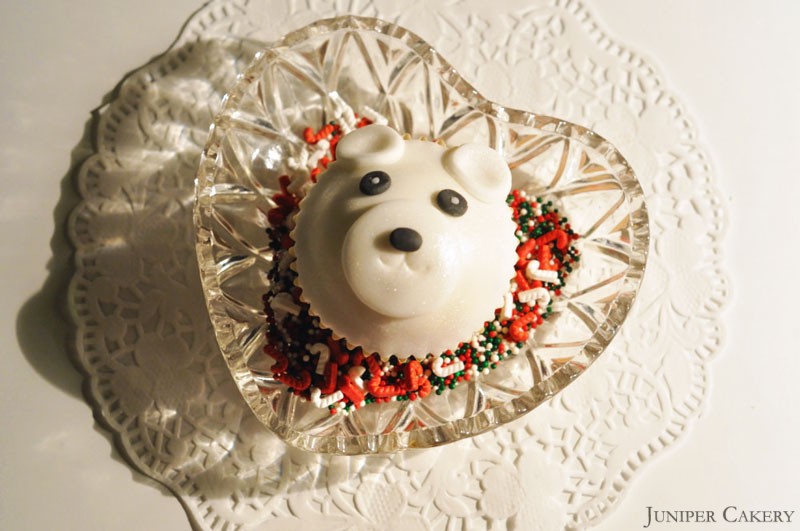
In today’s tutorial we show you how to decorate a cupcake to create an lovely polar bear perfect for the holiday season! This tutorial is fun for adults and kids to both make and gobble up! You can also easily adapt the steps in this tutorial to make other adorable animals; such as making triangular ears, larger eyes and adding whiskers to whip up a little cat.

How to make a polar bear cupcake

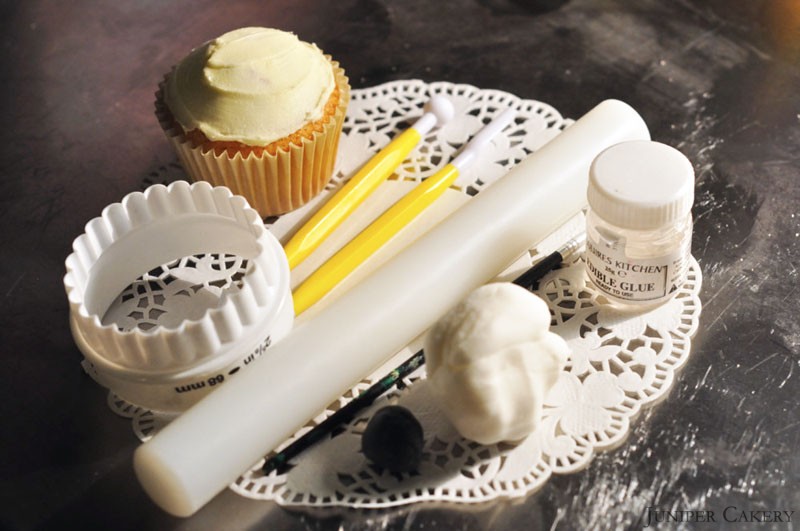
What you need…

A cupcake smoothed with buttercream
White modelling paste
Black modelling paste (or white paste hand coloured with black colouring)
Edible glue
Paintbrush
Fondant rolling pin
Circle pastry cutter set by Tala
PME ball tool
PME scallop and comb tool

How to make a polar bear cupcake

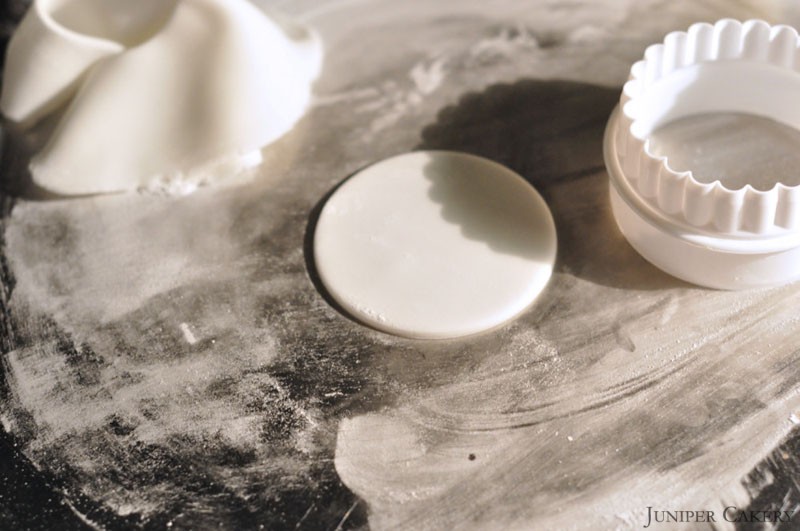
Step one: Roll out some white sugarpaste and cut out a circle with your 68mm cutter.

How to make a polar bear cupcake

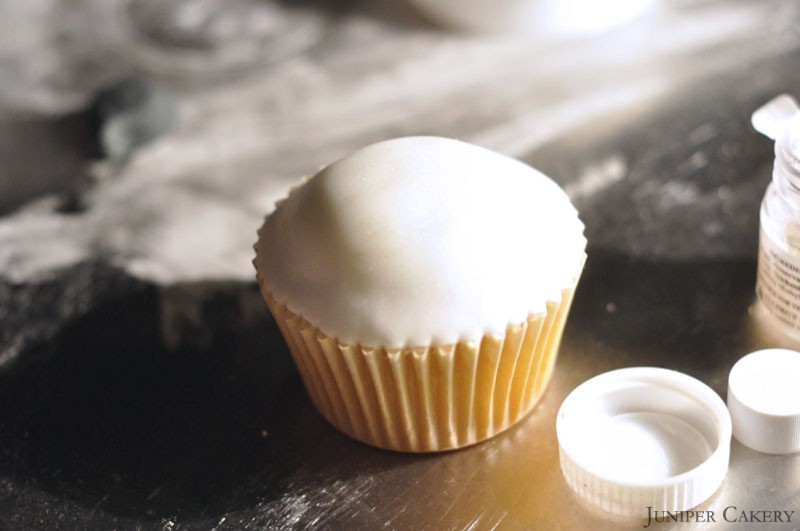
Step two: Take your cupcake smothered with buttercream and smooth your sugarpaste circle atop. Press lightly at the edges until the icing meets the edge. Dust with lustre dust if you would like some festive sparkle.

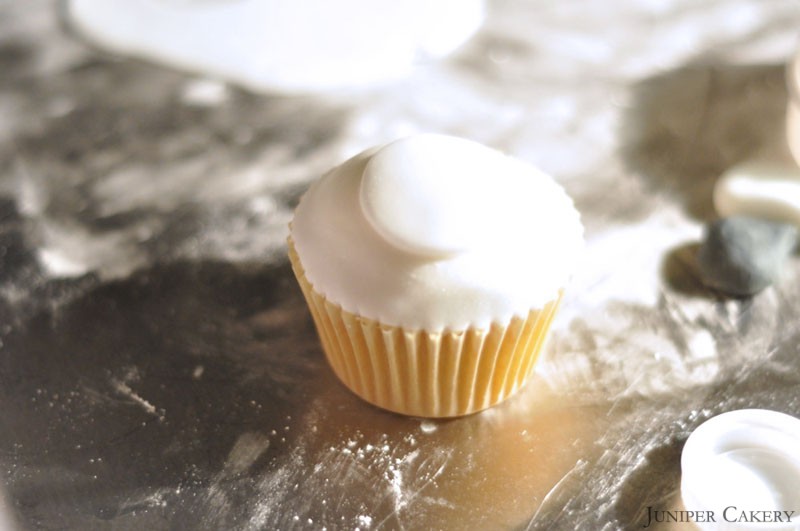
Step three: Cut out a small circle of sugarpaste using a small circle cutter. Using your edible glue attach this just low to the centre of your cupcake. Dust with lustre dust if you wish.

How to make a polar bear cupcake

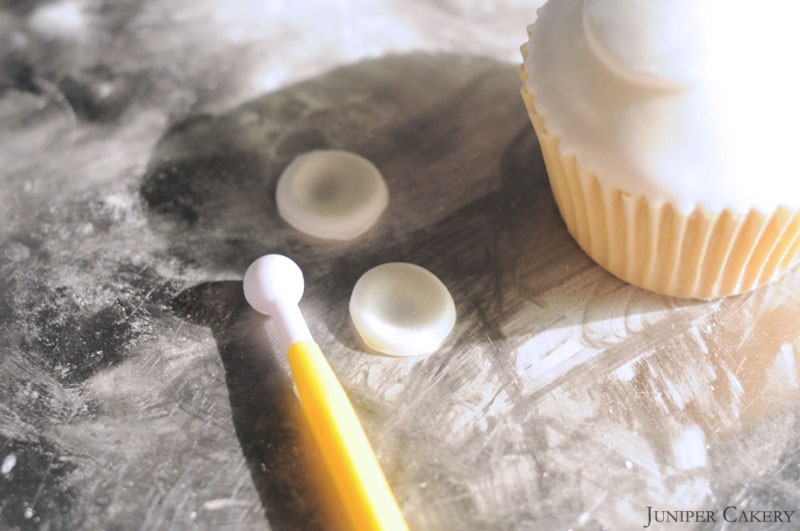
Step four: Cut out two circles from your rolled out white sugarpaste and indent them with your ball tool to make your bear’s ears. Dust with lustre dust.

How to make a polar bear cupcake

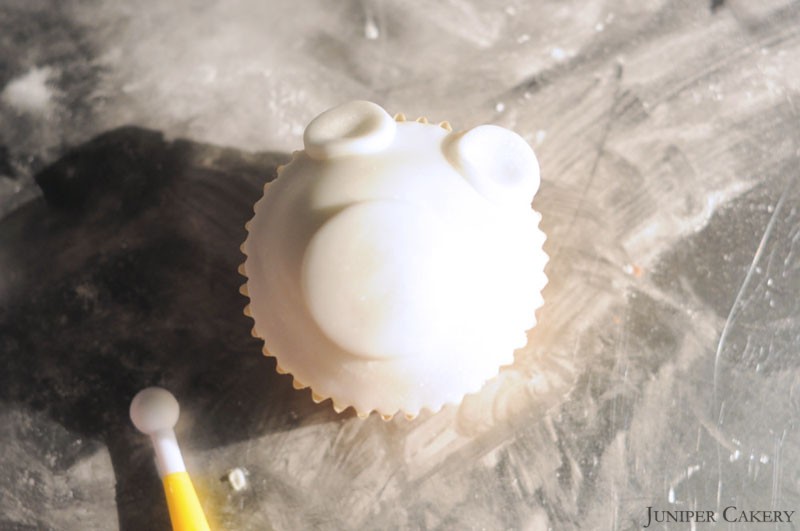
Step five: To affix the ears dab some edible glue atop your cupcake on either side then lightly press the ears on top.

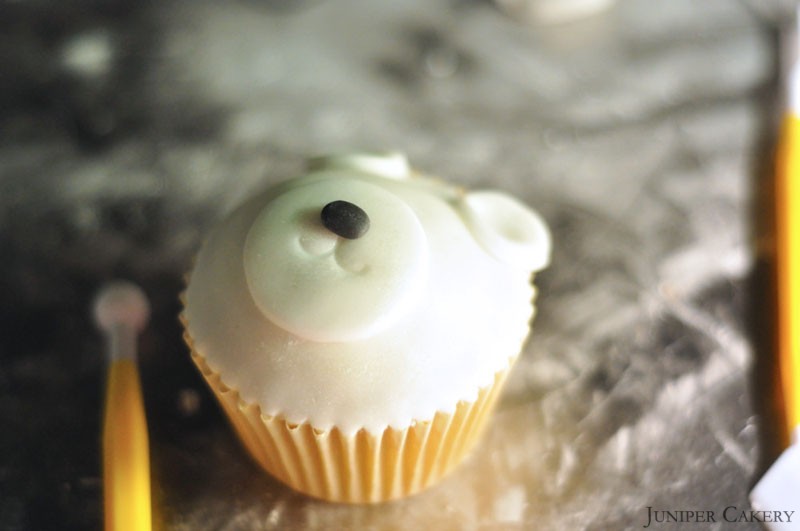
Step six: To make your polar bear smile use the scallop tool to indent both sides of the mouth into the muzzle.

Step seven: Create a tiny nose from some black sugarpaste and glue this above the mouth.

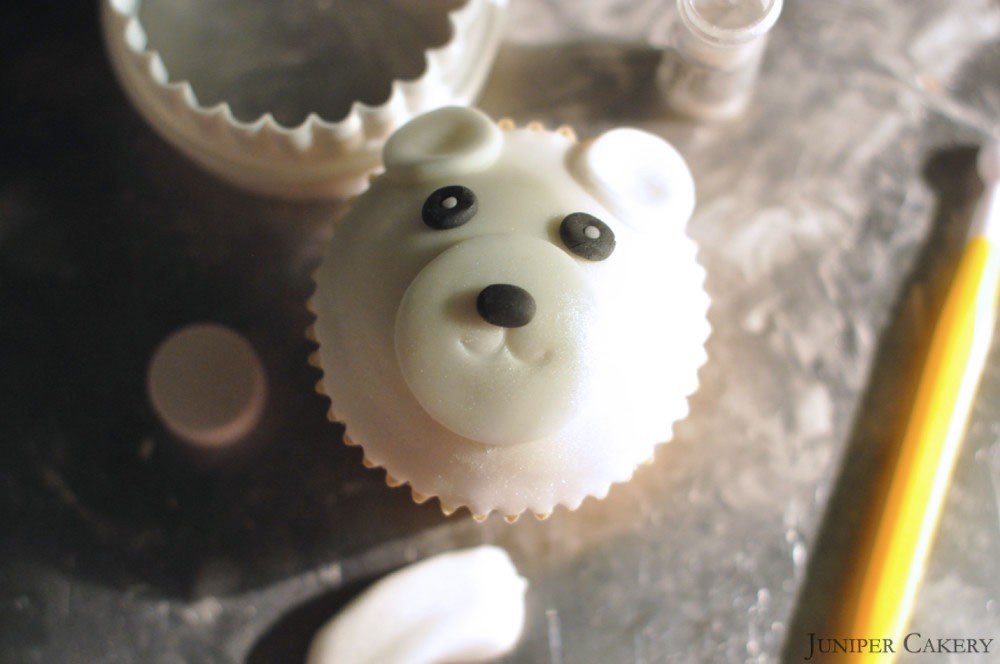
Step eight: Finally to make the eyes make two small black balls and lightly flatten. Glue these above the polar bear’s muzzle. Then create two tiny white balls, indent the blacks with the end of your paintbrush and glue the tiny white balls in.

Hurrah! You now have a lovely little polar bear cupcake to enjoy in the holiday season. Merry Christmas and happy baking from Juniper Cakery!


×