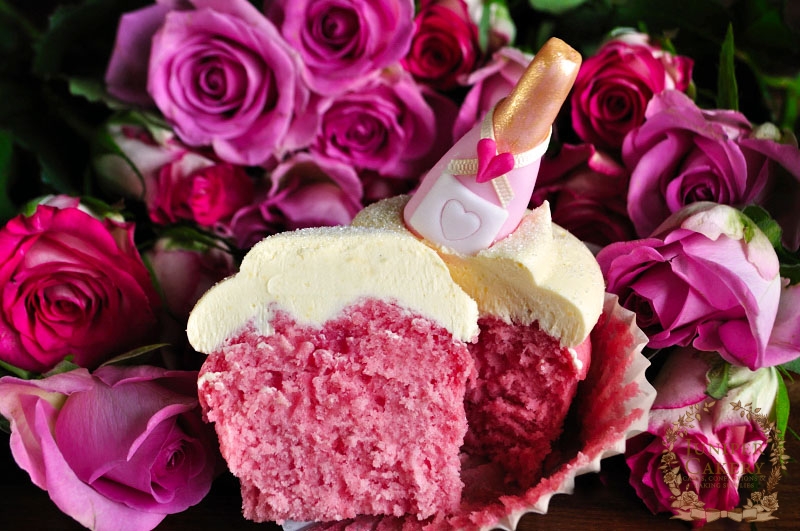
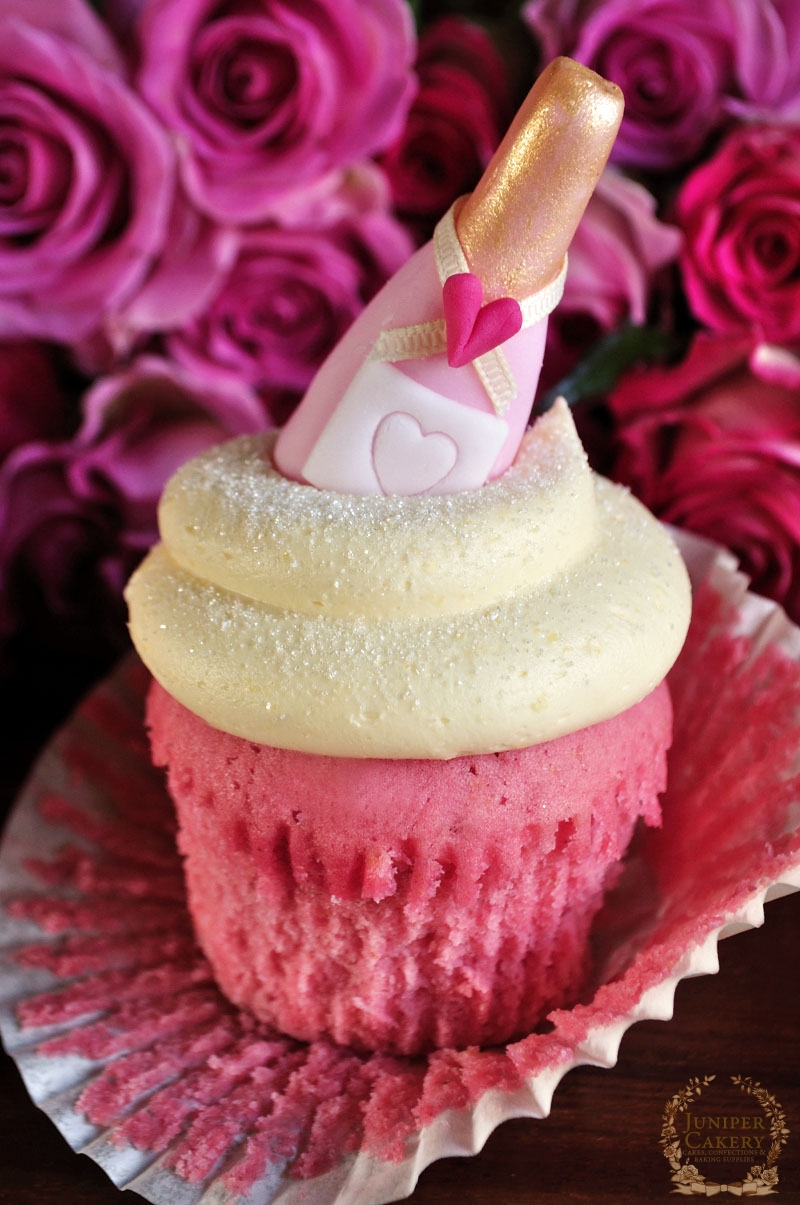
With Valentine’s Day literally just days away here’s a lovely cupcake recipe and tutorial for you to re-create at home for that special someone. We had such fun whipping these up in the Juniper Cakery kitchen and studio as you can imagine; cue lots of champagne, gold hand painting, miniature champagne bottles from fondant and decadent swirls of lovely vanilla buttercream! These adorable little pink champagne bottles nestled into silky vanilla buttercream atop soft rosy champagne infused cupcakes are bound to be a show-stopping hit with loved ones; they definitely were with ours! If you’re feeling extra adventurous why not paint, indent or pipe the recipient’s initials onto each bottle label for a sweet and impressive personal touch.


As an alternative to using real champagne, as this can get costly, in your cupcakes why not try utilising 6-12 drops of champagne essence.
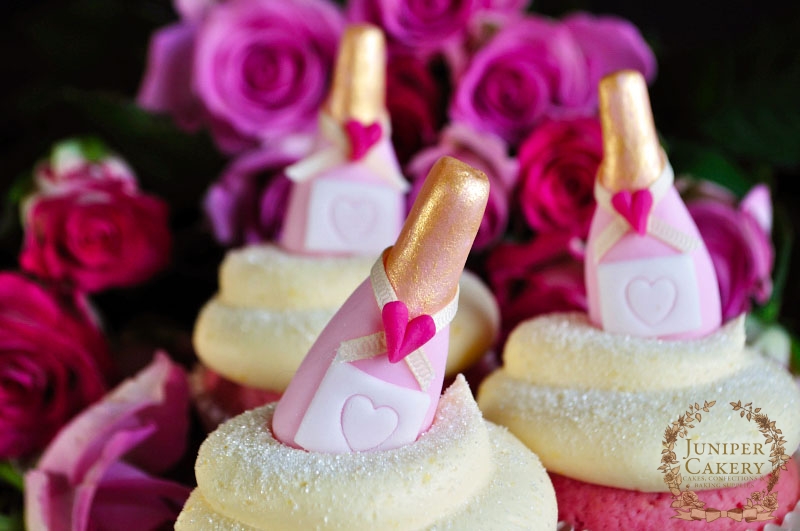
Miniature Fondant Pink Champagne Bottles
You’ll need…
Pink or a dark green fondant / sugarpaste if creating normal champagne bottles
White or ivory fondant / sugarpaste
Raspberry pink fondant / sugarpaste
Edible glue
Paintbrush
Gold lustre dust or edible metallic paint
Vodka
Small plunger cutters (optional)
Blade tool
Candy melts
3mm thin ivory ribbon
Disposable piping bag
Fondant rolling pin
Icing / confectioner’s sugar
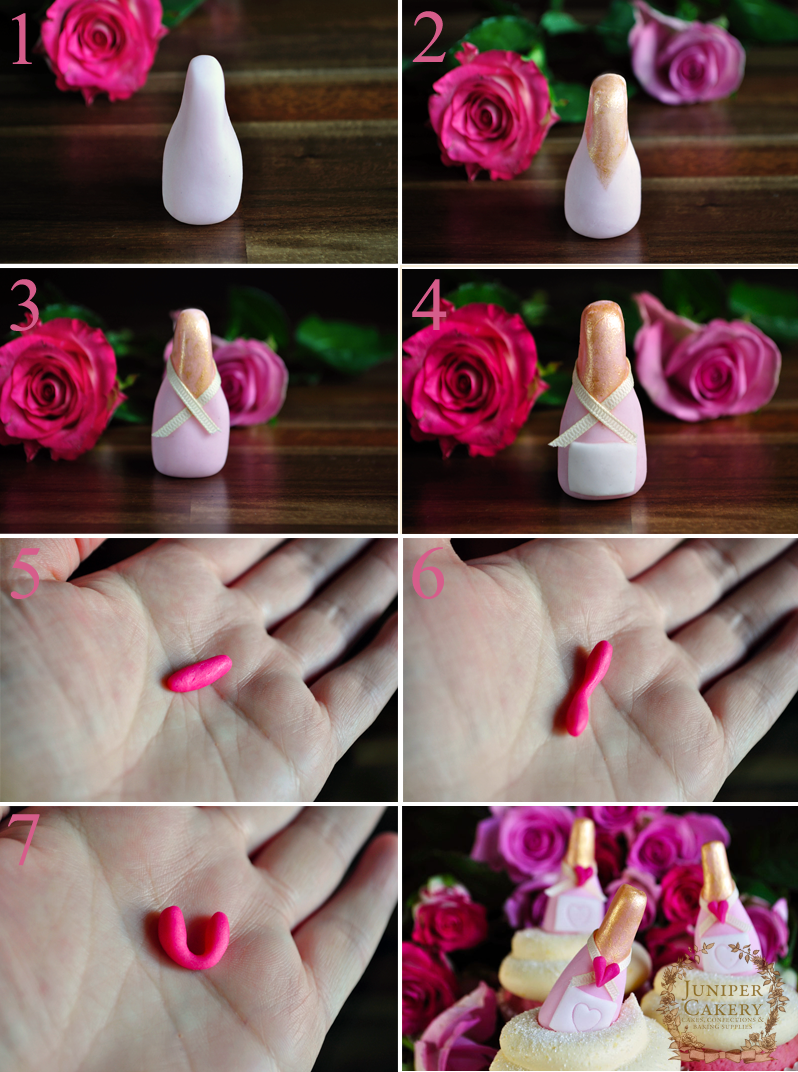
Step one: Take some fondant the colour you wish your bottle to be and roll into a ball then a tapered oblong and shape carefully into a bottle whilst it is stood up on a flat surface.
Step two: With a approximately 2-3 drops of vodka added to some gold lustre dust OR some gold metallic edible paint hand paint the neck of the bottle. This may need a few coats if your bottle if a dark coloured fondant.
Step three: Take some 3mm ivory ribbon and cut to a length that fits around the bottle’s neck and crosses at the front well. Attach with a few tiny dots of melted candy melt (melt these quickly by filling a disposable back with the melts and microwaving until ready before snipping off the end of the piping bag). Hold gently until set.Step four: Roll out some white or ivory fondant / sugarpaste to 2mm thick onto an icing sugar dusted surface
Step four: With the blade tool cut out a rectangular shape an appropriate size for the front of your champagne bottle. Attach using a little edible glue. Imprint or add any detail to the label now.
Step five: Take a small amount of red or pink fondant and roll into a ball then into an oblong shape.
Step six: Shape into a dumb bell or bone-like shape by rolling the middle of the red fondant oblong with a finger.
Step nine: Take the dumb bell / bone shaped red fondant and carefully pinch in half into a heart shape. Smooth the centre over a little.
Step seven: With a little melted candy melt attach the heart where the ribbon crosses and meets at the front of the champagne bottle.
Step eight: Repeat all above steps until you have the desired amount of champagne bottles.
Now all that is left to do is to pipe your cupcakes generously with vanilla buttercream, add any decor you wish (edible glitter, sprinkles, sugar pearls etc) and nestle your tiny champagne bottles atop at a jaunty angle!
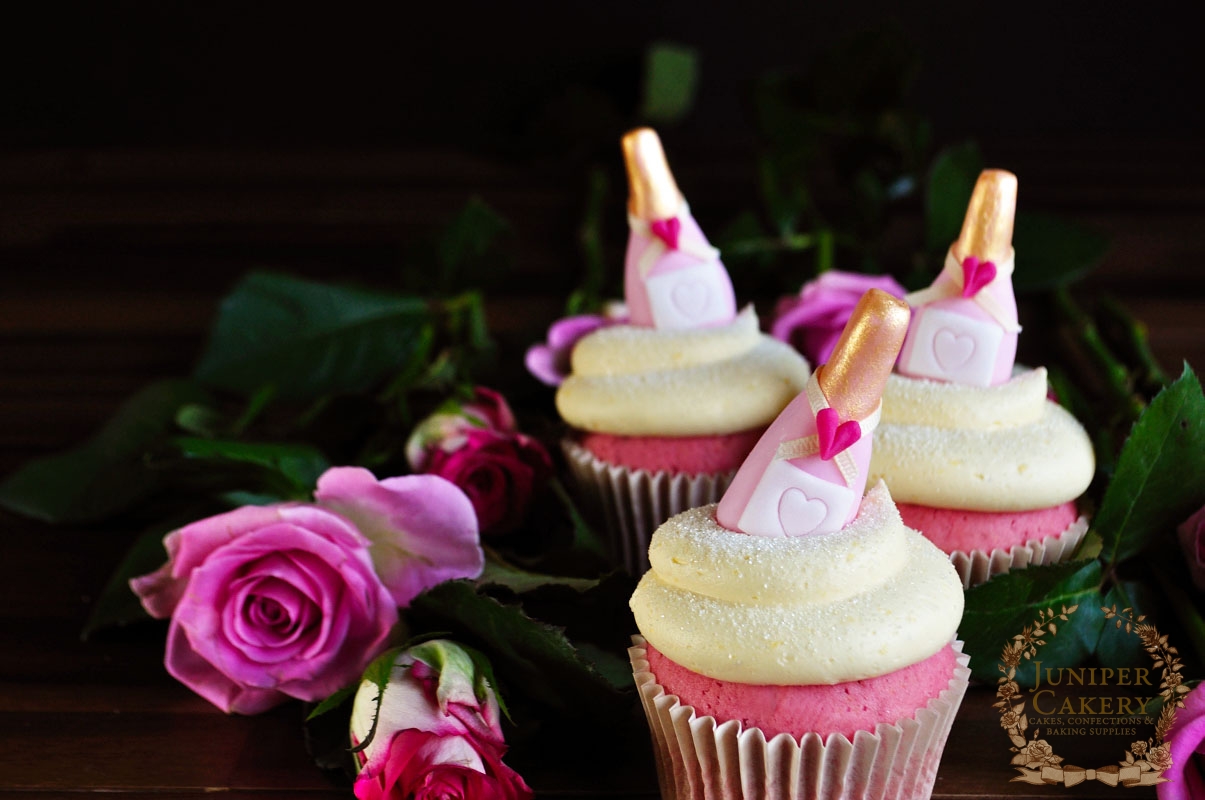
After all your hard work you should now be left with an array of delicious and adorable cupcakes waiting to steal the heart of all who cast their eyes upon them. If you’re making these for yourself, however, we really wouldn’t blame you at all!

