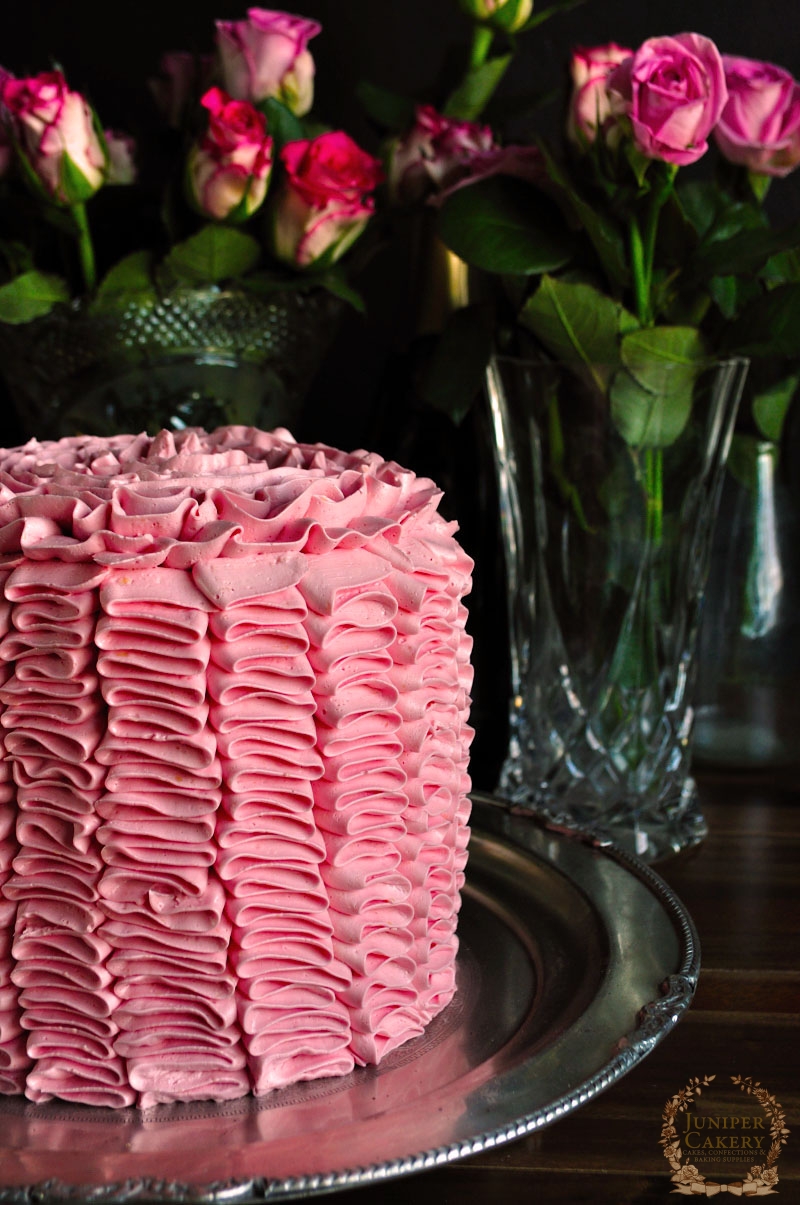
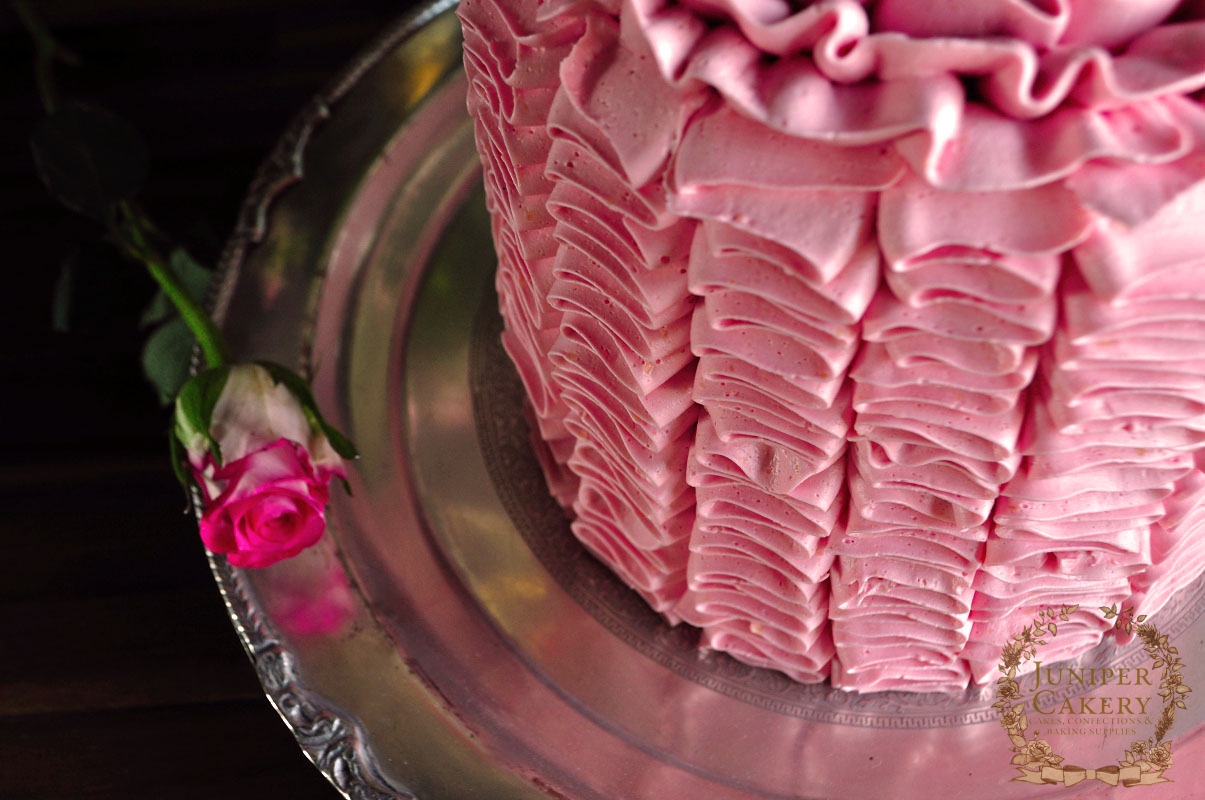
Pink Raspberry Cupcakes Recipe!

Fruity raspberry cupcakes are always popular especially when the cold winter months become warmer and brighter. They’re the perfect addition to any fun picnic, garden tea party or after work treat! We love adding little twists to this recipe by adding in mango, passion fruit, peach; baking champagne or lemon into the cake or by the playful addition of popping candy or sherbet into the silky smooth buttercream (always great for those who enjoy a tangy taste). Why not follow our pink raspberry cupcakes recipe below for your next event!
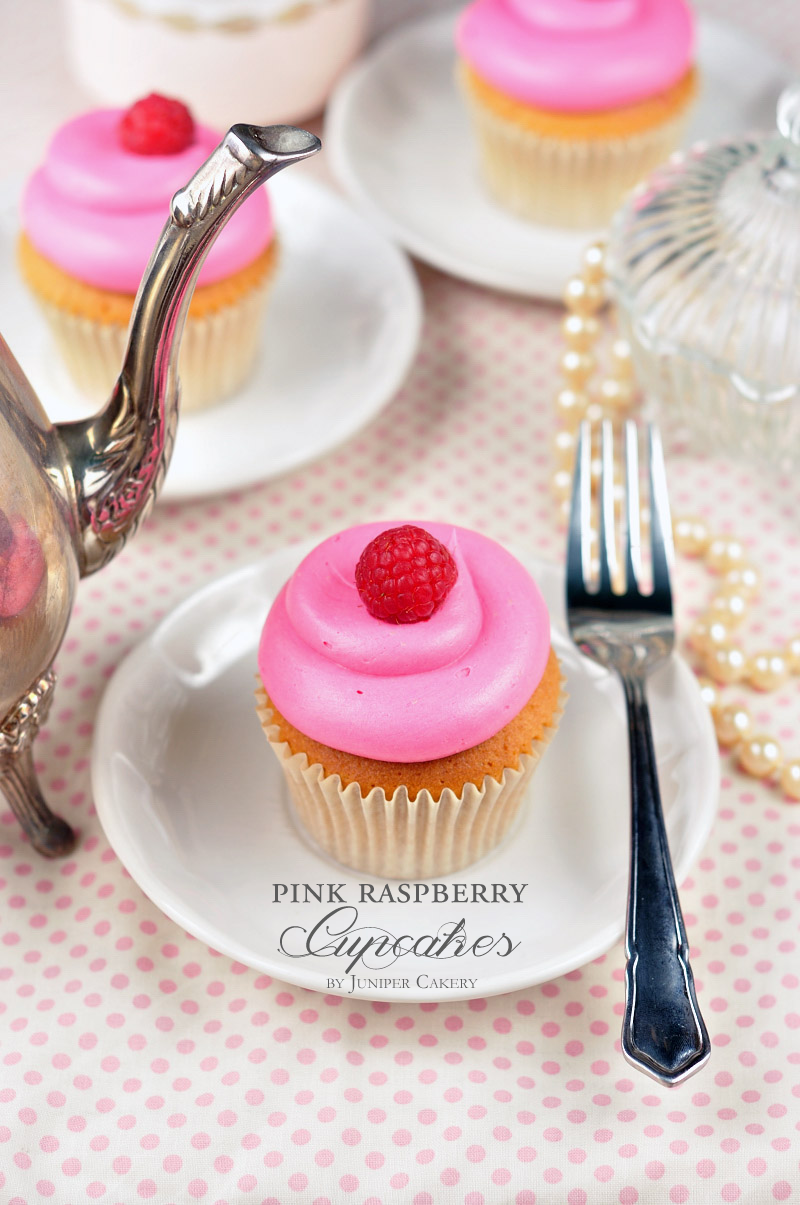
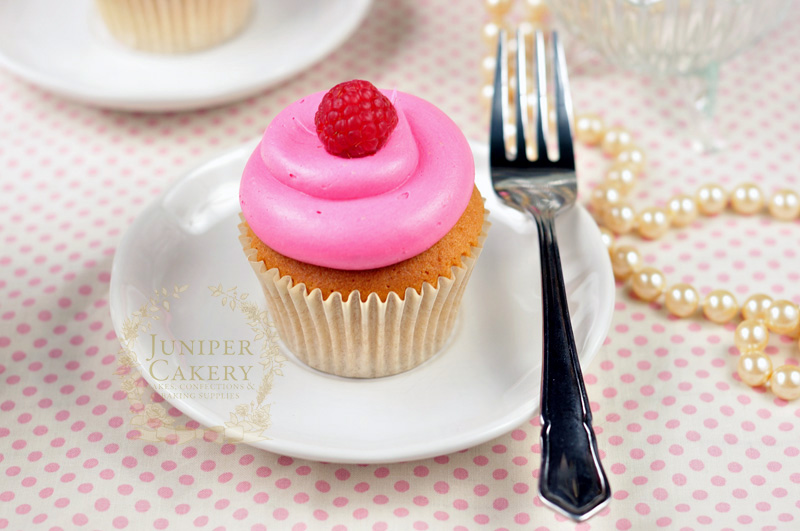
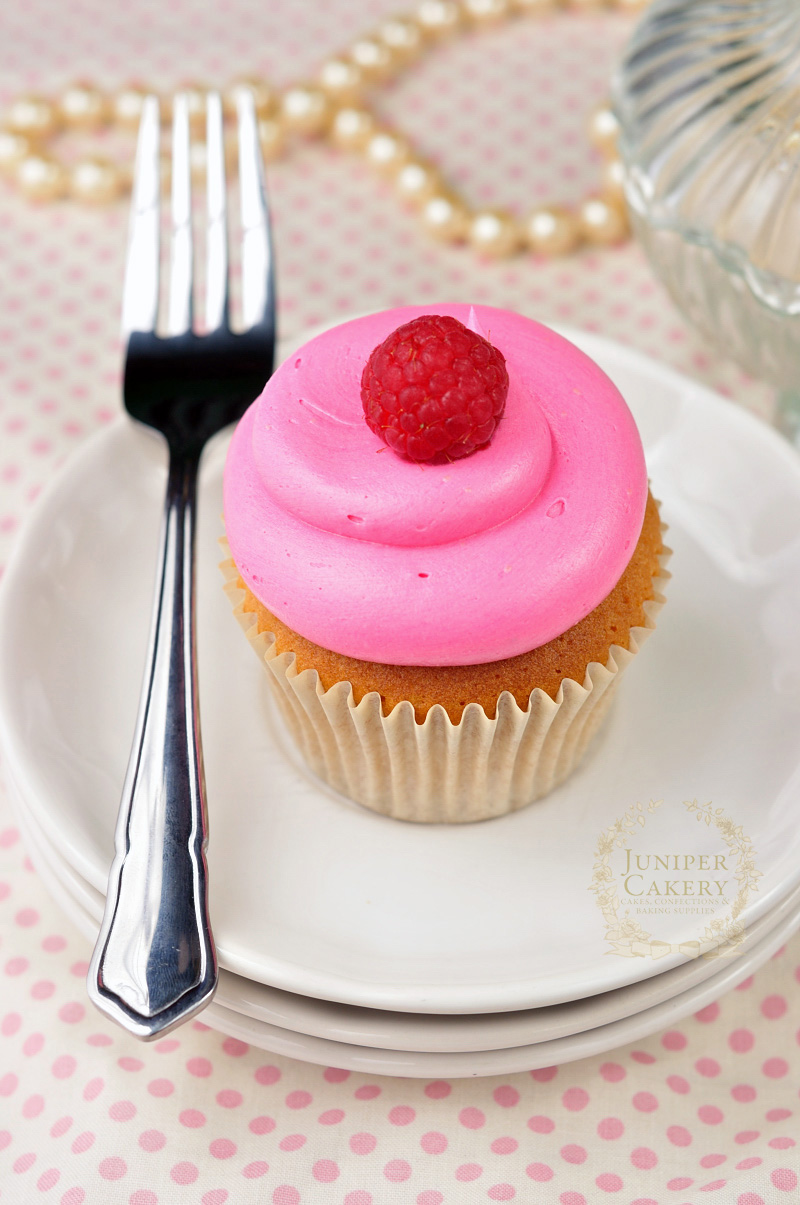
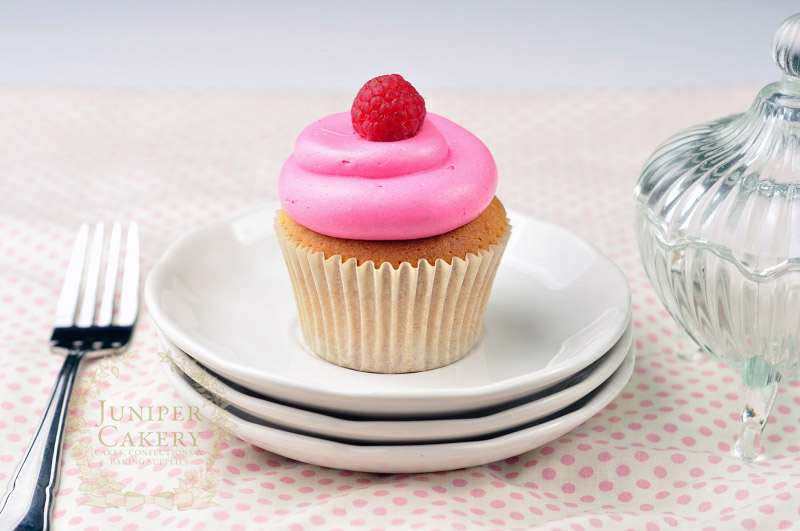
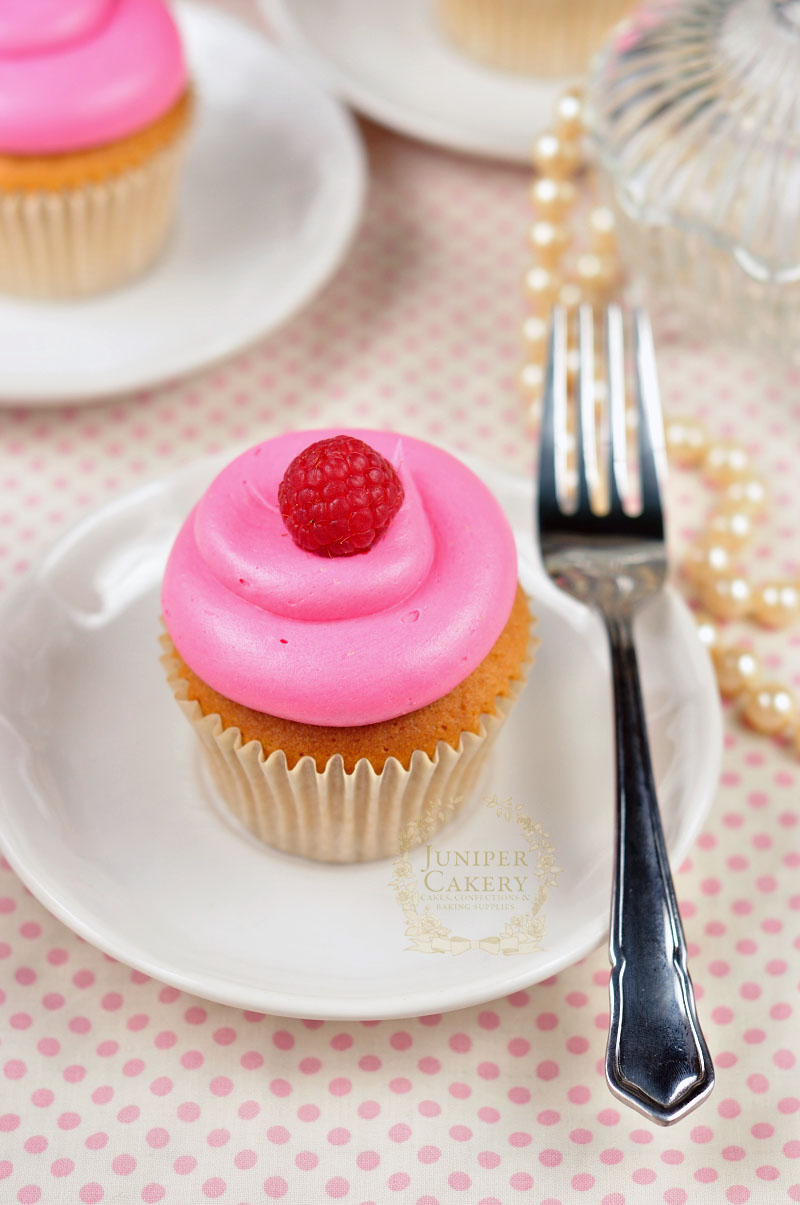
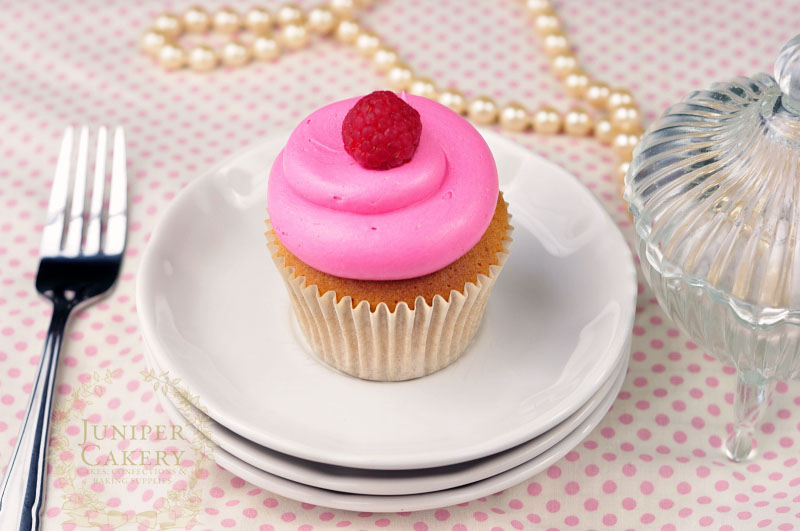
Pink raspberry cupcakes by Juniper Cakery

Raspberry jam filled cupcake by Juniper Cakery

These simple cupcakes are wonderfully perfect for summer get-togethers, fun parties or as a sweet thank you gift for someone special. Personalise each one with thoughtful messages or hand-made fondant toppers for an extra customised feel.

Personally, we love piping our raspberry cupcakes in a simple yet generous swirl of frosting or in a pretty buttercream rose finished with a fondant rose leaf. Other rather fabulous ways to decorate these little gems is to adorn the tops with fresh sugar-coated raspberries, raspberry coulis, sprinkles, white chocolate curls, sugar pearls, sugar flowers or gorgeous edible petals!
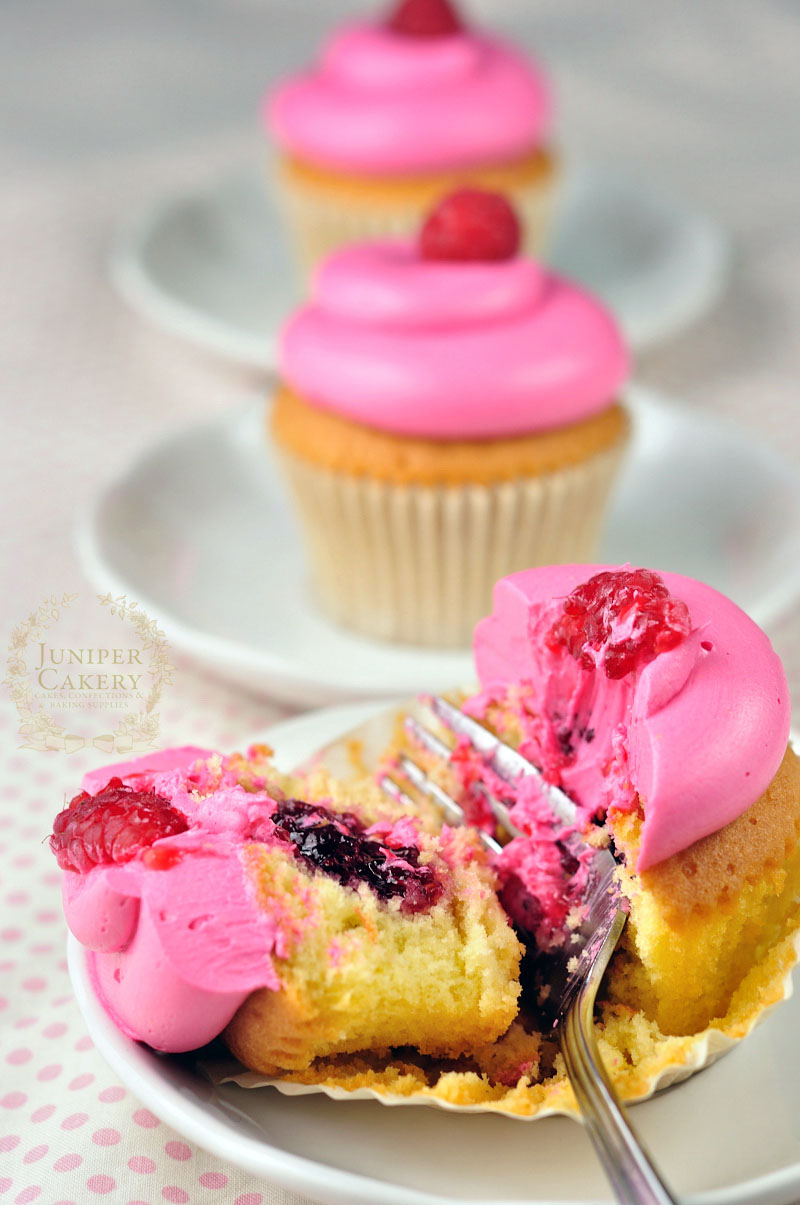
Raspberry cupcakes in a row by Juniper Cakery

Pink Raspberry Cupcakes
Serves 12
Recipe for vanilla cupcakes filled with fresh home made raspberry preserve and swirled with pink raspberry buttercream. Makes approximately 12 cupcakes!
Write a review
Print
Prep Time
20 min
Cook Time
40 min
Total Time
1 hr
Prep Time
20 min
Cook Time
40 min
Total Time
1 hr
Ingredients
  1. FOR THE CUPCAKES... 226g self-raising flour
  2. 226g butter
  3. 226g granulated sugar
  4. 226g eggs (approximately 4 medium eggs)
  5. 1 bourbon vanilla pod
  6. FOR THE RASPBERRY PRESERVE
  7. 150g Raspberries
  8. 100g Granulated sugar
  9. 1 tablespoon lemon juice
  10. FOR THE PINK RASPBERRY BUTTERCREAM
  11. 250g butter
  12. 250g-300g icing / confectioner's sugar
  13. Pink gel paste food colour
  14. 6-12 drops of raspberry essence
  15. 2 tablespoons warm water
Instructions
  1. CUPCAKES... Pre-heat your oven to Gas Mark 3/325F/170C.
  2. Cream your butter in a mixer then add the caster sugar.
  3. Add in the flour along with half of the eggs for around one minute.
  4. Add the seeds inside your vanilla pod.
  5. Once half of the eggs are combined add the remaining and mix for about 5 minutes.
  6. Separate the batter into each cupcake case until 2/3 full and place on the top shelf. Bake for around 20/25 minutes.
  7. FOR THE PRESERVE... In a saucepan add all of your ingredients and simmer in medium heat.
  8. Keep stirring for around 10 minutes or until thick in consistency.
  9. Pour into clean airtight jars and leave to cool before using!
  10. FOR THE RASPBERRY BUTTERCREAM...
  11. Cut your butter into small cubes and cream your butter until soft. Gradually add icing sugar until a good consistency.
  12. Add the raspberry essence and a little pink food colour. Mix well.
http://junipercakery.co.uk/blog/
Gorgeous pink raspberry cupcake by Juniper Cakery

Pink raspberry cupcake by Juniper Cakery

Must try this raspberry cupcake by Juniper Cakery

Raspberry Cupcake by Juniper Cakery

Why not add some extra indulgence just for the grown-ups to your batch of pink raspberry cupcakes with a splash of King’s Ginger, Taittinger champagne or Raspberry Chambord in your preserve and buttercream for a fabulously boozy treat! We love the idea of a sherbet lemon cupcake that’s been infused with some zesty King’s ginger liqueur, filled with Charmbord and fresh raspberry confiture and swirled with fruity raspberry buttercream! 

Pretty raspberry cupcake by Juniper Cakery


All photographs, designs (including all baked and decorated goods), tutorials and written content belong to and are copyright to Juniper Cakery unless otherwise stated. Please do not copy! Copying and re-publishing our work without our permission or claiming it as your own work could lead to legal action from us. If you wish to feature our work do contact us for permission.
Kangaroo Sprinkle Party Cake!

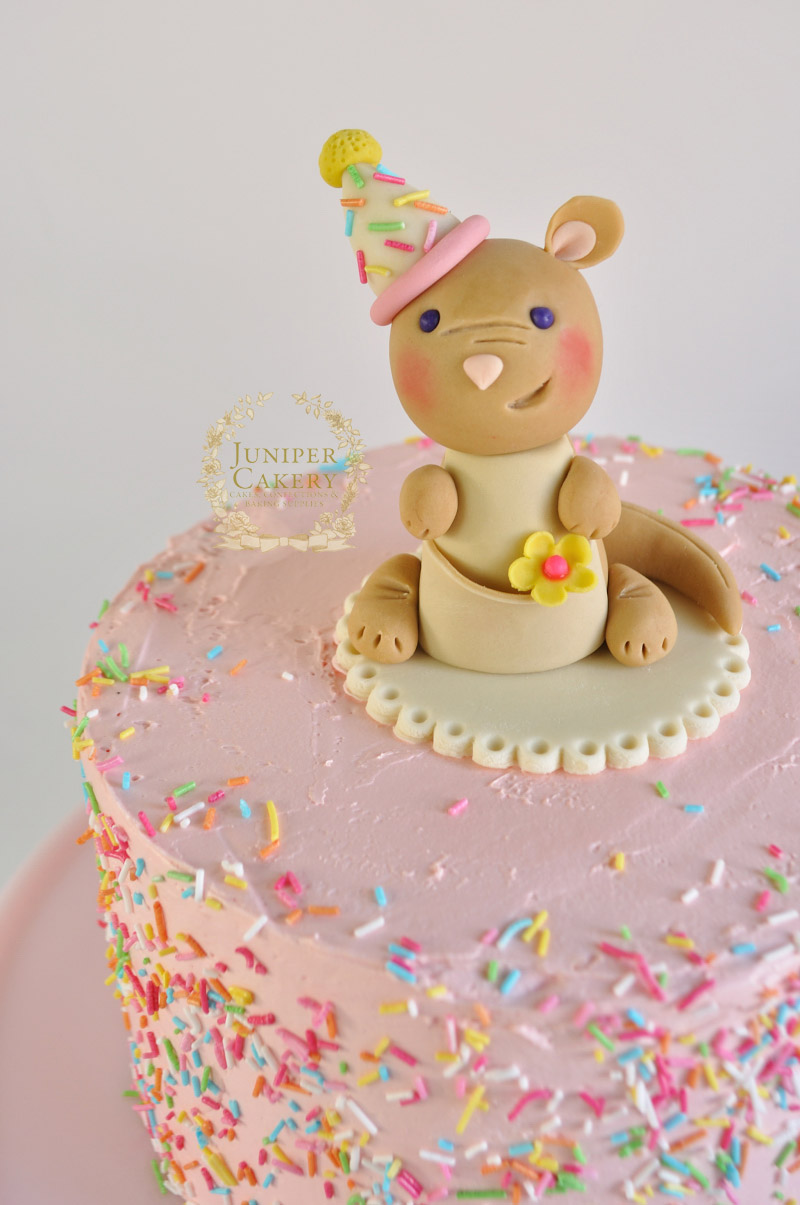
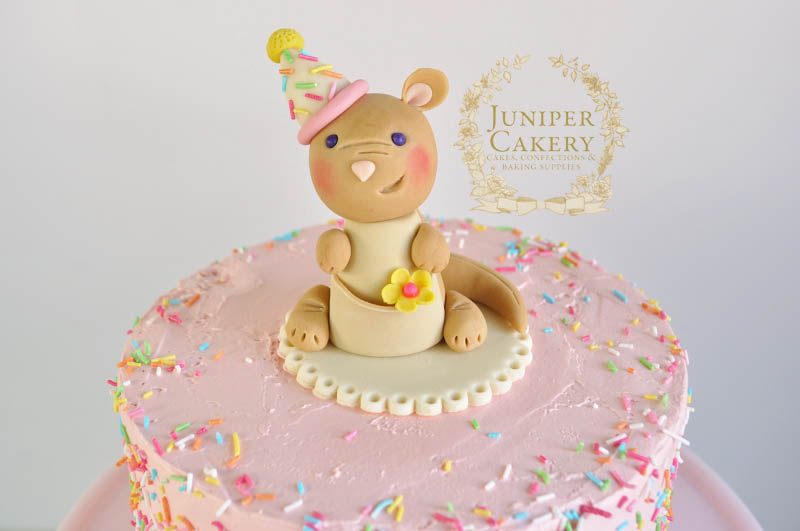
Yesterday our friend Tammie flew over from Australia to visit everyone and, of course, we saw it as a great ‘hoppertunity’ to create this adorable kangaroo party cake! We entertained ideas from Moomins to luggage cakes before settling on having the cake topper be a hoppy little ‘roo. 

fondant kangaroo by Juniper Cakery

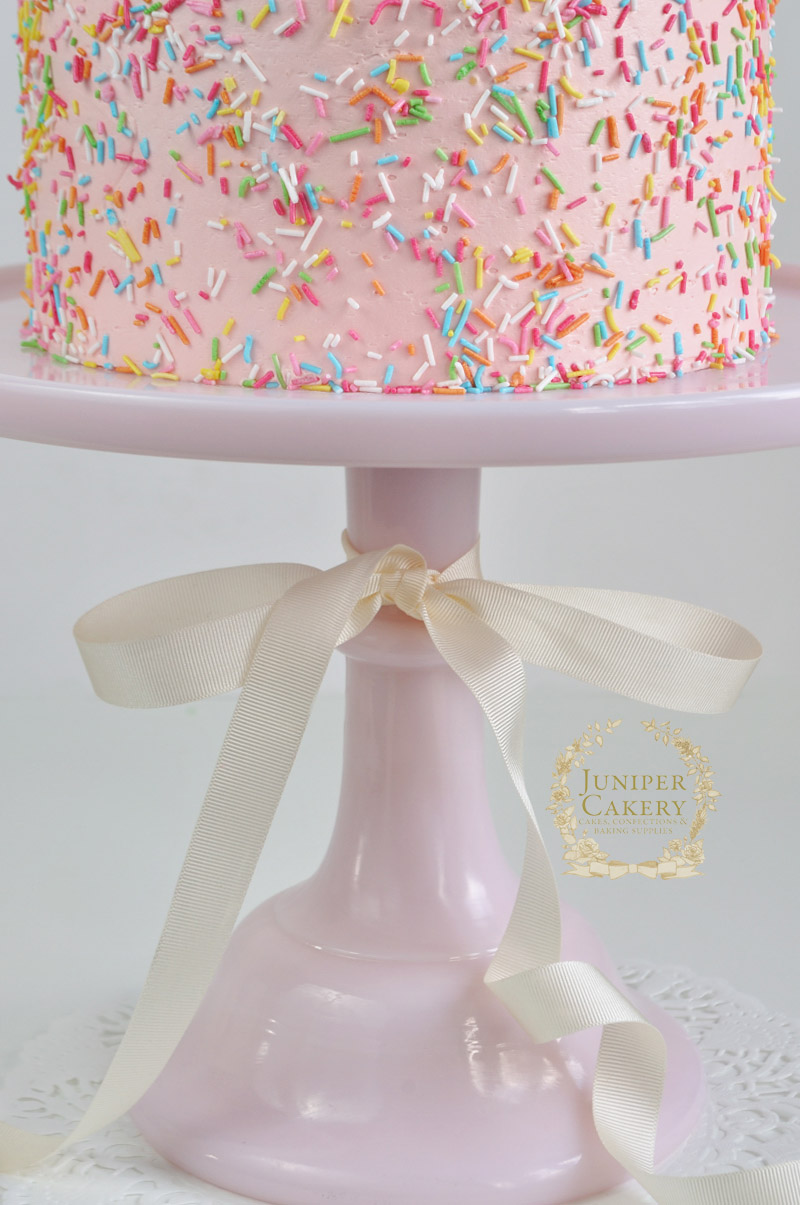
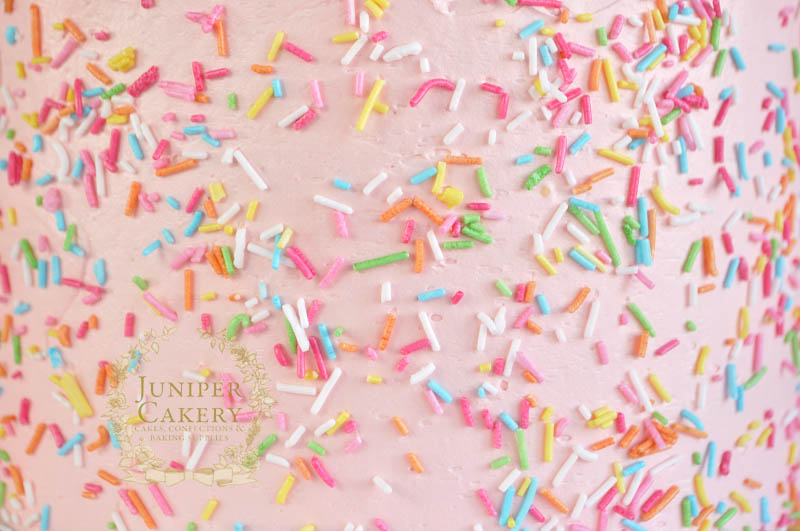
The cake itself is a lovely pink lemonade flavour; perfect for spring! Inside are layers of natural lemon extract infused cake filled with a generous amount of home made raspberry jam. We then smothered the cake in raspberry buttercream and added fun rainbow sprinkles!

Rainbow sprinkles on a pink cake by Juniper Cakery

Rainbow sprinkles on a pink buttercream cake by Juniper Cakery

Pink rainbow party cake with kangaroo figure by Juniper Cakery

This cake was also a belated birthday offering for Tammie so we whipped it up with a little birthday party theme too. We popped a colourful little party hat atop of our fondant ‘roo as well as a brightly coloured blossom nestled in her pouch.

Kangaroo cake by Juniper Cakery


All photographs, designs (including all baked and decorated goods), tutorials and written content belong to and are copyright to Juniper Cakery unless otherwise stated. Please do not copy! Copying and re-publishing our work without our permission or claiming it as your own work could lead to legal action from us. If you wish to feature our work do contact us for permission.
Roses, Cosmetics and Jewels Birthday Cake!

Here’s a lovely and bright cosmetics bag cake with a vintage twist that we created for a friend’s daughter! We were asked to design and make a polka dot make-up bag cake fit for an 18th birthday with a slight vintage feel, a tassel and a fresh colour palette. We were, otherwise, given creative license so with the previous requests we settled upon a cream, turquoise, gold and coral pink colour scheme paired with hand made roses, pearl jewellery, a quilted and sugar pearl studded board and vintage inspired cosmetic pieces. 

Cosmetics and Jewels Cake by Juniper Cakery

Cosmetics and Jewels Cake by Juniper Cakery

Above is a close-up of some of the details of the cake including the gold fondant tassel, pearl necklace (complete with an ornate clasp), nail polish bottle, pearl ring, brooch, small parfum bottle and a lipstick inspired by the Estée Lauder Signature lip-colour in ‘Portofino Coral’.

Cosmetics and Jewels Cake by Juniper Cakery

The cake itself is a lovely soft and moist chocolate fudge cake with silky smooth chocolate fudge buttercream frosting. It’s then smothered with a milk chocolate ganache before being iced with fondant and decorated.

Cosmetics and Jewels Cake by Juniper Cakery

We loved creating the vintage inspired jewels, make-up items and sugar roses as well as hand-painting aspects of the cake in gold! They all help to lend a more grown-up and elegant feel to the cake whilst combined with a bright and fun colour palette.

Cosmetics and Jewels Cake by Juniper Cakery

Cosmetics and Jewels Cake by Juniper Cakery

Above is a photograph of the side of the cake capturing the gold fondant tassel and pearl necklace. We added stitching detail, a lovely pearlescent sheen to the fondant pearls, and a  glowing hand-painted gold shimmer, 

Cosmetics and Jewels Cake by Juniper Cakery

Cosmetics and Jewels Cake by Juniper Cakery

This cake was such fun to create! We loved adding the sweet yet fun little touches of jewellery, old fashioned style cosmetics, a personalised name plaque, etc. 


All photographs, designs (including all baked and decorated goods), tutorials and written content belong to and are copyright to Juniper Cakery unless otherwise stated. Please do not copy! Copying and re-publishing our work without our permission or claiming it as your own work could lead to legal action from us. If you wish to feature our work do contact us for permission.
Valentine Tutorial: Pink Champagne Cupcakes!

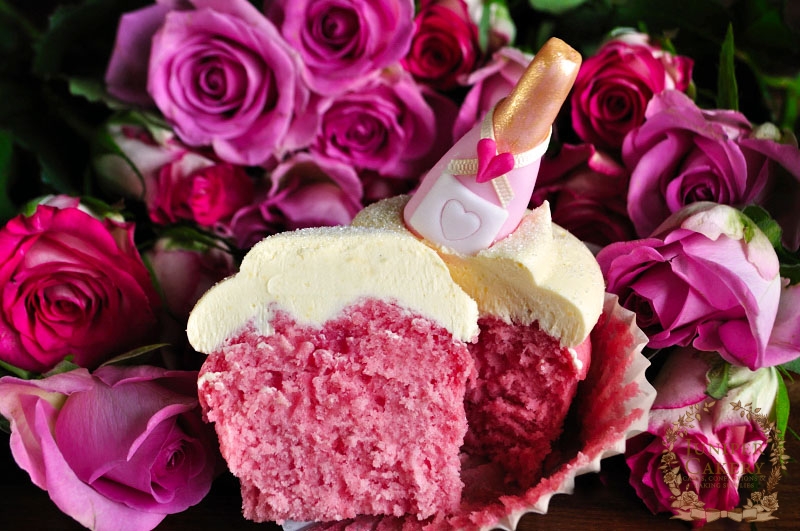
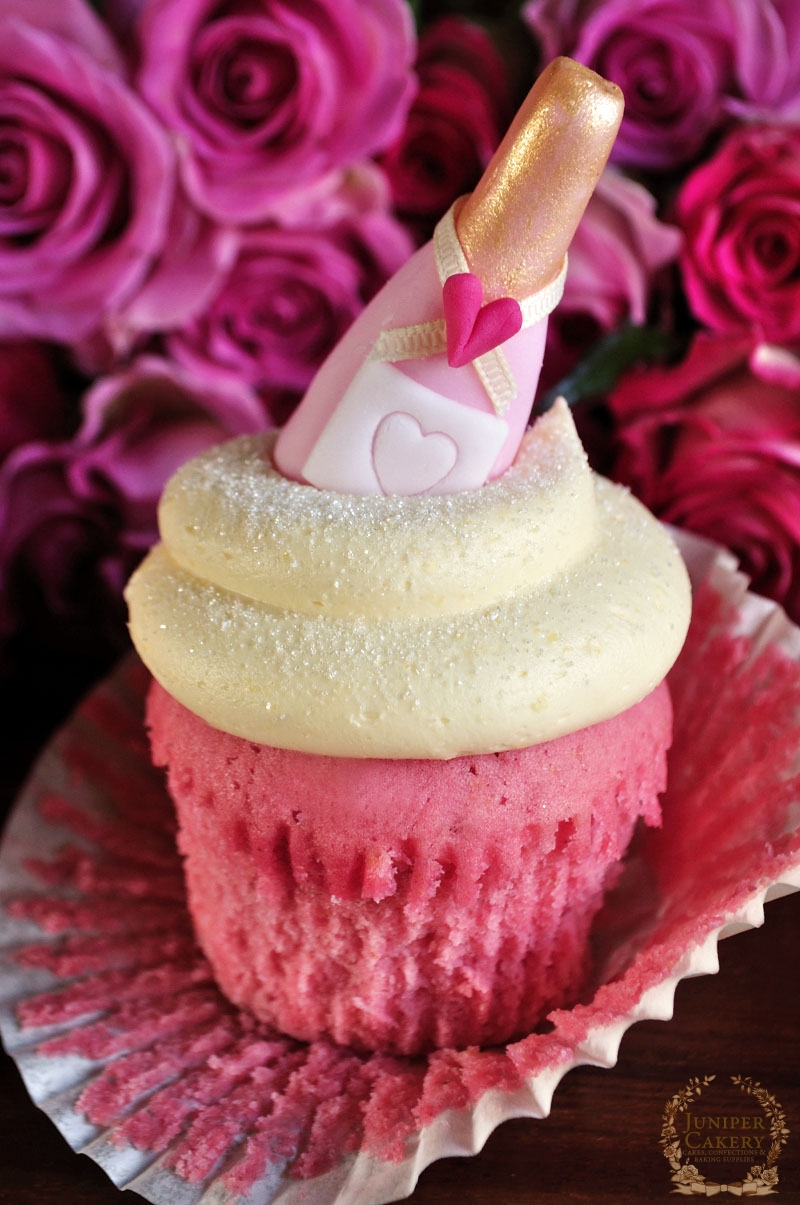
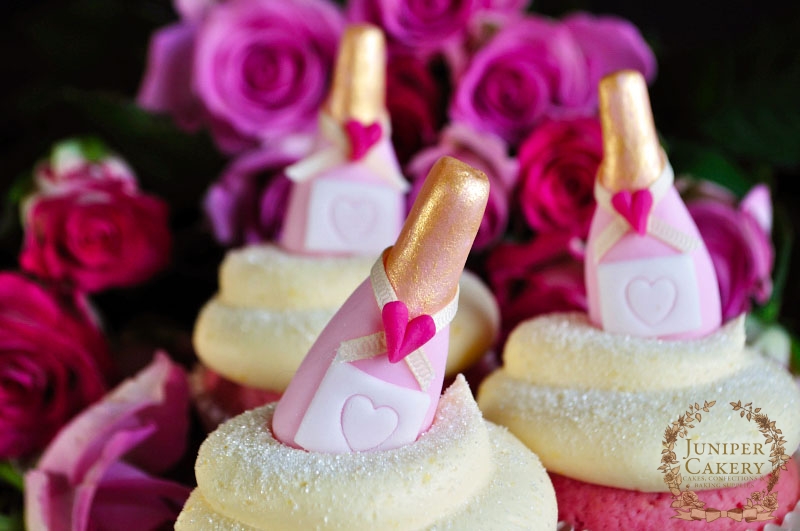
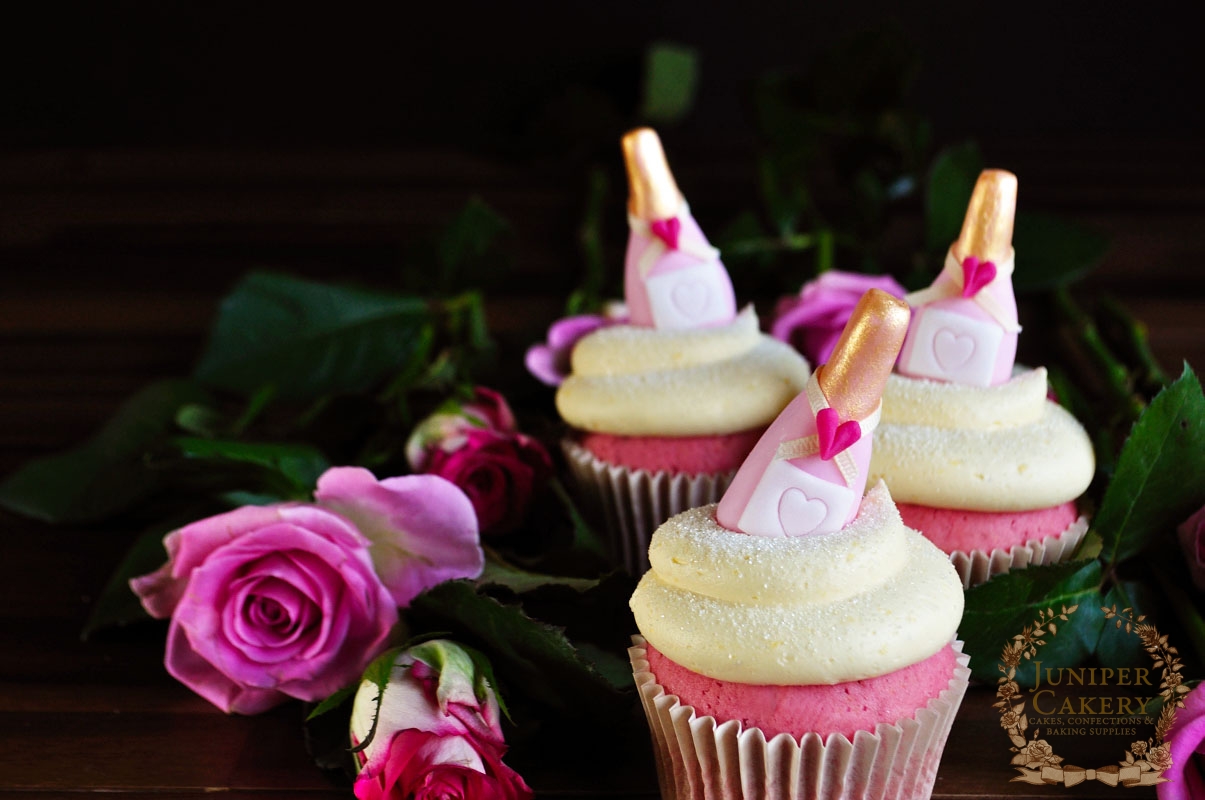
With Valentine’s Day literally just days away here’s a lovely cupcake recipe and tutorial for you to re-create at home for that special someone. We had such fun whipping these up in the Juniper Cakery kitchen and studio as you can imagine; cue lots of champagne, gold hand painting, miniature champagne bottles from fondant and decadent swirls of lovely vanilla buttercream! These adorable little pink champagne bottles nestled into silky vanilla buttercream atop soft rosy champagne infused cupcakes are bound to be a show-stopping hit with loved ones; they definitely were with ours! If you’re feeling extra adventurous why not paint, indent or pipe the recipient’s initials onto each bottle label for a sweet and impressive personal touch.

Pink Champagne Cupcakes by Juniper Cakery

Pink Champagne Cupcakes by Juniper Cakery

Pink Champagne Cupcakes
Serves 12
Wonderfully indulgent and lovely pink cupcakes with added champagne.
Write a review
Print
Prep Time
35 min
Cook Time
25 min
Total Time
1 hr
Prep Time
35 min
Cook Time
25 min
Total Time
1 hr
Ingredients
  1. 250g Self-raising flour
  2. 226g Butter or low fat magarine
  3. 226g Caster sugar
  4. 226g Egg whites
  5. Pink gel paste food colour
  6. 300ml Champagne (either pink or normal)
Instructions
  1. Pre-heat the oven to Gas Mark 3 / 325 F / 170 C. Line a cupcake tray with 12 cupcakes cases.
  2. In a saucepan add the champagne and bring to boil. Leave to simmer until the liquid has reduced to half of the amount. Pour into a clean cup and set aside.
  3. In a bowl cream together the butter/low fat margarine with the caster sugar until pale in colour and creamy.
  4. Add in the egg whites (using only egg whites helps the pink food colour achieve a lovely rose hue instead of becoming a yellow-toned pink)
  5. Once the eggs are mixed in add the flour, reduced champagne and a little pink food colouring and mix until incorporated.
  6. Separately the mix equally between the 12 cupcake cases and bake on the middle shelf of your oven for 15-25 minutes.
Notes
  1. If using low fat margarine please check the packet to see if it is suitable for baking with!
http://junipercakery.co.uk/blog/
As an alternative to using real champagne, as this can get costly, in your cupcakes why not try utilising 6-12 drops of champagne essence.

Pink Champagne Cupcakes by Juniper Cakery

Pink Champagne Cupcakes by Juniper Cakery

Bourbon Vanilla Buttercream
Serves 12
Silky and creamy vanilla pod infused buttercream
Write a review
Print
Prep Time
15 min
Total Time
15 min
Prep Time
15 min
Total Time
15 min
Ingredients
  1. 250g Butter
  2. 300g Icing or confectioner's sugar
  3. 1 Tablespoon room temperature water
  4. 1 Bourbon vanilla pod
Instructions
  1. Dice the butter into smaller pieces.
  2. In a bowl with a stand up mixer cream the butter.
  3. Gradually add in the icing / confectioner's sugar until it is the sweetness you like. For good buttercream you should be able to taste equal amounts of butter AND sugar.
  4. Add in the seeds of the bourbon vanilla pod and mix.
http://junipercakery.co.uk/blog/
 Pink Champagne Cupcakes by Juniper Cakery

Miniature Fondant Pink Champagne Bottles

You’ll need…

Pink or a dark green fondant / sugarpaste if creating normal champagne bottles
White or ivory fondant / sugarpaste
Raspberry pink fondant / sugarpaste
Edible glue
Paintbrush
Gold lustre dust or edible metallic paint
Vodka
Small plunger cutters (optional)
Blade tool
Candy melts
3mm thin ivory ribbon
Disposable piping bag
Fondant rolling pin
Icing / confectioner’s sugar

Pink Champagne Cupcakes by Juniper Cakery

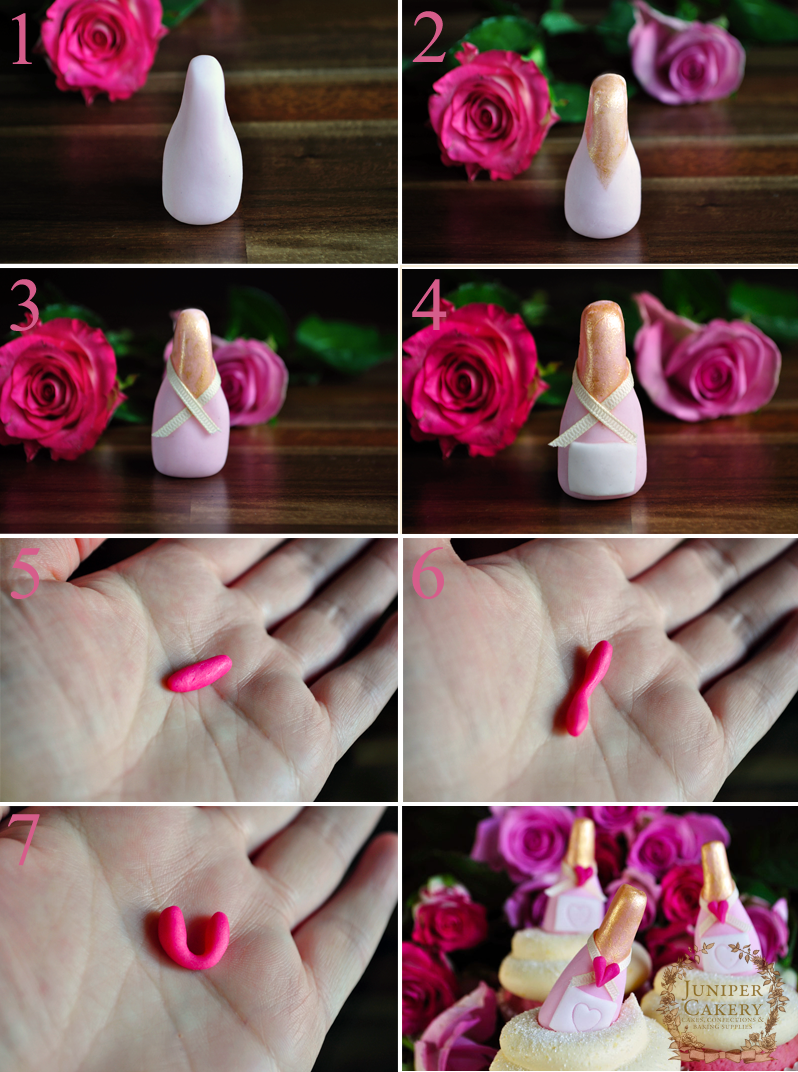
Step one: Take some fondant the colour you wish your bottle to be and roll into a ball then a tapered oblong and shape carefully into a bottle whilst it is stood up on a flat surface. 

Step two: With a approximately 2-3 drops of vodka added to some gold lustre dust  OR some gold metallic edible paint hand paint the neck of the bottle. This may need a few coats if your bottle if a dark coloured fondant.

Step three: Take some 3mm ivory ribbon and cut to a length that fits around the bottle’s neck and crosses at the front well. Attach with a few tiny dots of melted candy melt (melt these quickly by filling a disposable back with the melts and microwaving until ready before snipping off the end of the piping bag). Hold gently until set.Step four: Roll out some white or ivory fondant / sugarpaste to 2mm thick onto an icing sugar dusted surface

Step four: With the blade tool cut out a rectangular shape an appropriate size for the front of your champagne bottle. Attach using a little edible glue. Imprint or add any detail to the label now.

Step five: Take a small amount of red or pink fondant and roll into a ball then into an oblong shape.

Step six: Shape into a dumb bell or bone-like shape by rolling the middle of the red fondant oblong with a finger.

Step nine: Take the dumb bell / bone shaped red fondant and carefully pinch in half into a heart shape. Smooth the centre over a little.

Step seven: With a little melted candy melt attach the heart where the ribbon crosses and meets at the front of the champagne bottle.

Step eight: Repeat all above steps until you have the desired amount of champagne bottles.

Now all that is left to do is to pipe your cupcakes generously with vanilla buttercream, add any decor you wish (edible glitter, sprinkles, sugar pearls etc) and nestle your tiny champagne bottles atop at a jaunty angle!

Pink Champagne Cupcakes by Juniper Cakery

After all your hard work you should now be left with an array of delicious and adorable cupcakes waiting to steal the heart of all who cast their eyes upon them. If you’re making these for yourself, however, we really wouldn’t blame you at all!


All photographs, designs (including all baked and decorated goods), tutorials and written content belong to and are copyright to Juniper Cakery unless otherwise stated. Please do not copy! Copying and re-publishing our work without our permission or claiming it as your own work could lead to legal action from us. If you wish to feature our work do contact us for permission.
Ruffled Champagne Cake with The Happy Egg Co. Eggs!

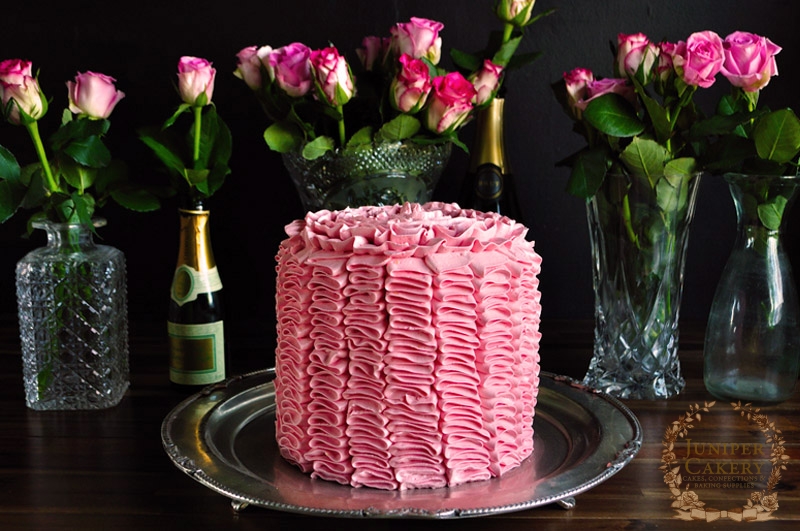
What better way to treat a loved one for Valentine’s Day than with a beautiful and indulgent home-made cake! Using three key Valentine ingredients, and some egg whites from The Happy Egg Co. eggs, we created this truly lovely and decadent cake. One of the best things about this recipe is that it incorporates some incredibly sumptuous flavours and ingredients without being too sweet or rich. Perhaps the only bad thing about this cake is that you’ll find you’ve eaten quite a few slices without realising! Imagine a gorgeously soft and fluffy champagne infused cake smothered with fruity yet creamy strawberry and white chocolate buttercream just waiting to be devoured… can’t wait to start baking? We thought so.

Ruffle Champagne Cake by Juniper Cakery

Ruffle Champagne Cake by Juniper Cakery

White Champagne Cake (makes three 9 inch diameter layers one inch deep)

453g Self-raising flour
453g Butter
453g Caster sugar
453g Egg whites from The Happy Egg Co. eggs
400ml Champagne or 12-18 drops of champagne essence

Pre-heat an oven to Gas Mark 3/325F/170C.

In a saucepan add the 400ml of champagne, set to boil then simmer until reduced to half the amount. Set aside to cool.

Cream your butter in a mixer then add the sugar. Add in the flour along with half of the happy eggs for around one minute. Once half of the happy eggs are combined add the remaining eggs along with the champagne or champagne essence. Mix for about 5 minutes.

Pour batter in the pan around 2cm in height and place on the top shelf. Bake for around 40-50 minutes. Repeat this step to create your second and third layer. When all layers are baked leave them to cool fully as you prepare your buttercream!

Ruffle Champagne Cake by Juniper Cakery

Ruffle Champagne Cake by Juniper Cakery

Strawberry and White Chocolate Buttercream

500g Diced/chopped butter at room temperature
300-400g Icing sugar (keep testing when adding to make sure it is the consistency and sweetness you like)
6-12 Drops of strawberry extract
150g Melted white chocolate
Pink gel paste food colour

Add half of the of butter into your mixer and cream. Then gradually add icing sugar and the remaining butter (cut into cubes) until you get a smooth, creamy texture. Add in the melted chocolate and then add the strawberry essence to taste with some pink gel paste food colour.

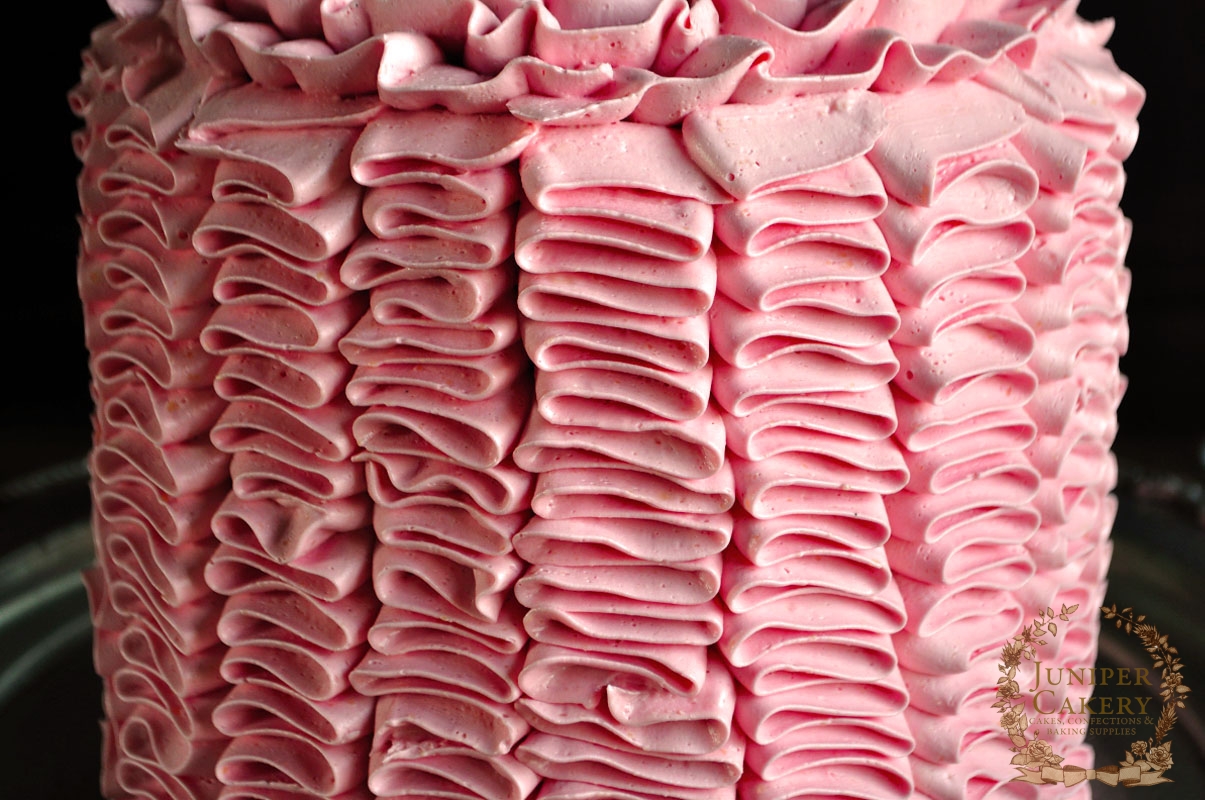
To assemble you need to stack your layers with your buttercream sandwiching them together; now you need to crumb coat your cake. A crumbcoat is a thin layer of buttercream or ganache that seals in the crumbs before being fully iced or covered. With a good angled spatula smoother some of the buttercream atop and around the sides of the stacked cake until covered. Chill in a refrigerator for 20-40 minutes. Once chilled remove and cover with the rest of your strawberries and white chocolate buttercream using a spatula. We covered ours with soft buttercream ruffles for a romantic look.

Ruffle Champagne Cake by Juniper Cakery

We hope you’ve enjoyed our year of various cake recipes utilising eggs from The Happy Egg Co. as we have and that we’ve inspired more people to try their hand a new skill… or several.


All photographs, designs (including all baked and decorated goods), tutorials and written content belong to and are copyright to Juniper Cakery unless otherwise stated. Please do not copy! Copying and re-publishing our work without our permission or claiming it as your own work could lead to legal action from us. If you wish to feature our work do contact us for permission.