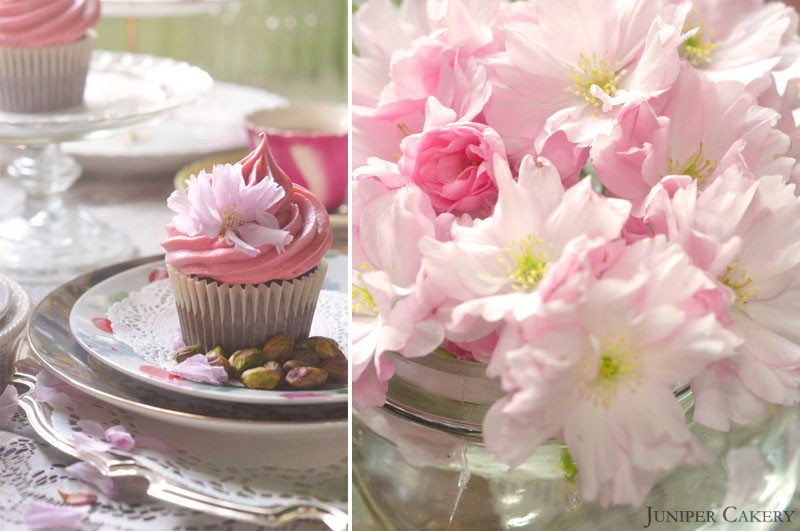
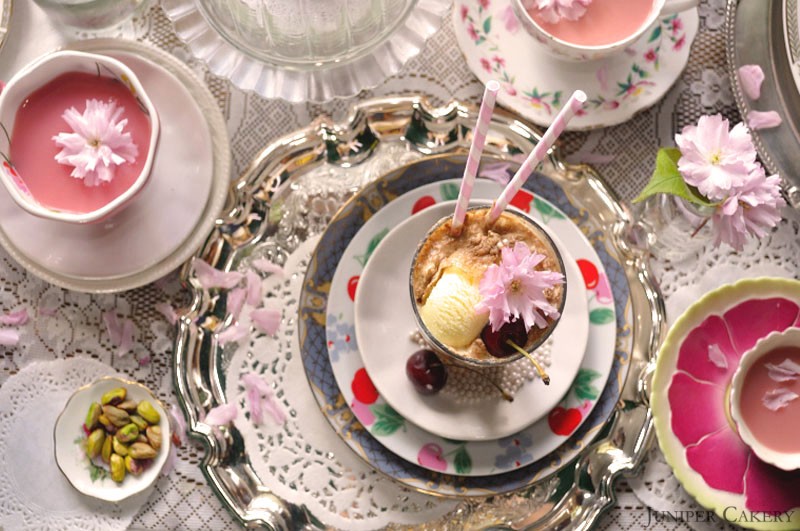
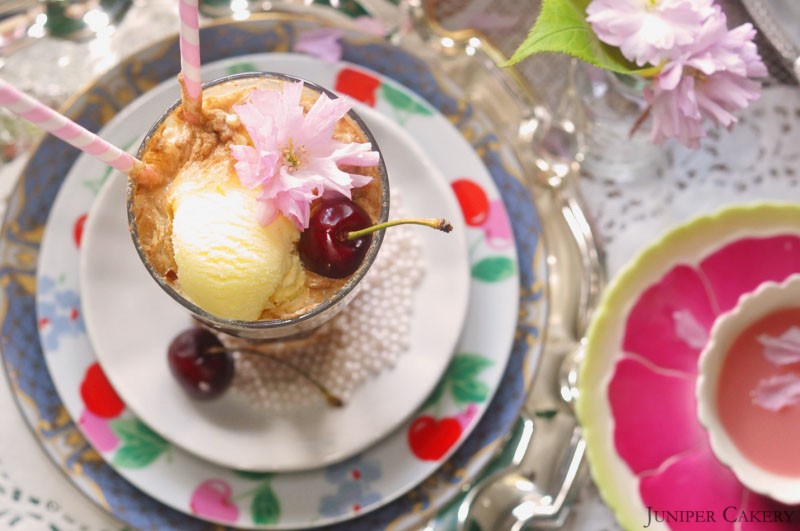
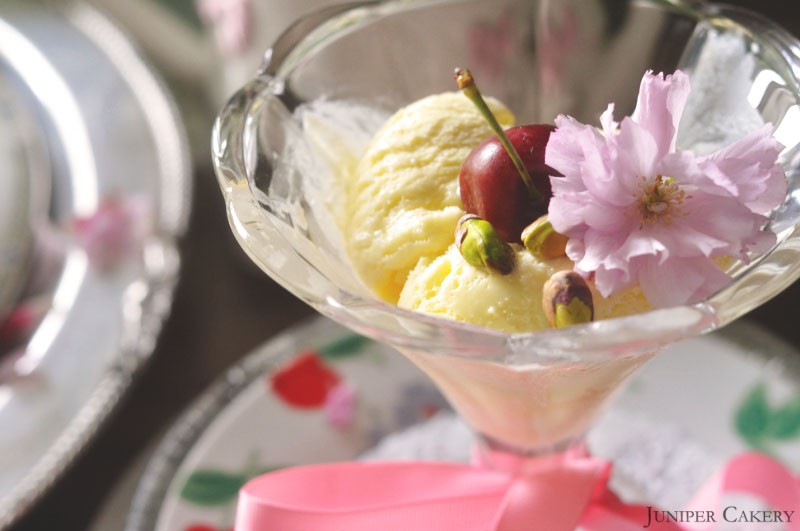
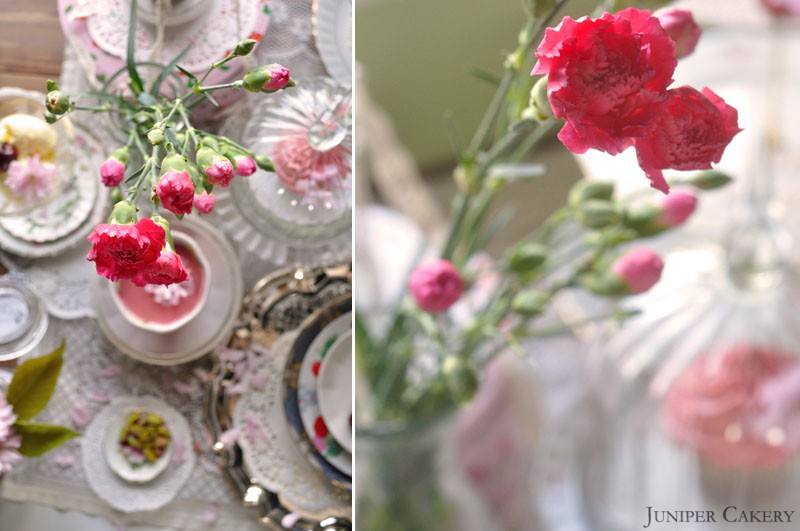
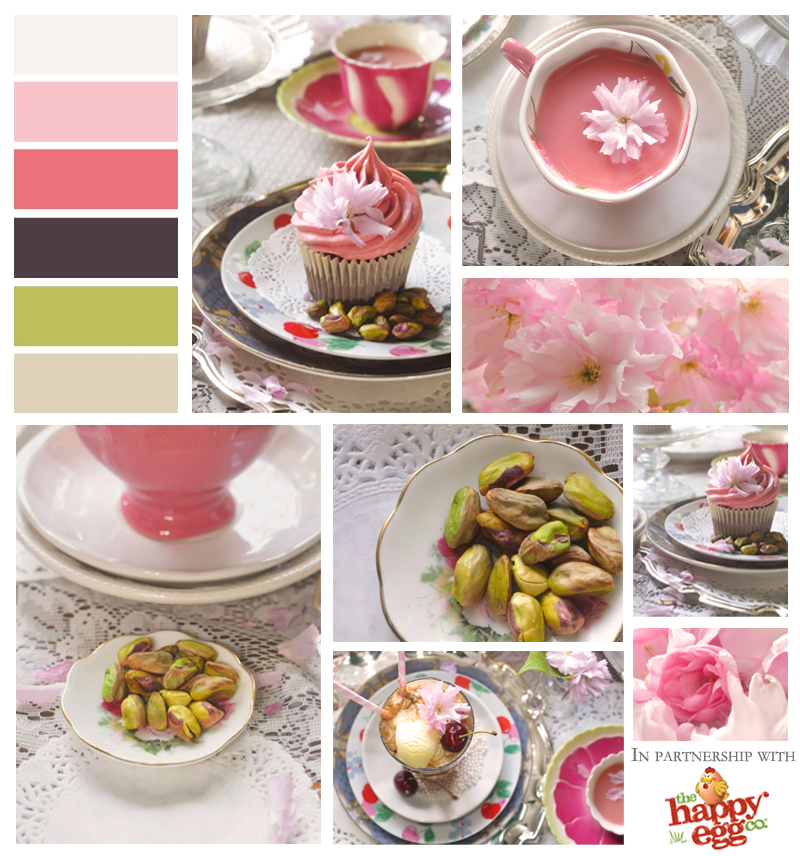
It’s time for our fifth cake, recipe & cake decorating tutorial in partnership with The Happy Egg Co.! This month we took inspiration from the soft and beautiful cherry blossoms that flourished not too long ago. Unfortunately, those flowers never last for long but at least you can enjoy edible blossoms in cake form! As well as picking out cherry blossoms for the design we also looked at fun and summery cherry laced flavours! We soon scaled our recipe ideas down to a simple cherry cola and pistachio cake. Why not have a look at our design and development blog post to see our ideas and research.

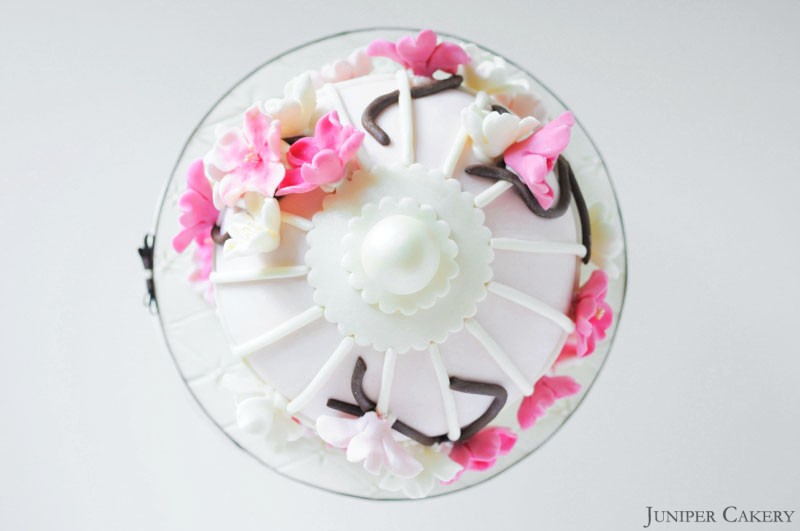
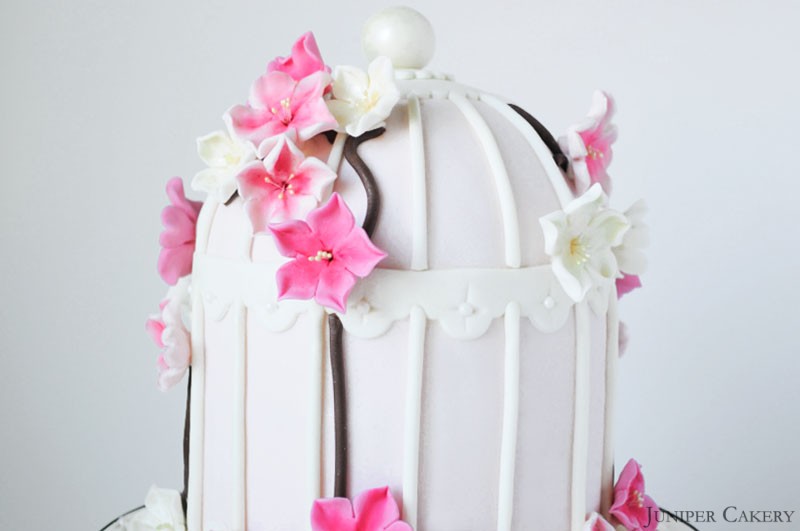
As well as this month’s flavour we thought we’d show you how to create an elegant and simple birdcage cake. These are definitely on trend at the moment due to the summer months, but also with wedding season upon us they’re popping up everywhere! The romantic colour scheme is perfect for afternoon teas, spring and summer birthdays, engagement parties and weddings.
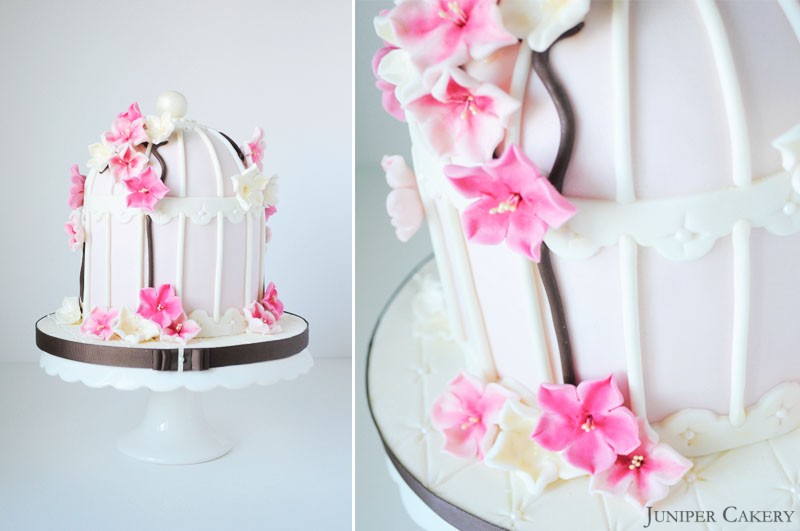
We added further detail by creating a quilted cake board studded with edible sugar pearls that also found themselves nestled into the cage-work of the cake.
Cake recipe
To create this cake (including the dome layer and 4 circle layers) you will need the following…
7-8 free range eggs by The Happy Egg Co. depending on egg size
453g self raising flour
453g caster sugar
453g butter
6 inch circle cake pan
6 inch ball pan
Cream your butter in a mixer then add the caster sugar. Add in the flour along with half of the happy eggs for around one minute. Once half of the happy eggs are combined add the remaining and mix for about 5 minutes.
Pour into a greased circle cake pan until 2/3 full and place on the top shelf of a pre-heated oven at Gas Mark 3/325F/170C. Bake for around 30 minutes. Repeat this step four times for each circle layer.
For the dome layer pour the remaining batter into one half of your ball pan and bake for 35-45 minutes in an over pre-heated to Gas Mark 3/325F/170C.
Cherry, cola & pistachio buttercream recipe
For the buttercream you will need…
500g butter (don’t use margarine as the water content is higher and not suitable for buttercream)
500g - 600g icing sugar (choose your own consistency and taste)
Cherry essence
Cola flavouring
Pistachio essence
Pink gel paste food colouring
Brown gel paste food colouring
Green gel paste food colouring
Add half of the of butter diced into pieces. Cream the butter in a mixer. Then gradually add icing sugar and the remaining butter (cut into cubes). Once the buttercream is of a smooth consistency separate into three and flavour / colour to taste.
How to assemble your cakes into a birdcage shape!

To create a birdcage shape you need to put together a bullet shaped cake using from four to six layers of circle cake (around 3-4cm in height). You then simply create the dome section by using a ball cake pan. For a cake like this which consists of a fair few layers of cake we’d recommend the use of a a good plastic dowling / dowel rod through the centre for stability.
How to make fondant cherry blossoms!
Now let’s show you how to make your own edible cherry blossom flowers from a ball of modelling paste. This is a fun way to create these blossoms without specific petal cutters and it means that you can make them any size you like; from tiny blossoms to extra large flowers!
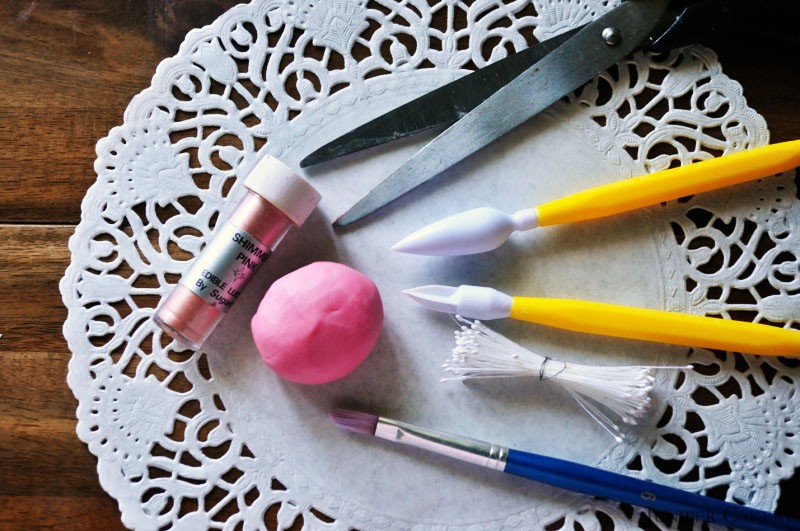
You will need…
Coloured flower / modelling paste
Lustre Dust
Scissors
Cone modelling tool
Tapered star modelling tool (with five points)
Paintbrush
Non-edible flower stamens
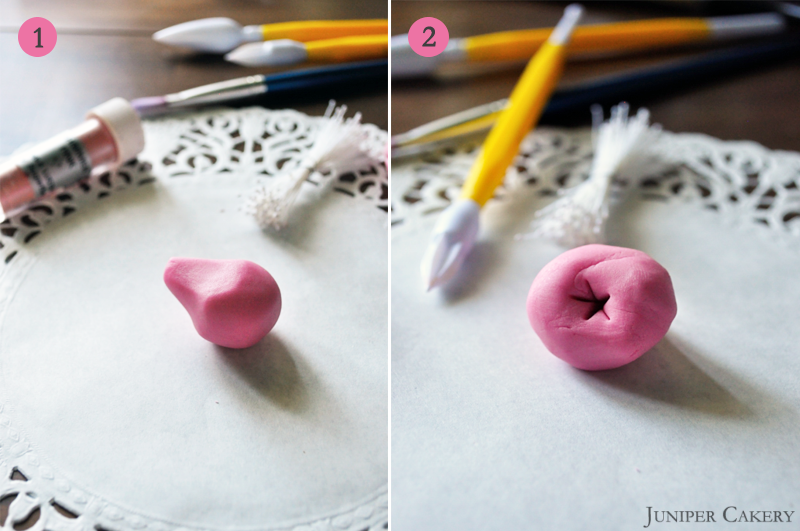
Step one: Form your modelling paste into a cone shape with a ball shape at one end.
Step two: Using the tapered star tool press a star into the rounded end of your modelling paste cone. This marks where your petals need to be shaped from.
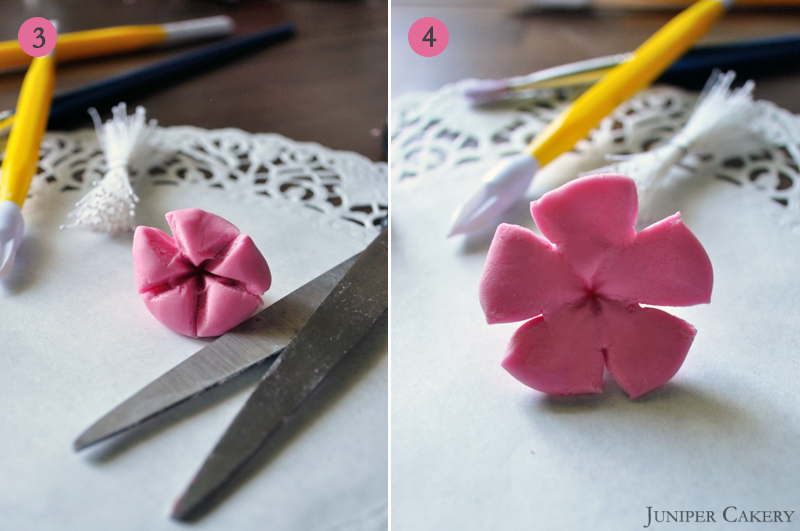
Step three: Using some scissors cut into your paste using the points of the ‘star’ as markers.
Step four: Flatten and press the petals out using your fingers. Now you should begin to see your blossom form!
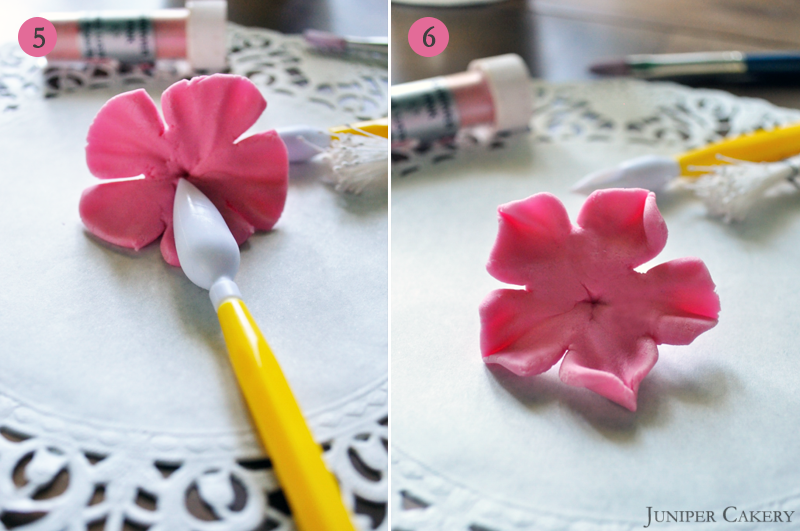
Step five: Using the cone tool press lightly into the petals to ruffle them.
Step six: Now pinch the ends of your blossom’s petals to add shape.
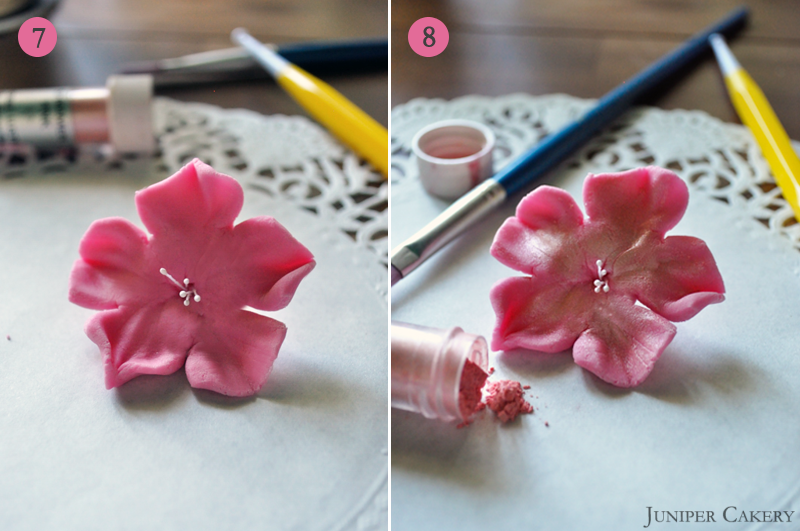
Step seven: Cut some stamens to around 1.5cm in length and push them into the centre of your flower.
Step eight: Now add some shimmer and extra colour to your blossom by dusting on some lustre dust with your paintbrush.
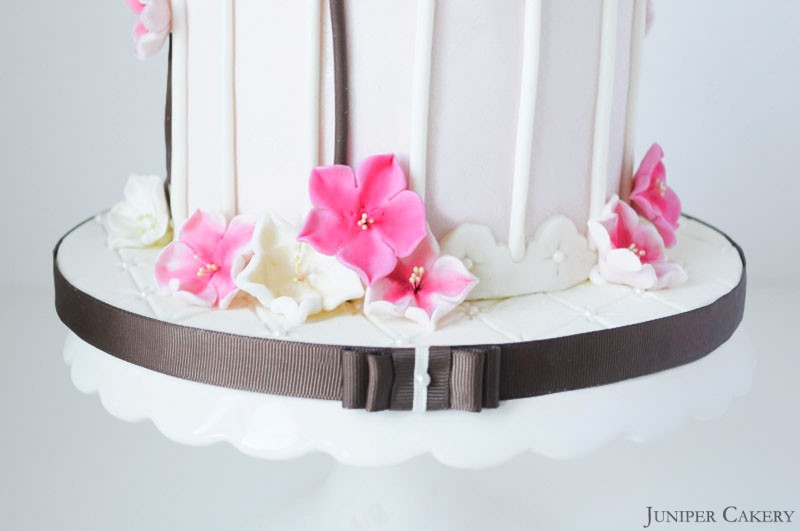
Now you should have a gorgeous cherry blossom perfect for sitting on top of your own homemade birdcage cake! Try creating them in white, ivory or different tones of pink to suit your colour scheme. To secure them in place upon your finished birdcage melt down some white chocolate and hold for a few seconds. Chocolate dries quickly and is a great way for holding heavier objects in place on a cake.
We hope you’ve enjoyed this recipe and tutorial on how to create an elegant birdcage cake combined with some fun summer inspired flavours.


